One last hurdle for the R3 fan shroud in Hatchbox ABS, need help
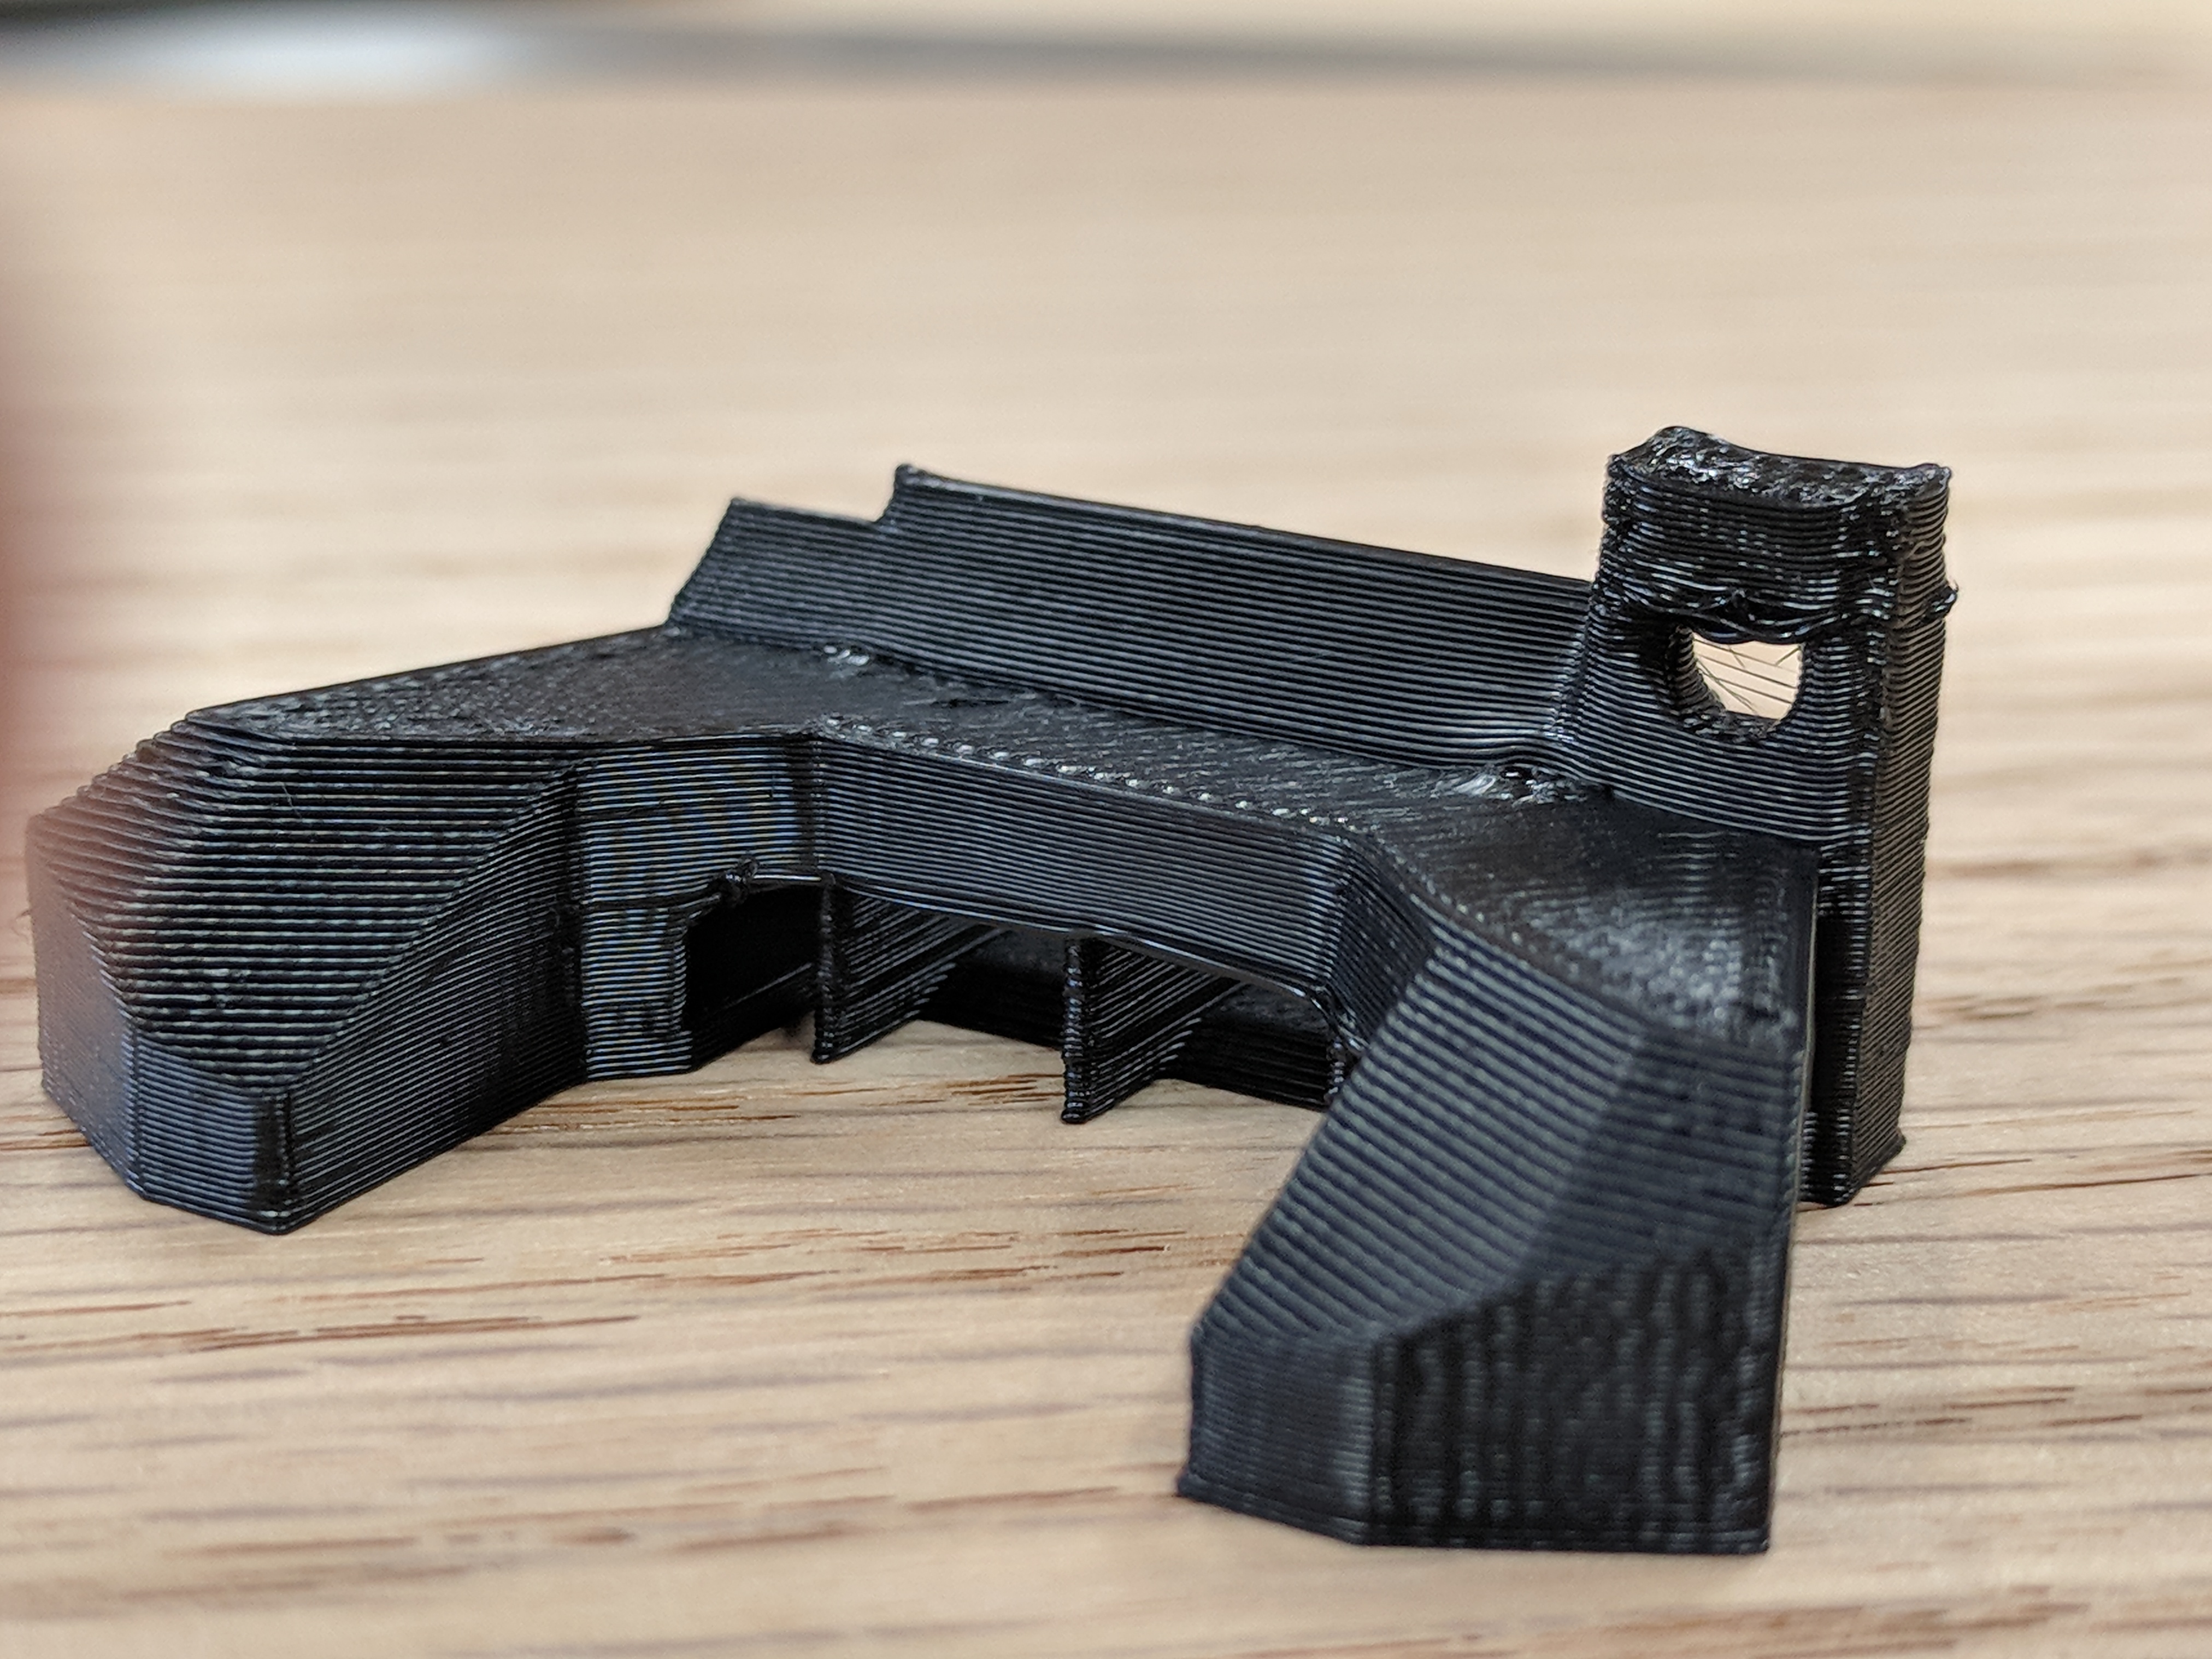
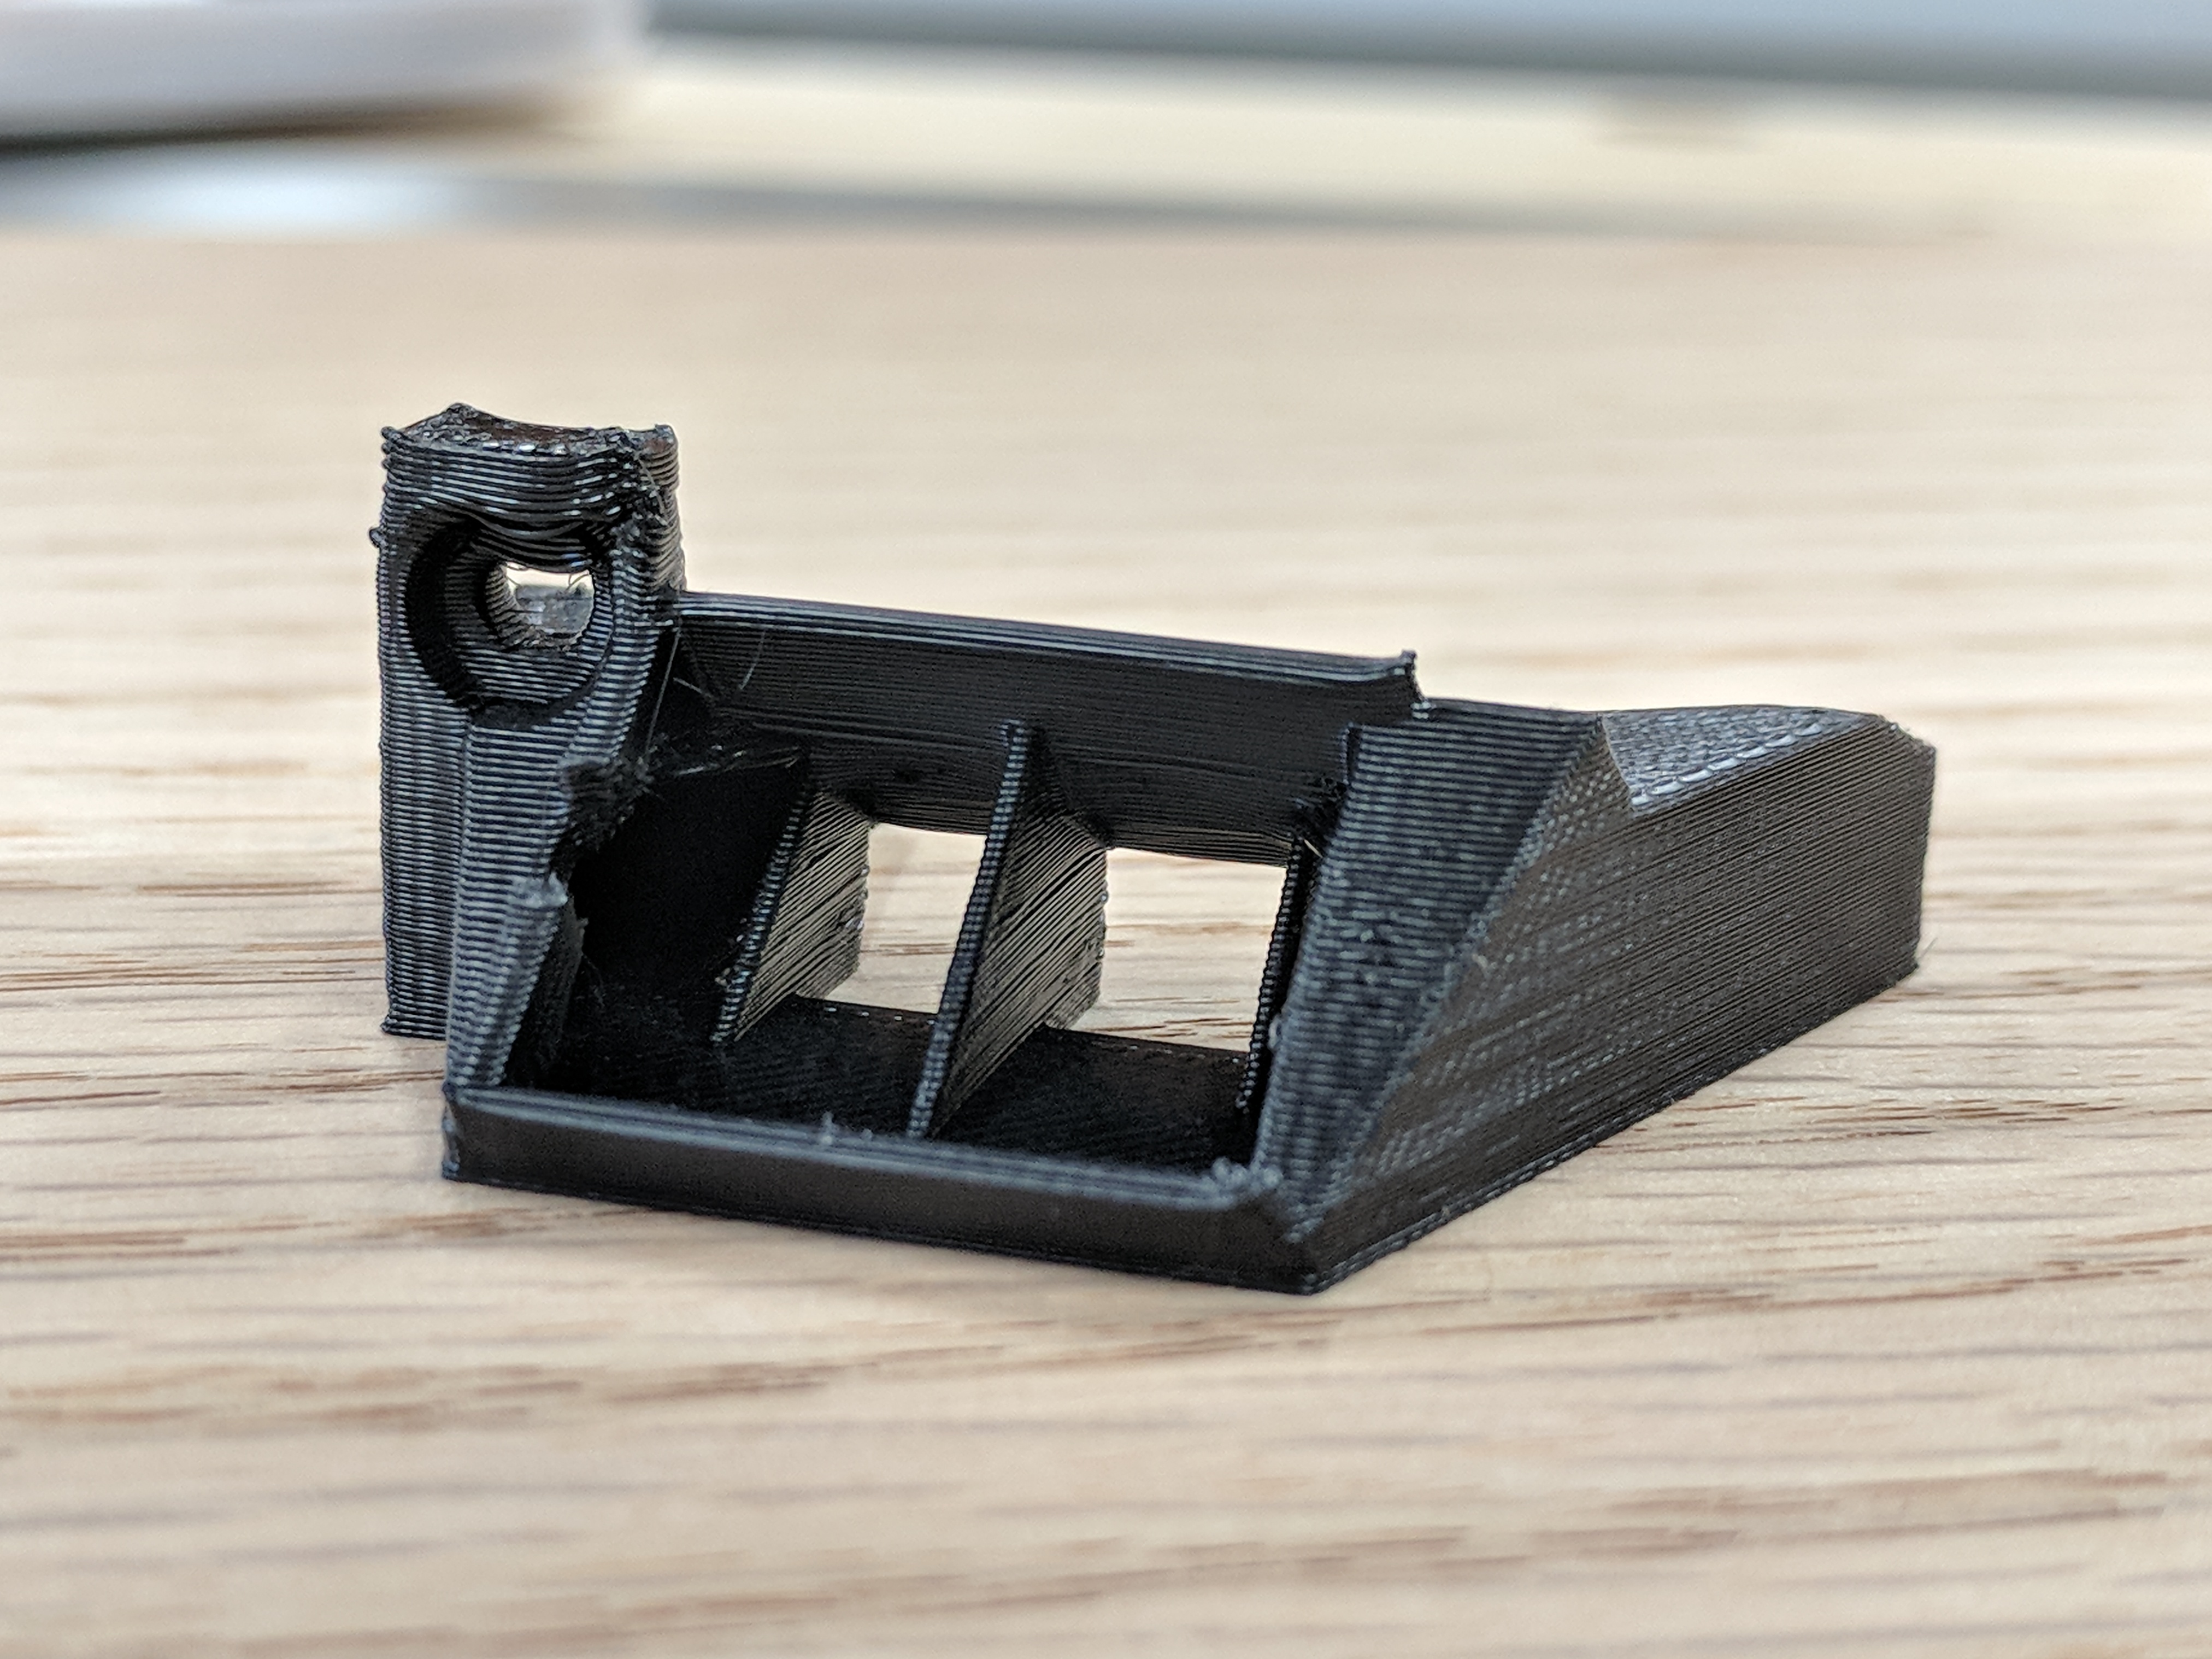
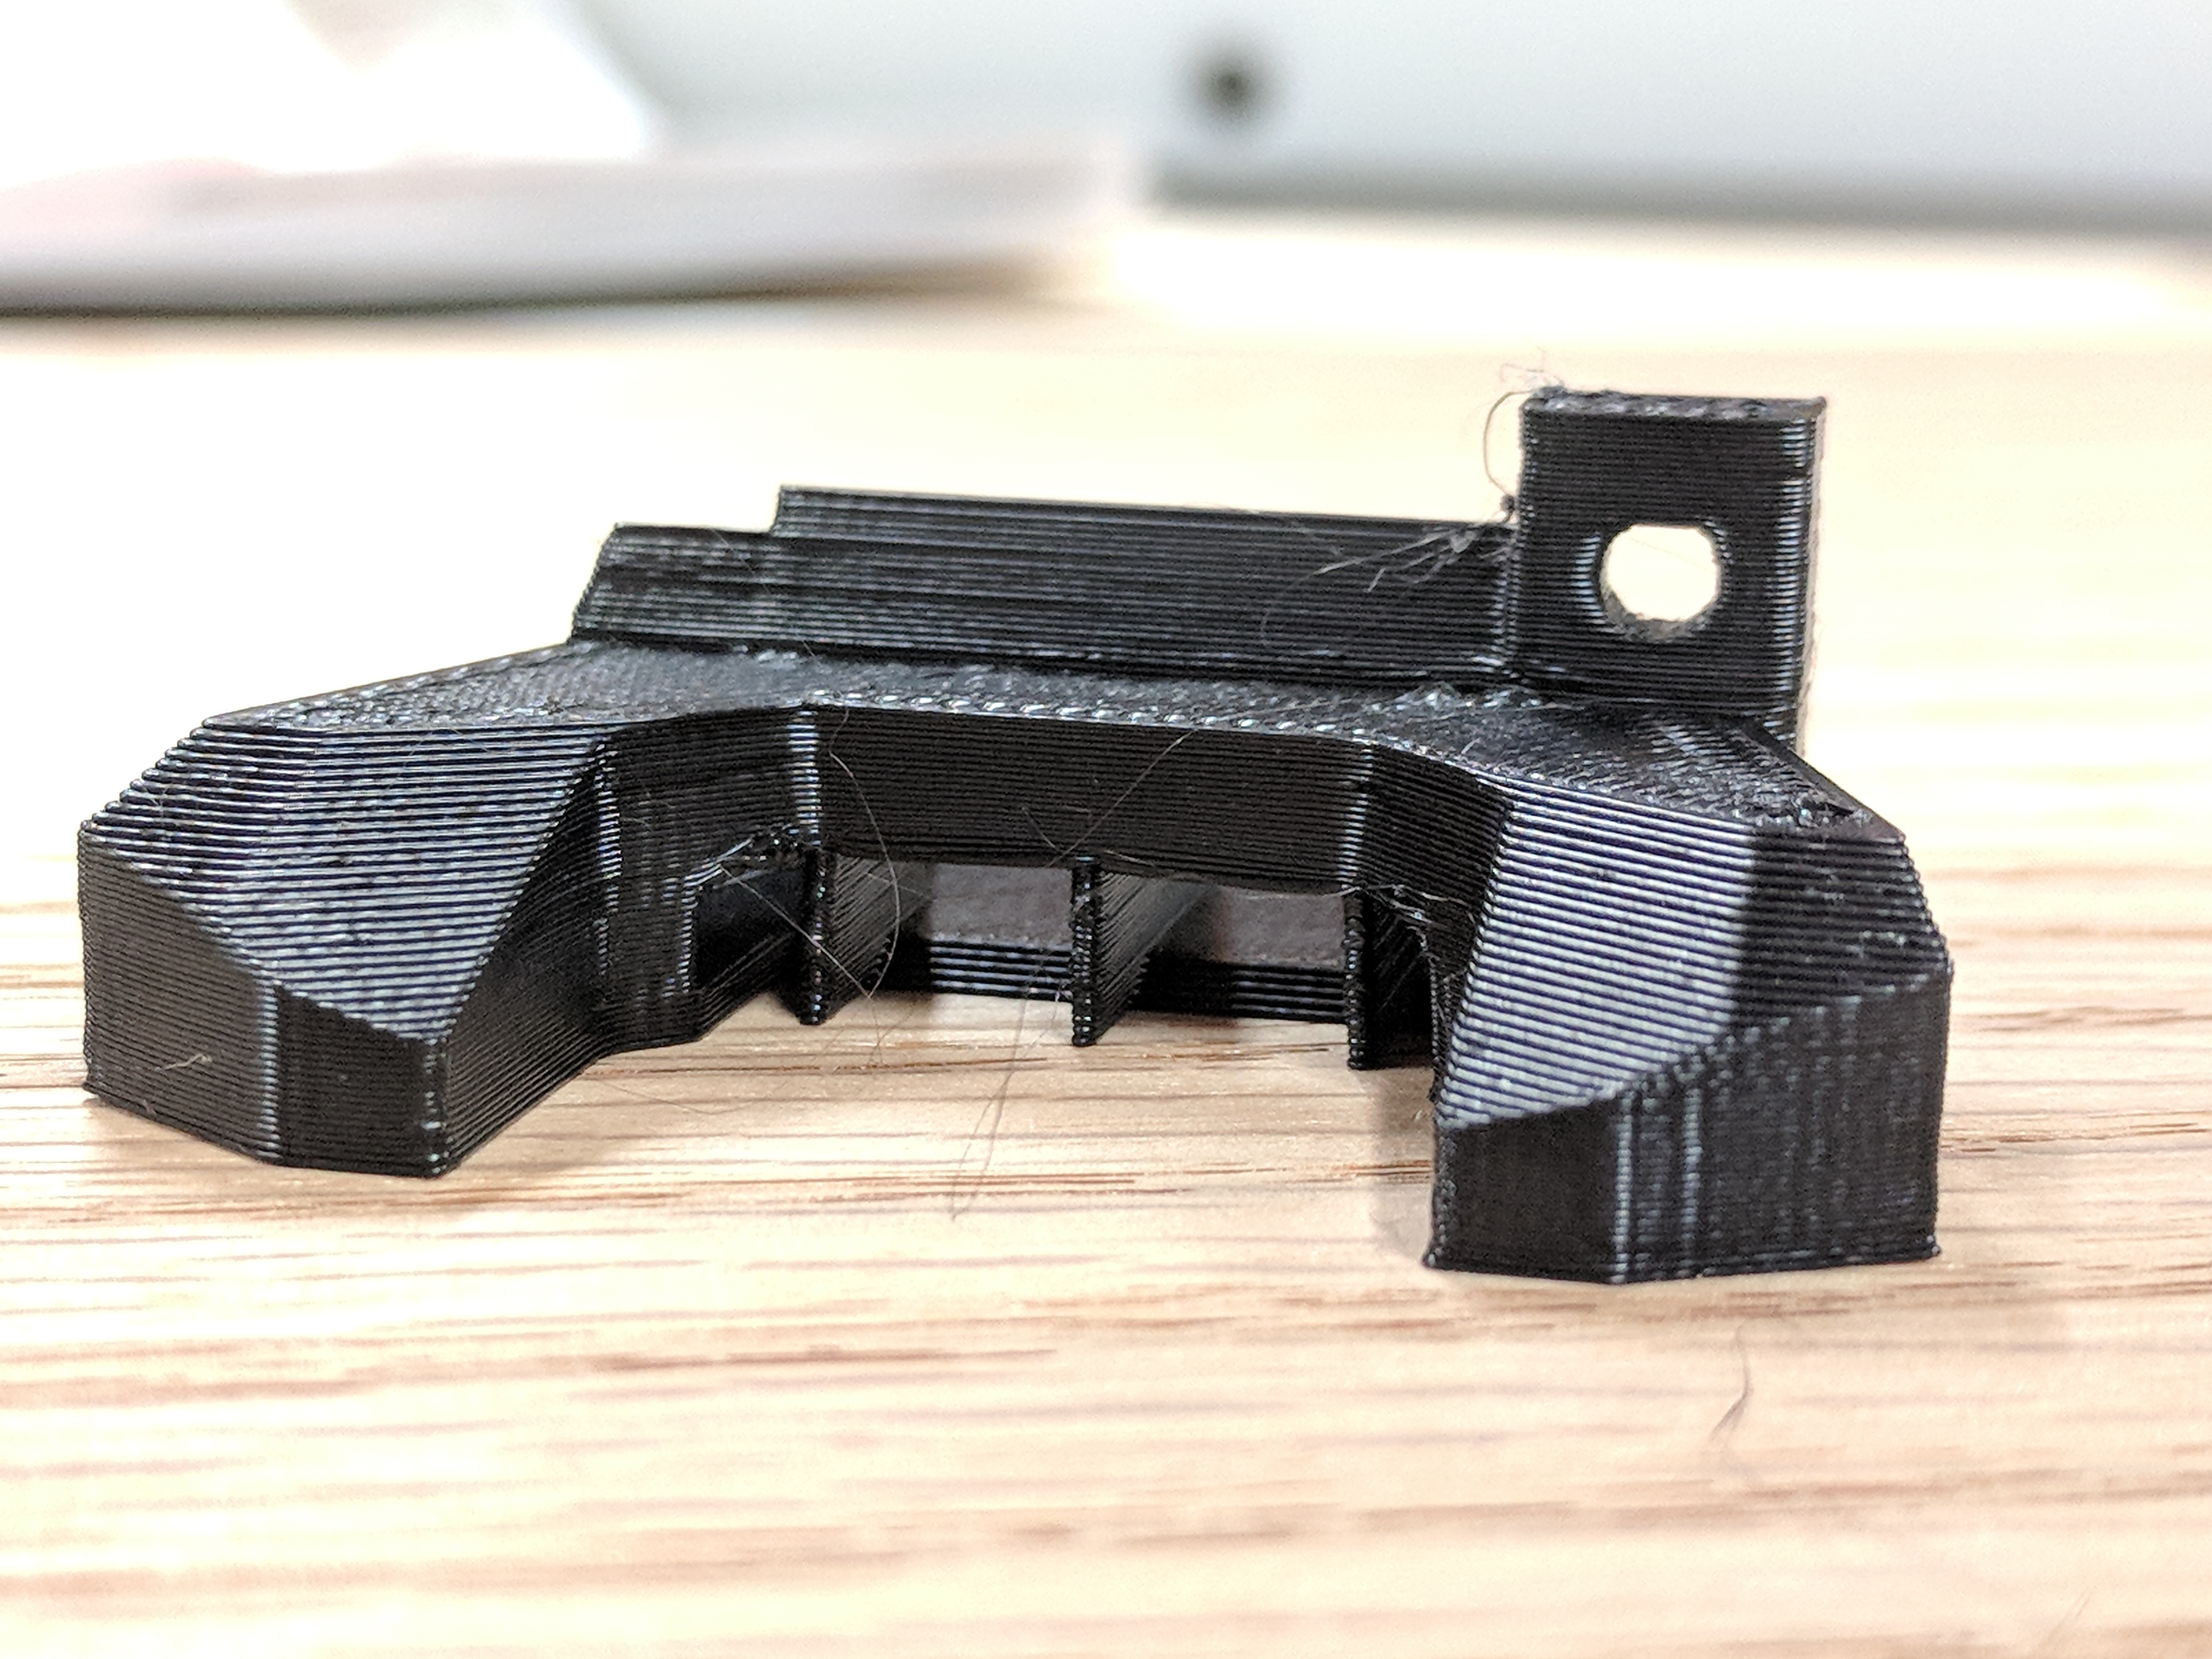
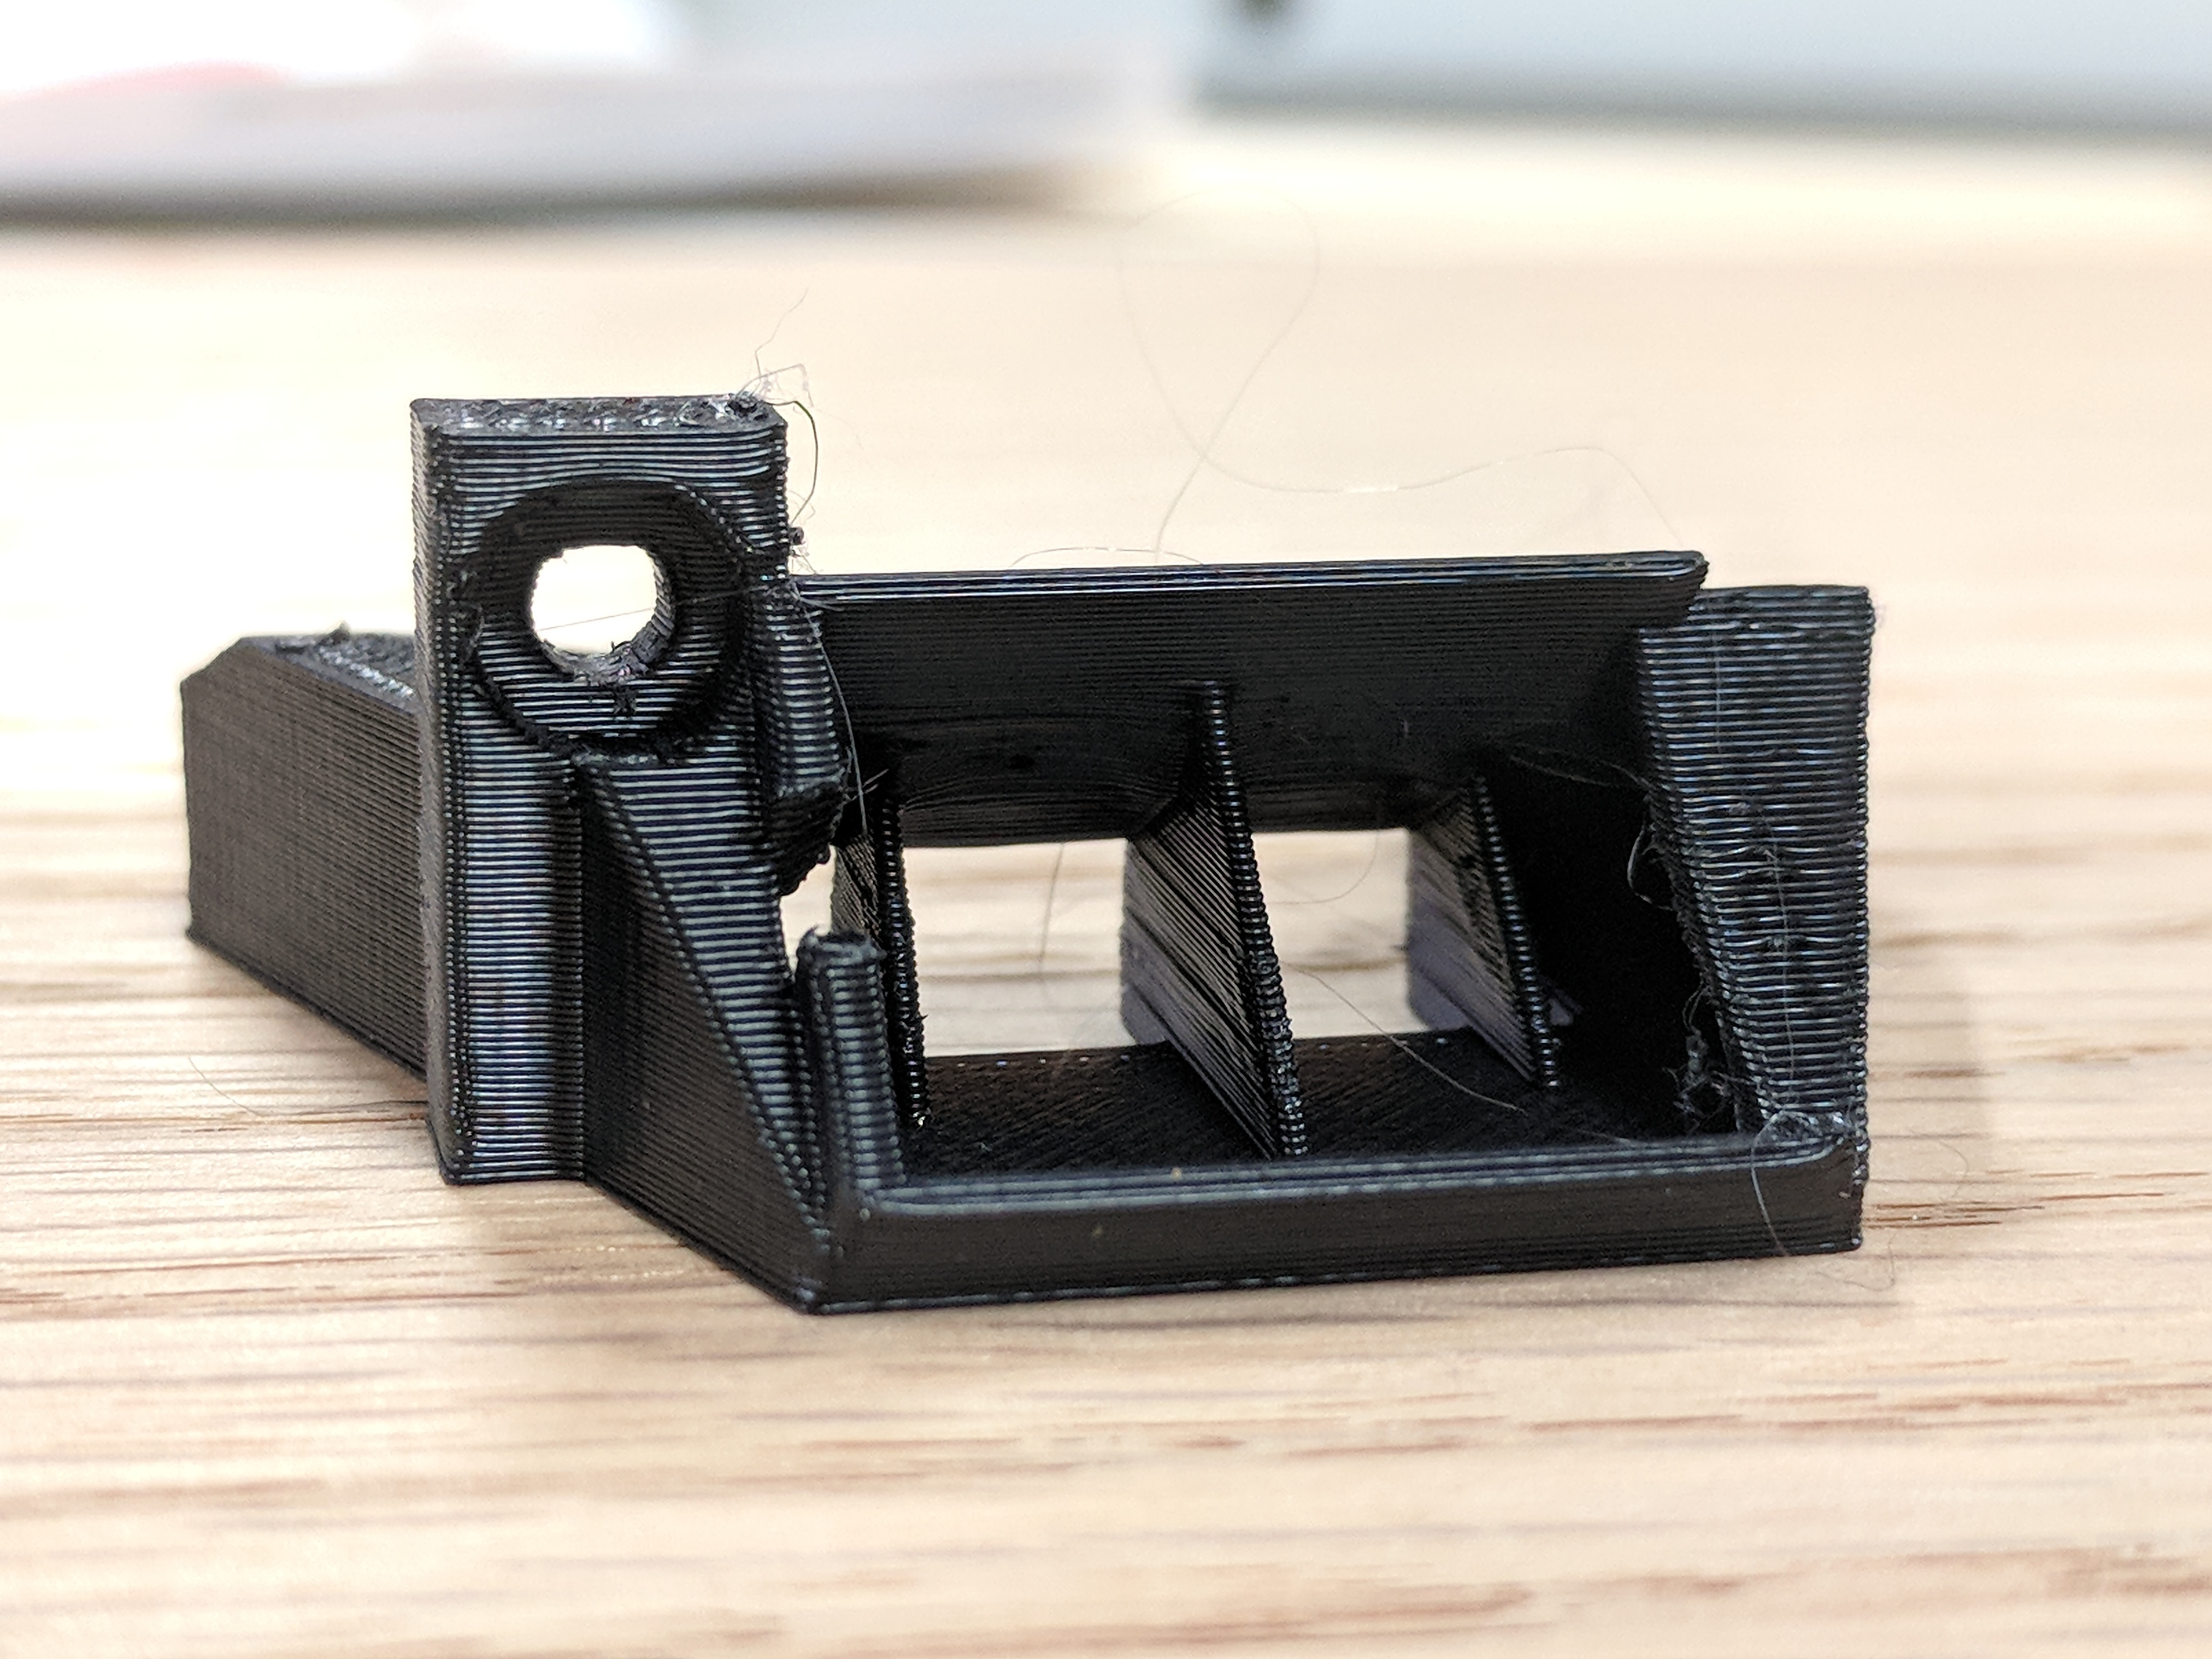
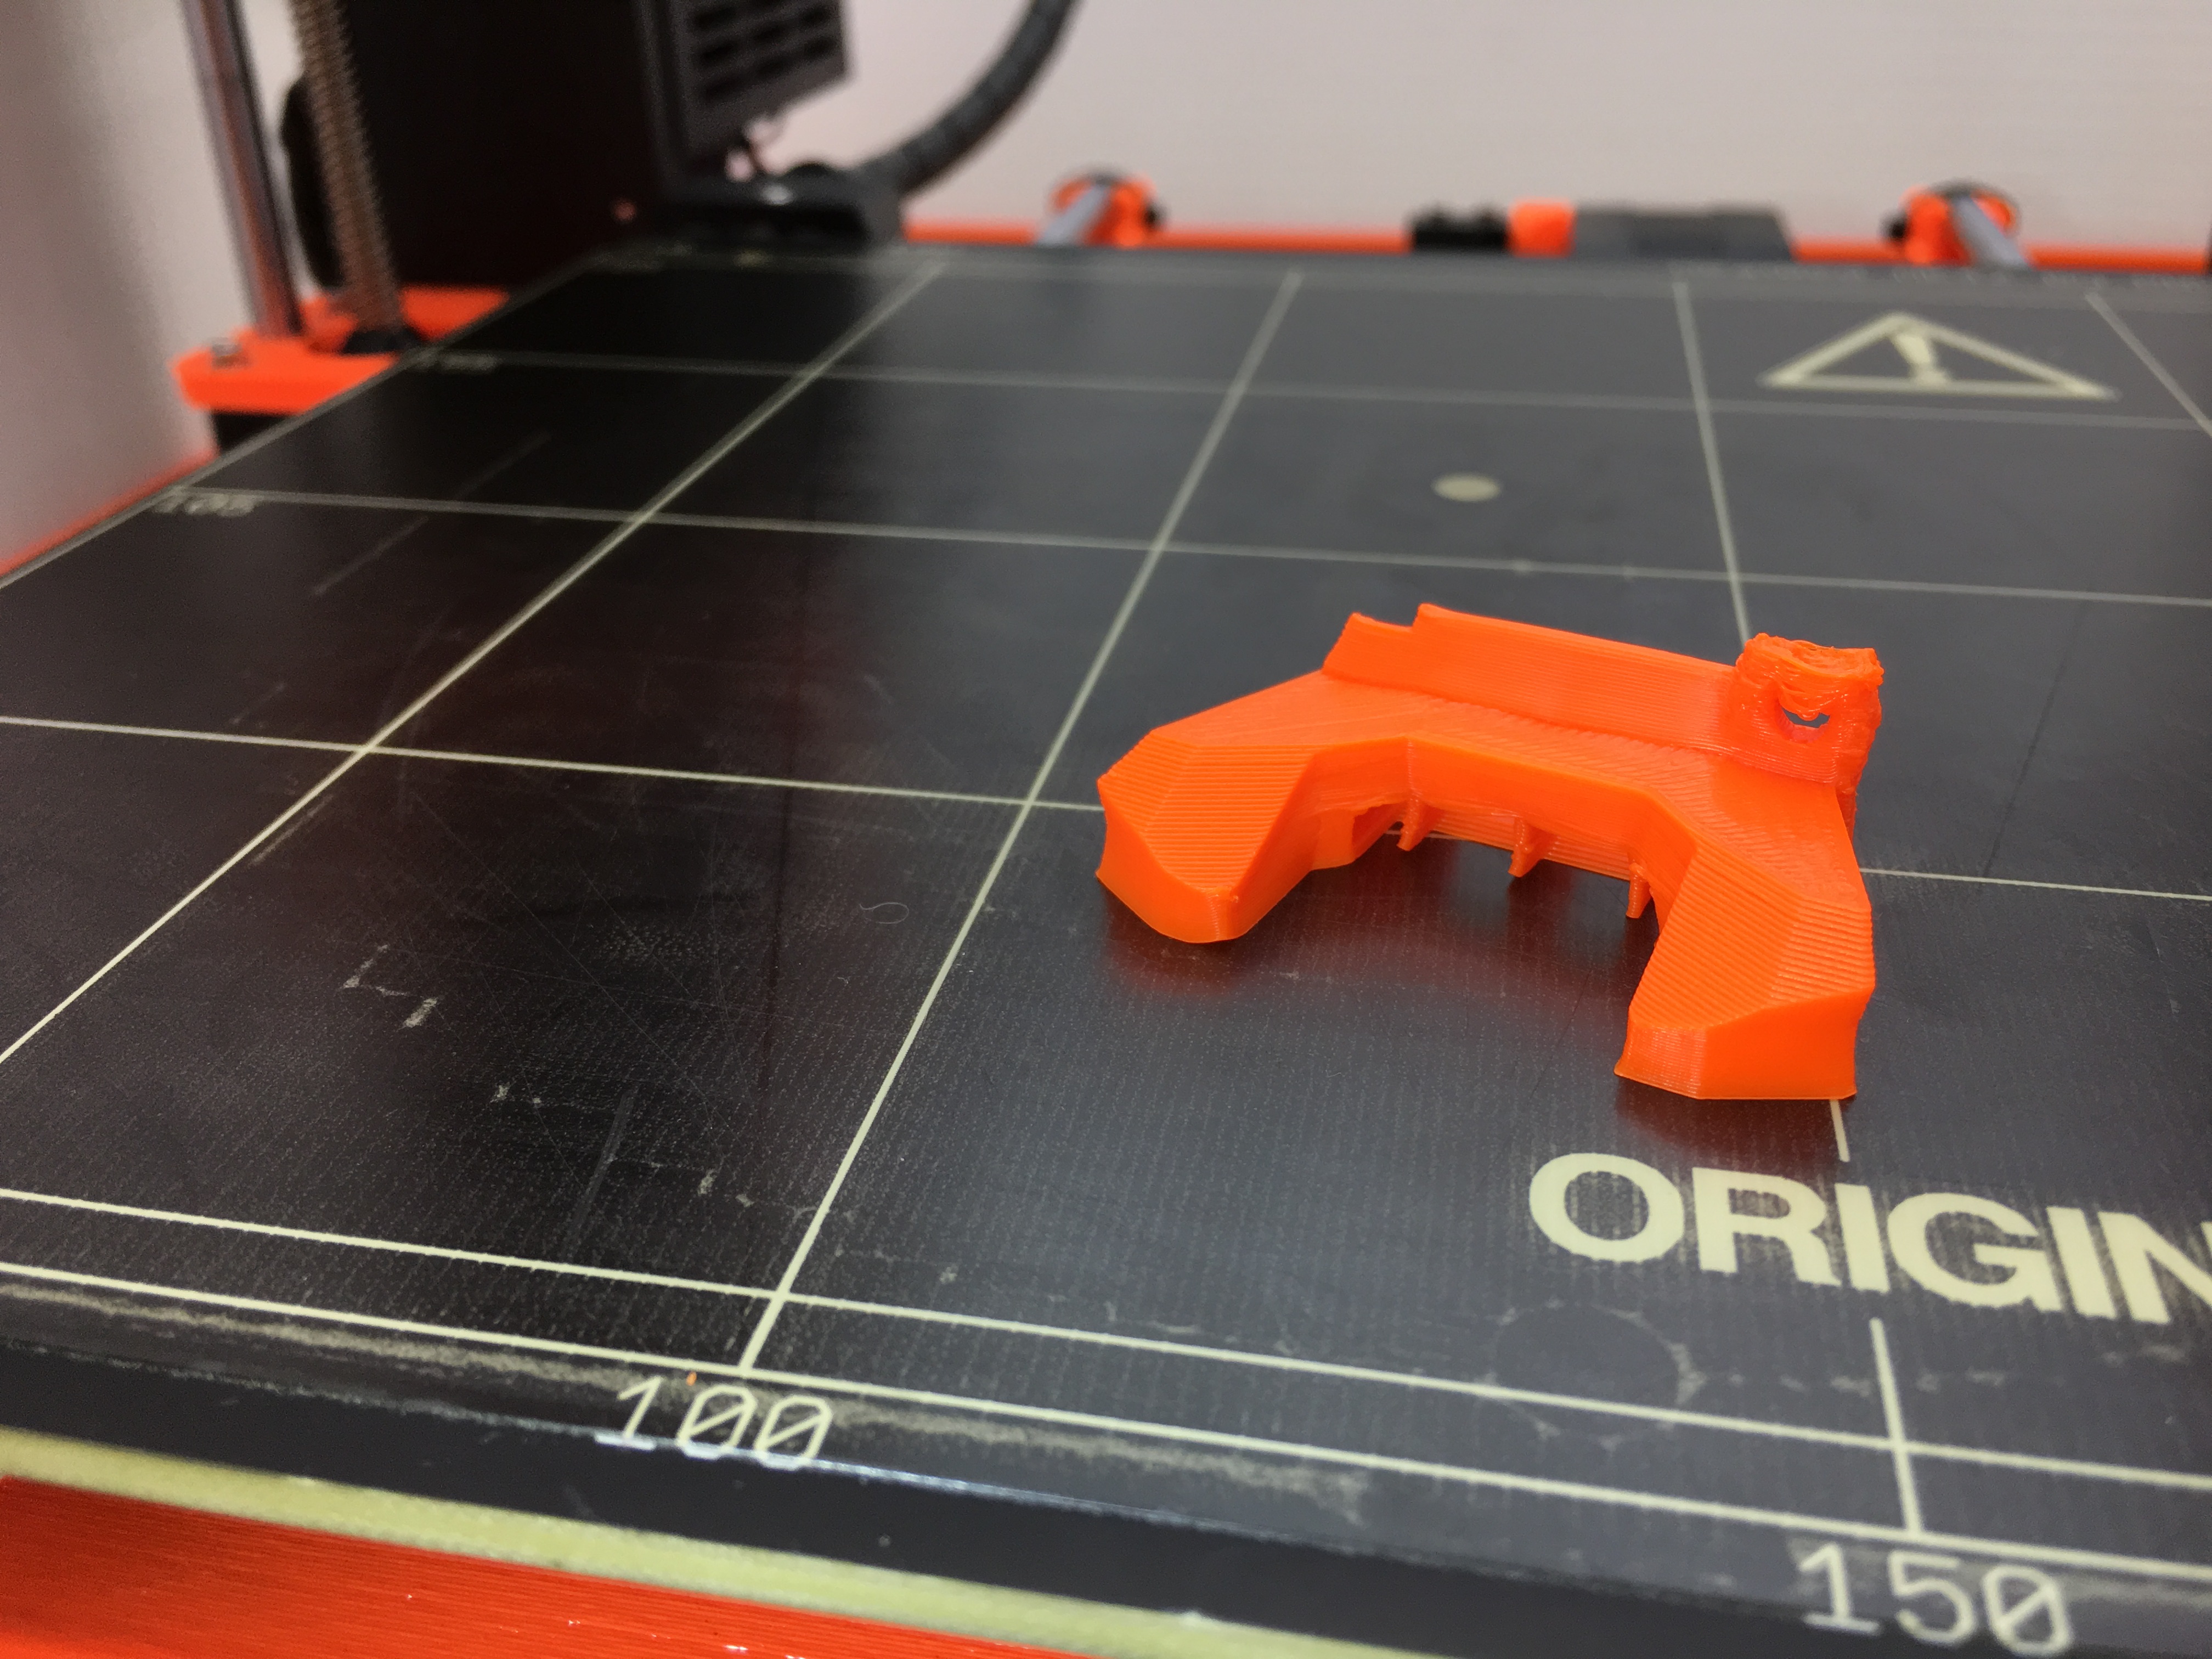
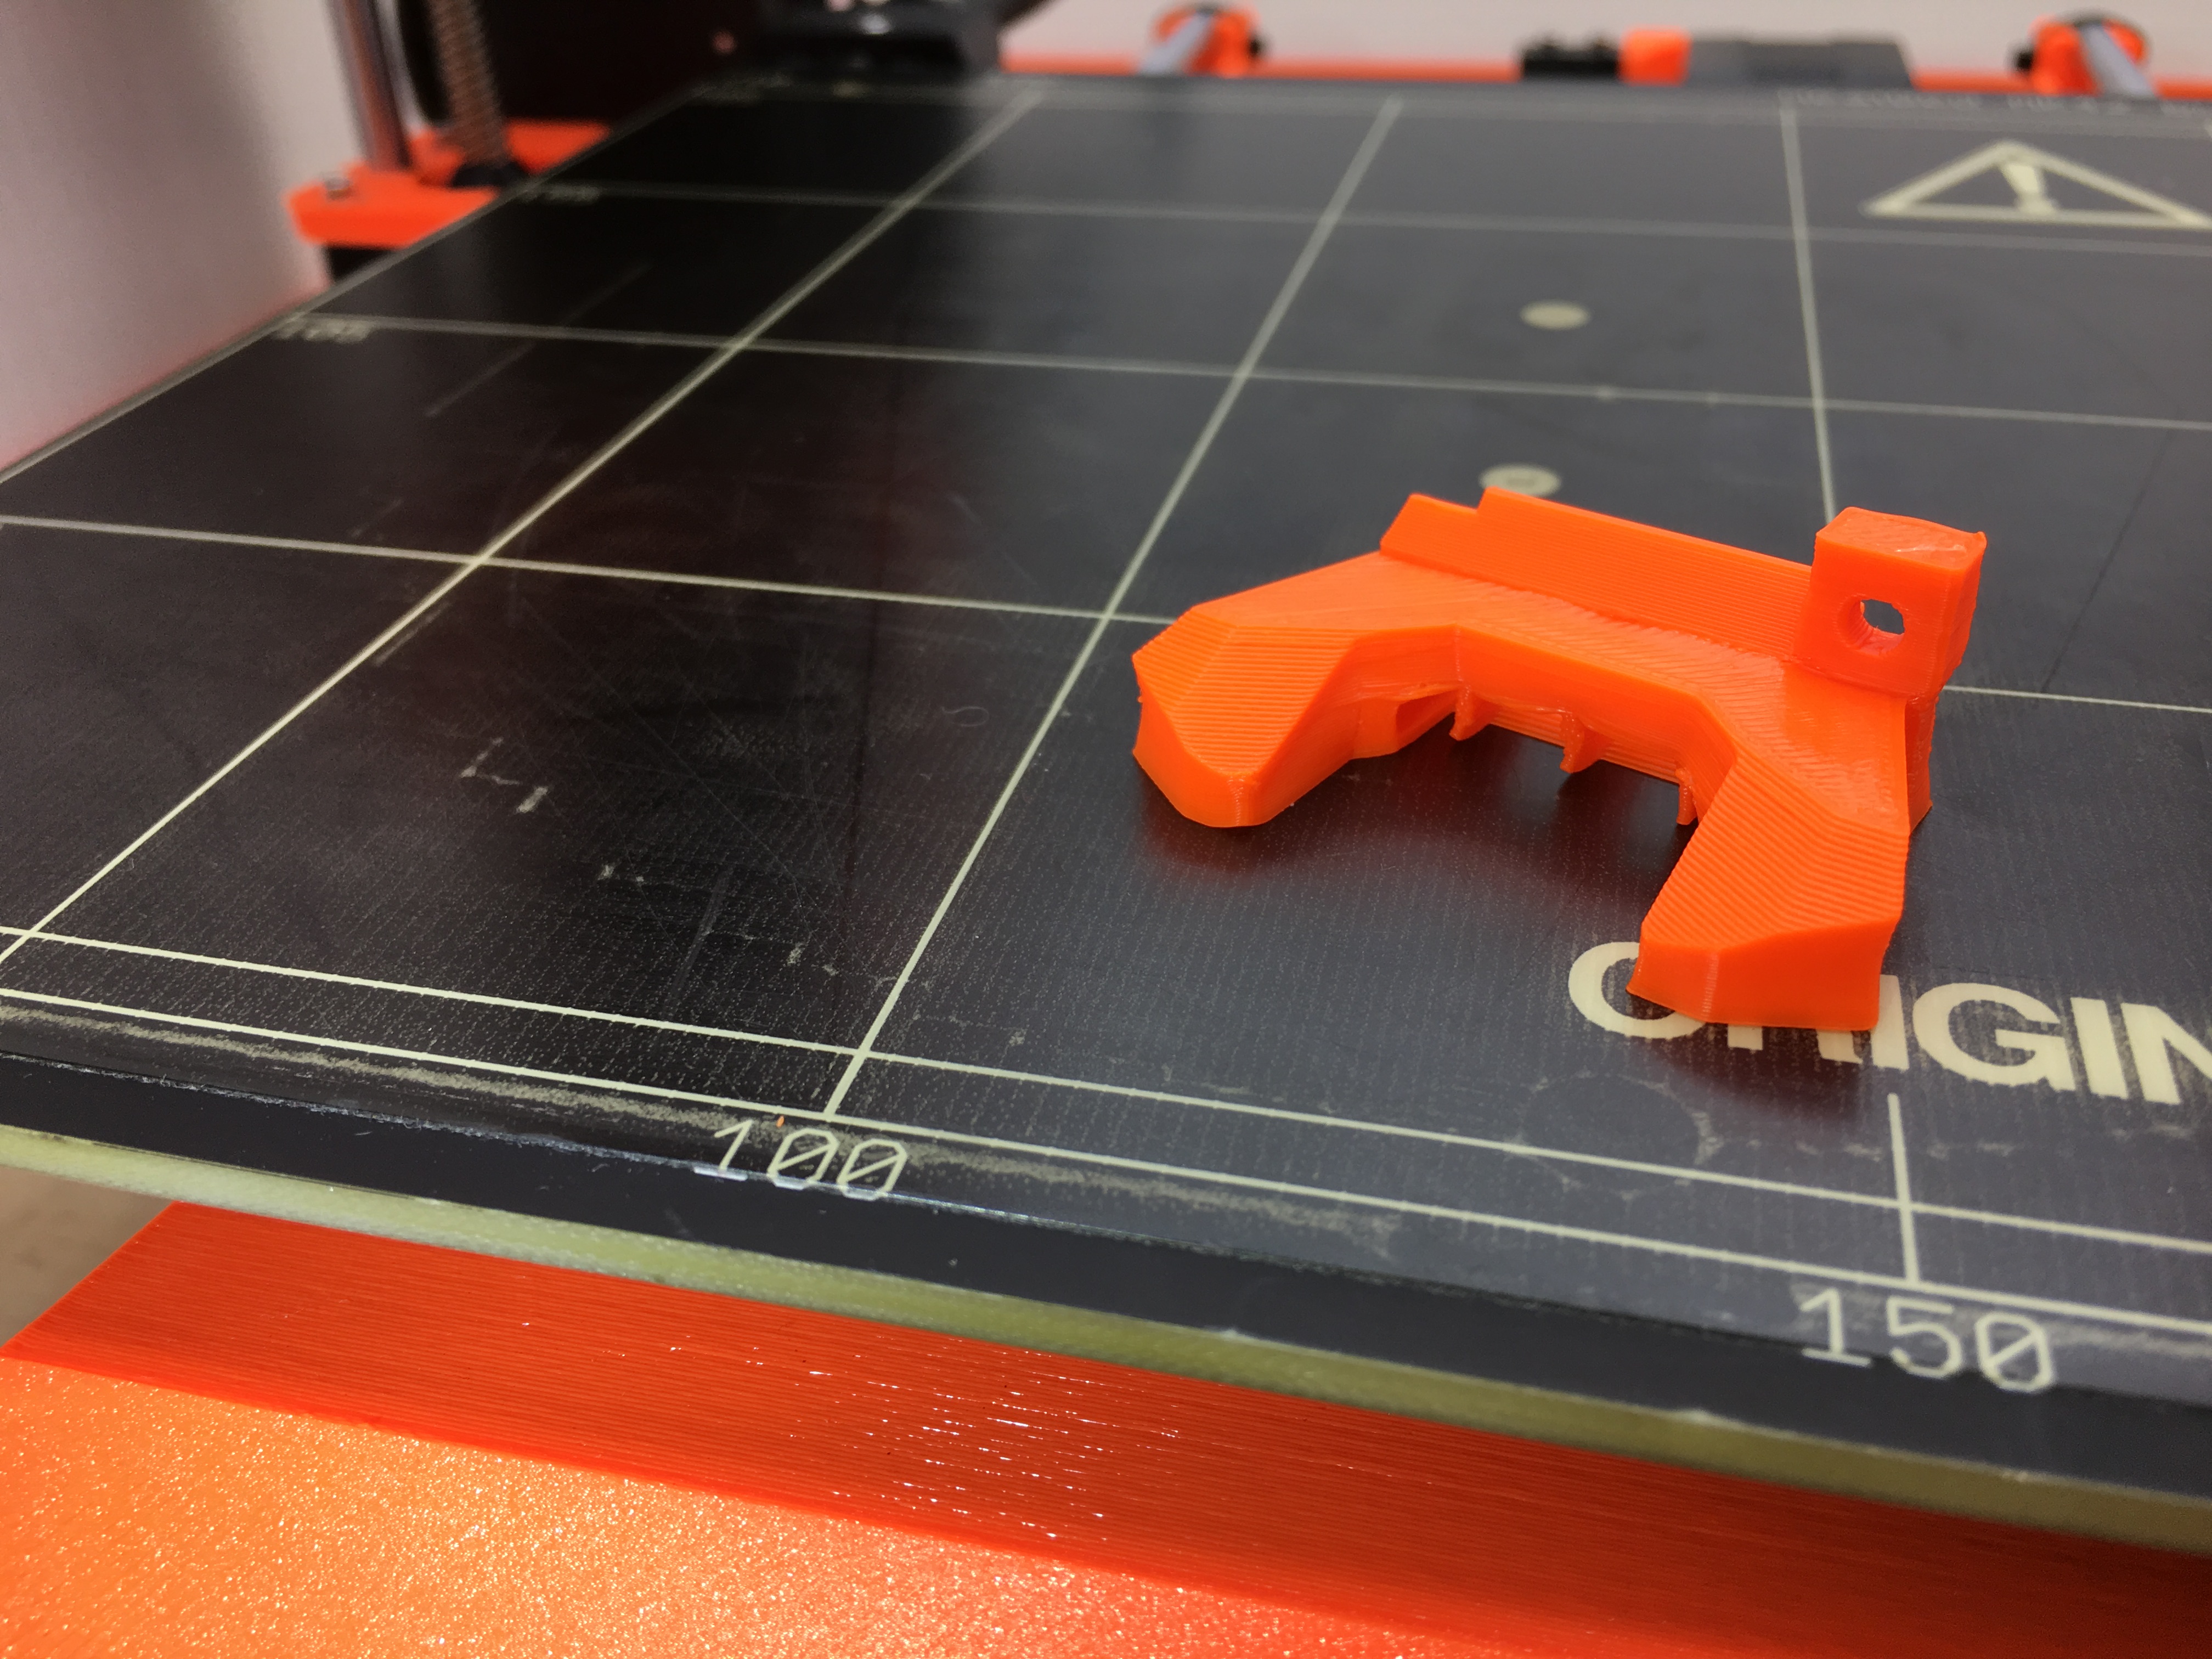
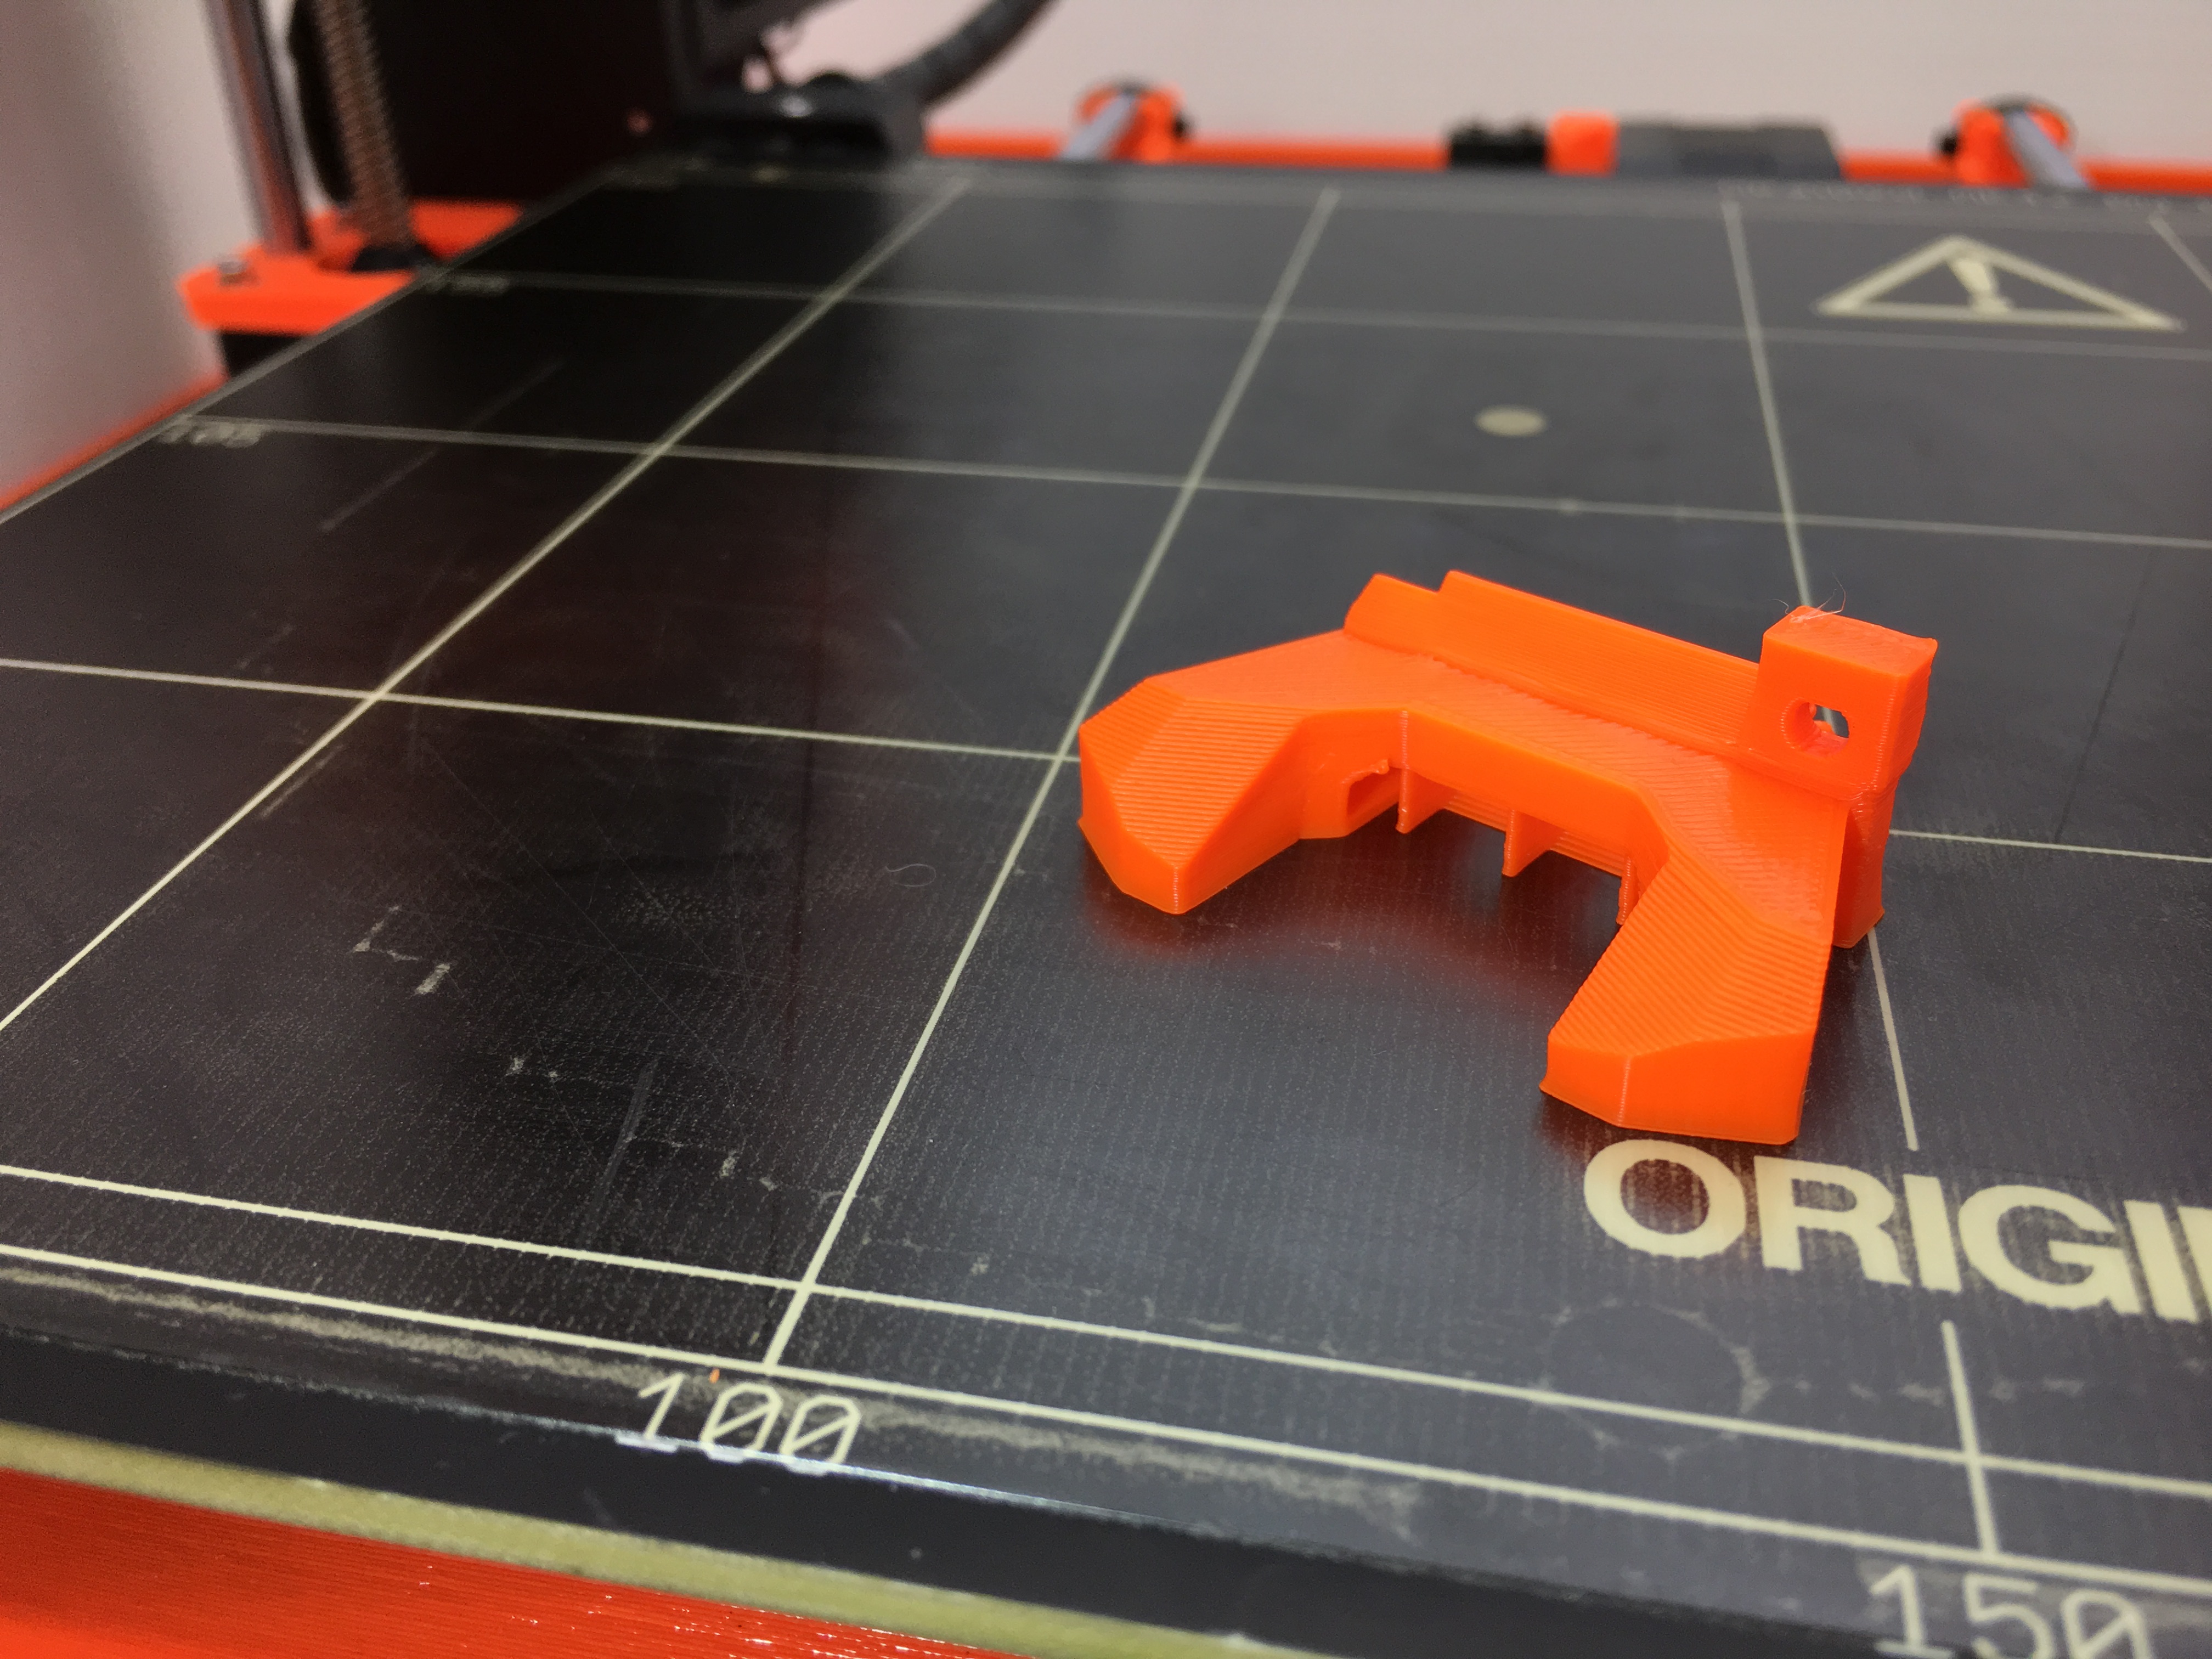
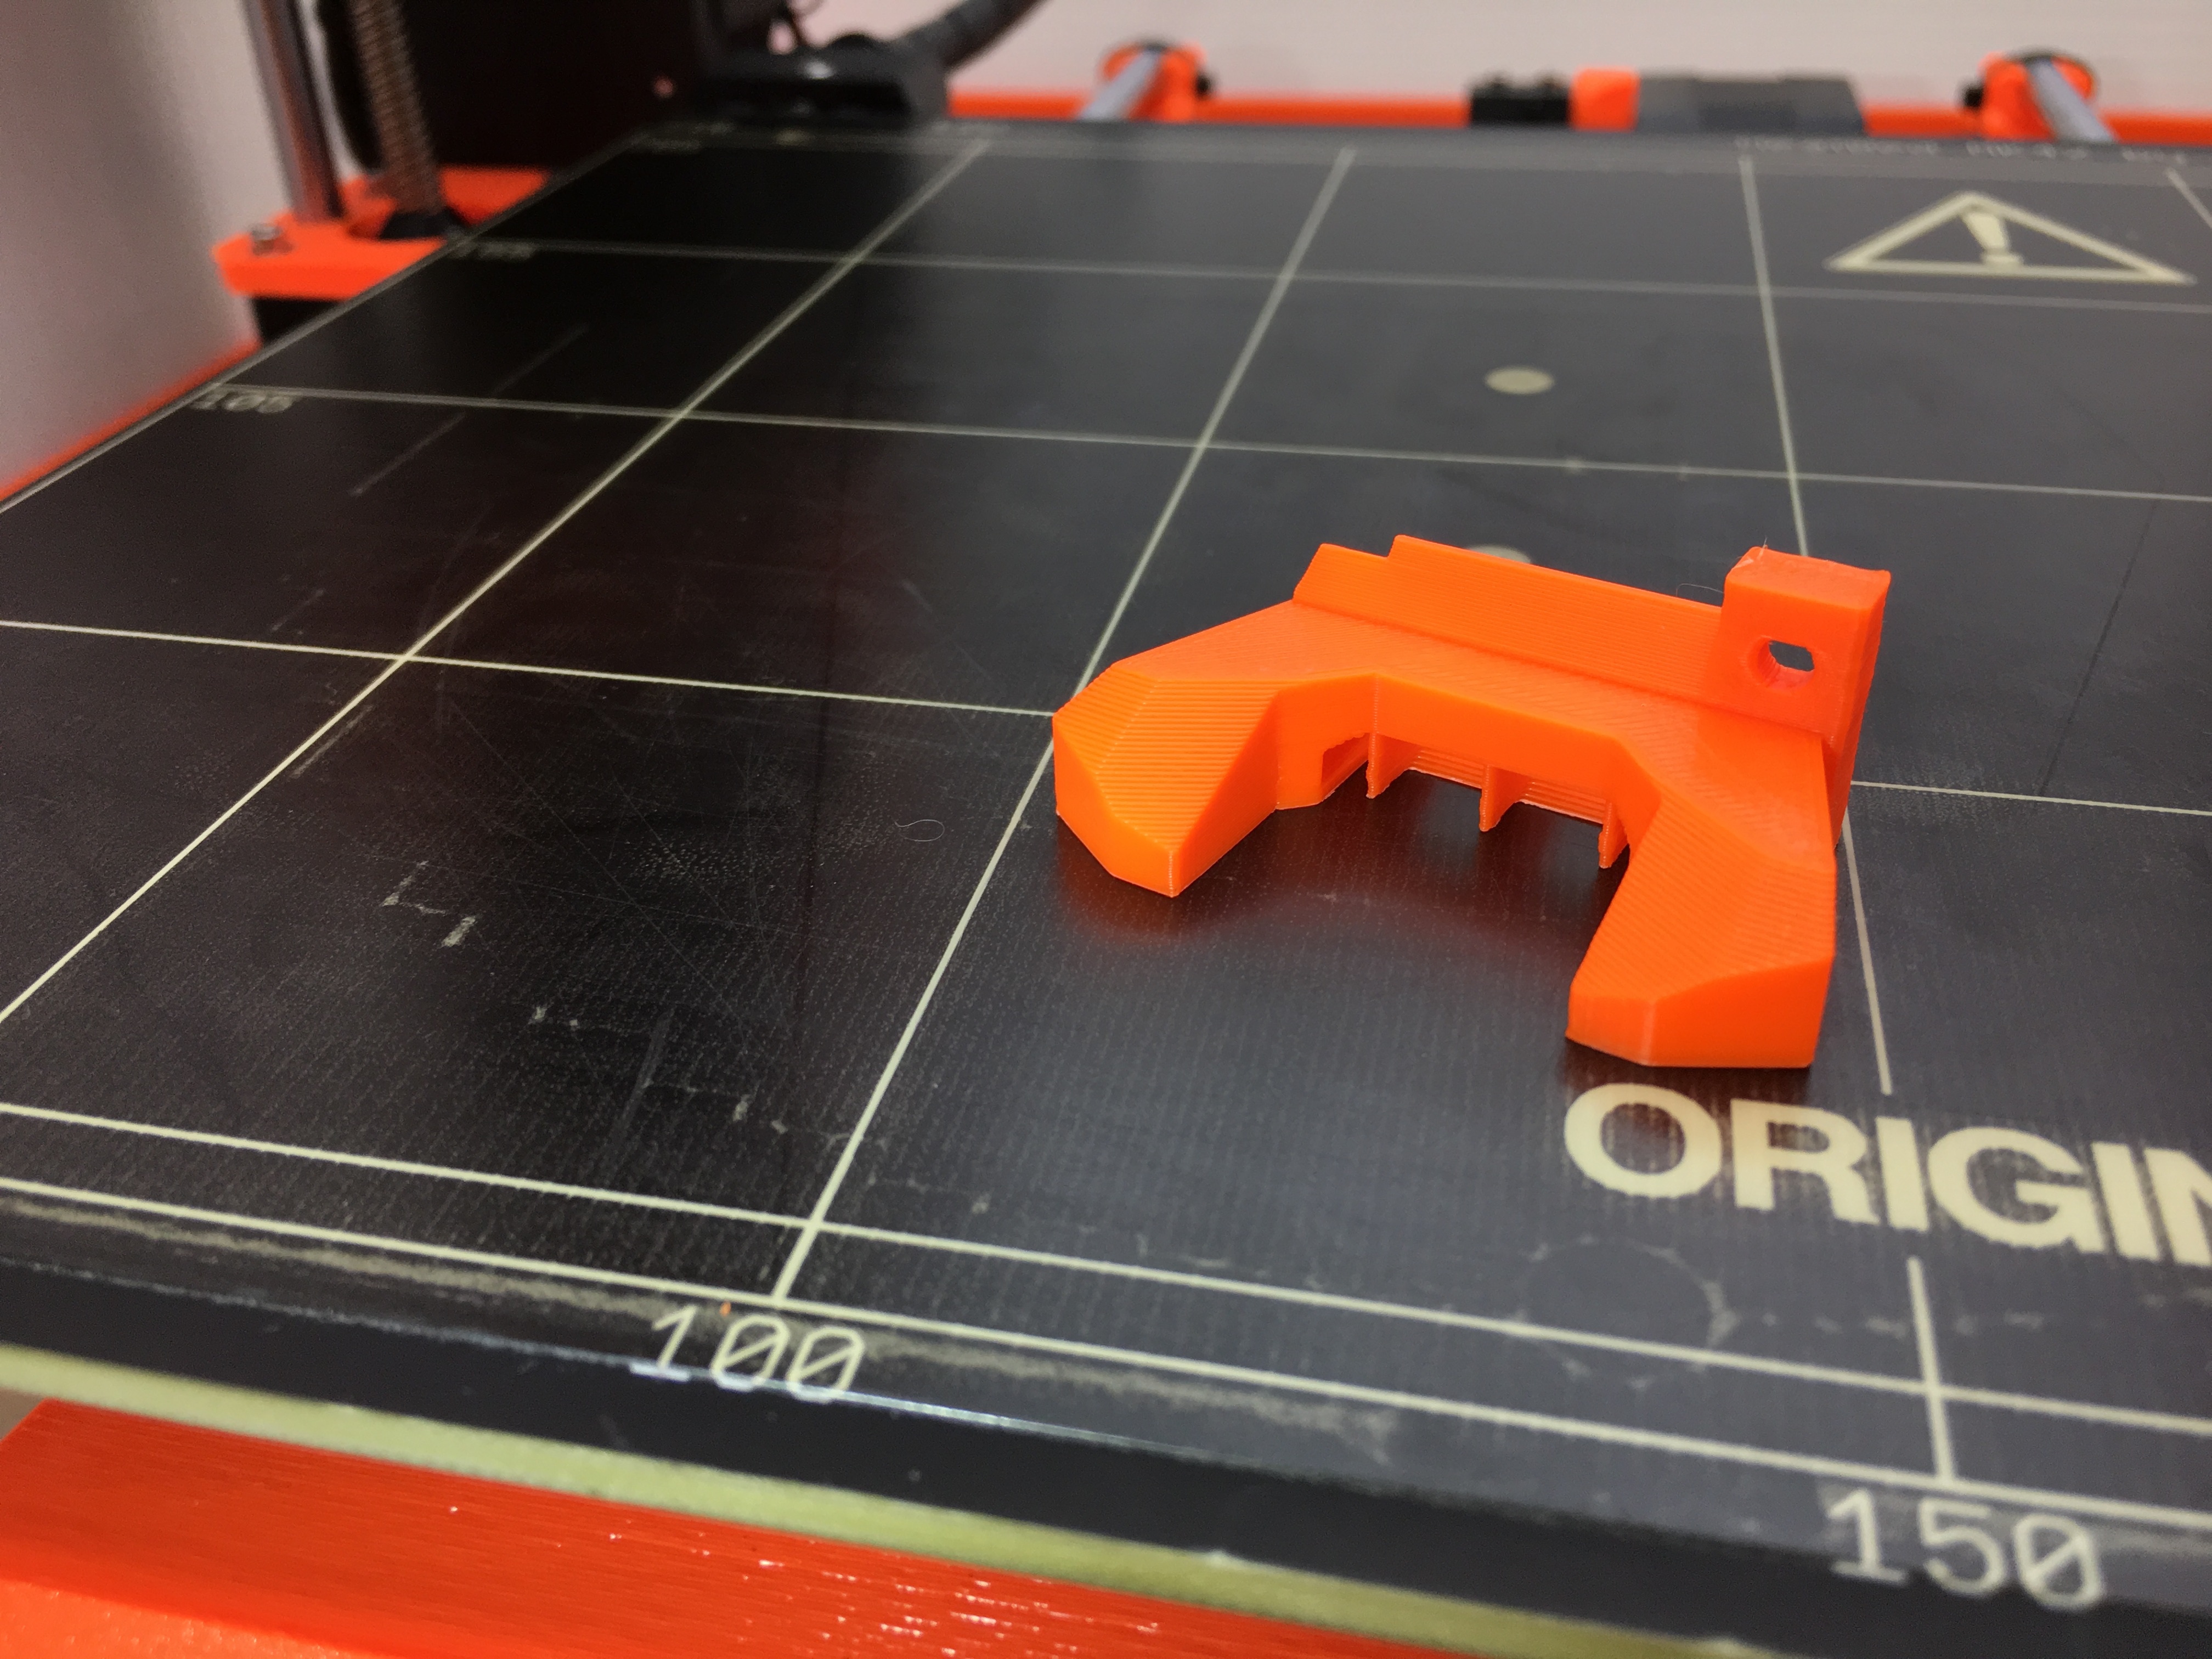
For the last several hours I've been tweaking a Slic3r profile for Hatchbox ABS to print the new fan shroud. I think I'm really close but not sure what to do about this last ongoing issue.
I started with the shroud support since it's smaller and quicker to print and when I got that to (almost) acceptable I tried the actual shroud. I think it went well except for the last several layers that define the screw hole. This same thing is happening on the support and I'm not sure how to fix it.
My guess is more bridging fan. It's been set at 30% for bridges/overhangs (the ABS default). I did try one support with bridging fan at 35% but didn't see much difference. Should I go higher? Can you change fan speeds at different layer heights in Slic3r? I looked around but didn't see a way and I'm not yet familiar enough with gcode to make the modification manually.
Any suggestions are appreciated!
The pics are Hatchbox ABS with temps of 215/90.
What I've tried (using the shroud support as a test piece):
All below using .2 layer heights, 2 perimeters, 20% rectangular grid infill. I also rigged up a temporary enclosure to help improve the chances of success. No idea if it's actually helping or not 😕 )
255/100 (Unmodified Prusa ABS profile)
235/100
225/100
225/90
215/90 (this is what the pics above used)
Here's a pic of the best of the shroud support tests.
Thanks in advance!
Re: One last hurdle for the R3 fan shroud in Hatchbox ABS, need help
Ok, messing with minimum layer print time. Think that may be the key to getting those layers cooled before another one is laid down. Stop laughing if this is out there, still very new to this whole 3d printing thing. PLA was easy, this ABS stuff... 😳
Not surprised though since the internet told me this was the case, and you know the internet is always right!
Re: One last hurdle for the R3 fan shroud in Hatchbox ABS, need help
She's a beaut Clark! Almost. I think with a little more tuning it could be even better but I'm tired of printing stealth nozzle shrouds (this is the sixth). Maybe tomorrow. Either way minimum later time with cooling was the ticket. Here's the settings used:
And here is the print. Some stringing but it's the best so far, by far.
I hate to answer my own question but since this worked I'm a gonna. Please, those who are well versed in printing ABS, I'd really like to know if there are other ways or if I am doing something wrong to have to do it this way.
Re: One last hurdle for the R3 fan shroud in Hatchbox ABS, need help
I'd love some input on this as well - I simply CANNOT get this part printed without bad warping on all the sharp corners screwing it up. To add insult to injury, I'm doing this in prep for a Mk2.5 upgrade (my kit shipped when R2 was latest, so I have the older pre-printed shroud). That is to say, every new attempt at printing I have to dial in the live Z adjust since the probe keeps getting hotter and hotter and farther off target.
EDIT: sorted it out - maybe you can tell I don't print ABS much.
My first big issue was first layer cleanliness. Most of that was the Z adjust, which I had to constantly dial in due to the PINDA heating up. After the 4th or 5th print, it stabilized. The other piece of the solution was to slow the first layer way down - in speed settings, I think I switched it from 30mm/s to 15mm/s. This meant the corners had time to lay down nicely without smearing and detaching. It also gave me a lot of time to make sure the Z adjust was spot on.
The second issue was speed more generally. I slowed down perimeters - 40mm/s and 30mm/s for perimeters and external perims, down from 50 and 30. The first, worst print was "full speed ahead linear advance" mode, so these settings that worked were slower by a HUGE margin. Walls and overhangs improved dramatically.
Finally, I added some cooling. In the second to last print, I had 10% fan. In the last print, I upped it to 20%, both cases 0% for the first 3 layers. I'm printing in an enclosure, so a touch of part cooling was critical to make sure the ABS didn't just stay molten, especially on the smaller faster layers.
you can see my progress. First, with super fast printing and no cooling:
Added your cooling settings from the screenshot above
Added 10% fan above the 3rd layer, and slowed the first down to 15mm/s. WAY better first layer fidelity and attachment:
Re: One last hurdle for the R3 fan shroud in Hatchbox ABS, need help
And then the final settings that worked best: upped cooling fan to 20% after the 3rd layer (my enclosure was probably 50C at this point, maybe higher). Slowed perimeters down from 50/40 to 40/30mm/s. I actually printed this with a two-perimeter brim as well, but that was definitely unnecessary.
I can't wait to finally get my 2.5 parts installed so I don't have to spend ages fine-tuning Z adjust when I want to print things hot 🙄
