MK3 Angled Fan Mount in ABS
I've tried to print the nozzle fan from the recent Angled Fan Upgrade for the MK3 ( https://manual.prusa3d.com/Guide/Upgrading+extruder+R2+to+R3+on+MK3-MK2.5+(self-printed+parts)/781 ).
I printed everything in PETG which worked well; however, the nozzle fan print is recommended in ABS.
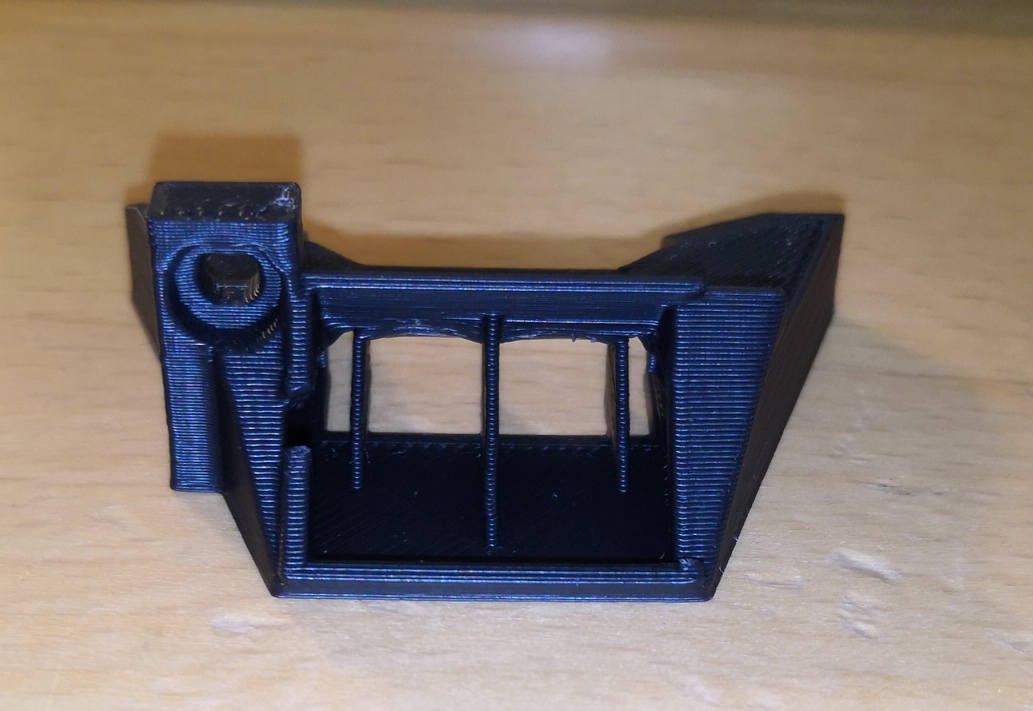
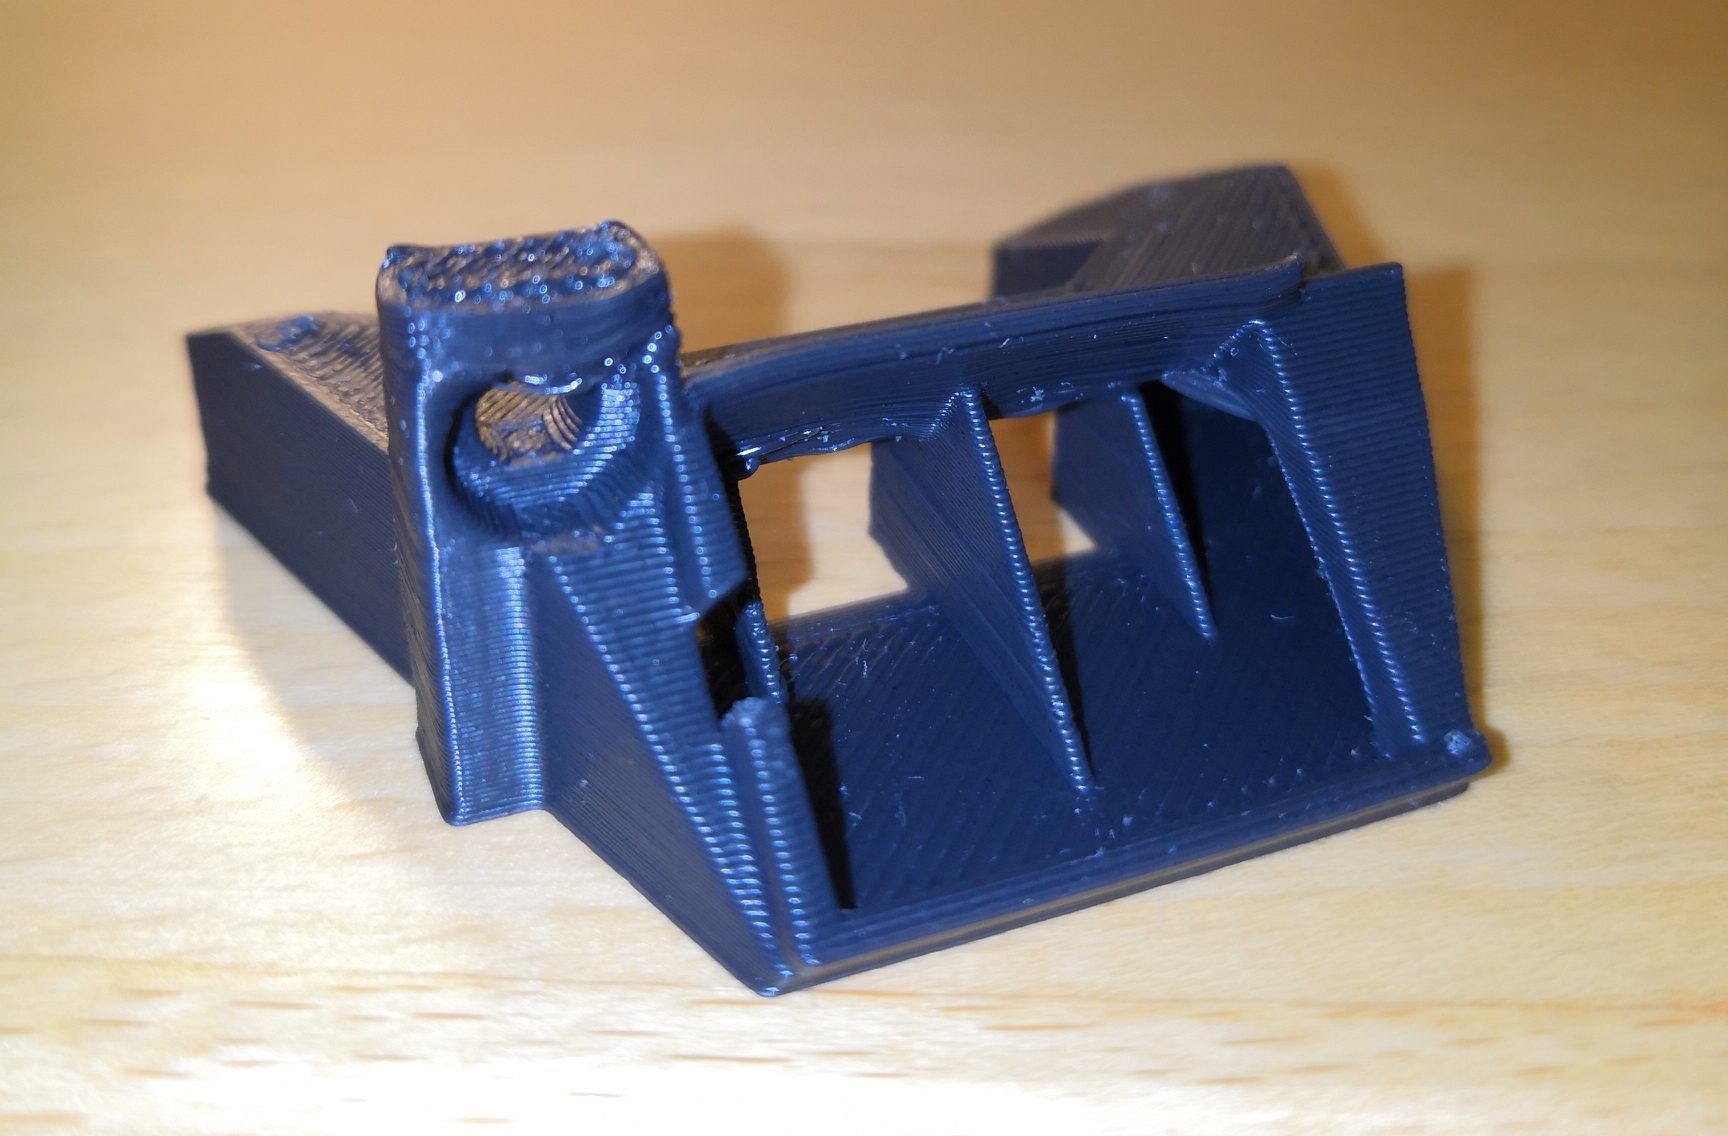
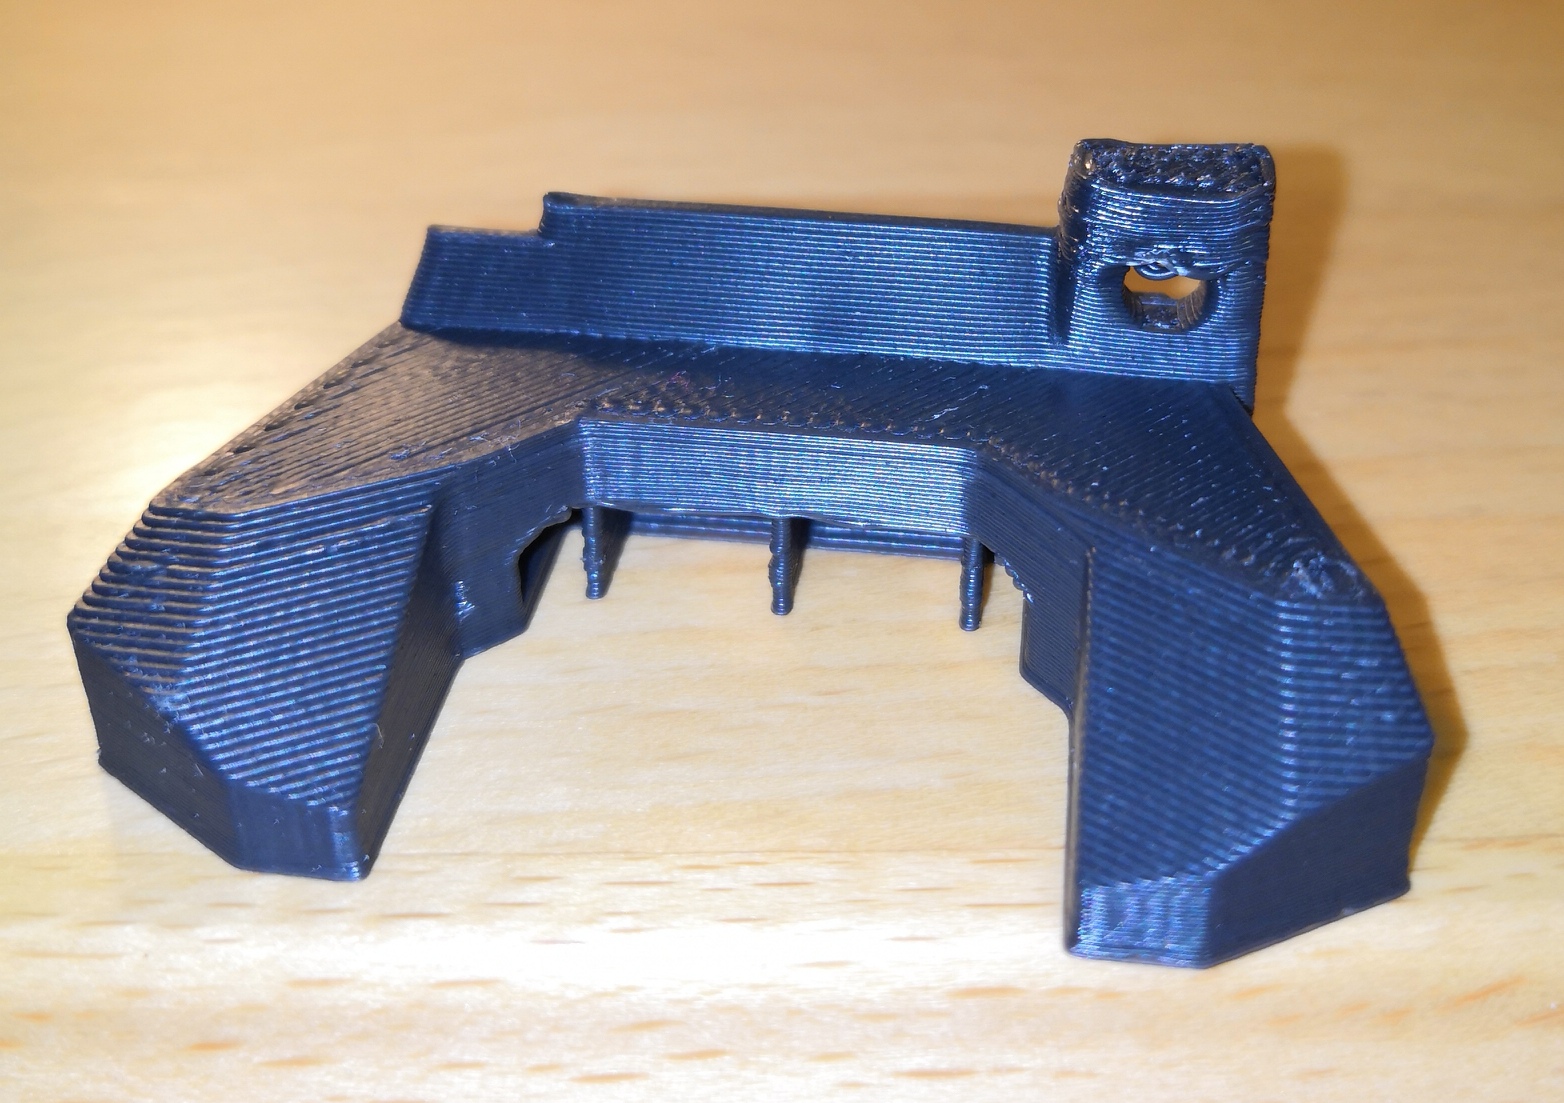
With this part I always get a really ugly hole at the top:
My Slic3r settings are:
-Perimeters: 45 mm/s
-Small perimeters: 25 mm/s
-External perimeters: 35 mm/s
-Infill: 50 mm/s
-Bridges: 30 mm/s (but I also tried 15 mm/s and 60 mm/s with the same result)
-Extruder: 240 °C (I also tried 230 and 220 °C with the same result)
-Bed: 80 °C (since 100°C resulted in more "warping" at overhangs close to the bed in previous prints)
-Bridges fan speed: 30% (I also tried 70% with the same result)
-IKEA Lack Enclosure (not well insulated; enclosure temp is about 28 °C)
-Used "Noname" ABS filament with recommended print temp 200-240 °C and bed temp 80-110 °C
When I monitor the print I can see that as soon as it starts to print the last part, it's somehow printing too fast and everything gets "mushy" (probably because the layers don't have the time to solidify). My next option will be printing the whole thing at 50% speed to increase the time per layer.
Did anyone have similar issues with ABS and fixed this problem without having to print the whole thing super slow? (For this print 50% speed will not be a big issue; larger prints however would take much longer even if only a tiny part needs to be printed at slow speed)
Thanks in advance for your help 🙂
Re: MK3 Angled Fan Mount in ABS
I printed all the upgrade parts in ABS. However I did use manual support placement in some places.
Neal
Re: MK3 Angled Fan Mount in ABS
This has been discussed in the thread about the new R3 parts several times.
The layer time is too short for the ABS to cool down, and 2 solutions were proposed, either activating the fan for layers below a certain time, or printing 2 parts at the same time.
I chose the 2nd option and I am glad I did, since the mounting hole cracks easily.
Another off-topic note here.
The new R3 angled holder for the part cooling fan did totally not fit, no chance to get the fan aligned with the hole.
And the cooling shroud is extremly tight, very hard to get th fan in.
There is a set of parts on Thingiverse with a slightly wider fan shroud and a dual hole mounting solution that both fit much better. I had printed them too and they fit much better.
https://www.thingiverse.com/thing:3009290
Re: MK3 Angled Fan Mount in ABS
Test these settings, they worked for me.
Bear MK3 with Bondtech extruder
Re: MK3 Angled Fan Mount in ABS
Thank you all for your suggestions! 🙂
A second object was not really an option for me because I don't want to waste plastic just to increase time for the layers.
So, I enabled the cooling fan (actually to 100% for bridges and 10-20% for short layer-times with auto-cooling option).
This gave an improvement already. However, the biggest difference was when I added the following part to the G-Code (Printer settings -> Custom G-Code -> after layer change G-code):
G91; change to relative mode

G1 Z1 F3500; move up 1 mm

G4 P2000; wait 2 seconds

G1 Z-.8F3500; goes down .8 mm *assuming .2 mm layer height being used*

G90; go back to standard absolute mode
(Got this hint from here: https://forum.simplify3d.com/viewtopic.php?f=8&t=1704 )
This code adds a pause of 2 seconds after each layer to let it cool down (without the nozzle touching the print). This further improved the print and I think I will stick with this result (maybe bridging could be improved but it's fine for this part).