Infill -> Honeycomb Structure -> Problems with the accuracy
Hello and good evening (at least in my time zone ![]() ),
),
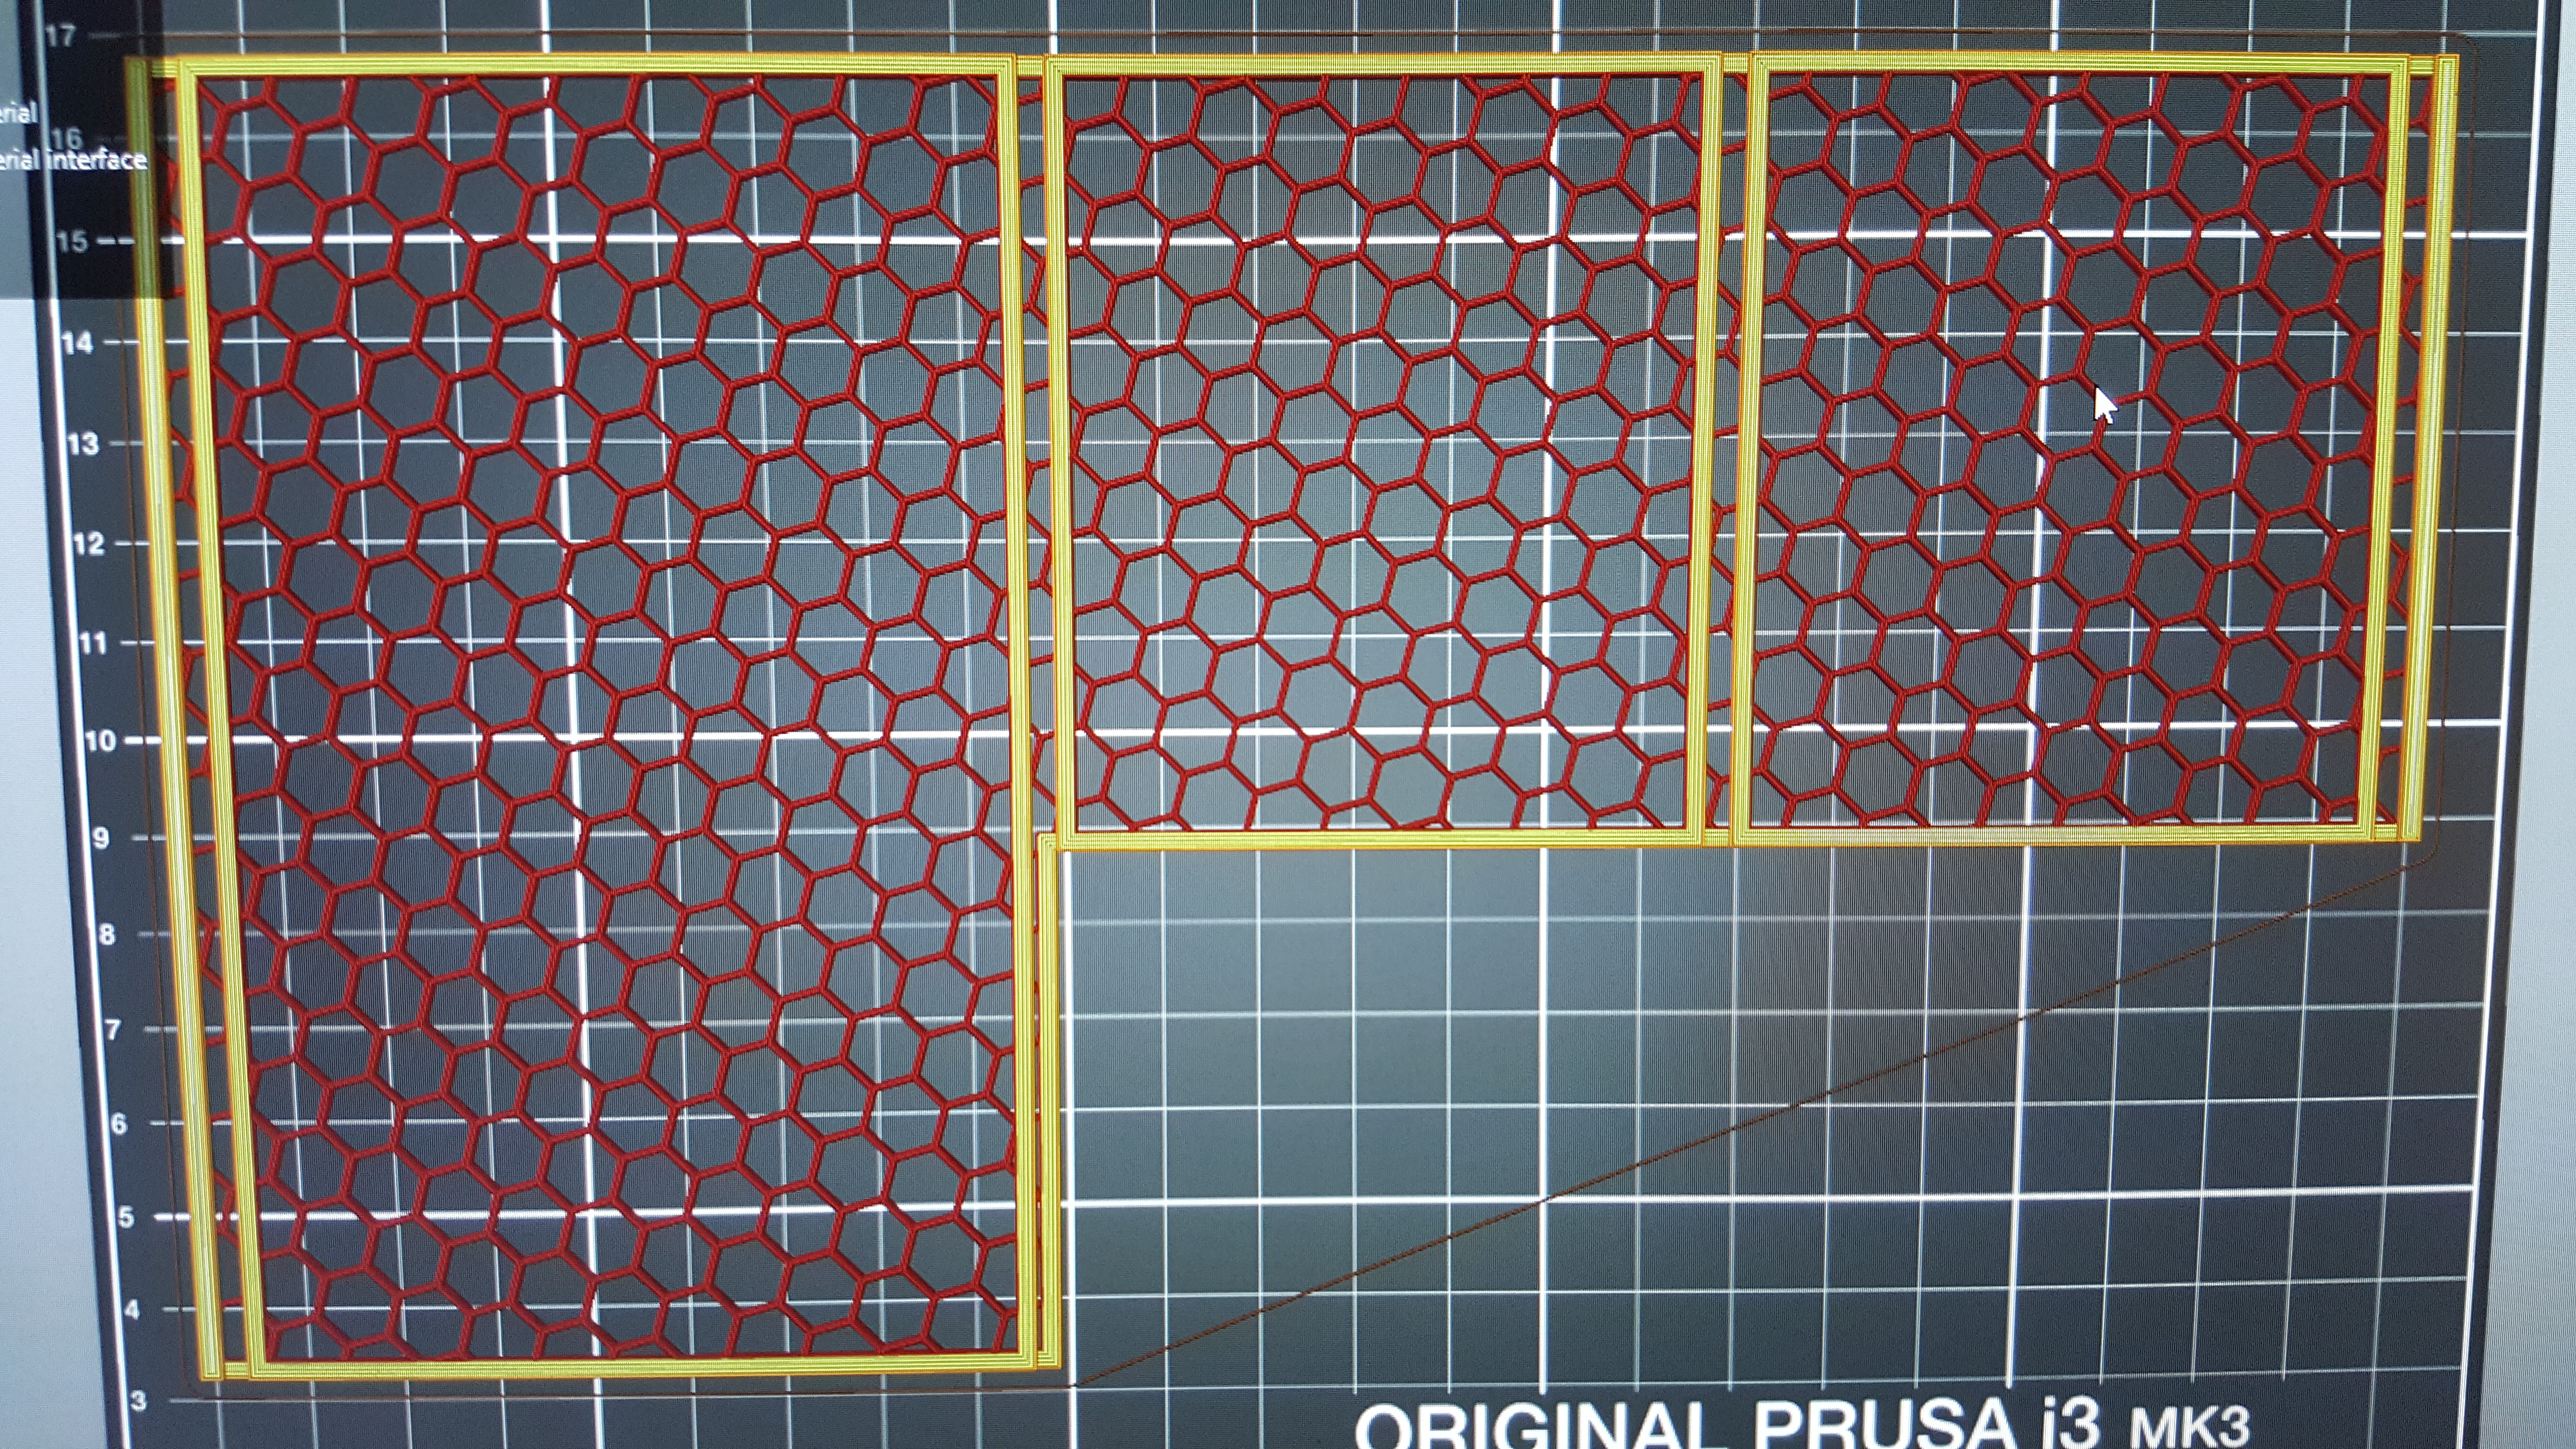
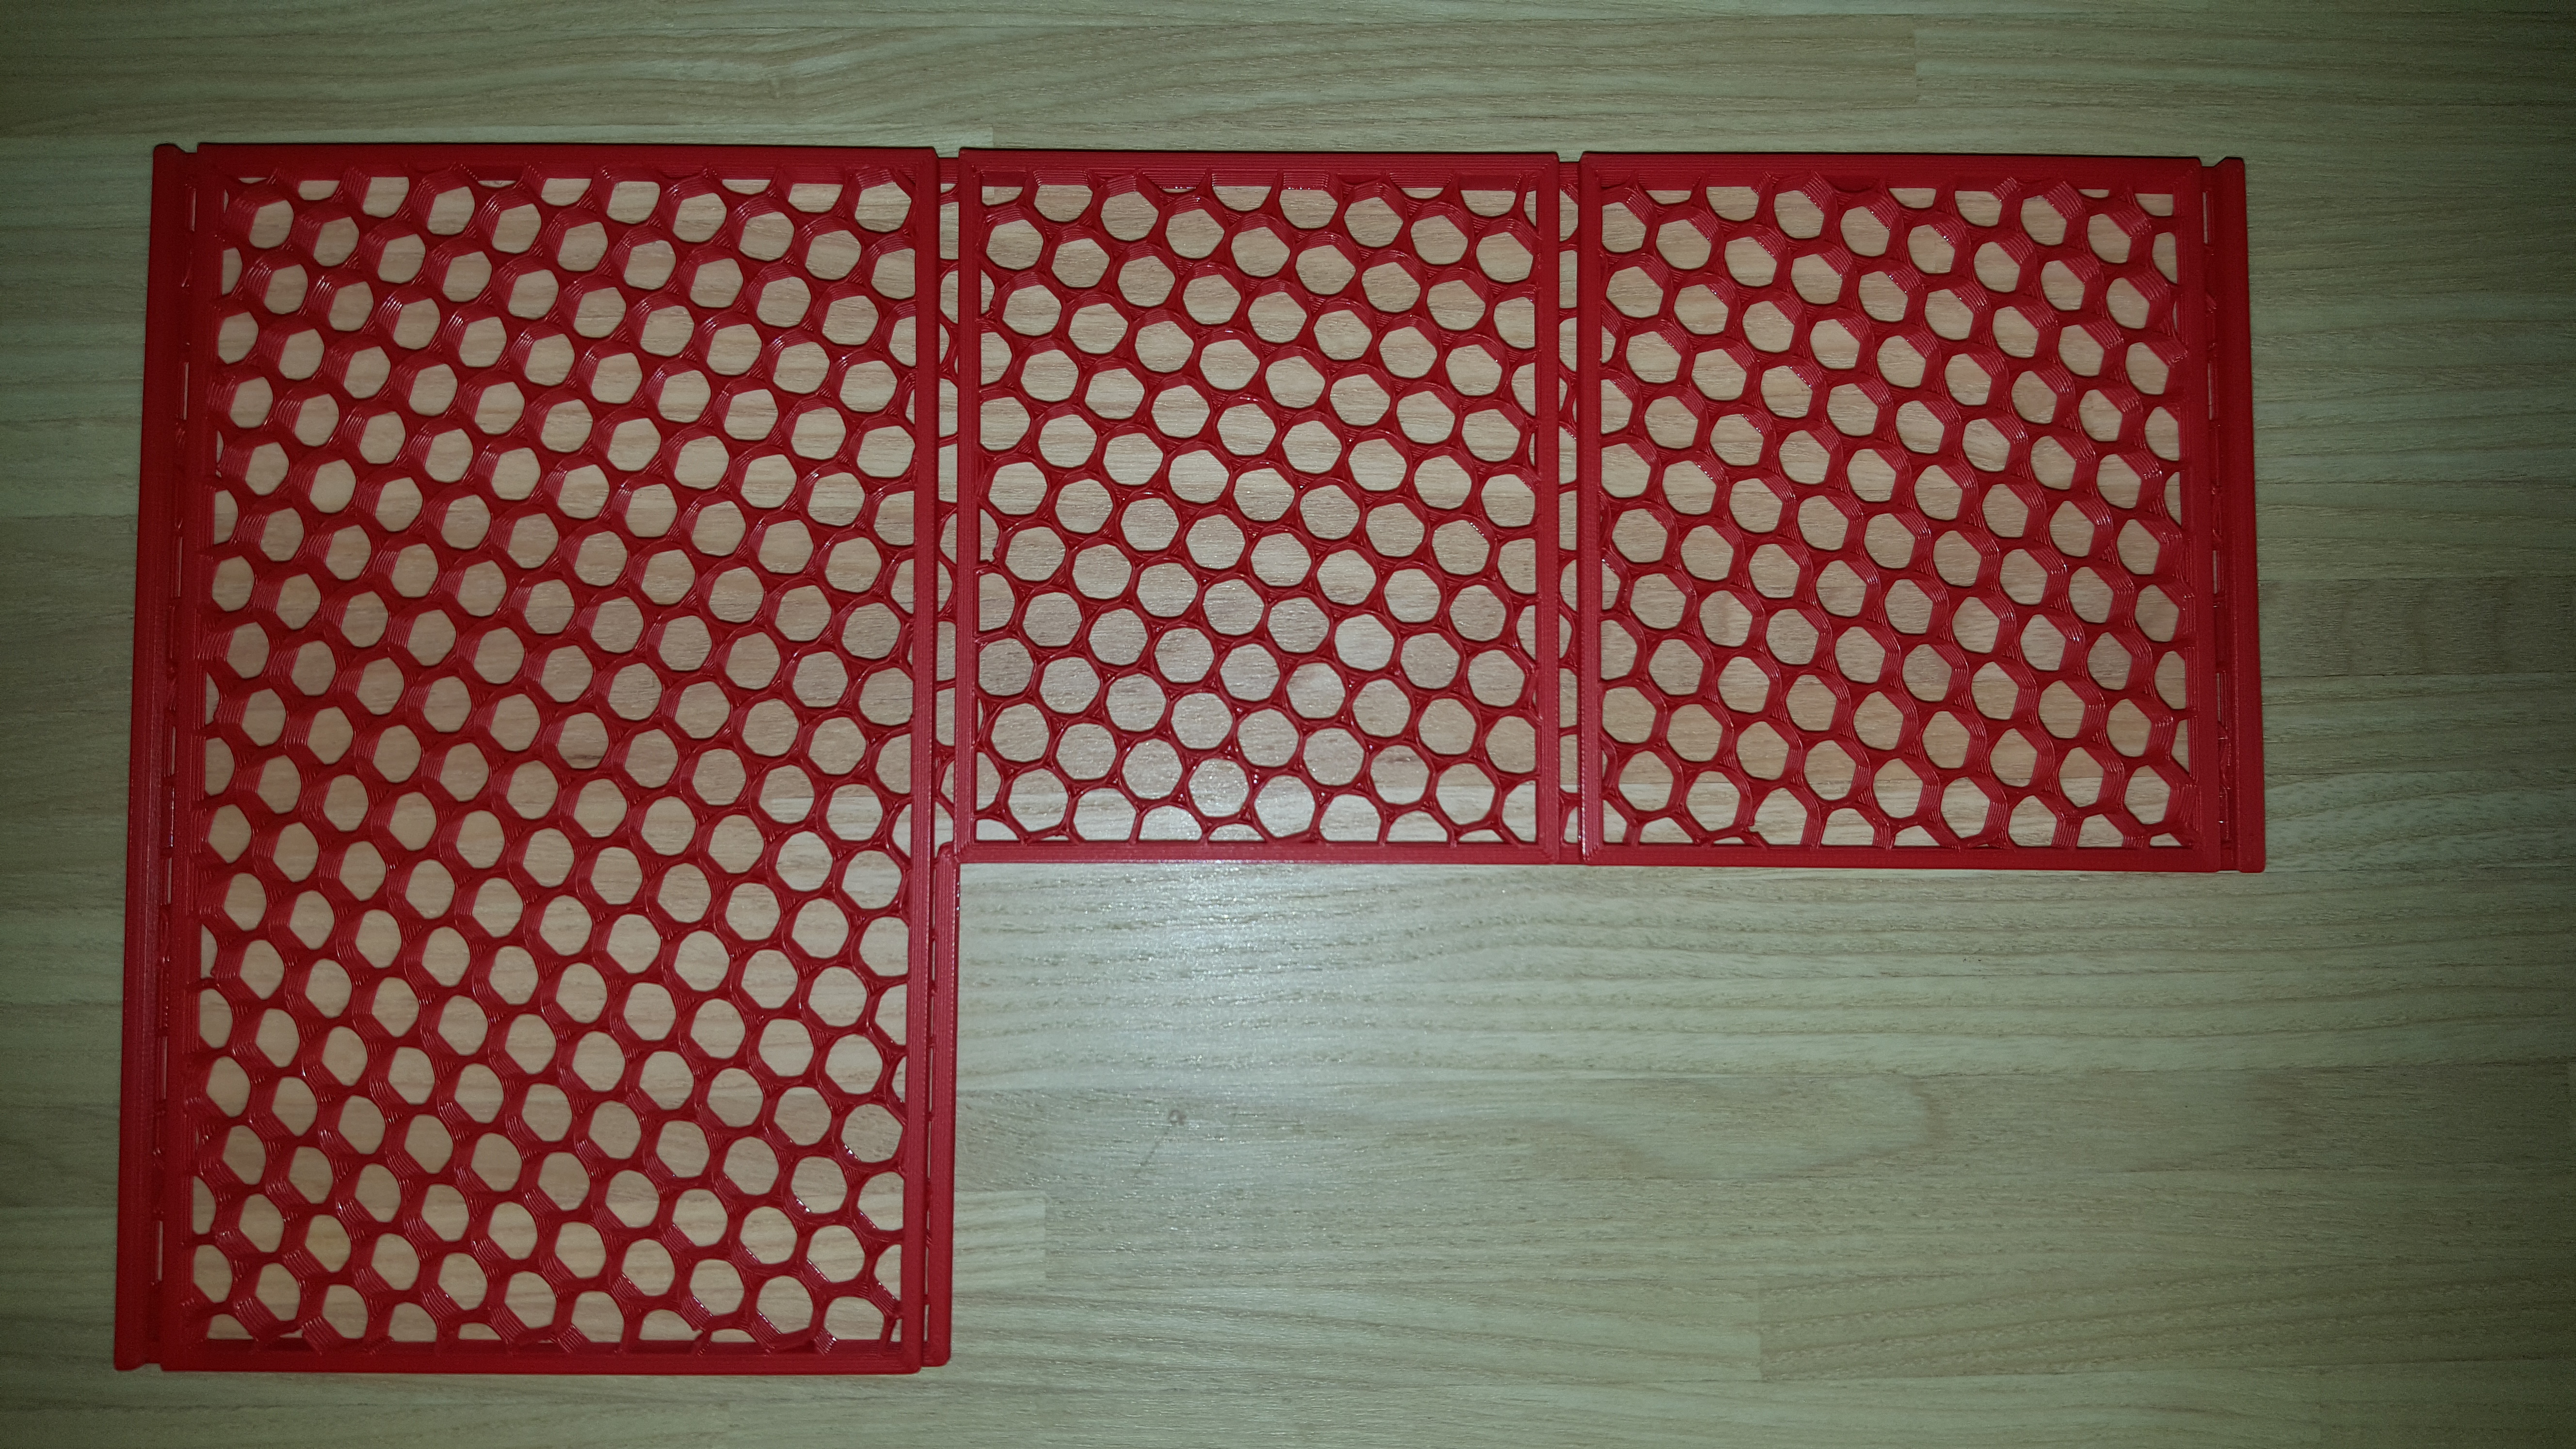
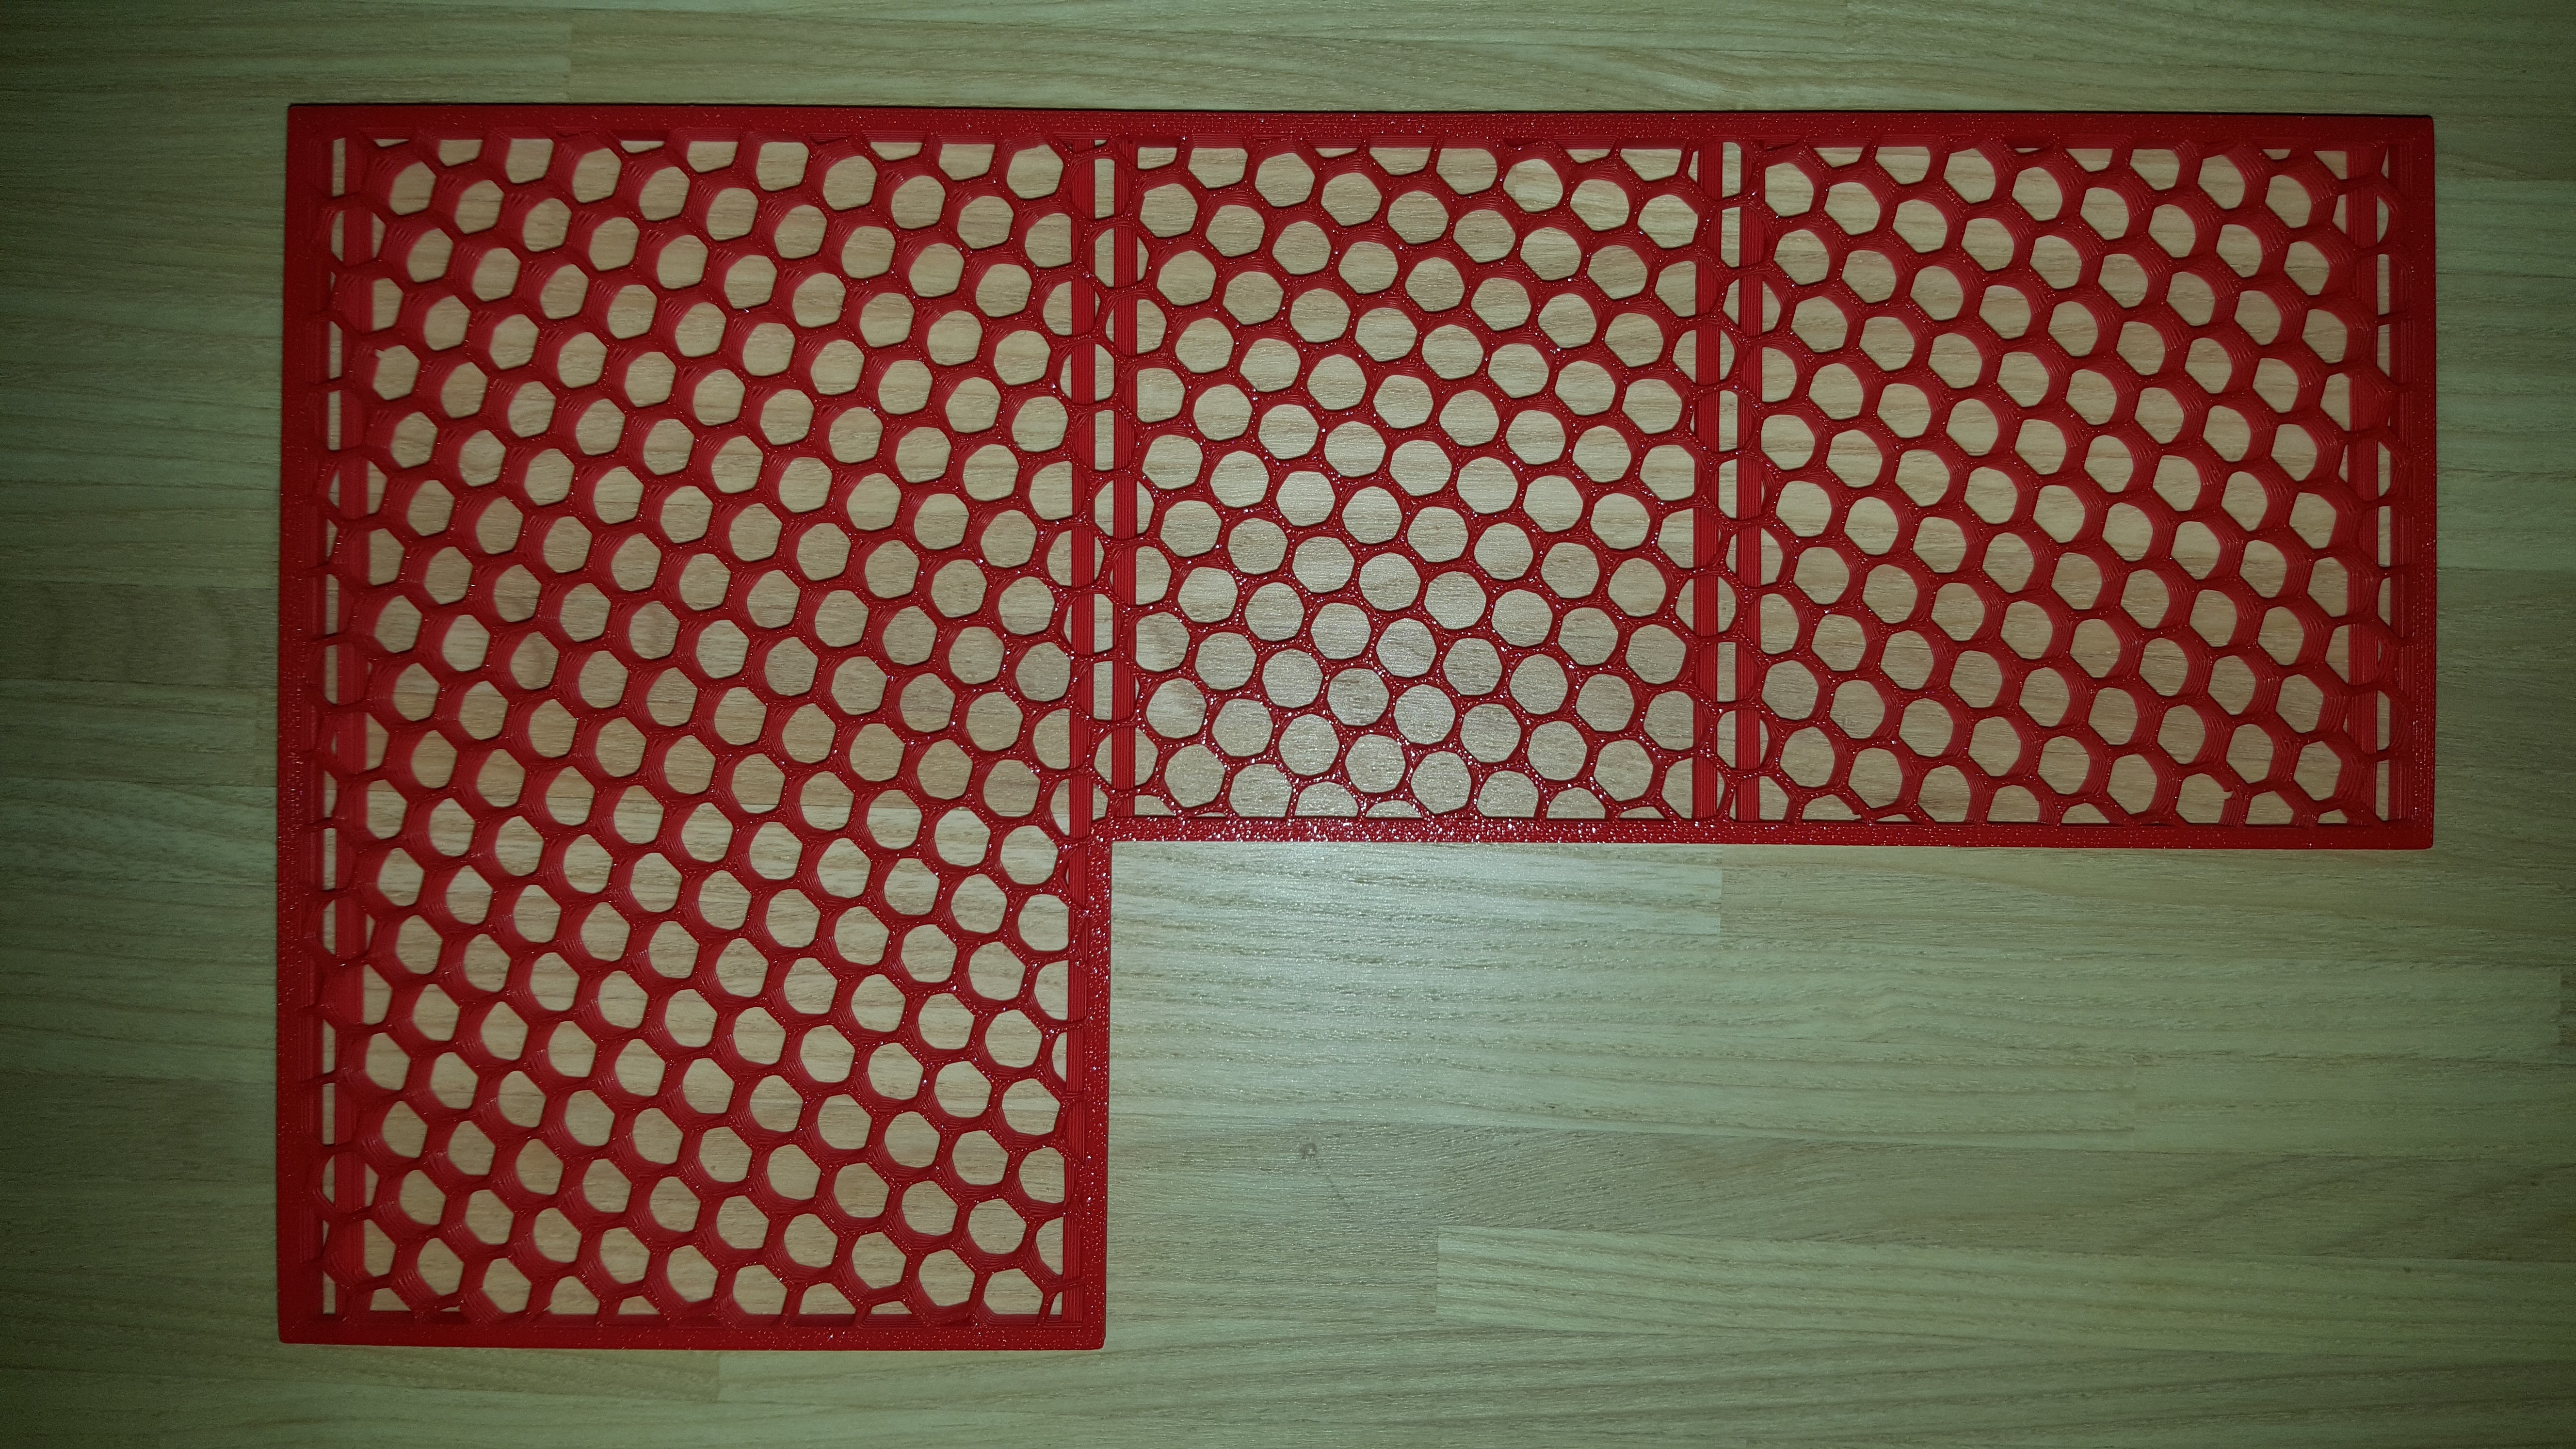
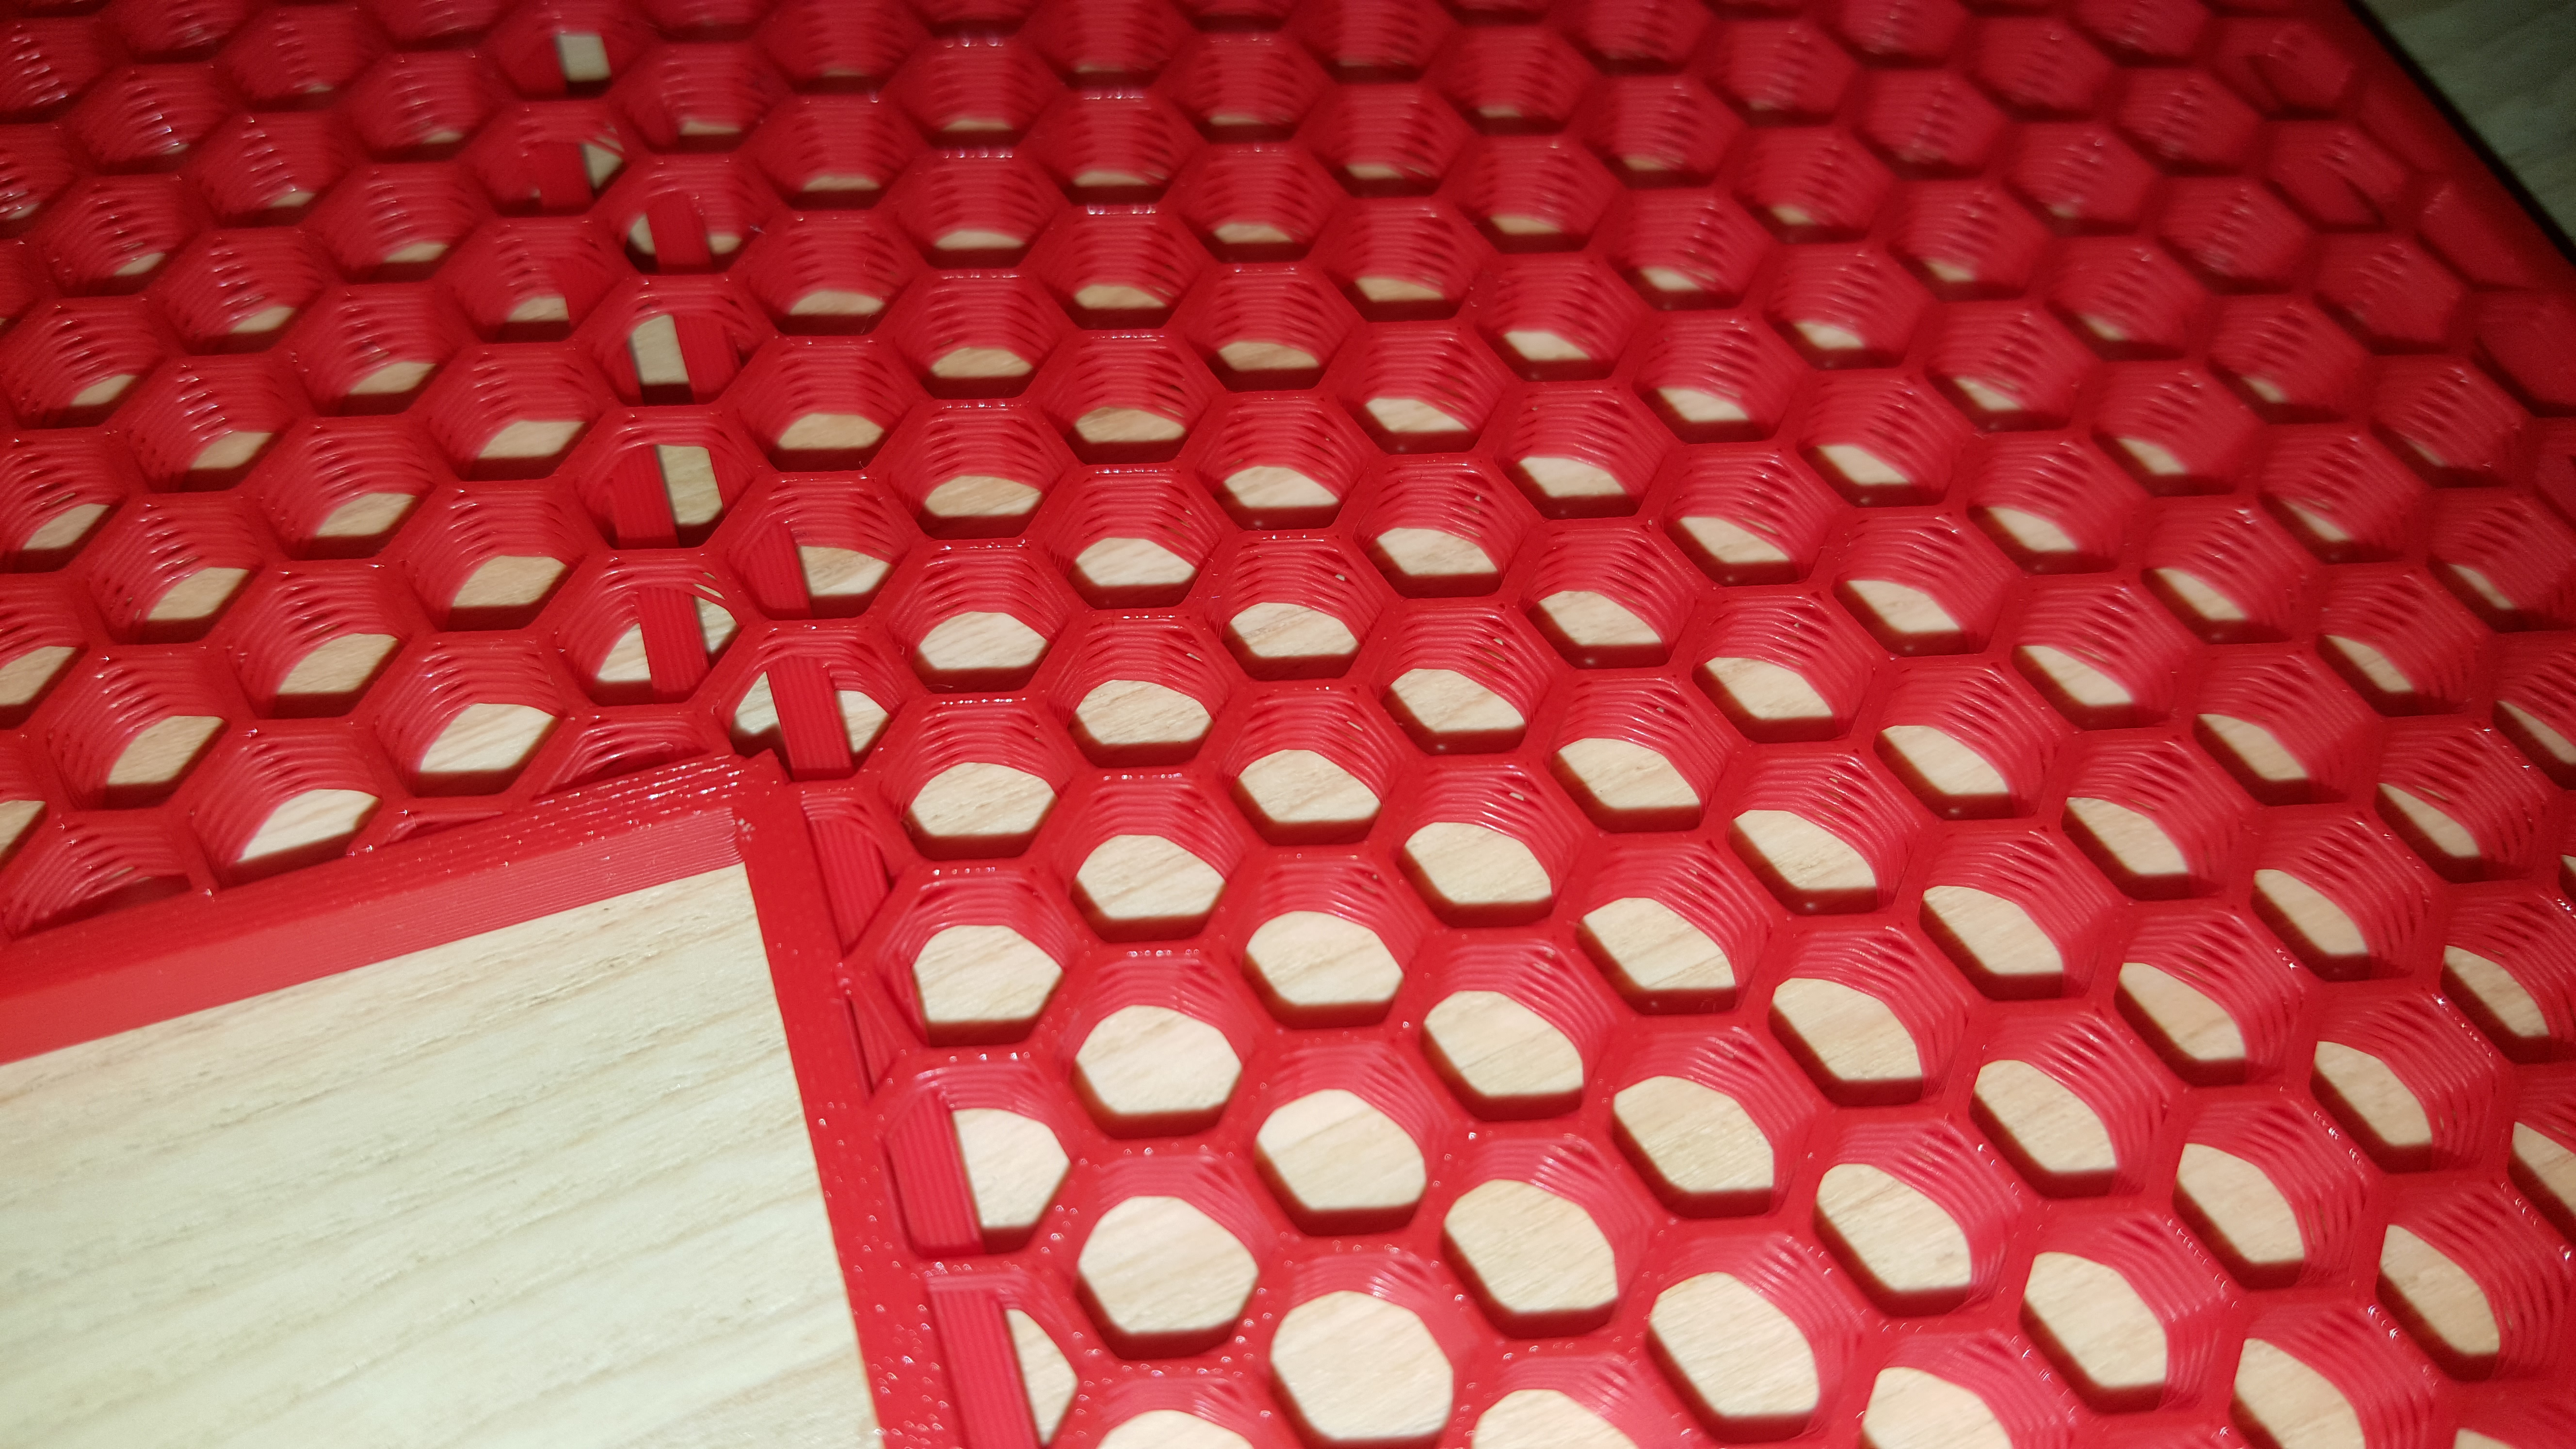
I am printing some parts at the moment where I want to use the infill honeycomb structure as a design feature. Please see the screenshots below. Unfortunately, the honeycomb structure of my printed parts doesnt look so good in comparison to the slicer screenshot.
1. Why is that?
2. How can I improve the quality of the honeycomb structure?
My settings were:
Nozzle: 0.4mm
Profile: Pretty PLA V 4.0
Layer Height: 0.3mm
Infill Speed: 80mm/s (In the second round, I reduced the infill speed to 45mm/s. No visible improvement.)
Is this a common issue? Anyone else who experienced these kind of problems and fixed it?
Thanks in advance for anything helpful ![]() .
.


RE: Infill -> Honeycomb Structure -> Problems with the accuracy
Need more info. ZIP the post a 3MF export of you slicer settings.
But in general, it looks like an adhesion problem. 0.3 layers mm is pushing a 0.4 mm nozzle, and trying to print at 80 mm/s is pushing it even farther (volumetric flow begins to exceed the V6 capabilities at some point).
You might try changing the limit down from 15 to 10 mm^3/s, see if that helps.
RE: Infill -> Honeycomb Structure -> Problems with the accuracy
Keep in mind, infill is not normally intended to be visible, so there's less emphasis on finish. If you want the same finish as the external perimeters, you need to use similar settings. Try setting your infill speed to the same speed as external perimeters. Also use the same extrusion widths (if possible).
It looks like filament is being pulled across the corners of the hex pattern. This usually indicates poor inter-layer adhesion. Slowing down or a wider extrusion width may help, as may slightly increased temps.
and miscellaneous other tech projects
He is intelligent, but not experienced. His pattern indicates two dimensional thinking. -- Spock in Star Trek: The Wrath of Khan Unfortunately,…
RE: Infill -> Honeycomb Structure -> Problems with the accuracy
Need more info. ZIP the post a 3MF export of you slicer settings.
But in general, it looks like an adhesion problem. 0.3 layers mm is pushing a 0.4 mm nozzle, and trying to print at 80 mm/s is pushing it even farther (volumetric flow begins to exceed the V6 capabilities at some point).
You might try changing the limit down from 15 to 10 mm^3/s, see if that helps.
Hello, thank you for your reply. I thought, 0.3mm should be fine, because it is not the rule of thumb (layer height max. 80% of nozzle diameter). The perimeters were fine, but it seems like if you want a good looking infill pattern, it was indeed too much.
I printed 2x smaller test objects. One with layer height 0.25mm and one with 0.3mm. Also, the infill angle was 0°.
The difference is huge. The infill pattern looks way better with 0.25mm.


@bobstro
Hi! You are right. I read it several times now, that the infill wasnt intented to be visibly shown.
I figured out the problem. It was the layer height 0f 0.3mm, which was too much for the 0.4mm nozzle, if you want a good looking infill.
I reduced it down to 0.25mm and it looks way better now.