How do I combine these objects?
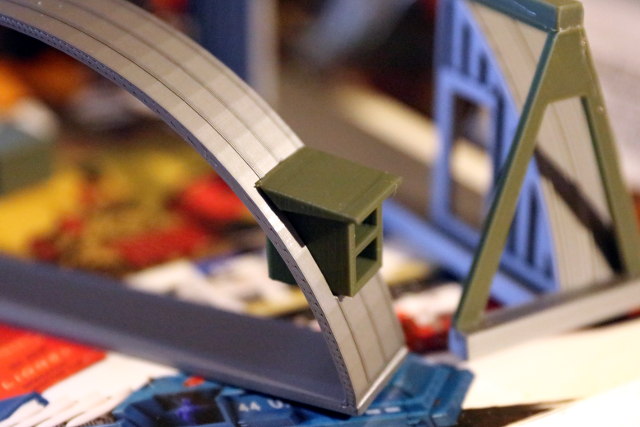
I have this model that I'm trying to print on my SLA printer for quality, but its in two parts. When I print these two parts there is always some sort of warping on the flat part of the model to the point where they don't line up properly when I try to glue them. Ive tried adding more supports, increasing the contact distance, and the head diameter and nothing has worked. My assumption is that it is going to be easier to print if i just combine the two objects together and print it that way, but i have no idea how to do this. Is there any good way to do this in PrusaSclicer? Is this able to be done in Blender?
RE: How do I combine these objects?
It can be done in blender yes. load them both in, join them so that both are editable at the same time. In edit mode move one to the other using snap so the 2 halves are aligned perfectly. Then delete the inner faces on both to leave 2 hollow shells that are touching along the edge. Then select the edges vertices and do a merge by distance with a low value. That should merge the seam together. That will leave a manifold model. Assuming the original models are manifold in the first place and that the cut has been done to leave a flat inner surface.
If I was fdm printing them I would just slightly overlap that by a tiny amount and let slicer handle the slice but I'm not sure how the resin side of slicer handles that.
RE: How do I combine these objects?
It can be done in FreeCad in about one minute. Import them both into a new drawing. Position one of them right next to the other and export both into one .stl file. No muss, no fuss. 😉
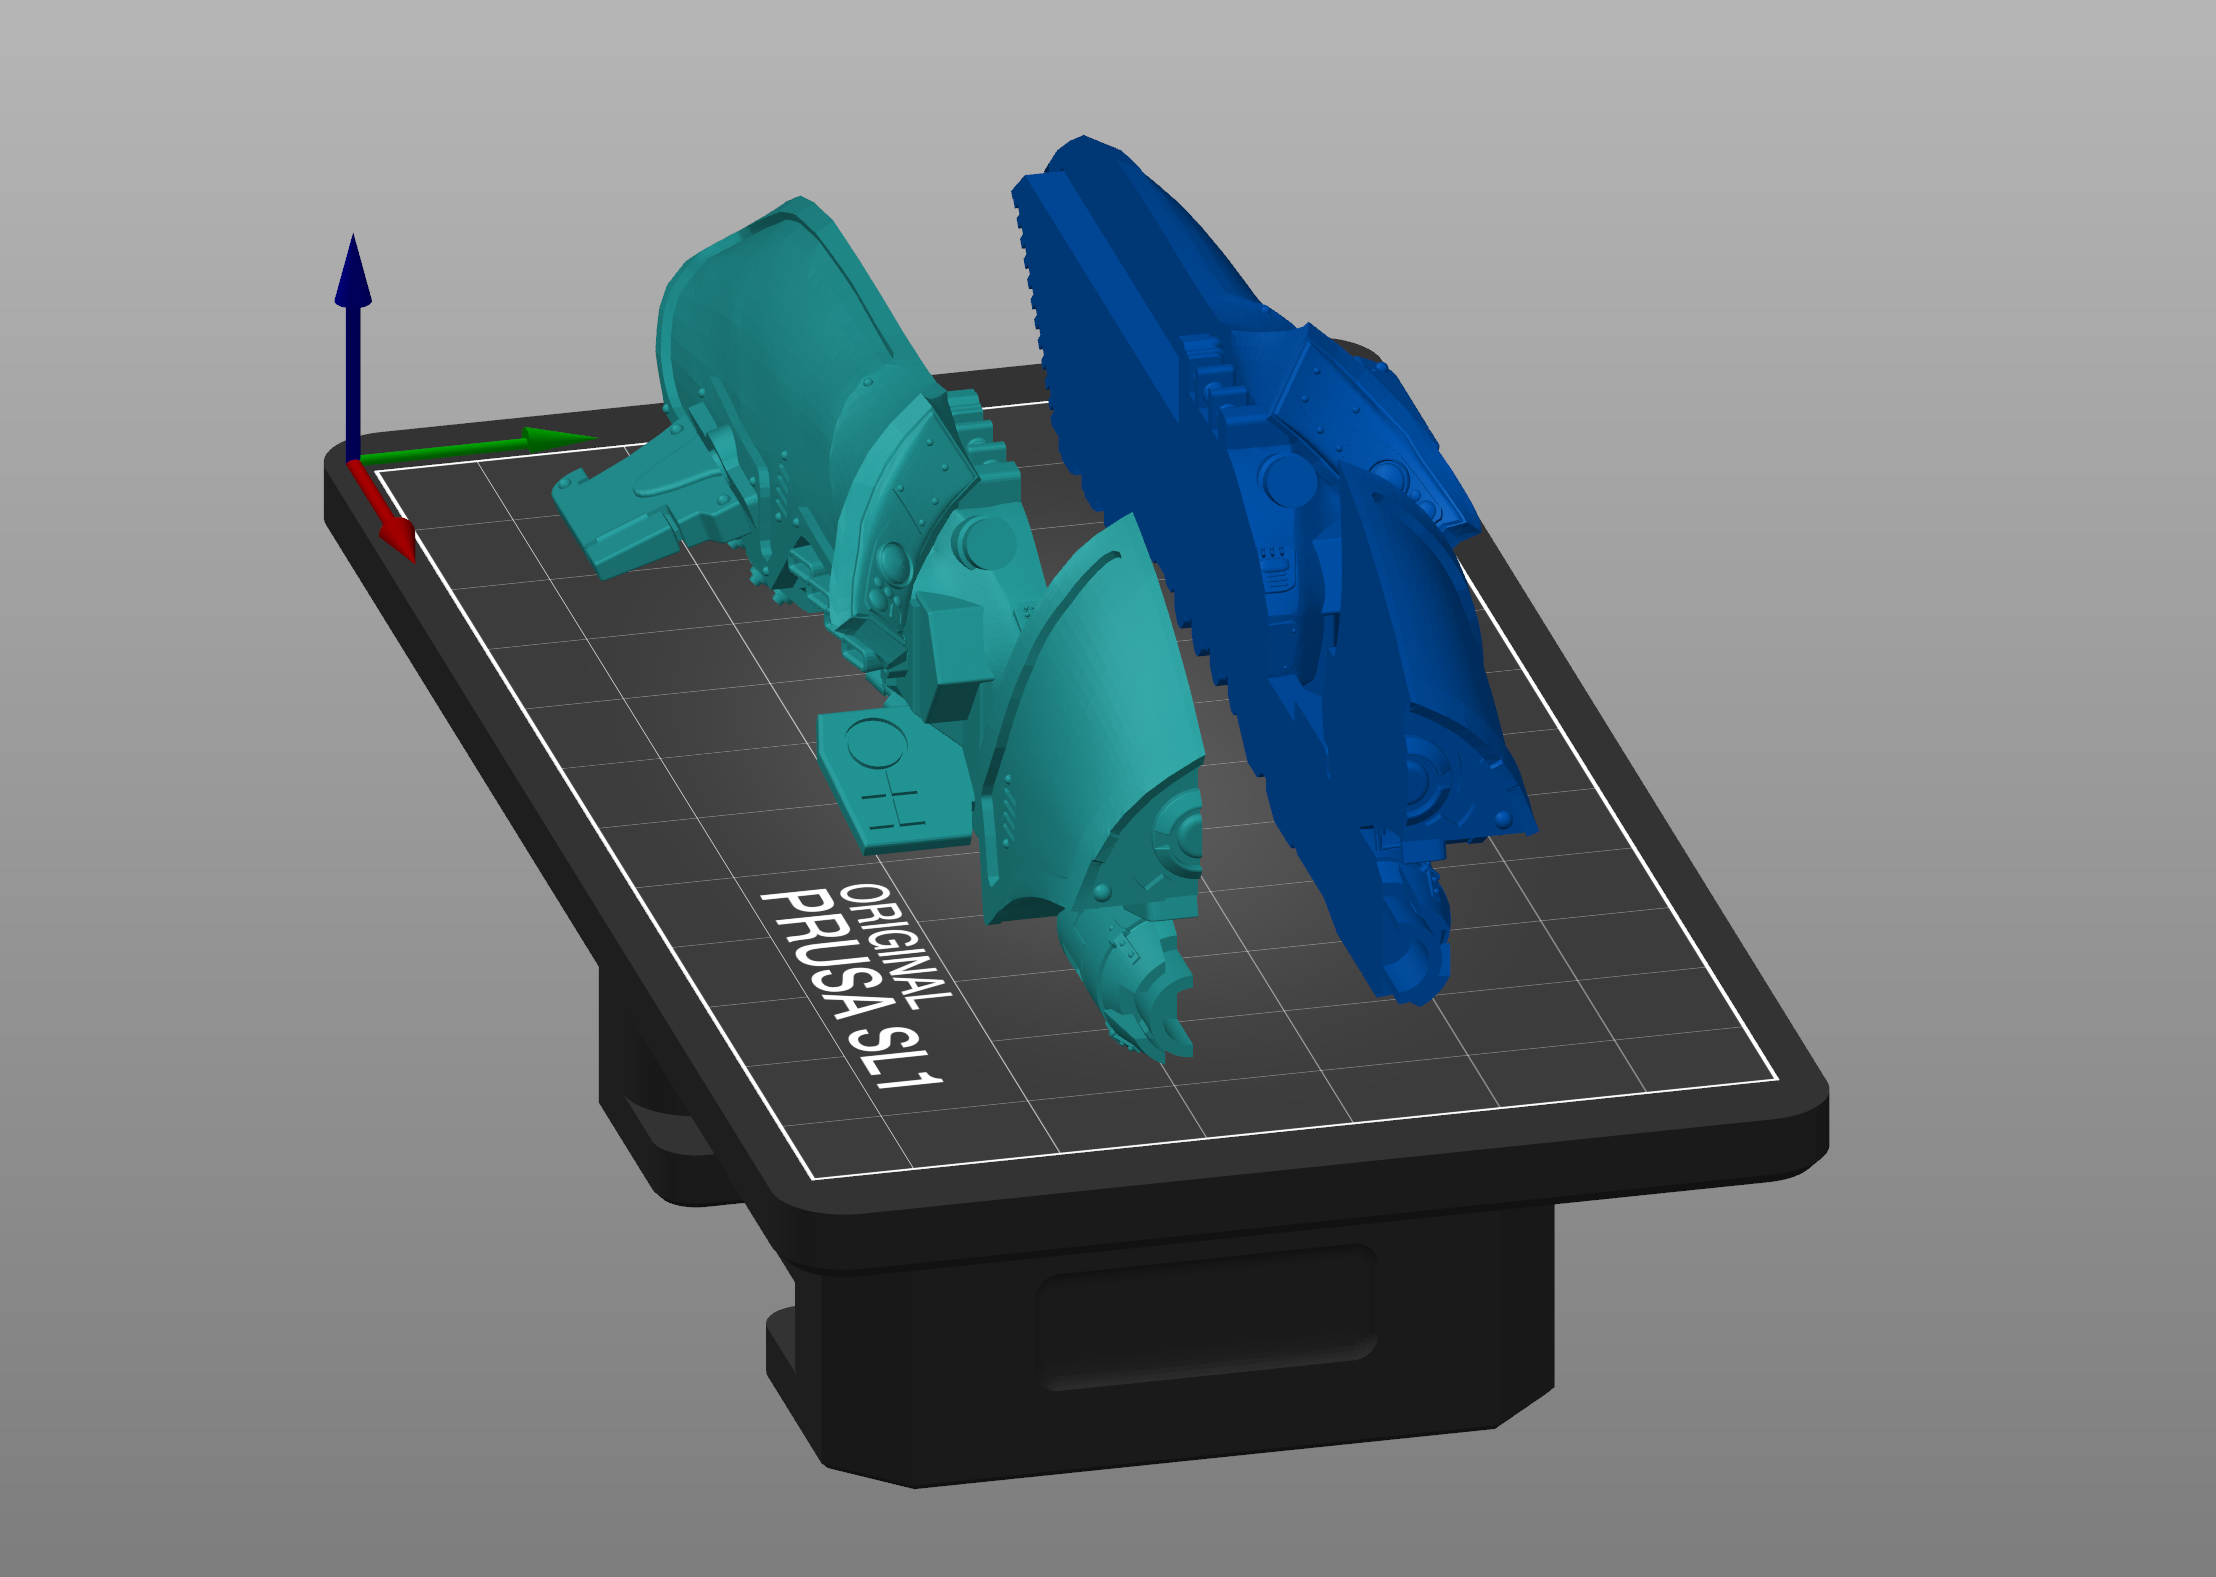
However, I would think that they could be printed together without actually joining, as in import them both into PrusaSlicer and adjust the position of one or both of them in the X and/or Y planes to just touch. They should then print as one object.
RE: How do I combine these objects?
@jsw
Doing that would still have 2 objects when you look at the mesh although it would most likely print fine as it’s essentially what placing them together in slicer is doing. If you want them as a proper single mesh then it requires a bit more work. Depends if you want something that works or you want a clean mesh. For the purposes of printing the just works method is ok. My ocd kicks in though so I’m likely to put the extra effort in 😀
RE: How do I combine these objects?
Shortly after I posted that, I started printing a window and roof assembly for a model quonset hut I am building. This came from one of the 'usual suspect' sites, and as I often have to do, I scaled it up from HO to O.
The designer printed the window and the roof above it as two items, and when I printed them and tried to fit them into the curved section, they would not level without some tricky clamping. I then realized that if they were one piece they would properly fit. I glued the first one and, thinking of this thread, just loaded the pieces into PS, rotated the roof, positioned them with the 'arrange' tool, and then adjusted the X coordinate of the roof.
Yes, I could have converted them both to solids and merged them, but that's too much like work! 😉
It's printing now. Film at 11. 😉
RE: How do I combine these objects?
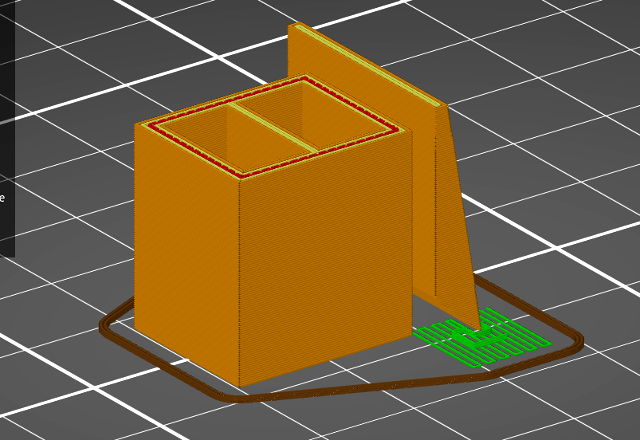
Here's the result of the 'tandem' print, combining two objects in PrusaSlicer to make one finished print. It did print as expected as you can see.
This is the first time I tried something like this. I always think of trying to edit prints in the slicer as something like trying to tighten a bolt with a hammer. However, this does show that it can be done and does indeed work as intended.
I did run into one little snag. It's hard to see in the photo, but the pointy end of the roof above the window, that which rests on the curved surface, is actually at the same level as the end of the window section. I figured that I would try to print it without supports, as the angle is such that it should be able to be printed as is. However, I found that PS refused to slice it that way, with the 'unprintable layer' error. It confounded me for a moment, but then I realized that what it was complaining about was the single-stroke width of the bottom of the pointy edge. Using very thin supports on the ends of that piece allowed it to slice as expected.