Hairy layer after single-layer infill
Hi,
I am printing a large flat surface.
I sliced it up in slic3r using the default 0.15mm OPTIMAL MK3 setting.
Material is PETG.
The first few layers print just fine, beautiful and flat.
Layer 0.80 is all solid infill, prints perfectly.
Next layer 0.95 is (for some reason) internal infill in a grid pattern. It also prints fine.
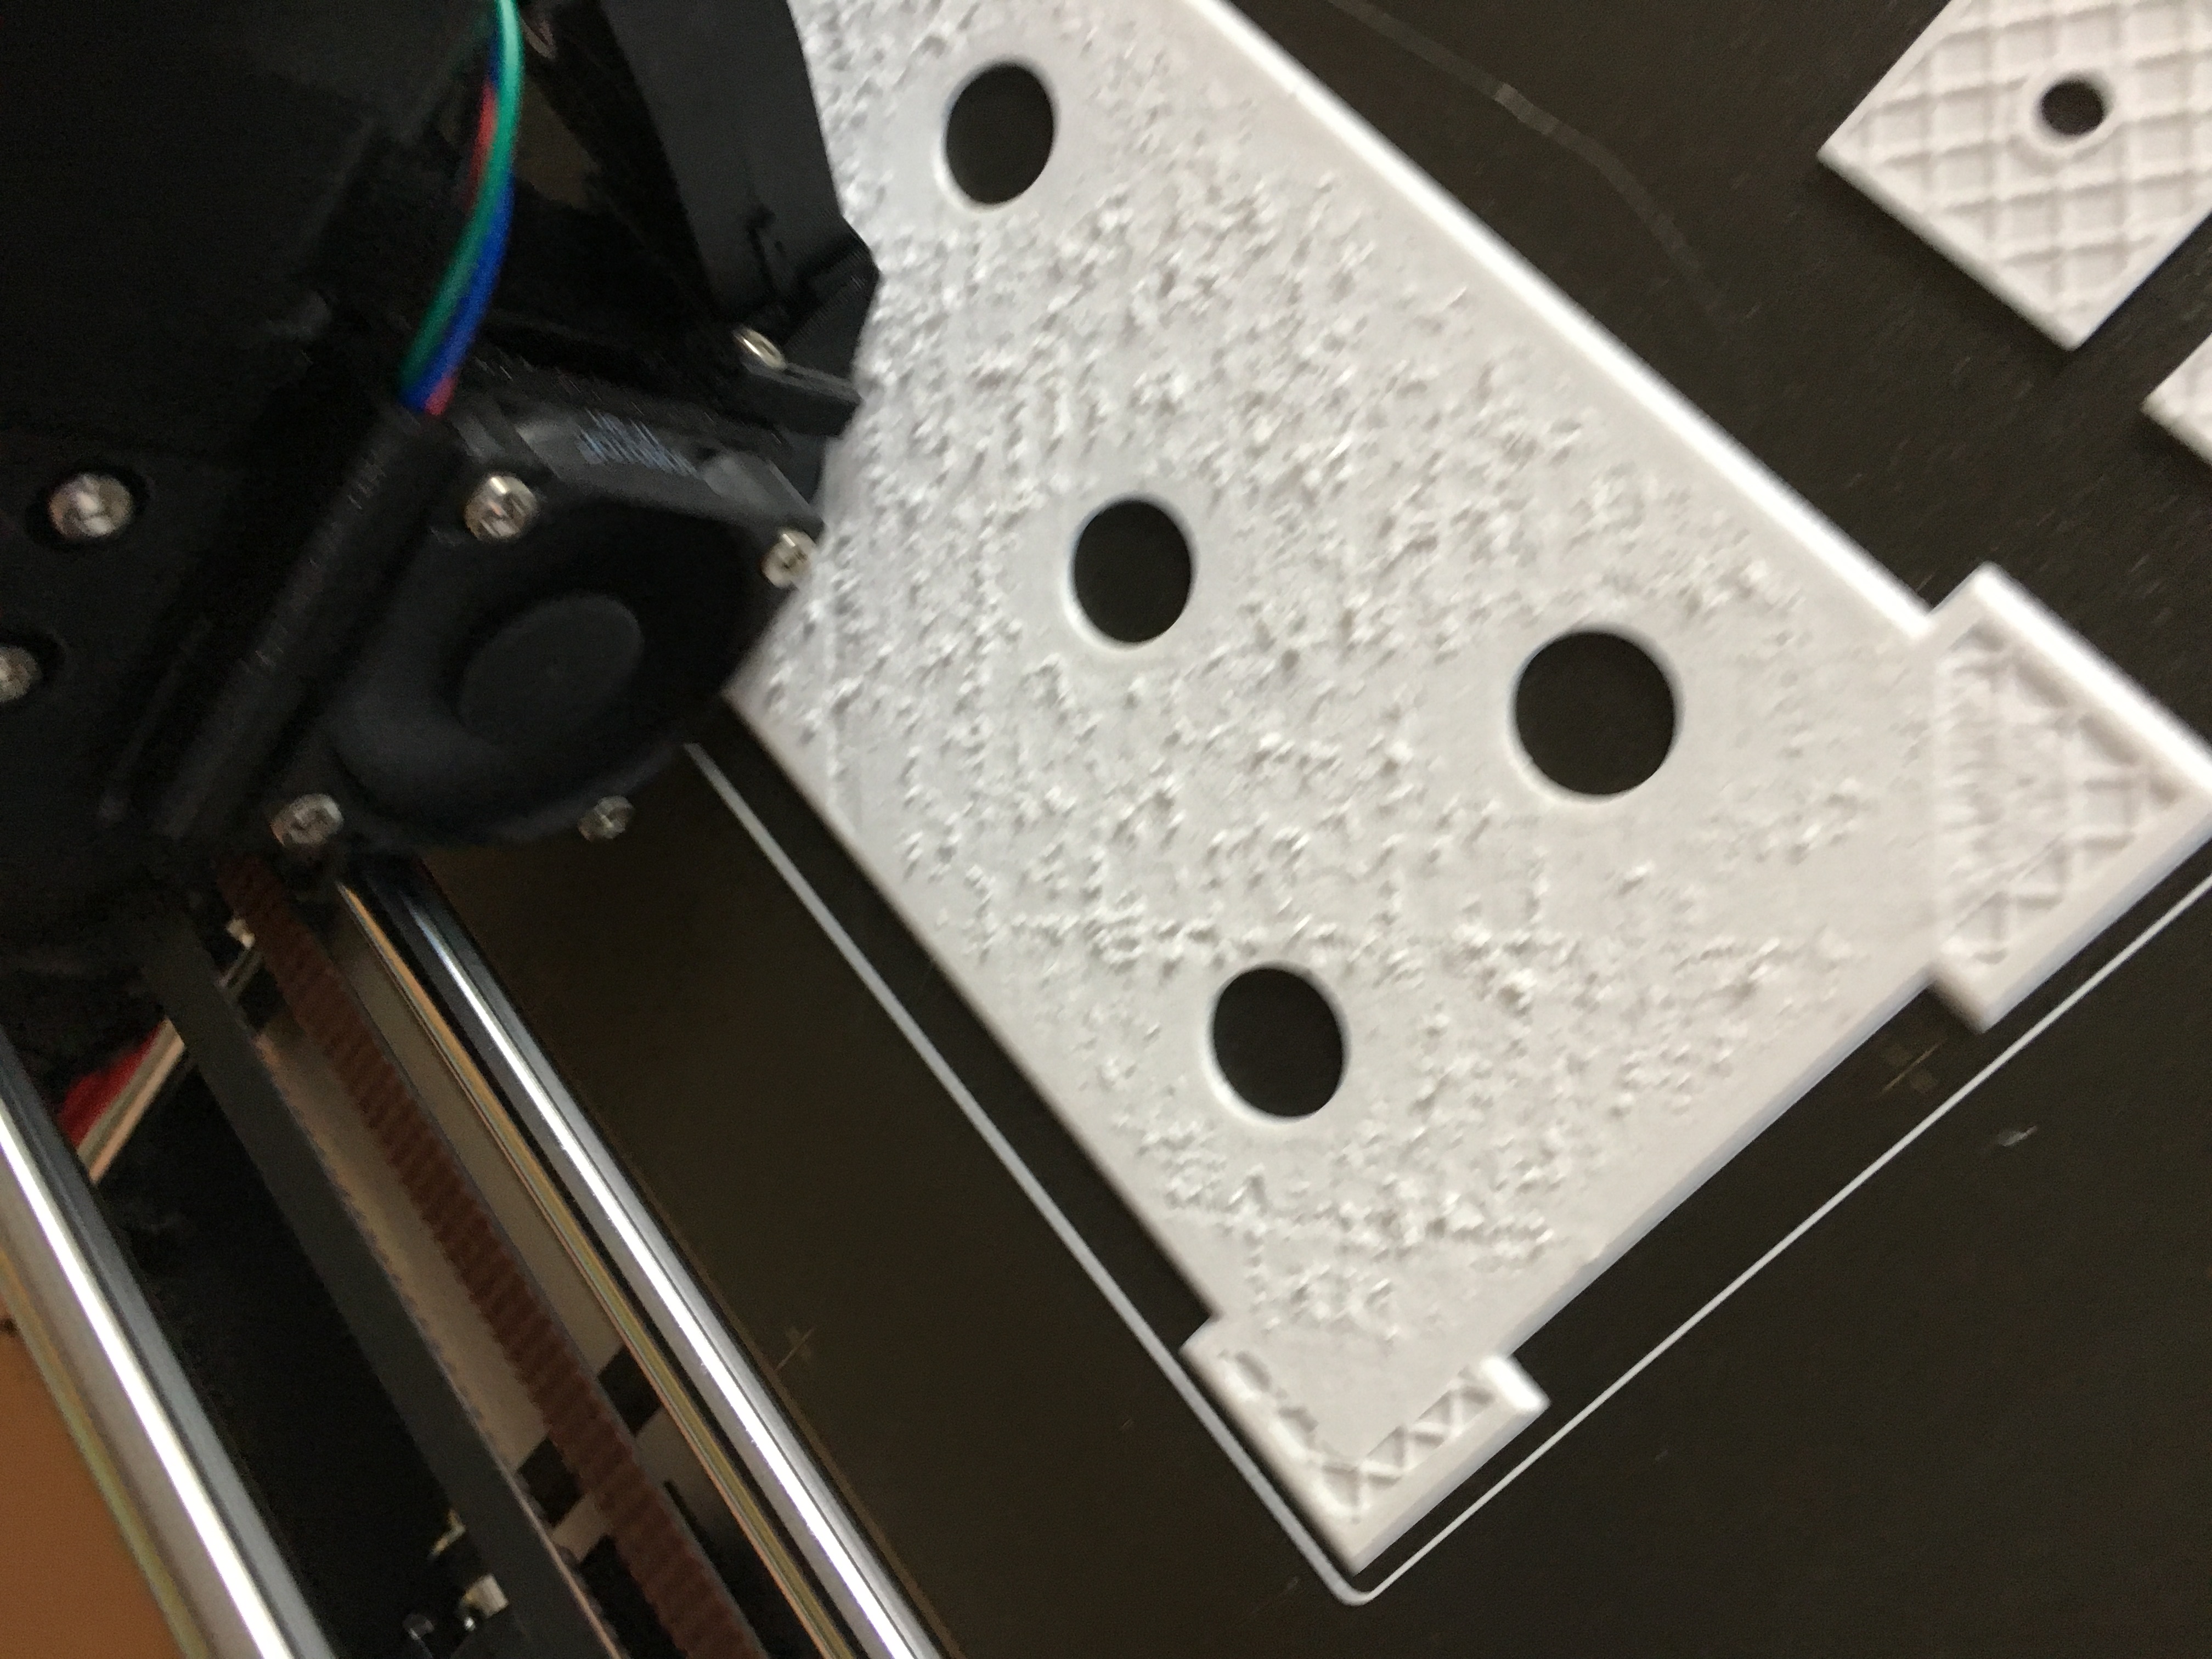
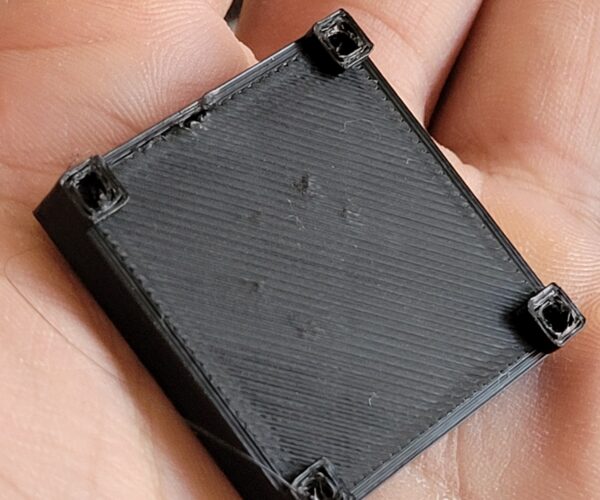
BUT the next layer 1.10, which is once again solid infill, prints really badly... lots of hairs.
See
and
I live-adjusted the Z-height halfway through and it printed much better, but then that z-height was too low for the next layer and I had to re-adjust it back up.
So a couple questions:
1. Why is slic3r creating a 1-layer internal-infill and how can I prevent that?
2. Is it expected that this would print badly? Anything I can do?
Thanks!
------------------------------------------
Prusa I3 MK3S
Show your bottom layer please
A grid pattern may cause your nozzle to accumulate globs of PETG and thus you get that rough surface. Part of the problem is the .15mm layer height - that is a rough height to get a clean PETG print, IMO. The thing you are printing would not look much different in a .3mm height, so not sure what advantage you are seeking by choosing that .15 layer height.
Your top layer is also too thin. Add more top shells in the slicer. Why it added a fill layer? Your settings required it.
RE: A buinch of changes might have fixed
Hi,
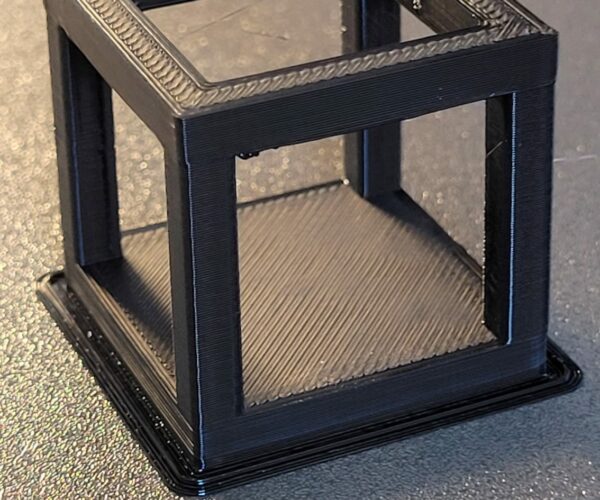
I was having some trouble with PETG too, similar to what the OP has described. Filament oozing and stringing is very common with PETG and the usual fixes to them are to adjust retraction settings (length, speed, distance) as well as tuning the temperature of the nozzle for optimal flow, also level the bed correctly (e.g. Octoprint Prusa bed levelling guide is very useful to get nice prints). I am fairly new to printing PETG (on my 4th 1kg roll now). I had tuned these parameters for Eryone PETG on my Prusa mk3s+ and was getting very nice prints out after optimising. But the third roll I received didnt come in a vacuum sealed bag so I decided to try a different supplier. This time it's Overture PETG. (these were all ordered on Amazon). No surprise the parameters are completely different. With the Eryone PETG I was getting glossy and crisp prints, but for the same print settings on Overture it was really bad. Lots of oozing, blobs, hairy crowns on infill layers, a dull matt finish. After messing around a bit I ended up with this kind of top surface on the calibration hollow cube model I found on Thingiverse. It is a relatively fast one to print while also being able to tune settings on the printer while it's doing the job.. Still not happy with the result:
I realised the temp is off and went down the rabit hole of tuning multiple parameters in small increments once more. After a lot of time staring at the nozzle while it's printing (on multiple tries) I settled on the following parameters as of this afternoon. I am continuing the optimization as I go printing my models. Nozzle temp: 233Bed: 89Extrusion multiplier: 0.987Lift Z: 0.6
Retraction length: 1.9Retraction speed: 48mm/s
Extra length on restart : -0.05Wipe while retracting: TrueThese kind of numbers gave me well defined edges. Particularly for the formation of the hairs on the infill layer, this seems to be happening because the molten plastic is not cooling fast enough when the print head is making fast and crossing XY moves. Increasing the fan speed helped in my case. I had it on 50 %. Bumped it up to 61% and this solved the problem for me I think.


