First layer or last layer issue
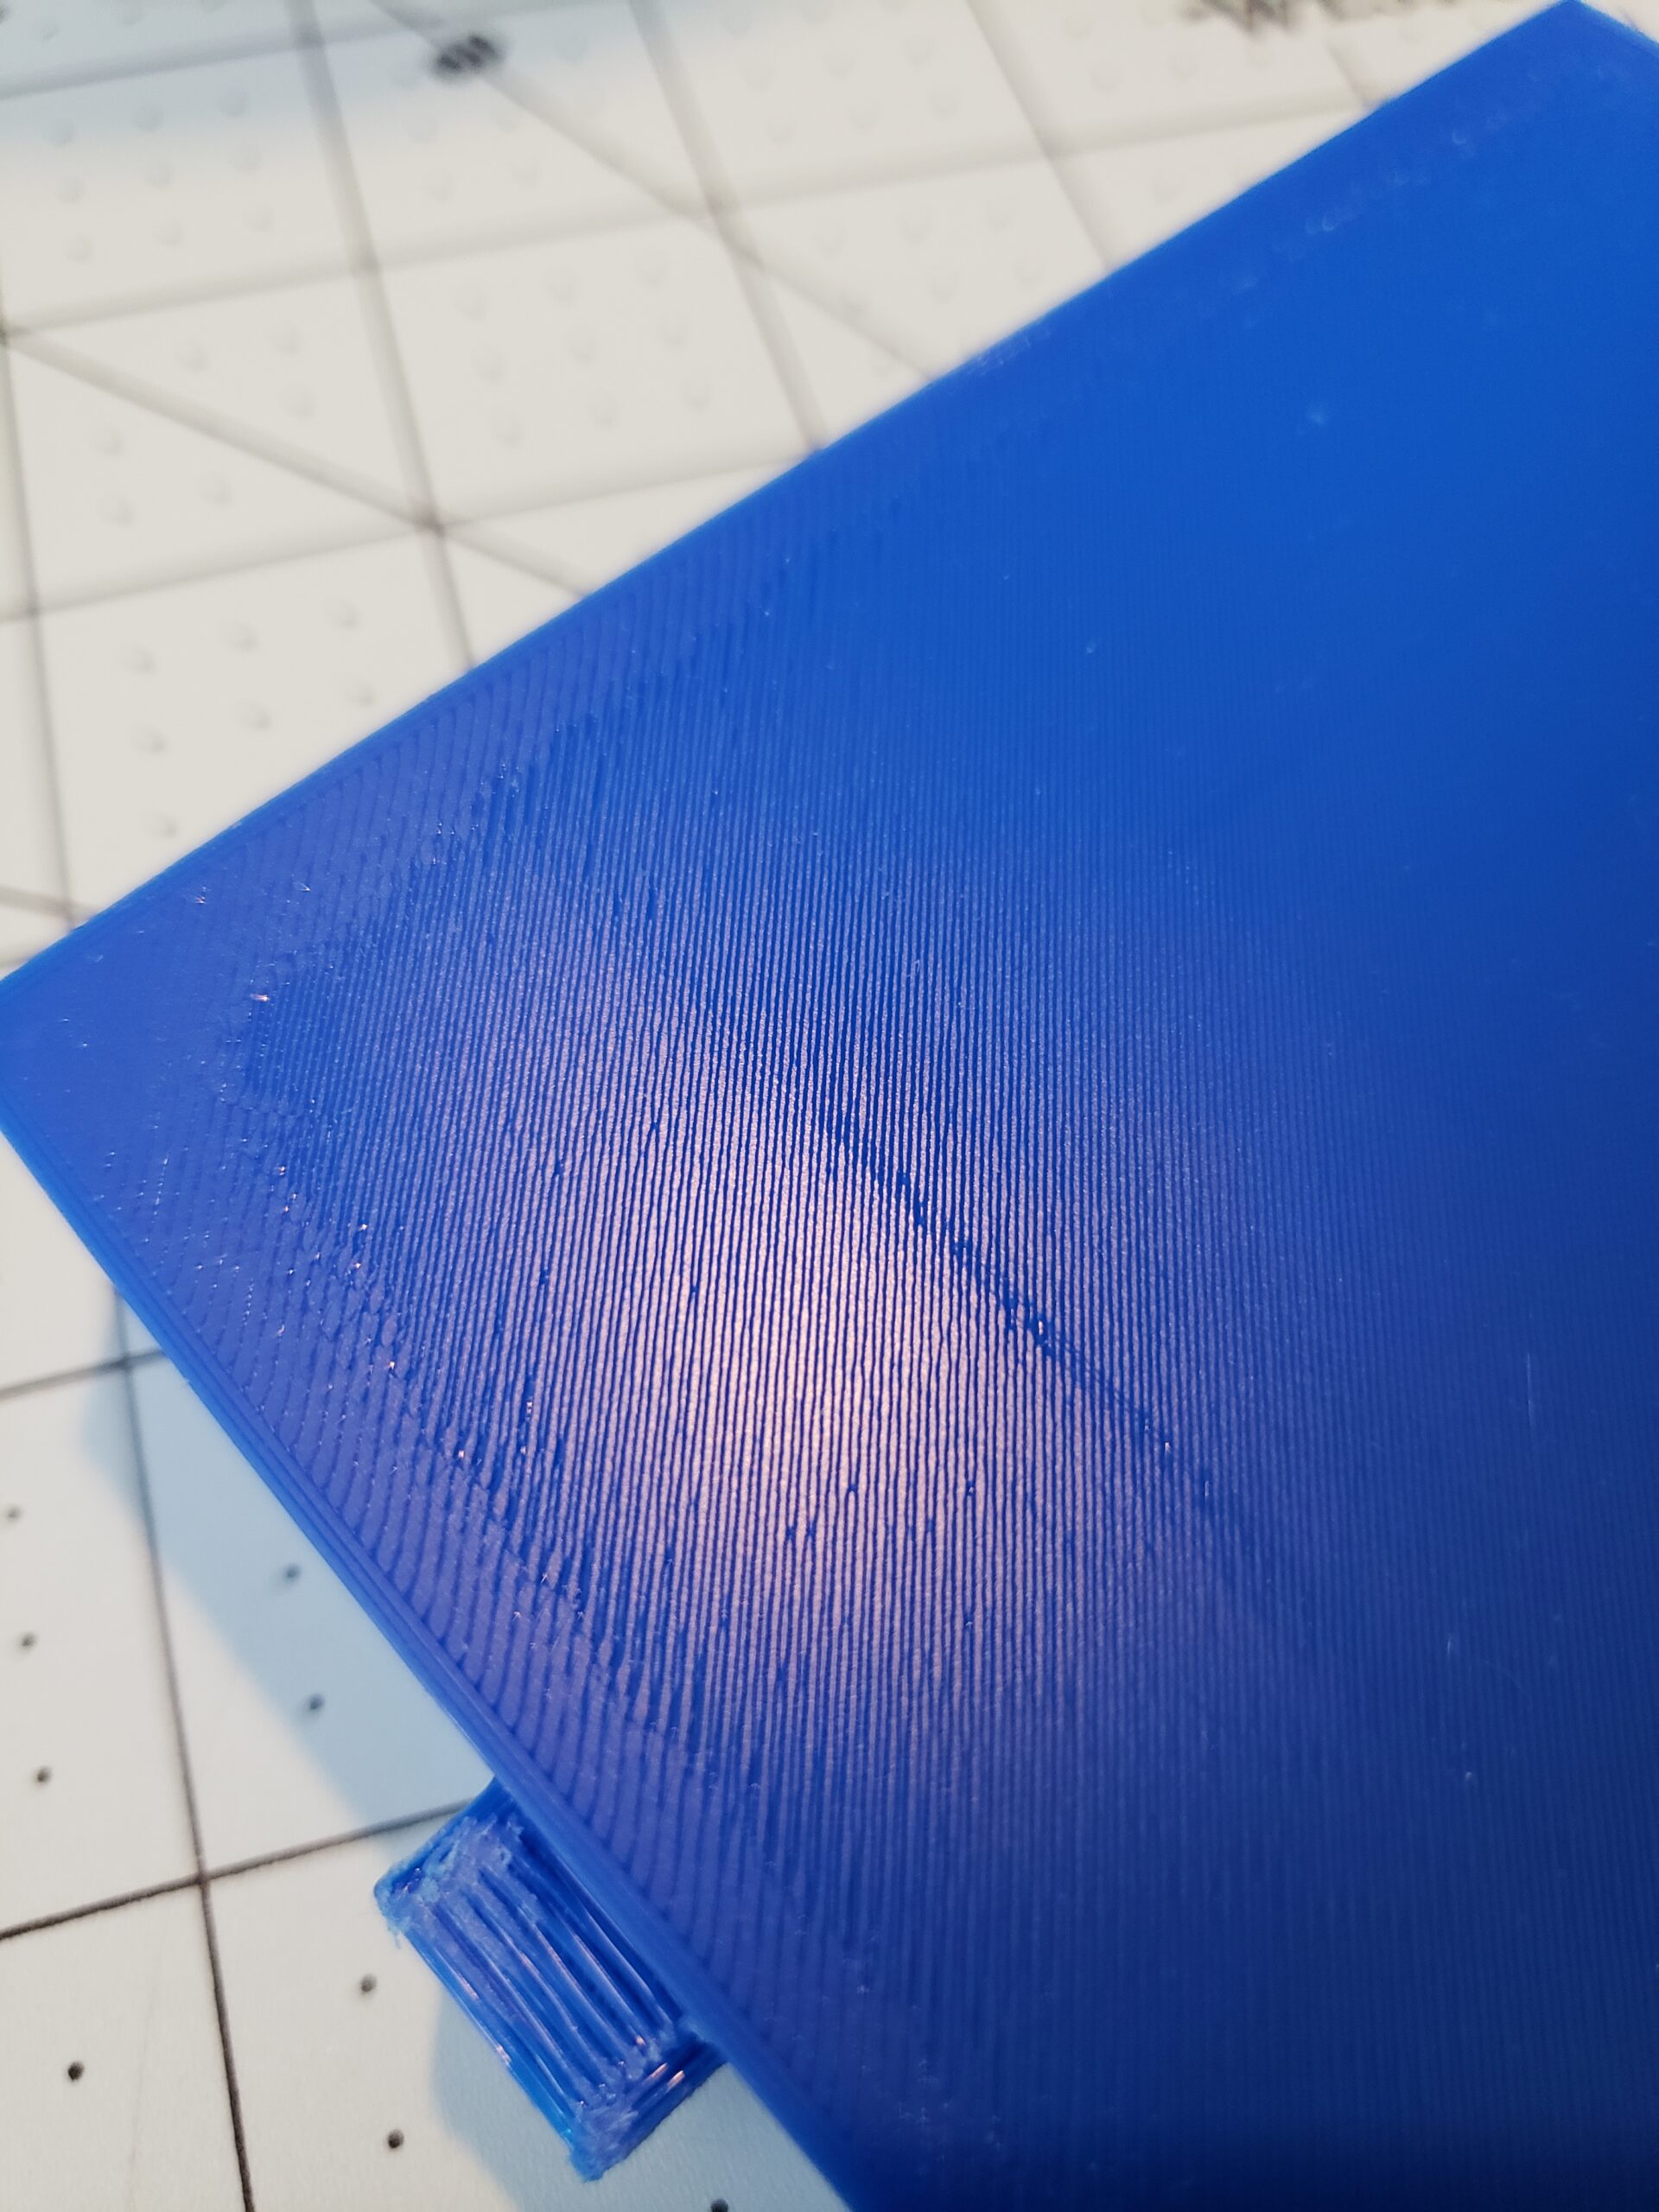
You guys are great and..........I'm back yet again with a question. I have a fairly large area print and the top layer is smooth in some places and rough in others. Thoughts? I've attached a pic that I hope can show this. I also attached a pic of the bottom of the print. The first layer is smooth, at least from underneath. 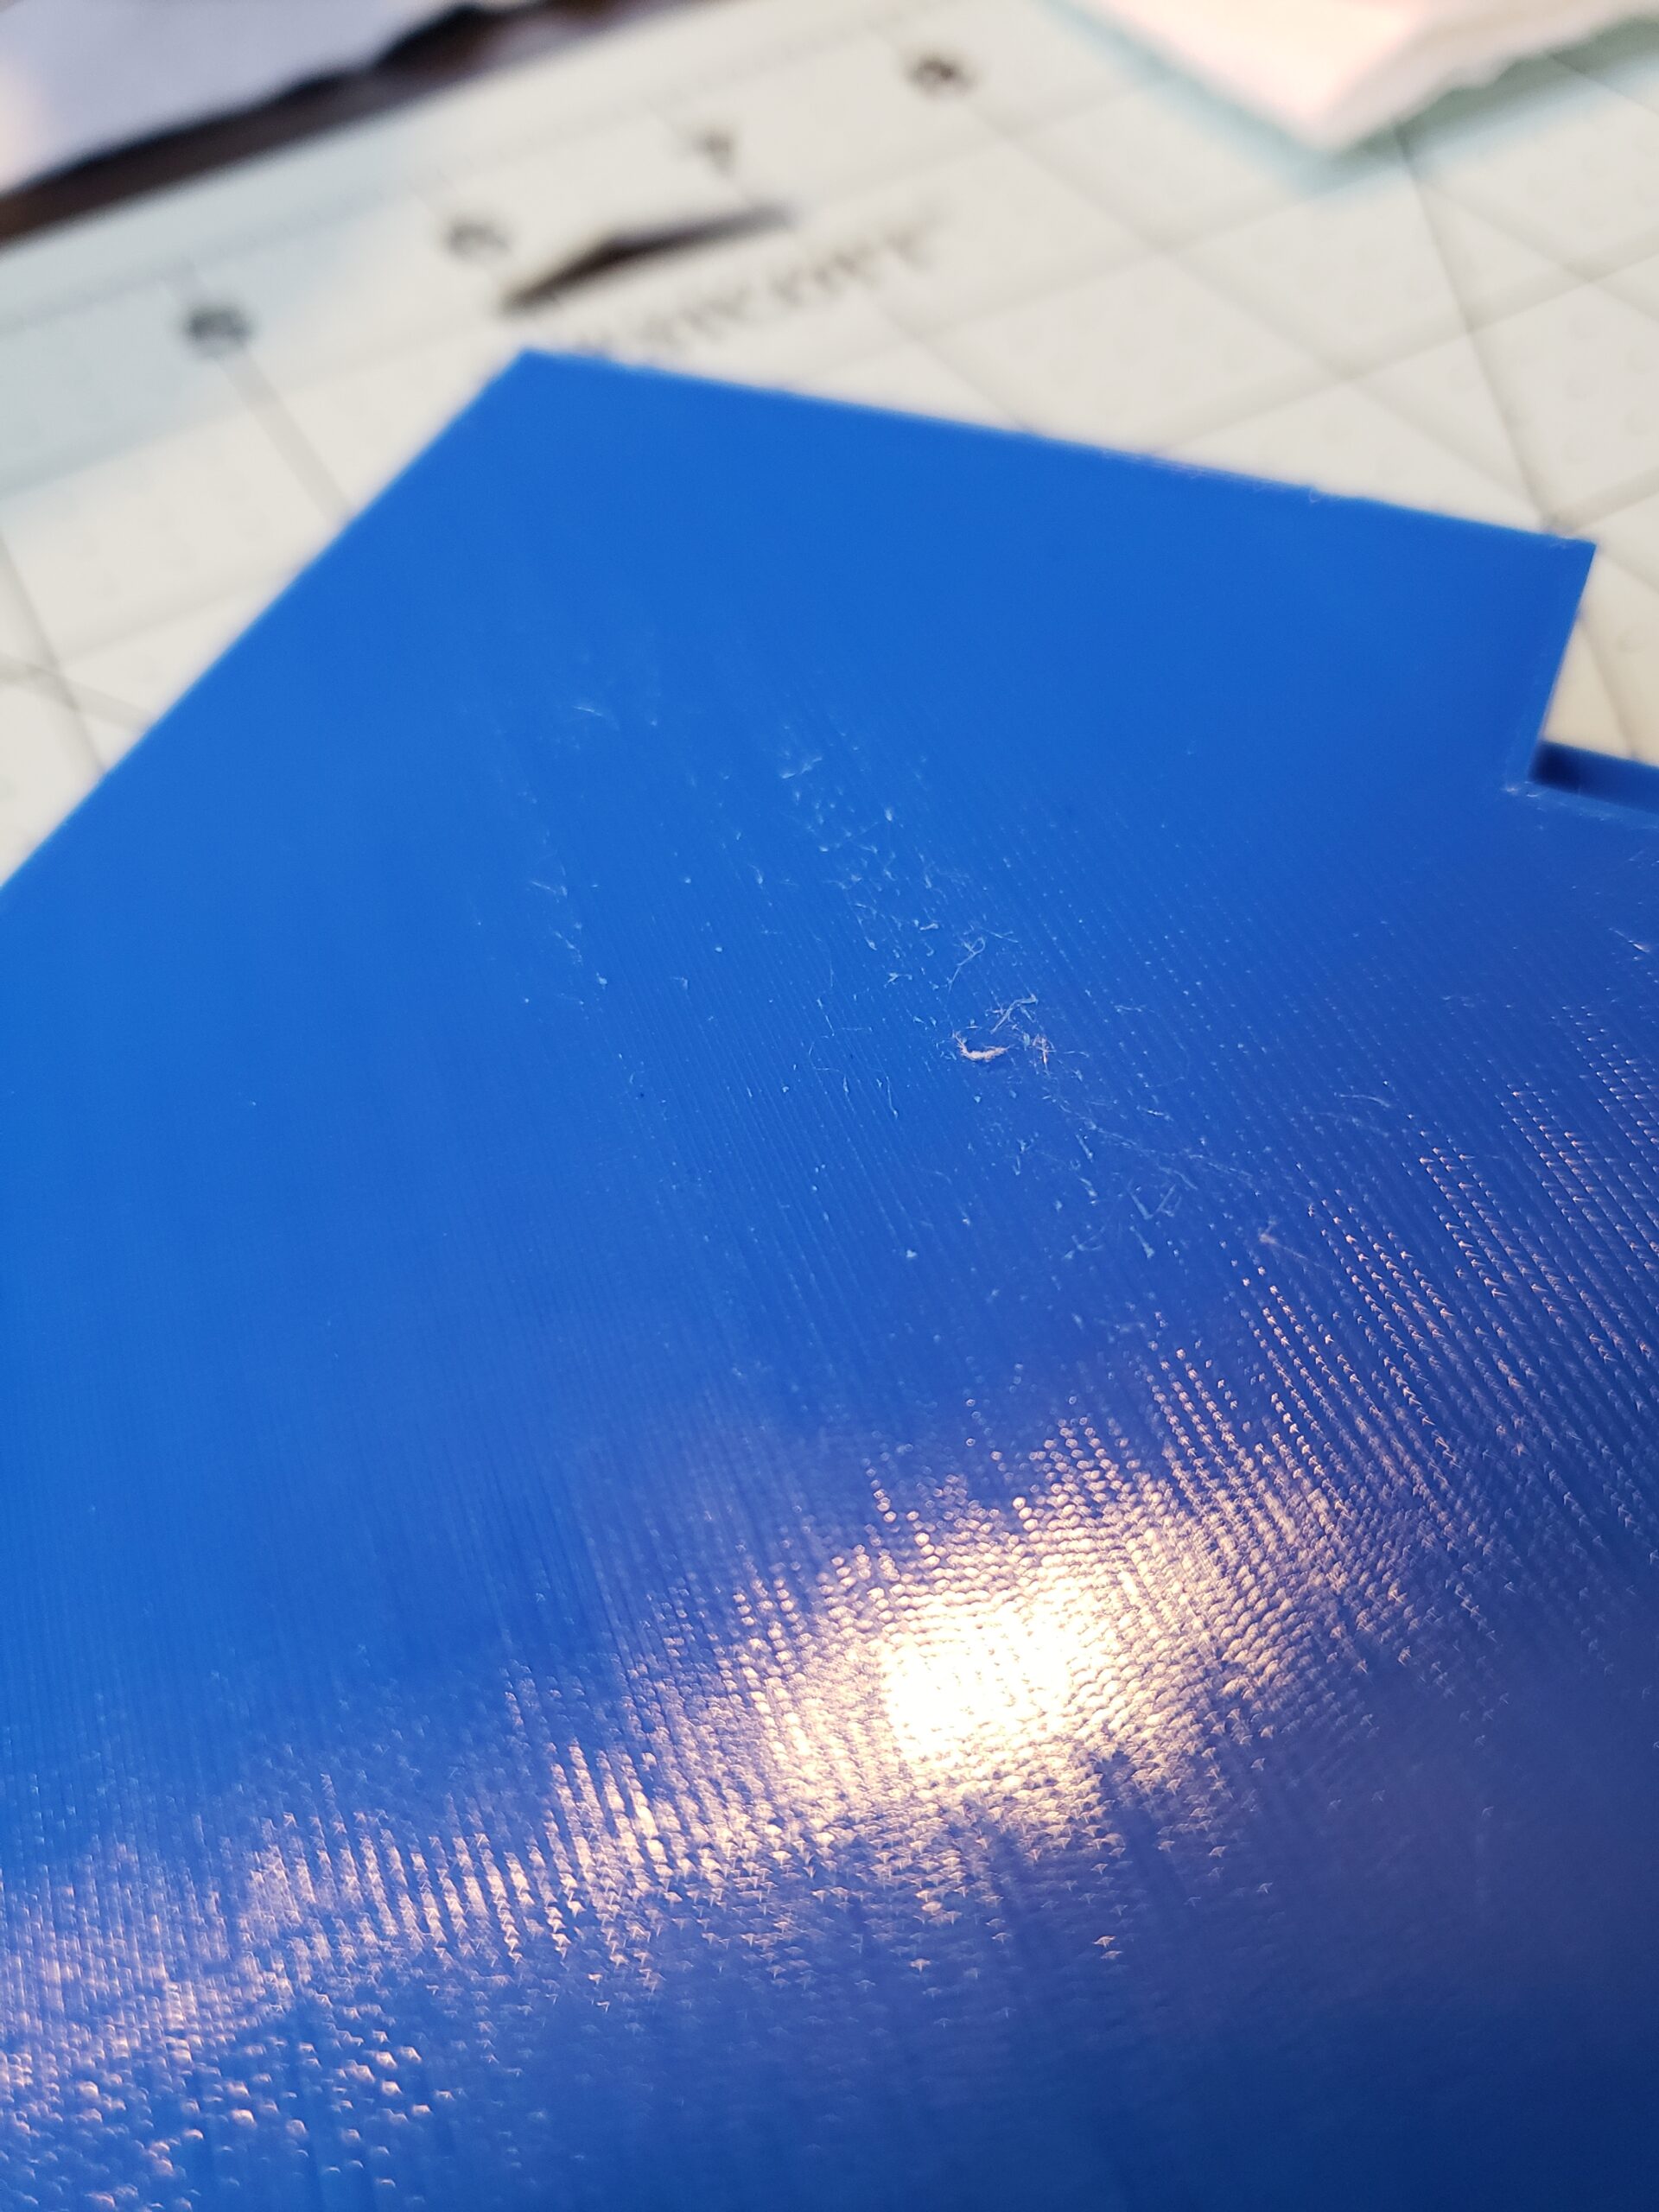
That first layer looks very uneven. Id say you had some filament feed issues, a cold pull might be an idea. also cleaning out the teeth on the extruder gears of filament residue might also be worth it. Its nice and tight around that corner and along the edge but its not in most of the area and the little thin lines connecting wider extrusion are what lead me to thing you have ta feed issue.
Beyond that, what % and type of infill have you got selected ? Large flat top areas like that need sufficient otherwise you can get sagging/pillowing.
Please attach your zipped up project (3mf) file so we can have a look at all your settings.
Concur
Concur with @Neophyl. It looks uneven. I do not think this is a dirty bed or Z offset issue.
--------------------
Chuck H
3D Printer Review Blog
Layer issues
I'm at 10% recticular infill. This is actually 1 of 4 parts to a large plaque. I printed the first part with gyroid and the surface is better (just annoying to be in the room while it prints). I'll upload the 3mf file shortly.
3MF
I'm at 10% recticular infill. This is actually 1 of 4 parts to a large plaque. I printed the first part with gyroid and the surface is better (just annoying to be in the room while it prints). I'll upload the 3mf file shortly.
A 3MF will help.
--------------------
Chuck H
3D Printer Review Blog
RE: 3MF
Sorry it took a bit to get this posted. Getting ready for work. I hope the file attaches ok.
3MF
I don't see the file attachment. What am I doing wrong here?
RE: 3MF
Let's try a link to my google drive share. https://drive.google.com/drive/folders/1Rh-LbiOBmAqJDuXs_tjkU8zF2bnvf77T?usp=sharing
3mf
Ahh. It would be great if there was actually a message telling you what failed. Here is the zip (i hope).
Tonight
Ahh. It would be great if there was actually a message telling you what failed. Here is the zip (i hope).
Attachment removed
I will look at it after work if none of the wizards of the forum beat me to a solution.
--------------------
Chuck H
3D Printer Review Blog
3MF
I have to head to work shortly myself. Thanks!
A few things spring to mind after looking at the 3mf (which I DID mention being zipped 🙂 )
Firstly I think most of your problems can possibly be attributed to that first layer. I know its trite and gets mentioned all the time but it really is crucial. Make sure you are using 7x7 mesh levelling and its good practice to preheat your bed for 10-20 minutes or so before starting a print and levelling to get it thermally equalised.
As for the project itself.
- 10% infill might be enough but Id increase that to 15% for such a large flat area.
-I would also be tempted to add 1 or 2 more top layers too.
- Your filament profile settings mean there is almost no cooling. The only cooling you have are on the supports. That is so not what you need. and is probably the other primary cause of the rough spots on your top layers. Enable the Keep Fan Always on tickbox. That way most of it will get 30% fan at least from your minimum fan speed settings. PLA does best with some cooling. With cooling you might actually be ok with 10% infill.
-not related to your issues but if you lower you support Pattern Spacing to something like 1.5mm you will get rid of the floating support interface.
Zipped
Yes you did mention zipping. I apologize I missed that part. Thanks again for your help and I'll take a look at this again after work.
I'm not a fan of the infill type you're using, and I don't think 10% is enough for it to give you a smooth surface.
Take a look at these knowledgebase articles:
https://help.prusa3d.com/en/article/inifill-patterns_177130
https://help.prusa3d.com/en/article/infill_42
Great discussion of strengths and weaknesses of each infill type and impact of infill vs perimeters.
I found gyroid and adaptive cubic to the best all-around infills, and 15% gyroid or 20% adaptive cubic should work in your case.
Formerly known on this forum as @fuchsr -- https://foxrun3d.com/
Infill
I use 5% in fill with some prints on rocket fin cans. I have not had an issue fly below mach.
--------------------
Chuck H
3D Printer Review Blog
Changes and retry
I've made some adjustments and started another print of the 1/4 plaque. I'll let you know the results tomorrow (15hour print).
long prints
I've made some adjustments and started another print of the 1/4 plaque. I'll let you know the results tomorrow (15hour print).
Good luck, it is very upsetting to fail on such a long print.
--------------------
Chuck H
3D Printer Review Blog
Some basic settings will improve top layer, other settings will reduce print times
I have a fairly large area print and the top layer is smooth in some places and rough in others.
[...] I also attached a pic of the bottom of the print. The first layer is smooth, at least from underneath.
Taking a look at your 3MF, you've specified a 0.35mm 1st layer height with 0.42mm 1st layer extrusion width through a 0.4mm nozzle. In general, you want to keep layer heights below 80% of your nozzle size or extrusion width to ensure an oval/stadium extrusion cross-section. Any higher and the extrusions have a round cross-section which has less contact with the layers above and the print surface below. You want a bit of "squish" for good adhesion. Your 1st layer will work, but ideally you want an even appearance. I'd suggest a 0.2mm 1st layer height. Thicker 1st layer heights were more of a thing when print beds were horribly uneven and you'd need a thicker layer to give the rest of the print something to build on. 0.2mm is plenty for the Mk3 and ensures the filament is heated evenly. That alone may even out your 1st layer underside appearance.
Those are the fixes. Unfortunately, your print time has gone from 9h21m to 11h25m. Before committing to such a large print, I'd suggest cutting this print down to a more manageable test size. I've attached an example that will print in 1h32m for testing.
The rest of these suggestions really depend on personal preferences but can speed up print times. Try these out on a smaller test print before committing...
You are printing a very big piece with a small nozzle. A larger (0.6-0.8mm) nozzle would really speed this print up. However, even with a 0.4mm nozzle, there are many things you can do to optimize print times:
Use a wider extrusion width. With good nozzles, you can use widths up to 200% of your nozzle size reliably. I set all widths (Print Settings->Advanced->Extrusion width) to 0 and set Default extrusion width to 0.7. This will use a wider line for every feature, which should be fine with a large print like this. This brings print times down to est. 7h47m. Print a test and if you want a finer top surface, set Top solid infill lower (though I wouldn't go all the way to 0.4). (If you do this, change Filament Settings->Advanced->Print speed override->Max volumetric speed to 11.5 to avoid exceeding your hotend capacity.)
You're now printing walls (perimeters) with 0.7mm thick lines rather than 0.45mm. 2X0.7 > 3X0.45, so you can set the perimeter count to 2 (Print Settings->Layers and perimeters->Vertical shells->Perimeters), saving time and still having thicker walls. This doesn't save a lot of time, but reduces plastic consumption and drops print time to est. 7h41m.
Since that print consists of mostly vertical walls, you would benefit from using variable layer heights. A bit of tweaking reduces est. print time to 7h11m.