First layer issues - Prusament PETG
Hi,
I am having issues with first layer printing a shown in image, printing with PrusaSlicer and Prusament PETG profile, 0.2mm quality.
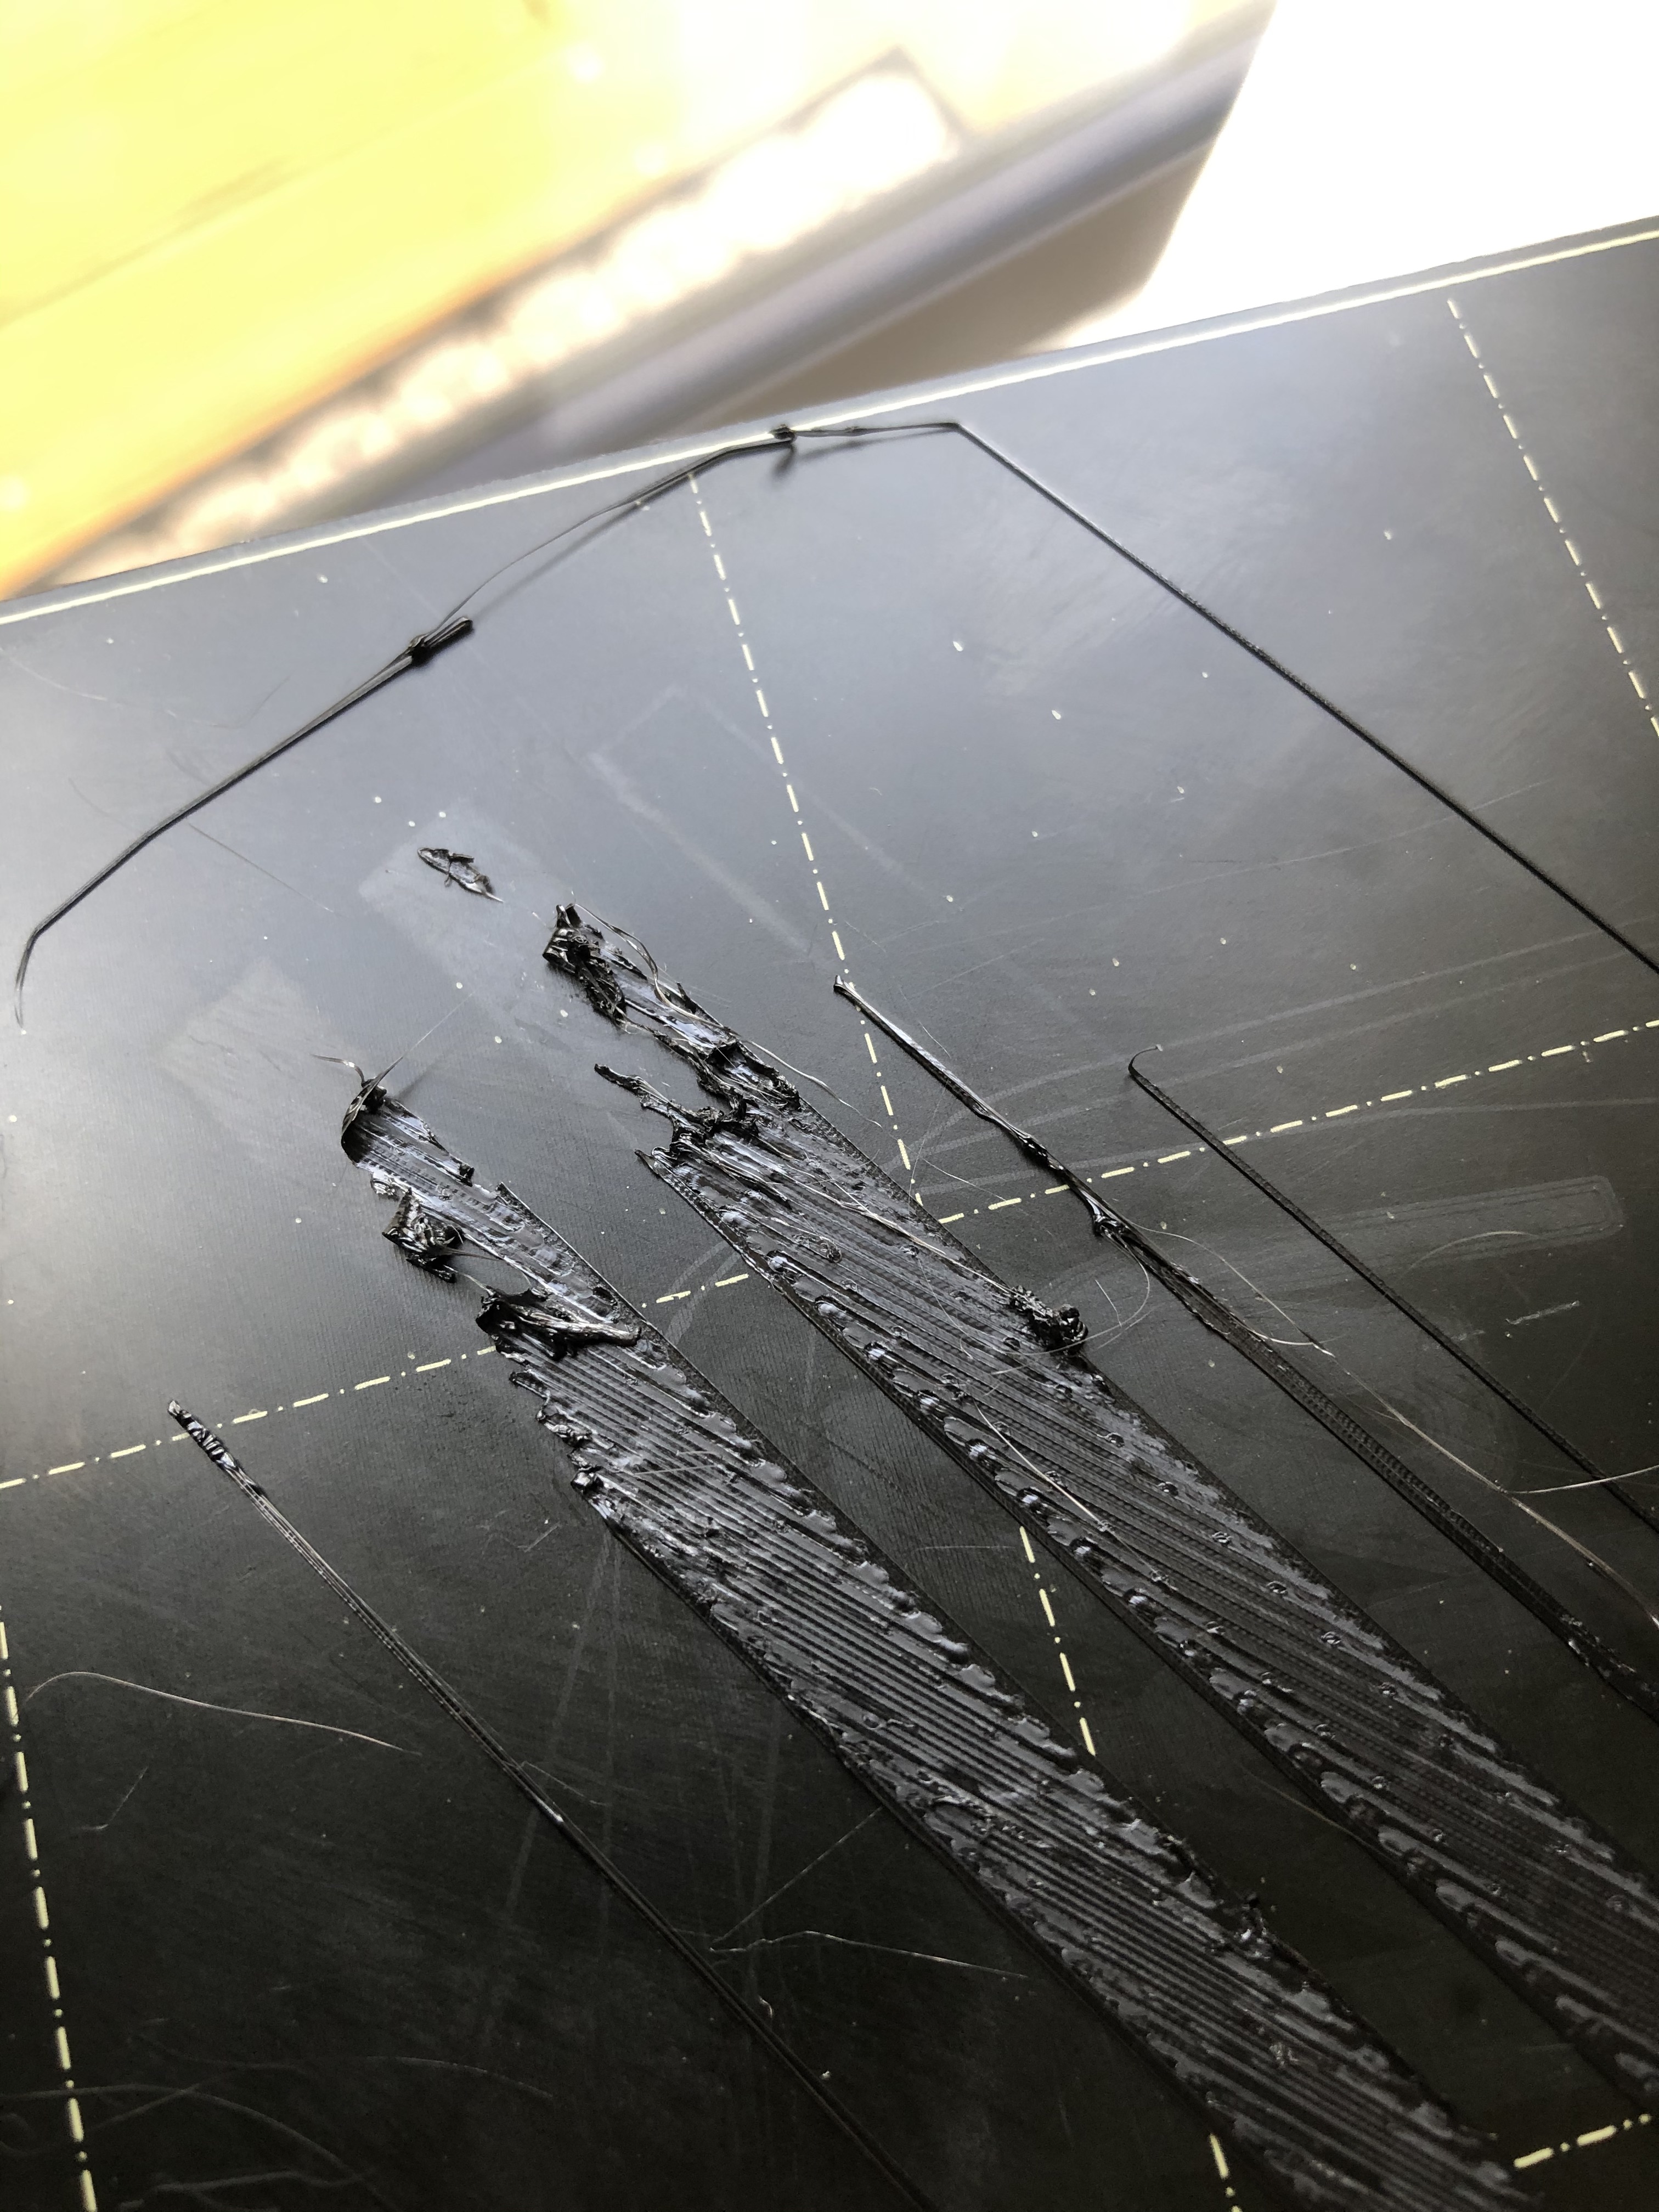
Not having many issues with other plastic types.
Thanks!
Peter.
RE: First layer issues - Prusament PETG
This thread may give you some idea of settings & trials of my experience with PETG on smooth PEI: https://forum.prusa3d.com/forum/original-prusa-i3-mk3s-mk3-hardware-firmware-and-software-help/factory-reset-slow-extrusion-of-filament-95100-flow/#post-169463
It looks to me as if the nozzle is to close to the PEI plate & temperature of nozzle is to hot. What settings you printing at and what is the room temperature? I also found this article / guide to be helpful: https://www.simplify3d.com/support/print-quality-troubleshooting/ Prusa Research has one on the web to: https://www.prusa3d.com/print-quality-troubleshooting/
RE: First layer issues - Prusament PETG
When all else fails, clean the print bed. Even PETG sometimes needs the surface to be free of oils and fingerprints.
Live-Z is also a possibility. But adhesion (or lack there of) looks to be the primary problem you have; fix that, then you can actually examine Live-Z with some level of confidence the layer is sticking the way it should and the proper amount is being extruded/adjusted
RE: First layer issues - Prusament PETG
-
A dirty PEI print surface. Even if you don't think this is the cause, it's always a good idea to make sure your PEI surface is clean before trying any other fixes. If it's a smooth PEI sheet, take it to the kitchen sink and give it a good dunk with Dawn (original formula, no vinegar or hand softener variants) dishwashing soap or your local equivalent (e.g. Fairy in UK). Use a clean paper towel to clean it off, and another to dry it. Avoid using any sponge or cloth that has been in contact with grease. Above all else, avoid touching the PEI print surface. Once it's good and clean, you should be able to use 91%+ isopropyl alcohol between prints, 100% acetone when that fails , and another dunk when acetone fails. Worst-case, use a 3M 7445 ScotchBrite pad or equivalent on smooth PEI to give it a very light buff, but only infrequently. If you've got a textured powder-coated PEI print surface, the official instructions are to use 91%+ isopropyl alcohol on it only.
-
If you have not already done so, try using Jeff Jordan's "Life Adjust" procedure for calibrating your Live-Z setting. It is much easier to use and understand than the on-board routine. It's much easier to make mid-print adjustments accurately with. In general, start high (less negative) and work lower (more negative) in large increments (e.g. 0.1mm) until the filament starts to stick on its own. When you've got your Live-Z setting adjusted properly, you should be able to gently rub the extruded lines on the PEI surface without dislodging them. Then start lowering (more negative) the level until there are no gaps between layers.
RE: First layer issues - Prusament PETG
Thanks all, will have a play once current print is done 🙂