RE: Bulge when print reaches "solid" layers
I think it depends on which speeds you are referring to. The defaults on the MKS3+ are attached here - 40mm would 33% slower for the external perimeters, but 75% slower for the infill (!). Changing both of these for my latest model, this would take me from 15 hours at 10% infill to 20 hours.
I do wonder if the bulge is better / worse with the Input Shaper profile on the MK4, but don't have a way to test this myself. If it is still present, slowing down the print speed would defy the point of the Input Shaper.
I have updated to the latest version after my post. First print with default settings, the bulge was there.
Why is 40mm slow? Is it faster theese days? Am i living under a rock?
4 Prusa Core One + (formerly MK4S w/ MMU3, MK4 / MMU3, MK3S+/MMU2, MINI+), Octoprint, ASA, PETG, PVB, (some) PLA.
RE: Bulge when print reaches "solid" layers
I mostly live with it, but I have Simplify 3D if it becomes really annoying. I use S3D 4.0, which I used for years. It took so long for them to come out with Version 5, I switched to PS for about 99% of my printing now. They changed so much of the user interface in Ver. 5 that I'm far more comfortable with PS at this point.
It's clearly a solvable slicer problem, but it only shows up certain geometries. I suspect most users don't know the problem even exists. I showed a side by side comparison of a particular model printed in S3D vs PS to a friend of mine. He's been happily using PS for several years, and has a 3 machine print farm for his business. He was horrified by the defect and amazed that it had been a known problem for so long. He was going to spread the word and try to get some traction on it, but that was about 4 months ago.
RE: Bulge when print reaches "solid" layers
There are a number of things people have tried to minimize it. Nothing eliminates it currently with Prusa Slicer.
MK3s / My IKEA Lack enclosure
RE: Bulge when print reaches "solid" layers
on the latest 2.7 beta 1. The bulge is still there on one of my parts/prints. I’ve slowed external perimeters down to 30. line width down. classic nor arachne, changed top layer infill pattern to something else. seems to happened at bottom or top layer to solid/regular infill. I’ve gotten opposite too. Where you see an indent line. Like using PS over Cura, but don’t want to. Definitely a slicer issue. 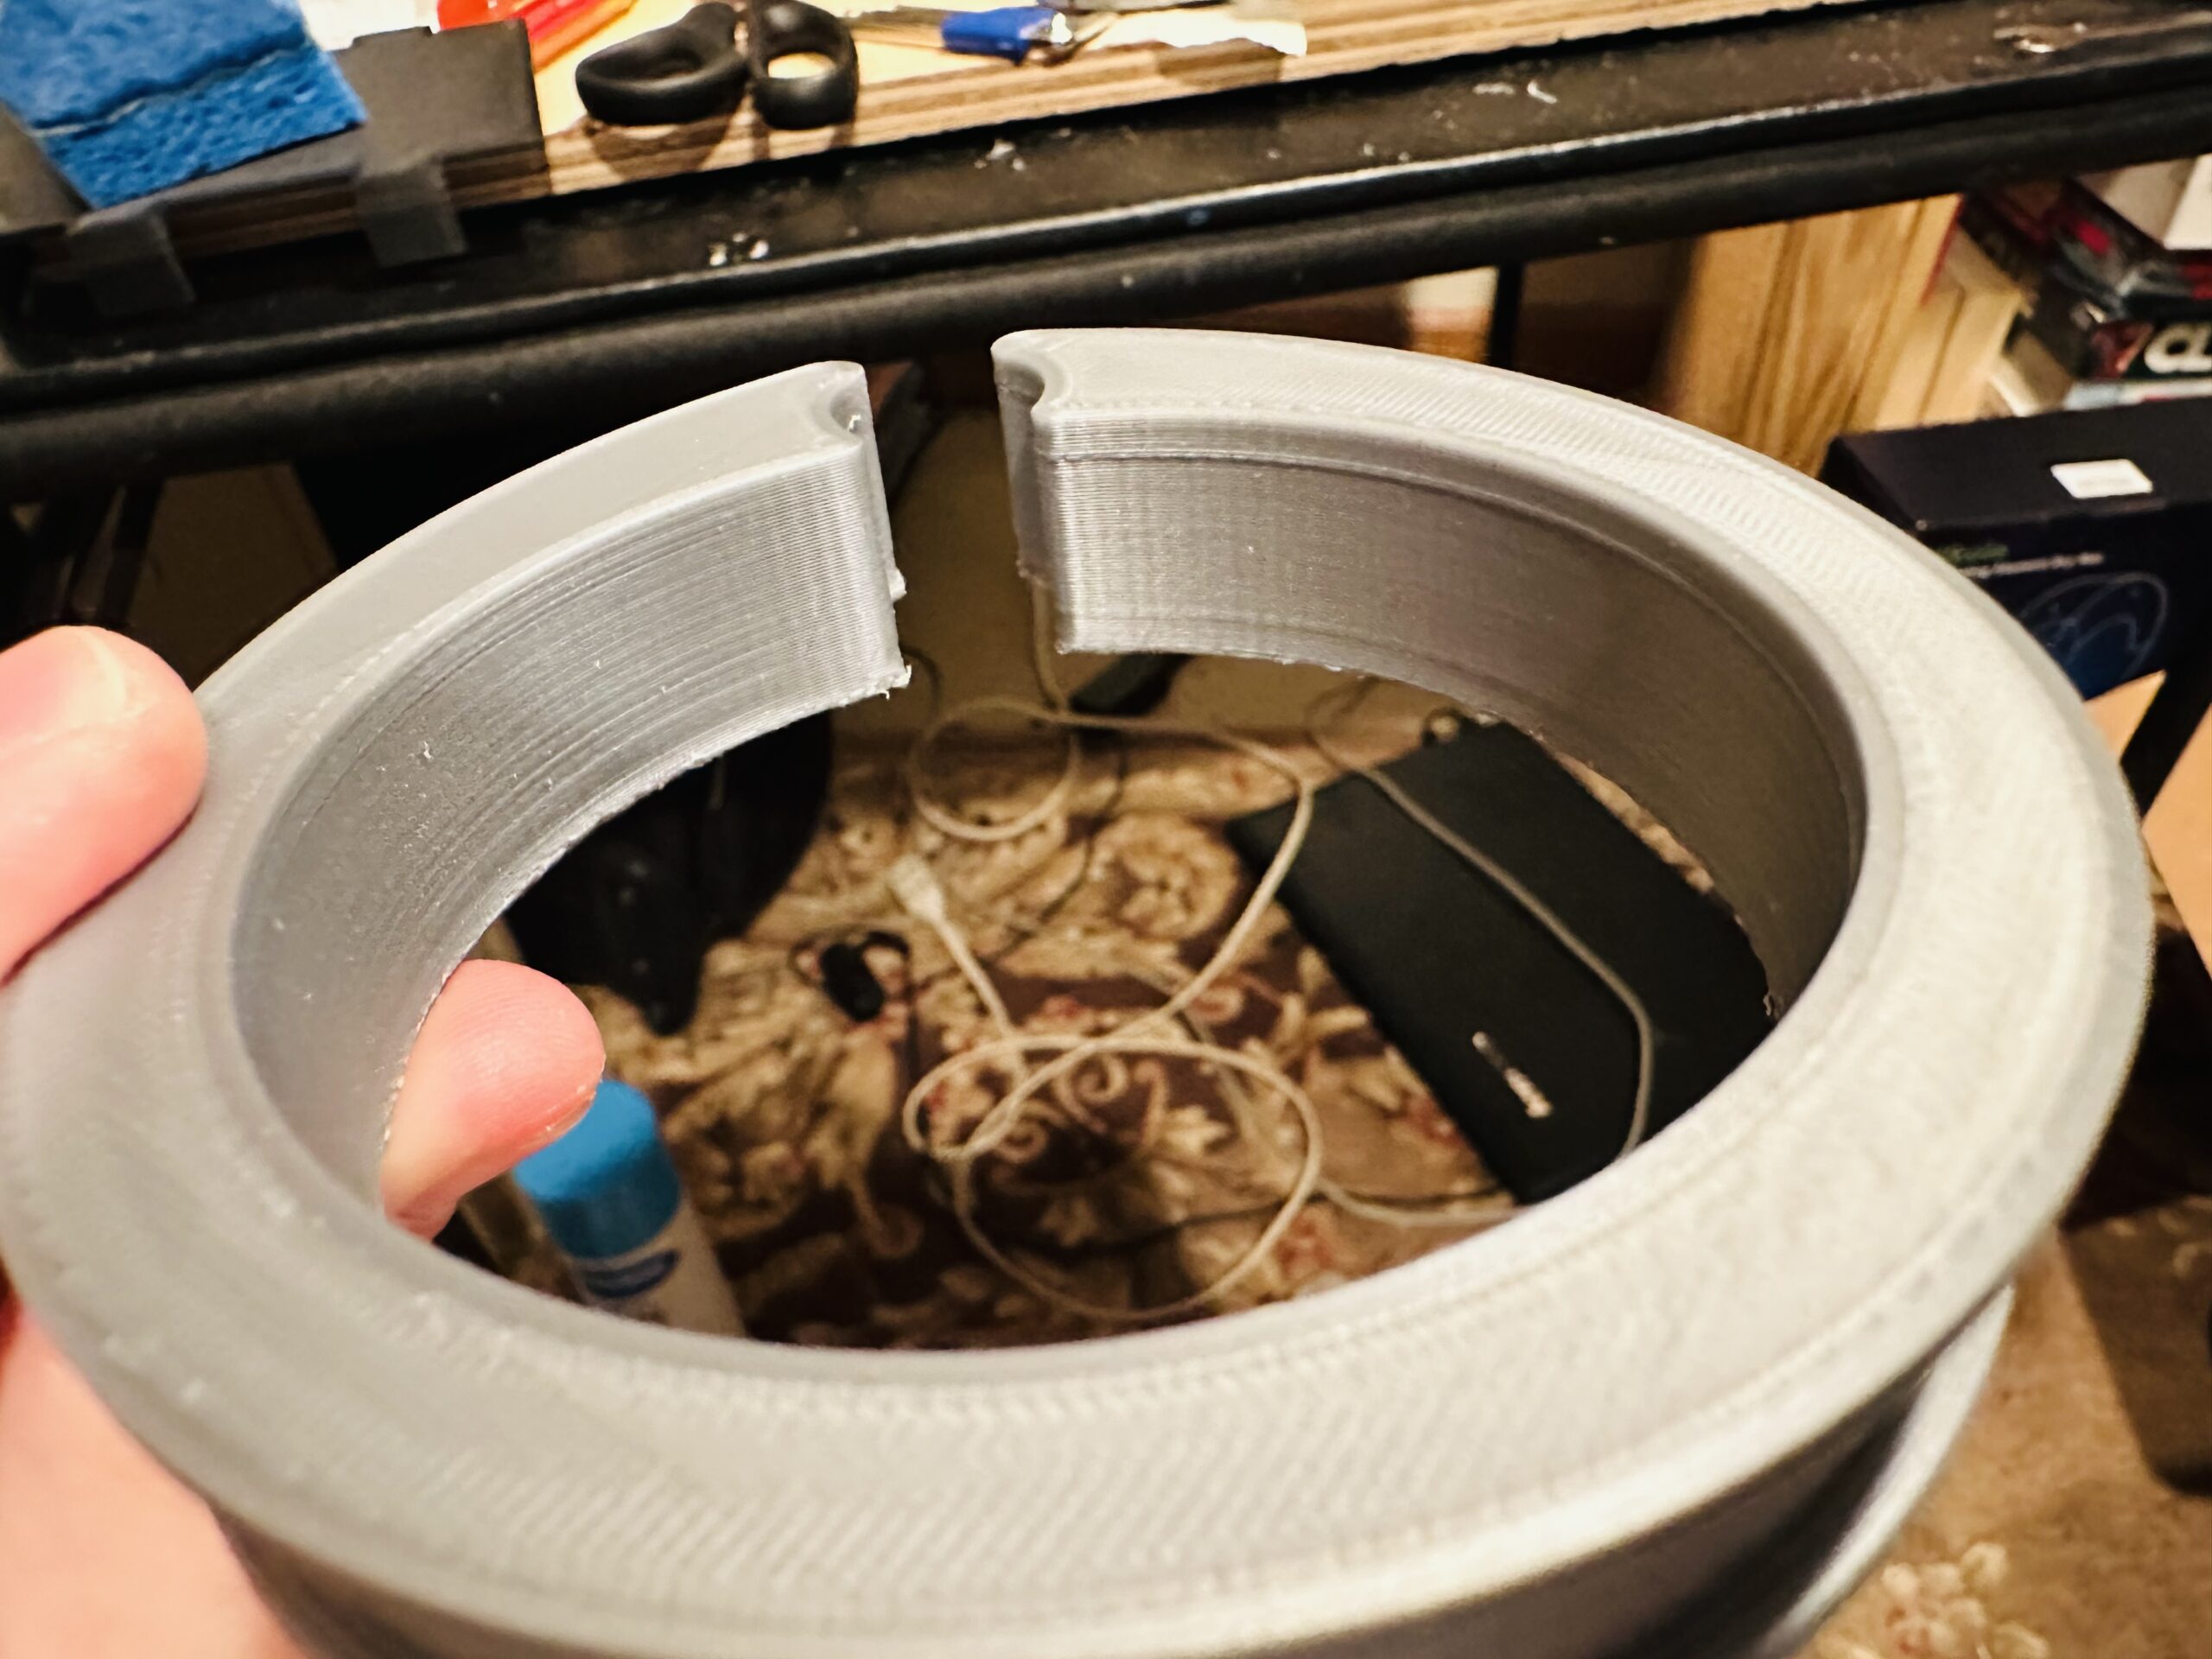
RE: Bulge when print reaches "solid" layers
Since you have tested and are sure it is a slicer issue, then it would be very interesting to look at the difference in the gcode between the two. With evidence, then it should be able to be resolved.
RE: Bulge when print reaches "solid" layers
Do you mind sharing what's different in the orca slicer settings?
RE: Bulge when print reaches "solid" layers
It’s based off of Prusa and Bambu slicer. It’s weird on how it got rid of my line. Still can’t wrap my head around it, as they have the same settings. It had a pre-profile of my printer and I just carefully went through all my normal settings. Most were spot on to what I had done in Prusa choosing a different base printer profile, as Prusa doesn’t have one for my Kobra Max. The developer of orca can change code, as it’s open source software. Guess, when in doubt try a different slicer. I’m not looking back. 
Do you mind sharing what's different in the orca slicer settings?
RE: Bulge when print reaches "solid" layers
I'm just chiming in to let everybody know that the issue is still present on an MK4 with IS and PA, using prusaslicer 2.7.0.
I have tried basically everything suggested in this long thread and have not been able to resolve the problem.
RE: Bulge when print reaches "solid" layers
Hello, I've been having this issue and I've researched A LOT on the topic. No one seems to have a proper answer, but I managed to solve mine by lowering the e-steps multiplier for the extruder in the Marlin firmware from 416.5 to 411. (I am using a BMG clone as a direct drive on an Ender 3 V2, and I've had it previously calibrated to extrude precisely 100mm with 416.5 e-steps) I am basically underextruding a bit, and it does not seem to affect anything else.
I had bulging on layers with solid infill, I had scarring on top when having multiple solid layers on top of each other and sometimes small randomly located gaps in the external perimeters.
And the bulging issue is even worse on bigger nozzles. I have a box with tons of replacement parts, I can basically build 2 extra Enders from that box alone, and believe me when I tell you I've tried everything people say.
RE: Bulge when print reaches "solid" layers
Throwing my hat into the ring - I have read this entire thread top to bottom multiple times trying to figure this out.
I can say that this issue happens for me on a Neptune 4 Pro, an X1C, an A1, and my MK4. I've tried Prusaslicer, Superslicer, Orcaslicer, and Bambustudio. The issue persists through any combination of printer/slicer - although it is MUCH better on the N4P and the X1. I sent a 3MF to Prusa support and he actually did help the issue a lot with settings I did not think would solve it after reading this thread.
The model that I have this problem with is here. It starts on this layer and persists for 1mm which is all the layers with solid infill:

Here is the print from my MK4:

I have tried adding more walls, thinking that the infill was pushing the walls out. I tried setting the infill to be completely disconnected. I tried slowing down outer perimeters. I tried printing slower in general. I've tried every suggestion in this thread.
My initial thoughts were that this is a layer time issue because this correlates exactly with the slowest layers in the print

My thoughts were that since these layers take longer, the part is given much more time to cool so it contracts more, especially the layers right below this. This these layers are shifted outwards from the previous layers. The issue goes away once the solid infil layers are over because the layer time becomes fast again. Which seems to make sense since the N4P and the X1 exhibit the problem less because they have much much more cooling. I also tend to think this is the case since printing multiple of these at a time lessens the problem as well, but thats only a theory. I can't say with 100% confidence that this is the problem.
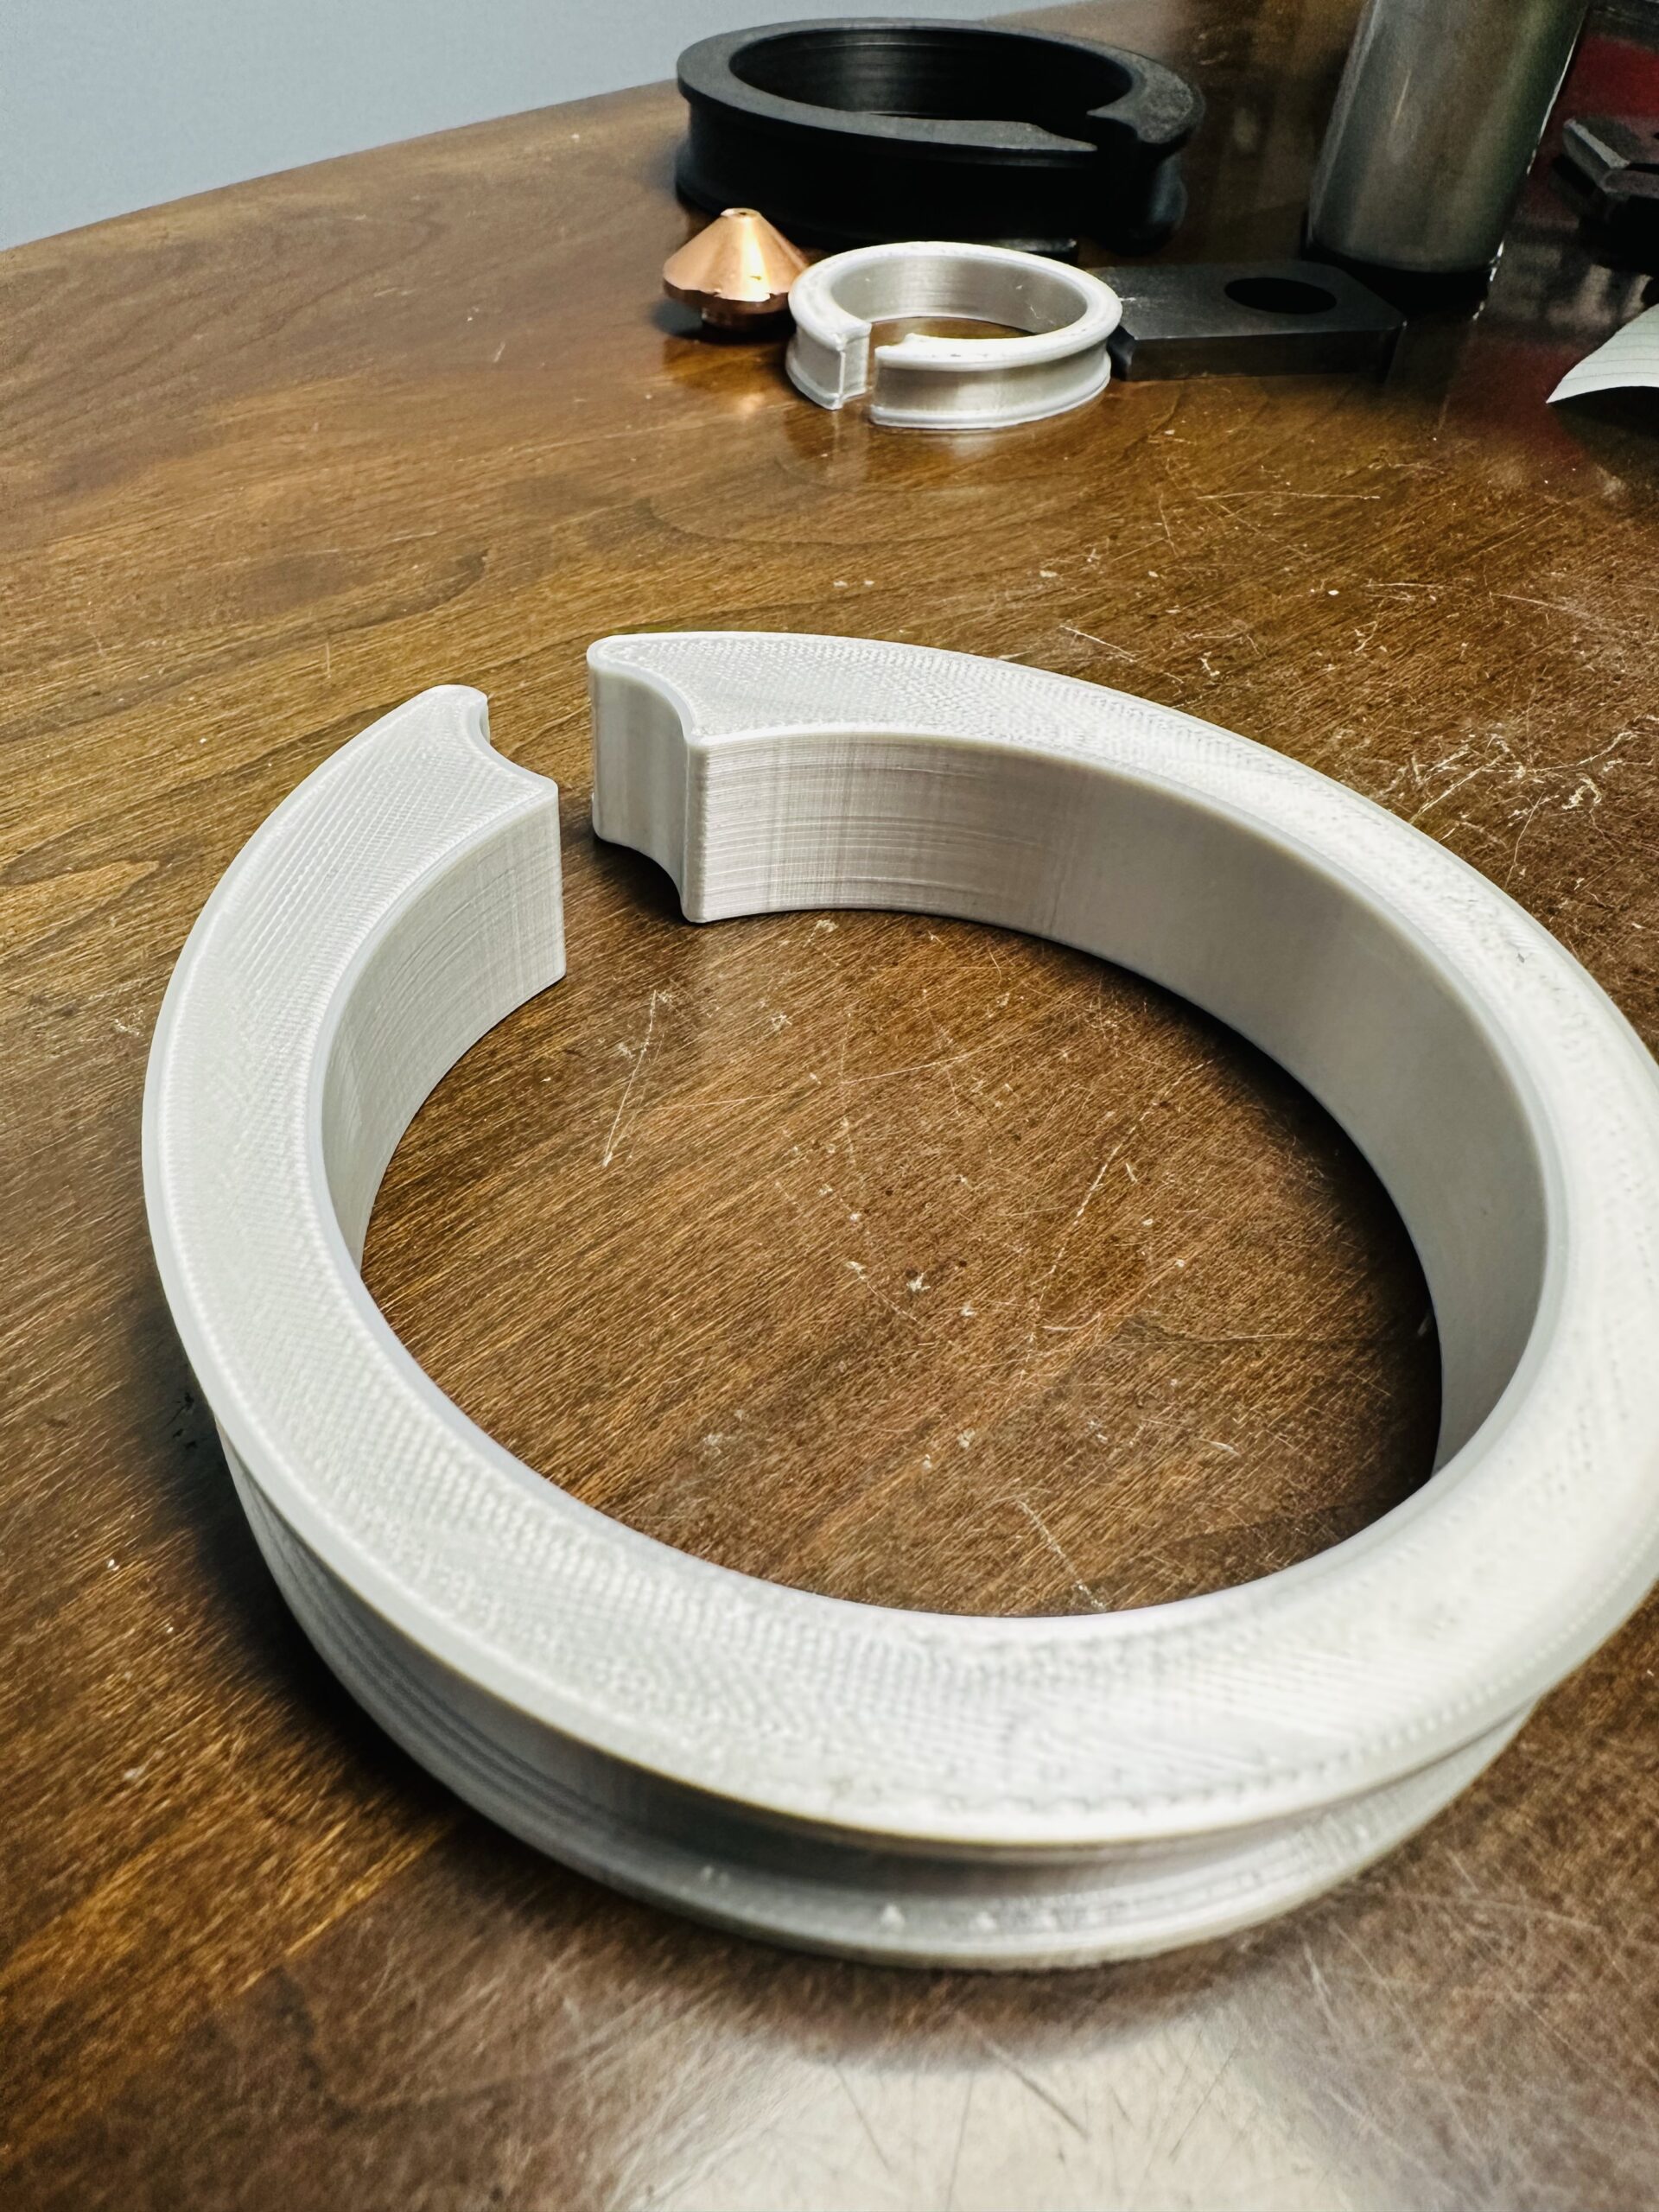
Where this gets really strange for me tho is when I print a test model like this where the outer structure only has a single wall.

The bulge due to the inner structure still persists in the outer structure. Which proves its either a cooling or extrusion rate thing, I cant think of another reason why the outer structure would be affected.

If anyone is still active in this thread let me know what you are all thinking and if there are any updates from the people who were active for years.
RE: Bulge when print reaches "solid" layers
That last picture might be one of the most interesting things about this issue I've seen in a long time, with the caveat that it's not as easy to interpret as seeing it in person. Are those bulges on the wall at the same layer as the bulges on the center piece? If so, that really changes how I think about the problem. The wall obviously doesn't know about the transition step in the inner model so this can't be driven by a passive response of filament to localized spatial conditions but by something in the gcode that one should be able to identify.
I really wish Prusa would show any, just ANY, interest in addressing this issue which has plagued us for YEARS...
Formerly known on this forum as @fuchsr -- https://foxrun3d.com/
RE: Bulge when print reaches "solid" layers
Yes the bulge on the outer wall corresponds to the same place as the inner structure. It corresponds to these slow layers seen the slicer

I did send the file to Prusa and their changes honestly did make it look much much better. How it originally looked on the top in green and how it looked after their changes on the bottom in blue. He turned on out walls first, slowed external permiters to 30mm/s, and set retraction to 0.3 (from 0.7).

RE:
Oh and here is the gcode for that test I ran if you want to take a look. Im not sure I know quite enough to gleen anything. The bulge starts at layer 21 (4.20mm).
For whatever reason attachments aren't working? Here is a drive link: https://drive.google.com/drive/folders/1wCaVwall3y2fL5FC34eZIF_E509BIoSd?usp=sharing
RE: Bulge when print reaches "solid" layers
I have tried adding more walls, thinking that the infill was pushing the walls out. I tried setting the infill to be completely disconnected. I tried slowing down outer perimeters. I tried printing slower in general. I've tried every suggestion in this thread.
With vertical walls like that, it seems to me that setting the slicer to print the outer perimeters first would help here. That's a technique to get dimensional accuracy of your parts because it freezes the outer perimeters in place, but it doesn't work if you have overhanging or negative sloped surfaces.
RE: Bulge when print reaches "solid" layers
For whatever reason attachments aren't working?
Attachments have to be zipped compressed, for reasons no one understands.
I looked at the wall paths from the layers below and at the bulge and don't see any difference. So no idea why there's a bulge there.
With vertical walls like that, it seems to me that setting the slicer to print the outer perimeters first would help here.
But the outside wall is a single line, so there's no outer perimeter, or rather, it's all outer perimeter, and still, there's a bulge? This is so confusing.
Formerly known on this forum as @fuchsr -- https://foxrun3d.com/
RE: Bulge when print reaches "solid" layers
I’ve been using Orca. So, I’ve noticed when toggling off “make overhangs printable”. My line comes back on my same part posted earlier. Which happens at the start of “top infill” layer. If I turn on “make overhangs printable” bc I have a 20deg overhang and I’m okay with the slicer adjusting/making my top overhang 45degs. My line bulge nearly goes away at that same layer position, top infill, but it’s only happening on the one side per concentric, of my piece. Even tried different infills and speed.
RE: Bulge when print reaches "solid" layers
I tried this, and then I tried just enabling external perimeters without slowing down and it worked just as well. See before and after below.

RE: Bulge when print reaches "solid" layers
Those are vertical artifacts. The bulge that's trying to be addressed by this thread is the horizontal lines that get pushed out.
MK3s / My IKEA Lack enclosure
RE: Bulge when print reaches "solid" layers
After reading whole that many-years long thread through the past 2 days I also got to conclusion that thermals and layer timing is crucial in that issue. What is interesting, is that mention about "The Bulge" happening also on the detached from the model Skirt was already mentioned there on 4th or 5th page, yet it was not addressed deeper. Observations made to this point also points out toward mentioned timing, cooling and physical properties of the laid plastic.
On cold hard logic, when printer is printing a geometrically simple object, and through 50 layers is laying new perimeters in same or very similar time gap, the temperature of already laid previous layer and its shrinkage persist almost the same. Let's say - every new perimeters are laid every 10 seconds. Everything is pretty consistent (we skip bed temperature influence on the bottom layers for now). But suddenly printer meet a 51th layer where it need to lay a solid infill (no matter it is an infill filling whole plane of the object, or only its fragment). From static 10 second from layer to layer, it suddenly grows up to let's say 30 seconds. Till printer finish laying solid infill, previously laid perimeters already cooled down much more than to this time (especially if were all time blasted by side-stream of air from the cooling fan). So next new perimeters are being laid on cooler, and additionally more shrunk surface. It was observed that color of the "bulge" often varies in gloss from the rest of the print. That also could explain why Skirt (or Shield) - being not physically attached to the model itself also display a distortion of the layers containing solid infill. Mentioned phenomena also fits with observation that The Bulge is less prominent on smaller objects, and grows exponentially with scaling the object up - where timing between layer to layer also grows up. Added thermal mass of the solid infill laid on the hollow one also mess up thermal stability of the model.
What is unclear is why "External perimeters first" and slowing them down a lot in your example managed to solve the issue. Could theorize that making the external single perimeter to be laid slower allows it to become more physically stable - it became cooled down enough that further "awaiting" for next layer when solid infill is printed meanwhile do not affect it that much anymore. And next single perimeter laid upon it also is laid on the same mostly stable surface, and so on through whole height of the object. So whole game is about the consistency of the conditions on which next perimeters are laid. If we lay new perimeters over previous ones keeping 40C in the moment, and then want to lay another over one which cooled down to 25C - there will be a visible distortion.