Bad Quality and Warping in ASA prints
At the moment we are manufacturing a drone for Humanitarian Aid. Our choice of production is 3D printing. We have already succesfully printed a full drone in Prusament PETG.
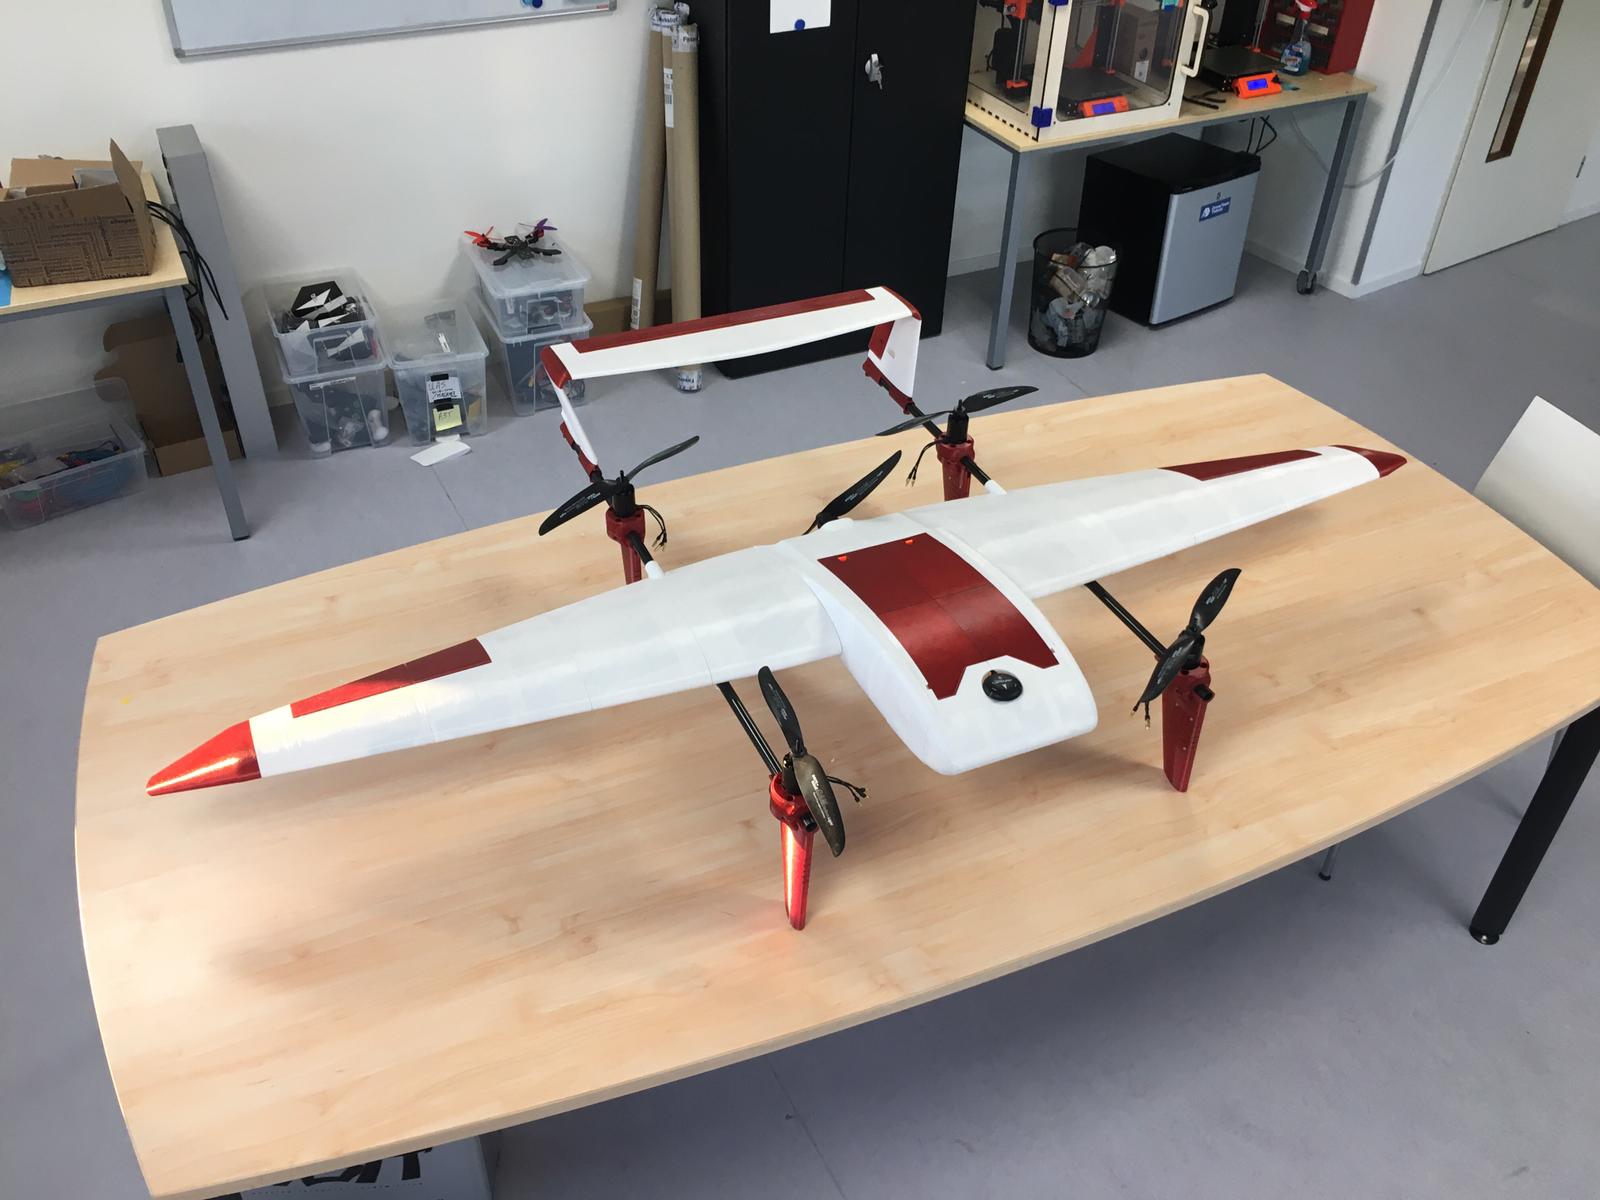
However we found that our drone is pretty heavy and would therefore like to step over to something lighter like Prusament ASA. However, we have found that the layer adhesion and quality of the overall prints have been pretty poor. Also it tends to warp a lot.
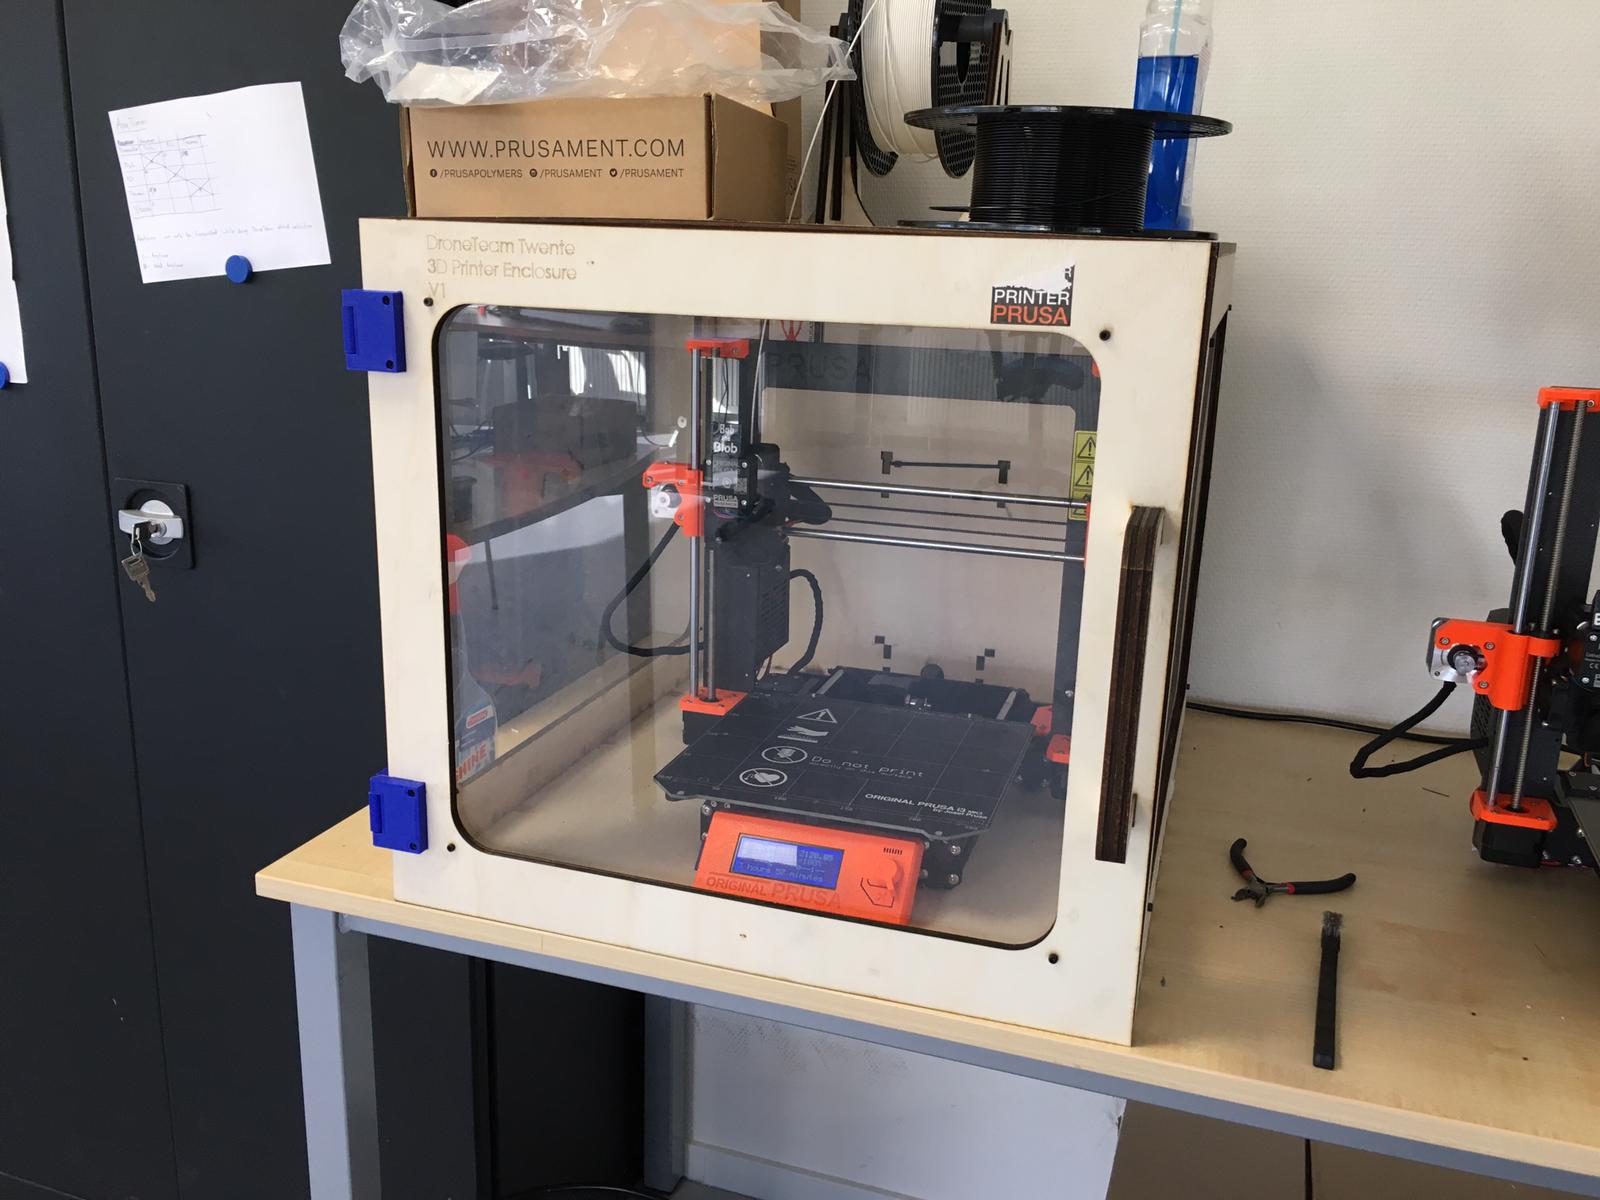
We are mostly printing thin walled pieces. For the ASA printing we have made an enclosure for our Prusa Mk3s which we tape shut ones we start printing to keep the inside as warm as possible.
We are using the standard setting from Prusa, with some small changes for making parts lighter.
Layer height: 0.15
Vertical shells: 2
Solid layers: top: 3; Bottom: 3
Brim: 10mm
Perimeters: 0.31mm
External Perimeters: 0.31mm
Nozzle: 0.4mm
These same settings were used when we printed the first prototype in Prusament PETG and the quality was found sufficient.
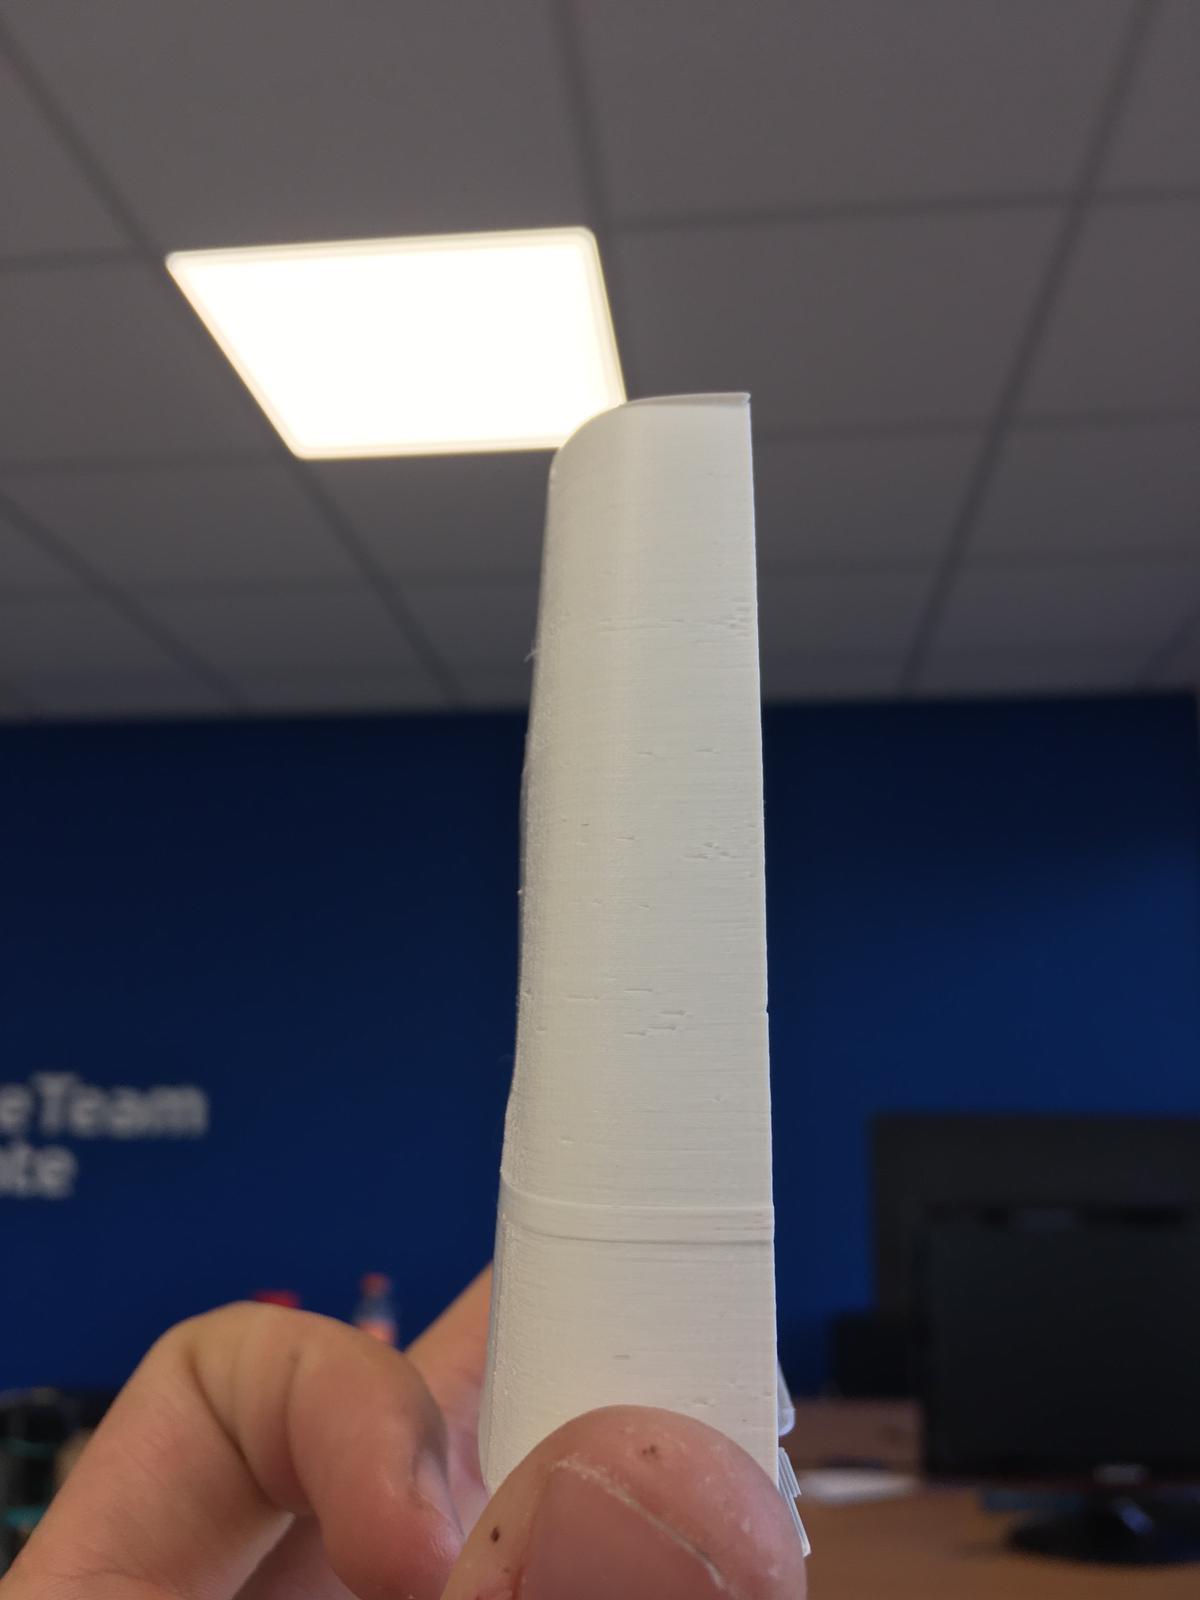
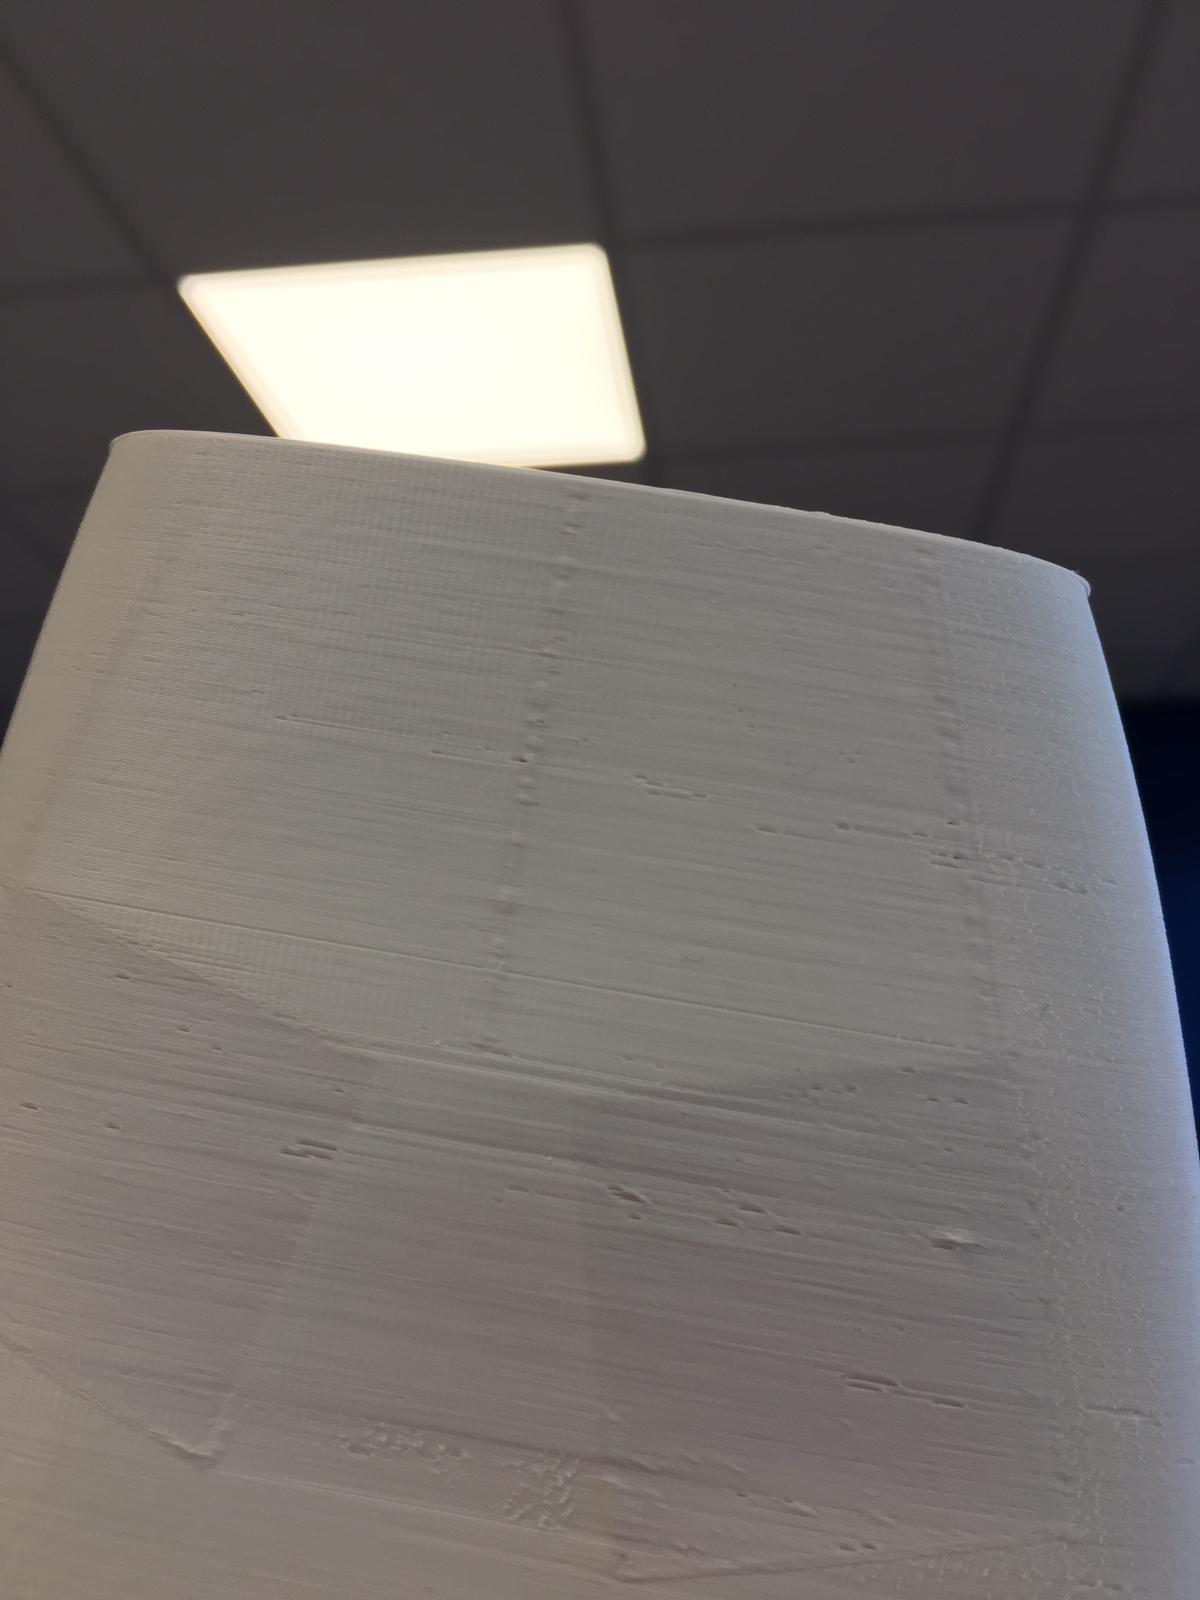
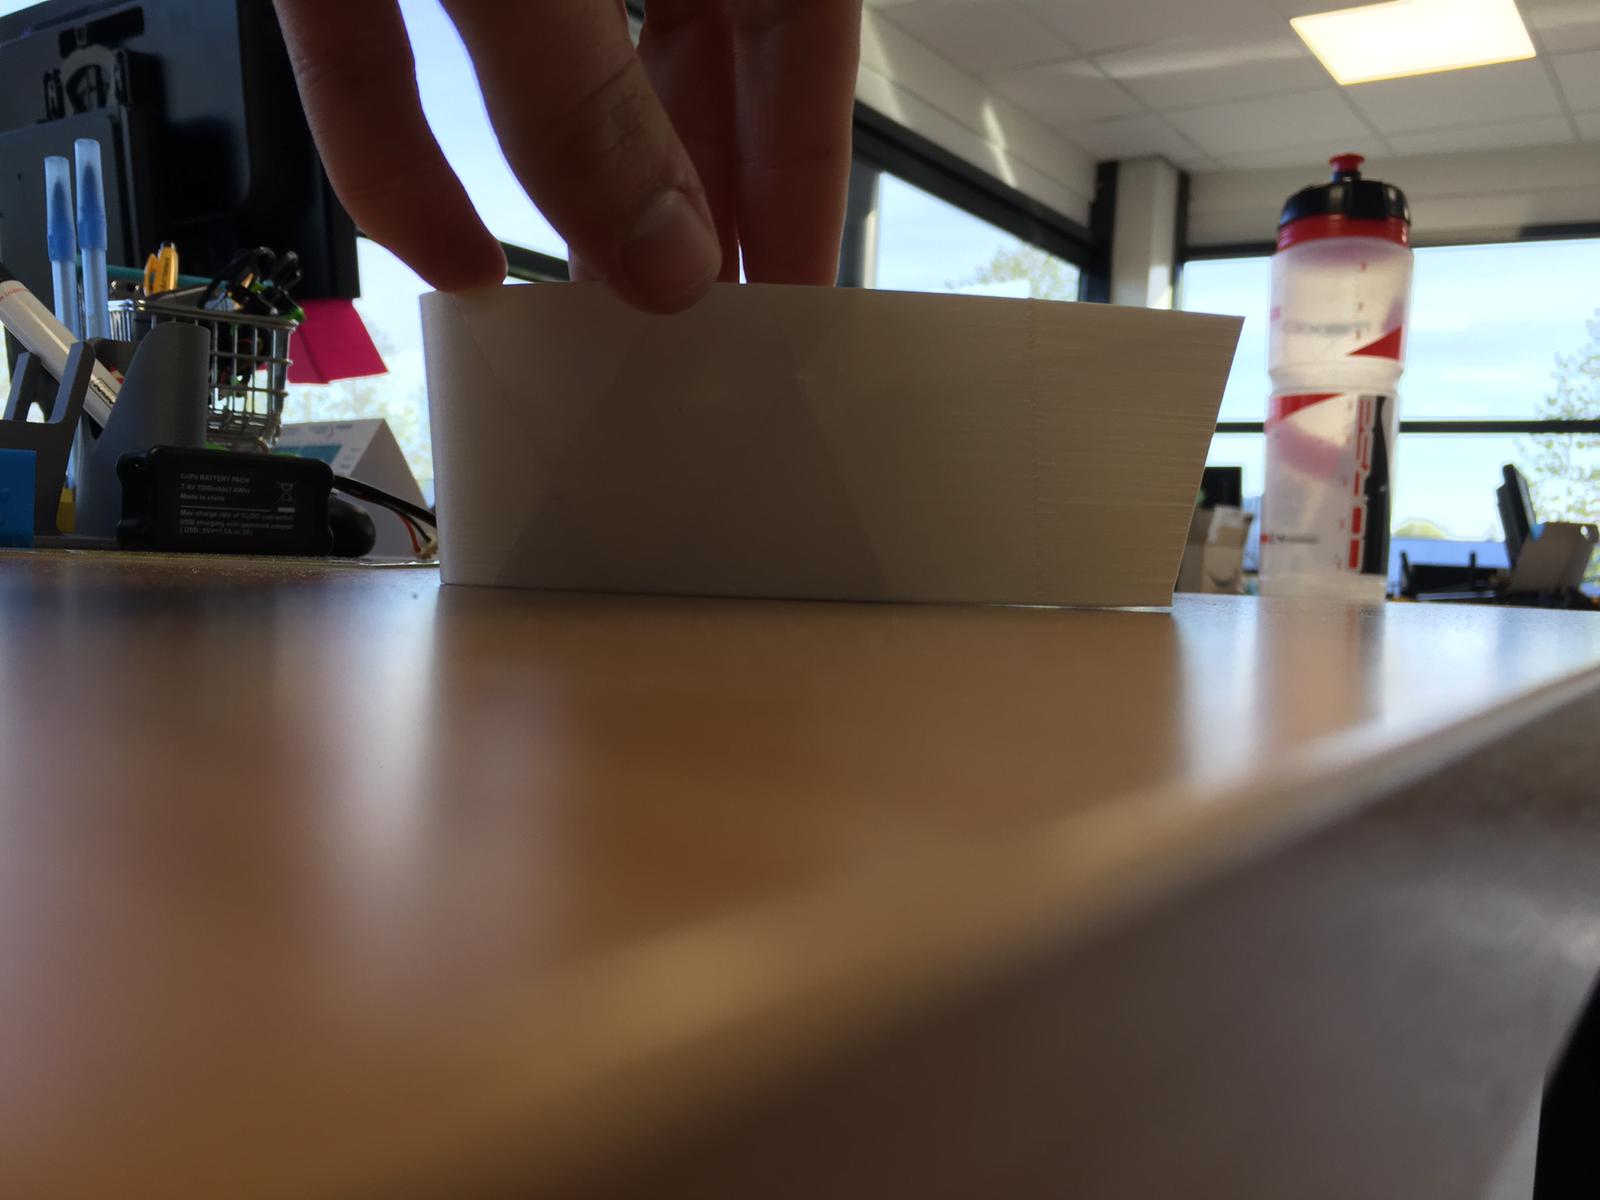
Below you can see the outcome in Prusament ASA, there is a pretty substantial warp in the sidewall and some ugly spots on random places. Other examples also show big warping on the bottom. Do you guys have suggestions how we could improve our print quality and stop the warping issues? Or are there more suitable materials we could better use.

RE: Bad Quality and Warping in ASA prints
Suggestions:
First, you seem to be under extruding a bit, my first thought is "heat creep" caused by the enclosure. (perhaps to much ambient heat)
As for the warping if your printing in an enclosure, for very tall objects (as tall as the printer can print) its a good idea to keep the air in the enclosure circulating gently so that the temp at the top is as even as possible with the temp near the bottom, and a controlled cooling of the part will help also, meaning a slow controlled reduction in temperature over time. (this can be done with the heat bed and g-code if other means are not available)
ASA warps less then ABS but it needs to be handled properly. Since it does warp some designs may call for this to be anticipated, this can mean adding relief slots or special shapes into the design to help mitigate the warping, relieving the pressure that builds up in the print as it progresses, and sometimes accepting that the object is going to warp and allowing extra material so that adjoining parts can be post processed to accommodate their joining, e.g.,, milling,sanding or cutting.
These are my thoughts, your warping does not look bad and I feel can be mitigated based on the information you provided.
Good luck to you I hope this helps
Swiss_Cheese
The Filament Whisperer
RE: Bad Quality and Warping in ASA prints
also, 0.35 is as low as I recommend printing your perimeters with a 0.4 nozzle
Regards
Swiss_Cheese
The Filament Whisperer
RE: Bad Quality and Warping in ASA prints
Have a look at this:
I know you can't blindly add this because of wind resistance, but maybe you can manually add some ridges to fight warping and make your print stronger (see below).

Having problems with bed adhesion every morning...
RE: Bad Quality and Warping in ASA prints
IF the two filaments are directly replaced you might get roughly 15% lighter, ASA / ABS are among the lightest printable filaments.
But
They might not have the best mechanical attributes for the task: OK it will always be a trade-off.
You don't say how many design iterations you have gone through or what optimisation has been done, perhaps you have been through all of this, but just in case:
Before you settle on the final filament (you might check out PC and technicals like CF fill) you should optimise for printing, not tweaking extrusion - yet (@swiss_cheese is right about perimeters and overheating), but by analysing the lay of fibre in your gcode:
* Are your thicknesses set so you get the desired numbers of layers at stress points and not in between, is any fill or interlayer in the right place?
* Are the threads laid down in directions such that the asymmetric stiffness and strength of printed parts is exploited usefully?
* Would it be useful to incorporateca non printed part into the structure (stiffening rod, tensioning wire, shock absorber)?
* Is the assembly optimised for easy/modular replacement of worn or damaged parts?
You may find significant redundant structure that will go a long way towards you weight goals.
How do you do this?
Start by studying the layers view in the slicer - you can see where every fibre will be laid.
Stress your prototypes unmercifully, where are the vulnerable points?
Watch/film while someone else, untrained, attempts to use one (sit on your hands and tape up your mouth, don't try to help - it's horrible but the information is invaluable.) Where did they stress/damage the design?
Work the results into the design, consider using @yveske's shape strengthening suggestions.
Do all this with cheap filament and only afterwards explore alternative filaments when you will have a better idea of the characteristics required:
Can you use a stiffer filament in thinner parts?
Or a lighter filament in a stronger shape?
Is UV resistance more important than waterproofing?
Is it better to make a weak, light but easily replaceable part than a strong heavy one?
Cheerio,