Anyone successfully printed the MK3S upgrade parts?
I'm thinking of printing the MK3S upgrade parts on my MK3 in PETG. I've downloaded the files and placed them on the Slic3er build plate and it looks like many of the models will need printing separately - some with supports, some without, some with enhanced bridging settings enabled, some without etc. I assumed Prusa would have designed them to be super easy to print with very little clean-up time needed after. Otherwise the kit including the printed parts for an additional £17 seems like a bit of a bargain due to the amount of time and hassle it'll save.
I was wondering if anyone has successfully printed the upgrade parts on their own MK3 (in PETG I assume?) and what settings they used?
Re: Anyone successfully printed the MK3S upgrade parts?
I haven't printed the MK3S parts yet, but I did print the R3 parts a few times. Sure, they require a little bit of slicer setup, but I'm willing to do that to ensure that the parts are as functional as possible. You can always setup Slic3r to print the entire plate of parts at once with part modifiers to only support the areas that need it vs bridges.
Re: Anyone successfully printed the MK3S upgrade parts?
If you are unsure about settings, just download the .gcode prusa provides. It consists of two prints and prints just fine.
I have't assembled the parts yet as Prua didn't ship the upgrade kit, but from what I can tell by inspecting the parts, everything looks perfectly fine.
Re: Anyone successfully printed the MK3S upgrade parts?
I printed them in PETG without any supports - no problem. Simply did in two plates.
One had all the parts starting with extruder in the name. The other had the remainder of parts.
Didn't need to do any manual reorientation. Just drag and dropped into Slic3r and clicked on arrange.
Amazon and Stronghero PETG came out nice with....
0.15 mm layers, 4 Perimeters, 5 top and bottom solid layers
40% Gyroid infill
External perimeters 25 <-- cleaner outer surface
Top solid infill 20 <-- nicer top finish
245c Nozzle/ 90c Bed
240c Nozzle/ 85c Bed first layer
Fan 40% min, 75% max
bridge fan 80%
You are looking about about 24 hours of print time.
Re: Anyone successfully printed the MK3S upgrade parts?
I printed my own variant of the mk3s parts, modded to use the old filament sensor. All done with a basic 0.15mm profile, no supports, in polycarbonate.
Re: Anyone successfully printed the MK3S upgrade parts?
Another vote here; worked fine for me using the "old sensor" mod; no supports required, came out perfect in AB PETG as well.
I did my fan shroud in PETG too as I don't have the setup to do ABS and PC is expensive for a roll just for one part. Printed some spares so I'll just replace it if it droops; so far so good with several more hours of PETG prints under its belt after the upgrade.
Re: Anyone successfully printed the MK3S upgrade parts?
Just finished printing 'Part 1' (8hrs 30min) using the provided gcode file. AFAICT, all parts are look very good. Used magenta PETG.
I noticed in other areas of the site that Prusa recommends BLACK color for all printer parts. Anyone know the reason for this?
TIA,
Frank
This was a requirement to prevent light interference with the old sensor. In theory it is no longer needed with the new one but they probably left it in to be certain. All that really needs to remain black is the little lever with the magnet in it.
Re: Anyone successfully printed the MK3S upgrade parts?
This was a requirement to prevent light interference with the old sensor. In theory it is no longer needed with the new one but they probably left it in to be certain. All that really needs to remain black is the little lever with the magnet in it.
Thanks!
Frank
Re: Anyone successfully printed the MK3S upgrade parts?
Thanks very much everyone. I'll give it a go with my black PETG using the gcode files this evening. I'm in no rush to perform the upgrade so I'll probably order the sensor and metal fixings from a Chinese supplier to save a little money - and probably delivery time. 😉
I just went with the thingiverse model for the old sensor; been working fine so far, no new parts required apart from a bearing 🙂
Re: Anyone successfully printed the MK3S upgrade parts?
As the file takes 8 odd hours to complete I thought I better start. I prepped my MK3 and loaded up the Prusa GCode file but I seem to be having a couple of issues.
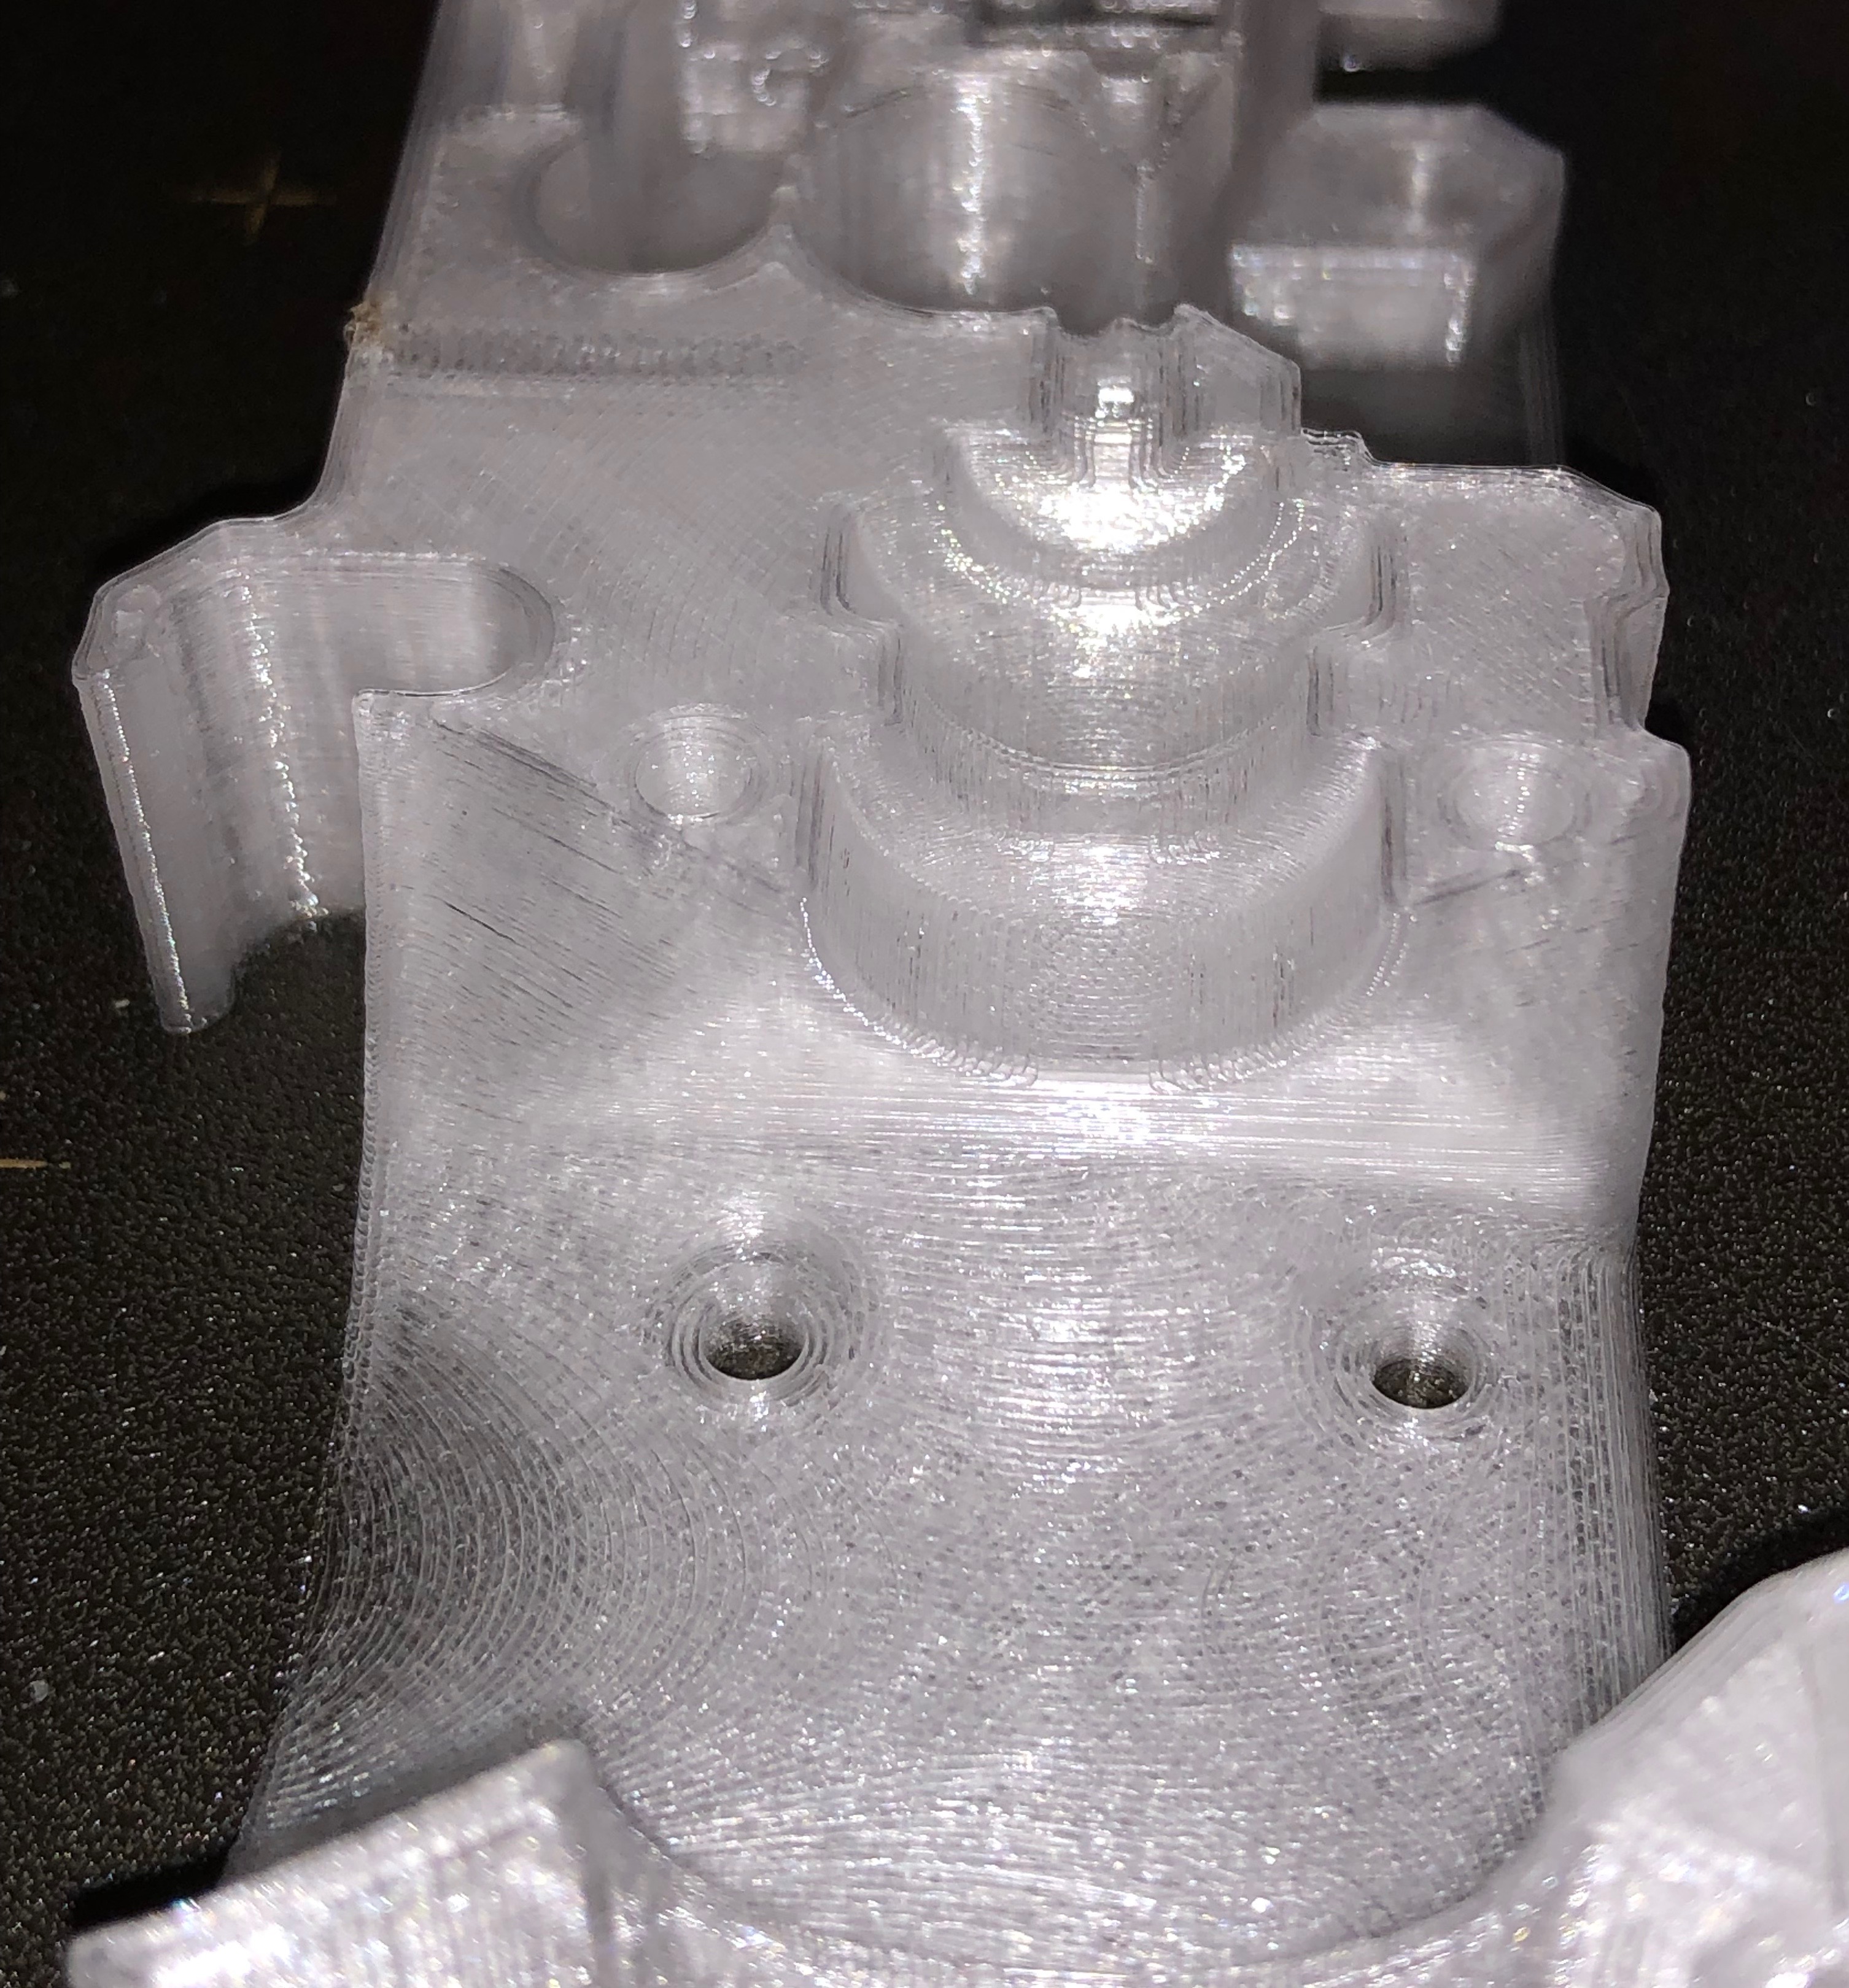
Sorry if these seem like simple issues or daft questions (!) but, the G-Code file seems to print faster than my printer is happy to put down the PETG. I've had to slow it down to 80 speed in order to ensure the filament (especially small circles) adheres to the bed correctly. I 'think' my Z values are good so I don't 'think' the distance of the nozzle from the bed is the cause, but I'm not 100% certain.
Also, the filament isn't always laying down right up the perimeter of a pre-printed line - especially those problematic smaller circles I was mentioning. If I keep printing the later layers lay over the missing areas but I'd like to have the first layer print perfectly really!
As you can see from the colour of the steel sheet I've attempted this more than once with similar results although the newer (black) build plate does seem to provide a better print. And I can't help but notice all the little pin dots on my original gold build sheet. Could it be that the PEI has lost its stickiness on the older sheet and that's why the filament isn't sticking? Or is my nozzle still slightly too far away from the print surface? Or is it something else entirely?
Oh, and just incase it's relevant I've now had to slow the second layer down to 76 to stop filament gloop building up round the nozzle etc.
Re: Anyone successfully printed the MK3S upgrade parts?
Looks good randolph.l. I printed a set over night using Prusa's G Code file but I had to change the print speed (during print) to get it to print successfully. 76% speed for the first pass and 78% for the rest of the print worked well. Any faster and the nozzle got blobbed as the filament wouldn't go down successfully, which would lead to excessive stringing.
To resolve the problem of the holes around the circles (where the filament hadn't gone down) I used a brand new PEI sticker. So I think my issues were mainly attributed to the PETG filament and the PEI sticker sheet. The PETG has been stored in a pitch black 'air tight' case since being opened about six months ago. But maybe it still managed to get moisture in it. Or maybe the PETG (Hobbyking Premium Filament) is just not that great? And when it comes to the filament not sticking I think that was just due to a year old PEI sticker sheet that looks great but has lost its excellent sticking capabilities.
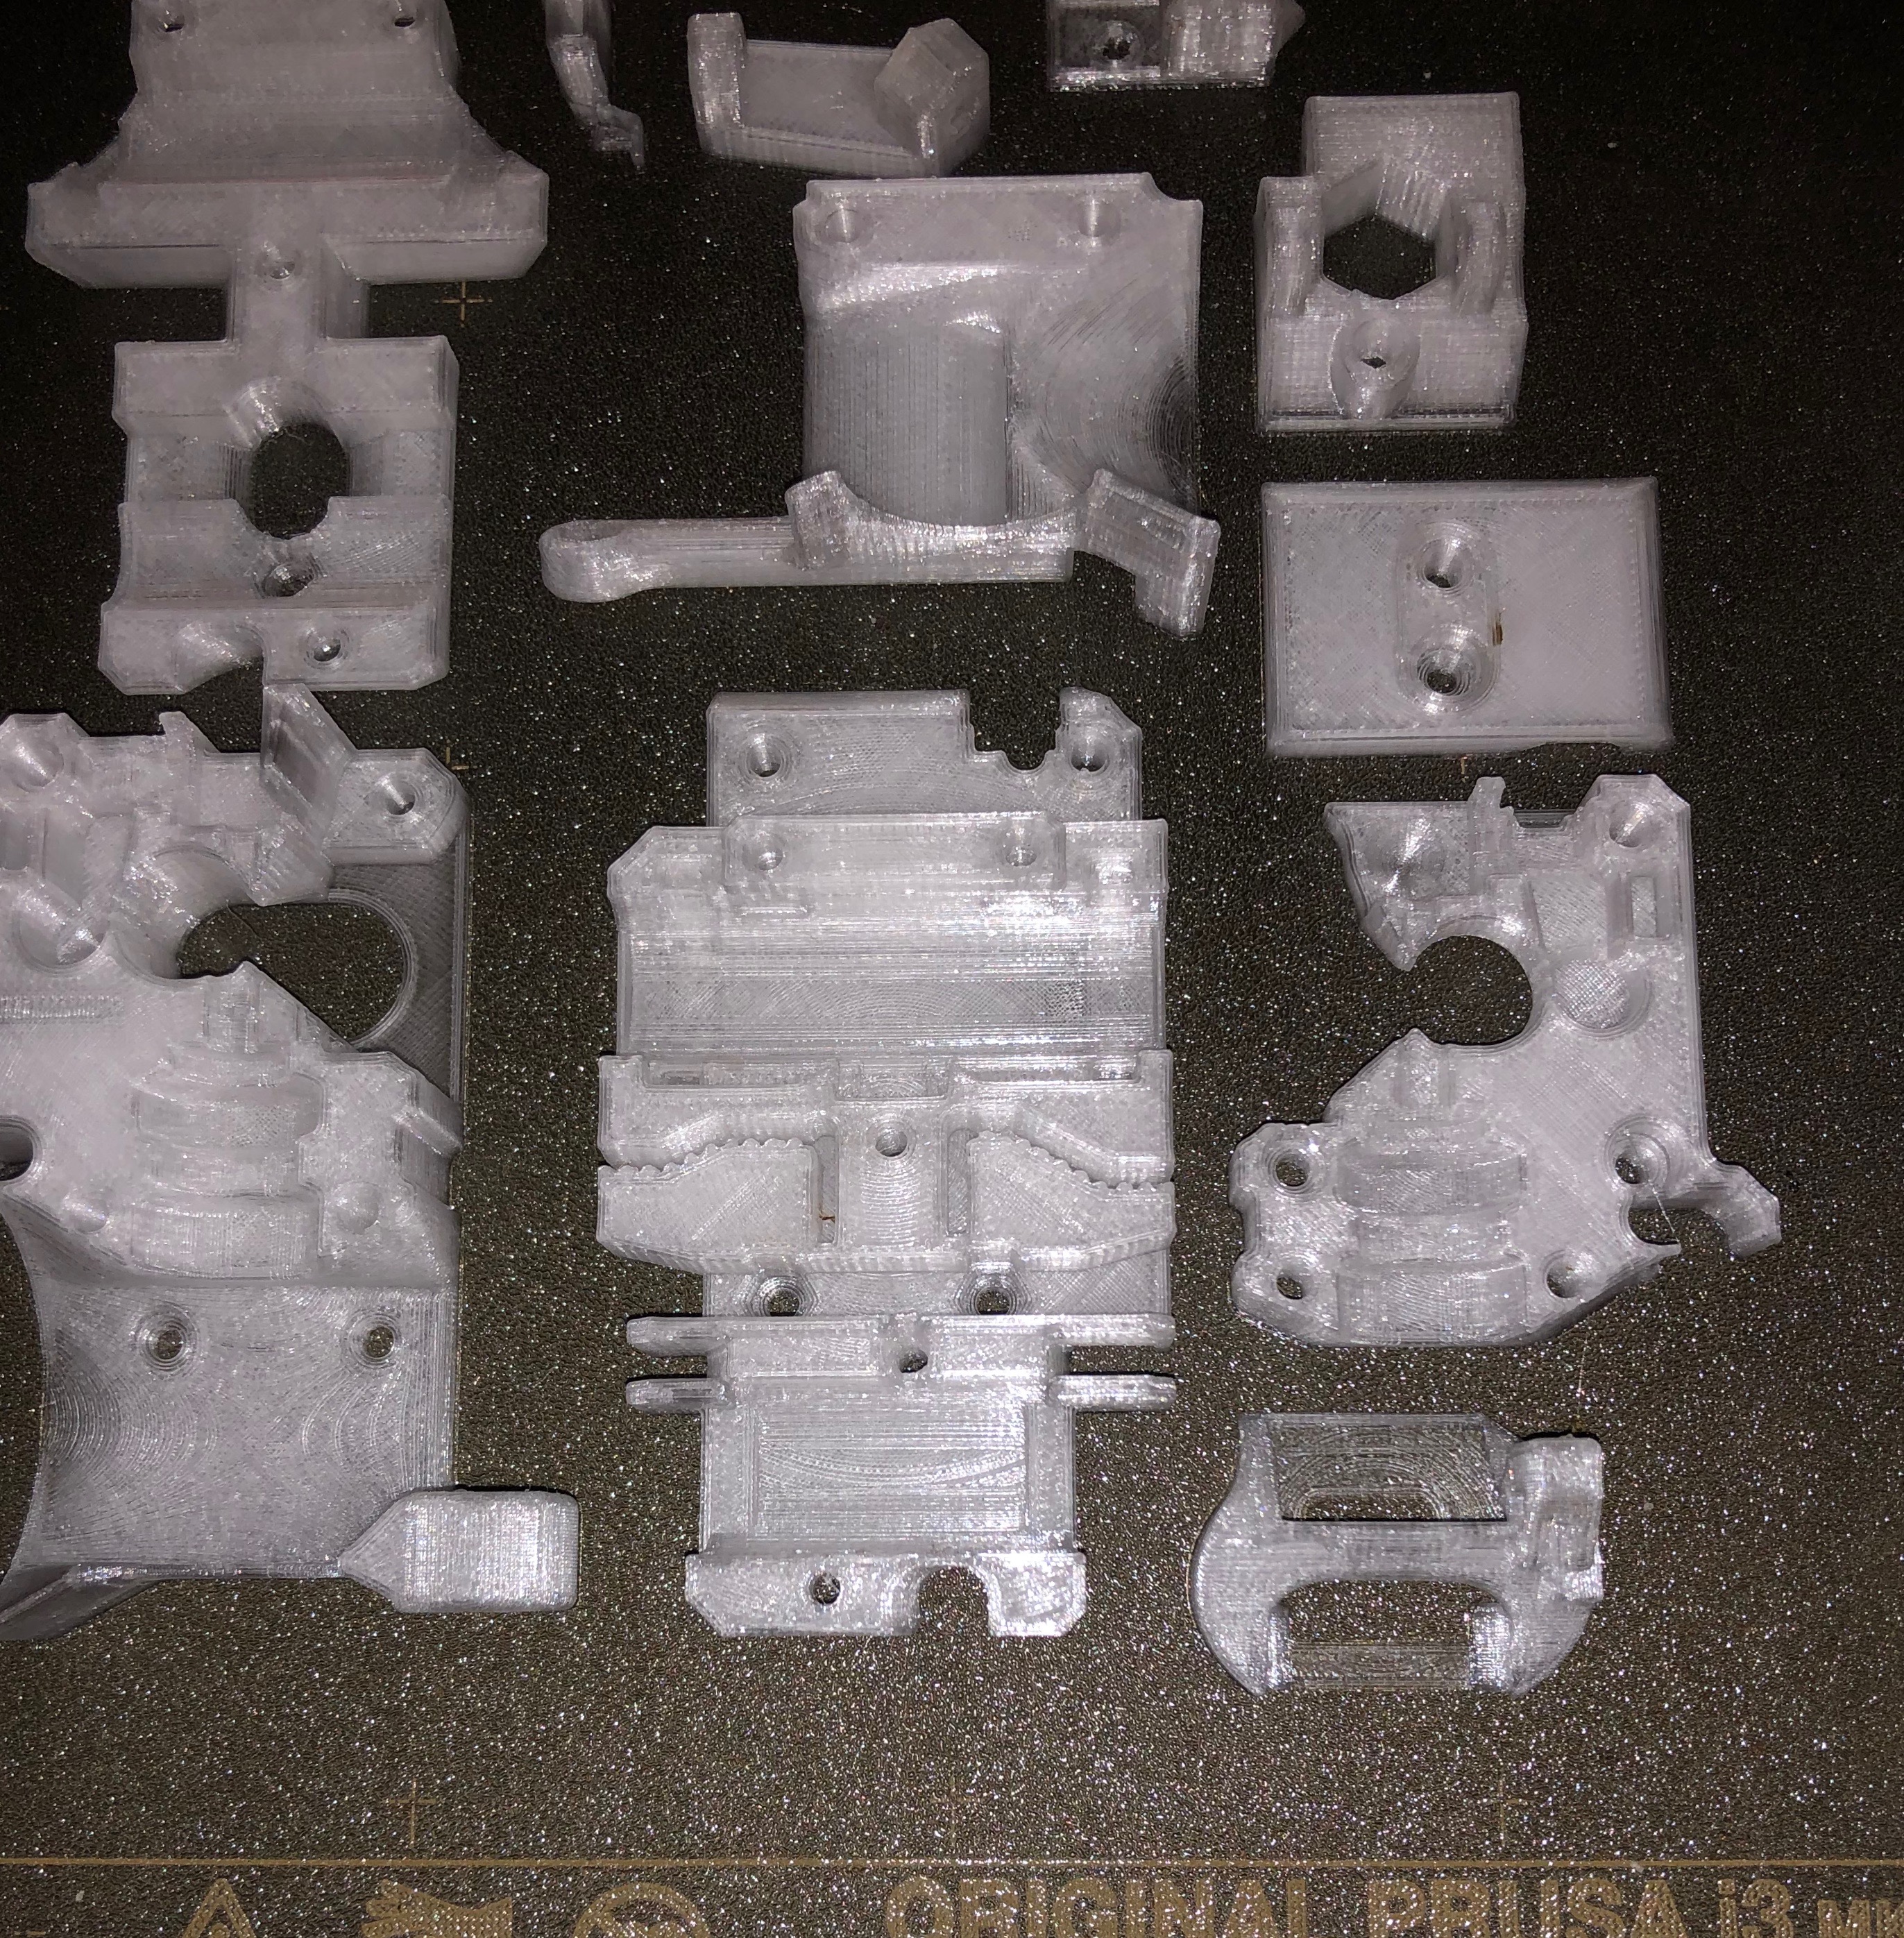
Pic of last night's print:
Re: Anyone successfully printed the MK3S upgrade parts?
The new issue (uncovered during this print) that I've just discovered is with the PEI sticker sheet. As I mentioned it's a brand new pre-stickered steel sheet that I recently bought from Prusa. My previous steel sheet (that came with the printer) had a gold sticker on it, and that suffered tiny pin sized bubbles when heated. But, after just one print (shown above) the newer black sticker has bubbled with bubbles from 5mm - 8mm across! And they won't go flat again even with heating and careful persuasion. What's up with that?!
Not happy about that having just spent £30 on it. Also, whilst I thought I'd like the black finish, the gold was actually a better colour and finish as it made progress and any potential issues easier to see and spot during printing.
Ah well. Only constructive moaning/criticism as its still a very good printer.
That's normal. Flip the sheet over between prints and move prints around so they are not in the same place will help it go away faster. It'll happen less once the new sheet is worn in a bit and isn't quite as sticky anymore.
Re: Anyone successfully printed the MK3S upgrade parts?
That's normal. Flip the sheet over between prints and move prints around so they are not in the same place will help it go away faster. It'll happen less once the new sheet is worn in a bit and isn't quite as sticky anymore.
Many thanks. Additional heating and a little time seems to have flattened the bubbles out of the newer Black PEI sheet sticker mostly ok. It's still raised and a little flabby in a few areas though. This literally never happened with my gold PEI sheets?
And another issue with the newer black version PEI sticker is that previous prints are showing as ghosting on newer prints!? I printed two 3 inch x 5 inch flat panels in PETG after printing the Prusa R4 parts and I can see outlines of the Prusa parts in the black filament! This is after a full and thorough clean of the PEI sticker with rubbing alcohol, and then acetone!
It tends to suggest the newer black version is inferior, which is a shame.
Re: Anyone successfully printed the MK3S upgrade parts?
Pei bonds to petg. Are you using windex?
Re: Anyone successfully printed the MK3S upgrade parts?
Only an FYI: I printed the new parts in Amazon PETG; and the PETG would not stick at all if I used Windex. I resorted to using a (ARGH!?!) clean bed. The PETG actually came off after a few minutes in the freezer and left the PEI intact. Go figure. Other PETG I've used required a coat of Windex or two to make removal possible.
I loaded the gcode given by Prusa ... and it worked well once I got the Amazon Black PETG to stick. For fun, I resliced the stls at 0.15 and printed a spare set. They also came out fine. The Prusa parts came in, and look better than what I printed. Haven't torn my printer down, so I can't compare fitment, yet.
Re: Anyone successfully printed the MK3S upgrade parts?
Looks good randolph.l. I printed a set over night using Prusa's G Code file but I had to change the print speed (during print) to get it to print successfully. 76% speed for the first pass and 78% for the rest of the print worked well. Any faster and the nozzle got blobbed as the filament wouldn't go down successfully, which would lead to excessive stringing.
To resolve the problem of the holes around the circles (where the filament hadn't gone down) I used a brand new PEI sticker. So I think my issues were mainly attributed to the PETG filament and the PEI sticker sheet. The PETG has been stored in a pitch black 'air tight' case since being opened about six months ago. But maybe it still managed to get moisture in it. Or maybe the PETG (Hobbyking Premium Filament) is just not that great? And when it comes to the filament not sticking I think that was just due to a year old PEI sticker sheet that looks great but has lost its excellent sticking capabilities.
Pic of last night's print:
3.jpg
Nathan,
I had a similar experience with another PETG print of mine. It's not the actual print speed that is the problem, but the INFILL speed that is typically a lot higher when you use the default settings (at least in Cura). Therefore I simply reduced the infill speed to be about 50% higher than the print speed for inner and outer walls, etc. That worked fine and all my PETG parts print without a problem now.
Just in case you were still wondering.
Reducing the overall print speed can have a significant impact on the print time, therefore I focused in the infill speed.
3D Druck für Einsteiger leicht gemacht: www.3d-druck-lernen.de
