Add a block under Letters and Print in 2 colors
Hello All,
As a new owner of aMKS3 and a newbee to 3D printing I have printed several dowloaded items without any real issues. I want to create a name plate so I purchased some letters and added them to a slicer file. The letter printed great, but I want to add a block for the letters to sit and print on so it can sit on a desk. I have no idea how to add the block and put the letters on top. Also want to print Block in White and letters in Red. Any help would be appreciated. Tried to add the stl and 3mf but is wont allow me to add it.
RE: Add a block under Letters and Print in 2 colors
To attach those sort of files you need to zip them into an archive before the forum will let you attach them.
There are a couple of ways to do multicolour prints with a single extruder but it sounds like you want the letters to be raised up above the plate rather than flush - yes ?
In which case you add the base block to the print plater. Then you right click on the base and select add part>load and select the text you want to add. You can then position/resize the text to where you want it. Once that is done you then go into preview mode (so slice the file).
On the right you will see the layer slider, slide it down till its at the first or second layer of the text and then click the little hexagon with a plus symbol on the layer slider. That will add a colour change M600 command into the gcode when sliced at that layer height. When sliced and printed on a printer that supports M600 (which as you are posting in the MK3 forum I assume you have) then when it gets to that layer the printer will pause, move the extruder and prompt you to unload the filament and load a new colour in.
When it loads in the new colour just grab the purged filament with some tweezers (dont pull it off) and when you confirm the colour is correct it will go back to printing, it will purge a bit more filament as it moves back so if you are still holding the filament it will pull that extra bit off the nozzle leaving it clean for when it resumes printing. The upper layers will now print in your new colour which in this case will be your letters.
Once you get the hang of it, it becomes pretty easy.
RE: Add a block under Letters and Print in 2 colors
@neophyl
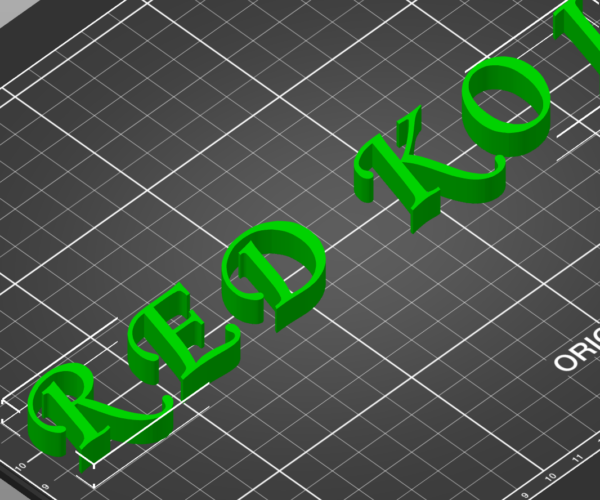
Yes I want the letters raised above and attached to the block. Im not sure how to add the block in slicer? I have hopefully added the file.RED KOI.3mf
RE: Add a block under Letters and Print in 2 colors
Hi John,
it looks like Your letters are slightly out of line, the R seems to be lower than the K
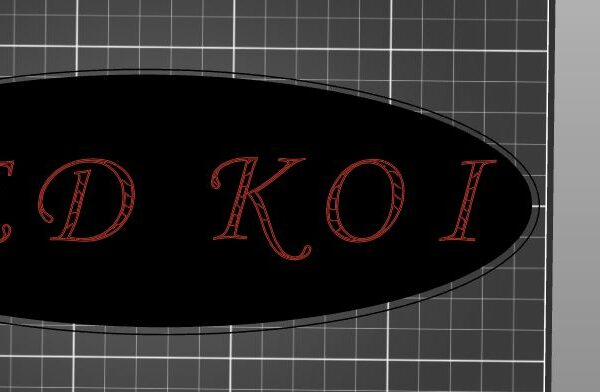
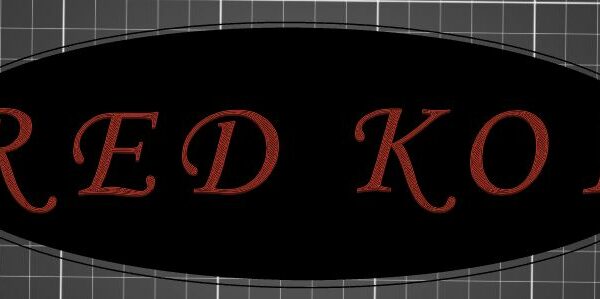
I have used Prusa Slicer to add an oblong backing and an oval backing. I think the oval backing looks best because it disguises the letters being out of line better.
In both instances I right clicked on the build plate, first time I added a cylinder... this was too tall, and too small in the other dimensions
I clicked on the cube, and used the 'CUT' command to cut the cube at the 5mm level, and set it to keep only the bottom part,
this created a square slab, on the build plate,
I manouvred this to the centre of the letters and used the 'Scale' tool, to make the back panel, wider (X Axis) (note it expands equally in both directions)
and then increased the size in the Y axis until the panel was the right size foe the letters, then I used the 'Move' command to centre the panel under the letters in both X and Y axis...
at this point, you could slice the model, but the printer would try and print both the backing and the letters, (Two Models) in the same space, causing over extrusion.
so if you export the 'Plate' as an STL ,
then delete the original files, then re import the new STL, the Slicer / printer will consider it to be one model
If you now slice the model you will get a model in a single colour. If you move theSlider down the right hand side of the sliced window, 
you will see a + symbol next to the slider, if you click on the + symbol at a height above 5mm, the text will be hilighted in a new colour,
this shows that the slicer will insert an M600 code to cause a filament change, at this level.
the oval background was caused by using a cylinder instead of a Cube.
regards Joan
I try to make safe suggestions,You should understand the context and ensure you are happy that they are safe before attempting to apply my suggestions, what you do, is YOUR responsibility.Location Halifax UK
RE: Add a block under Letters and Print in 2 colors
Thank you Joan for the help. So just a few follow ups, if I scale it up larger is there a way to change the first color to say 6.00 mm and second color to 6.15 mm? I'm still confused as to how you placed the build plate, are you drawing it on another program then bringing it into the slicer?
RE: Add a block under Letters and Print in 2 colors
@john-caprio
You might want to consider using free 3D modeling SW like Microsoft 3D Builder to construct a merged .Stl file with all the refinements you desire. It also has a useful set of fonts that can be embossed on surfaces.
RE: Add a block under Letters and Print in 2 colors
You might be interested by https://forum.prusa3d.com/forum/original-prusa-i3-mk3s-mk3-user-mods-octoprint-enclosures-nozzles-.../simple-way-to-print-in-real-multi-color-without-mmu-or-layer-height-based-changes/ . It's a long thread but worth the time.
RE: Add a block under Letters and Print in 2 colors
@towlerg
Thank you

