Unable to remove the heat sink
Unable to remove the heat sink
Hi,
I have a MK3 I purchased assembled and I had a clog in my heat sink and I'm almost sure I need to remove it to clean it. I'm not able too and I'm not sure if I just need to apply more force or if it will break if I do.
Let me please first explain the clog:
I'm sure the clog is not on the nozzle because the acupunture needle goes all the way up without any problem when the nozzle is hot.
At the moment there is no filament upwards of the heat sink.
I tried the following:
I Removed the heat sink fan and heating the hot end to 250º, waited for a bit so the heat sink got hot and pushed with a PETG piece of filament from the top part of the printer.
The filament piece got as far as the heat sink and stuck there. I tried to push as hard as I could and nothing came out.
Then i decided to remove the heat sink with the intention of heating it apart from the machine until the PLA inside it melted.
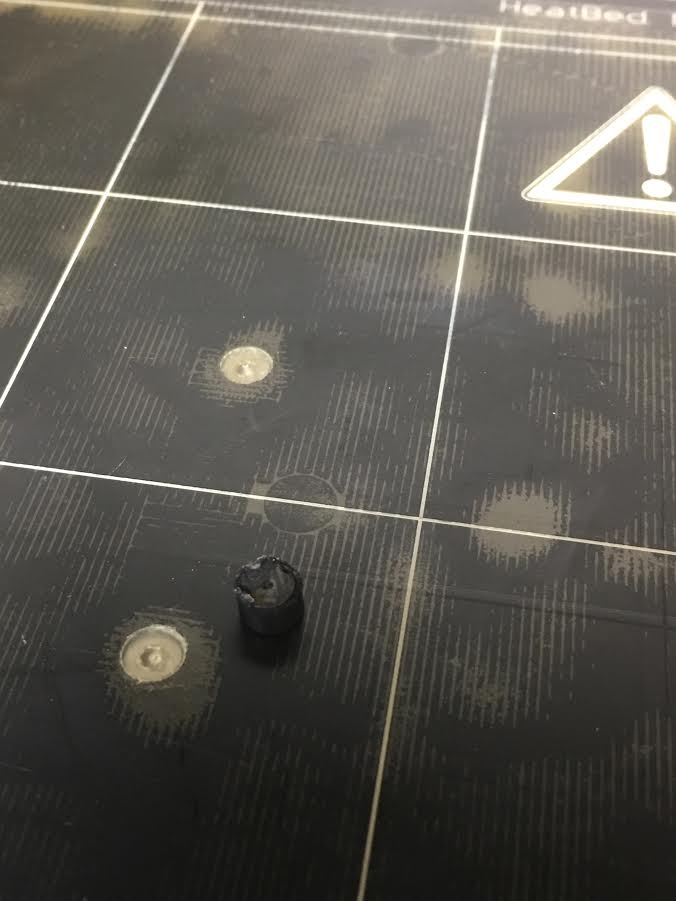
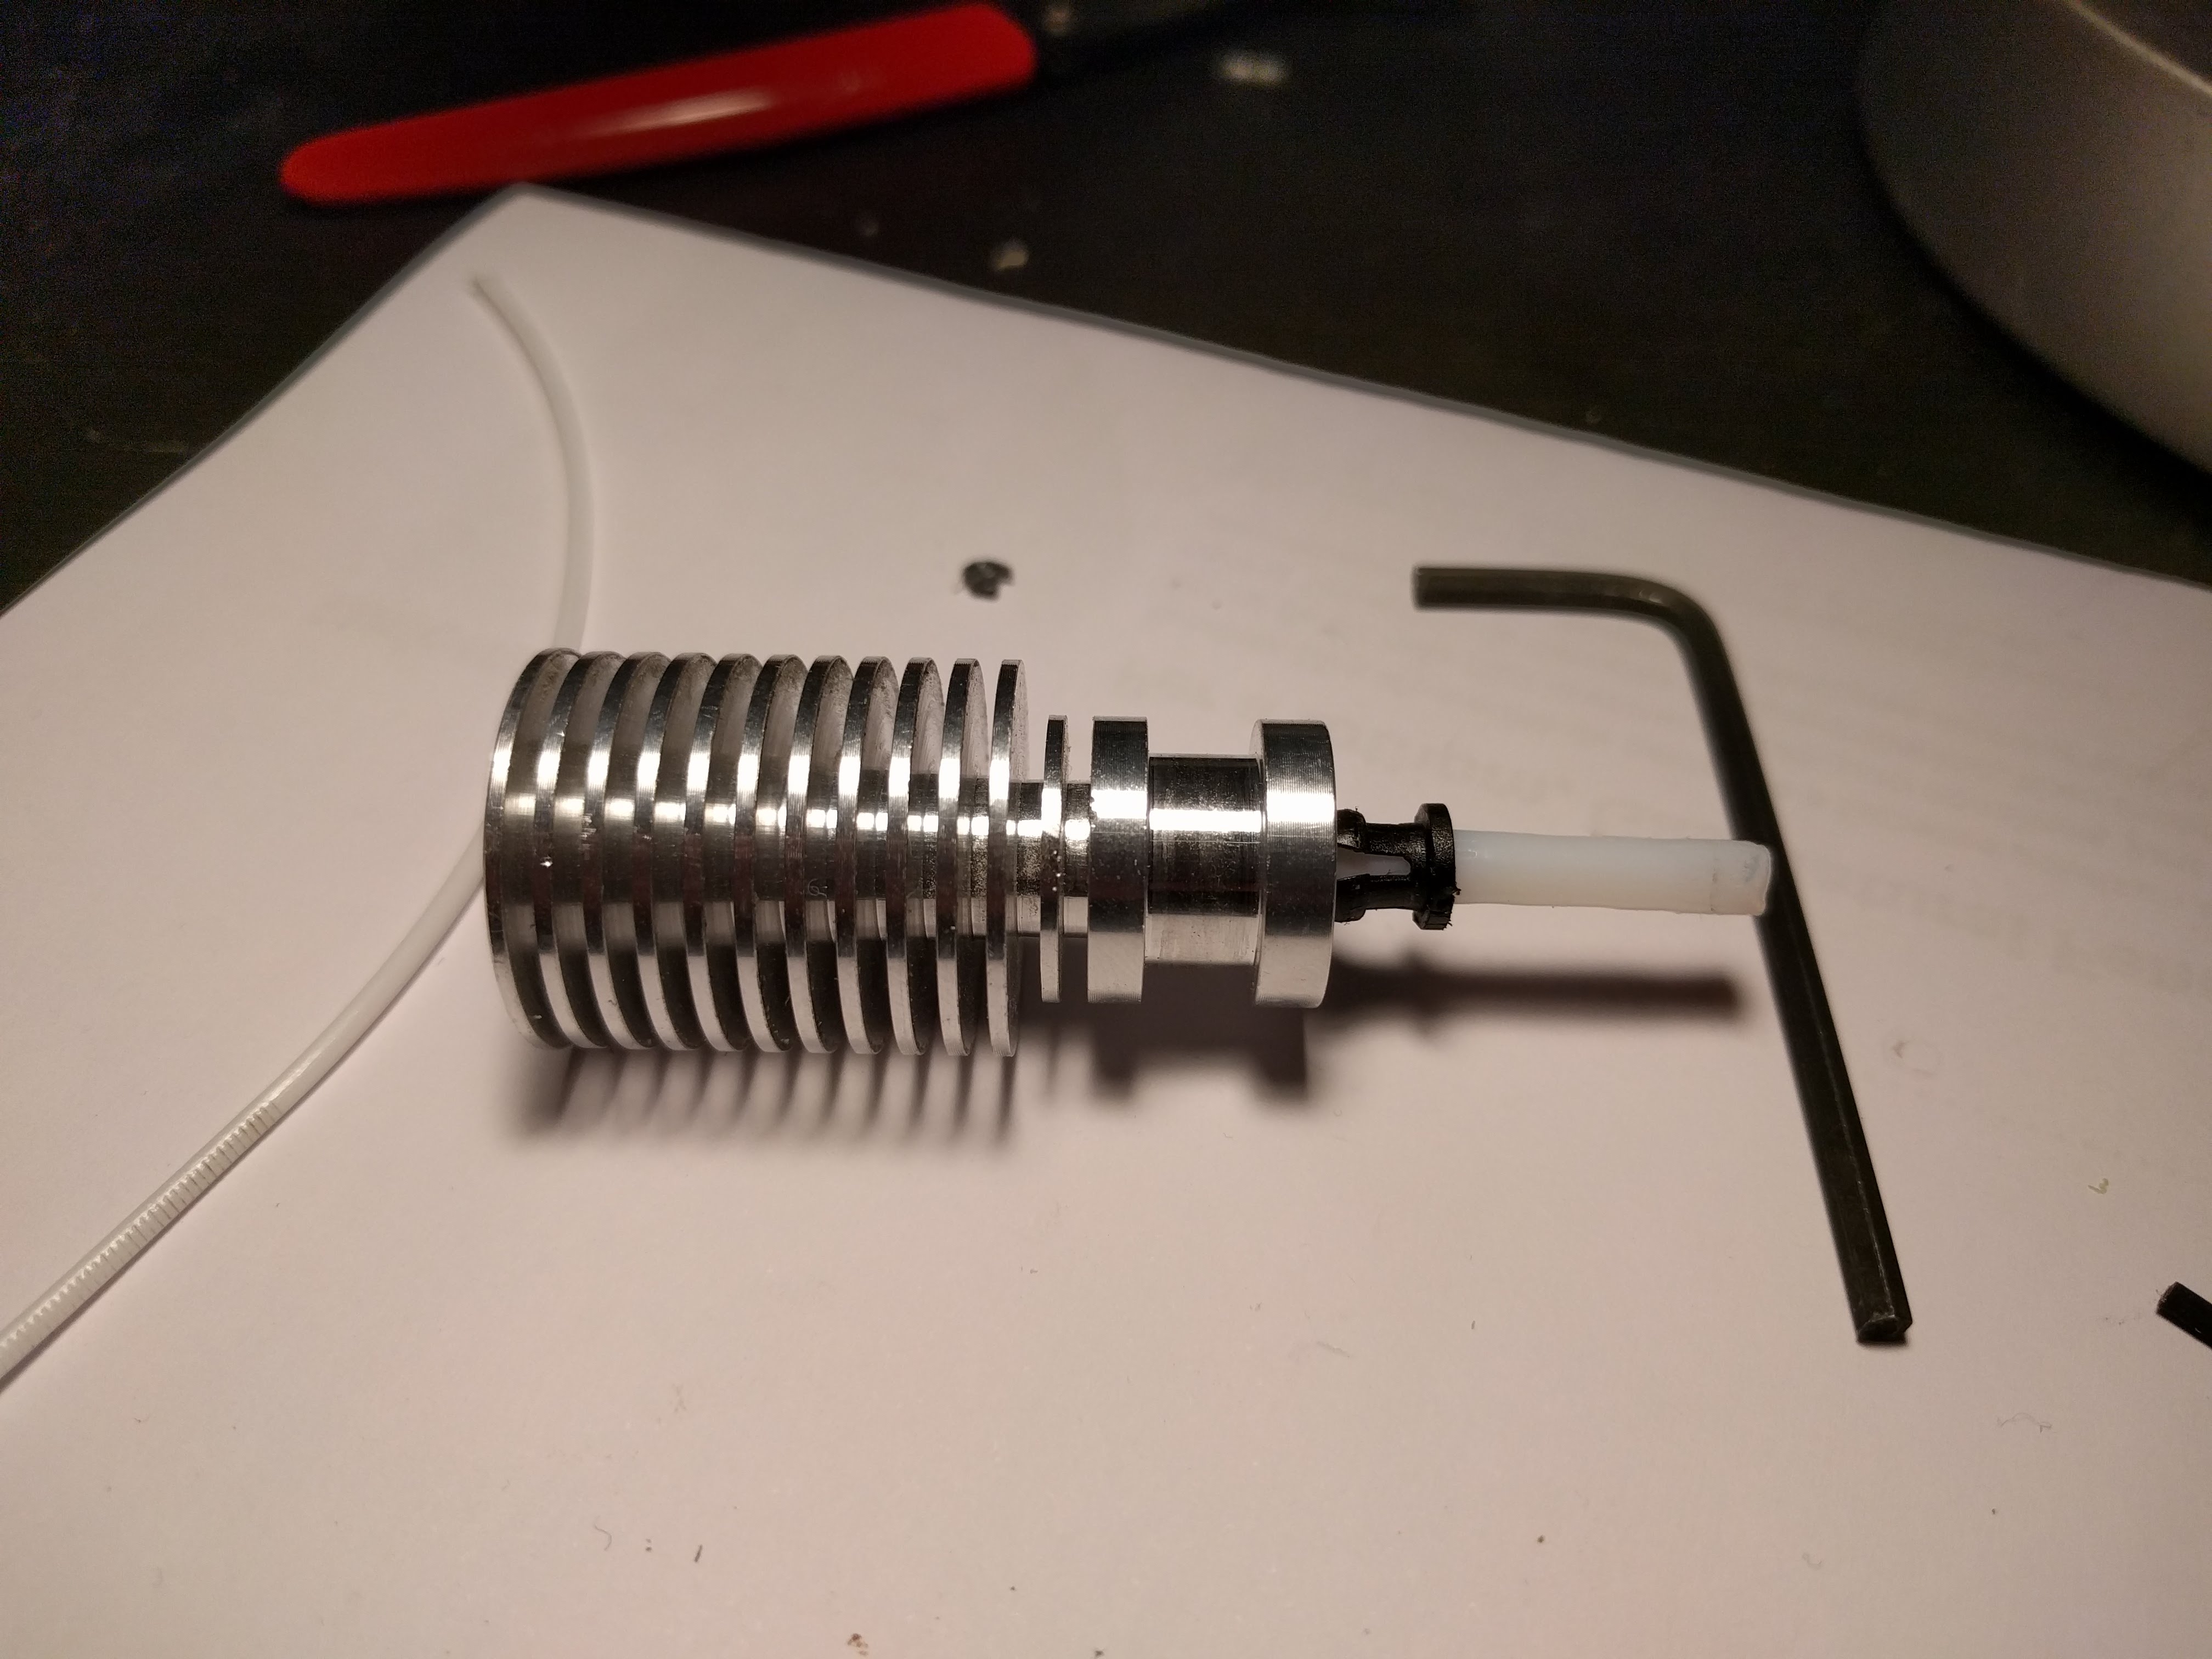
Right now my machine looks like this:
I'm trying to pull the heat sink but with a moderate force it's not coming out.
I've read the corresponding assembly manual sections and watched Thomas Sanladerer assemble this particular piece a dozen times now and it seems to just slide.
Here there is a video of mi trying to move the piece free
Questions:
* Should I pull harder?
* Is there any other technique I should try to remove the plastic that seems to bee inside the heat sink?
Thanks a lot!
Notes:
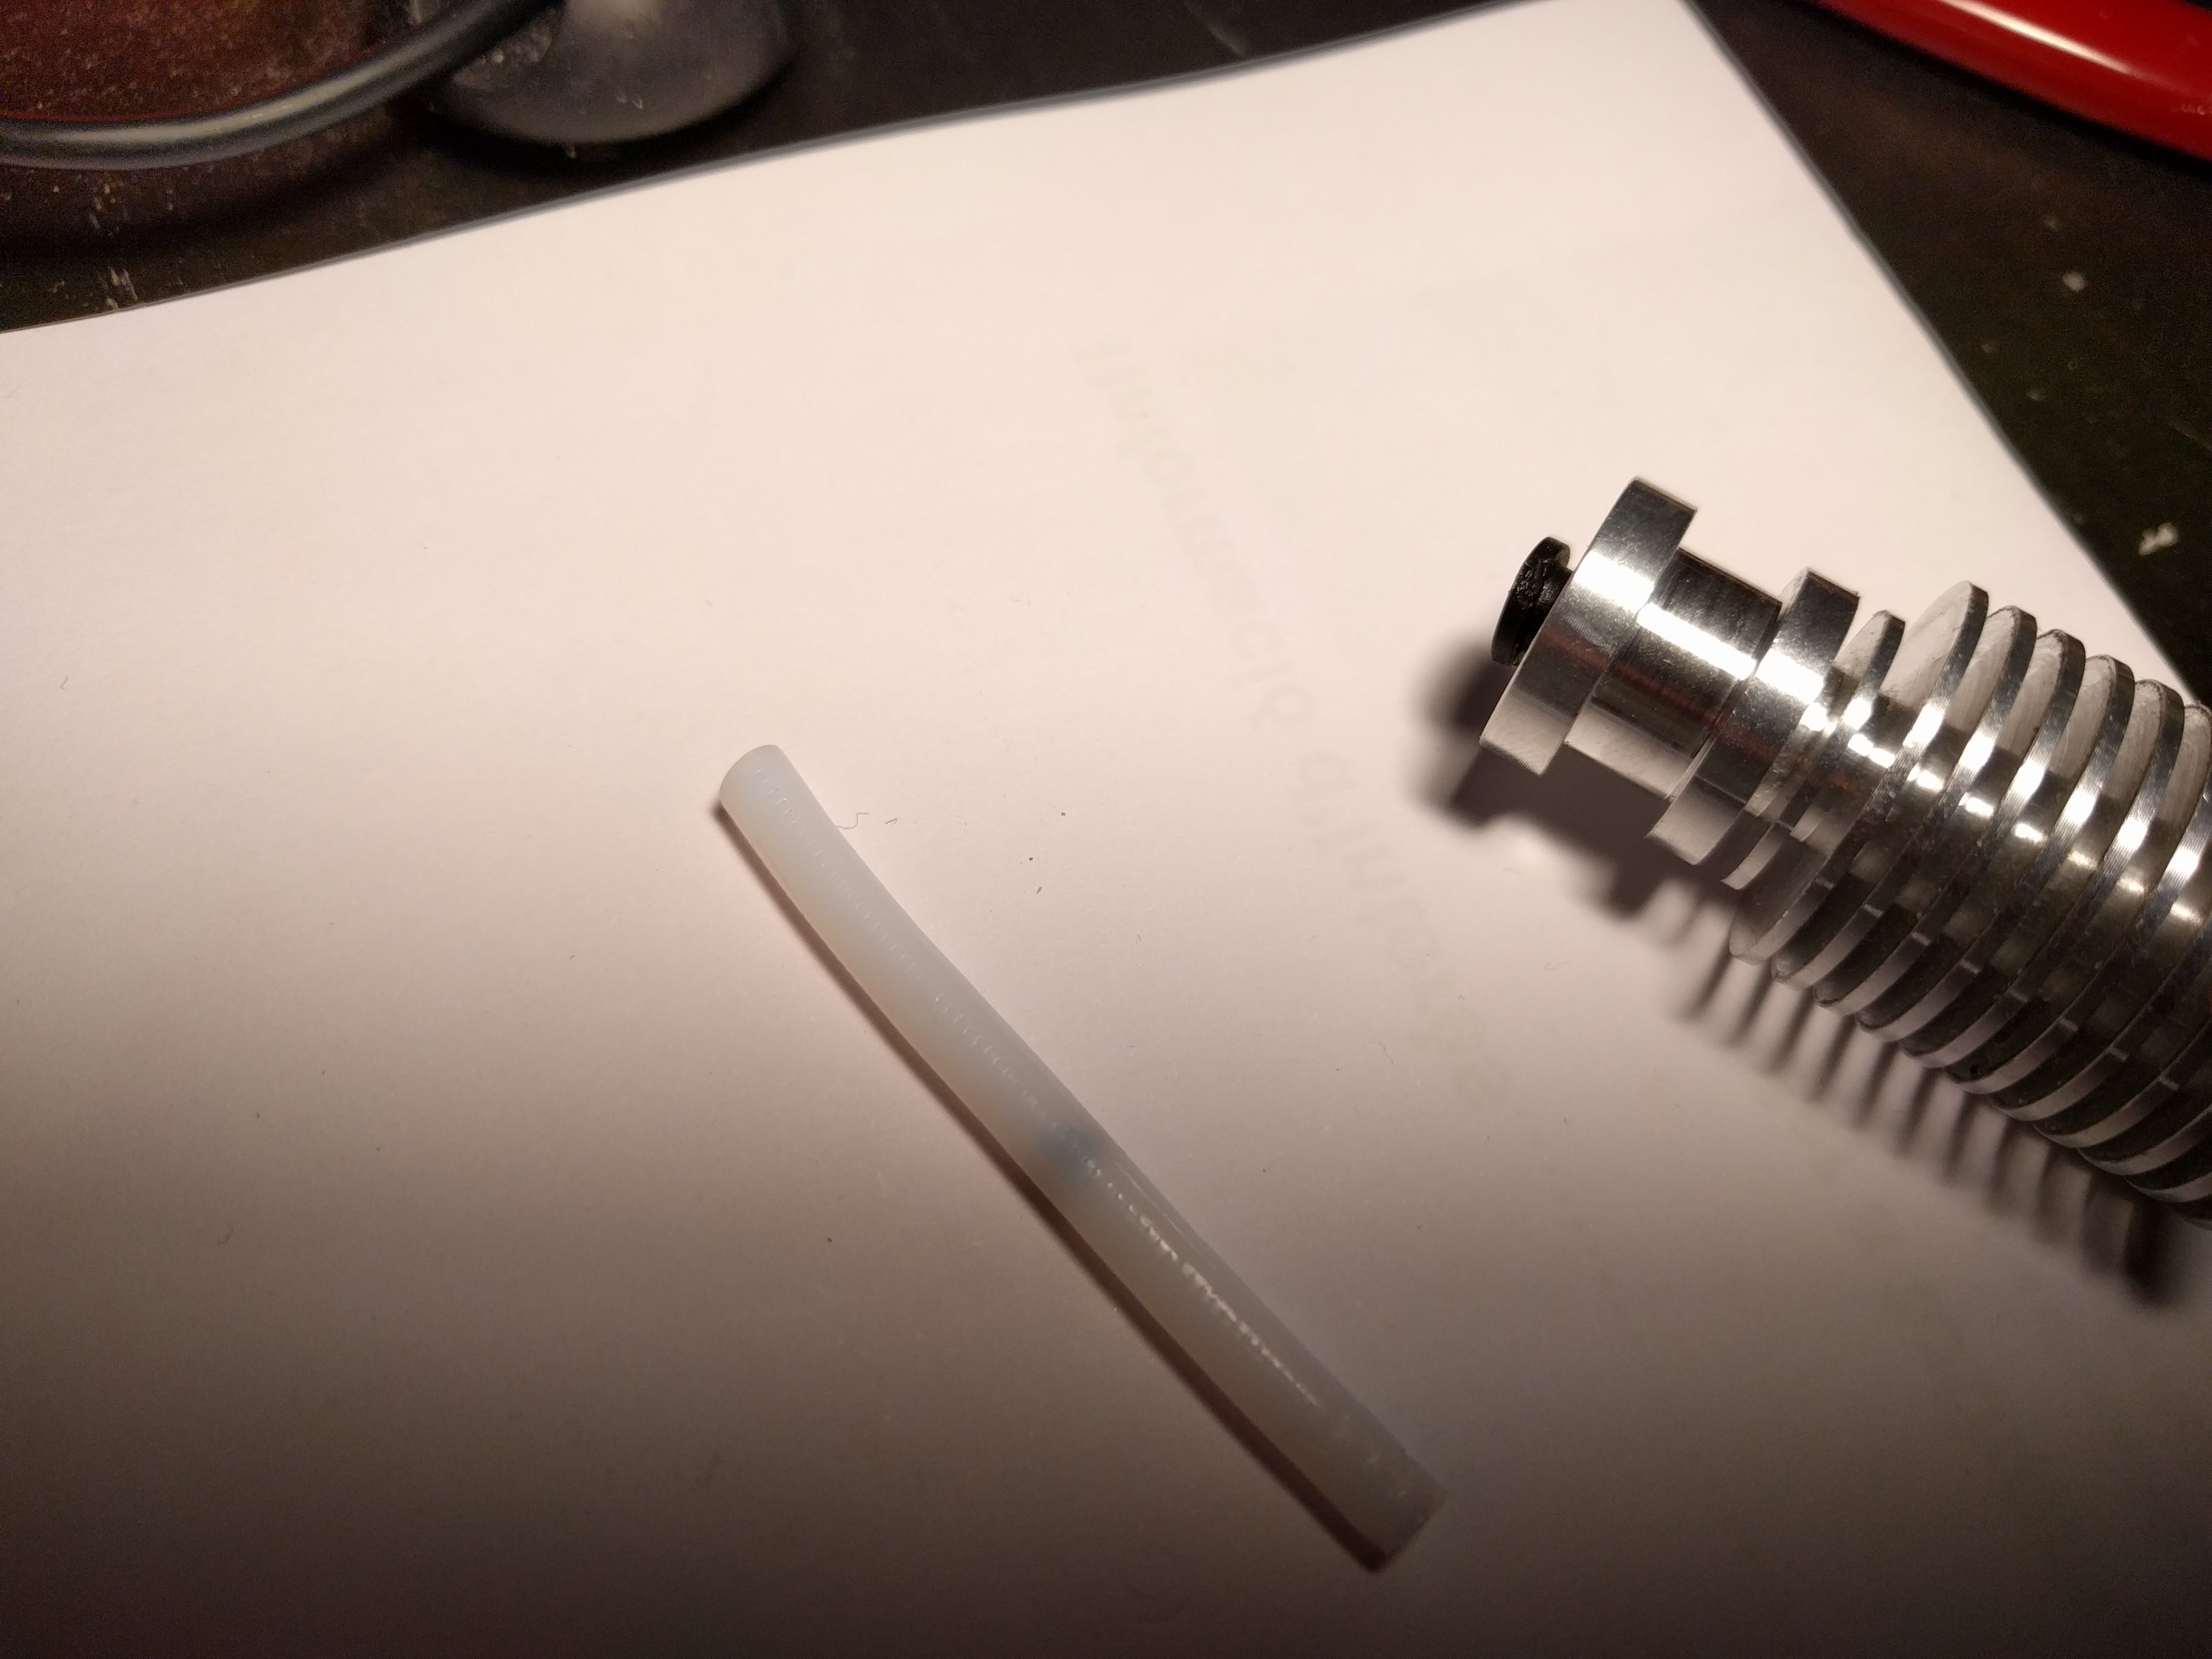
Those pictures demonstrate how far the clog is.
if you take the perspective into account (sorry, only two hands and a mobile camera) the clog seems to cover almost the full length of the heat sink
it seems I can only upload 3 pictures so I've created an album with all 5 pictures here but the pictures missing are just the same as the last two from the other side.
Re: Unable to remove the heat sink
To remove the heatsink you need to pull it out at an angle really hard and then force it from side to side. It will eventually pop out. Make sure you only pull on the heatsink not the hotend below.
I had to do this last weekend and it really does suck. Very poor fit and it does feel like you are going to break something.
Re: Unable to remove the heat sink
Thanks a lot for your answer @alfred.w
Yes, the trick was the angle. It's really a hard angle.
I also did not need to use heat on the heat sink to melt the clog because there is a bowden tube running the length of the heatsink and I just had to remove that and push the clog with a little allen.
Now I fear the reassembly!
(the black piece that holds the bowden in place is proving quite difficult to reinsert
Re: Unable to remove the heat sink
Glad you got to the clog. Push the black collar piece into the heatsink on its own first, then insert the PTFE. 🙂
Re: Unable to remove the heat sink
(the black piece that holds the bowden in place is proving quite difficult to reinsert
You first put in the black piece, then the tube, because the black piece locks the tube in place when you you try to pull it out again (the black piece, I mean). Normally [EDIT: but see below, https://shop.prusa3d.com/forum/hardware-firmware-and-software-help-f64/unable-to-remove-the-heat-sink-t15533.html#p77515 ], the black piece is held in the "pulled-out"="locking" position by a tiny clip (see the blue one here, https://e3d-online.com/collet-clips ). In order to slip in the clip, you pull the black piece out a bit while pushing the tube in. The goal here is to have the lower end of the tube press against the tube stop in the extruder so that the gap there is as small as possible. Otherwise, if ever some softened filament should reach this gap (from below) and fill it, the real trouble starts. Moreover, if the tube position is secured firmly, you don't have to fear that it might be pulled against the driver gear during retraction.
When I worked on my extruder recently, I realized that the clip was missing and I printed one. As I don't see one on your photos, I am wandering if it is missing in general (and even intentionally so). Does somebody know for sure?
Re: Unable to remove the heat sink
Hi,
Thanks to both. I did discover that I had to insert first the black piece and then the tube.
At first I thought that would not allow me to position the tube correctly but it just needed a bit of force.
@Dreide I'm almost sure I did not have the clip.
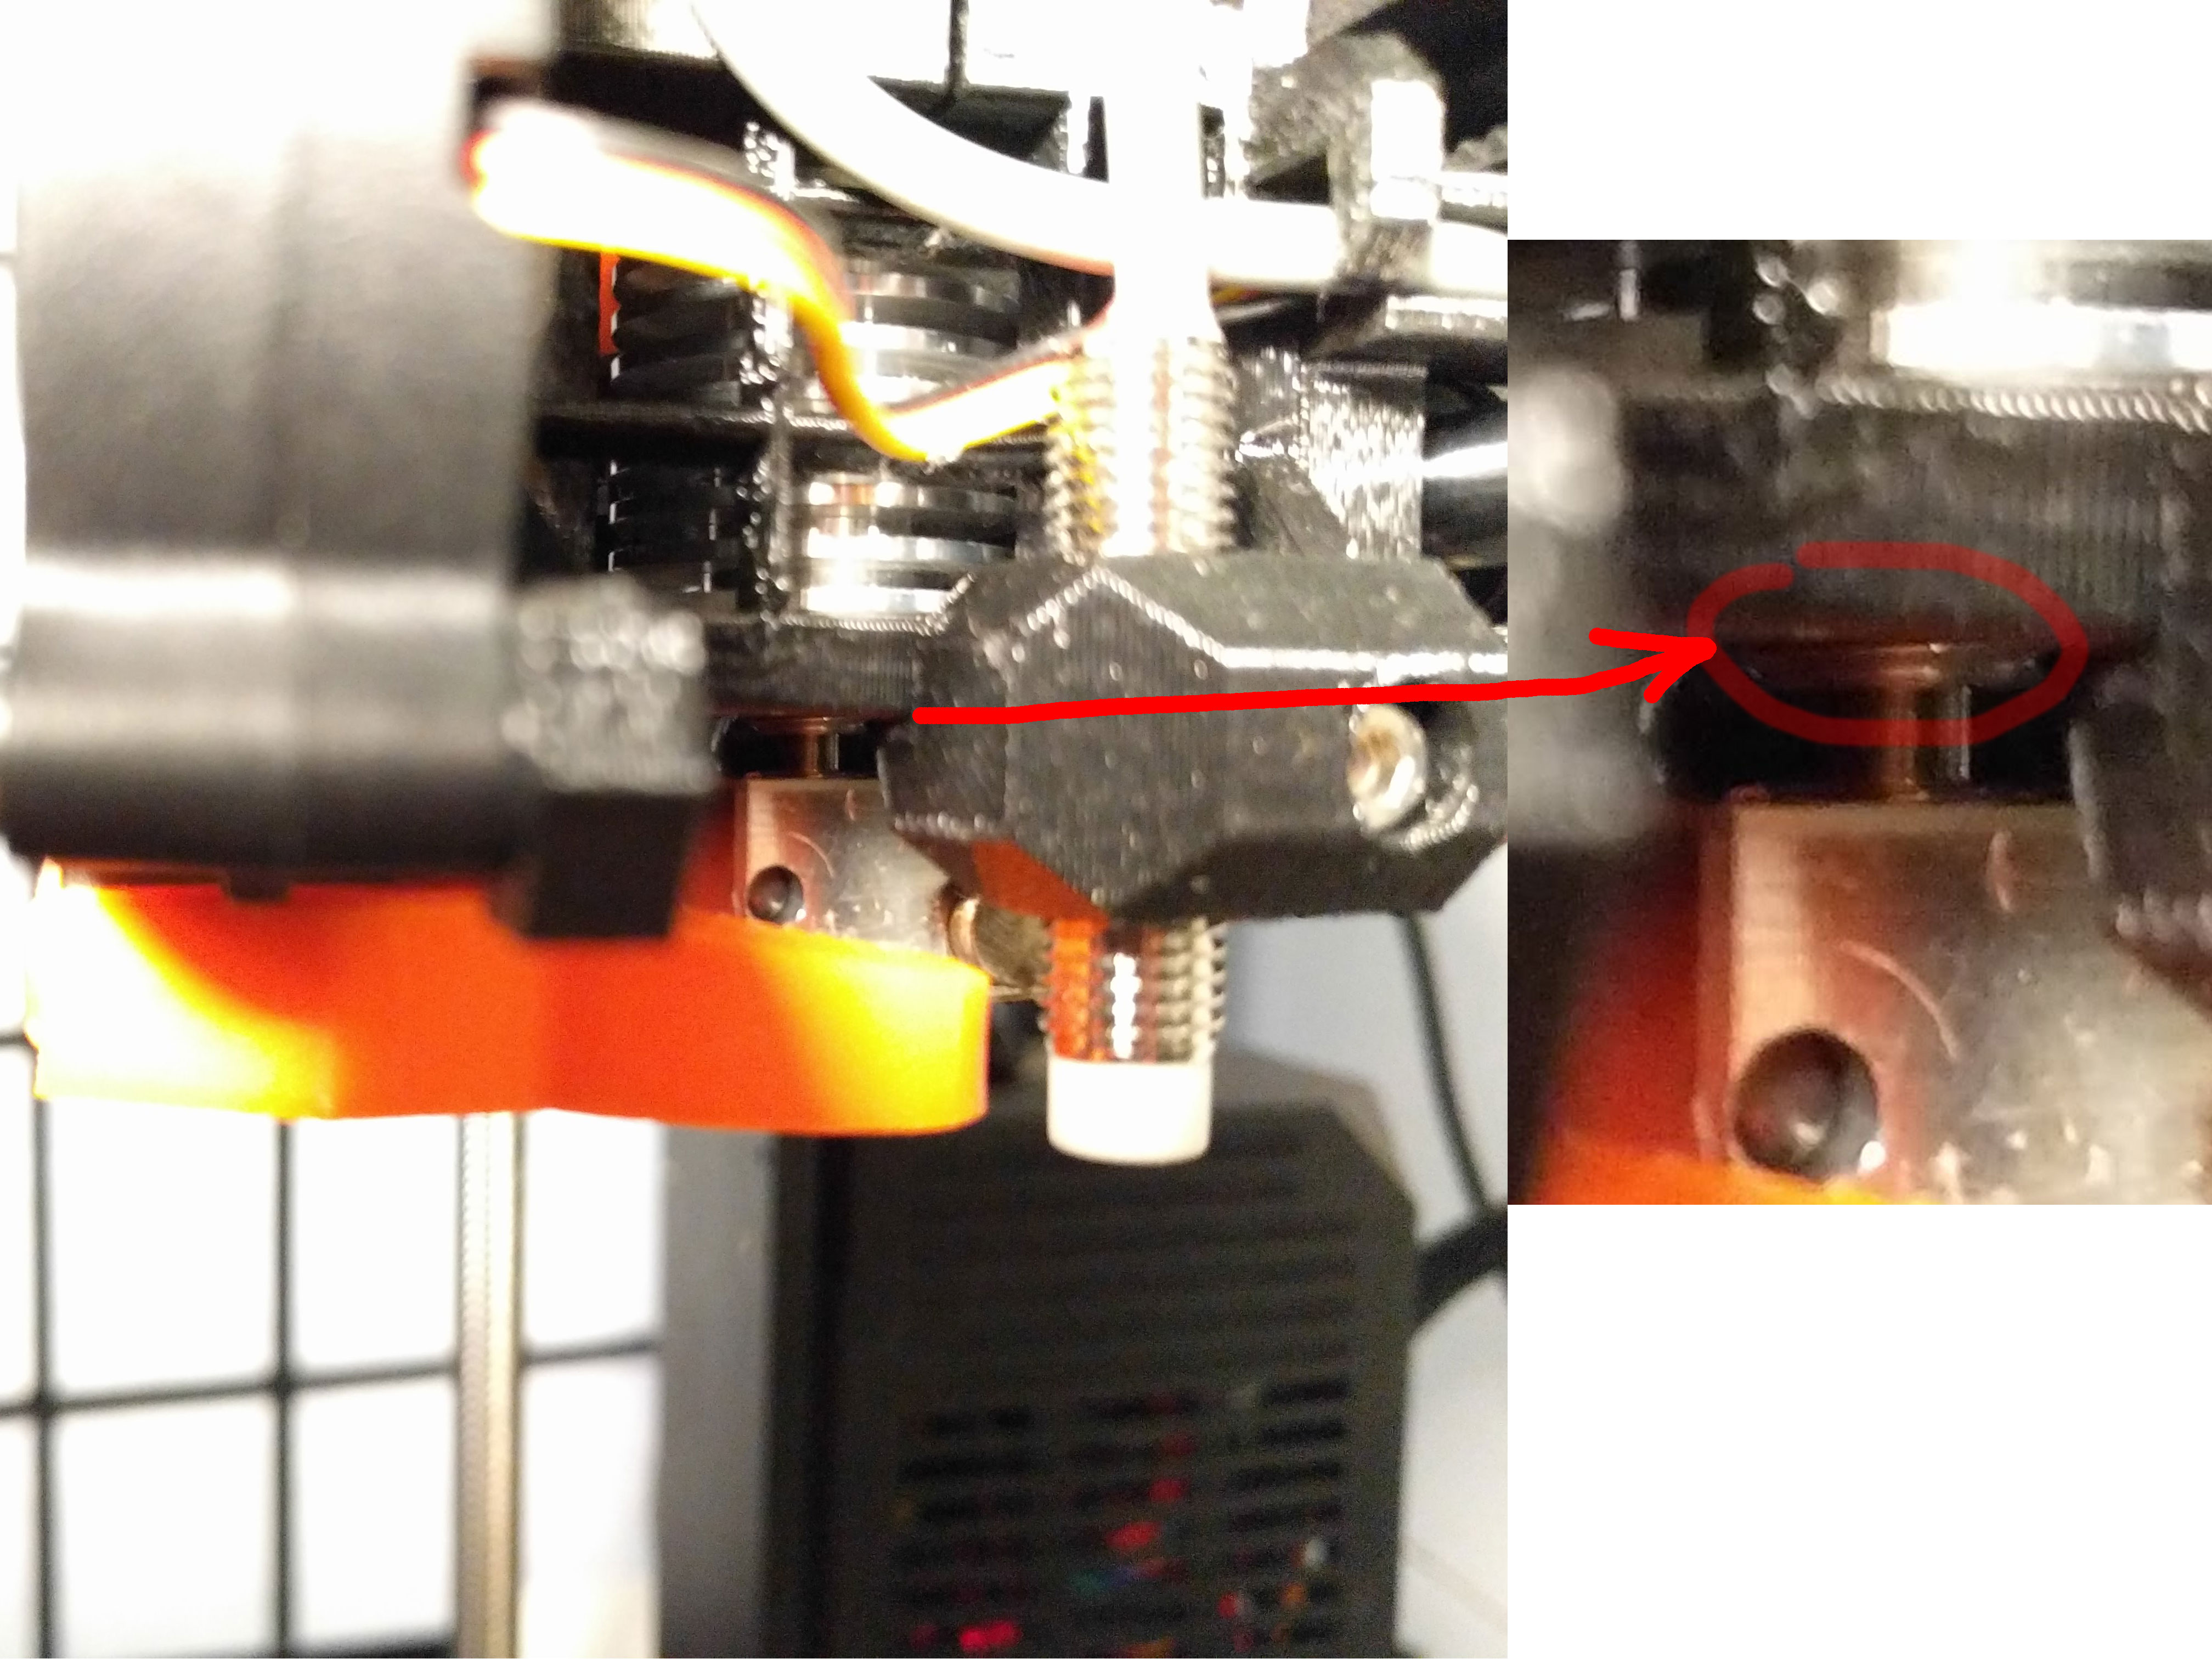
Also I'm back at printing I only had to adjust the PINDA probe because when reassembling I (unintentionally) left a bit more of space between the heat block and the heat sink and so the extruder was one or two millimeters lower than before.
(it seems a lot in this picture but it really is not that much)
That happened to me because I put the white tube before screwing the heat block. I guess the correct order would be the other way around so you can screw the heat block all the way and then acomodate the white tube.
Anyway I discovered that after assembling all the fans and stuff so after readjusting the probe everything seems to work fine.
Thanks!
Re: Unable to remove the heat sink
@Dreide I'm almost sure I did not have the clip.
I just had a look at Tom's assembly video (part 1 @ 3:00:55, ). Also no clip there, as far as I can see. Hm, maybe the clip is meant to be used just with real bowden extruders ( https://e3d-online.com/blog/2017/10/27/bowden-tube-physics/ ) where chances might be higher that the bowden tube is pulled out along with the filament during retraction. Nevertheless, I think the clip is also useful with the short tube we have in the Prusas.
