SHEET PEI DAMAGED AFTER AN EASY PRINTING
Dear all
My PEI sheet has been ruined.
I printed, I turned off the printer and after 1 hour I removed the print from the sheet.
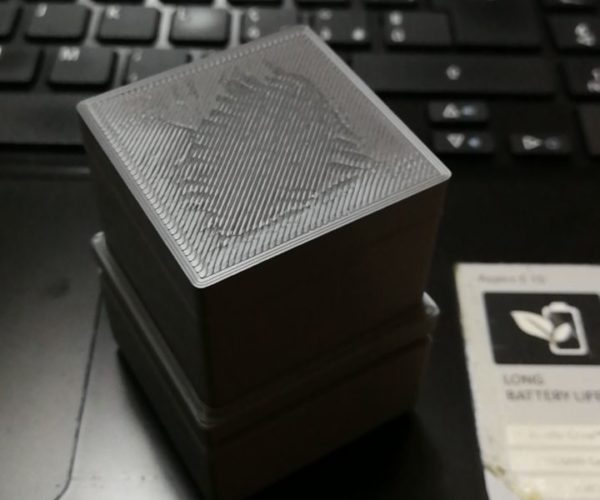
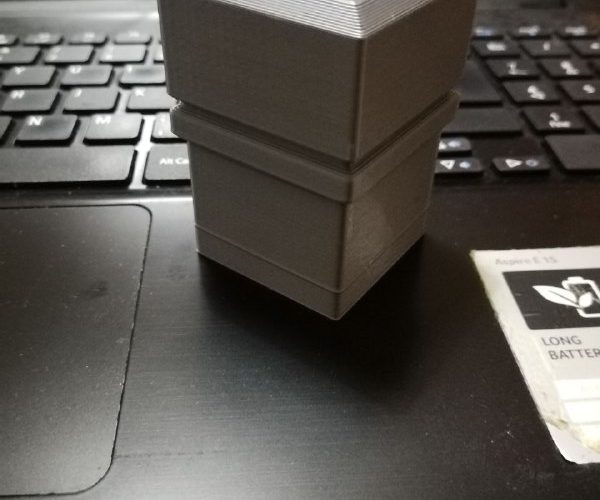
the result is what you see in the picture.
It seems to lack the black part and the sheet is slightly inflated, as you can see in the picture
How is it possible?
I bought my printer in June and did not make many prints.
Is the sheet in warranty? can they change it?
RE: SHEET PEI DAMAGED AFTER AN EASY PRINTING
Only people that can answer that are Support.
Click the EShop button, log in, and click the Chat button in the lower right.
Good luck convincing them you did nothing wrong.
What material were you using and what temperature?
If you had trouble removing the object, did you place the plate in a freezer? (always a good idea for a stuck object)
RE: SHEET PEI DAMAGED AFTER AN EASY PRINTING
Using capital letters doesn't make your sheet DAMAGED!!!
This is a regular PEI usage foot print. There is nothing damaged. You can keep using it or heat up to 100C and let it stand for some time. It will even out again.
Often linked posts:
Going small with MMU2
Real Multi Material
My prints on Instagram
RE: SHEET PEI DAMAGED AFTER AN EASY PRINTING
Actually that is a pretty normal outcome. And the sheet will heal over time. All you've done is pulled the laminate off the adhesive, and that formed gas bubbles that will resorb into the adhesive with time.
Place that side down on the heat bed and keep printing - and in a week or so you'll not be able to see where the bubbles were.
Be thankful you don't own a textured/powder coated sheet; your blood pressure would be popping arteries.
RE: SHEET PEI DAMAGED AFTER AN EASY PRINTING
BTW: Your first layer is way too low. You can see it on the wave pattern
Often linked posts:
Going small with MMU2
Real Multi Material
My prints on Instagram
RE: SHEET PEI DAMAGED AFTER AN EASY PRINTING
BTW: Your first layer is way too low. You can see it on the wave pattern
Ok, This is my object and I don't modified settings on Slicer. To see the effect of finished printing.
what do you advise me to do?
the filament is a gray prusament that is supplied with the kit
RE: SHEET PEI DAMAGED AFTER AN EASY PRINTING
Actually that is a pretty normal outcome. And the sheet will heal over time. All you've done is pulled the laminate off the adhesive, and that formed gas bubbles that will resorb into the adhesive with time.
Place that side down on the heat bed and keep printing - and in a week or so you'll not be able to see where the bubbles were.
Be thankful you don't own a textured/powder coated sheet; your blood pressure would be popping arteries.
as you said, the sheet magically returned as it was before. Thanks for writing this to me.
"Be thankful you don't own a textured / powder coated sheet; your blood pressure would be popping arteries." Why?
RE: SHEET PEI DAMAGED AFTER AN EASY PRINTING
@luperto-gabriele
Adjust the Live-Z value like you did in the first layer calibration. The nozzle is too close to the bed.
Often linked posts:
Going small with MMU2
Real Multi Material
My prints on Instagram
RE: SHEET PEI DAMAGED AFTER AN EASY PRINTING
@nikolai-r
Dear fot Live-Z you mean the compensation of Z value, (Adjusting Z) when my printer work?! I've a -1,100 in this moment.
Sorry for this question but, I want to improve my printing.
RE: SHEET PEI DAMAGED AFTER AN EASY PRINTING
@luperto-gabriele
No worries, keep asking 🙂
Yes, you can do that either during print or adjust the settings before the print starts. It should be under Settings. Something around -1,050 might already give you a nice first layer. If not, keep reducing it until there is no wave pattern.
Often linked posts:
Going small with MMU2
Real Multi Material
My prints on Instagram
RE: SHEET PEI DAMAGED AFTER AN EASY PRINTING
@nikolai-r
But is it possible that after several prints you have to do the calibration again, for example with a wizard (for beginners) ?
or I'm going to lose the settings I've already had.
Or calibration it's only one time!
RE: SHEET PEI DAMAGED AFTER AN EASY PRINTING
No need for a wizard calibration. Just adjust this one value. That's why you have this option available in settings.
It's always possible that you have to adjust this value. For example if your printing different materials or your room temperature changed a lot. Rule of thumb is always watching the first layer printing. Especially if you don't have much experience with printing, this is where the most people are struggling at first.
Often linked posts:
Going small with MMU2
Real Multi Material
My prints on Instagram
RE: SHEET PEI DAMAGED AFTER AN EASY PRINTING
@nikolai-r
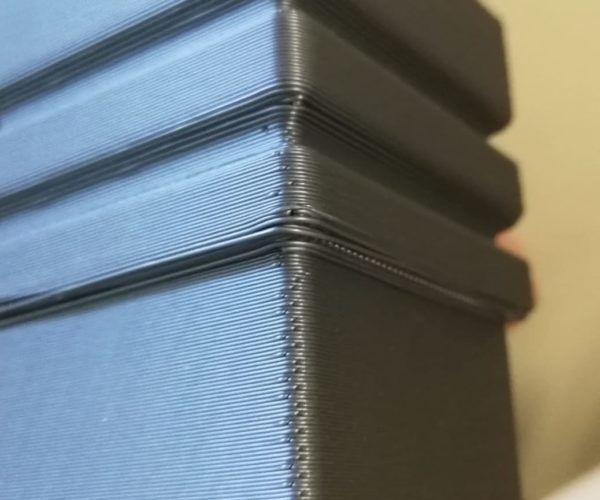
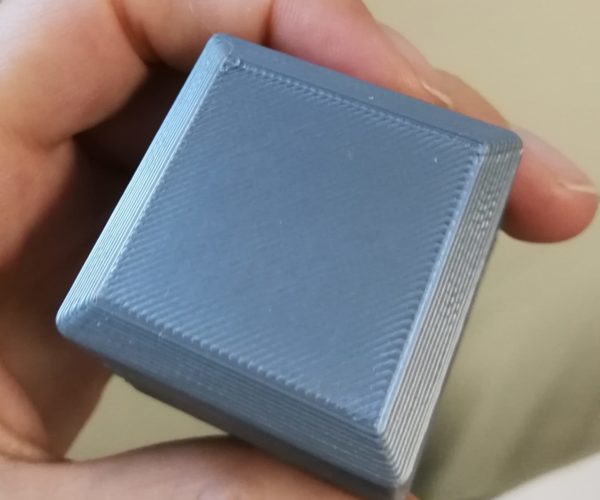
I apologize for the answer in this topic, but yesterday I made another slightly different object.
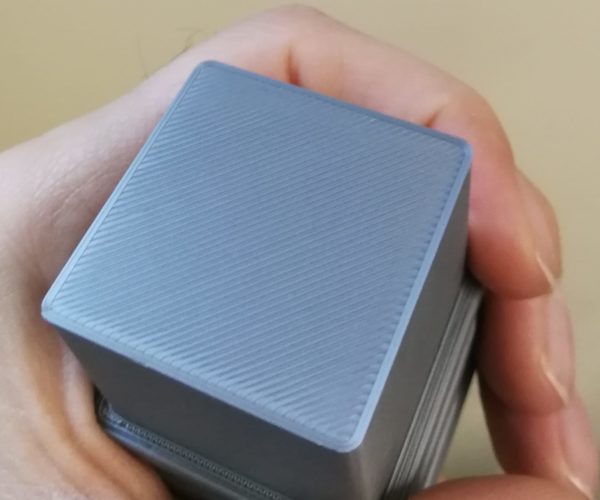
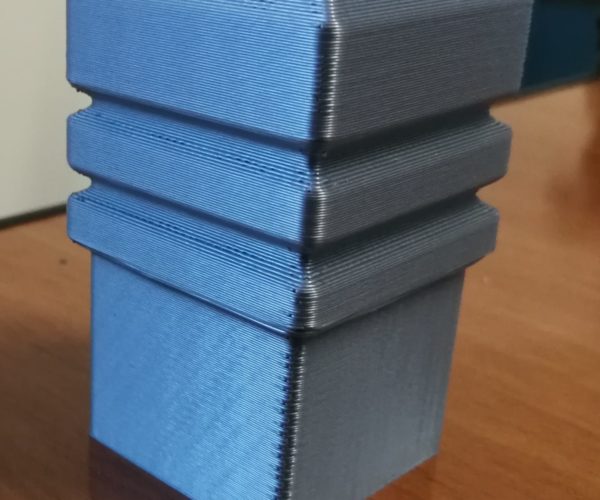
I photographed the most critical parts.
this time, the first layer can fit in?
why is there this effect in a corner of the object?
and how do I remove those ugly lines that you see.
I am already very happy with the results obtained.
But I would like to solve problems when they occur in every print.
thanks for answer!
RE: SHEET PEI DAMAGED AFTER AN EASY PRINTING
Your Z could go a smidgeon closer just to close up the gap (the ends are closed nicely where they are next to the perimeter) but its not bad at the moment.
The marks you don't like are normal FDM artefacts, they are where your seam is. The start/end of each layer. Depending on the settings in your slicer you can control (somewhat) where they go. Looks like you have the default in use so it tries to hide them in the corners. You can experiment with the other options.
While you cant ever get rid of them they can be reduced by properly tuning your printer for extrusion, retraction etc. Settings will vary by filament/temperature/speed etc so unless you want to do LOTS of tweaking you might just have to live with it. Lots of information with a google search 🙂
RE: SHEET PEI DAMAGED AFTER AN EASY PRINTING
The ugliness in the overhangs is because they’re not supported (printer is basically printing in the air). You can either add supports or try fiddling around with the print speed, fan speed, for overhangs to try make them better. Or alternately redesign them to have a less steep angle.
RE: SHEET PEI DAMAGED AFTER AN EASY PRINTING
For layer overhangs, those loose strands on some of the cornices, using a smaller layer height will allow better overhang performance without resorting to supports (which add other compromises). Also, use the Detect Bridging Perimeters might also help because then some overhangs will invoke the bridge parameters and slow down printing and increase fan speeds.
Adjusting Live-Z is best done with a large patch. I've attached the ones I use. They give you time to make adjustments and see results. The final patch should peel up like masking tape, and not have any loose strands.
