Re-skinning a Prusa steel build plate
I'm going to document this procedure so others can get a good or better idea of what is involved in removing and replacing the damaged PEI sheets.
This evening, I removed the rest of the damaged PEI from one side of the plate. Total clock time was a bit over an hour and probably would have been less if I did not stop to take the photos and run downstairs for tools and {fiddle} 😉 around trying various techniques.
The goals for tonight were:
1. Not get hurt!
2. Remove the remnants of the PEI from one side of the plate.
3. NOT GET HURT!
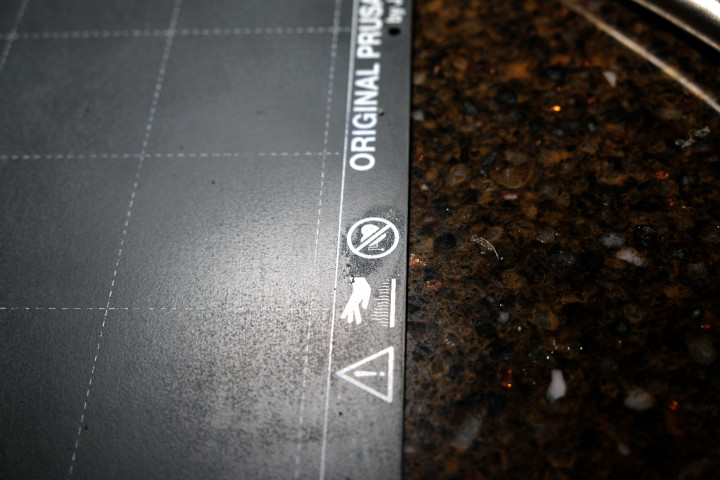
I used a razor scraper and a box knife in the process, and I took EXTREME care to avoid slipping and cutting my fingers, as it's easy to cause very painful and disfiguring injuries when using such tools.
I first figured that I would try to get one corner to release, then work diagonally separating the PEI from the plate. The corner was easy to raise from the plate.
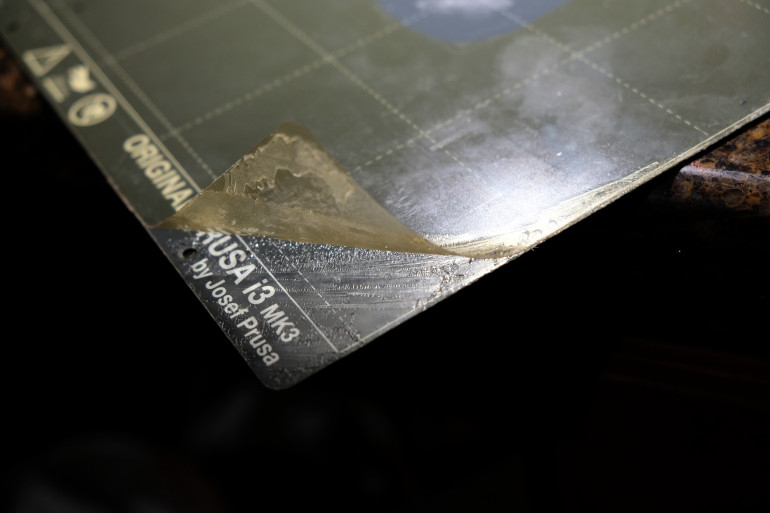
It became painfully obvious that it was impractical to peel the remains of the PEI sheet from the steel plate.
Applying more and more 'gentle persuasion' simply caused the PEI sheet to break and tear unpredictably.
A 'divide and conquer' approach was decided upon.

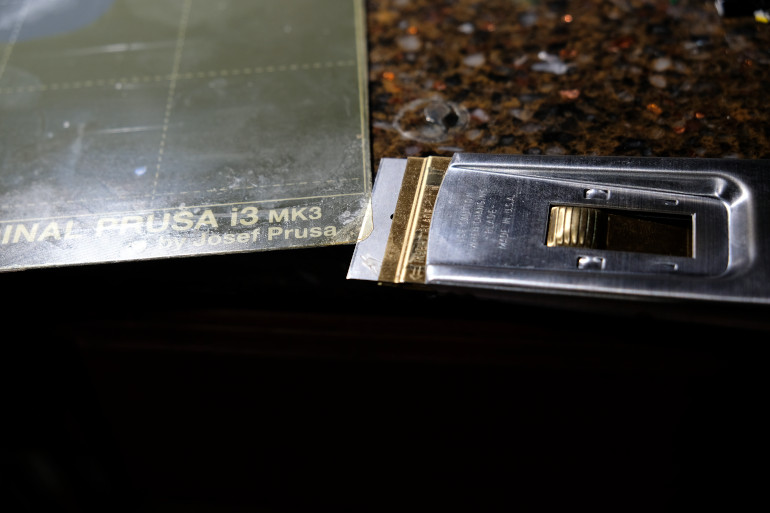
I tried scoring a section with the box knife, taking care not to press hard enough to actually score or scratch the steel plate.
Each strip was started with the razor scraper, and it worked best to pull firmly and consistently in a vertical direction.

By carefully pulling with a steady upward force, the tear followed the score line for the most part. However in a few places it fractured.

In a number of places, the coating fractured and separated as if there were natural flaws in it. These were not tears from one side to another, these were very clean breaks.
Sometimes alternately working the scraper and pulling worked better.

Ta-Da!
All PEI removed. Next step is to remove the adhesive goo.
I thought of letting it sit overnight in a tray of mineral spirit solvent. However, I was unable to find an appropriate tray. I have a disposable paint roller tray downstairs, but it was not wide enough. I could not find a kitchen dish of that size which I know I could use without getting screamed at for doing so, so I will put off the goo removal for tomorrow and probably get something like a cheap baking tray to soak it.
I thought of making a makeshift foil tray, but thinking about it made me realize that the probability of making a mistake which would make a nasty mess is approximately 1.0, so I will wait and do it 'right' instead of 'right now' and take a break for the night.
To be continued. ... ... ...
You didn't try freezing as in step 5 of:
https://help.prusa3d.com/en/guide/replacing-the-pei-sheet-on-the-mk3s-mk3-mk2-5s-mk2-5_23920
?
Cheerio,
RE: Re-skinning a Prusa steel build plate
I was unaware that such instructions existed. Thanks.
Chapter Two: Re-skinning a Prusa steel build plate
This will show the removal of the adhesive from one side of the steel plate.
I looked at the instructions linked by Diem which, for the removal of the adhesive, suggested a plastic bag and paper towels soaked with limonene, and decided that would most likely turn into an incredible mess. I intended to buy a cheap baking tray and use it to hold the solvent, but after thinking I opted for a small inexpensive storage container with a lid, knowing that it would contain the stink and better keep peace in the family.
I could have sworn that I had a partial bottle of mineral spirits, but I could not find it the night before, but I then remembered that out in the garage there was a box of various bottles and cans that I packed up when moving (2016) and sure enough there was a still mostly full container.
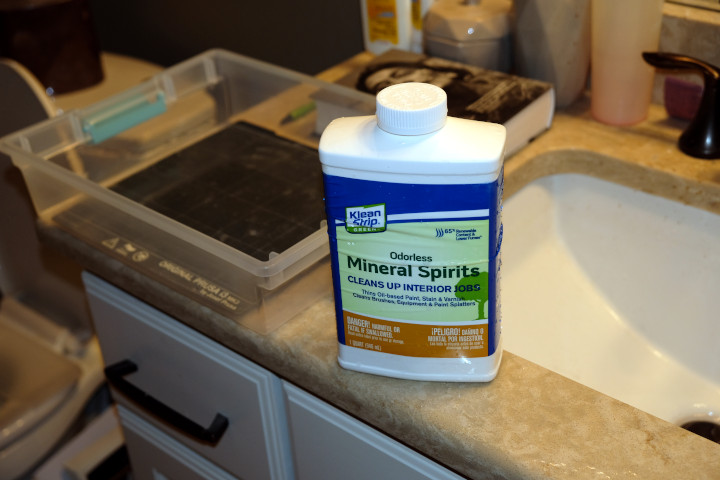
'Mineral Spirits' is, of course, a Stateside term for kerosene-like petroleum distillates, normally used as a paint thinner, and close to the principal active ingredient in such things as Goo Gone.
You will notice that the bottle is white plastic. Hold that thought.
Kerosene and relatives normally have a slight yellowish tinge, but are mostly colorless.
However, when I poured this into the tray it came out white!
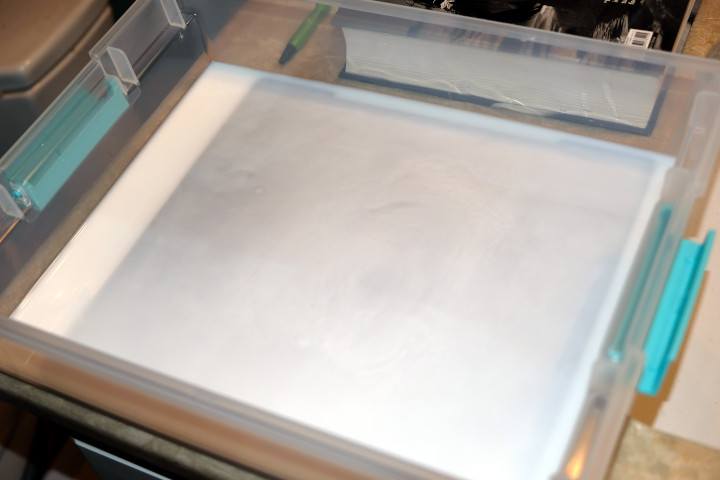
Kind of a WTF moment here, and I tried to think back to the last time I used that bottle, and realized that it was at least 10 years ago, and the contents had indeed dissolved some of the white plastic of the container. Had I not used it for this project, it would have sat in the garage, probably for a few more years at least, perhaps eaten through the container, leaked out, causing a mess and a fire hazard!
Anyway, I figured I had nothing to lose by trying to use the very stale solvent on the adhesive goo, so I placed the plate into the white solvent, swished it back and forth every so often, and after an hour or so, began gently scraping the plate first with a plastic scraper and later with a putty knife.
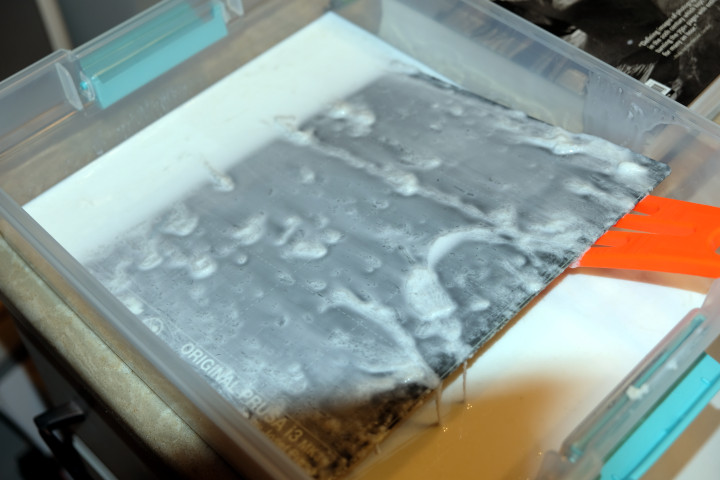
Clumps of adhesive began to scrape off, looking almost like watery cottage cheese curds.
I figured that the solvent was working, so I covered the tray and let it sit overnight.
This morning I had to take the cat to the vet for her monthly manicure, and after I got back I inspected the plate, gave it a few strokes first with the plastic scraper and then with the putty knife. Most of the remains of the adhesive on that side came off cleanly. There are a few small areas of adhesive remaining, but I decided to leave them until I do the final clean-up after getting the second PEI sheet off.
I then washed, rinsed, and dried off the plate, and put it in the freezer, according to the instructions cited in the link, in preparation for what was expected to be an easier removal of the second PEI sheet.
Chapter Three: Re-skinning a Prusa steel build plate
The next step is to remove the (remains of the) PEI coating on the other side of the plate. This side was ruined almost two years ago when I got impatient with an ABS print that did not want to budge and used a metal kitchen implement to pry it loose. Along with the print came a couple of pieces of the PEI coating. I continued to use that side for smaller items as the damage was confined to one section of the plate.
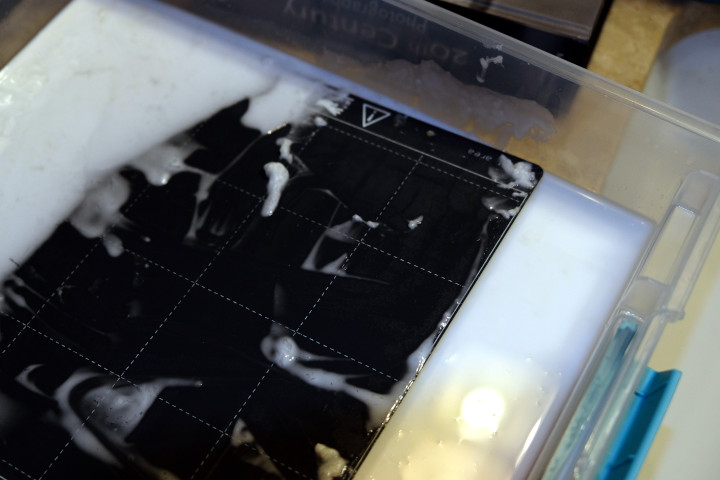
I placed the plate into the freezer, which is set to 0 degrees F (~ -18C) and let it sit for two quarters of an American football game, or about an hour and a half of clock time. At halftime I tried to remove the PEI sheet, expecting a far less tedious job than before.
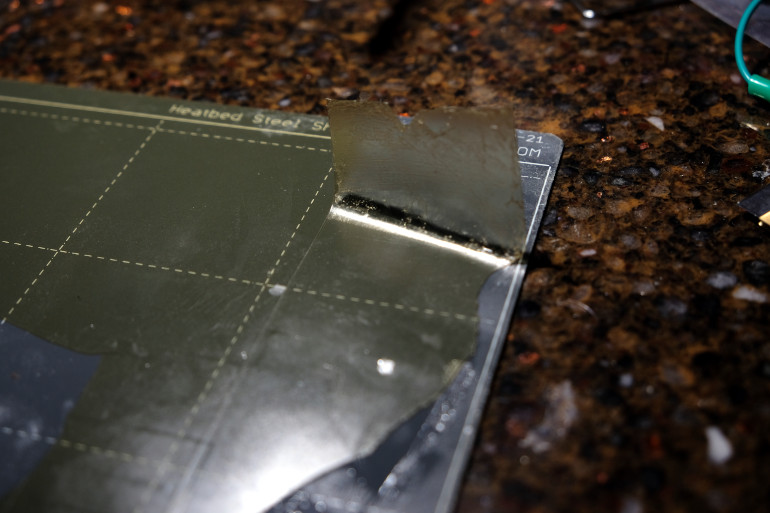
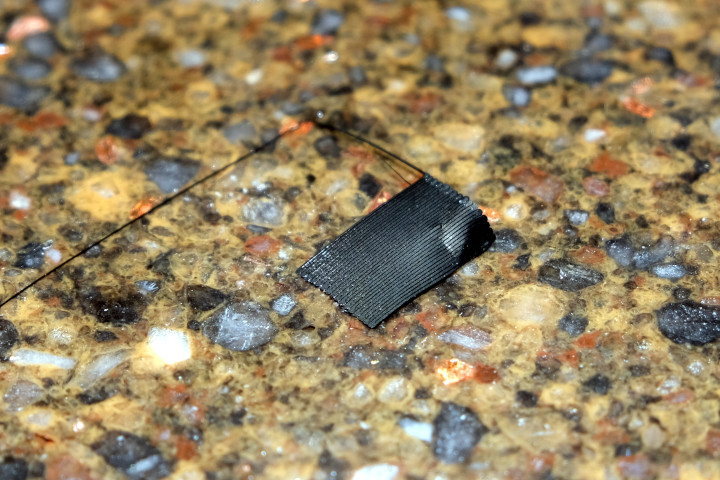
This was as far as I got by lifting and pulling:
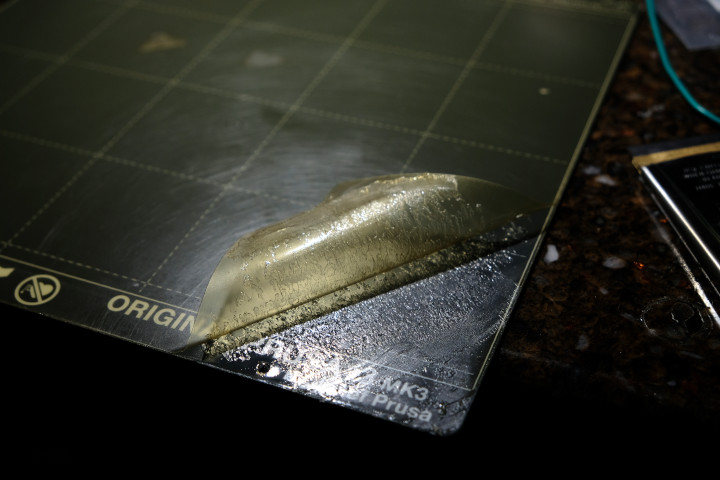
This is about as far as I got on the original side by simply lifting and pulling. It appeared that the freezing had no effect.
I figured that maybe the plate had simply come up to room temperature quickly and the adhesive had re-asserted itself, so I put the plate back in the freezer and waited about an hour until a convenient commercial break.
I grabbed the still-frozen plate and gave the PEI a good tug, expecting it to at least come off a bit more. NOPE! No effect at all. It was stuck just as tight as the sheet on the side I did totally at room temperature.
PLEASE NOTE: Those instructions to freeze the plate to de-activate the adhesive MAY have worked, in the past, with a different version of the plate and/or a different formula of adhesive, but they DO NOT work with the version of the plate I have! QED!
Well, back to the drawing board.
I tried to think of a way I might get more leverage, to speed up the removal process, and realized that the Vise-Grip pliers have a serrated jaw that can indeed grip thin items, such as the PEI sheet. However, I realized that if I tried using the Vise-Grips as a lever, I could very easily dent the plate, so I quickly printed a couple of plastic squares to use as a fulcrum and to avoid concentrating the pressure in one spot.
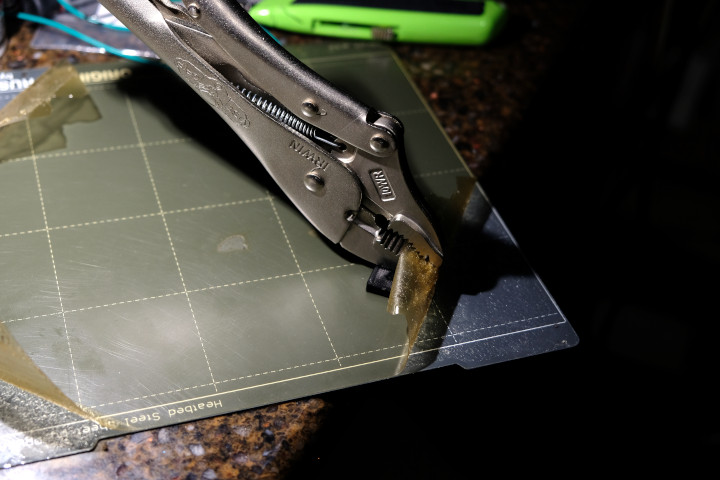
It helped quite a bit, but as I peeled the corner farther and farther, it became more and more difficult and the PEI started breaking from the stress.
I figured, however, that I could apply this technique with the 'divide and conquer' method I used before, but with much wider strips.
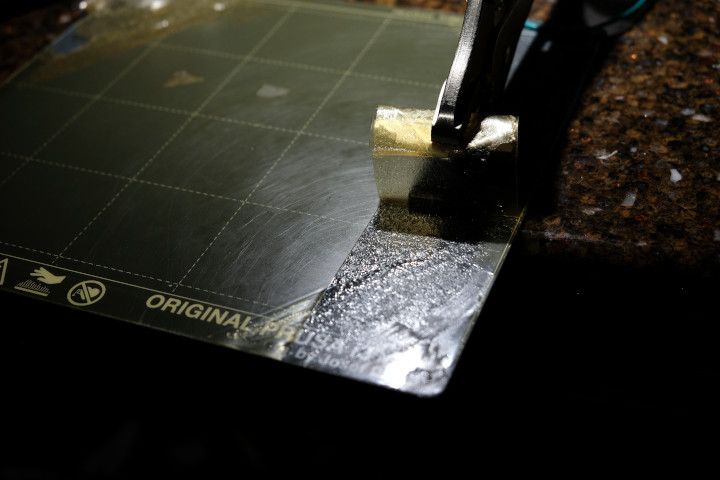
I used a box knife to score along the guide lines on the plate, and it went amazingly well, with the clock time to remove one full strip of maybe a minute or so, adjusting the grip and the fulcrum to pull in a mostly vertical direction.

The remainder of the plate went quickly, and the only issue was with the strips containing the damage, at which the coating broke and I had to start from the other side working inward.
My guess is that it was about 10 minutes or so of clock time from beginning the modified divide-and-conquer technique using the Vise-Grips, compared to about an hour of futzing around with the other side a couple of nights ago.
The plate is now sitting, again, in the white petroleum slime, and every so often I go in there, swish it back and forth, and I'll soon start scraping it every so often. I'll let it sit in there overnight, at least.
Amazon says that the new PEI sheets will be in on Thursday, so I'll report on the actual re-skinning of the plate when I try that.
I saved the remains of the solvent sludge from the first side adhesive removal and am using it for the second side, figuring that one environmental issue is better than two. I have no clue as to how I will dispose of it. I'm very sure that it's illegal (and harmful in many ways) to simply flush it down the city sewer. I'm sure it's also just as illegal (and as unethical) to just take it to the ditch behind the way-way-back of the lot. Maybe I'll wrap it up with holiday wrapping and a bow and put it on the porch, hoping some porch pirate will make off with it. 😉
Again, to be continued.
Chapter Four: Re-skinning a Prusa steel build plate
Continuing with the story ... ...
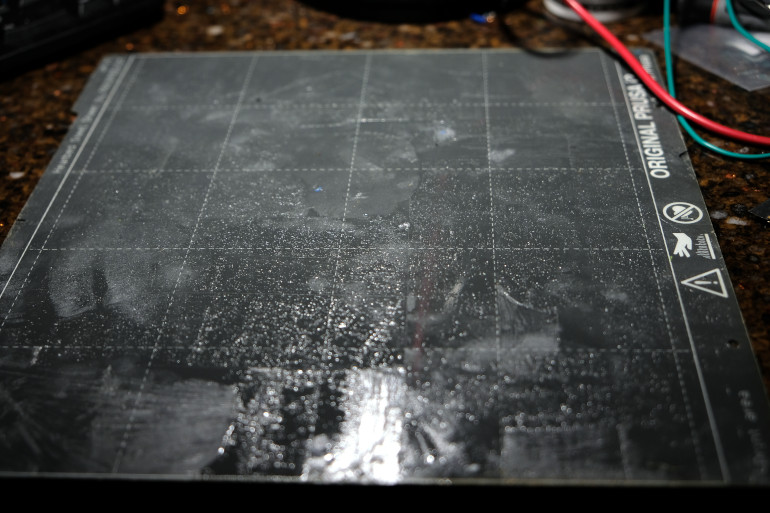
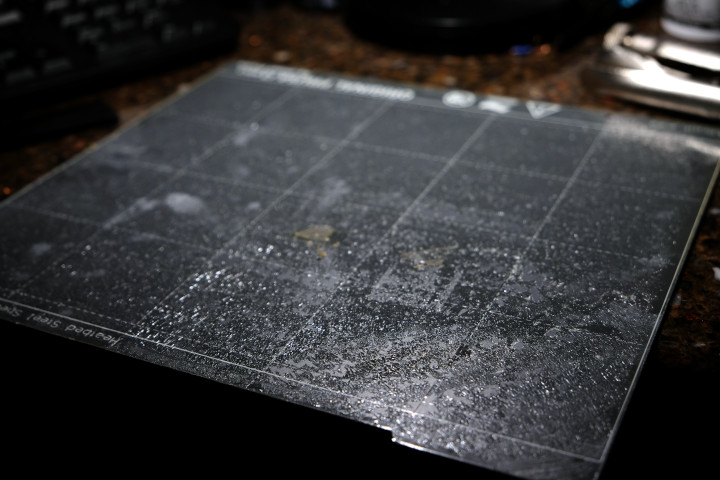
The plate sat in the solvent slurry overnight and this morning I pulled it out, gave it a good wash in dishwashing detergent, a good rinse-off, and a good inspection.
There were a few remnants of adhesive left, but in general, the petroleum goo did a good job of dissolving and removing the adhesive.
As seen above, there's a patch of adhesive left by the slash-heart icon, and some spotting to the left.
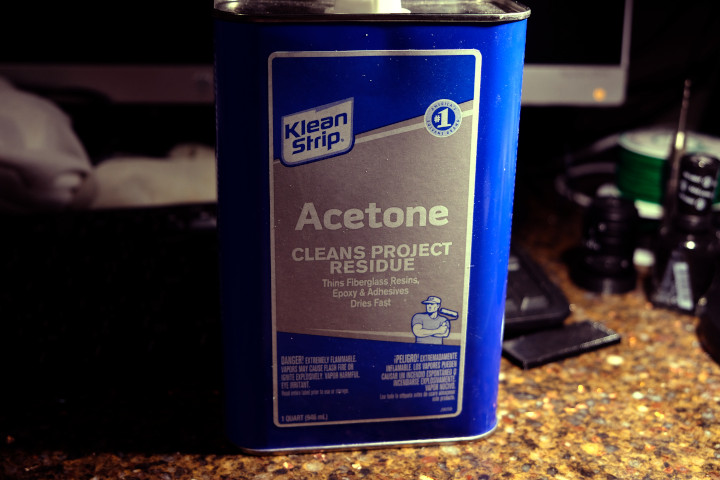
Both sides were finish-cleaned with acetone, a paper towel, and some elbow grease, leaving a very clean surface, which does show wear and tear.
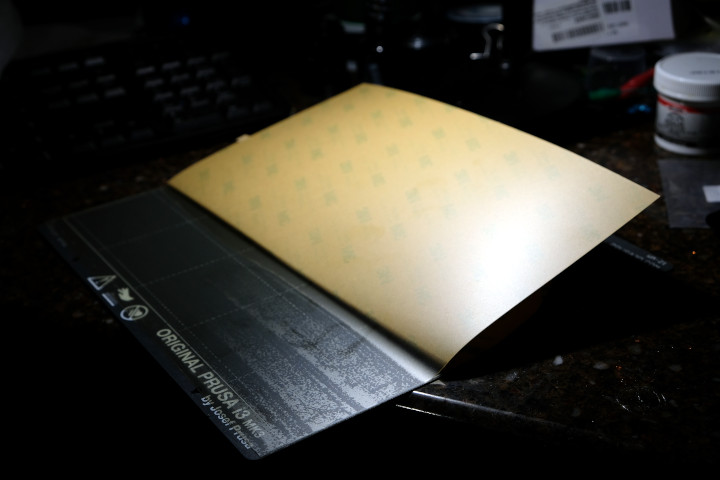
The new PEI sheets were not supposed to be delivered until Thursday, but they came in this afternoon.
The application was very anti-climactic, as in work from one side to the other with a flat blade, pressing the adhesive firmly all over the plate.
Localized pressure removed the obvious 'bubbles' beneath the PEI surface.
The proof is in the printing, however, and I figured that since the new PEI sheet is supposed to be the same exact thickness as the old PEI sheet, the Z calibration should be within the ballpark of what I have set.
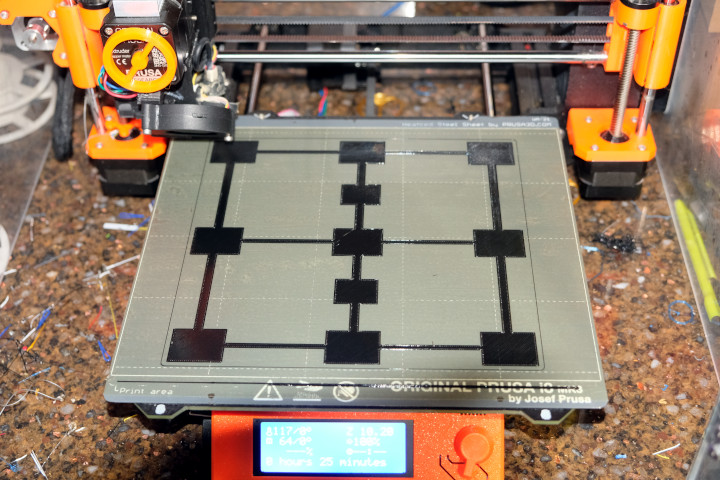
Next step is to try an internal calibration print for a sanity check.
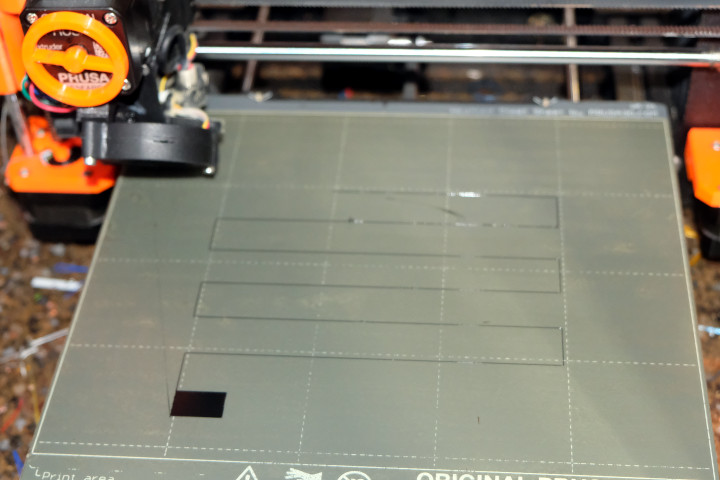
After the flow stabilized on the first horizontal stroke, the pattern finished as expected.
Inspecting the underside of the square, the degree of 'squish' was just about ideal, and was typical of what I usually see with the smooth sheets.
Overall, the procedure was a success.
Later tonight I'll run a more rigorous 3x3 test print and examine the results more closely.
Afterword
The more rigorous test print went exactly as expected.
Again, very anticlimactic, and I can now say that I have six good build surfaces.
Conclusions:
Did it work? Yes, quite well. Two damaged surfaces were successfully replaced with two new PEI surfaces.
Would I do it again? Not only NO, but HELL NO! It's a pain in the @$$ and if I value my time at even a fraction of what I used to get paid, it's not cost-effective, compared to a new plate, or, when available, the lower-priced 'factory second' plate, which I cannot visually tell from a 'factory first' plate.
However, if new plates are in short supply, as they have been recently, it might be worth it, and I did order one extra PEI sheet, in the event I messed something up with the application, and to have on hand if I did not mess up anything.
And, I also have a container which has about a liter of toxic and flammable petroleum/adhesive/whatever sludge, which is going to have to go somewhere. I hate to think of this as a don't ask don't tell situation, but it may end up being so. 🙁
Overall, it was worth the experience of doing it ... ONCE! 😉
RE: Re-skinning a Prusa steel build plate
As far as disposing your sludge, I would suggest searching for "hazardous waste disposal" and your county & state. There is probably a place not too far away you can take it.
RE: Re-skinning a Prusa steel build plate
Thanks for confirming what I thought was probably true. I have considered reskinning one of my build plates at some point but the thought was always lurking in the back of my mind that it would be a royal PIA. The temptation to reskin is now gone!
jwv
RE:
Sounds like lotsa phun ... NOT!
I think I'll leave well enough alone. Let this sleeping dog lie! Still have 2 good surfaces so ...