RE: How to install MMU2S on working printer.
@jsw Could you provide a link for the for the rocker switch mount shown in your picture above?
I've just made a search for it (or one similar) without joy.
Thanks in advance,
Tom
RE: How to install MMU2S on working printer.
PM me with your email and I will mail you the .stl files.
I just recalled that we went through this with another user and neither of us could find it in the current prints section.
RE:
Can we ‘Load to Print’ - and use it as a single filament machine that way?
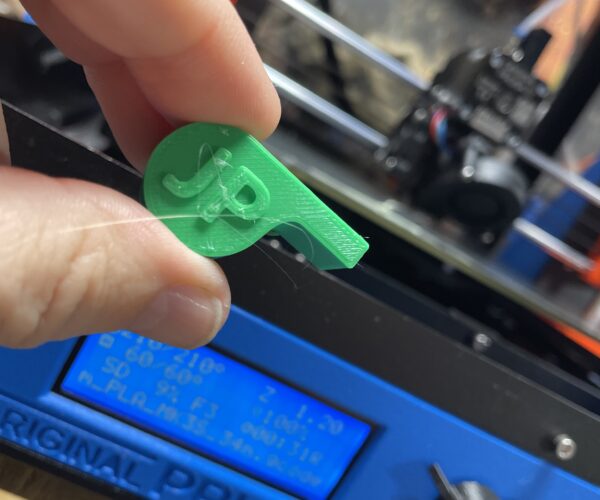
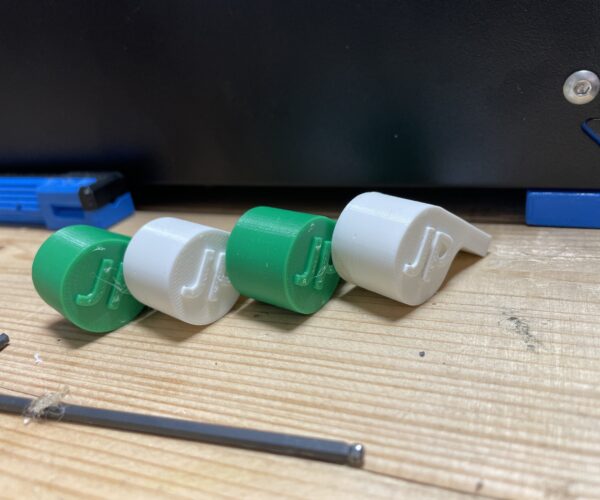
Just printed 2 green whistles with filament 4. Switched to White on filament line 3 and printing another whistle.
Key mistake: Must press ‘unload filament’ before trying to switch. It still had the green down to the nozzle when I tried to swap.
Pressed the ‘reset’ button and jumped through a few more hoops to get restarted.
RE: How to install MMU2S on working printer.
RE:
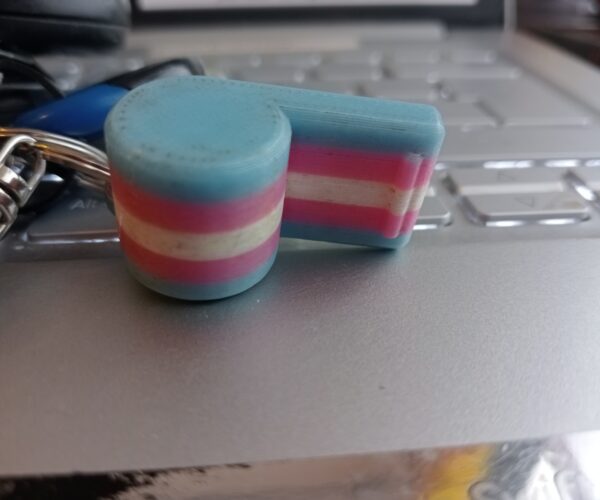
would you believe I used Striped filament?
have you managed to put a 'Pea' in the whistle to make the sound 'Trill' if that's the word... ?
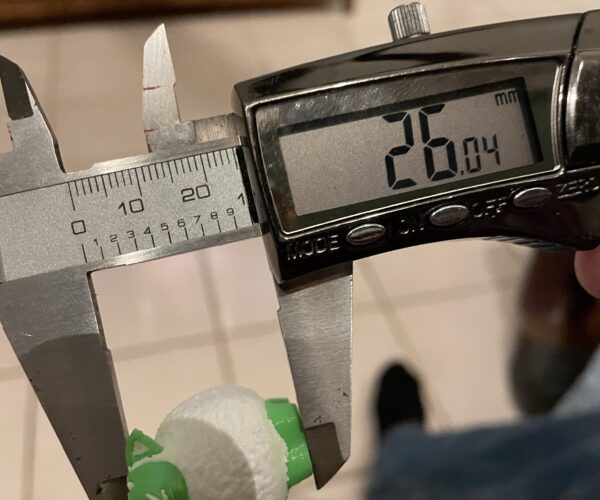
I printed some short cylinders, larger in diameter than the whistle sound opening, but shorter than the width of the whistle, then I paused the print just before the first top layer, inserted the barrel (Pea) and continued the print,
this sealed the barrel inside the whistle. and changed the whistle sound significantly!
regards Joan
I try to make safe suggestions,You should understand the context and ensure you are happy that they are safe before attempting to apply my suggestions, what you do, is YOUR responsibility.Location Halifax UK
RE: How to install MMU2S on working printer.
Interesting idea. I shall have to try that.
But for now, one more white whistle coming up.
That should finish off the spool. Then we will see what happens when we run out of filament !
RE: How to install MMU2S on working printer.
Error 2: It keeps going when changing filament. Does not stop. All that purge filament needs to be wiped or it can cause a crash. Finally caught it !
ERROR 3: Ooops. paused the print to watch the ‘Eject filament’ in action. That worked caught and removed the heel. But… it causes the print to move in to filament 5.
RE: How to install MMU2S on working printer.
RE: How to install MMU2S on working printer.
LOL, that almost reminds me of the old 'striped paint' and 'spotted paint' on the old Howdy Doody show. 😉
RE: How to install MMU2S on working printer.
The plane part (VTP for Eclipson Wolf) looks great?
We had a successful end-of-roll filament swap.
This is the second attempt. The first run got an inch tall then started air printing.
The filament was tied in a knot on the spool.
