Factory Reset Slow Extrusion of Filament @ 95~100 Flow
Hi all, below are the tests I completed and am needing help;
- Factory Reset (Cleared EEprom data)
- Updated Firmware to Latest Version via Linux Ubuntu (Checked Support to verify)
- Completed All Axis Testing
- Purchased & Installed brand new Extruder Hotend (Today)
- Cleaned/inspected the Bondtech bearings
I have printed 4 successful prints, including one that is 15hrs (one color) and another that is 8hrs (3 colors).
Initially, after installed new MMU2S & MK3S upgrades, I have had more challenges or problems than I did as a total beginner with the MK3 purchase in 2017.
After the 15hr print with Prusament PETG for enclosure, I begun to have problems.
Is it me or are others having similar issues with the flow of the extruder?
Are we suppose to increase the default flow rate? I remember never changing the flow rate and only needed temp adjustments and Z-Live for MK3.
Every time I leave the flow rate at 100 or 95, the material doesn't dispense quick enough and becomes stringy or doesn't stick to the plate.
Only piece left to replace is the Extruder Stepper motor, although I have tested this via Settings, including cleaned/inspected the Bondtech bearings.
For PLA first layer calibration that hasn't worked since the upgrade, I used the following settings:
+PLA
Speed: 100
Nozzle: 215
Bed: 60
Flow: 95~100
Z-Live: -1.550~1.600
Room Temp: 74F
For the successful prints with PLA & PETG, I used these settings after 2 days of fiddling with settings:
+PLA:
Speed: 100
Bed: 65
Flow: 175
Z-Live: -1.550~1.600
Room Temp: 74F
+Prusament PETG:
Speed: 100
Nozzle: 250
Bed: 85~90
Flow: 175
Z-Live: -1.575
Room Temp: 74F
These settings above do not work anymore after 15Hr print for enclosure. I re-calibrated everything and installed the new hot-end E3D v6.1 Full extruder; still having troubles.
RE: Factory Reset Slow Extrusion of Filament @ 95~100 Flow
In addition to above troubleshooting & calibration
- Re-calibrated the PINDA probe & ran wizard again.
- Checked bed leveling with small levels
- Increased mesh bed leveling to 7x7
- Cleared out long PTFE cables & released extra filament from spool to MMU2S buffer.
- Sliced enclosure myself from 3mf file
- Connected USB to Computer & Opened Software via Sudo
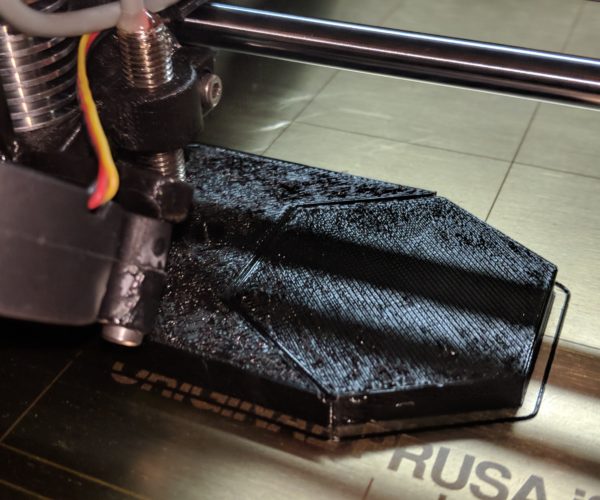
This morning, the printer decided to begin working again without any changes, although after about 30 minutes it started tearing into the back-left PETG (see picture below). The only difference was the temperature difference and printer cooled down to ~19-20 C.
I am 'assuming' temperature and friction from filament quality to spool to filament buffer to MMU2S to Extruder play a significant role in a portion of this problem; including the perfect tension for the Bondtech gears.
RE: Factory Reset Slow Extrusion of Filament @ 95~100 Flow
Part of the problem is adhesion: 99.9% of the time it is oils on the print sheet. Alcohol is not sufficient to remove it (unless you are using gallons).
Another problem is Flow: 175 -- that is a sign you have an extruder problem. Nozzle is plugged, bad thermistor, bad heater, broken wires, tension on Bondtech gears too light; etc.
As for the MMU issues, no clue.
In general, inside an enclosure, PLA is not a good filament to use unless you leave the door open and use a fan to blow air around the printer to keep it cool and working properly. Also, folk change the hot end fan to a high volume version to keep the heat sink cool and add a fan to the extruder motor to keep it cool.
RE: Factory Reset Slow Extrusion of Filament @ 95~100 Flow
Hey Tim, thanks for the advice.
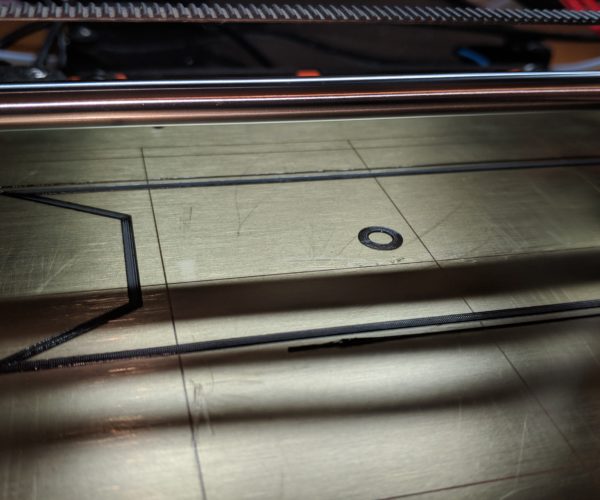
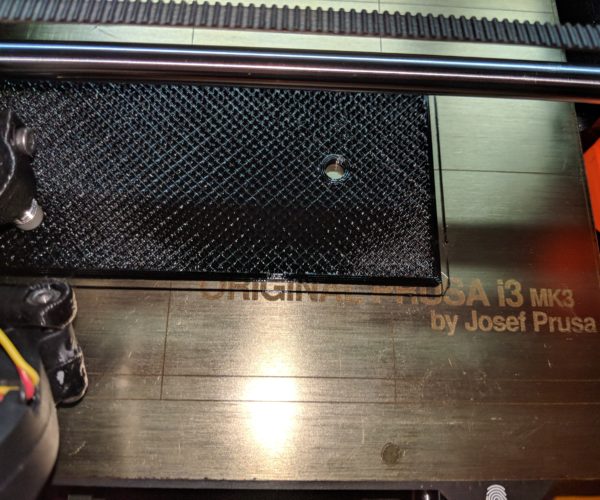
After the above changes & PINDA probe adjustments, including 7x7 mesh bed leveling the print is almost flawless first layer (see image below). Below are the print settings now.
For the cleaning of the smooth steel sheet, I need to purchase some acetone. I don't have the textured powder coated steel sheet. I read that this is good for PETG prints, plus gives it a nice look.
In reply to the Flow: 175, I purchased a brand new prebuilt extruder hotend from Prusa Research for $100. I received it and installed it yesterday before asking questions on the forum.
PETG
- Speed: 100
- Nozzle: 240
- Bed: 85
- Room Temp: 75F
- Z-Live: -.665
- Flow: 100
I downloaded the .3mf and sliced it myself.
RE: Factory Reset Slow Extrusion of Filament @ 95~100 Flow
Soap and water works rather well for cleaning the smooth PEI sheet. Just make sure the detergent/soap is not one of the skin lotion types; and use plenty of hot water to rinse. I use acetone once in a while, but only after a wash doesn't quite cut it for what I am printing. E.g., small contact points, tall parts requires the best adhesion possible. So getting all of the oxide layer off helps get that level of stickiness.
RE: Factory Reset Slow Extrusion of Filament @ 95~100 Flow
You might try slowing down infill print speed a bit; it may help the top layer sheen.
RE: Factory Reset Slow Extrusion of Filament @ 95~100 Flow
Good to know & thanks again for sharing.
I am currently on my 3rd print of same item from the last image shared above. I have learned lots from this experience and have had many headaches on the way.
I discovered after the infill completes, the top layer was very rough & flexible; also, the wall thickness was very flexible and spongy.
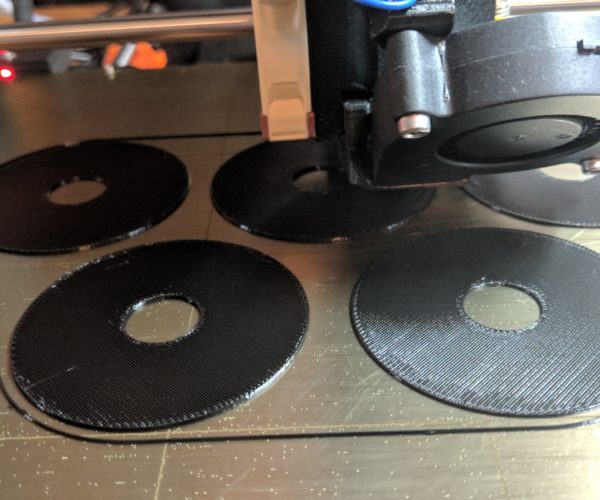
I downloaded this .3mf from https://blog.prusaprinters.org/mmu2s-printer-enclosure/ #9 (Spool Holders); To accomodate less room for error, I decided to print only one spool holder at a time, which brought the print time from 25hrs to 10hrs per spool holder ~30hrs (after custom slicer changes).
I trialed honeycomb and triangles at %10. Now I am using 15% infill with rectilinear.
I trialed 3 perimeter for wall thickness and found the walls to thin for me; now, I am using 5 perimeters.
I trialed top layer solid (horz. shell) at 5; now I am using 6 top layer solid fill to have a more polished & stronger top layer.
By increasing 2 perimeter to 5, this enables the thinner walls for the spool holder arms to be solid, plus gives a lot extra strength to the base.
Here are the settings I am now using for this print:
PETG:
- Speed: 95
- Nozzle: 240
- Bed: 85
- Z-Live: -.665
- Flow: 110
- Room Temp: 65-75F
Slicer Core Settings: (changed)
- Layer Height: .2mm
- First Layer Height: .2mm
- Infill: 15%
- Infill Pattern: Rectilinear
- Perimeters: 5
- Top Solid: 6
From these settings, I found the PETG quality to be closer to Prusa Research printed parts. Any future revisions, I will add here to share with others.
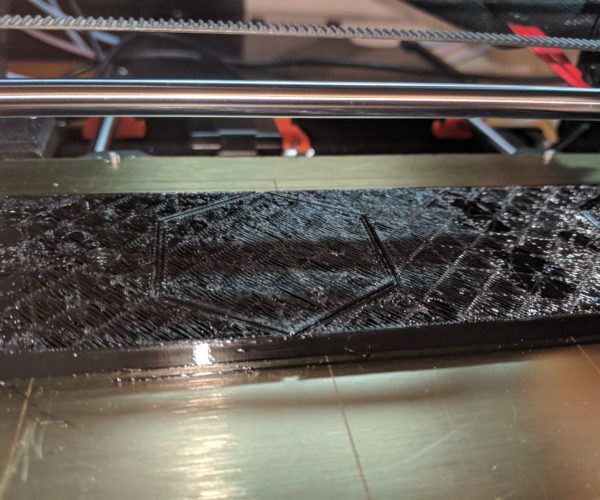
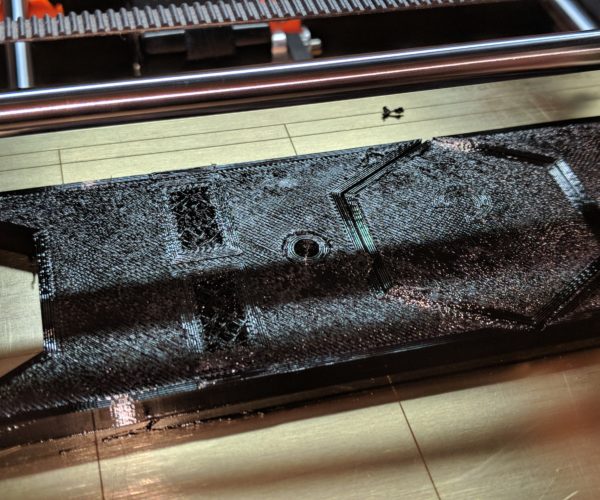
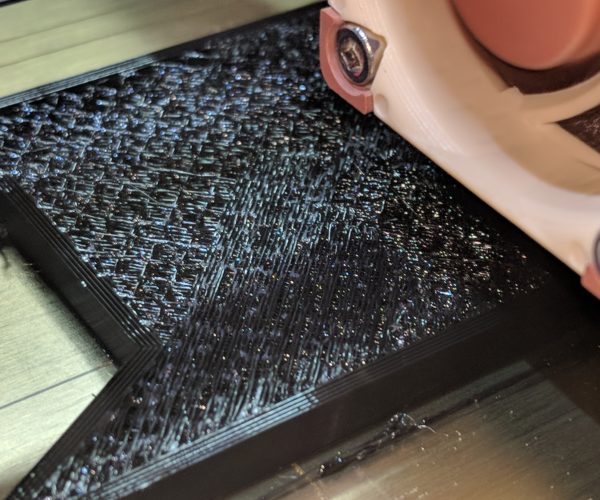
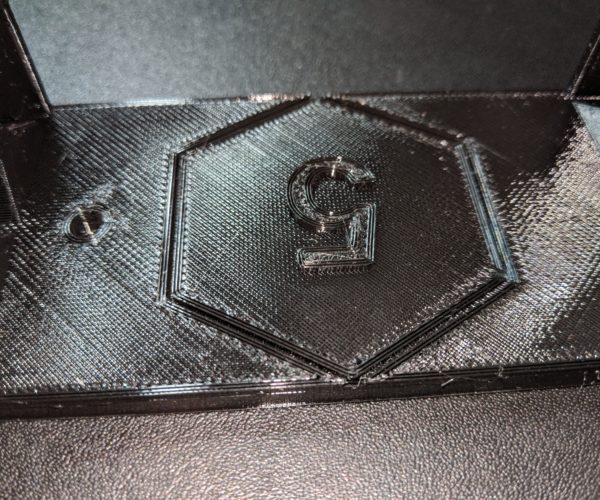
Previous Print without new slicer settings. (yesterday)
Previous Print without new slicer settings. (yesterday)
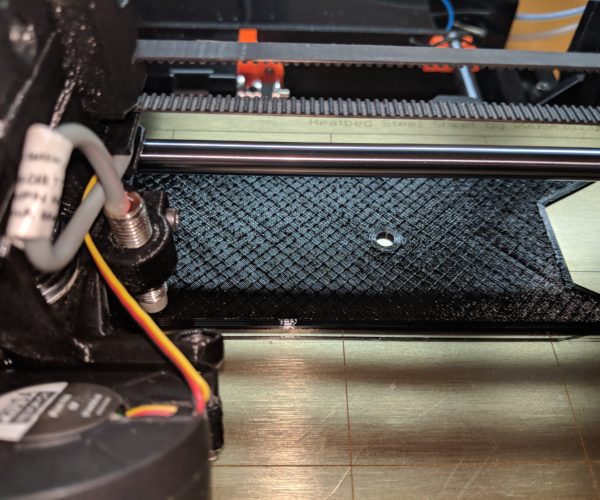
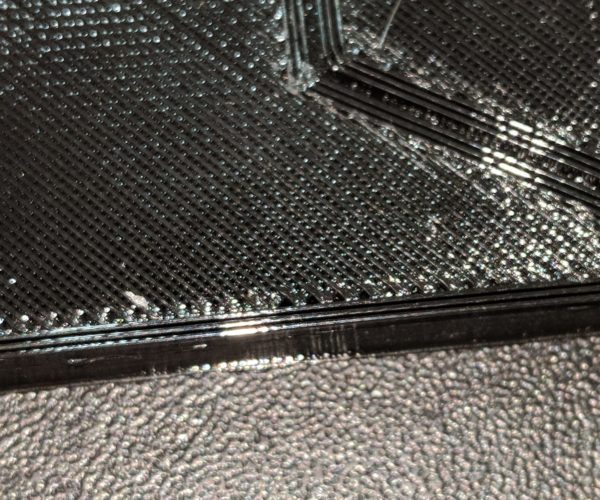
Present Print First Layer at 5 perimeter
Present Print Infill Recti. at 15%
RE: Factory Reset Slow Extrusion of Filament @ 95~100 Flow
I found the 3rd revision stronger and has less flaws. Increasing the flow rate, top solid fill and z-live really made a difference. I also increased others pointed out below.
Okay, for the 3rd revision, below are the changes:
Prusament PETG:
- Speed: 95
- Nozzle: 245~250
- Bed: 85
- Z-Live: -.668
- Flow: 115~120
- Room Temp: 65-75F
Slicer Core Settings: (changed)
- Layer Height: .2mm
- First Layer Height: .2mm
- Infill: 25%
- Infill Pattern: Rectilinear
- Perimeters: 3
- Top Solid: 7
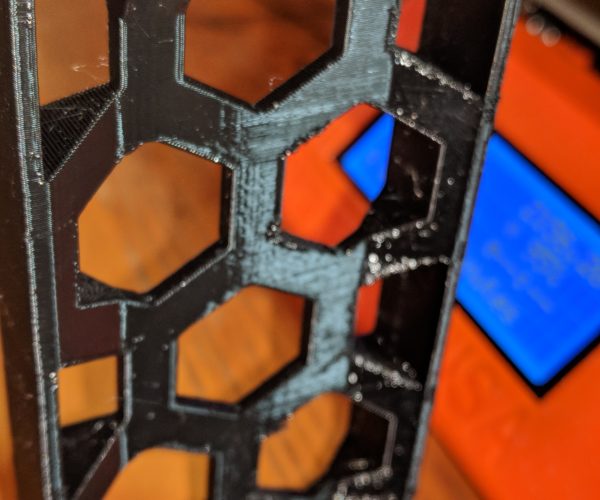
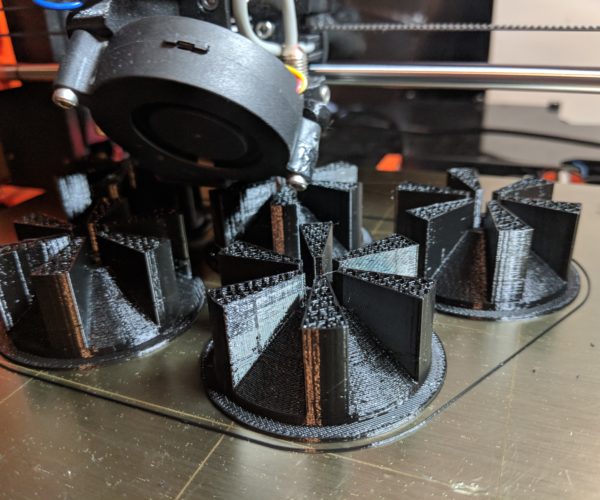
I decreased perimeters because the idea was to have thicker walls..although each wall thickness didn't merge with the previous vertical wall. I changed a lot of settings like perimeter extrusion widths and flow rate to accommodate this for the 3rd print; in turn, the vertical walls are stronger, although still didn't stick to each other as intended. I only increased the extrusion width of the external and internal perimeters to .5mm, rather than .45mm. Also, infill/perimeters overlap was changed from 25% to 30%. (See images below for vertical walls)
The 3rd print positives:
- Took less time than previous prints
- Top layer solid fill is more clean now and has less marks.
- Naturally, infill at 25% gave me the strength I was looking for
- Increased flow rate gave more strength, less flaws and better infill consistency.
Yesterday revision with 5 perimeters: (print spool 3)
Final adjusted print for print spool 4-5:
RE: Factory Reset Slow Extrusion of Filament @ 95~100 Flow
For others who may gander at this thread through online or forum searches, below are the optimal settings 'I found' to work best for strength, beauty and speed; keep in mind, your z-live will most likely be different.
After 5 layers have been set, I increased speed to 150%; I haven't trialed 200% speed increase with the settings shared below. The settings below have been successful consistently for over 50Hrs of printing through sequential prints. The perimeters were decreased to one because I found this to be a solid wall, plus enabled more strength in the smaller diameter of thin walls without vertical flaking, therefore creating flimsy thin walls.
Calibration has taken lots of time and has taught me much; I hope by me sharing, your calibration times are improved.
Initially, I though I would focus on design mostly; then I found out I needed to do lots of fiddling for both the hardware & software of the machine. Now, I have created more consistency for PETG Prusament, I am able to focus on the next step of design in Blender.
PETG (Prusament Black)
- Speed: 95~100 --> After first 5 layers, increased speed to 150%
- Nozzle: 250~255
- Bed: 85~90
- Z-Live: .673
- Flow: 115~120
- Room Temp: 65-75F
- Humidity: 50~59%
PrusaSlic3r (PS) Core Settings:
- Layer Height: .2mm
- First Layer Height: .2mm
- Infill: 25%
- Infill Pattern: Rectilinear
- Perimeters: 1
- Top Solid: 7
- Infill/Perimeters Overlap: 40%
