Have you done a rigorous Z calibration?
If you have not done so, I suggest you use any of various single-layer test prints to do a Z calibration, adjusting for the best 'squish' of the laid-down filament on the first layer. Tune the Z for a nice oval/ellipsoid shape of the bead, as shown in various illustrations.
I would also suggest changing the bed leveling from the default 3x3 pattern to the more precise 7x7 pattern.
If you do a test print such as the one below, you can adjust the overall Z height for the best overall first layer appearance, and if there's variation across the build plate, if necessary, you can add additional front/rear and left/right factors to compensate.
Too high
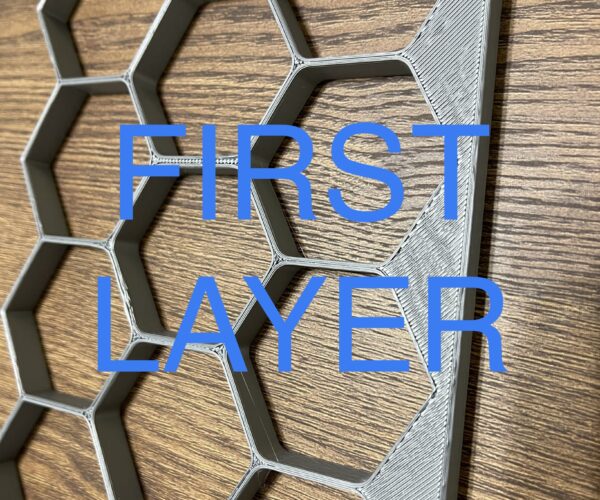
Your first layer is full of gaps between extrusion lines. This means that your Z adjustment is way too high — you need to use the “Live Z” setting to move the nozzle down until the extrusion is squashed flat onto the print bed, not round. Run the Z calibration routine and adjust, and if you have calipers, measure the printed test square to confirm that it is approximately 0.2 mm thick.
Fixing the Z will also result in better adhesion to the bed.
Keep adjusting
Oh wow. I'm pretty new to this so I didn't know there was 7x7 pattern, jsw. I will find and change that for sure. I have changed temps, flow, and thought I was doing Z cals correctly, but both of you are saying it is just Z axis issues. The book says Z is usually b/t -1.5 and -4. Have ya'll found that -.2 is pretty accurate across all prints? I will keep working it. I never thought about pulling out my calipers, kpreid! Thank you both.
measure the printed test square to confirm that it is approximately 0.2 mm thick.
It will be, even if the calibration is completely wrong...
You are extruding 0.2mm volume of filament over the area, if the nozzle is too high there will be no extra and if it's too low the excess will first squish sideways and then rise to the level.
@kelly, the first layer Z setting is unique to each printer, if the value is as slight as -0.2 you might want to move your Pinda; and it must not be lower than -2 ...
And it's a little hard to judge from your first layer picture; we would have a better idea if you showed us your first layer calibration print still on the print sheet.
Cheerio,
Oh wow. I'm pretty new to this so I didn't know there was 7x7 pattern, jsw. I will find and change that for sure. I have changed temps, flow, and thought I was doing Z cals correctly, but both of you are saying it is just Z axis issues. The book says Z is usually b/t -1.5 and -4. Have ya'll found that -.2 is pretty accurate across all prints? I will keep working it. I never thought about pulling out my calipers, kpreid! Thank you both.
For some reason, the Prusa Powers That Be almost appear to be hiding that. I've found that doing 7x7 with five probes works fine and the additional time required for the additional probing is trivial compared to the time for a multi-hour or even multi-minute print.
In my experience with 3d printing, I have found very few cases where changing things such as temperature, flow, etc., will really be needed. The only case I can think of right off hand is that the Mika3d metallic filament works better with maybe a 10C increase in nozzle temperature, but this is more significant on my 'other' printer, which defaults to 200C for PLA. Still, for the Prusa, I've gotten into the habit of goosing the nozzle temp maybe +5C when using that filament.


