I3 MK3 Hot Block Oozing PETG When printing
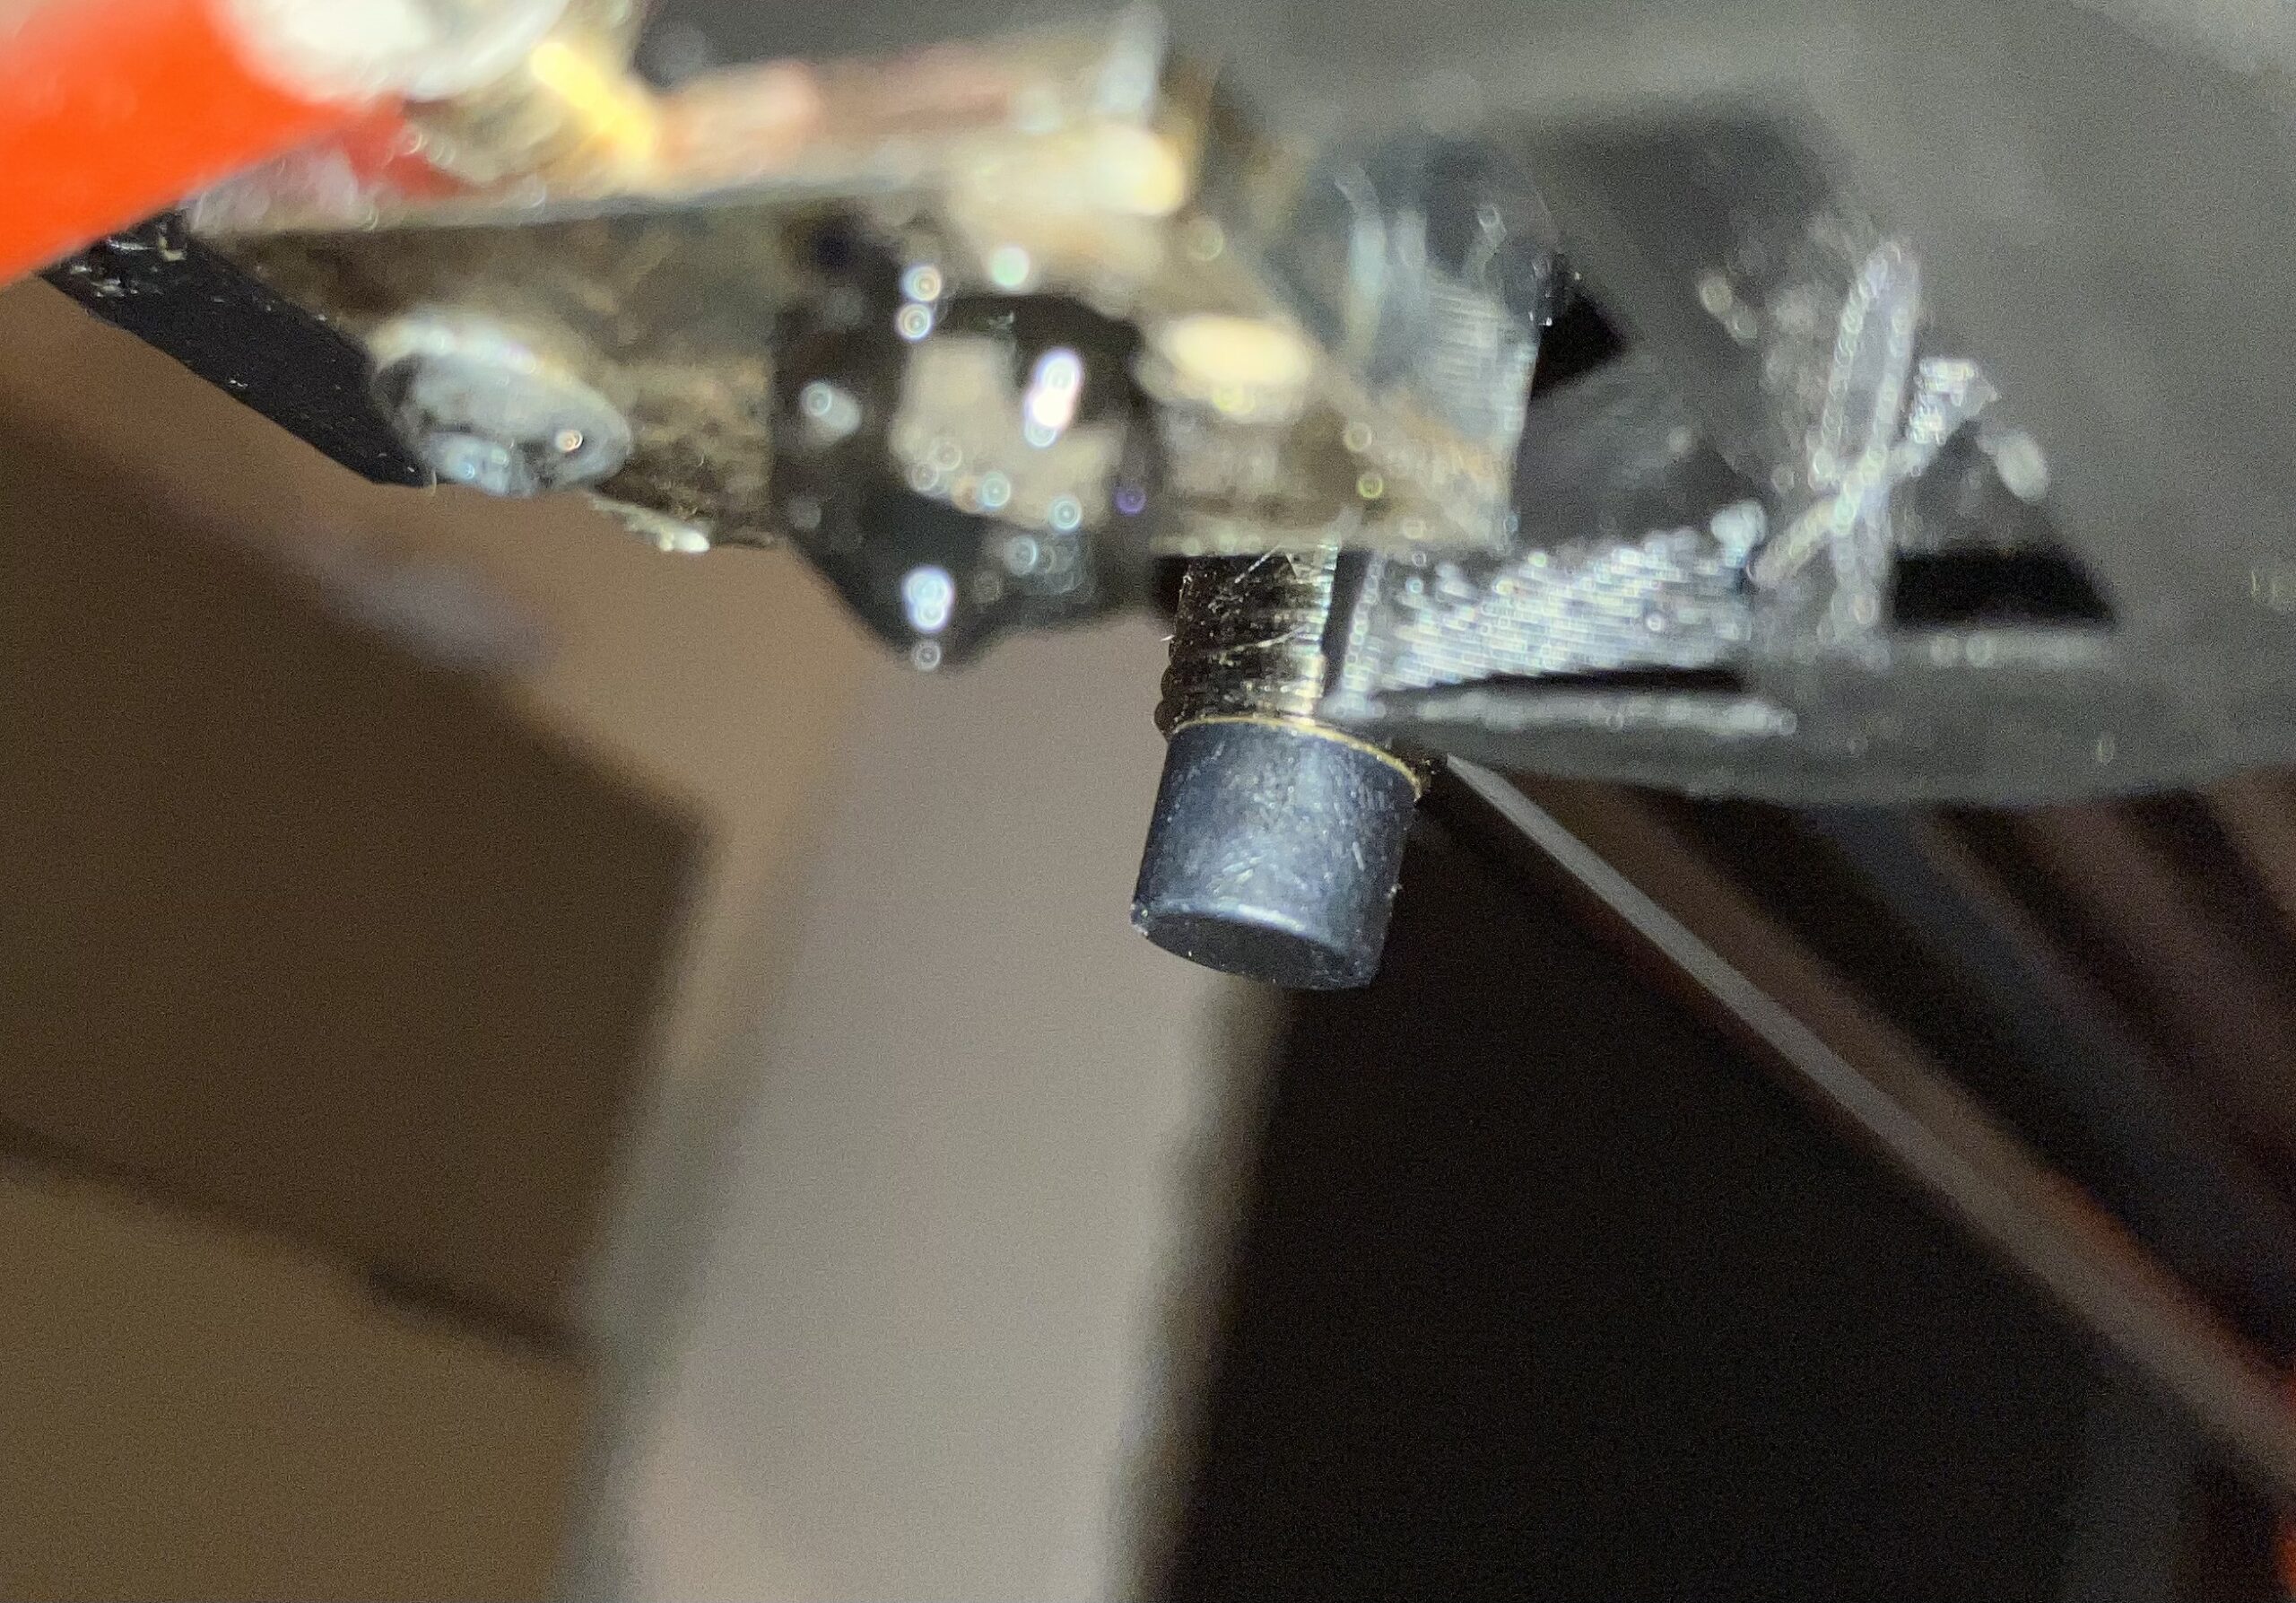
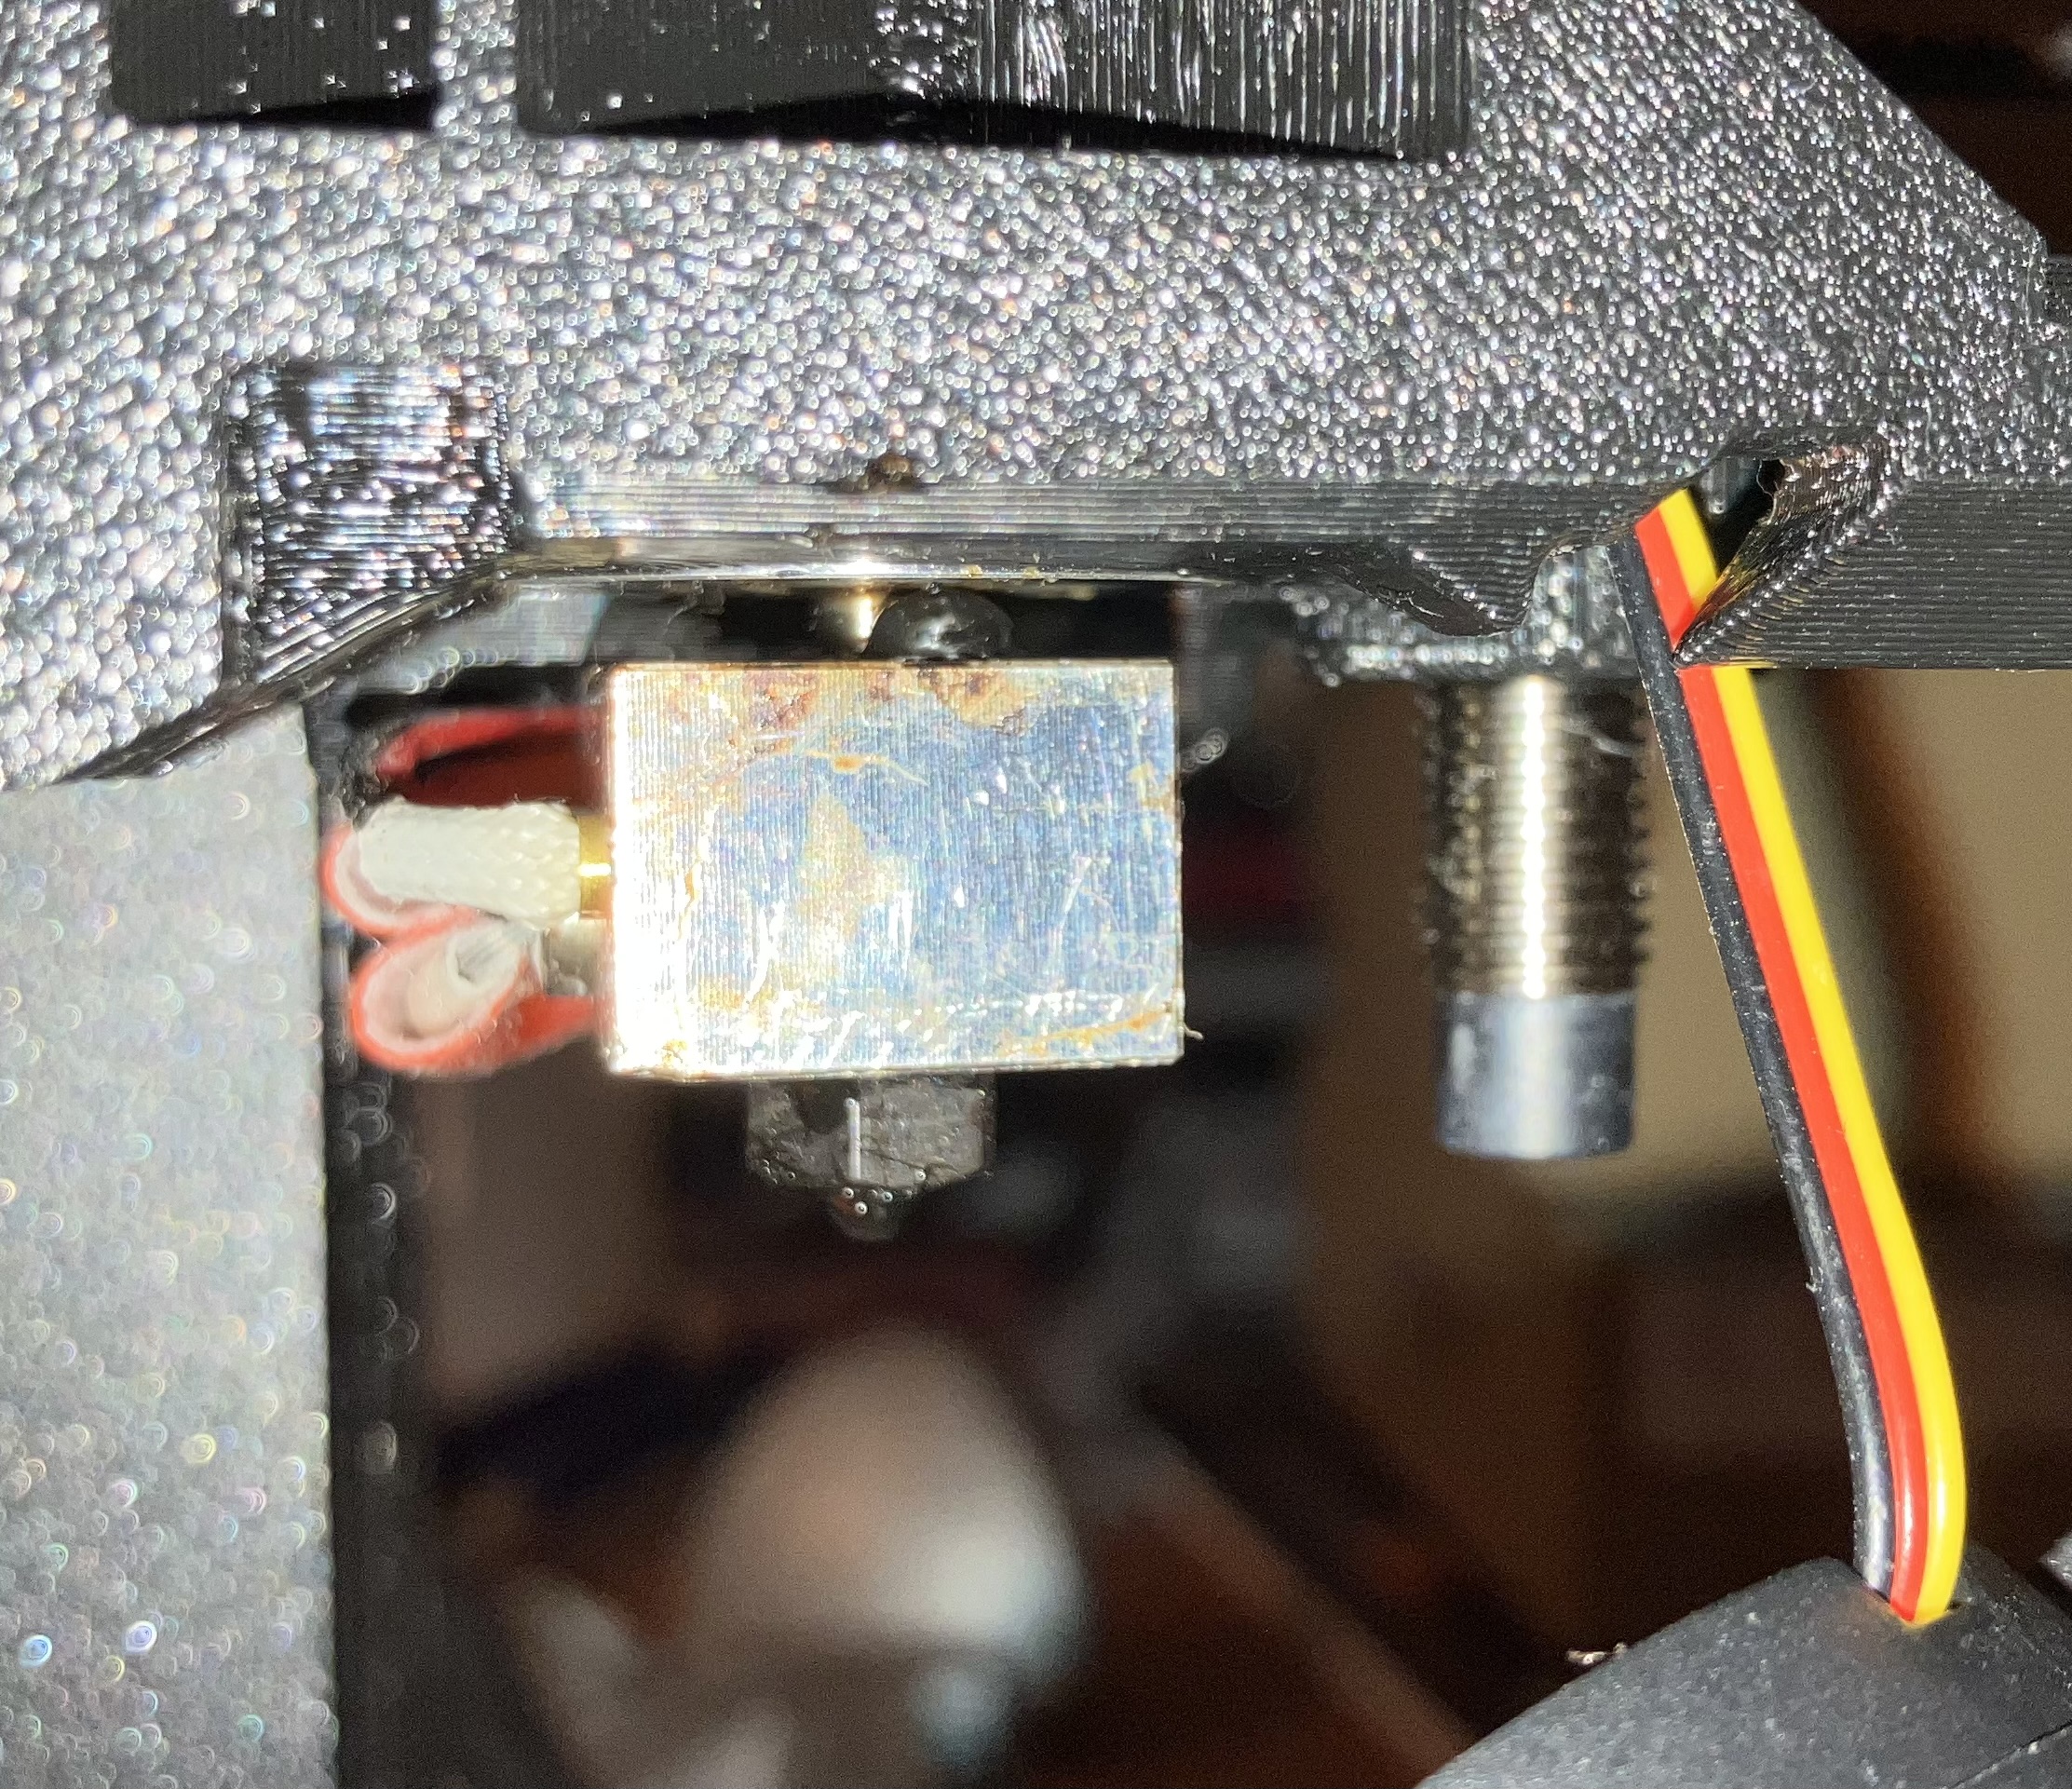

I have started having an issue with PETG oozing from the top and bottom of the hot block when I print parts. The oozing shown in the pictures above occurs after about 2-3 hours of prints. I noticed it after a few small prints and I removed the nozzle to clean everything up. I then put the nozzle back in per the instructions in the 3D printing handbook, which I have done before when I upgraded to a hardened steel nozzle. I do not encounter this issue when I am printing with PLA. The parts come still come out well even with this issue but I am afraid it will junk up the entire hotend and worsen over time. I am looking for any suggestions on how to fix this issue.
Thanks
RE: I3 MK3 Hot Block Oozing PETG When printing
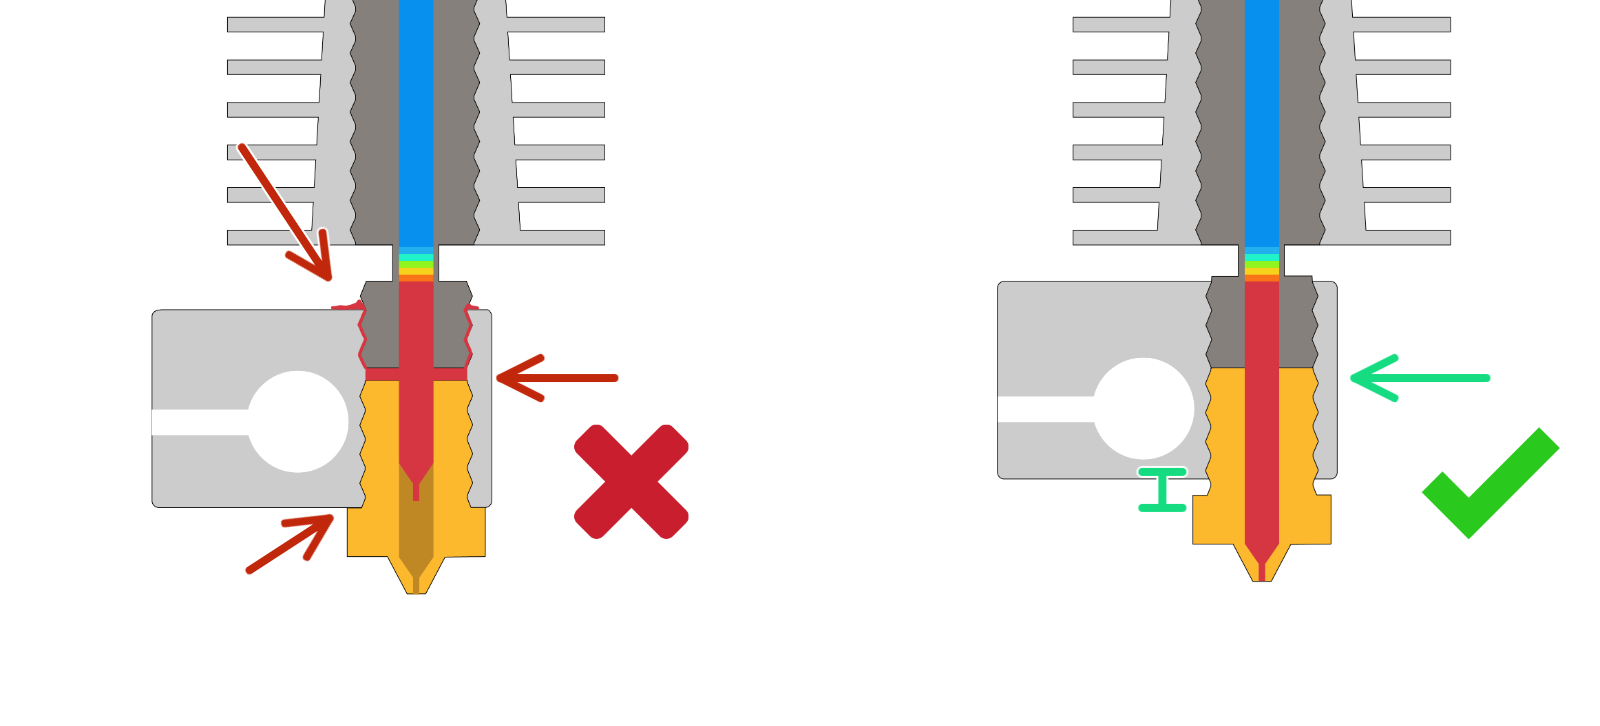
Your heatbreak and the nozzle is not installed correctly. There is supposed to be a gap between the nozzle and the heatblock. Your nozzle is flush and thus there is a gap between the top of the nozzle and the heatbreak.
--------------------
Chuck H
3D Printer Review Blog
RE: I3 MK3 Hot Block Oozing PETG When printing
 Hey Chuck
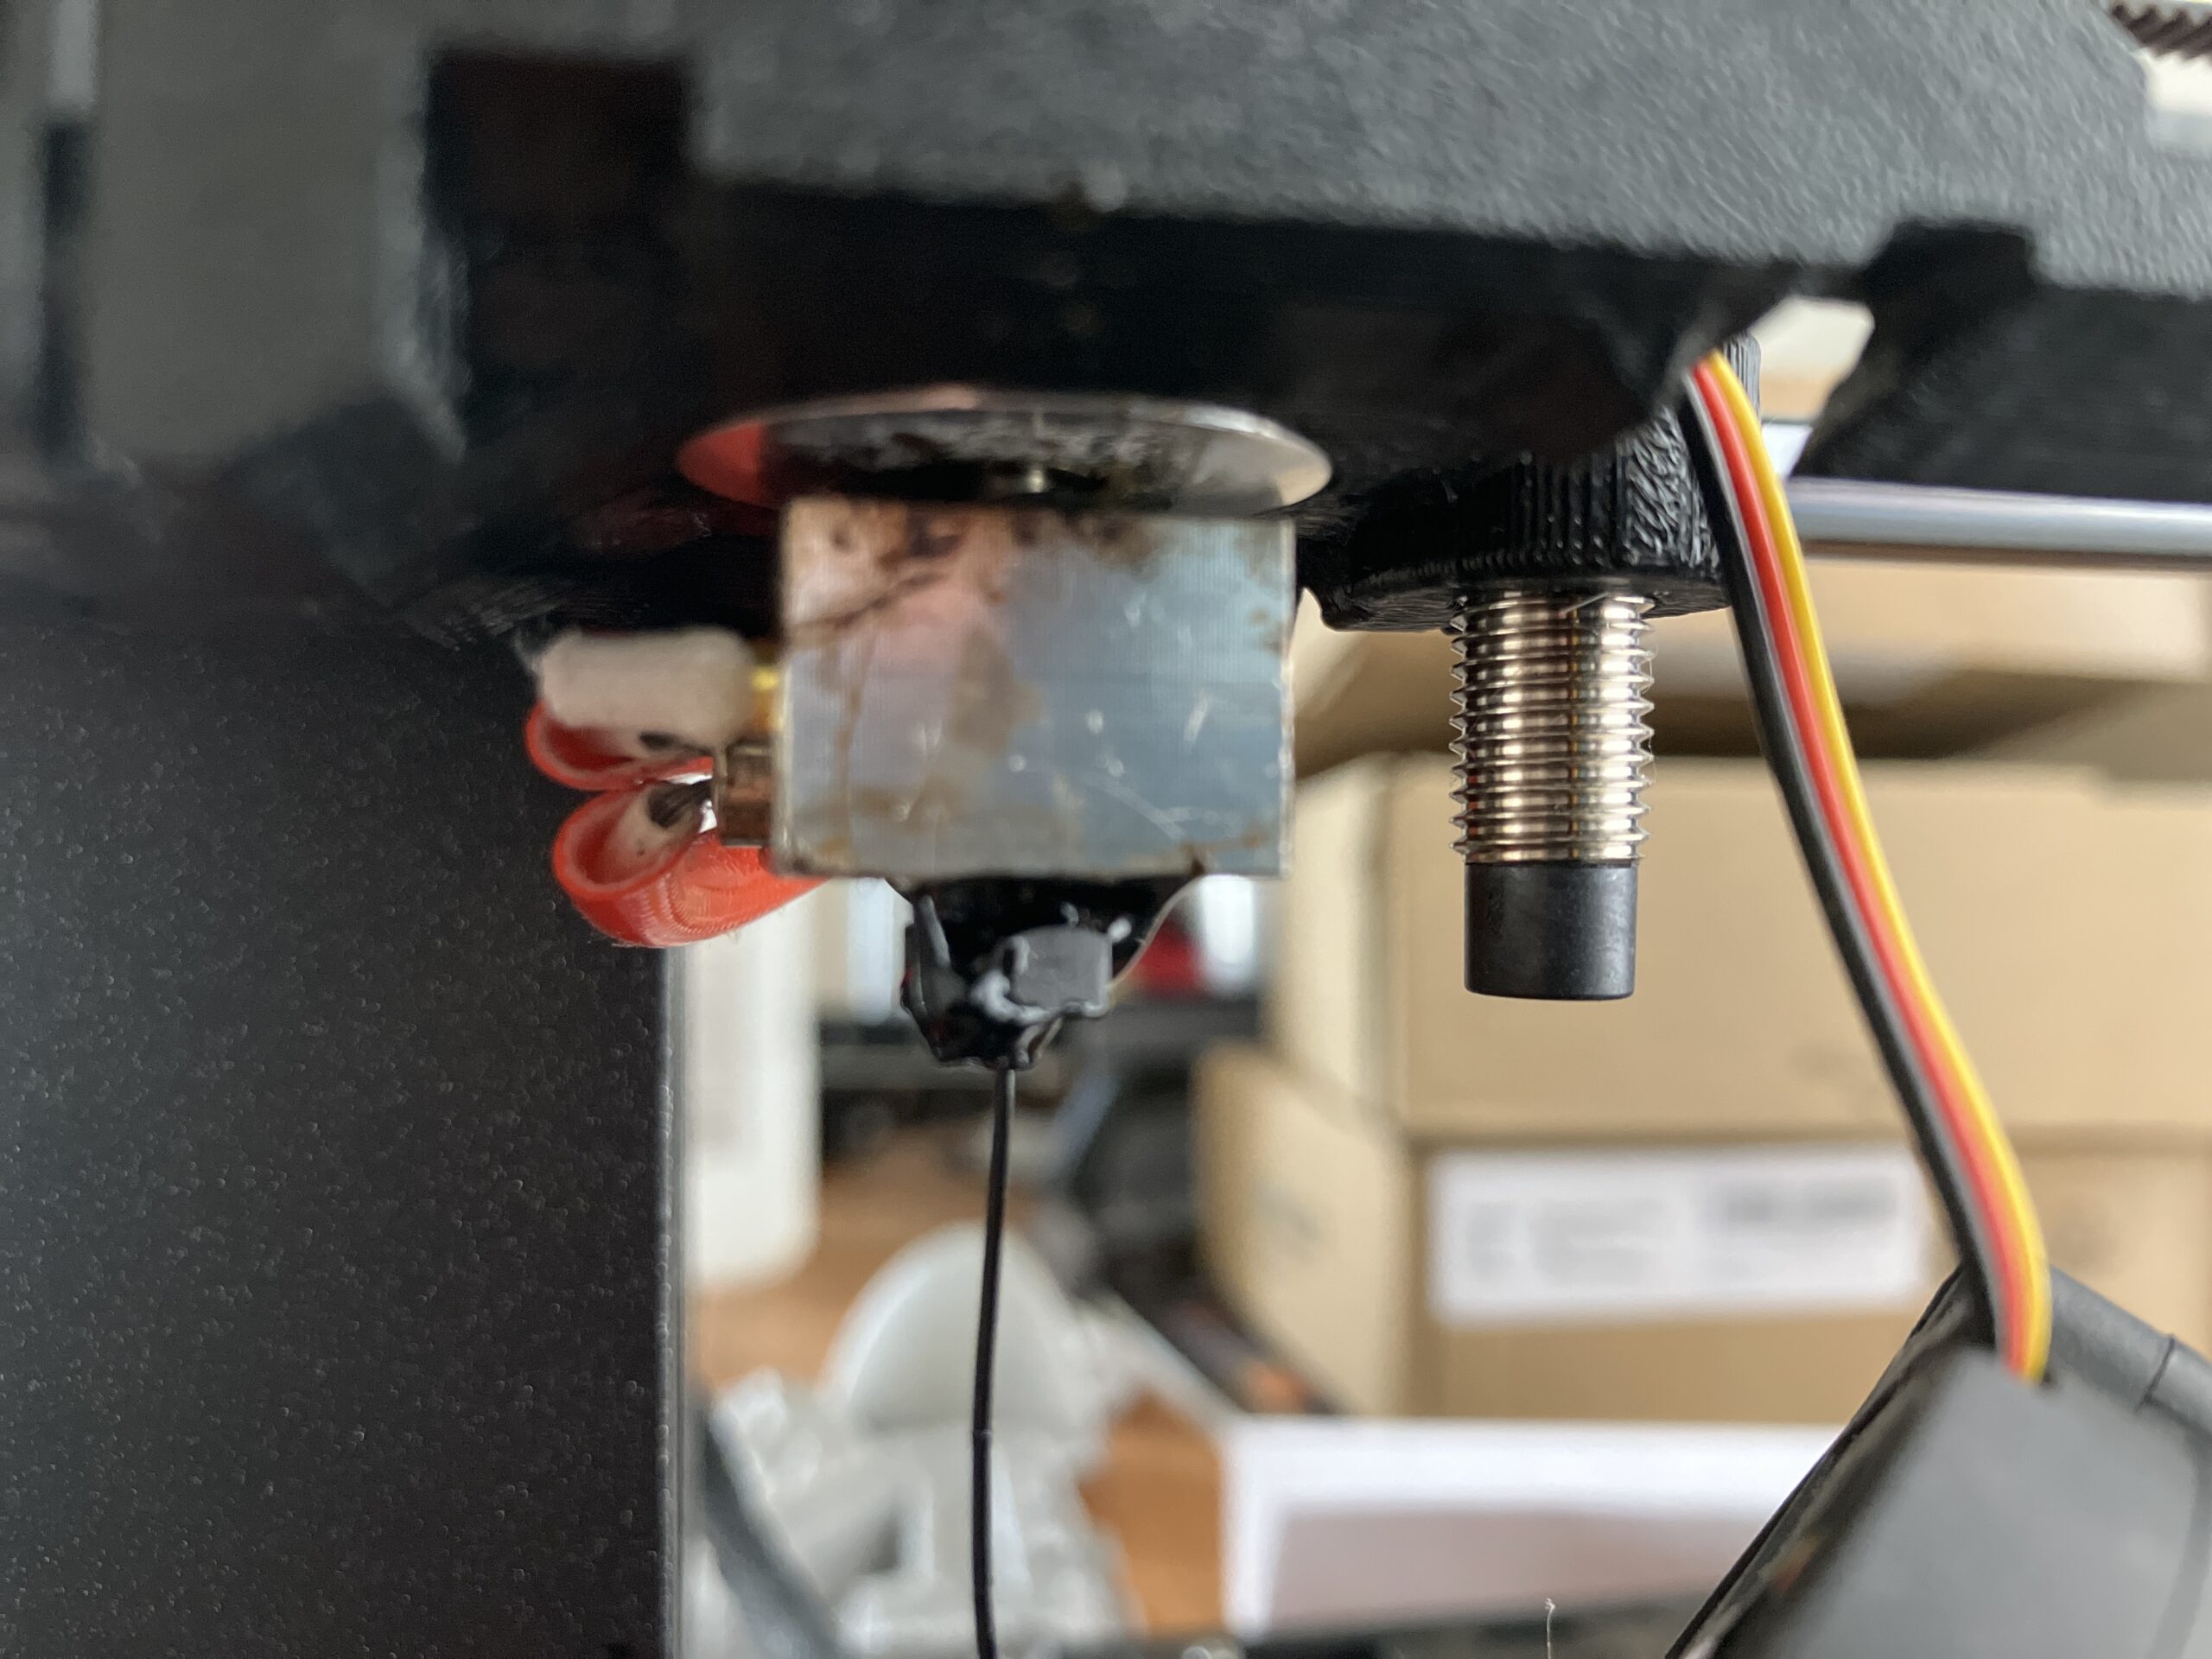
I apologize for the late reply. I reinstalled the nozzle with a larger gap like you stated above but am still having the issue. I included another picture below for reference. Let me know if you have any other solutions.
Thanks, Andrew
RE: I3 MK3 Hot Block Oozing PETG When printing
Hi Andrew, when you lowered the nozzle did you also screw in the heatbreak, to butt against the back of the nozzle thereby causing a seal between the nozzle and the heatbreak?
regards Joan
I try to make safe suggestions,You should understand the context and ensure you are happy that they are safe before attempting to apply my suggestions, what you do, is YOUR responsibility.Location Halifax UK
RE: I3 MK3 Hot Block Oozing PETG When printing
Hello Joan
I did not screw in the heatbreak. How do I do that? I have not heard of screwing in the heatbreak when changing out the nozzle?
Thank you
Andrew
RE: I3 MK3 Hot Block Oozing PETG When printing
Hi Andrew
changing the nozzle on an E3dV6 hotend is a bit of an art form...
have you seen this article?
the chances are, that when you undid the nozzle, the heat block twisted backwards and rotated the heatbreak and the heatsink, inside the extruder housing, when you inserted the new nozzle you probably re aligned the heater block to be straight front to back, but the heatbreak probably did not turn back with the heat block, so effectively the heatbreak would now be slightly further up than it should be, and this results in a tiny gap between the heat break and the nozzle. which is where the molten filament passes through.
I think everyone has done it at some time... 🙁
https://help.prusa3d.com/article/changing-or-replacing-the-nozzle-mk2-5s-mk3s-mk3s_2069
this video, is a bit slow, but may help you understand the anatomy of a hot end.
there are a number of alternative hot ends, which address this issue to some degree or another.
Mosquito,
Phaetus Dragon,
Revo six
Mosquito needs revised plastic parts for the extruder,
Phaetus dragon, and REvo6 are drop in replacements.
However, please be aware that the latest firmware for the Mk3 series (Version 12.2 i believe) introduces the 'Thermal Model' a bit of magic firmware that is supposed to protect your printer... Unfortunately this currently conflicts with the Revo6 and possibly other non standard hot ends...
I have a Phaetus dragon on one printer, and nozzle changes are a lot easier... I haven't tried firmware version 12 yet.
I have a revo to go in a different printer, which doesn't use prusa firmware.
my other two prusa's have standard e3dv6 hot ends.
Some people put a little bit of tape around the clamp section of the V6, to stop it rotating in the extruder housing, this makes nozzle changes easier, and less likely to leak because the heat break and the heat sink don't rotate during nozzle changes. but that information, is a bit late now.
Good luck and I hope you sort the issue out soon!
regards Joan
I try to make safe suggestions,You should understand the context and ensure you are happy that they are safe before attempting to apply my suggestions, what you do, is YOUR responsibility.Location Halifax UK
RE: I3 MK3 Hot Block Oozing PETG When printing
Thanks Joan
Is there anyway to repair the hotend after this happens? I would like to avoid spending a lot of money on a new one. I didn’t see anything in the video about doing this for rescrewing the heat break.
Thanks in advance
RE: I3 MK3 Hot Block Oozing PETG When printing
Hi Andrew,
Yes there are ways to fix the hot end...
I Would prepare by assembling a 7mm socket / spanner, and a 17mm open ended spanner or adjustable spanner, and a 2.5mm allen key, and a wire brush plus heat resistant gloves or a wad of scrap cloth to handle the hot parts
I Would start by raising the extruder to the top of the frame, to give space to work, remove the build plate to protect it from damage, and I would put a piece of cardboard on the heatbed to protect that as well
I would remove the part fan from the front of the extruder and 'Park it safely' (Tuck it between the X AXIS Belts, so that it doesn't hang on the wires and doesn't get in the way, and remove the part cooling fan shroud ( Lower front screw in the left hand fan, and slide the fan shroud out of place)
then I would heat the hot end to 285C, and remove the nozzle, then I would remove the lower front section of the extruder housing (REMEMBER at this time, the hot end will be very hot...
to remove the front of the extruder you will need to remove the top front screw from the left hand fan, and two screws from the front of the extruder cover
this should release the e3dV6 hot end.... Beware the heater wires and thermistor wires are fragile.
Grab the heat block with the heat resistant gloves or heat resistant cloth, and quickly unscrew the aluminium heatsink.
Usually this will also unscrew the heatbreak from the heat block.
Now turn the power off, and wirebrush the heater block to remove the waste filament. there may be waste filament on the bottom of the finned aluminium heatsink, this normally peals off when the heatsink cools down.
and there will be waste filament on the heatbreak thread this can be brushed off whilst the heatbreak is hot, you may need to re heat the heatbreak, options include, hot air blower, blow lamp, gas cooker ring, and chucking the hetbreak in the oven at 200C whilst nobody is looking and then brush clean.
cleaning the internal threat of the heat block is more tricky... I use an M6 Tap, to clear the waste out. if you dont have a Tap you could try running an M6 screw through the heat block, to clear the threads...
remove the heatbreak from the heatsink, and remove the PTFE Tube... Normally you can hold the black PTFE Retainer ring, against the heatsink top, and pull the PTFE tube out of the heatsink. (If that doesn't work, try pushing the PTFE tube into the heatbreak and take it out of the bottom of the heatbreak.
heat and wire brush the nozzle thread, or, if it's a brass nozzle consider using a new one... (you could also use an M6 die, to clean the nozzle thread...)
and now to the fun part, reassembly
HOPEFULLY, the parts will screw together whilst the heatblock is cold...
Screw the nozzle ALL THE WAY IN, then unscrew the nozzle 1/4 to 1/2 a turn, so that there is a small gap between the nozzle and the heat block.
then screw the heat break into the heat block from the other side, until it butts up firmly against the end of the nozzle, now screw the heatsink onto the heatbreak, gently until it stops. and then back the heatsink off, half a turn...
consider using a new PTFE Tube, if you have one in your spares bag. the PTFE should have a chamfer on the outside at the end that goes into the heatsink. Push the PTFE firmly into the heatsink and heatbreak, then whilst maintaining pressure on the PTFE, use your finger nails to ease the black retaining ring, away from the heatsink. then finally screw the heatsink onto the heatbreak. this should hold the PTFE firmly in place, now consider putting a little tape around the top of the hotend to tighten the clamp and hopefully prevent a future repeat of the problem
put the hot end back in to the extruder housing, tighten the front of the extruder housing into position, to clamp the hot end in place
Heat up the hot end to 285C, and finally tighten the nozzle against the heatbreak.
now restore the remaining parts of the printer, Re run your LIVE Z adjustment,
then HAPPY Printing
regards joan
I try to make safe suggestions,You should understand the context and ensure you are happy that they are safe before attempting to apply my suggestions, what you do, is YOUR responsibility.Location Halifax UK