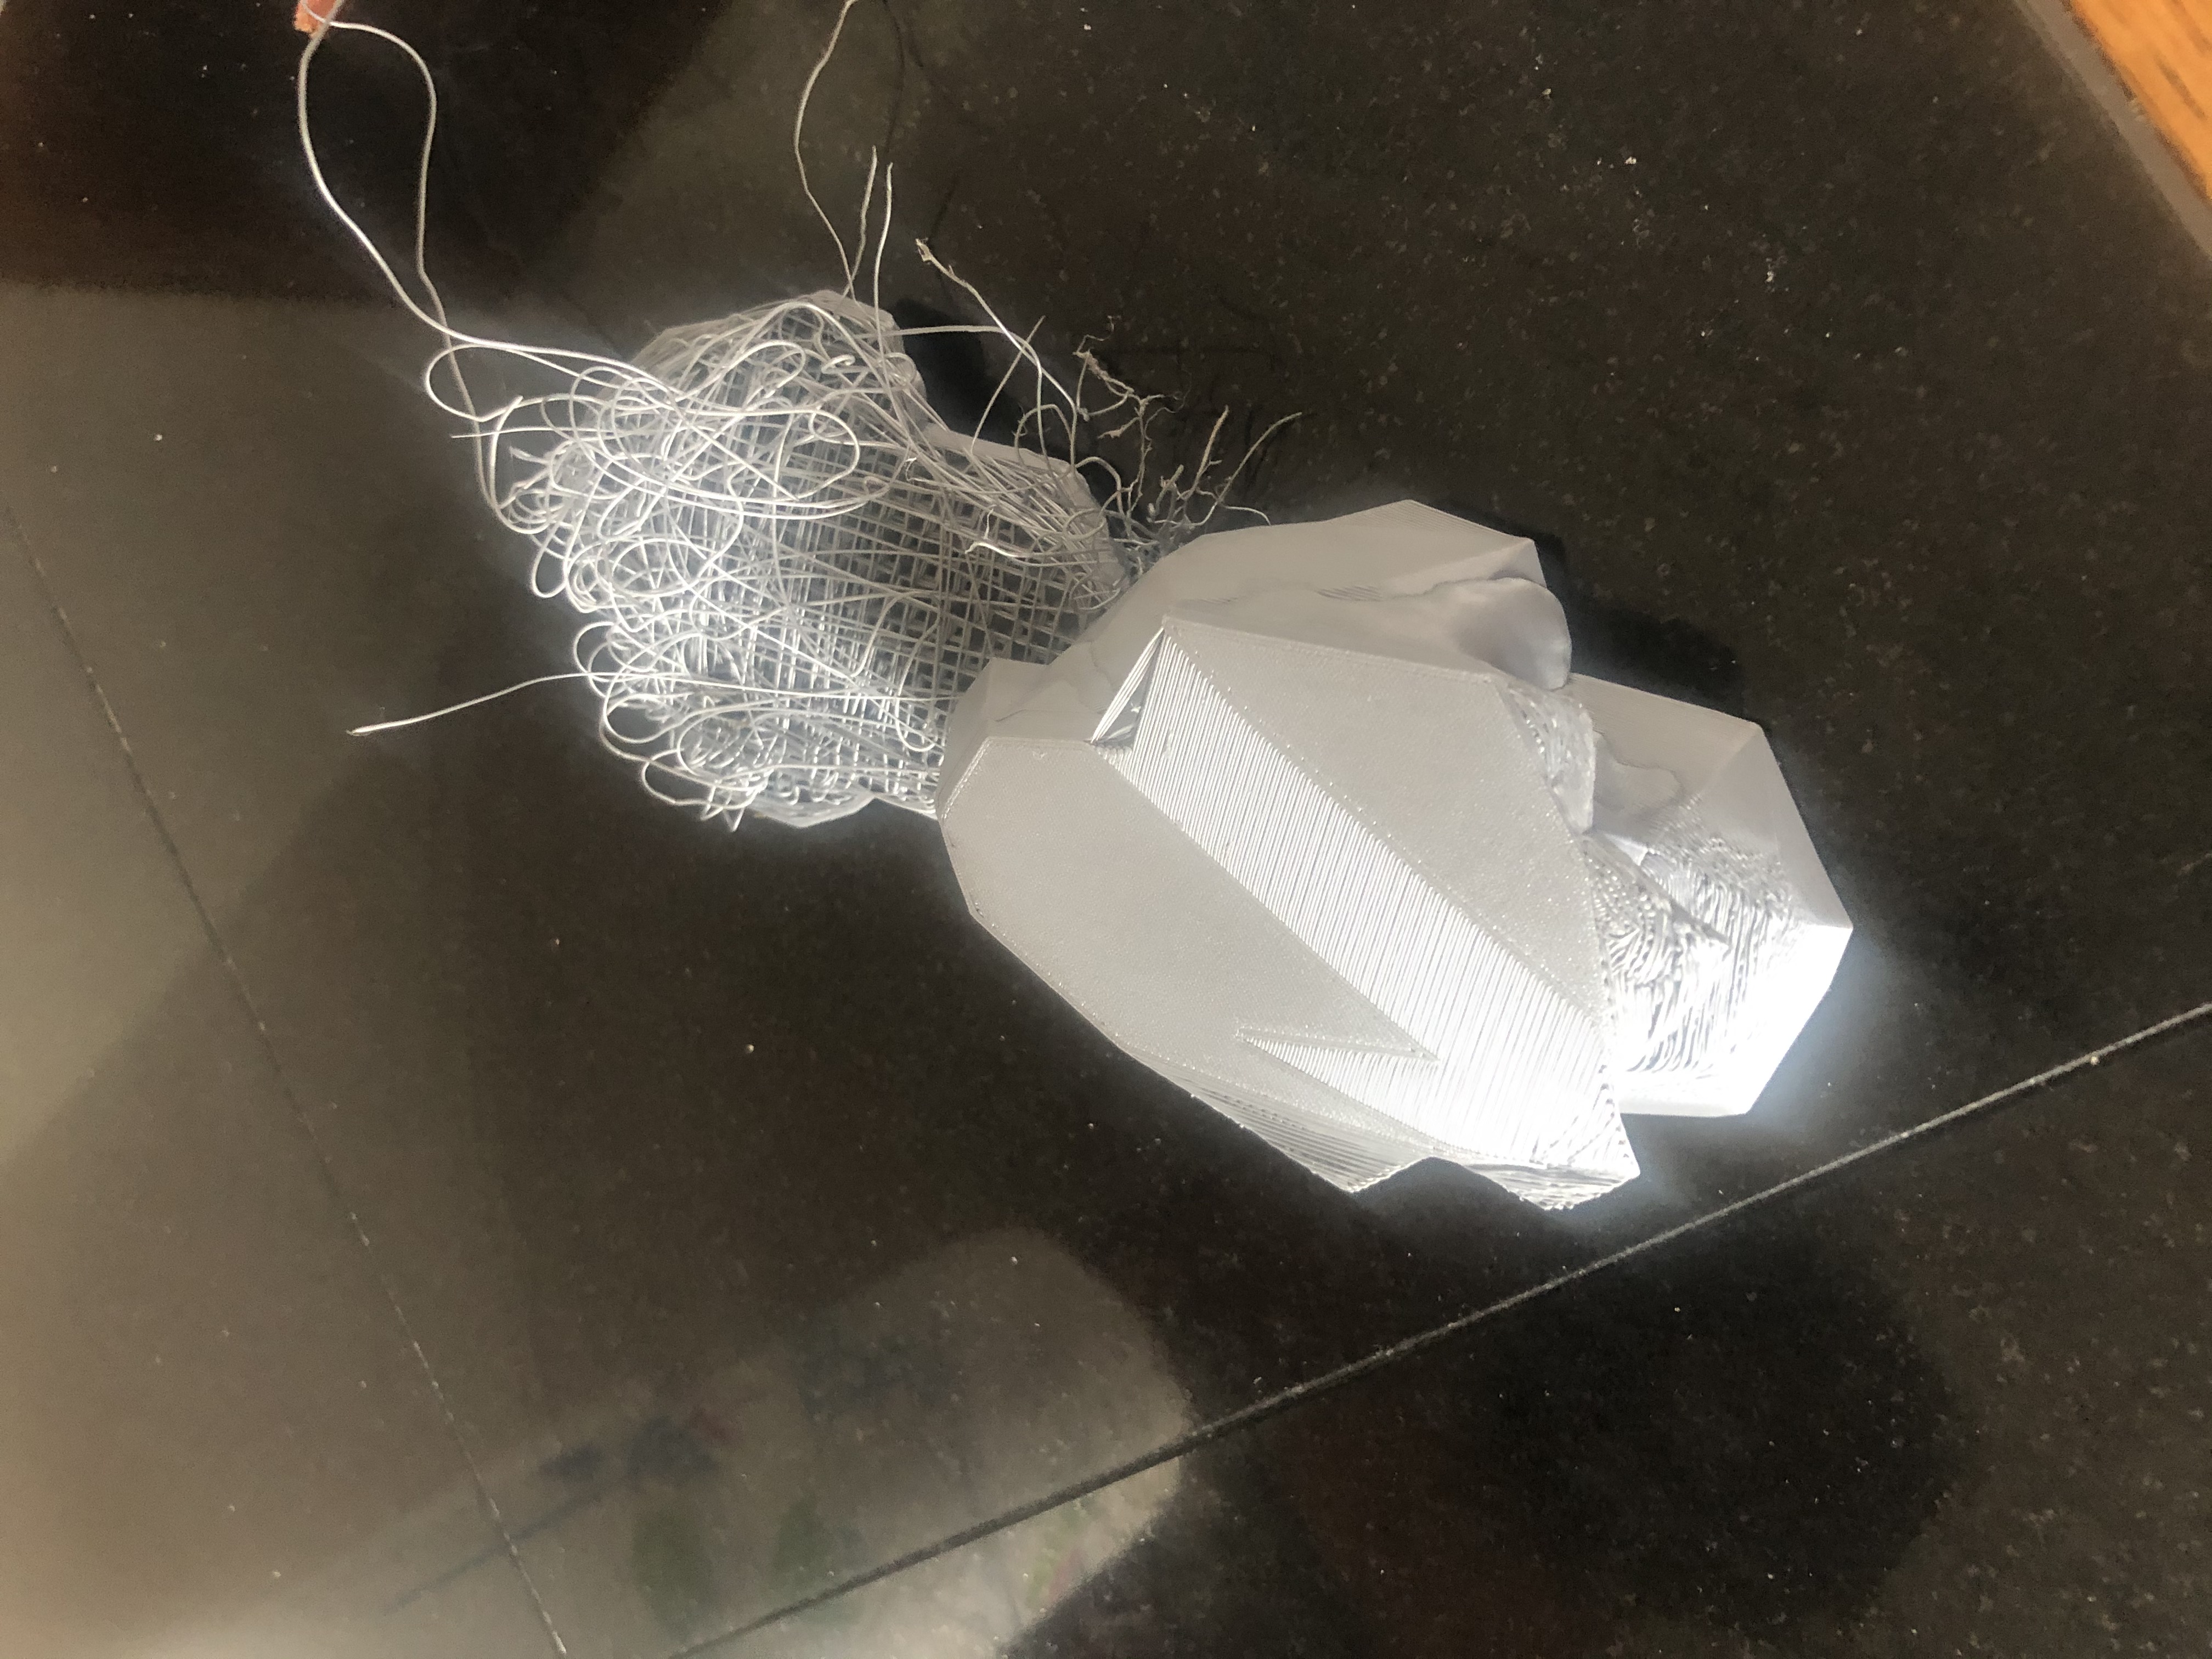
Test bunny came unglued
I went to bed and had a test print of the Stanford Test bunny start printing, albeit with part of it coming loose from the base. I thought it was just printing with a minor defect, but here's the picture I posted:
I came in the morning and saw a scene I can only describe as unglued:

I have been working on adjusting the Z calibration, as it was much too high initially.
As mentioned in another note, I tried to slice for my printer, but the printer said it was sliced for another printer. I don't know if this matters, but I'm mentioning it.
Advice?
Thanks,
I invite you to visit my website at CJSHayward.com and my bookshelf at CJSHayward.com/books.
RE: Test bunny came unglued
Show us a picture of the underside of that failed print. The first layer is the most important one.
And can you save the project as a 3mf file? In PrusaSlicer file>save project. Zip this file and upload it here.
With that file we can see all the settings you used in the slicer.
RE: Test bunny came unglued
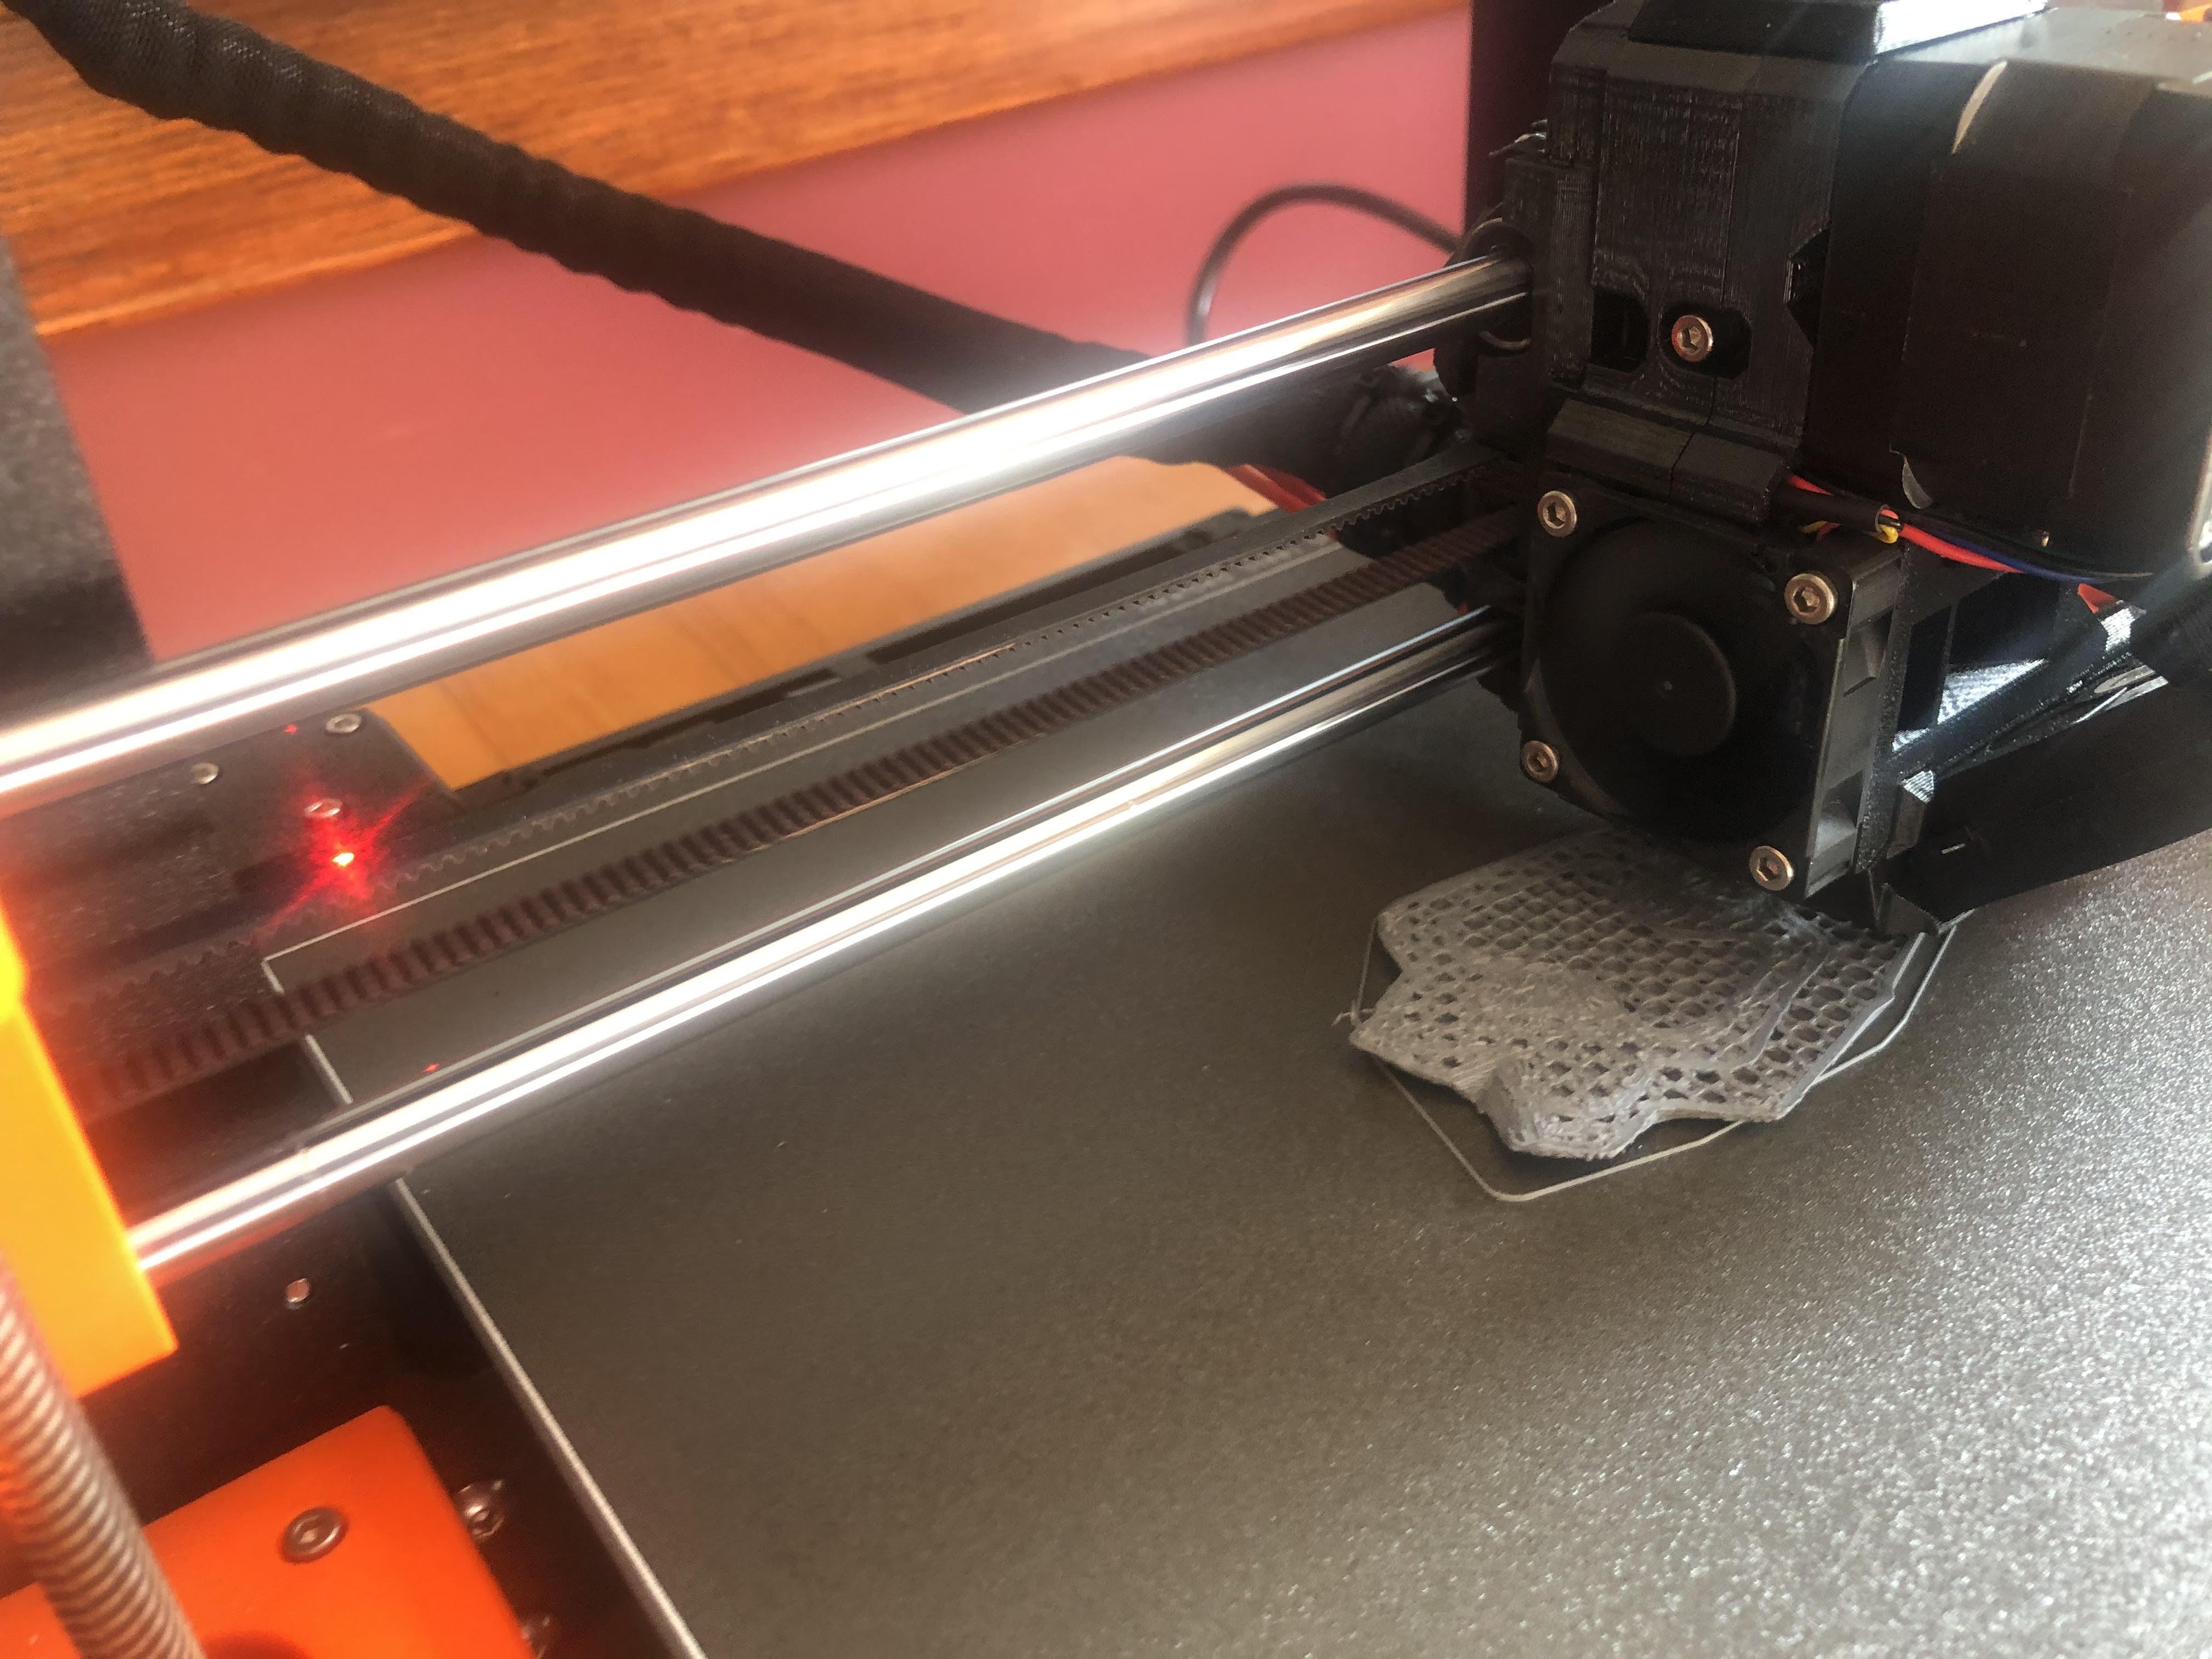
Is that PLA on the textured sheet? I've never tried it but have read adhesion is less good than on a smooth sheet.
Also, did you give the sheet a few good washes with dish soap and very hot water? New sheets can be greasy.
RE: Test bunny came unglued
Thank you for all your help!
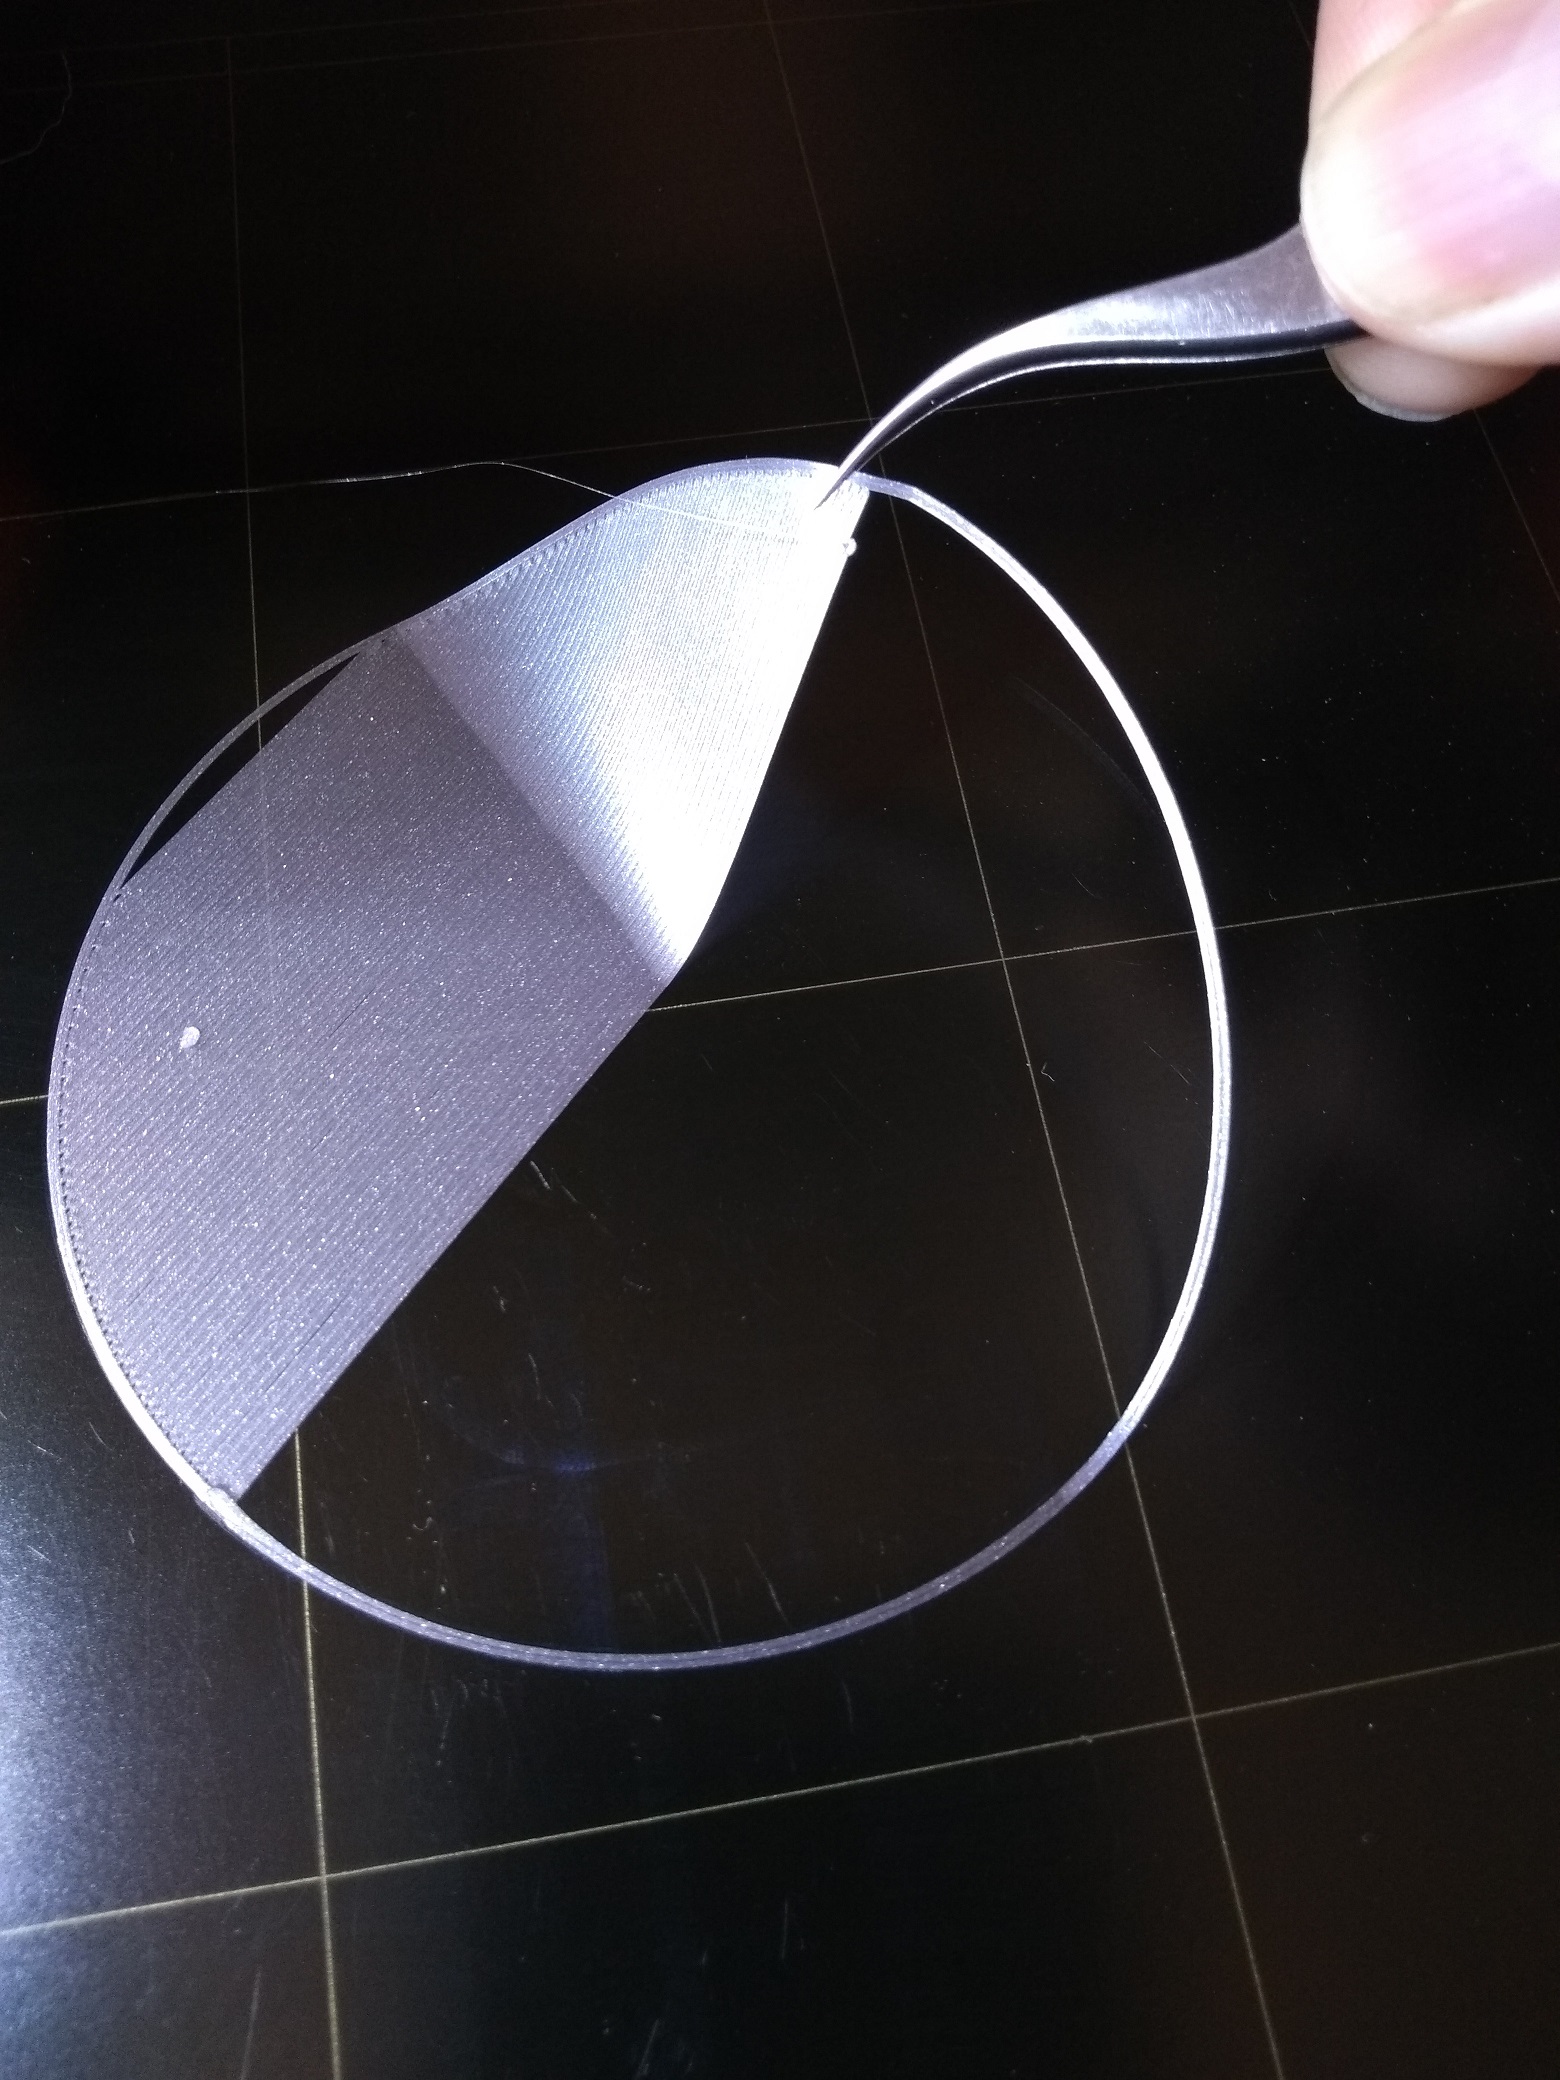
I took a couple of pictures from a slightly different angle to try and show where it curled upwards:

I invite you to visit my website at CJSHayward.com and my bookshelf at CJSHayward.com/books.
RE: Test bunny came unglued
In response to a response asking if that's PLA on the textured sheet, that is PLA on the textured sheet.
If I should be using another sheet with PLA, how and where can I get one?
I invite you to visit my website at CJSHayward.com and my bookshelf at CJSHayward.com/books.
RE: Test bunny came unglued
Have read of this thread:
RE: Test bunny came unglued
Difficult as all heck to make PLA stick to the textured sheet. Try the smooth double sided PEI sheet. You can get them at Prusa shop, or there are double-sided steel sheets with smooth PEI from other vendors in the US as well. Do be sure you check the size if you decide to go the 3rd party route.
RE: Test bunny came unglued
As mentioned in another note, I tried to slice for my printer, but the printer said it was sliced for another printer. I don't know if this matters, but I'm mentioning it.
Advice?
Take the 30 seconds and slice it for the correct printer.
RE: Test bunny came unglued
As for layer one - on this part example, your layer one looks too high. Changing from -2.400 mm to -2.200 mm is probably going too far. Consider that the change from -2.4 to -2.2 is exactly 0.2mm, the layer thickness you want. So you know before even testing that much change is too much.
The textured sheet needs to be a touch more mushed than the smooth sheet in order that the texture is filled. Valleys in the texture will be 0.2 mm thick; ridges will be slightly less thick.
Changing Live-Z should be done in 0.05 steps : 50 microns. Then when you get close, reduce step size down to 25 microns and then fine tune in 5 or 10 micron steps. I always err on the side of too smooshed since a touch too low never hurts.
The absolute number you end up with depends on your PINDA height above the nozzle, so the number is mostly a relative reference for adjustment - and meaningless as a value. Though, anything greater than -2.000 means your PINDA is too high above the nozzle: there is or was a limit in firmware for the Live-Z offset. If you get too high - above -2.000 - you increase the odds the PINDA won't trigger before the nozzle dents the print sheet.
Here's a view of a test coupon on a smooth sheet. It is about 10 microns too high as you can see gaps between some of the extrusion runs.