Temperature Tower
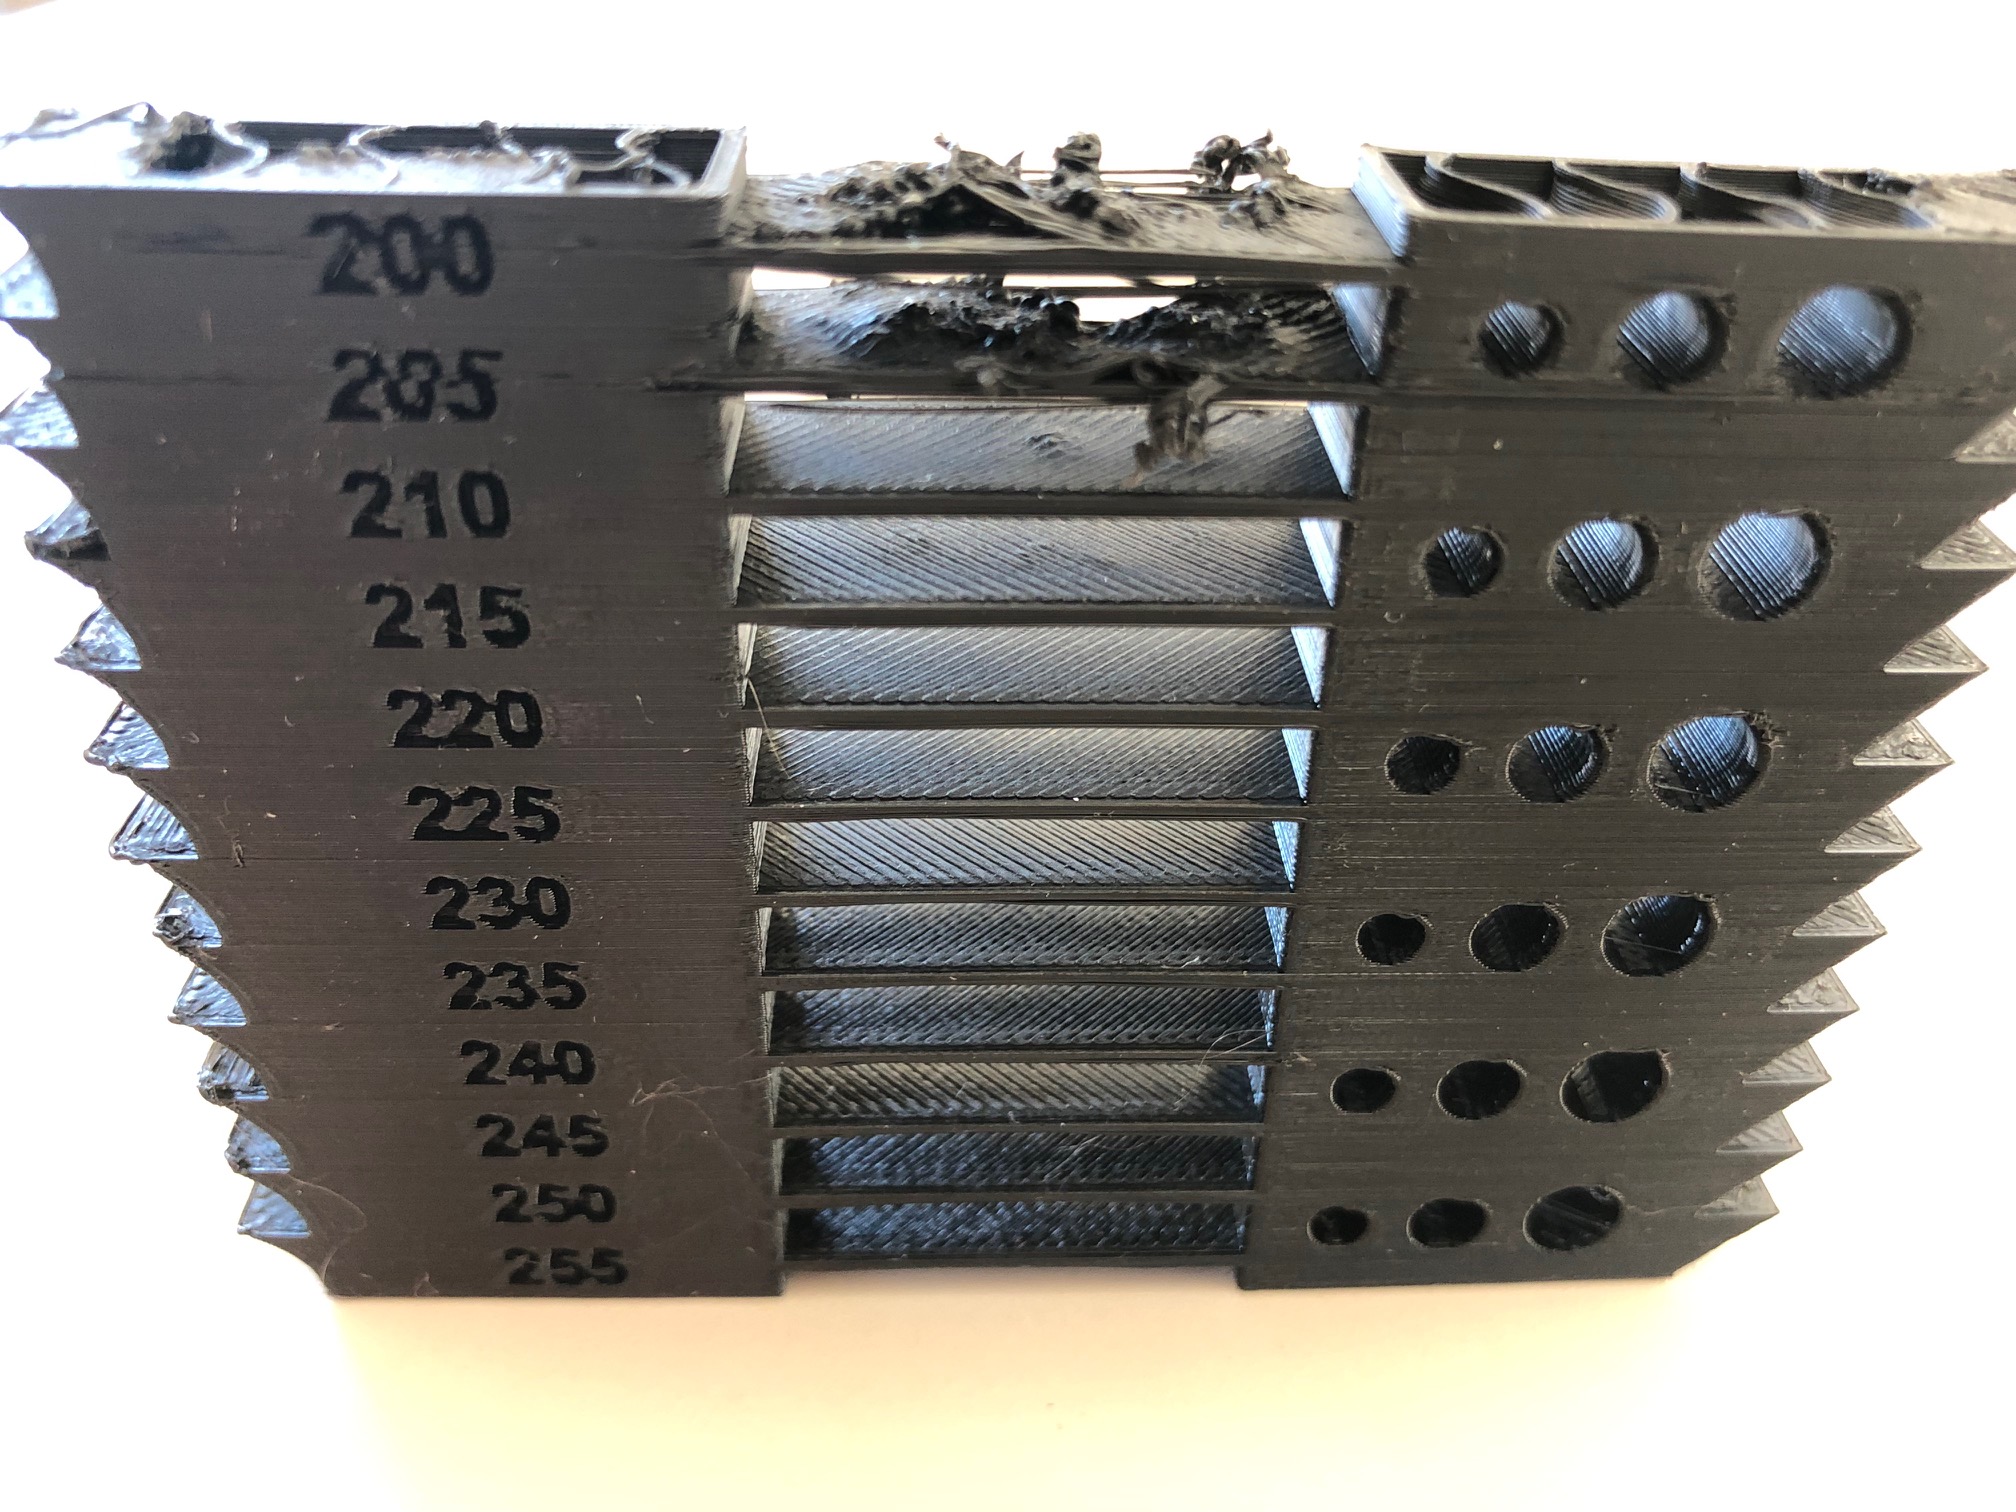
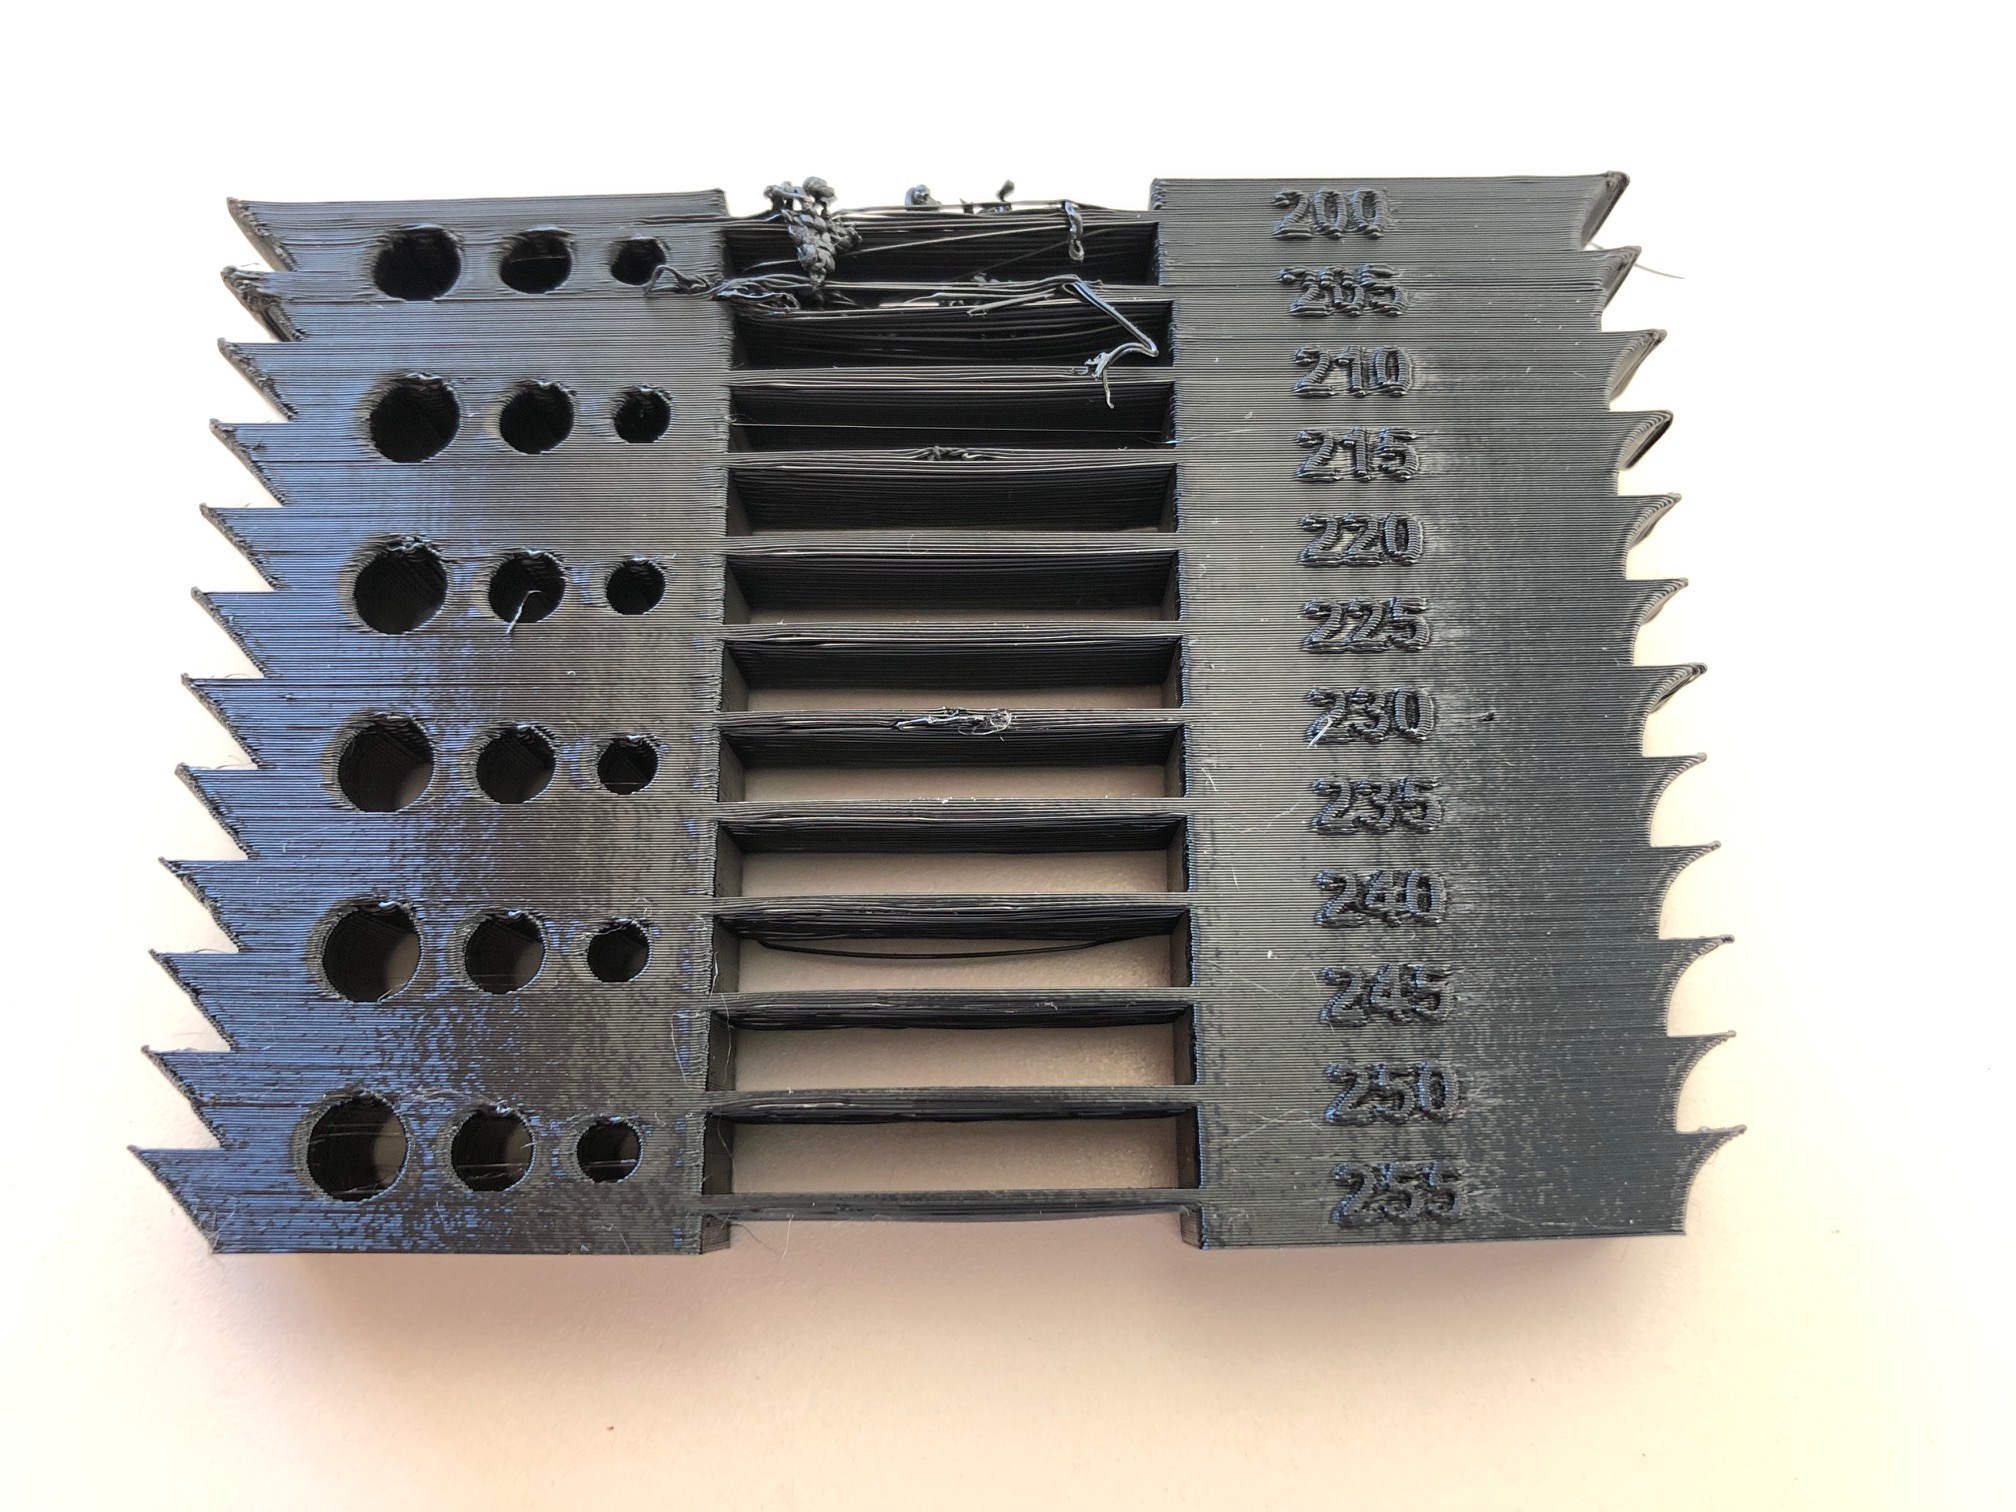
I generated a temperature tower to assess the right settings for various materials. The idea was to try bridging, holes, fillets and chamfers.
I used Slic3r's "After Each Layer" code capability to change the temperature every millimeter of height automatically. Starting at 260C dropping to 190C. I stopped the print at 200C because it was clearly not working at that point.
The material is the cheap Amazon PETG. It looks like 250 or 245 are best for that material.
Link to the temperature tower. https://a360.co/2SMtNR6
I'll post the gcode later when I figure out where to keep it in the cloud
Re: Temperature Tower
You might want to post this part up on ThingyVerse, too.
Re: Temperature Tower
I haven't tried anything like that on my MK3S (not finished putting it together) but I've noticed on other non-Prusa printers it is better to start at the low temperature and go up instead of starting at a high temp and go down. Even with well calibrated PID settings for the hot end I've seen a requested 5 degree drop go down 15 degrees before stabilizing at the desired temperature. Does the MK3/MK3S do that, too?
Anyway, I got more accurate results when I changed my temp towers to start low and go up in temp.
Re: Temperature Tower
Either way - the code is simple. I added this to the "before layer change"
M104 S{260 - layer_z}; set extruder temperature to 260 less the z height in mm
It's obvious how to change the math to make it go up instead of down.
Re: Temperature Tower
Also, perhaps making changes a fraction of a degree at a time helps with temperature stability and removes overshoot caused by step changes. I'm pretty sure that the change steps that my code asks for are finer than the resolution of the heater and the sensor, but the accumulation over time along with the thermal time constant smooths it out.
Re: Temperature Tower
Each block has different angles and tests and should be printed with one temperature. Otherwise you can't really see the best temperature.
Often linked posts:
Going small with MMU2
Real Multi Material
My prints on Instagram
Re: Temperature Tower
Here's a blip that changes the temp and moves away from the part while changing temp. It assumes relative Z is set, which may or may not be true at any given point. And as usual, use at your own risk.
{if layer_z == 1}G1 Z10.00:M109 S220:G1 Z-10.00{endif} ; layer height @ 1mm set temp


