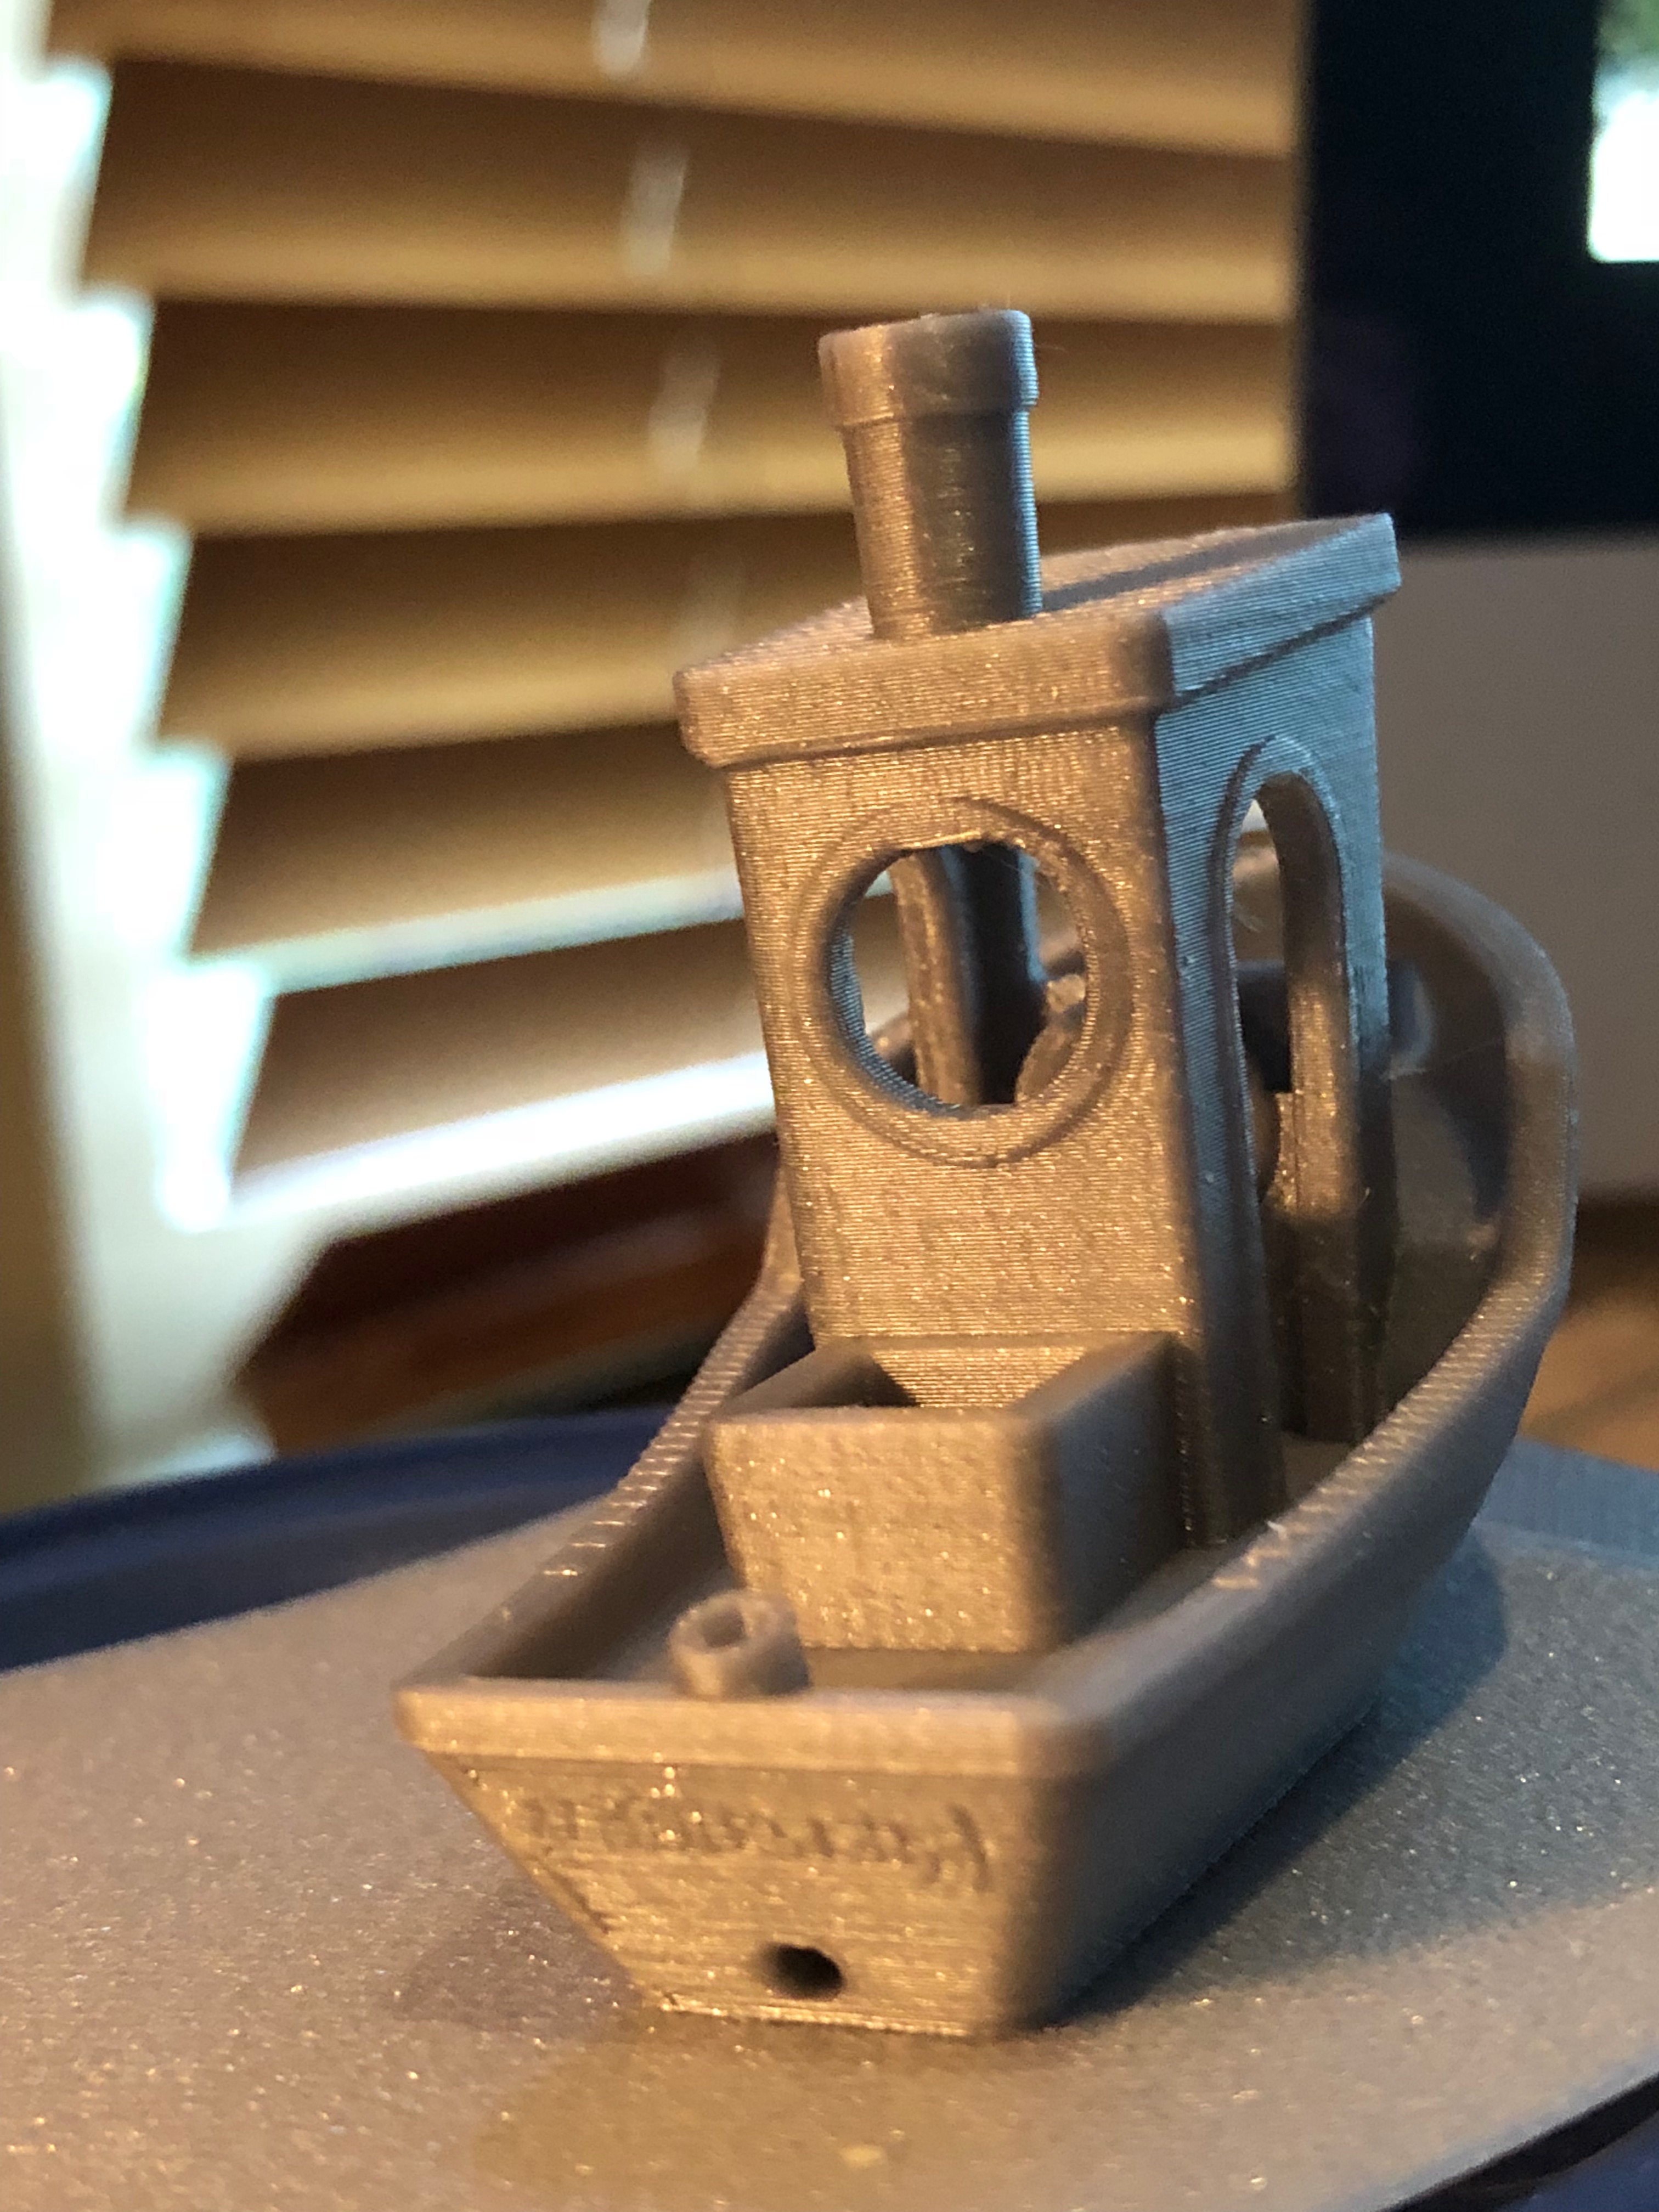
seriously impressed with what the MK3 can do when set up properly
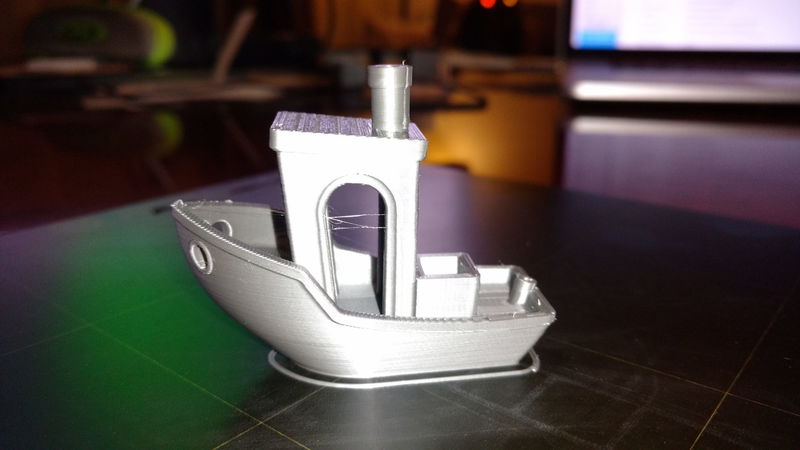
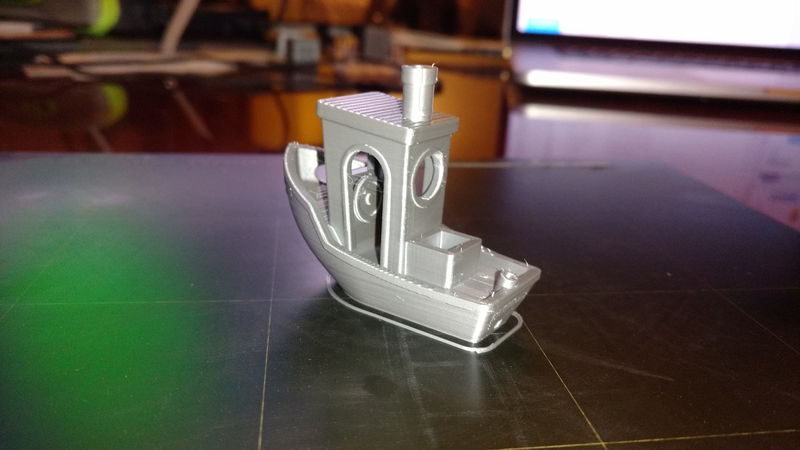
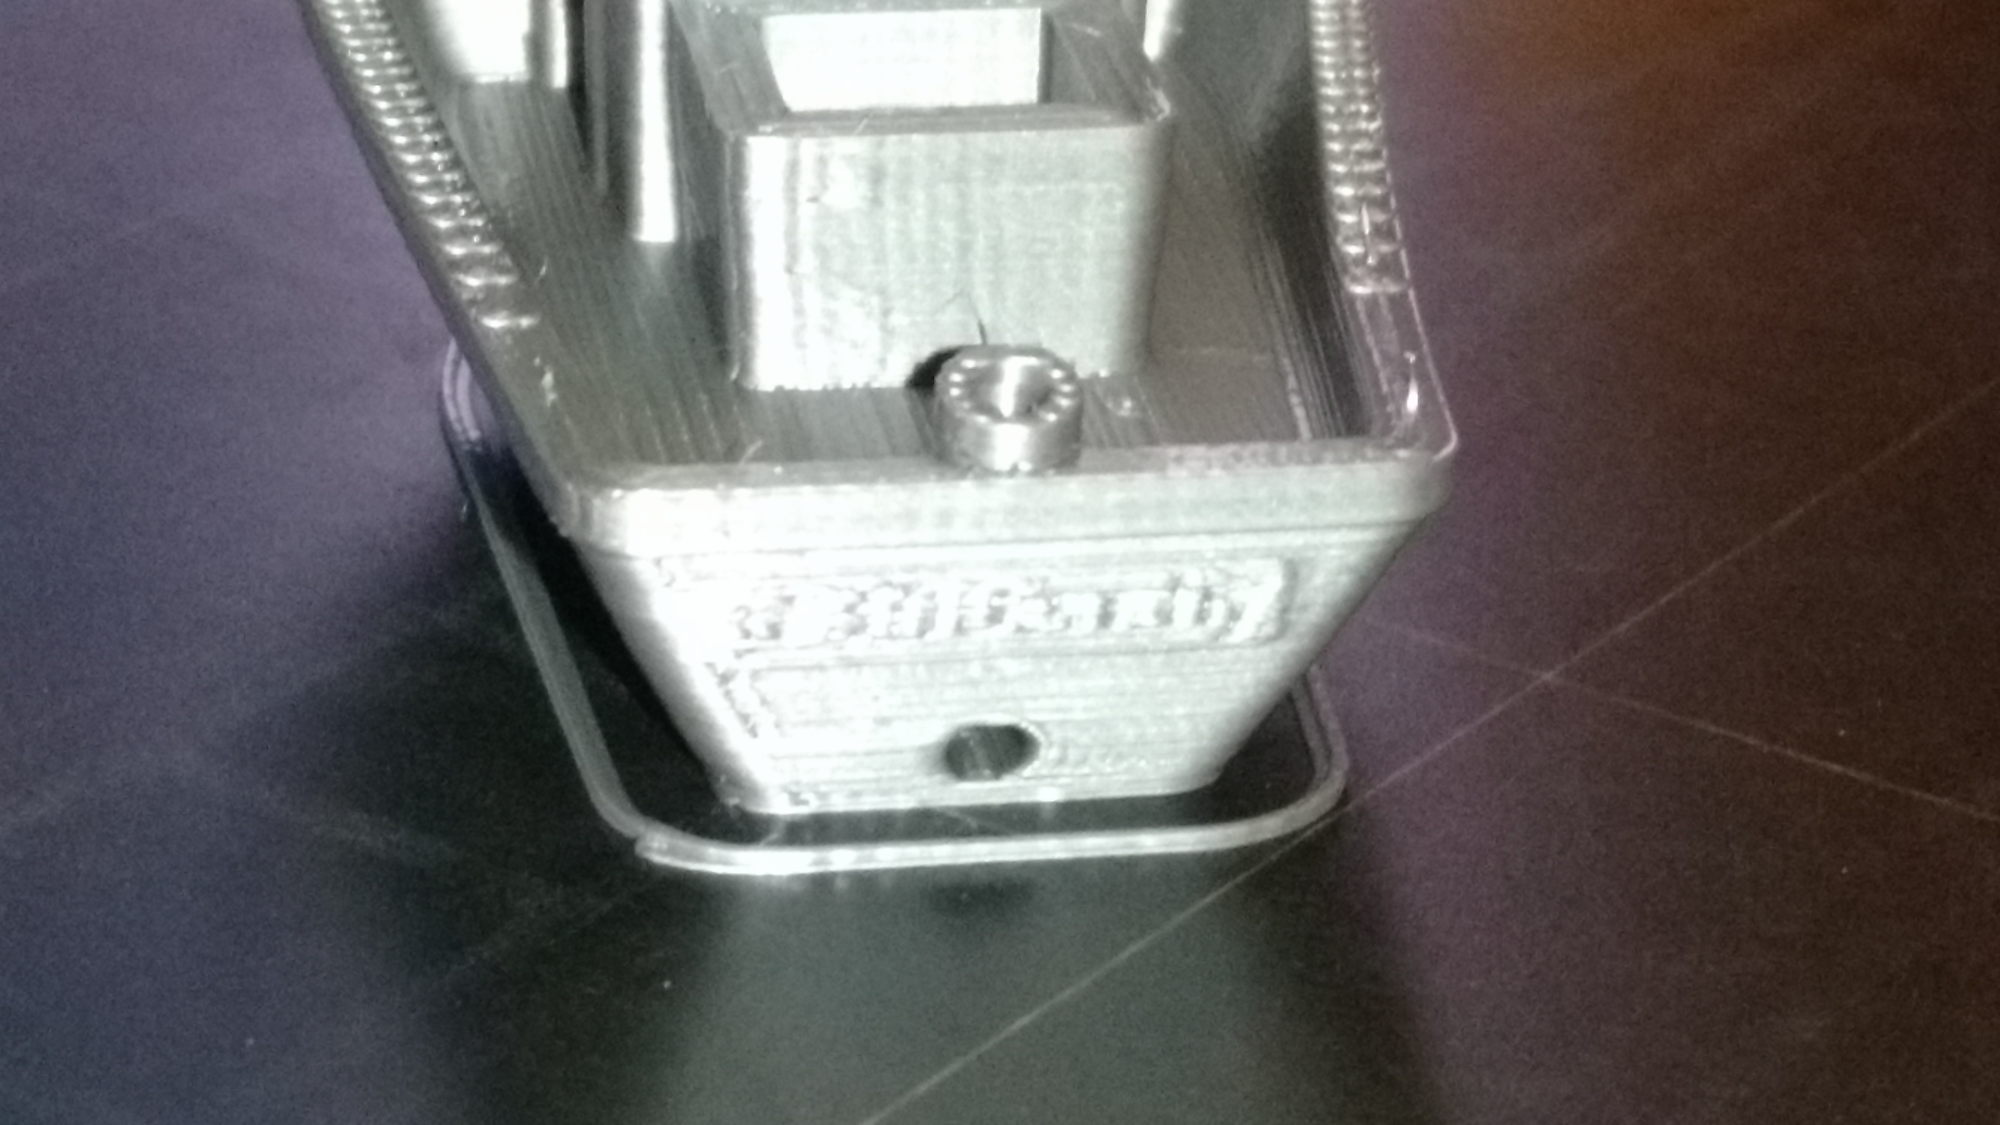
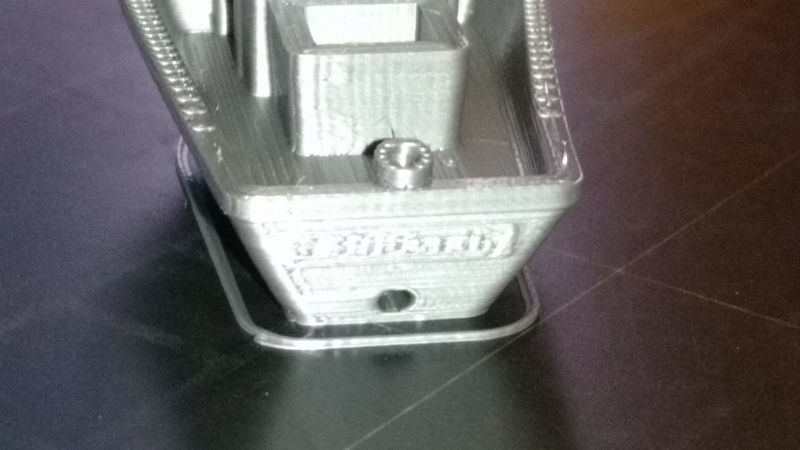
This Benchy just amazed me I can make out the lettering on the transom with a loupe and the usual trouble spots o a benchy are fine.
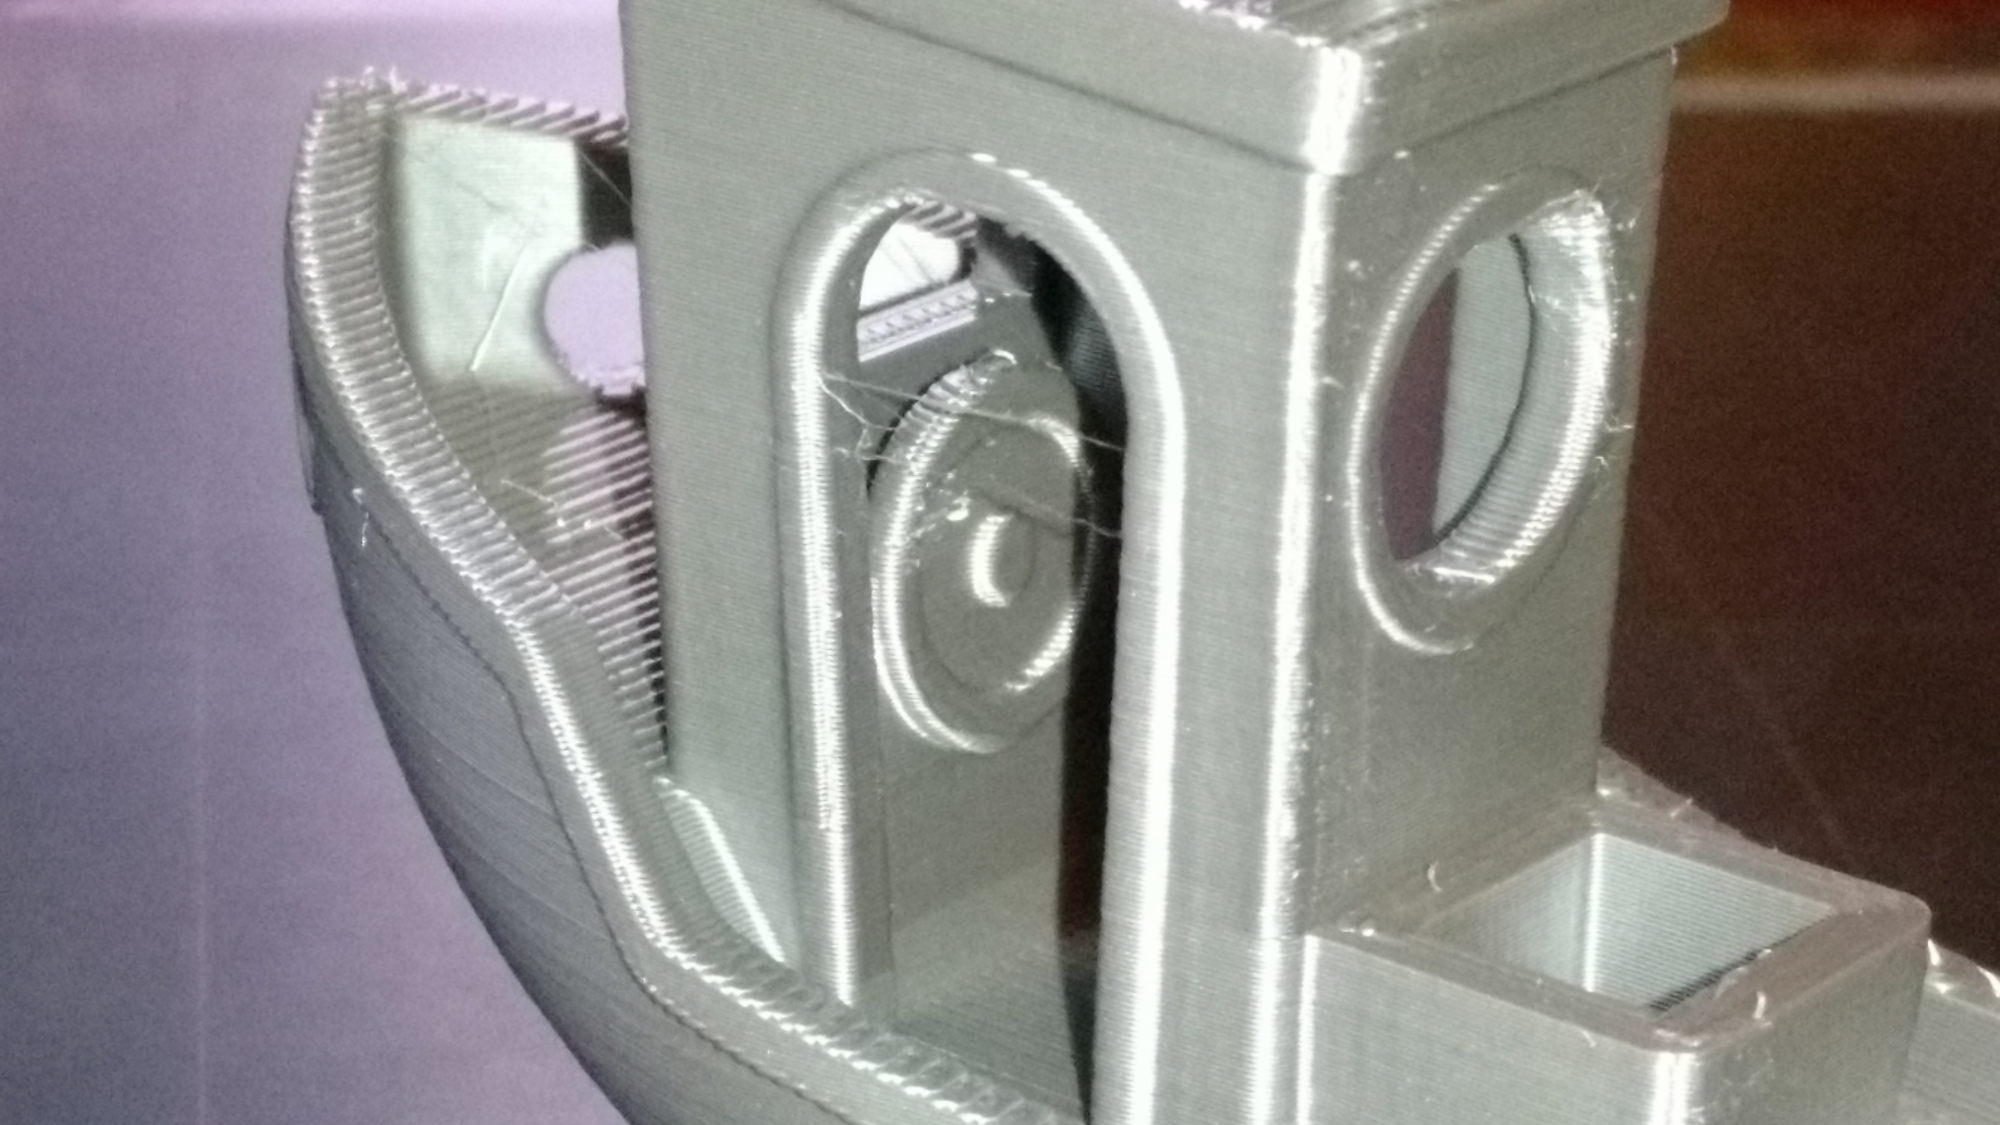
only the tops of the cabin arches betray the slightest of bridging fail

Re: seriously impressed with what the MK3 can do when set up properly
This is an ABS benchy I did on my Rostock Max delta it is instructive to see how much better the MK3 print in PLA is I am a very happy customer.... except now I have rebuild my Delta V2.5 into a V3.2 to remain happy using it 😕

Re: seriously impressed with what the MK3 can do when set up properly
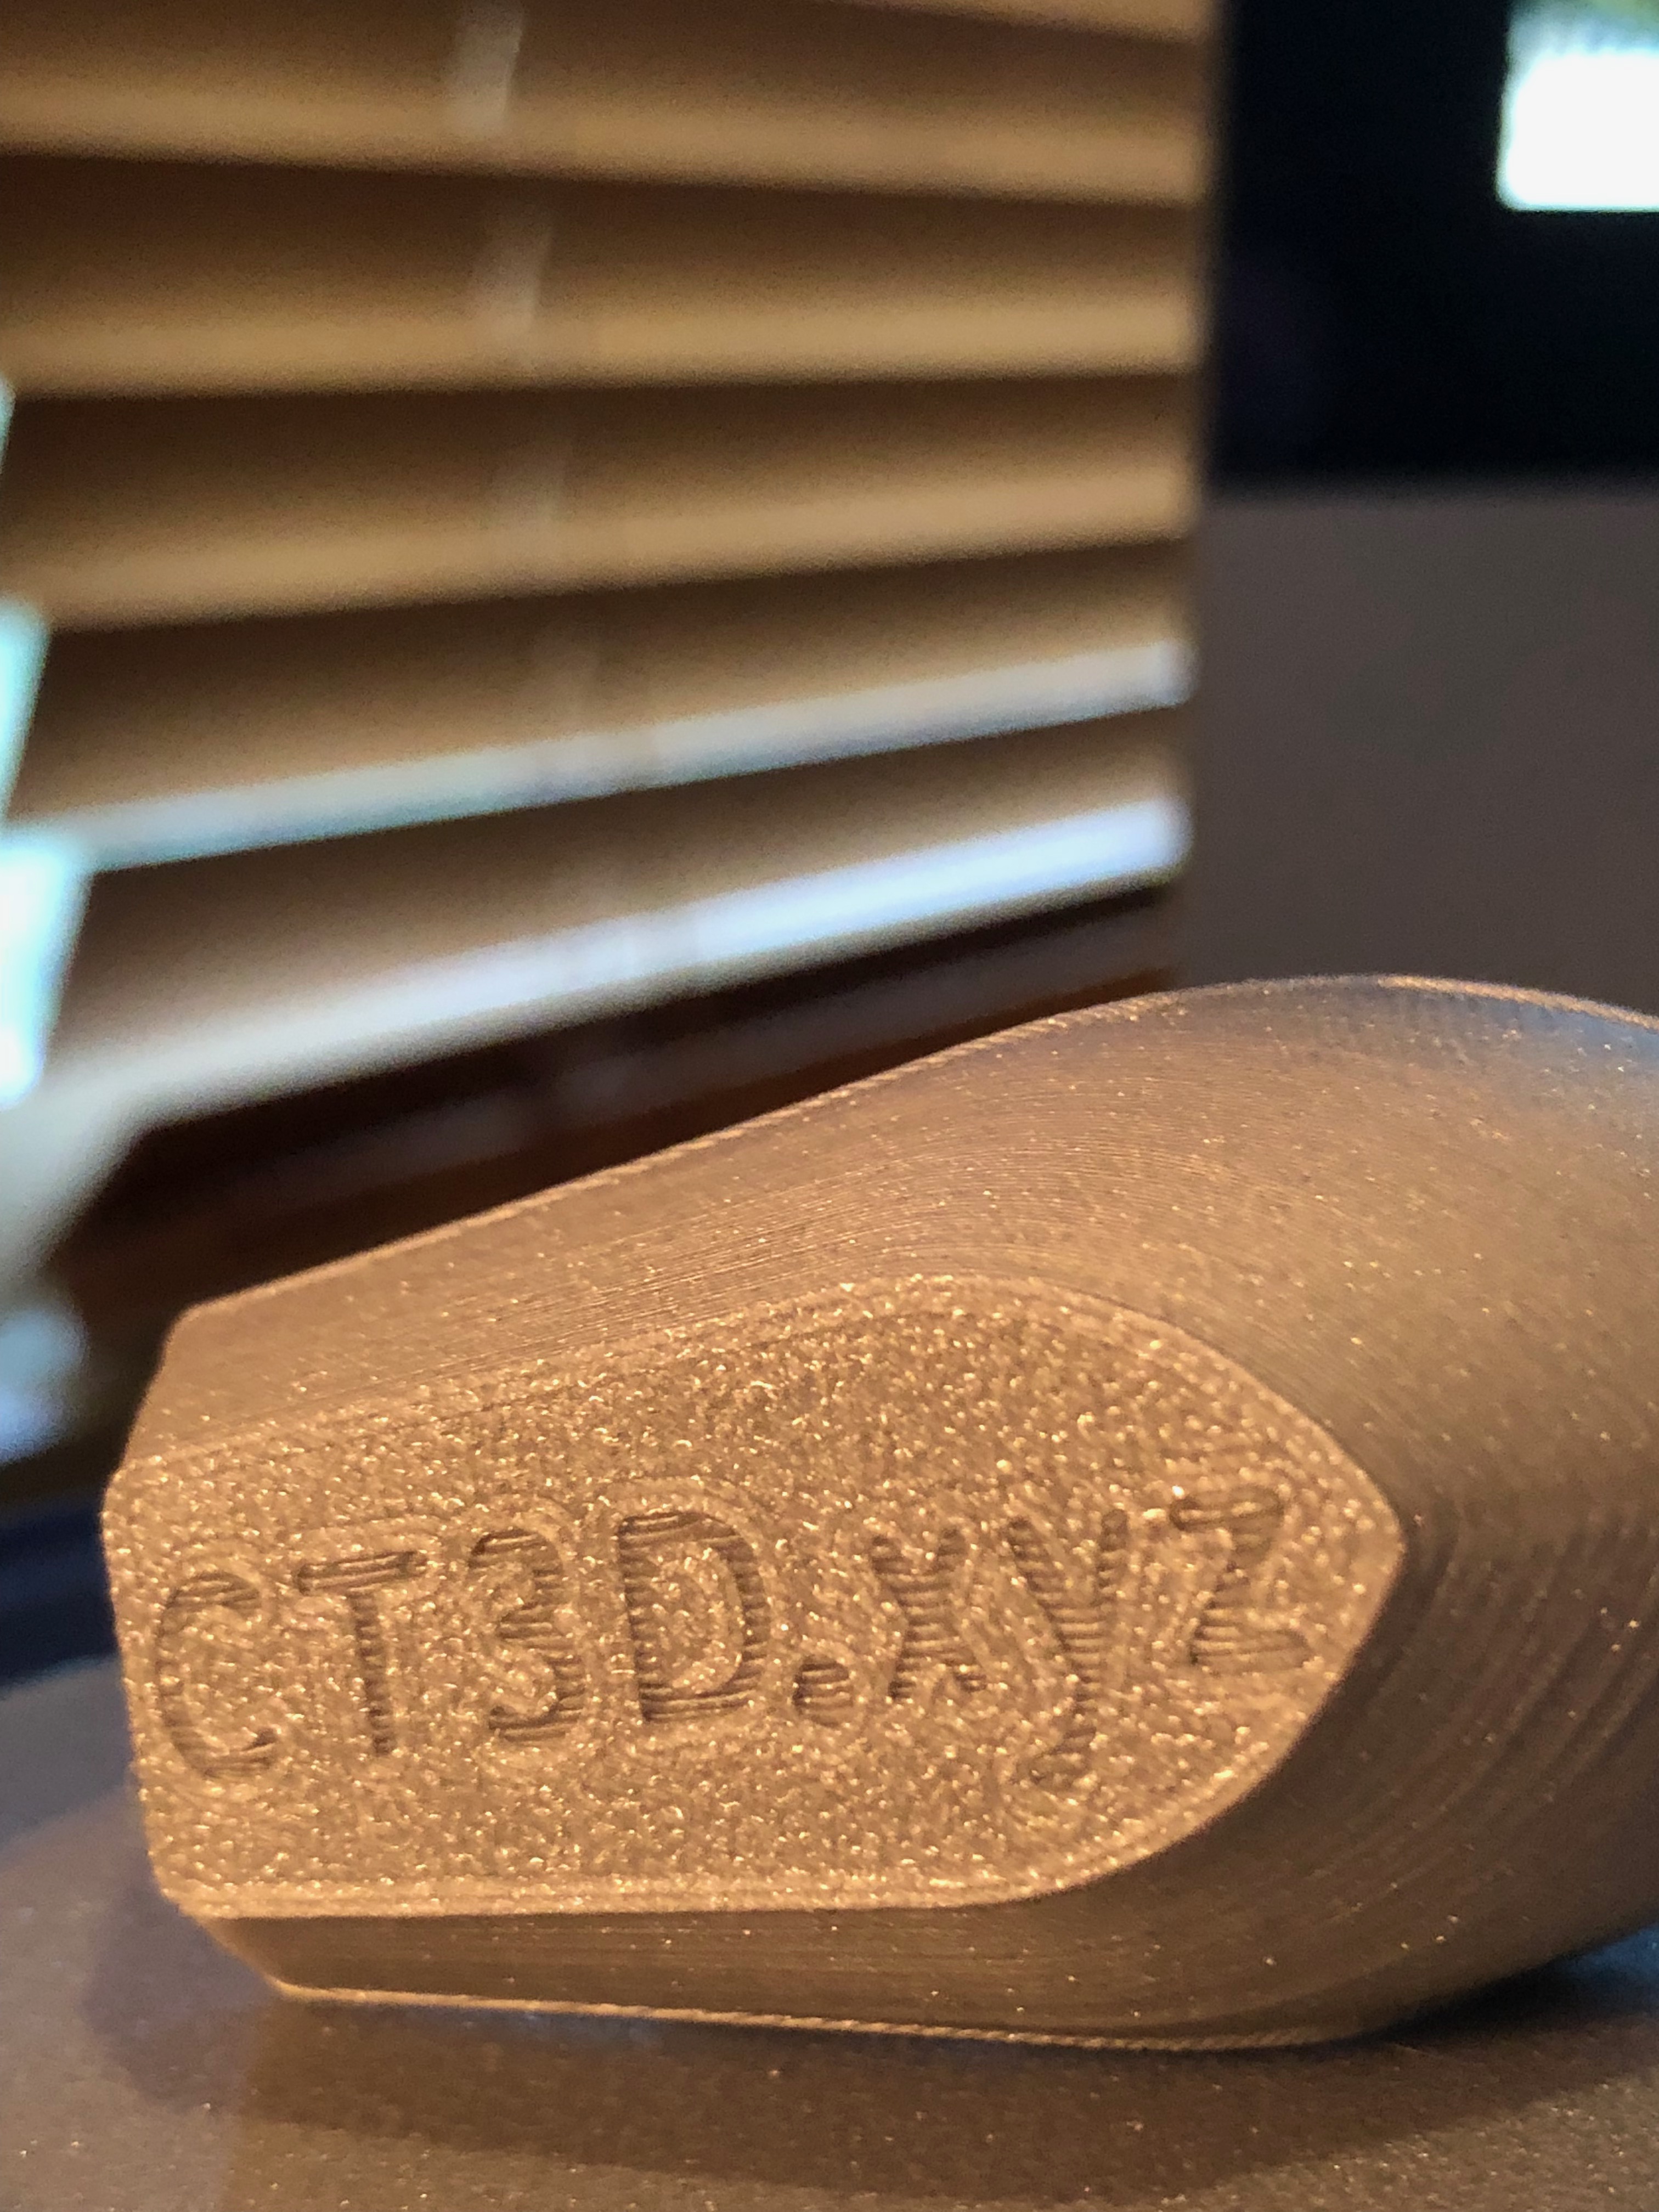
FINALLY a good view of the bottom printed on the PC textured bed. Thanks.
Re: seriously impressed with what the MK3 can do when set up properly
I can't see any ringing on your prints but that is maybe due to the image quality. What speeds do you use for your outer/inner layers ?
Re: seriously impressed with what the MK3 can do when set up properly
seriously impressed with what the MK3 can do when set up properly
That's the trick, isn't it? 😆
(Still struggling with that, but printing adequately satisfactorily anyway--for my current needs--nonetheless... ) 😐
Nice Bitchy Benchy--I'm just envious.... 😆
That's "MISTER Old Fart" to you!
Re: seriously impressed with what the MK3 can do when set up properly
New or old extruder parts? (R2/R3)
Re: seriously impressed with what the MK3 can do when set up properly
Since the kit was shipped at the end of September about 2 weeks ago it has all the new parts except for the new version of the electronics box with the raspberry ∏ zero hatch in its bottom.
as to settings the benchy was run with the supplied g code as was the one with the SeeMCNC Rostock Max V2.5 I felt that was the fairest way to compare them as I expect that Prusa and SeeMeCNC will have optimized their g code to the best of their ability
the X-axis mount had a hidden crack that set back my sorting the MK3 out but once I discovered it and repaired it with epoxy and filed the back of the mount flat and square the commissioning progressed smoothly (so far) just finishing up my calibrations with the supplied Prusa silver PLA then with some ABS and after that some PETG and then some rather old 918 Nylon that I am drying out. that will fill out a few pages of the MK3 notebook i am compiling for this machine.
I did use a gunsmiths torque screwdriver to do up all the fasteners equally and when attaching the heatbed I lapped the spacers to the same length ±0.01mm .... so I think I can say this is a carefully assembled printer I am far from any sort of expert and tend to use default slicer settings when working on my own models. I have been a hobby machinist and gunsmith for over 50 years so working meticulously is sort of second nature to me as is keeping careful notes when doing this sort of thing.
Re: seriously impressed with what the MK3 can do when set up properly
And it is the attention to detail that really counts, build it bad and no amount of fiddling and tweaking will resolve issues. So many of the issues I see reported here are totally down to the build standard. Keeping notes is also another very good habit to get into - I give all my test prints a reference, I have a database of settings and material used - thus I can compare.
Then it is down to patience, change 1 setting at a time - note the impact - if you change more than one setting you don't know which produced the result, you should also do more than one test with the same settings and look for consistency - I've got a whole shelf full of benchies, a lot went into the trash.
I was in my youth a toolmaker so like Randolph it changes how you work at the core, measure twice, cut once, check and re-check ... I too was a novice to 3D printing in January but I can honestly say that I've never had a failed print, but I've aborted plenty because they weren't going where I wanted them.
And for the record I've moved my fan back to the R2 position, I have however retained the R3 extruder body and cover, the R3 fan position and shroud may work for flexible filament but it was bleeding too much air in places I didn't want it.
I am under no illusion however and am grateful to Joe Prusa without whose machine and experience I'd still be making land fill - I don't think I could have got the results I've had starting from scratch with a 'clone', at least not within the timescale from build to first successful print - 3 days total.
Re: seriously impressed with what the MK3 can do when set up properly
Mine isn't quite as nice...
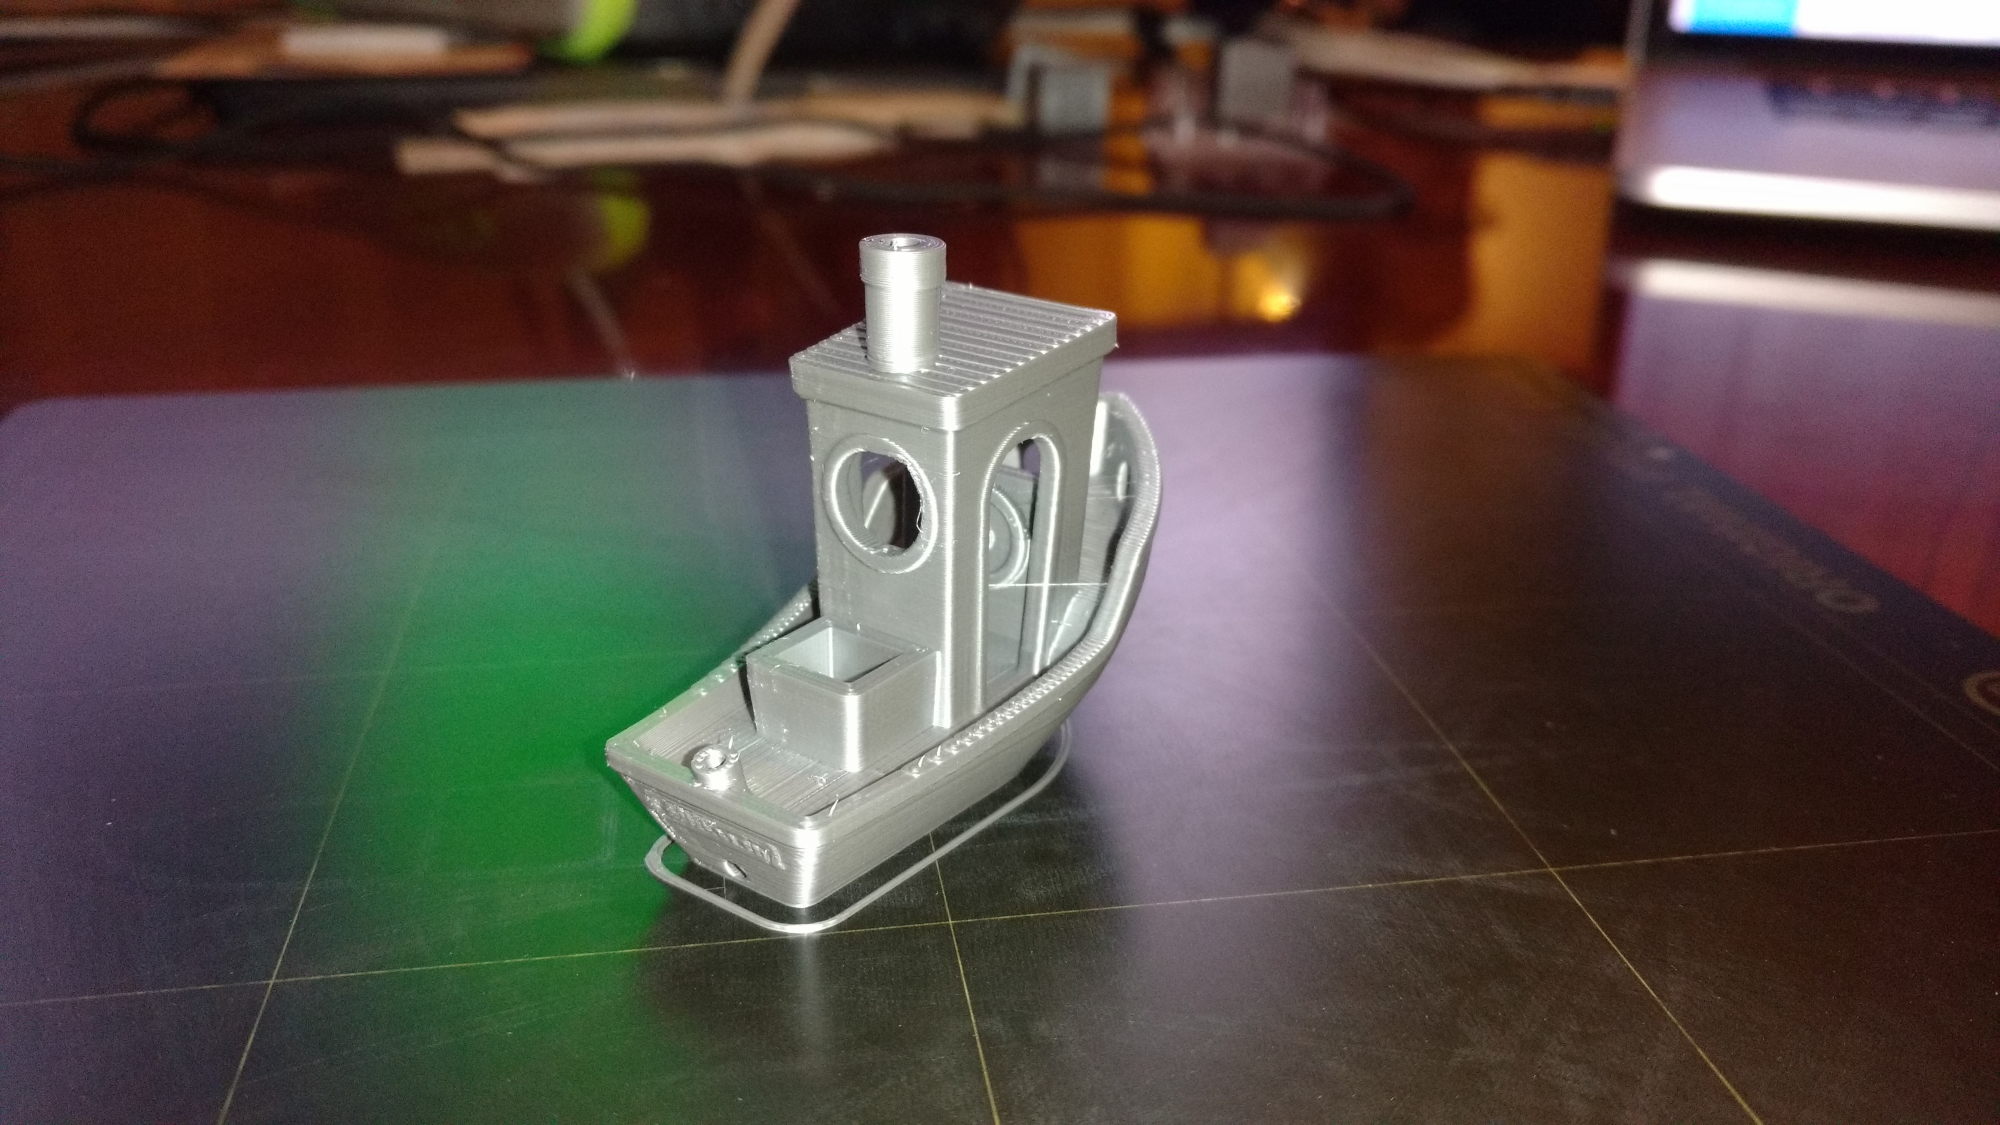

I've got little spikes at some of the retract points.
Other angles.. (should be linked to higher res versions).
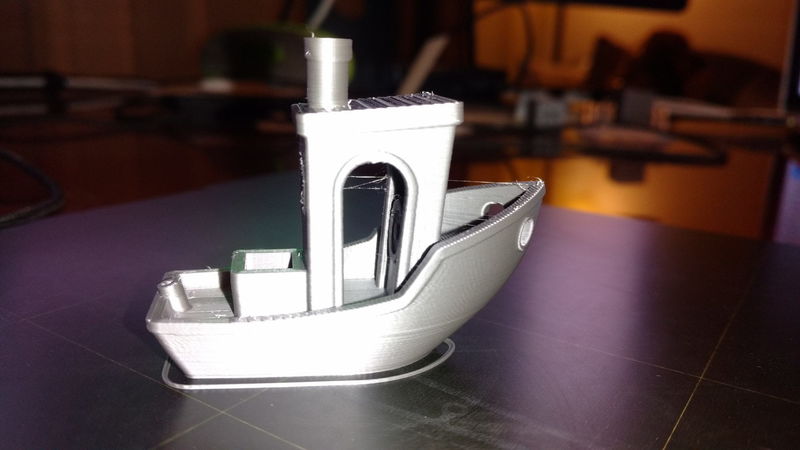


The above are printed with the gcodes that come with the printer. They slightly over extrude. I've done extrude calibrations and ended up with an extrusion multiplier of 0.91 and a linear advance K value of 30 instead of the stock 40. I haven't re-sliced Benchy with those settings, but with other models it makes all the difference.
Re: seriously impressed with what the MK3 can do when set up properly
Mine isn't quite as nice...
I've got little spikes at some of the retract points.
Other angles.. (should be linked to higher res versions).
The above are printed with the gcodes that come with the printer. They slightly over extrude. I've done extrude calibrations and ended up with an extrusion multiplier of 0.91 and a linear advance K value of 30 instead of the stock 40. I haven't re-sliced Benchy with those settings, but with other models it makes all the difference.
*edit*
I will second the need for attention to detail. I didn't use the torque driver, but definitely took my time and lined everything up. I made two mods to my printer to address problems -- I replaced the Y rod holders with closed top versions, and replaced the 6mm bed stand offs with 5mm stand offs and wave springs to help with bed leveling. If you look closely and my Benchy print, I have a little bit of ringing, probably in the X axis. I significant;y loosened the Y axis and got rid of a lot of artifacts. Loosening the X axis any further would require me to disassemble the extruder assembly to adjust the belt. At this point, its not worth it for me. I'm afraid I would do more harm than good. At some point I'll pick up a second printer so that when I am tinkering with one printer, I'm not completely down.
Re: seriously impressed with what the MK3 can do when set up properly
Looks good as you say just a bit of minor tuning.... I am still not happy with my adjustment of the extruder idler....the whole concept of not too tight and not too loose is not the way to adjust things like a precision machine. and it is amazing what small adjustments to the idler will do to the same print from the same G Code
if you want a sense of how far the hobby has come in this decade take look at benchys that were posted to places like the early Mendel support groups