Replacing the x-end motor part - Easy way?
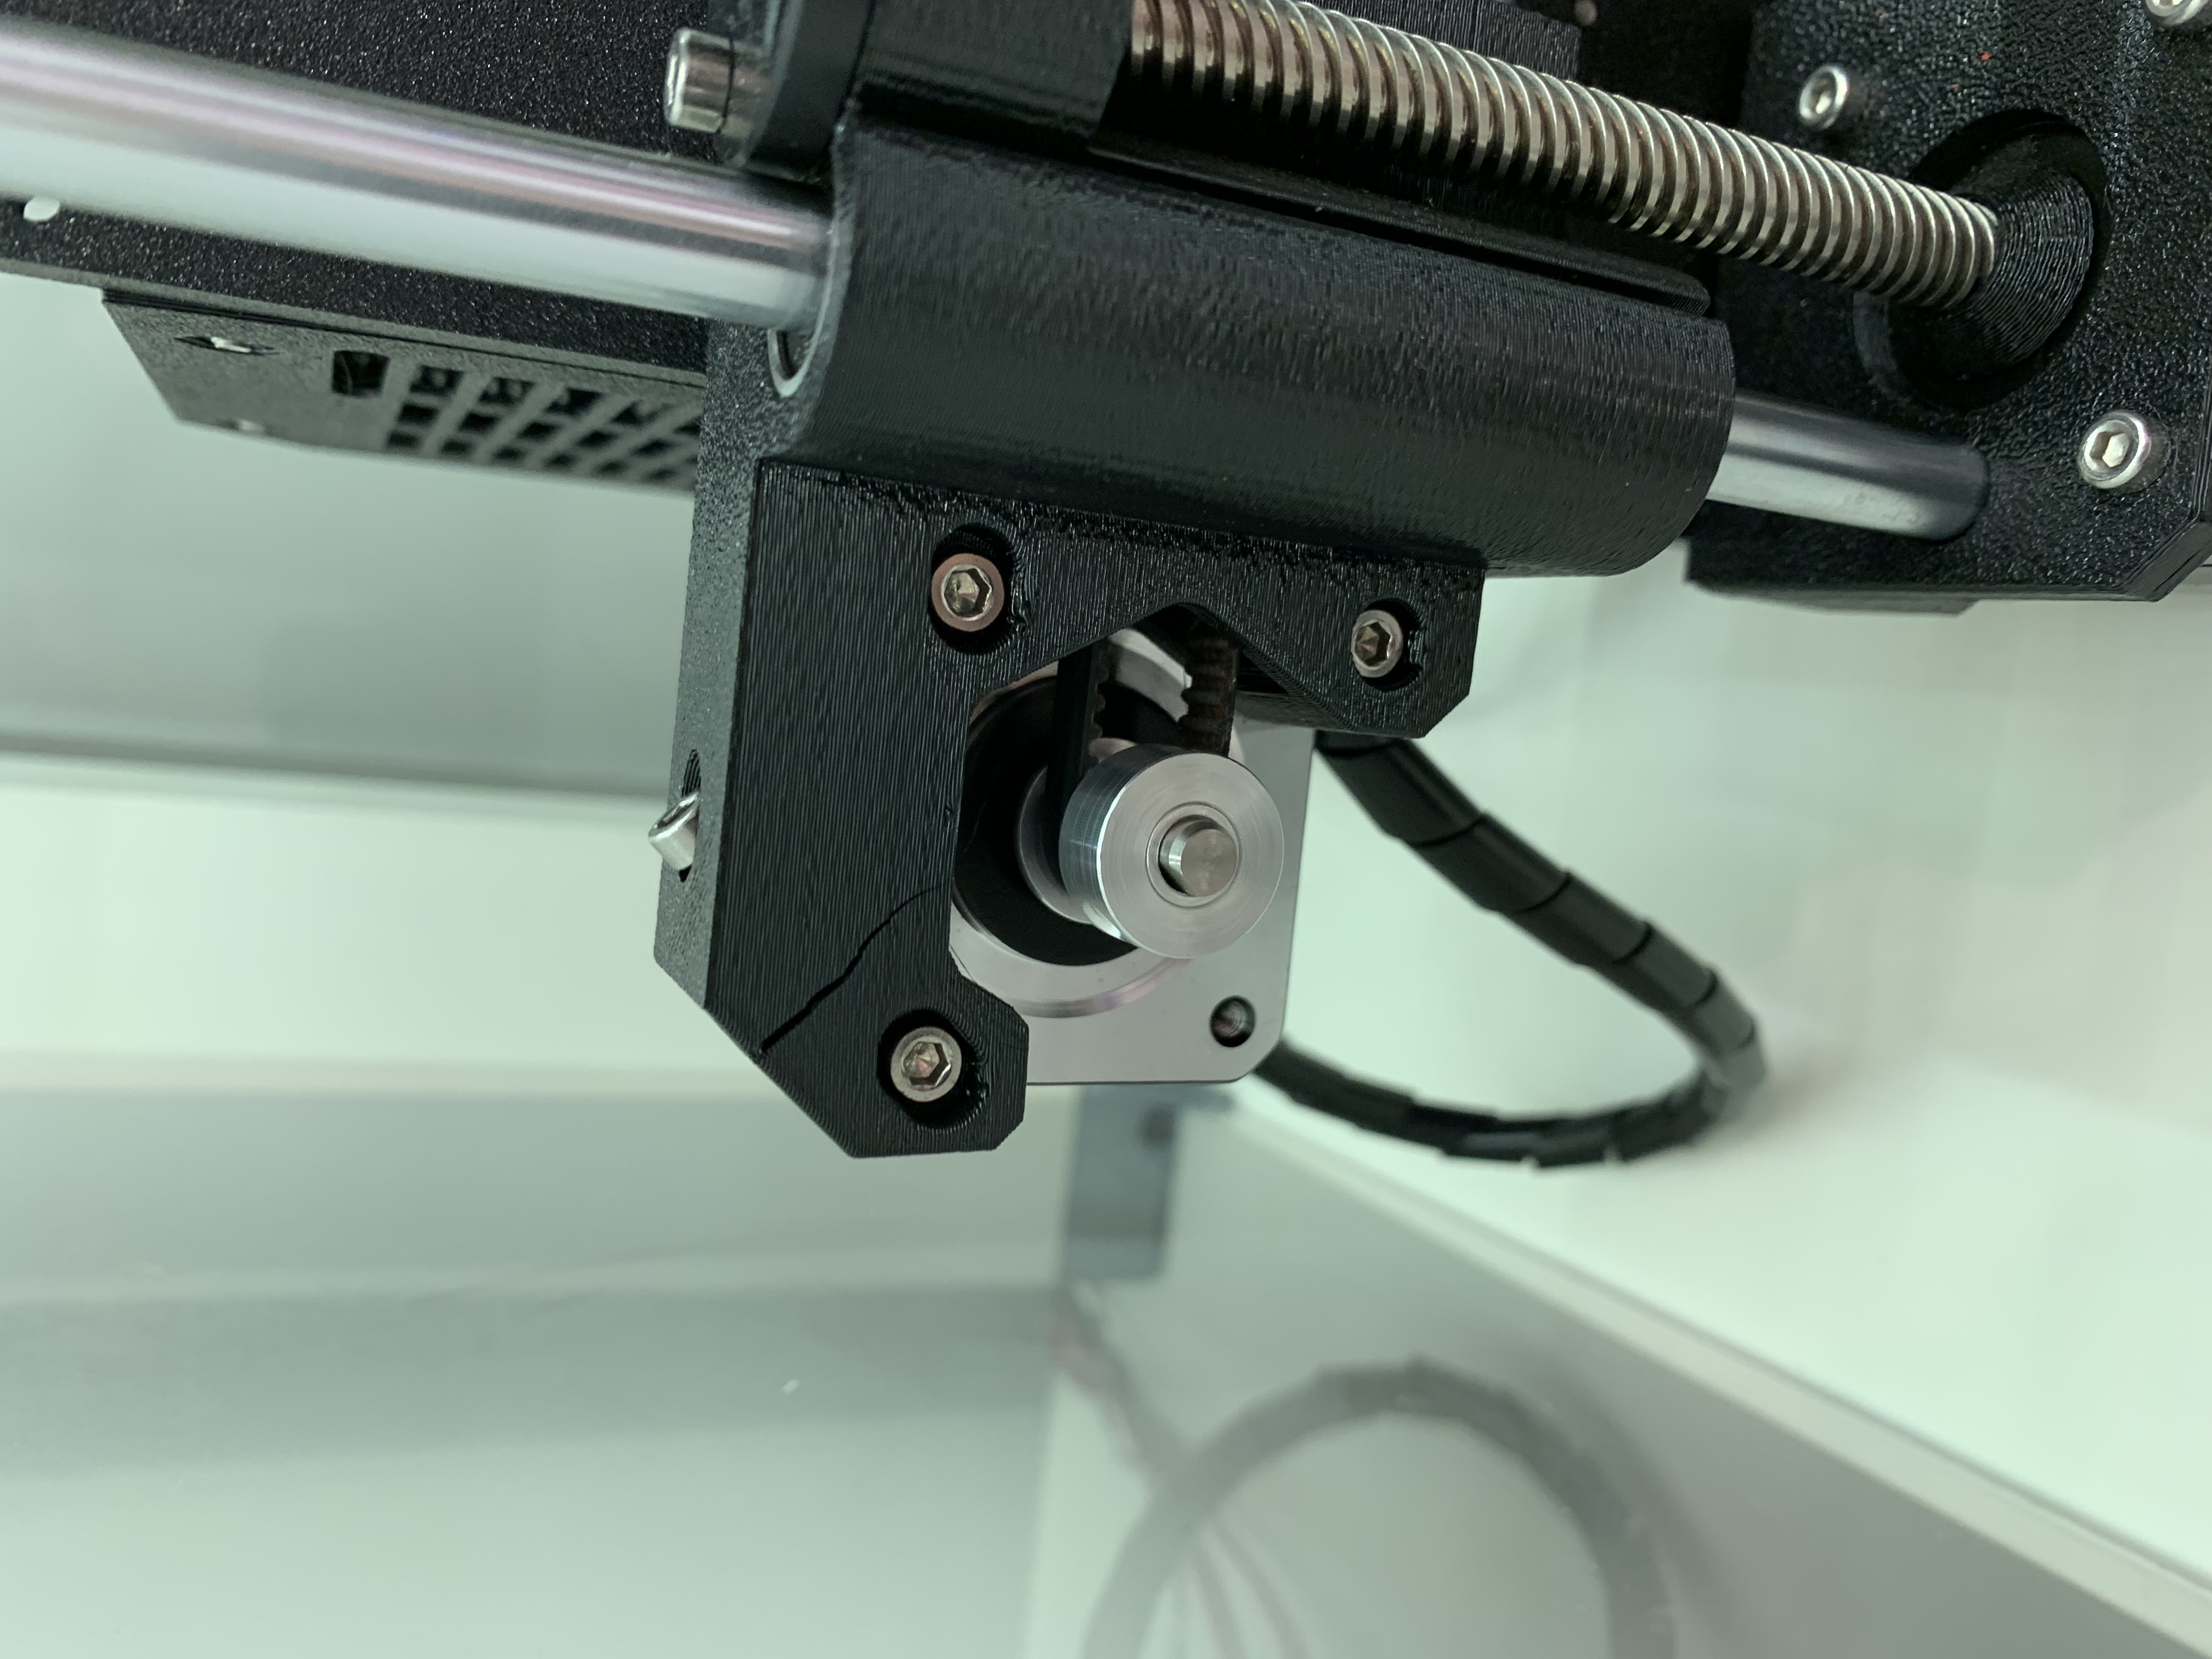
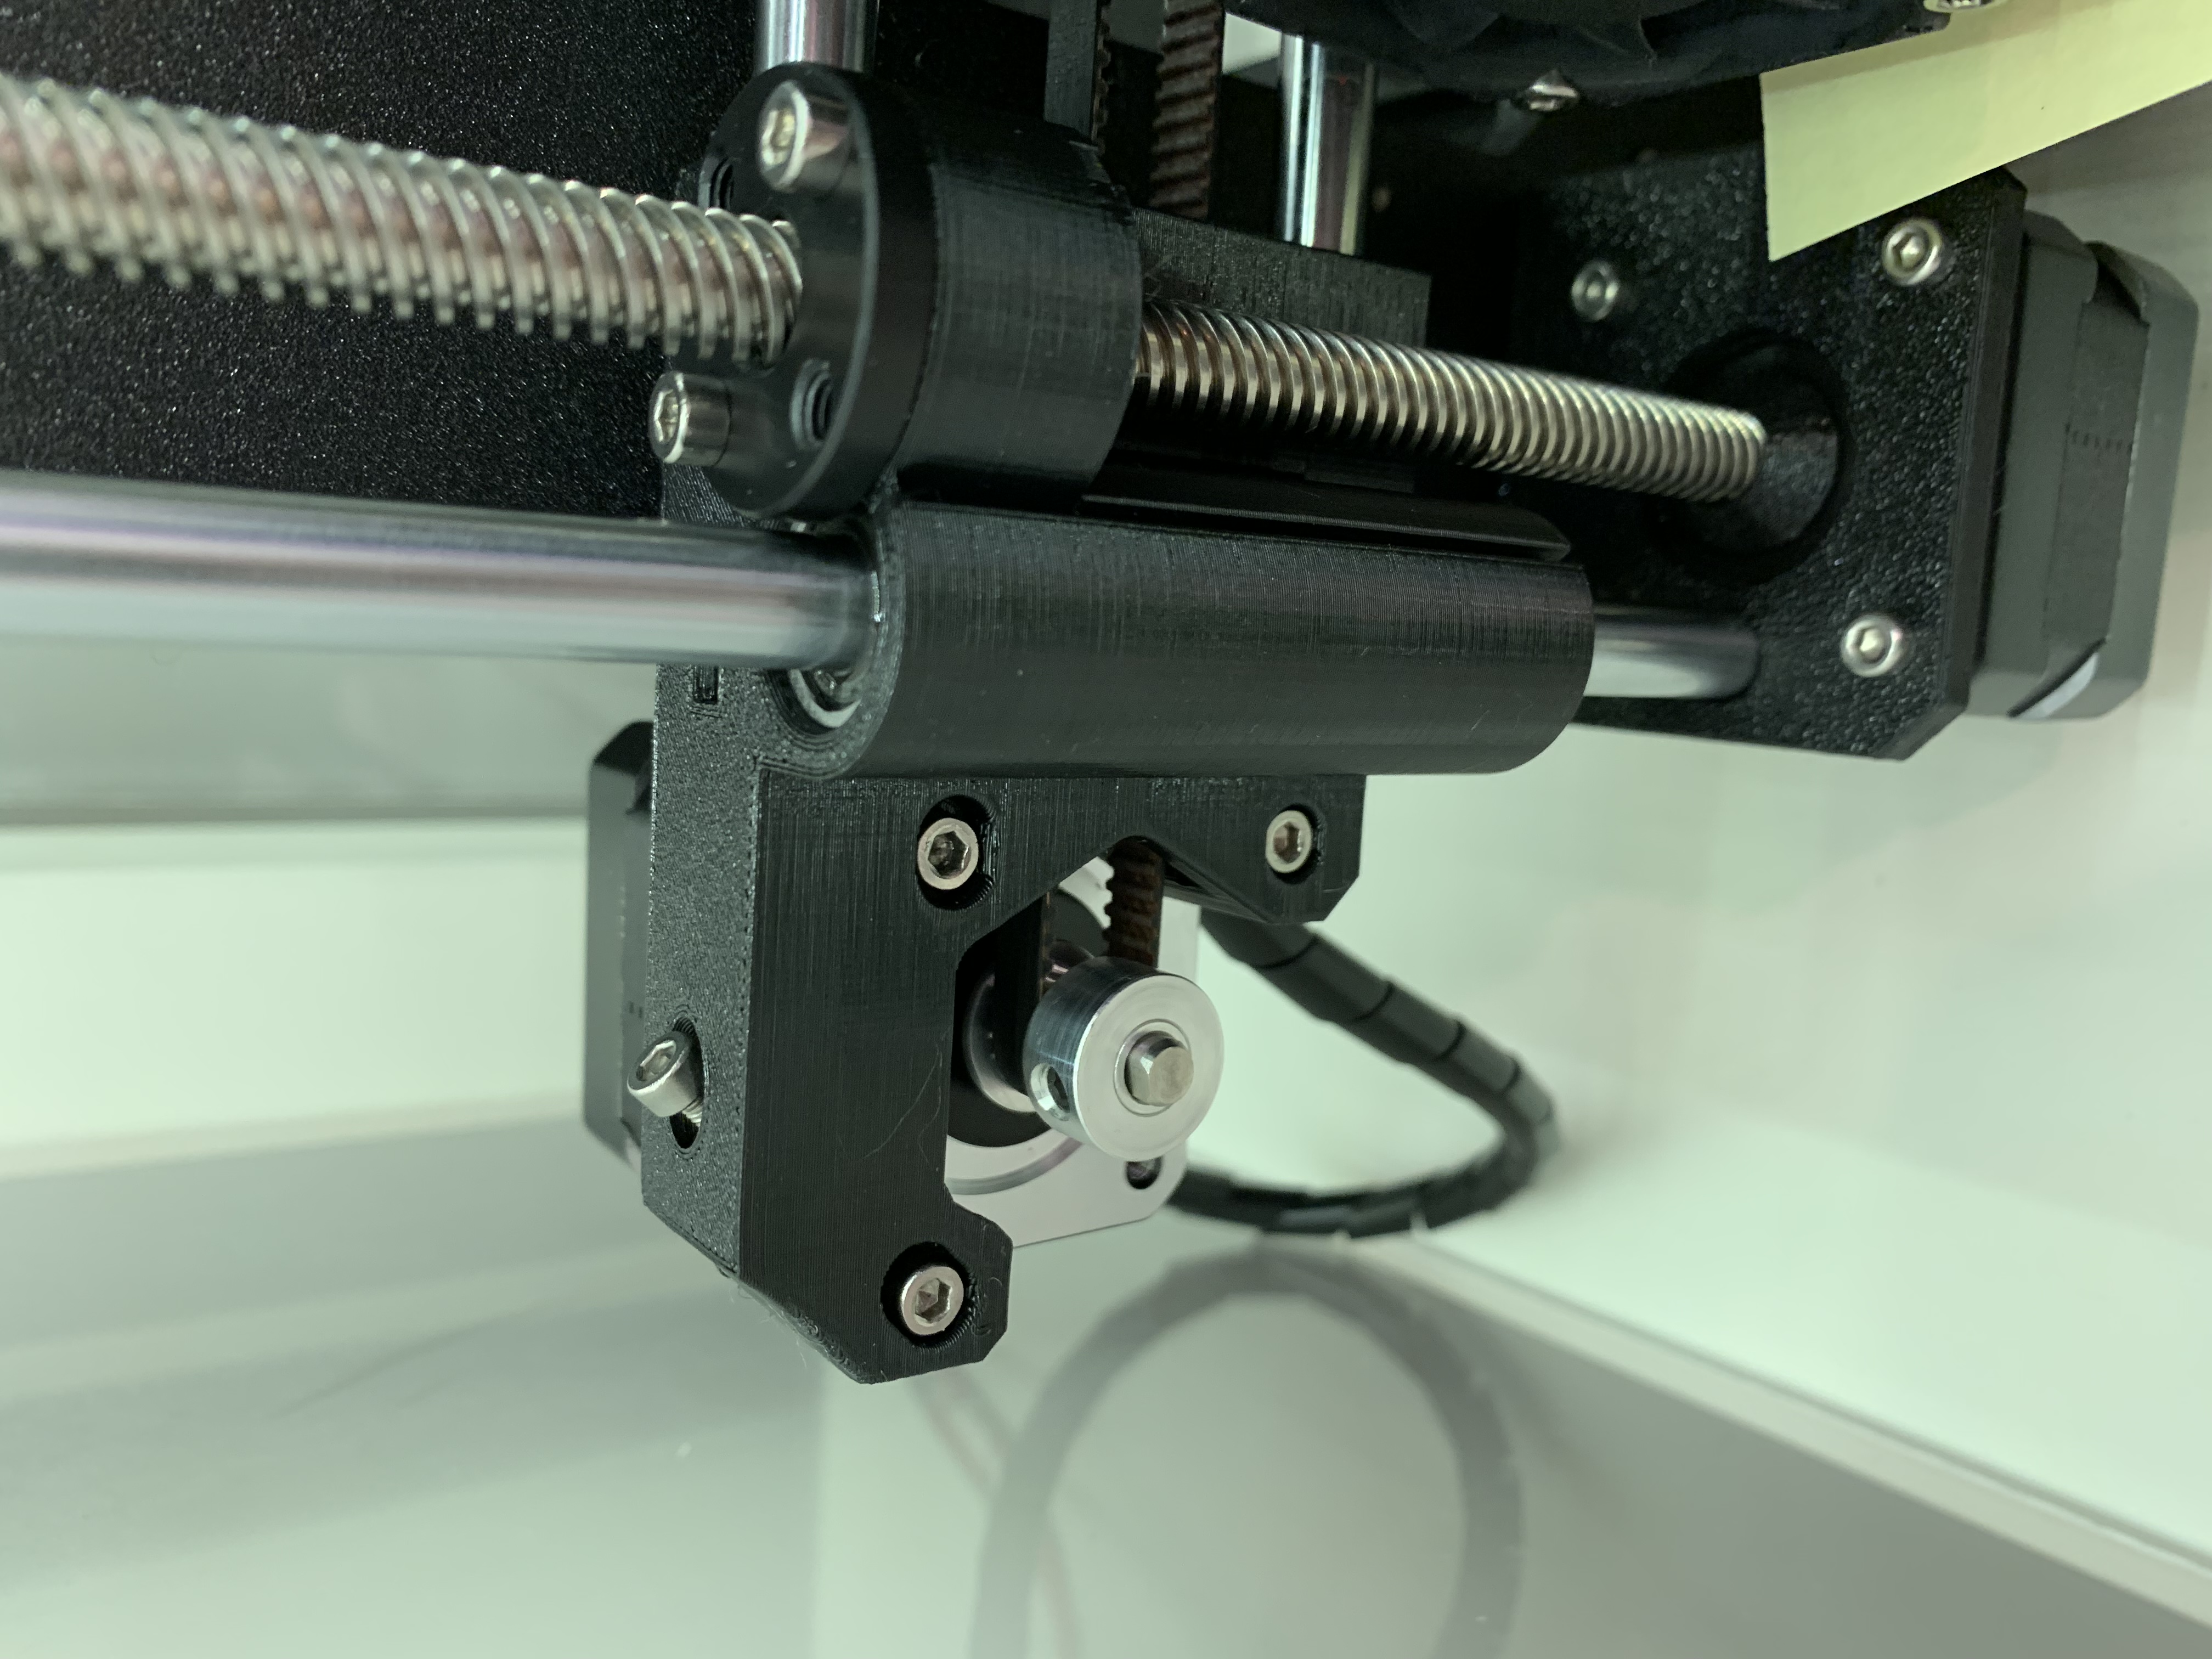
Is there anyway to replace the x-end motor part without disassembling the belt/extruder housing? I just finished the MK3->MK3S upgrade and over tightened the tightening bolt on the top and it cracked the part. It's working well enough now and I printed a new part. One note: I printed out the part from the website for the MK3, the one I purchased. Turns out, it is a different part. The one I printed is also the same one for the MK3S. It appears the part that I broke is the same one as the MK2S. Would it be bad to replace that part with the MK3/S one? Is there any difference?
I had considered just moving the axis up and off the top (assuming my cable bundle will allow that after removing the belt motor. Would that work?
Thanks for any advice.
Re: Replacing the x-end motor part - Easy way?
On my Mk3 I can easily unbolt and remove the X-Axis motor. Three screws and it drops off. Oh wait - you broke the motor mount? Wow, strong person.
To replace the rod holders you'll just need to remove the one broken side. Push the extruder to the right, put a cardboard box under it. Manually move the axis to the top stops on both sides. Pop the left top rod cap off. Remove the X motor. Remove the Z drive motor on the broken side (manually turn the screw to get it out of the gear). Pull the Z rod up and out. Then wiggle the X rods out of the holder. But care is needed so you don't bend the X rods or damage the bearings.
Re: Replacing the x-end motor part - Easy way?
Yessir. Broke it good. Still printing okay as far as I can tell but I’m going to tackle this with your advice as soon as this print is finished. I think I see what you’re getting at now. I’ll report back and let you know. Thanks for the reply.
Re: Replacing the x-end motor part - Easy way?
You're supposed to loosen the three retaining screws BEFORE adjusting tension. 😀
Re: Replacing the x-end motor part - Easy way?
Ha! I thought I had done that...
Anyway, all good now. Thanks for your help. Only took 30 mins or so and we’re back up and running. Thanks again!
Re: Replacing the x-end motor part - Easy way?
I am doing the same replacement right now and can’t figure out how to get the rods out of the broken X end. There is no wiggling them out. 🙂
I’m about to take my dremel to my broken end to cut at the part along the smooth rods to give it space to come out. Almost feels safer than continuing to pull on them and fear it suddenly coming free while I’m pulling hard.
Take both ends off the Z axis and use torsion while pulling. The skewing breaks the static friction and pulling outwards while doing so gets it moving in the right direction.