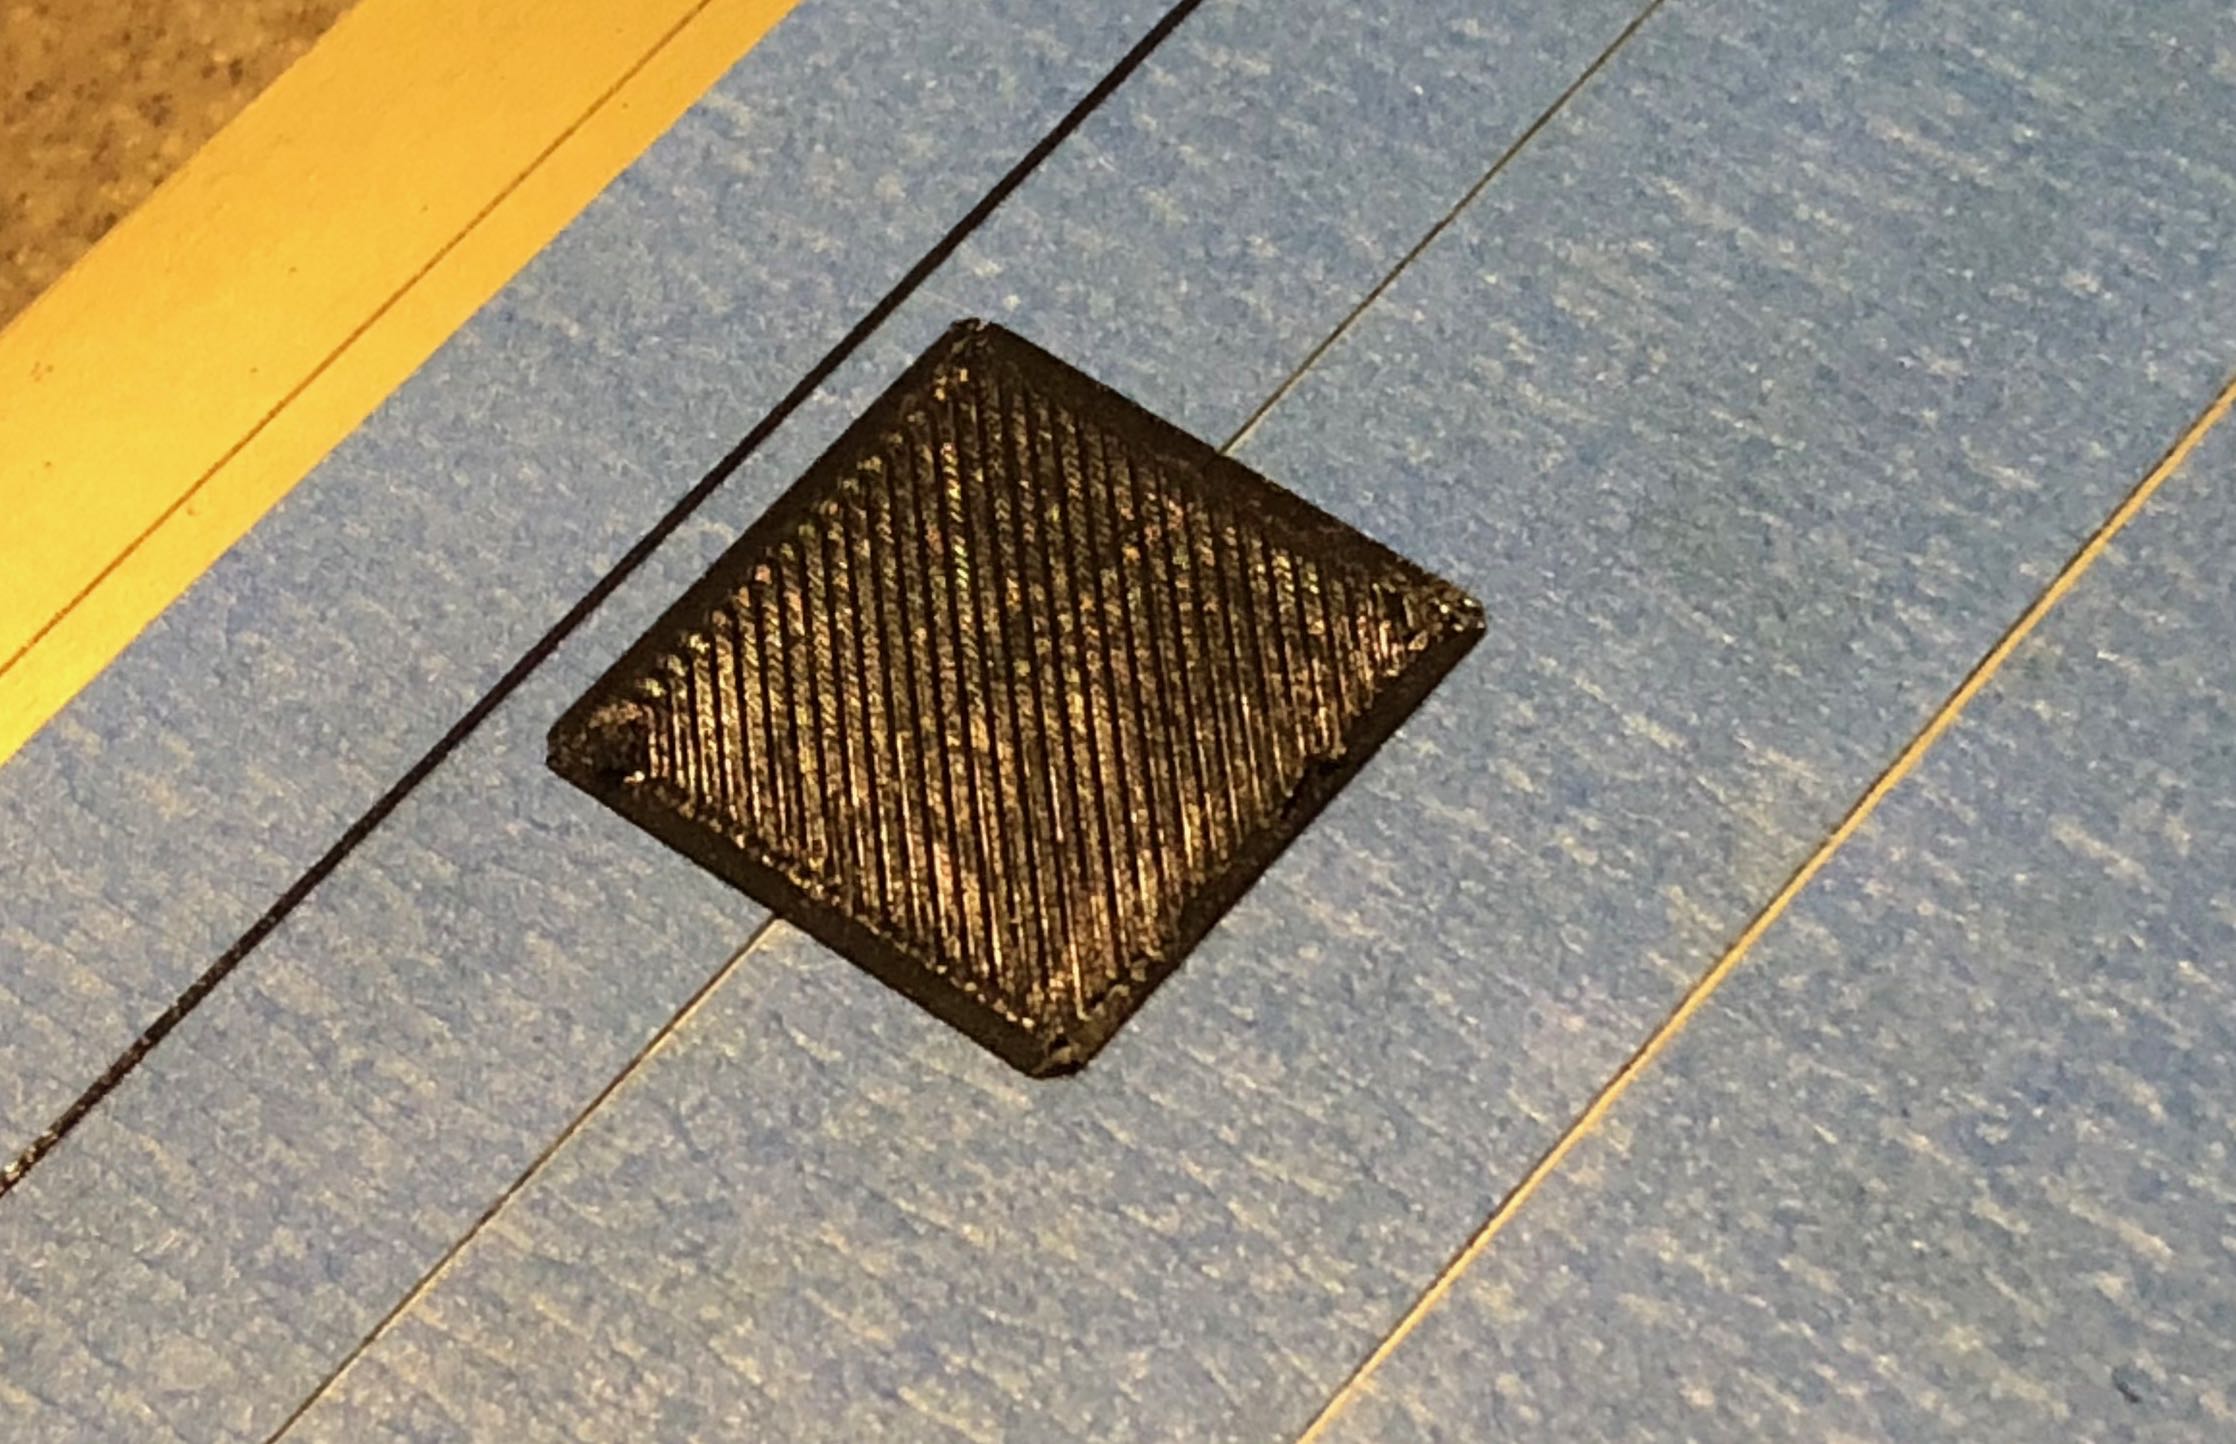
Problems with PETG first layer
I haven't had any issues printing PLA to date with several different filaments including the Prusa silver. Now, I'm using a couple of different PETG filaments from Atomic. I've succeeded on 3 very small prints with PETG, but the first layers weren't the best. For instance, when I printed a bench, none of the lettering in that layer was legible. The layers after that point look fine and the print quality has been good.
I have the problem where it goes to print the perimeter. The first cm or two don't quite stick and then the rest of the perimeter line looks fine. The real problem is when it starts on the part I'm printing. The extruder is going back and forth, but the goo is just getting stuck to the outside of the nozzle and isn't staying on the bed. Glue stick seems to make it worse. I've had my few successful prints on painters tape and one on just the PEI sheet with nothing else. I've used 240/70 for first layer temperature and also tried 245/70, 240/60. What is the key to getting that to stick so it doesn't just glob onto the extruder nozzle?
Re: Problems with PETG first layer
The trick to printing PETG is in your slicer set Z offset to 0.2mm and turn first layer speed and acceleration well down. I currently use 15mm/s speed and 300mm/s2 acceleration.
The large Z offset is to make sure the nozzle does not tough the extruded filament as PETG is very sticky. It is also viscous and slow setting which is why the low speed and acceleration.
For bed preparation I use Windolene (I'm in the UK so I use that instead of Windex). The problem with PETG without preparation sticks to the bed too well which why a separator like window cleaner, hair spray or glue stick is needed.
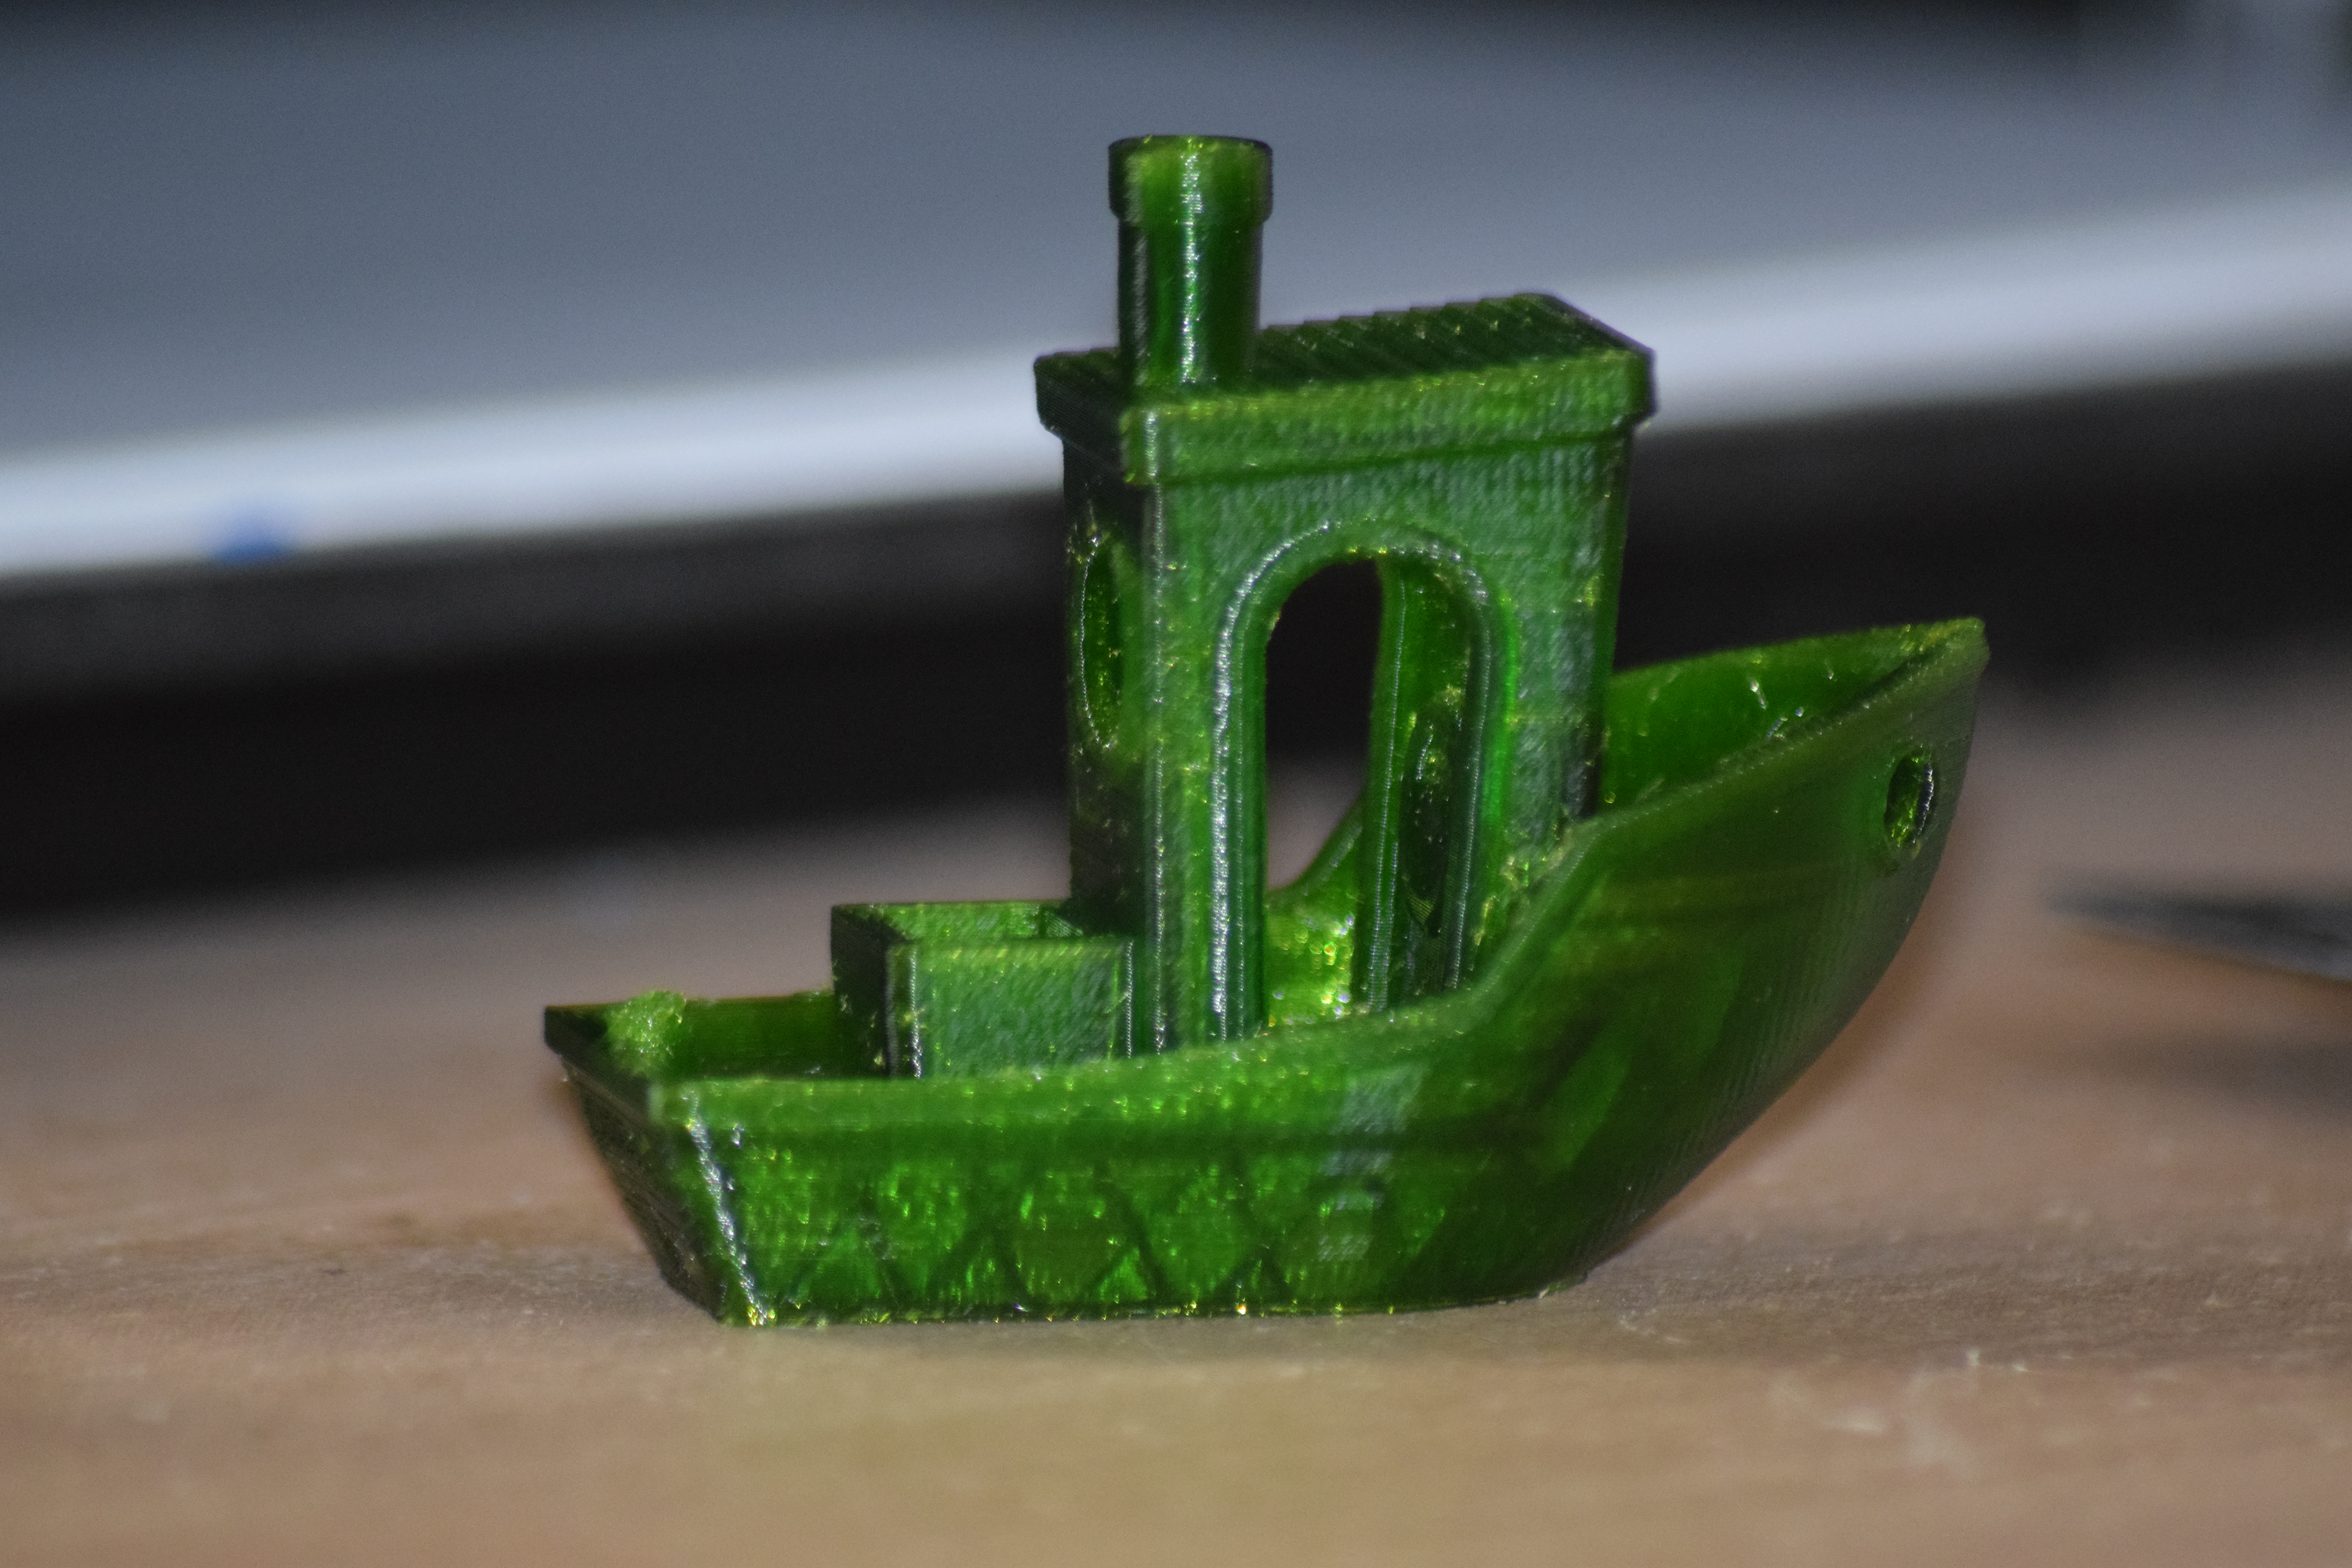
A Benchy I printed yesterday in Rigid Ink Translucent Green PETG
Regards,
Martin
Martin Wolfe
Re: Problems with PETG first layer
I had read about a positive offset, but wow... .2mm sounds huge. I’ll give it a shot
Re: Problems with PETG first layer
Also, I have a few questions
1. How does the bottom of your benchy look?
2. Should increased bed temperature help with first layer adhesion?
3. What exactly is the bug with Live Z adjust in the 3.2.0 firmware? That’s the version I currently have. I’m thinking I should update.
4. Should increasing extrusion temp help or hurt with this issue?
5. Does anyone have a recommended print to help calibrate PETG first layer settings?
Thanks for the help
Re: Problems with PETG first layer
I've been using Inland PETG. Took me a while to get it to stick at all. In the end I jacked the hotend temperature up to 250 (top of the suggested range), slowed it way down (20mm/s) and coated the bed with two layers of purple glue stick. Messing with the offset didn't work for me at all. In the end I put it back to what I was using for PLA. I'm really happy with the prints I'm getting.
Re: Problems with PETG first layer
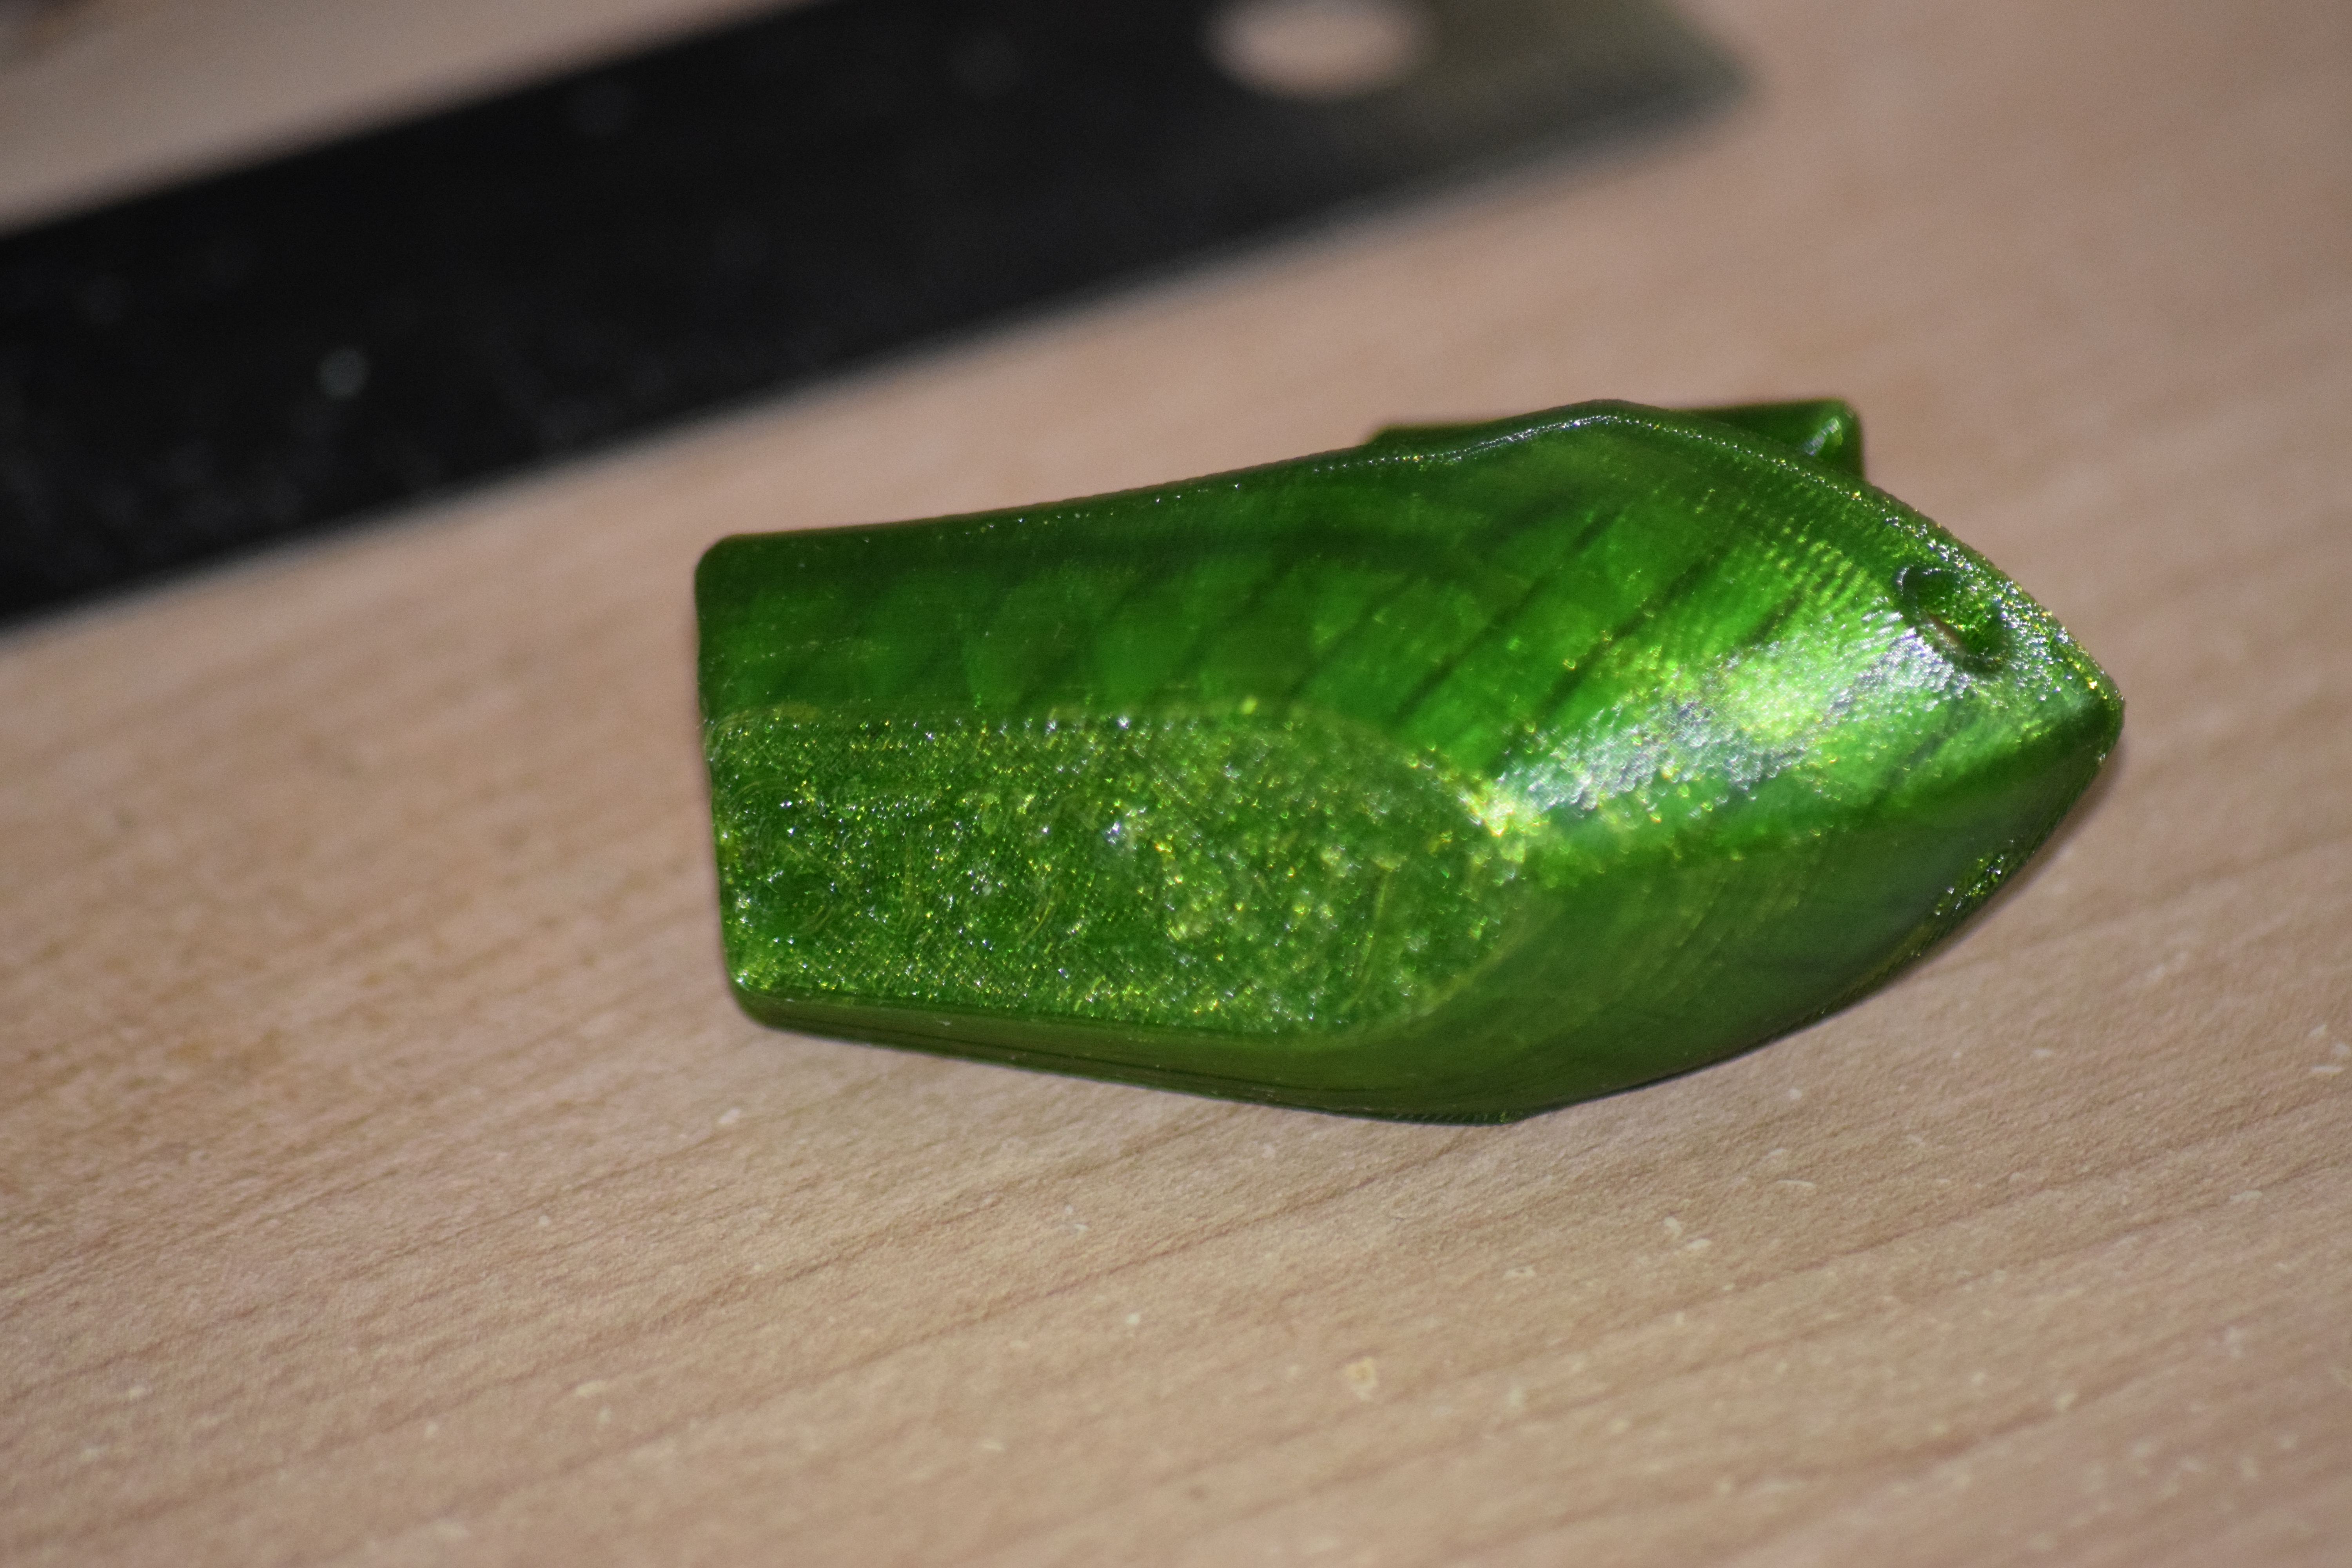
The Bottom of the Benchy
The bottom basically ends up with a similar texture to the top layer. I do know however that the bottom layer is fusing correctly from failed prints when I switched back to PETG from HIPS (printing a replacement part fan nozzle) and forgot to give the bed a thorough scrub.
Increased first layer bed temperature will help with adhesion. Be carful going over 100c on the bed as the heat will start to affect the part fan nozzle. I had to replace mine after a test at 120c bed. I just use 90c bed temperature throughout for PETG now.
Extrusion temperature should be as low as possible for the first layer then raised to optimal for the rest. PETG is attracted to hot metal. That was why I was playing with very high heat bed temperatures for the first layer.
You should defiantly upgrade to the latest firmware. I don't remember a bug in live adjust on 3.2.0 though. There was defiantly one in 3.2.1 RC1 which affected me. 3.2.1 final release should be fine though.
For calibrating PETG first layer do not adjust live Z on the printer leave that at the value you found for PLA. Instead adjust using the slicer. That way if you recalibrate the live adjust on the printer such as when upgrading firmware the values in slicer will take care of adjusting for PETG and other materials you may have dialled in.
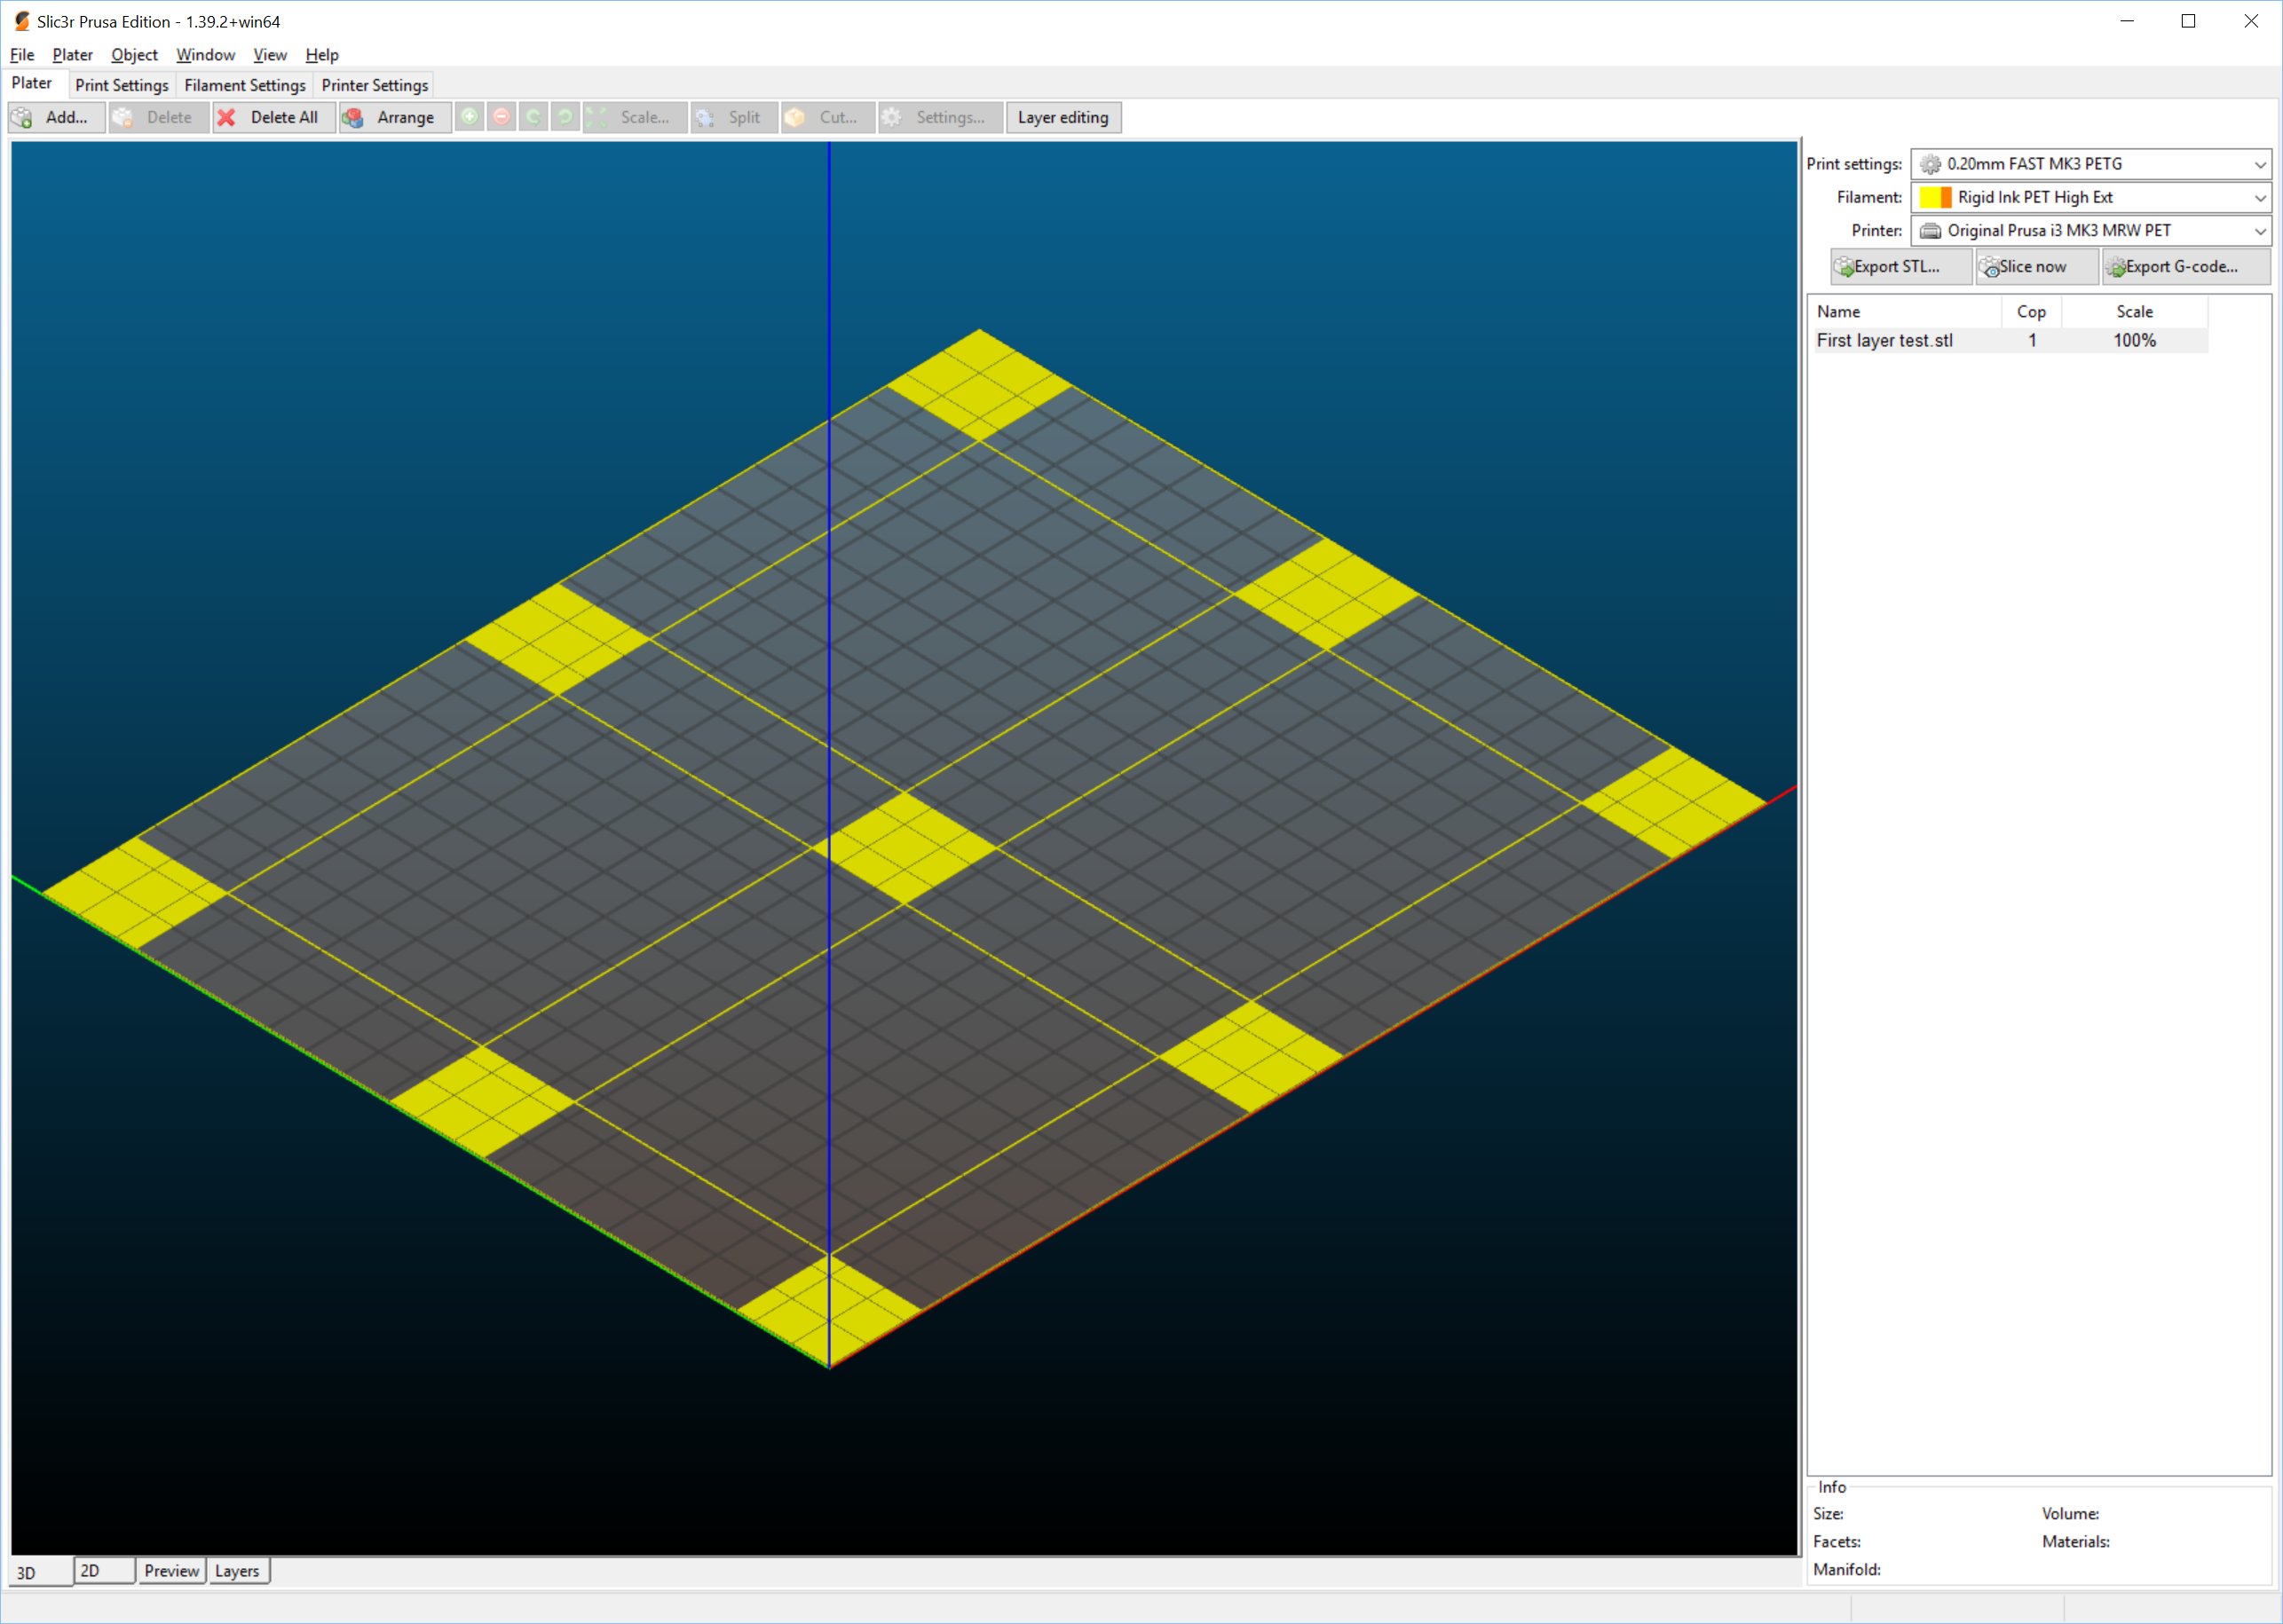
First Layer Test Pattern
This is just something I whipped up in 5min. Just slice it for the material you are testing without a brim as the pattern fills the whole bed.
Regards,
Martin
Martin Wolfe
Re: Problems with PETG first layer
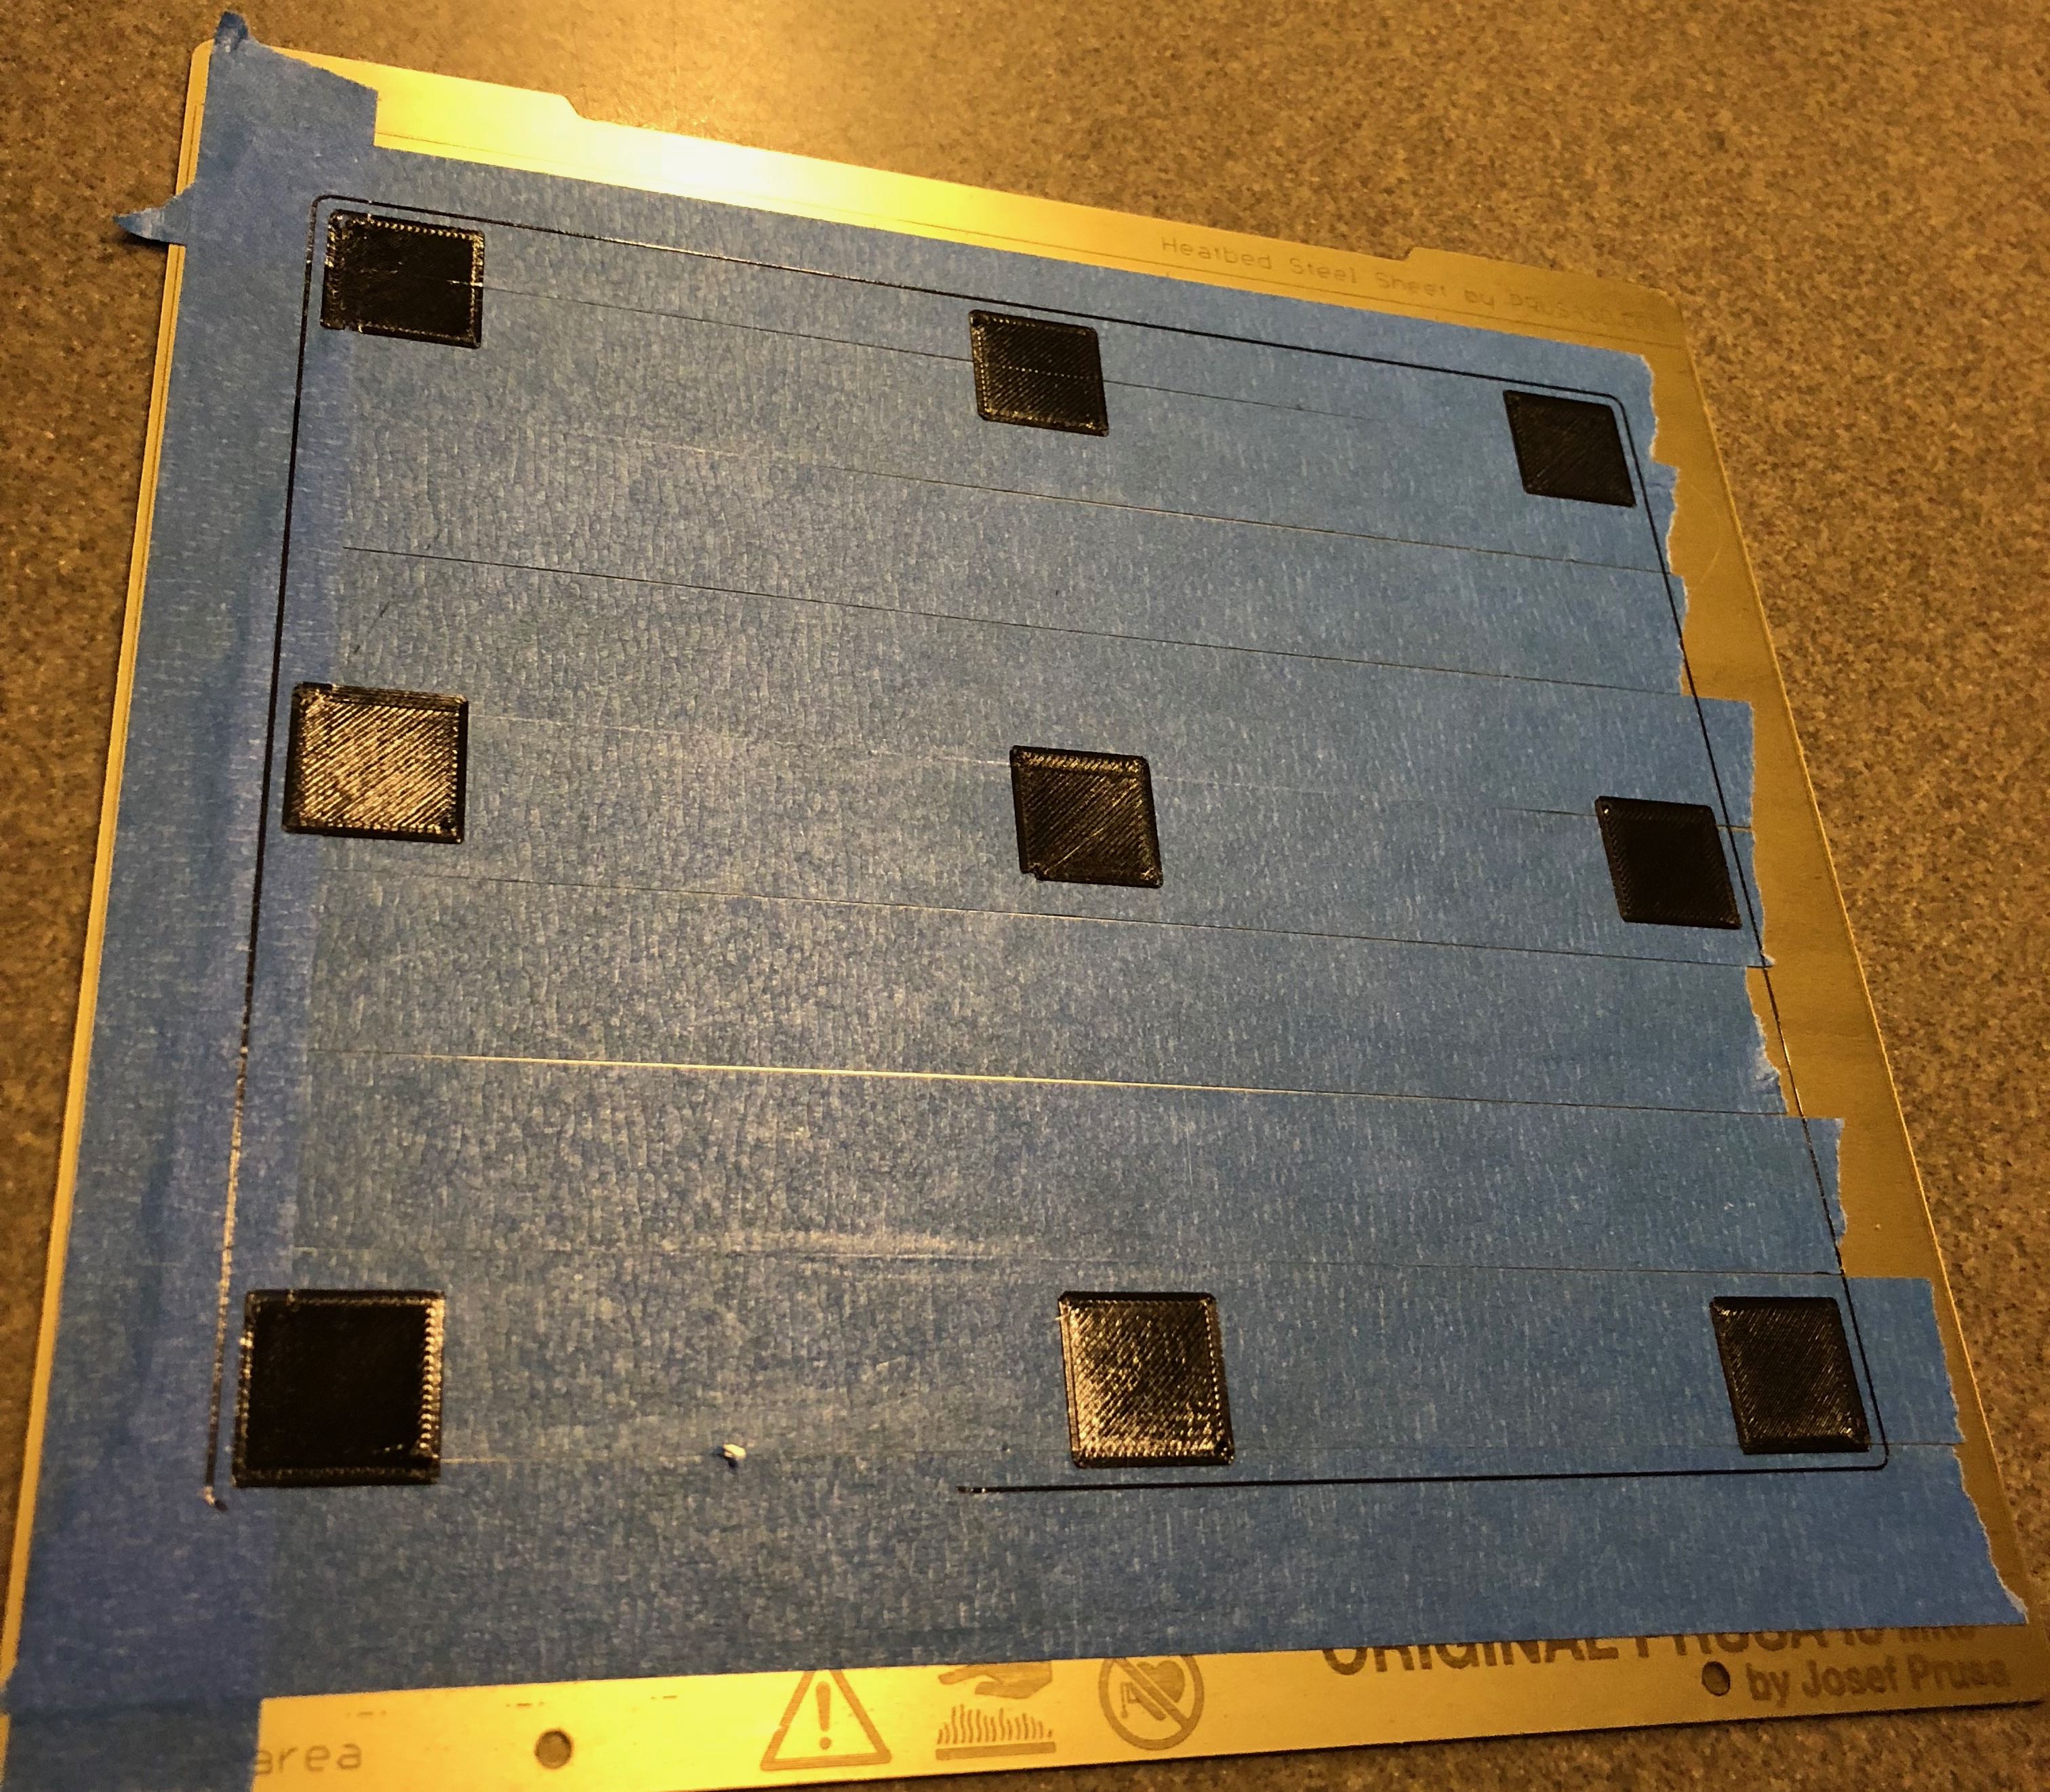
I printed that calibration print last night. It seems like having a Z offset of 0.2 isn't helpful. These were done with 250c/90c temps and pretty much the same Z I've been using for PLA. The first layer is set to use 10mm/s and I cut the acceleration values in the slicer as well. I think it looks pretty good. But... when I tried with the benchy, the outline looks OK and then eventually, something globs onto the extruder and everything falls apart. It appears that something in the first layer of the benchy prints at fairly high speed jerking around as it prints the letter outlines.
As you can see, I'm printing on blue painters tape. One other thing I found as I'm experimenting is that the hotter bed temps definitely cause the filament to bond well to the PEI sheet if nothing else is there. Wow... just the little sample line that gets printed took a bit of work to pry off. (I didn't have tape there) At 70c, I didn't have much trouble getting filament off the bed.
Anyway, I'm going to work on something else tonight to let the frustration wear off. By my thinking, adding to the Z offset seems like the logical thing to help prevent the nozzle from plowing the previous print. However, if ever anything didn't stick to the plate and then it sticks to the side, the problem just grows as the print continues.
Re: Problems with PETG first layer
PETG first layer is really frustrating. This was true on my old Printrbot Simple Metal, too, but it feels doubly annoying on the MK3 because Prusa is clearly printing all the orange parts in PETG on THIS EXACT PRINTER, with beautiful first layers, so I don't know why the default settings in Slicer PE aren't configured to actually work.
In my experience, I've never been able to get a good PETG first layer at 0.2 mm height. It never adheres well and the perimeters always come loose and end up in a wad. I play with temperatures, speeds, extrusion width; literally nothing helps. If anyone else can do a reliably good 0.2 mm first layer in PETG, let me know.
The ONLY thing that gives me a good first layer is increasing the first layer height to 0.3 mm, and then it magically works so much better. Note that you can accomplish sort of the same thing by messing with the Z offset in the printer settings or by changing the live Z adjustment, but essentially you're just creating a ~0.3 mm first layer height (probably under-extruded because the slicer thinks the extrusion needs to fill less space than it actually does). If I leave all that stuff alone and just change the first layer height to 0.3 mm and the first layer speed to 20 mm/s, it pretty much just works.
Unfortunately this is just more anecdotal evidence. I would dearly like to see the actual slicer settings that Prusa actually uses for their manufacturing floor.
(Edited to add: actually, using 0.3 mm first layer makes things mostly ok, but still not perfect for things like Benchy. I'm going to experiment with adding a tiny bit of Z offset in Slic3r, like maybe 0.015 or so.)
Re: Problems with PETG first layer
Also, I have a few questions
5. Does anyone have a recommended print to help calibrate PETG first layer settings?
Oh boy, printing PETG... Now there is a wall I’ve banged my head against the past year. 😆
The Prusa Mk3 is making things a lot easier! PEI with a THIN coating of window cleaner, in difficult cases a wide (10-12 rings) skirt to increase the surface area, 220-240/60˚C, and finally print s.l.o.w.l.y. , as the others say.
This way I’ve printed first layers that are between 0.18 and 2.1 mm thick, measured with calipers. Started out with 0.15 layer height and then add a tiny bit of nozzle height with Live Z.
5. > Yes, I read it in a forum here, but I’ve forgotten the inventor’s name unfortunately...
I make a massive 60x60x60 mm cube, slice it @0.15mm layer height and just print the first layer. Pick a first layer height of, say, 110% and see what happens...
Good luck! 🙂
Edit: Oh myyy, it just struck me, I have a 0.3mm nozzle on the Prusa! I don’t know how that affects things, but my guess is: increase all numbers by 30% for a 0.4 mm nozzle.... 😮
Re: Problems with PETG first layer
After more experimentation, I've found that the other major secret to getting a good PETG first layer (aside from increasing the thickness to 0.3 mm as above) is to print it very, VERY slowly and at a low temperature. I'm now printing my first layer at 220 degrees and 10 mm/s and it makes a big difference. The lower temperature helps it not to stick so strongly to the nozzle and the slow speed allows it to settle and adhere to the bed before getting yanked around.
Re: Problems with PETG first layer
For what it is worth..
Having my MK3 kit for a week now and all is super and way above expectations (Thank you Prusa team!, it was an awesome and awe inspiring experience to build this machine, every step I could see the engineering brilliance and an attention for detail)
...but I guess I got myself in a new hobby together with many (all?) others: The fine art of optimizing the first layer 😎
Although there are those prints where nothing seems to stick (whether PLA, PETG or FLEX) most prints come out like a charm.
After playing around with the settings, my solution is a very high temp (at or 10c above the filament specs) for the first layer at very low speed. After the first layer I bring the temp back to mid-range of filament specs. If all fails, wiping the PEI sheet with acetone seems to do the job. But with PETG, most of the time, I end up with too much stick making it sometimes very hard to take of the brim.
But I have read that others have almost the exact opposite solution, so I guess it is more 'art' than 'science' after all...
Happy printing!
/Cees
Re: Problems with PETG first layer
I went from not sticking to ripping the PEI of the spring steel... 😡
Re: Problems with PETG first layer
I went from not sticking to ripping the PEI of the spring steel... 😡
Re: Problems with PETG first layer
🙁 PETG sticks to the PEI too well when you get it printing correctly. You need to use a separator such as window cleaner (Windex, Windolene in the UK,) glue stick or hair spray. My preference is window cleaner as it cleans the bed as well as providing separation.
Regards,
Martin
Martin Wolfe
Re: Problems with PETG first layer
🙁 PETG sticks to the PEI too well when you get it printing correctly. You need to use a separator such as window cleaner (Windex, Windolene in the UK,) glue stick or hair spray. My preference is window cleaner as it cleans the bed as well as providing separation.
Regards,
Martin
2nd that, I clean with Windex on a paper towel and then liberally wipe the bed with Windex on the towel, then let that evaporate as the bed heats up. I set the Z 0.03 higher than my last successful PLA setting but this value is obviously dependent on how much you were squishing your PLA first layer.
the first layer is more tricky and the one problem I had was the nozzle being just a little bit too low and dragging PETG along and peeling it up as it went.
I switched from Hatchbox PLA to Hatchbox PETG with few problems... so far : )
Re: Problems with PETG first layer
Hi all,
I figured I give an update on my PETG printing. So after my initial frustration, I stepped away from PETG for a bit. (and in the interim had one computer die). This weekend I got back to it and finally have some success. First, I re-adjusted my PINDA, since it had a Z offset of -1.3mm+. That was out of the normal range, so I thought I ought to fix it. My PLA prints seemed fine, but given I couldn't get PETG to work I figured I should just take care of that. It's now at a Z offset of about -0.75mm.
PLA still works fine. Based upon some advice posted in this forum, I did the following:
So it works, though it took forever for the first layer to complete. But hey, at least it works. 🙂 I'll have to experiment with increasing that speed by a bit to see how far I can push it until it gives me trouble. I'm printing parts for an enclosure. The initial print used much of the print bed and so the first layer took over 2 hours... even pushing it up to 12-14 would be a noticeable improvement.
Re: Problems with PETG first layer
Also I forgot one more thing. I added a 2mm brim to the prints and updated to the latest slic3r and firmware versions.
Re: Problems with PETG first layer
Just an update. Since my last post on this topic I changed from the stock nozzle and heater block to plated copper ones. After dialling my live Z for PLA back in I loaded up some PETG and immediately started ripping the first layer. In the end I had to slow my first layer down to 7mm/s and drop the temperature to 220°C with the bed at 90°C to start printing good PETG first layers again.
Regards,
Martin
Martin Wolfe
Re: Problems with PETG first layer
I swear I've had good luck with petg with the bed calibrated abit tighter then normal. just be careful if it sticks bad.... it hurts.
I have a Prusa,therefore I research.
Re: Problems with PETG first layer
Not that im an expert by any stretch of the imagination ive had my printer only a few weeks and its my first 3d printer.
But ive recently done alot of troubleshooting with PETG and found that to get a good first layer i actually had to lower my Z offset to squish it out more vs what i was using with PLA, which is opposite of what most people say about it when i read up. I also print with much lower bed temp than most suggest.
Currently i print first layer at 240c/70c and then after 3rd layer temps to 230c/75c.
I also slow down the first layer alot compared to defaults in slicer, like a whole lot slower.
