Problem with first own print
Hey everyone,
I assembled my mk3 last weekend and printed some of the prefabricated gcode files on the sd card - they turned out great. Now I try to print a self defined model (a case for a tinkering project; created in OpenSCAD) and this turns out to be way harder!
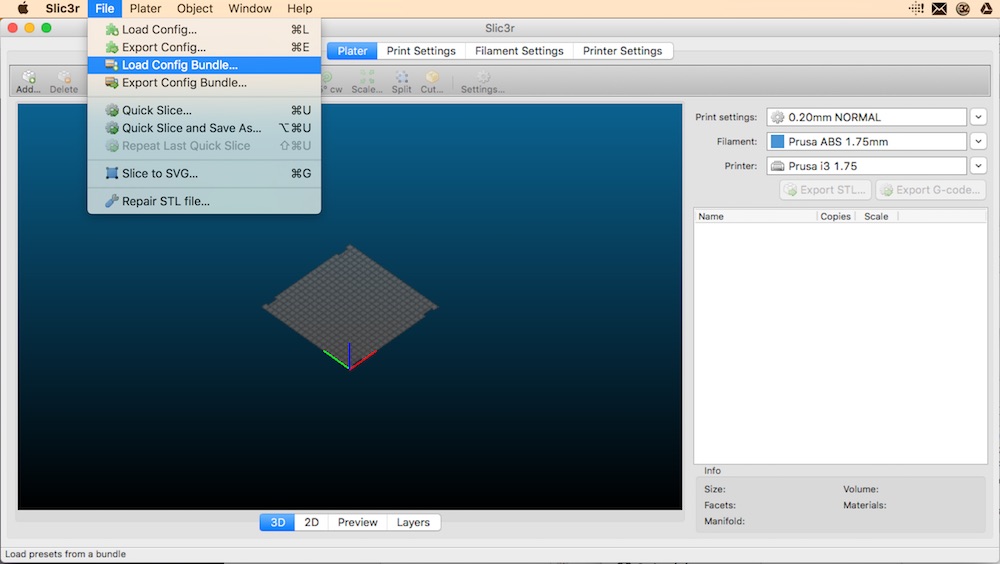
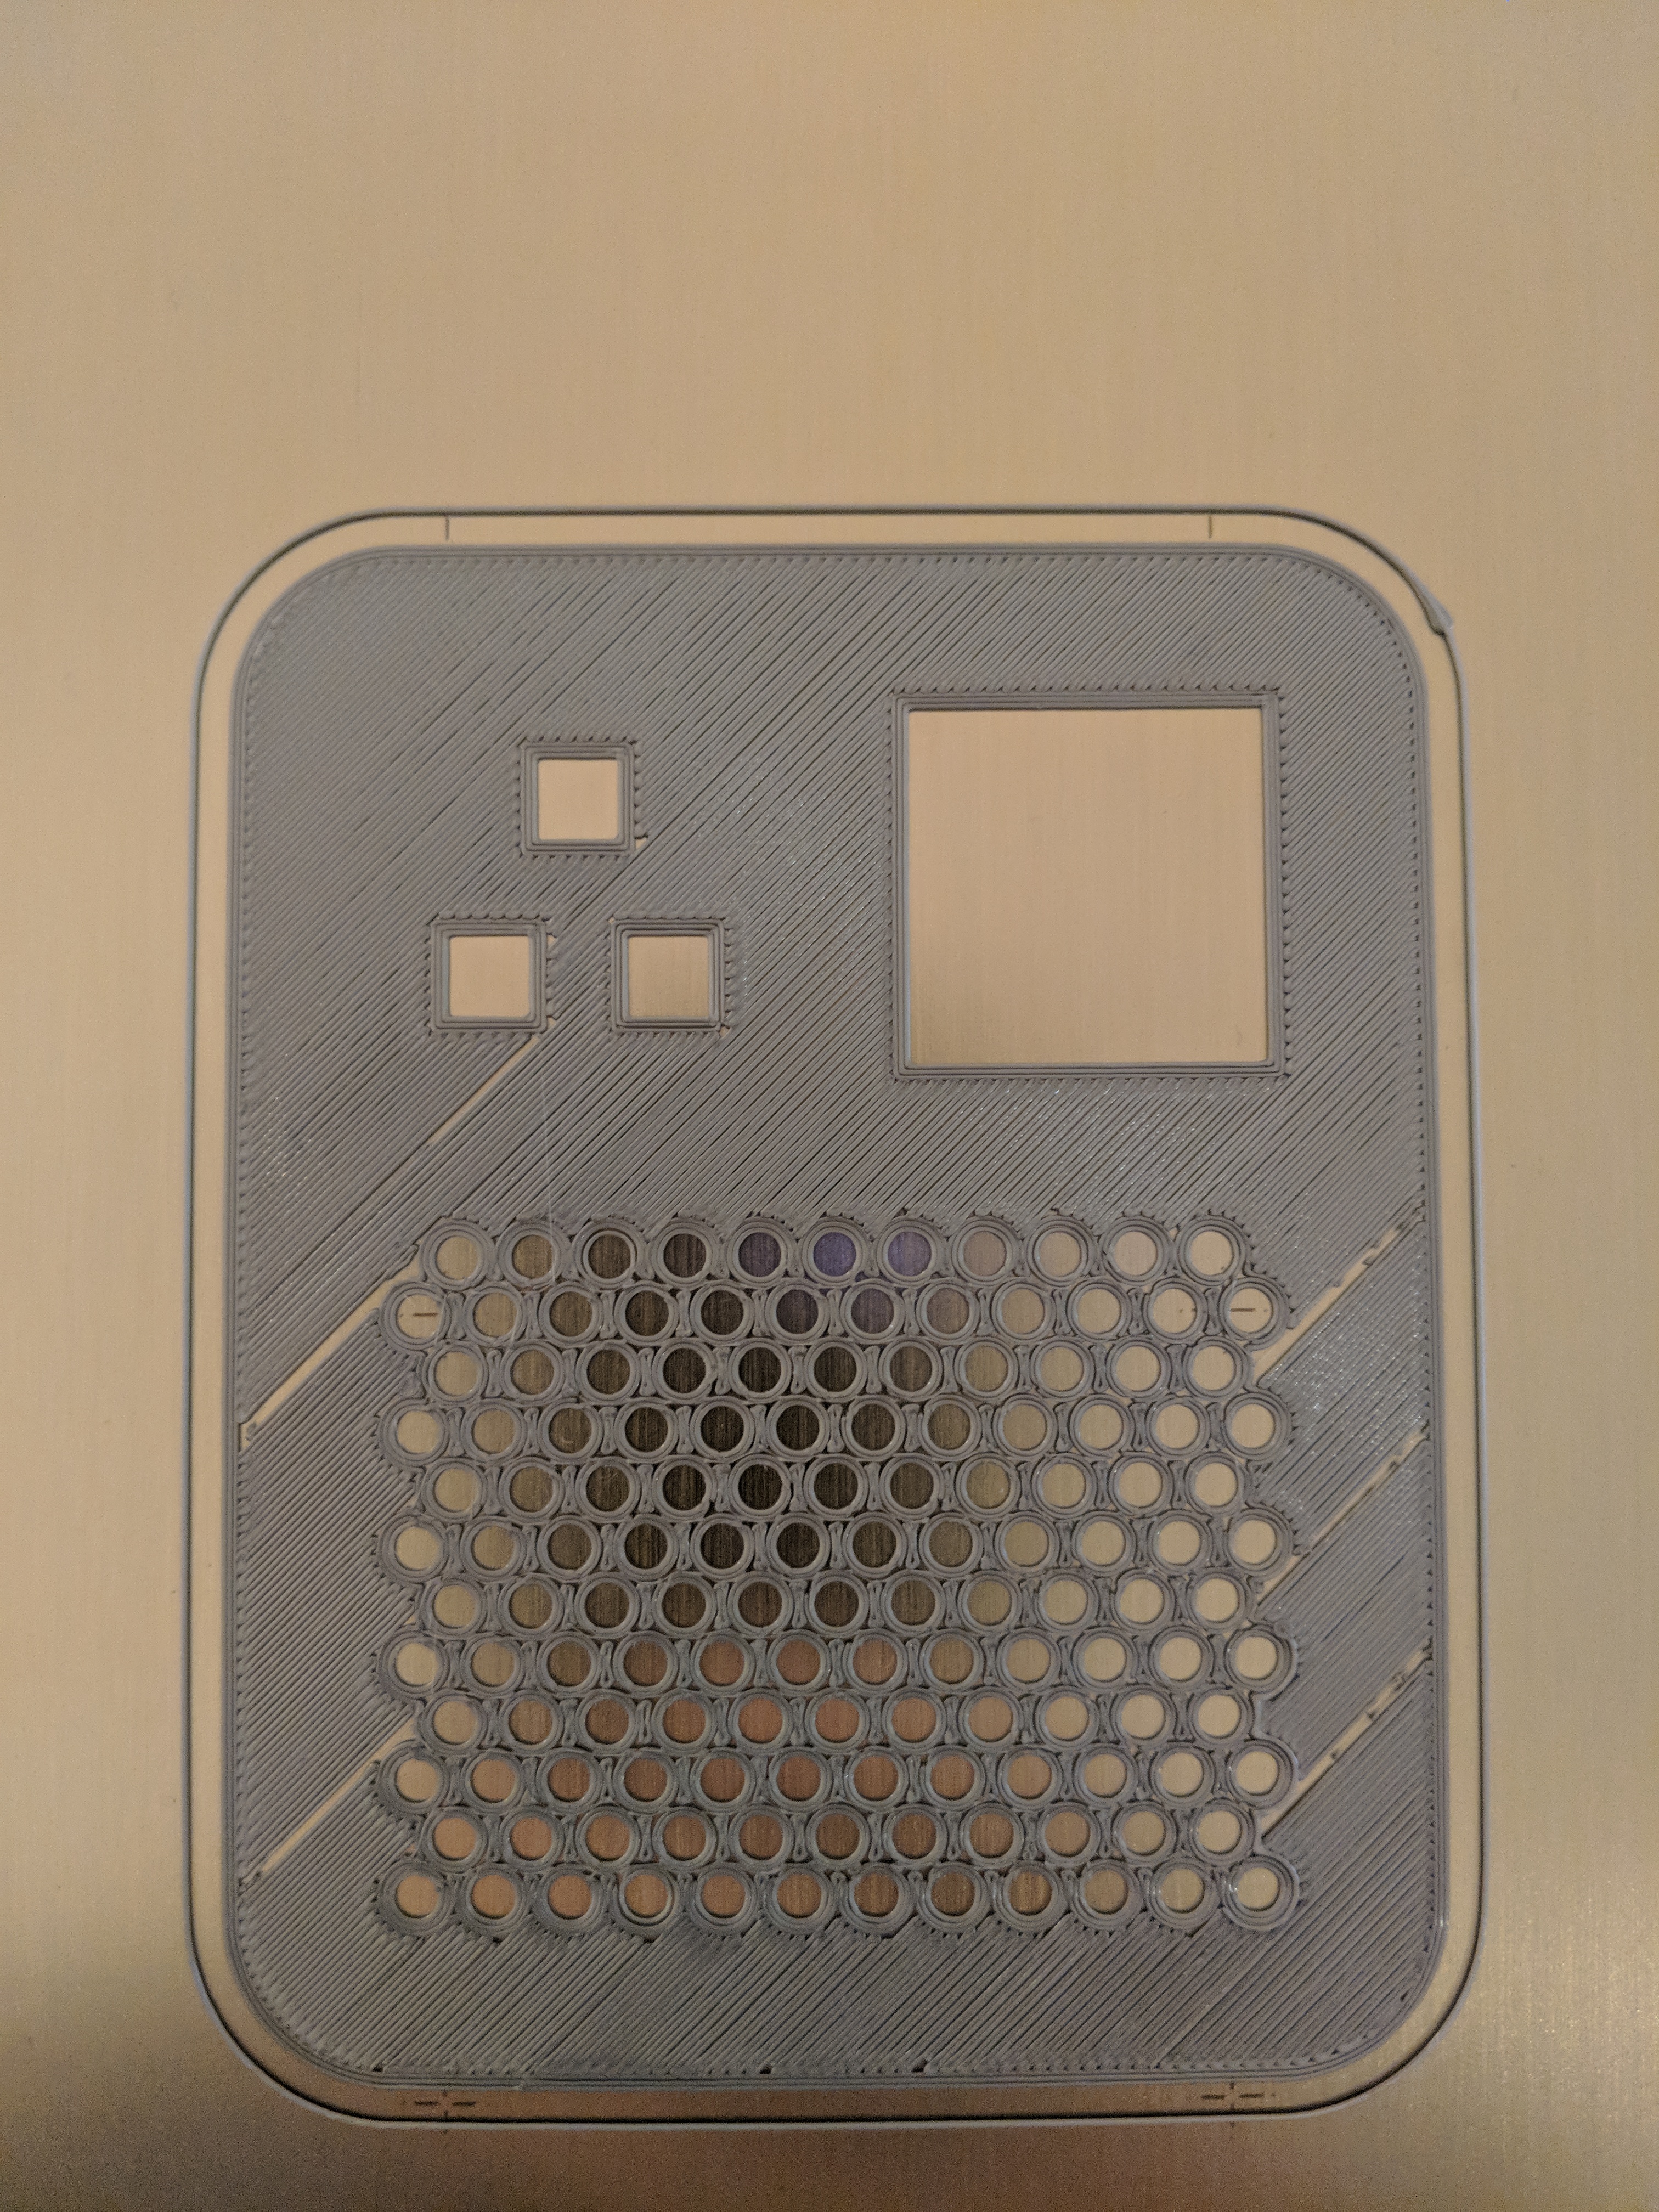
I hope someone here can give me a hint what else I can try to get this working. So this is what the first layer looks like in slic3r (everything below is based on the 0.15mm preset):
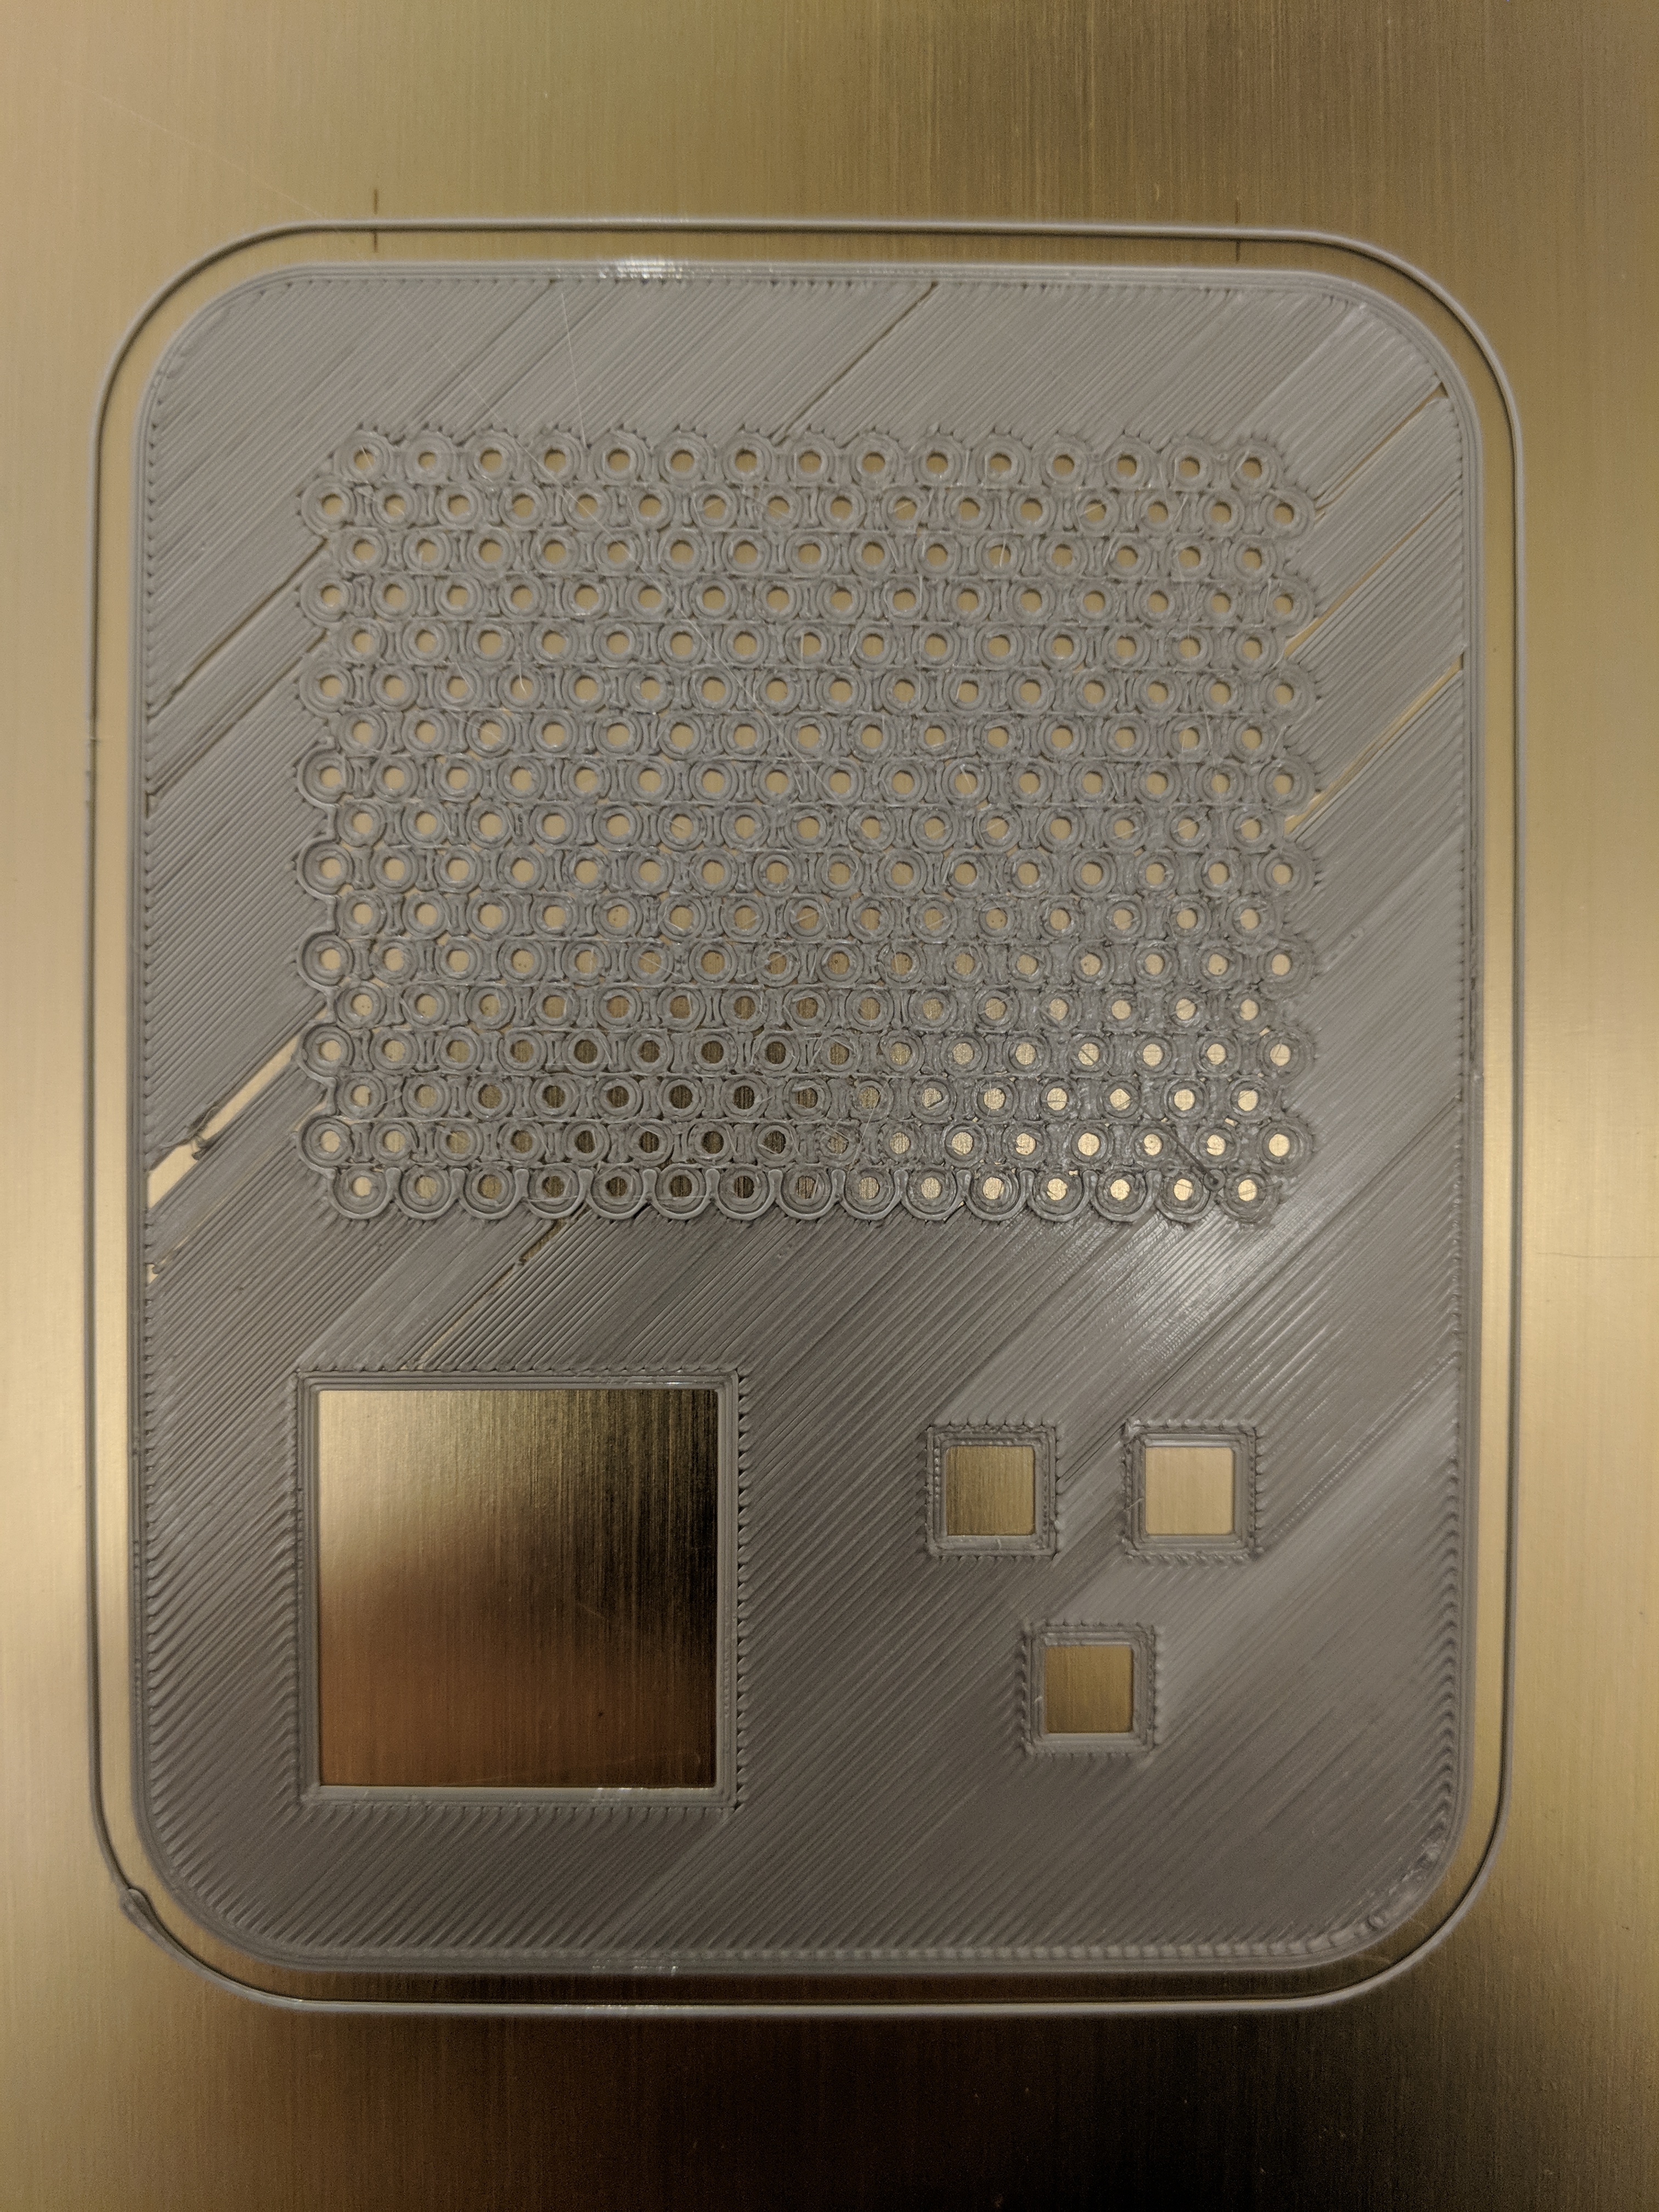
and this is what the print looks like (first attempt):
So it is missing quite a few lines in the infill. After that I checked the life adjust Z as suggested in the "life adjust Z - my way" thread an corrected the setting to -.350. Then I calibrated the extrusion like this: https://mattshub.com/2017/04/19/extruder-calibration/
The lines look a bit more squishy now but besides that the result is the same. To my surprise the missing lines occur in the same position in every print.
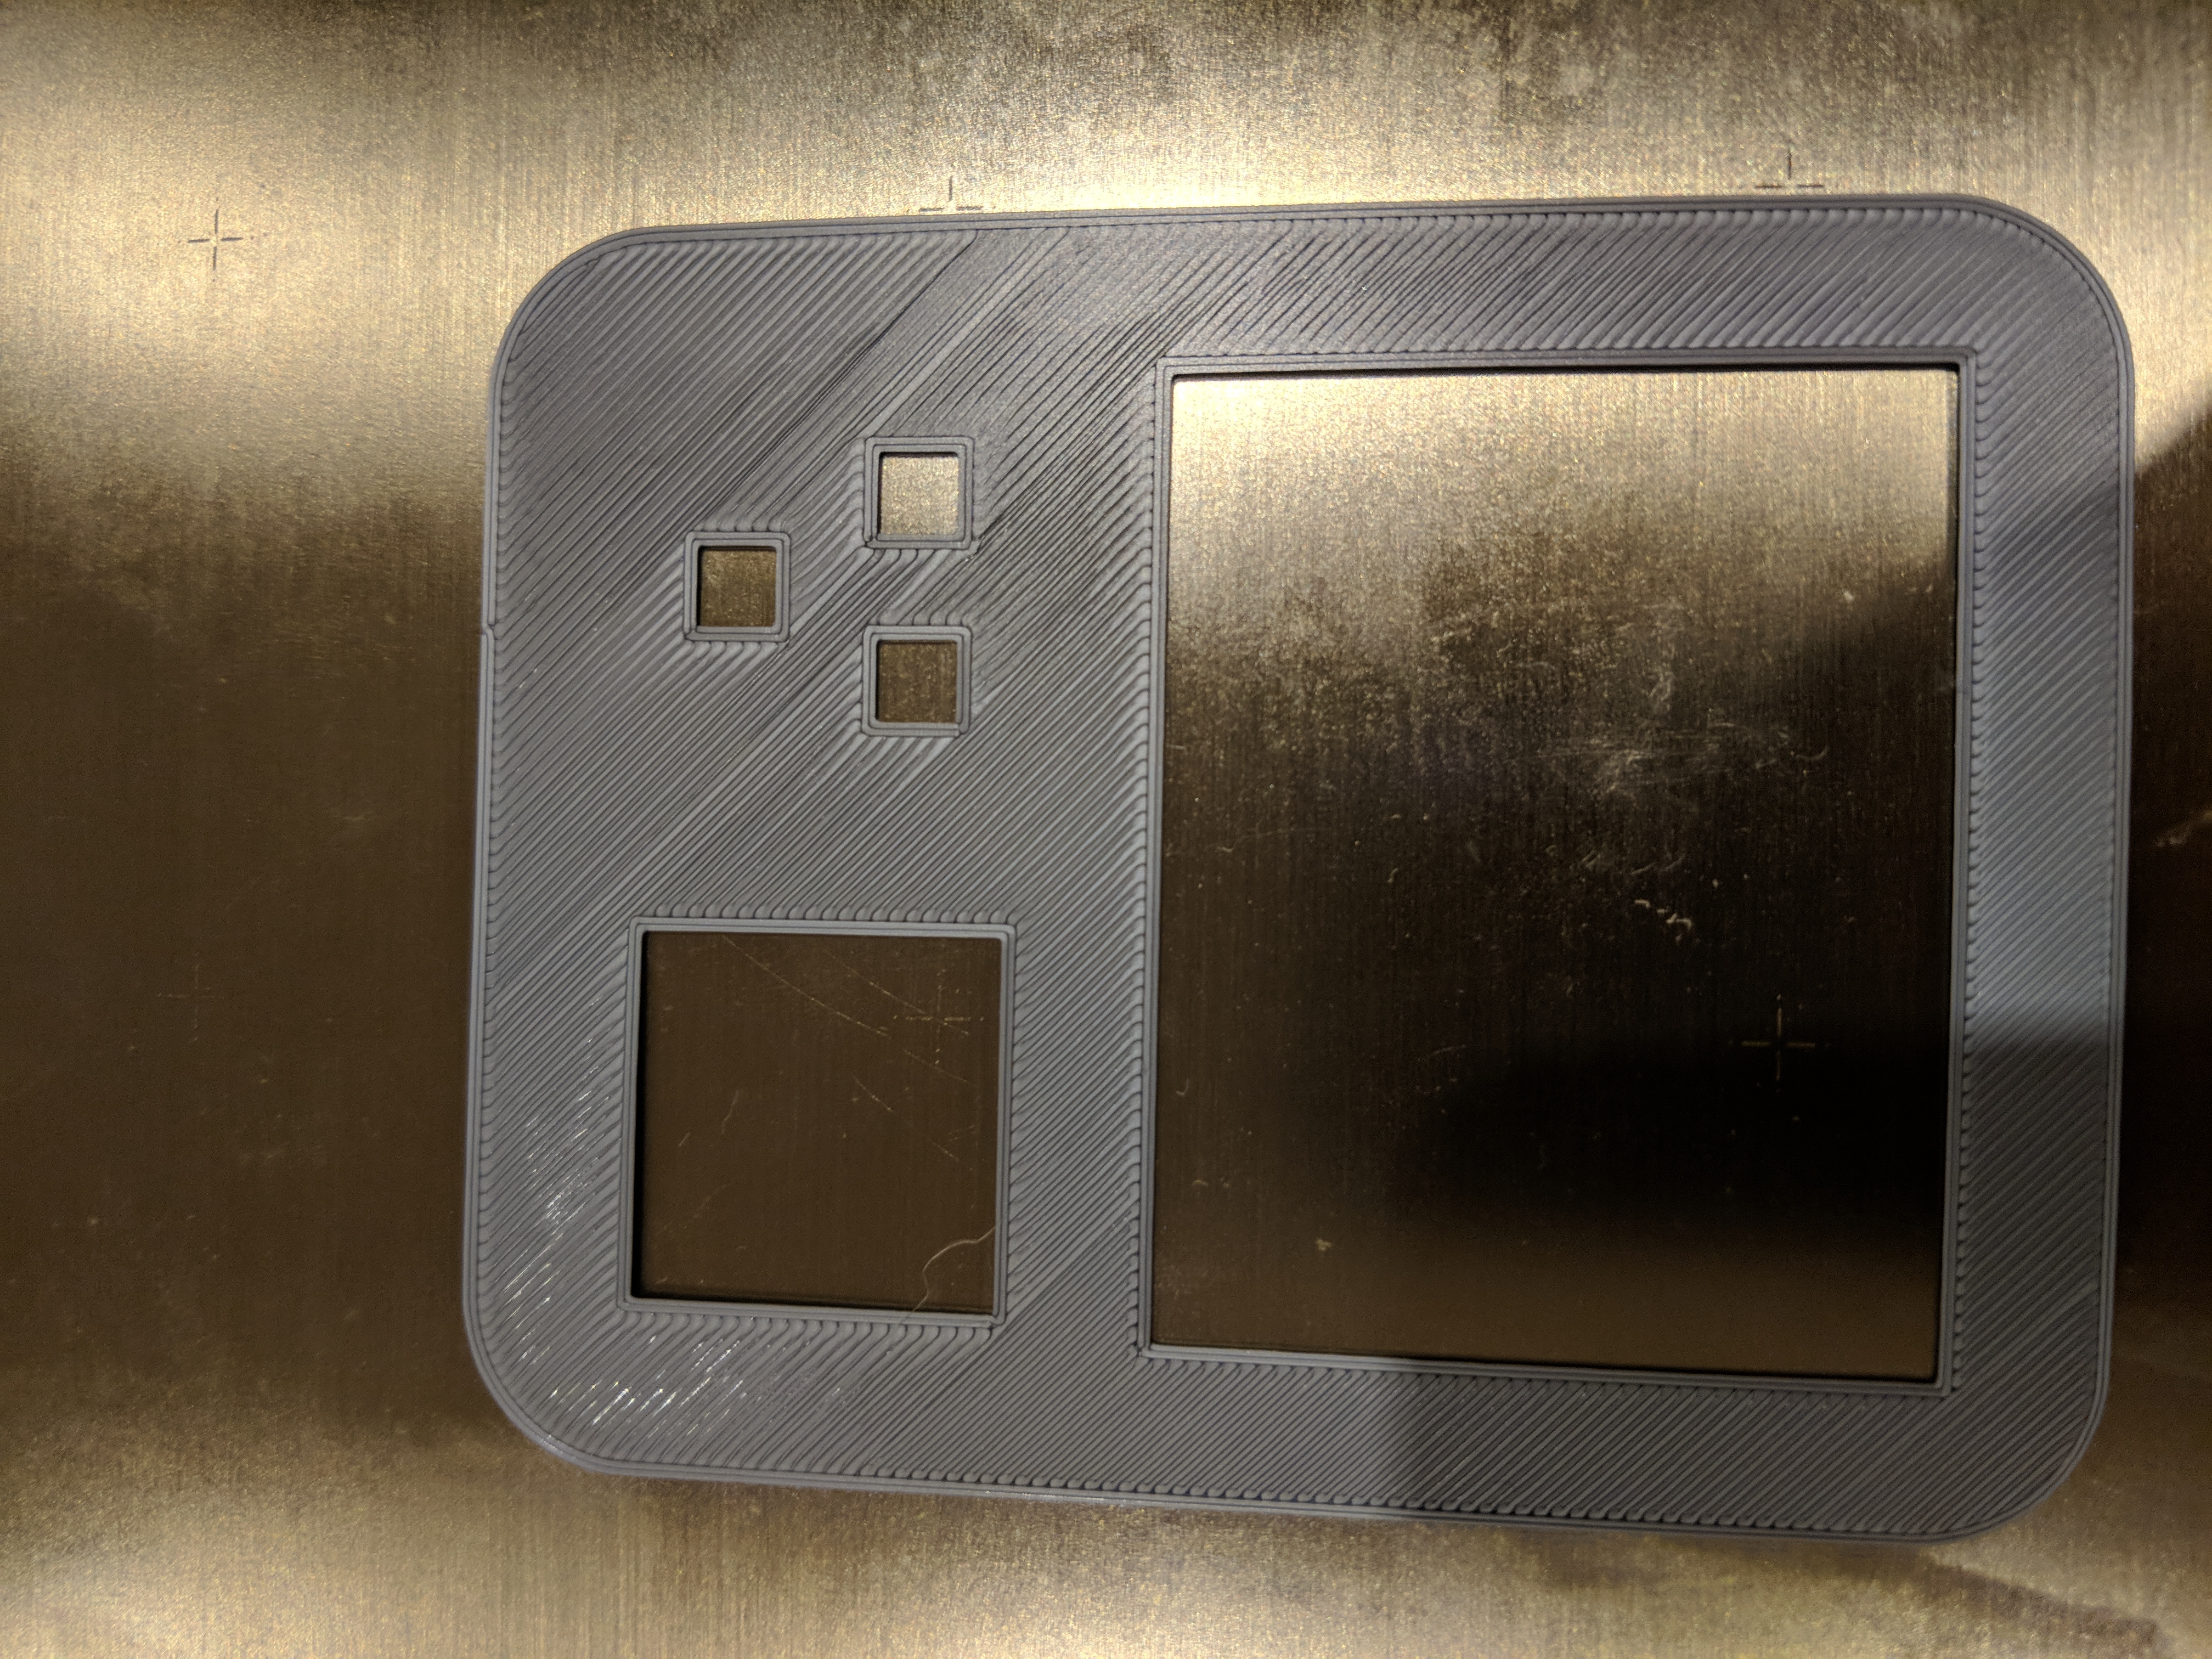
Next I suspected some problem with the retraction so I disabled it completely but that didn't help either. I doubled the extrusion width for the first layer. Still the same. Then I turned down the first layer speed to a point where it looks comical (10%). Still the same problem. Here is the latest try:
Does anyone have a suggestion what I should try next? Or any explanation why this thing is so hard to print ...
Thanks,
Daniel
Re: Problem with first own print
Forgot to mention this - another thing I tried is to cut out the part with the small holes to see if that "fixes" the issue. It does:
So it seems to be the combination of the small holes and the neighboring infill that causes the problem. I tried a different infill pattern ("Archimedean Chords ") but that shows similar problems.
Re: Problem with first own print
seems coincidental the second one worked. first looks like the bed leveling isn't working properly (second one too, bottom is too high Z) and Z is too high in most spots and low in others. check it's flat with a ruler, if it's too warped get it replaced. make sure there's not any tiny piece of dirt under the steel sheet too. you'll probably have to tune the mesh leveling and get lower... and clean the bed. windex/IPA/soap works.
alternatively you could try Cura (or Simplify3D) to slice it differently.
Re: Problem with first own print
I’ve had trouble with mine doing tiny circles on the first layer. For example, the screw holes when I print a spare extruder body. PETG seems worse than PLA. It got better when I slowed the first layer way down. But for me it was the actual circles that pulled out not the stuff around the circles.
Still 2 things to consider trying.
1. Bigger circles
2. Slower first layer
3. Probably some sh*t smarter people suggest.
When someone asks you if you're a god, you say, "YES!"
Re: Problem with first own print
Eric, thanks for your answer!
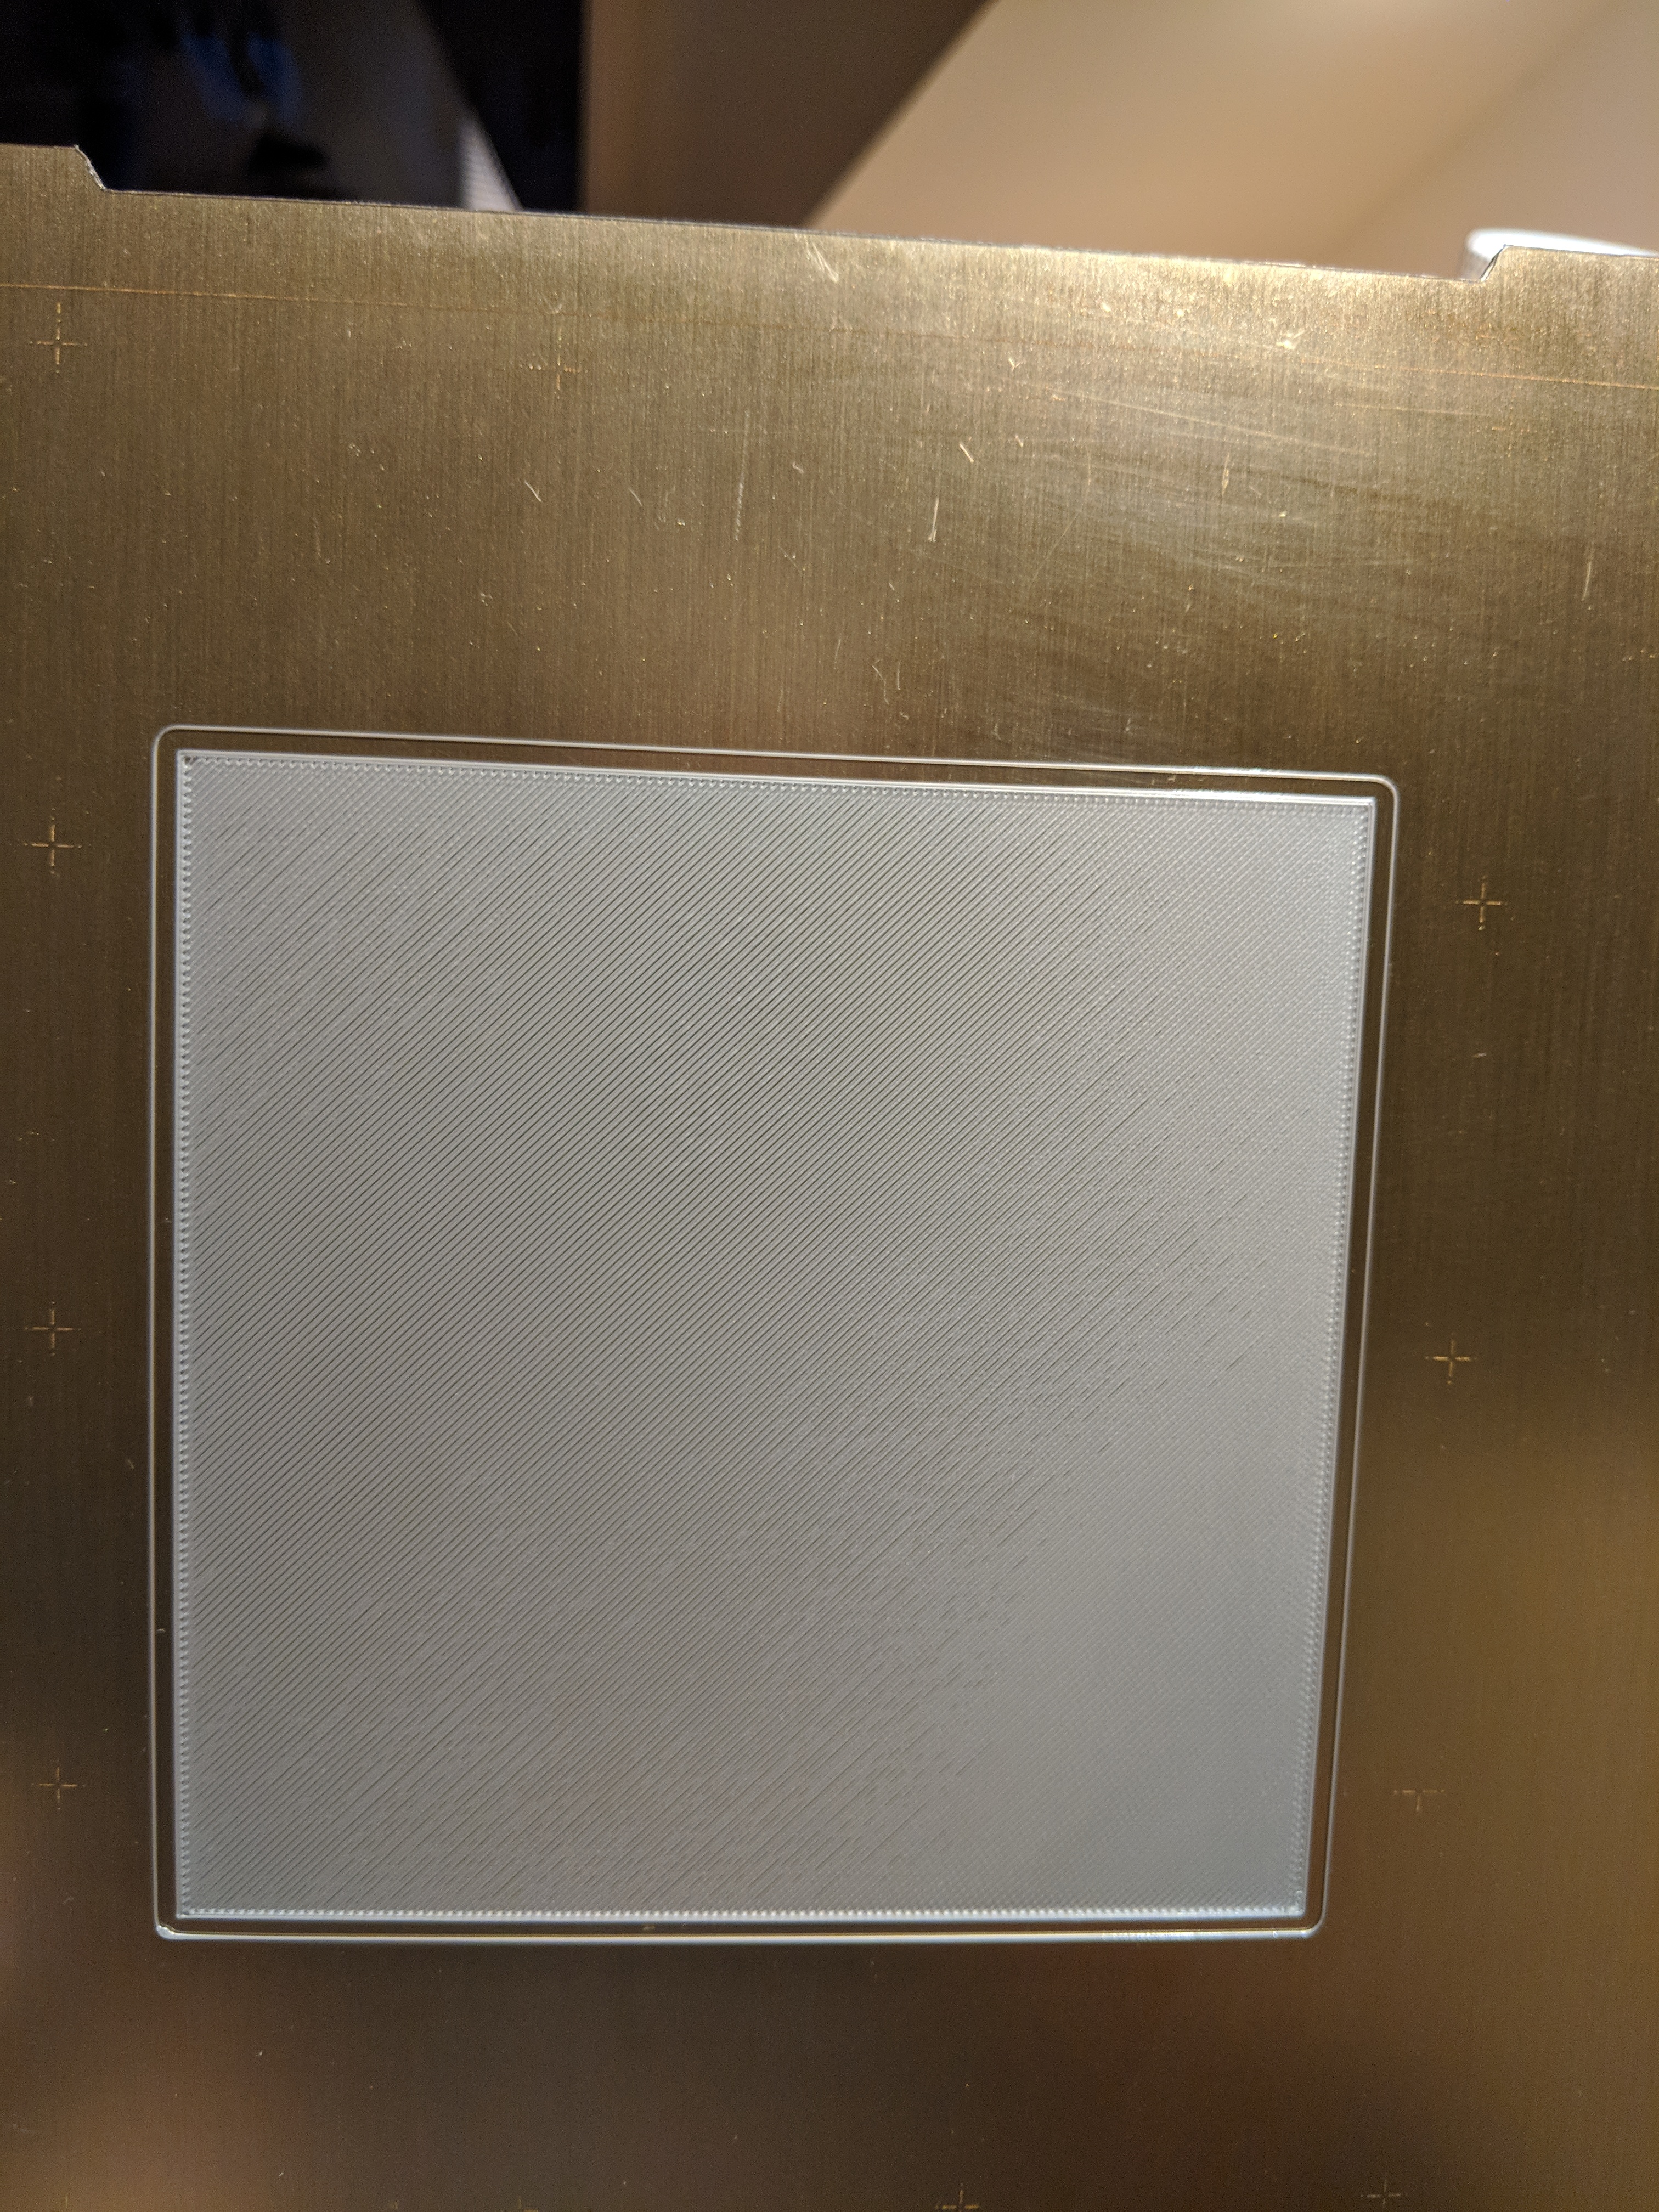
I checked the bed with a ruler and it seems OK to me. That test didn't seem great thought. I'll try to find some machined shaft to redo that. If there is a problem in the leveling of the bed it should show up in larger single layer patches, right? So I printed this 125mm single layer square
Although it is not perfect it doesn't seem to be horribly off. I also double checked for particles under the steal layer. For cleaning I use IPA.
I'll need to read through this "mesh bed leveling stuff" I guess.
I tried Cura yesterday and the first print was a total failure. That definitly needs to wait for the weekend.
Joe, thanks for your answer as well!
I tried with larger circles - roughly two times the radius:
Doesn't seem to change much. While watching the print I recognized that the missing parts occur after the printer needs to travel to resume the infill at a different position. Hmm. There is a slic3r setting "Extra length on restart" that seems related. That is printing right now.
I tried slowing down to 10% already. Didn't change anything. Maybe I'll try even slower ... or go with option 3.
Thanks a lot to both of you!
Re: Problem with first own print
Did you do these things in this order?
I agree with what was said above about live z looking too high. Step 1 is a one time thing unless you move or do major work in printer. Step 2 changes per filament. Step 3 is usually a one time (in my experience).
Re: Problem with first own print
Hey Gaston,
thanks for having a look! I did 2 and 3 following exactly these instructions. I'll do all three tomorrow. Need to get a table for the printer first since it doesn't seem to make much sense to do the leveling and then move the thing around.
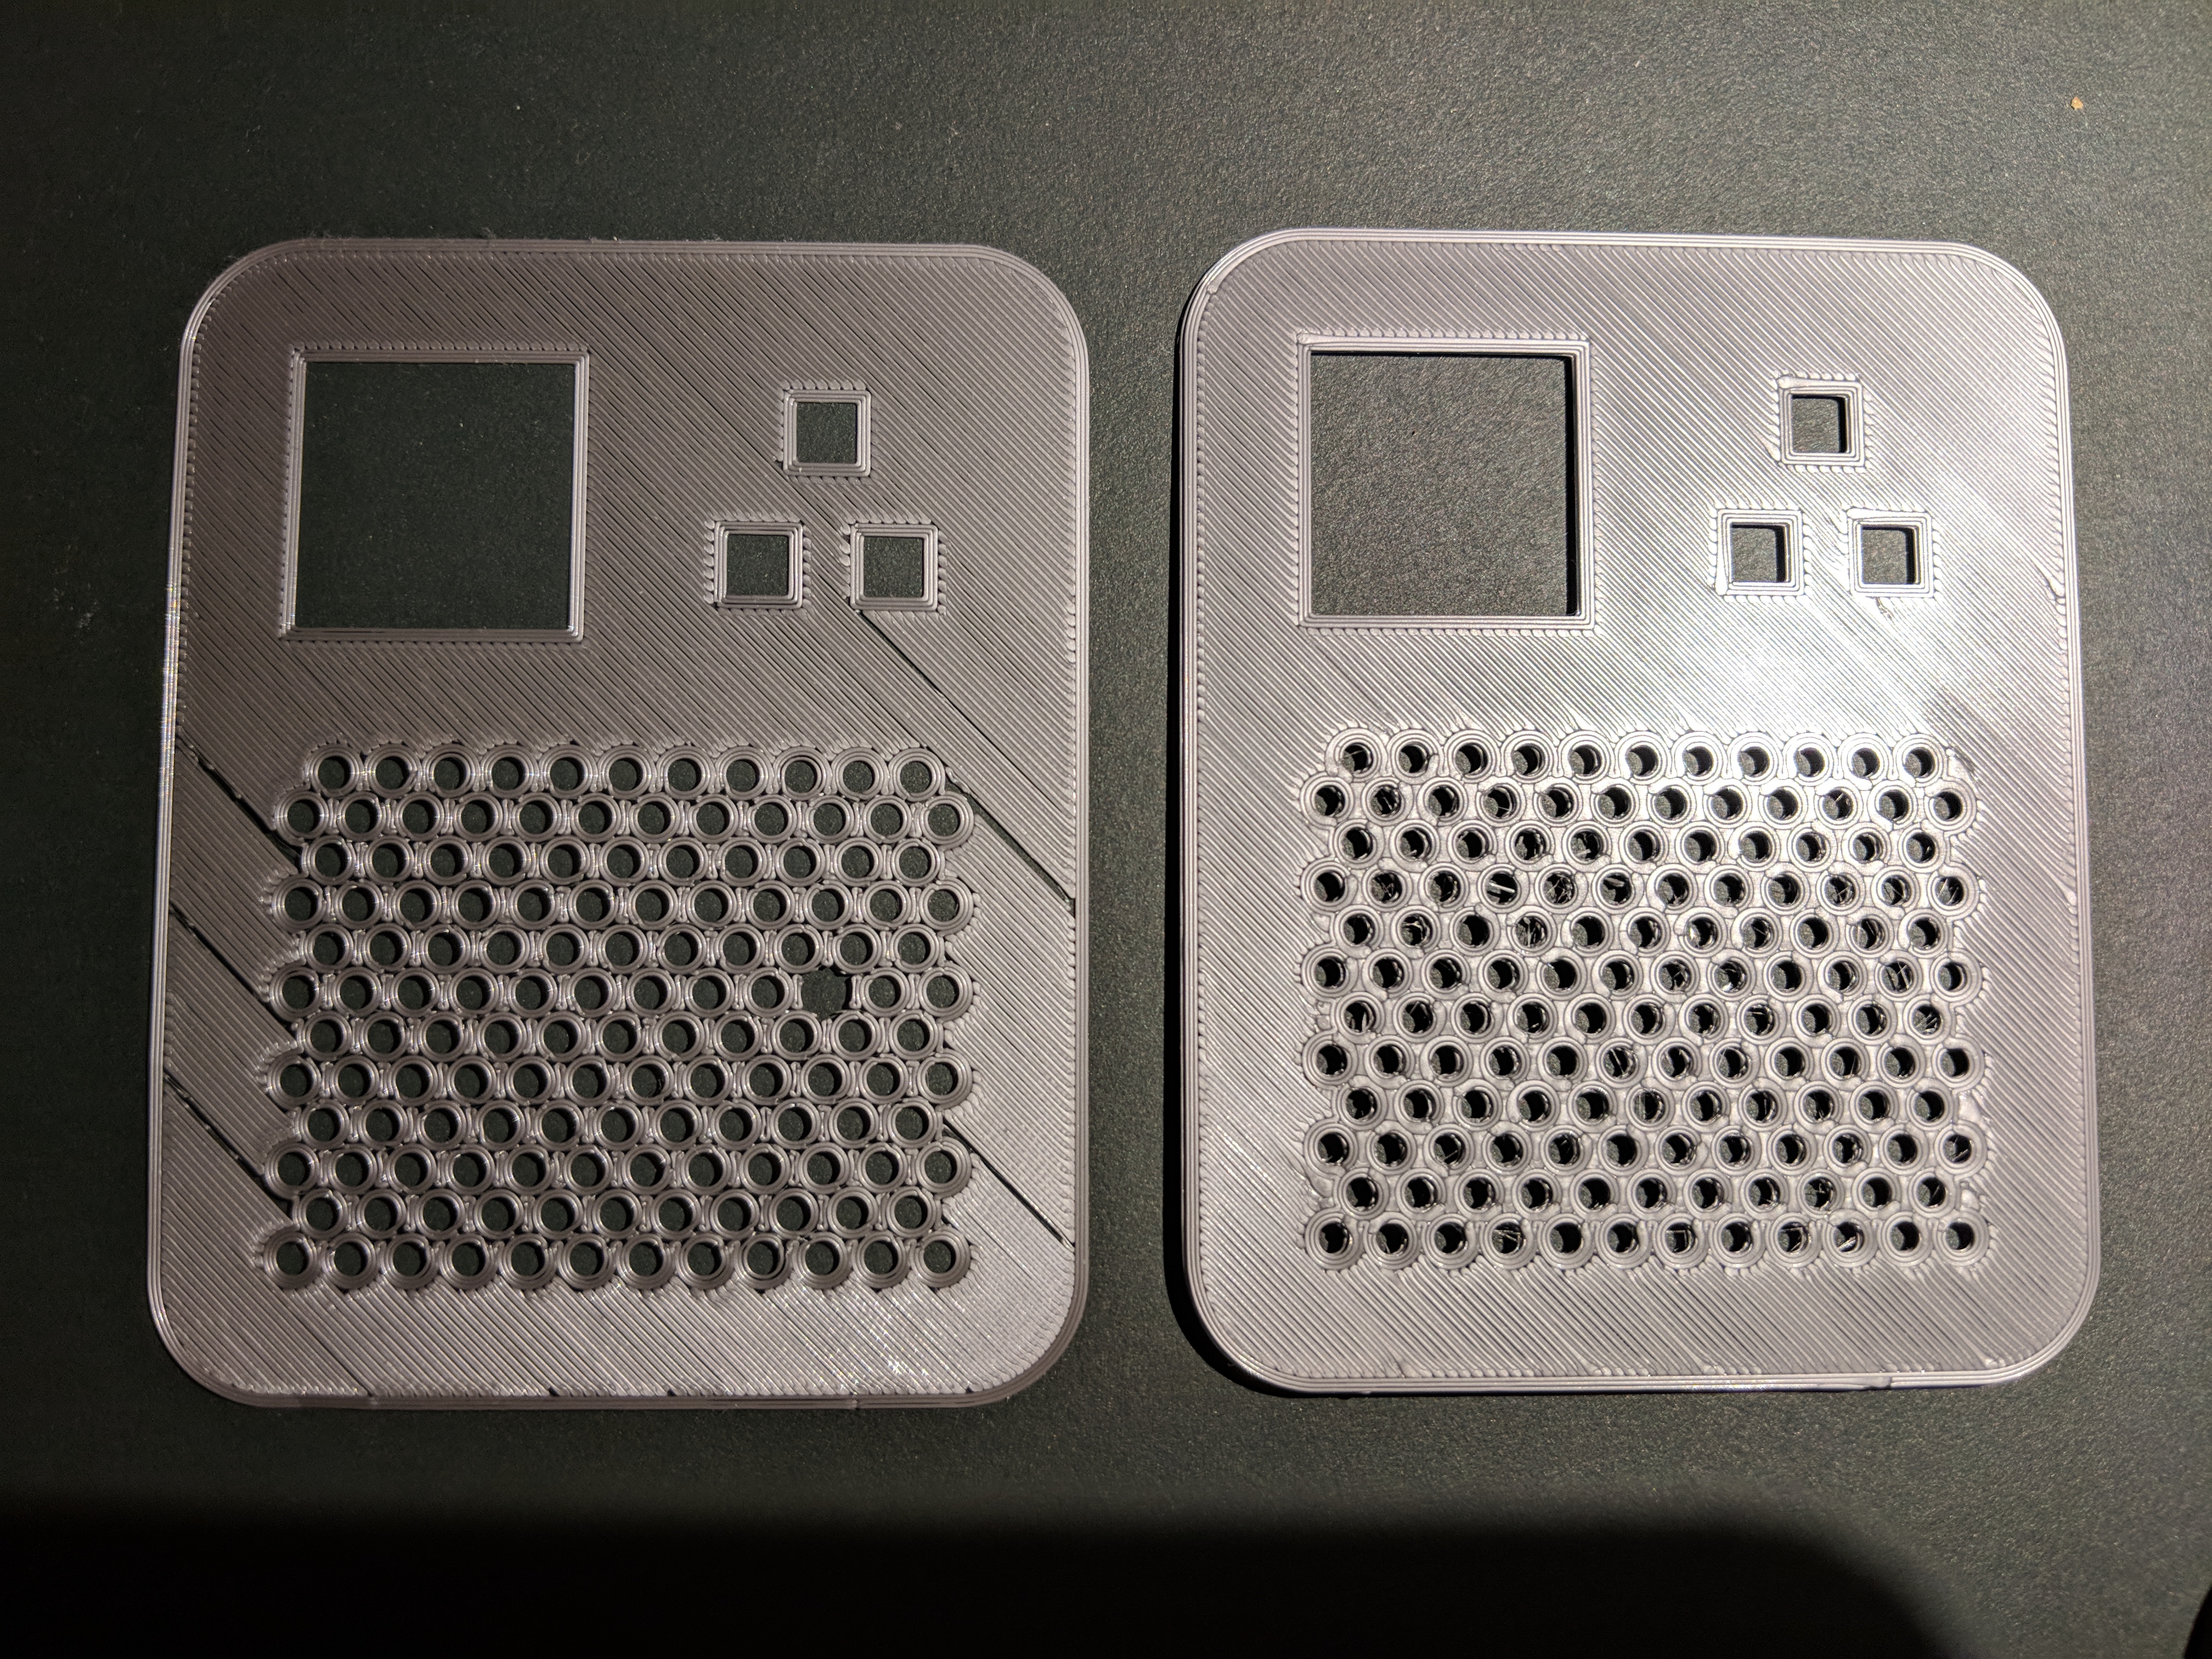
As written above I tried the setting "Extra length on restart" in slic3r. This fixes the issue with the missing lines in the infill! First I set it to 1mm (way too much) then to 0.25mm (still visible blobs after travels) finally to 0.1mm. The missing lines were fixed with any of the settings; so I can probably still go lower. Here is the result compared against the print without the "Extra length on restart":
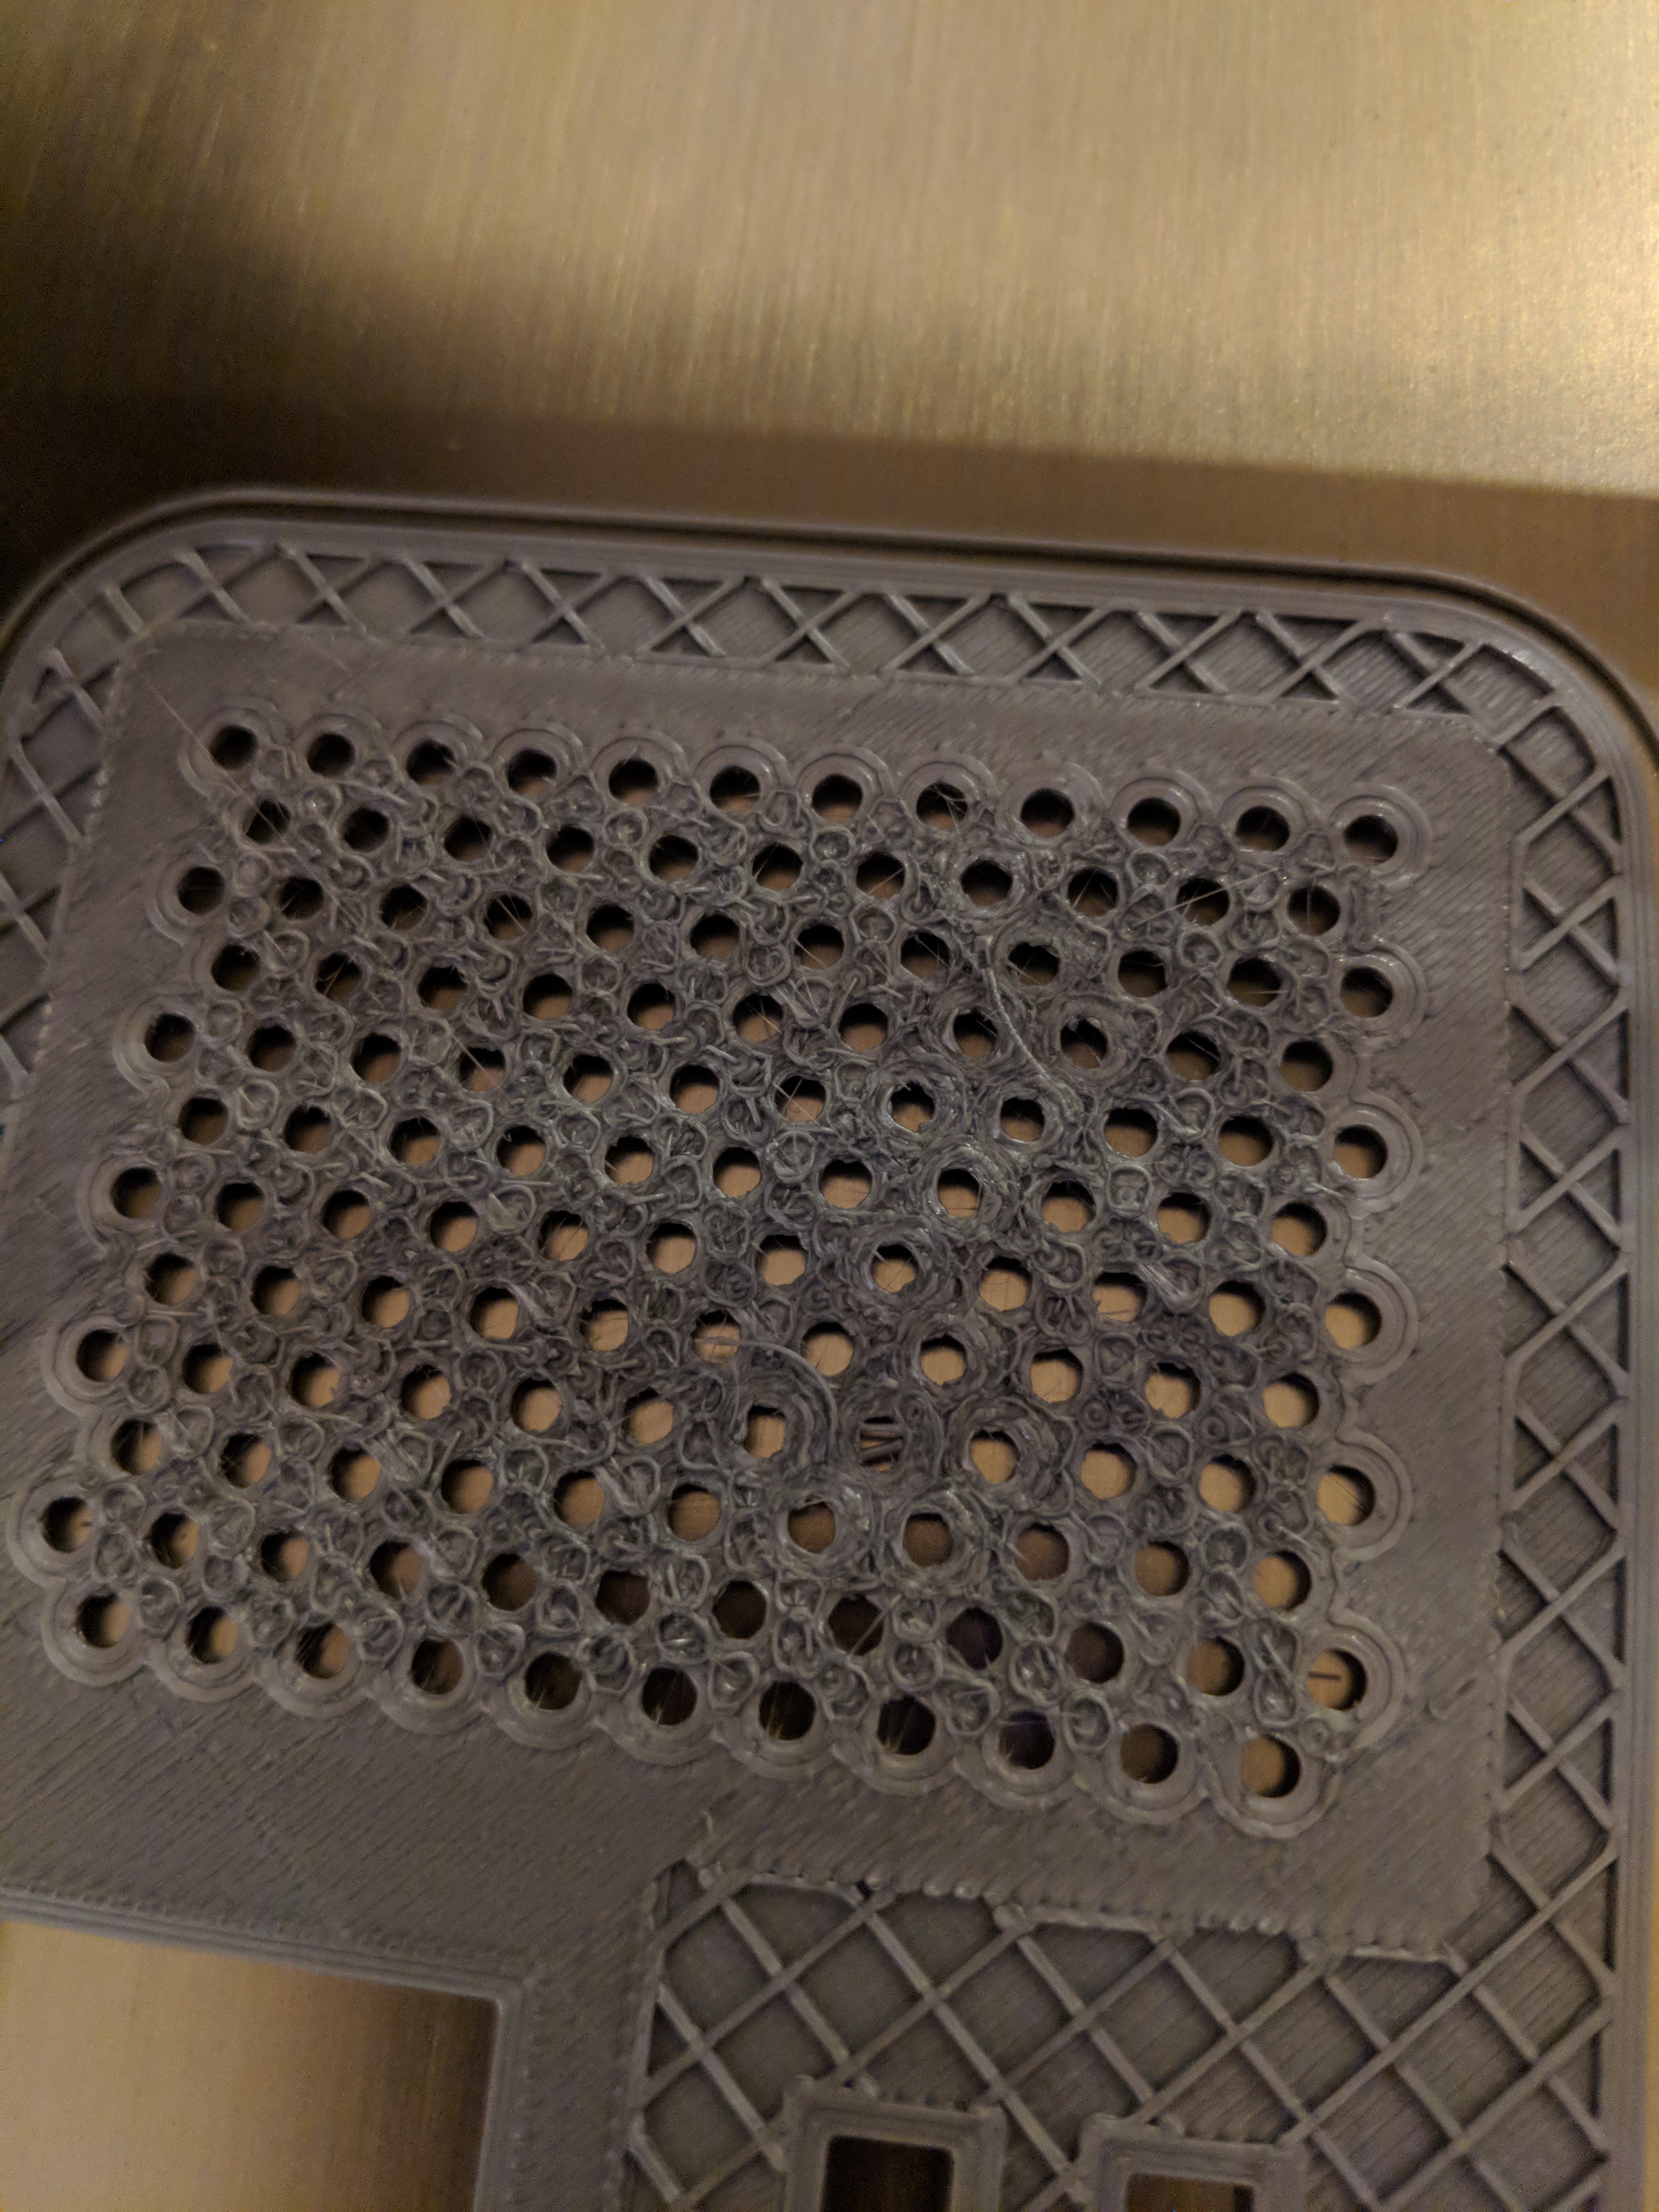
Unfortunately this lead to the next problem:
There is a lot of traveling between the grid holes. So the extra 0.1 mm gets added a lot. The extra material accumulated and eventually the crash detection triggered. So the "Extra length on restart" fixes one issue and causes another. Well, I guess. Never printed the higher layers before. Tomorrow I'll do the calibration steps and try with lower settings for "Extra length on restart".
Re: Problem with first own print
Hi everyone,
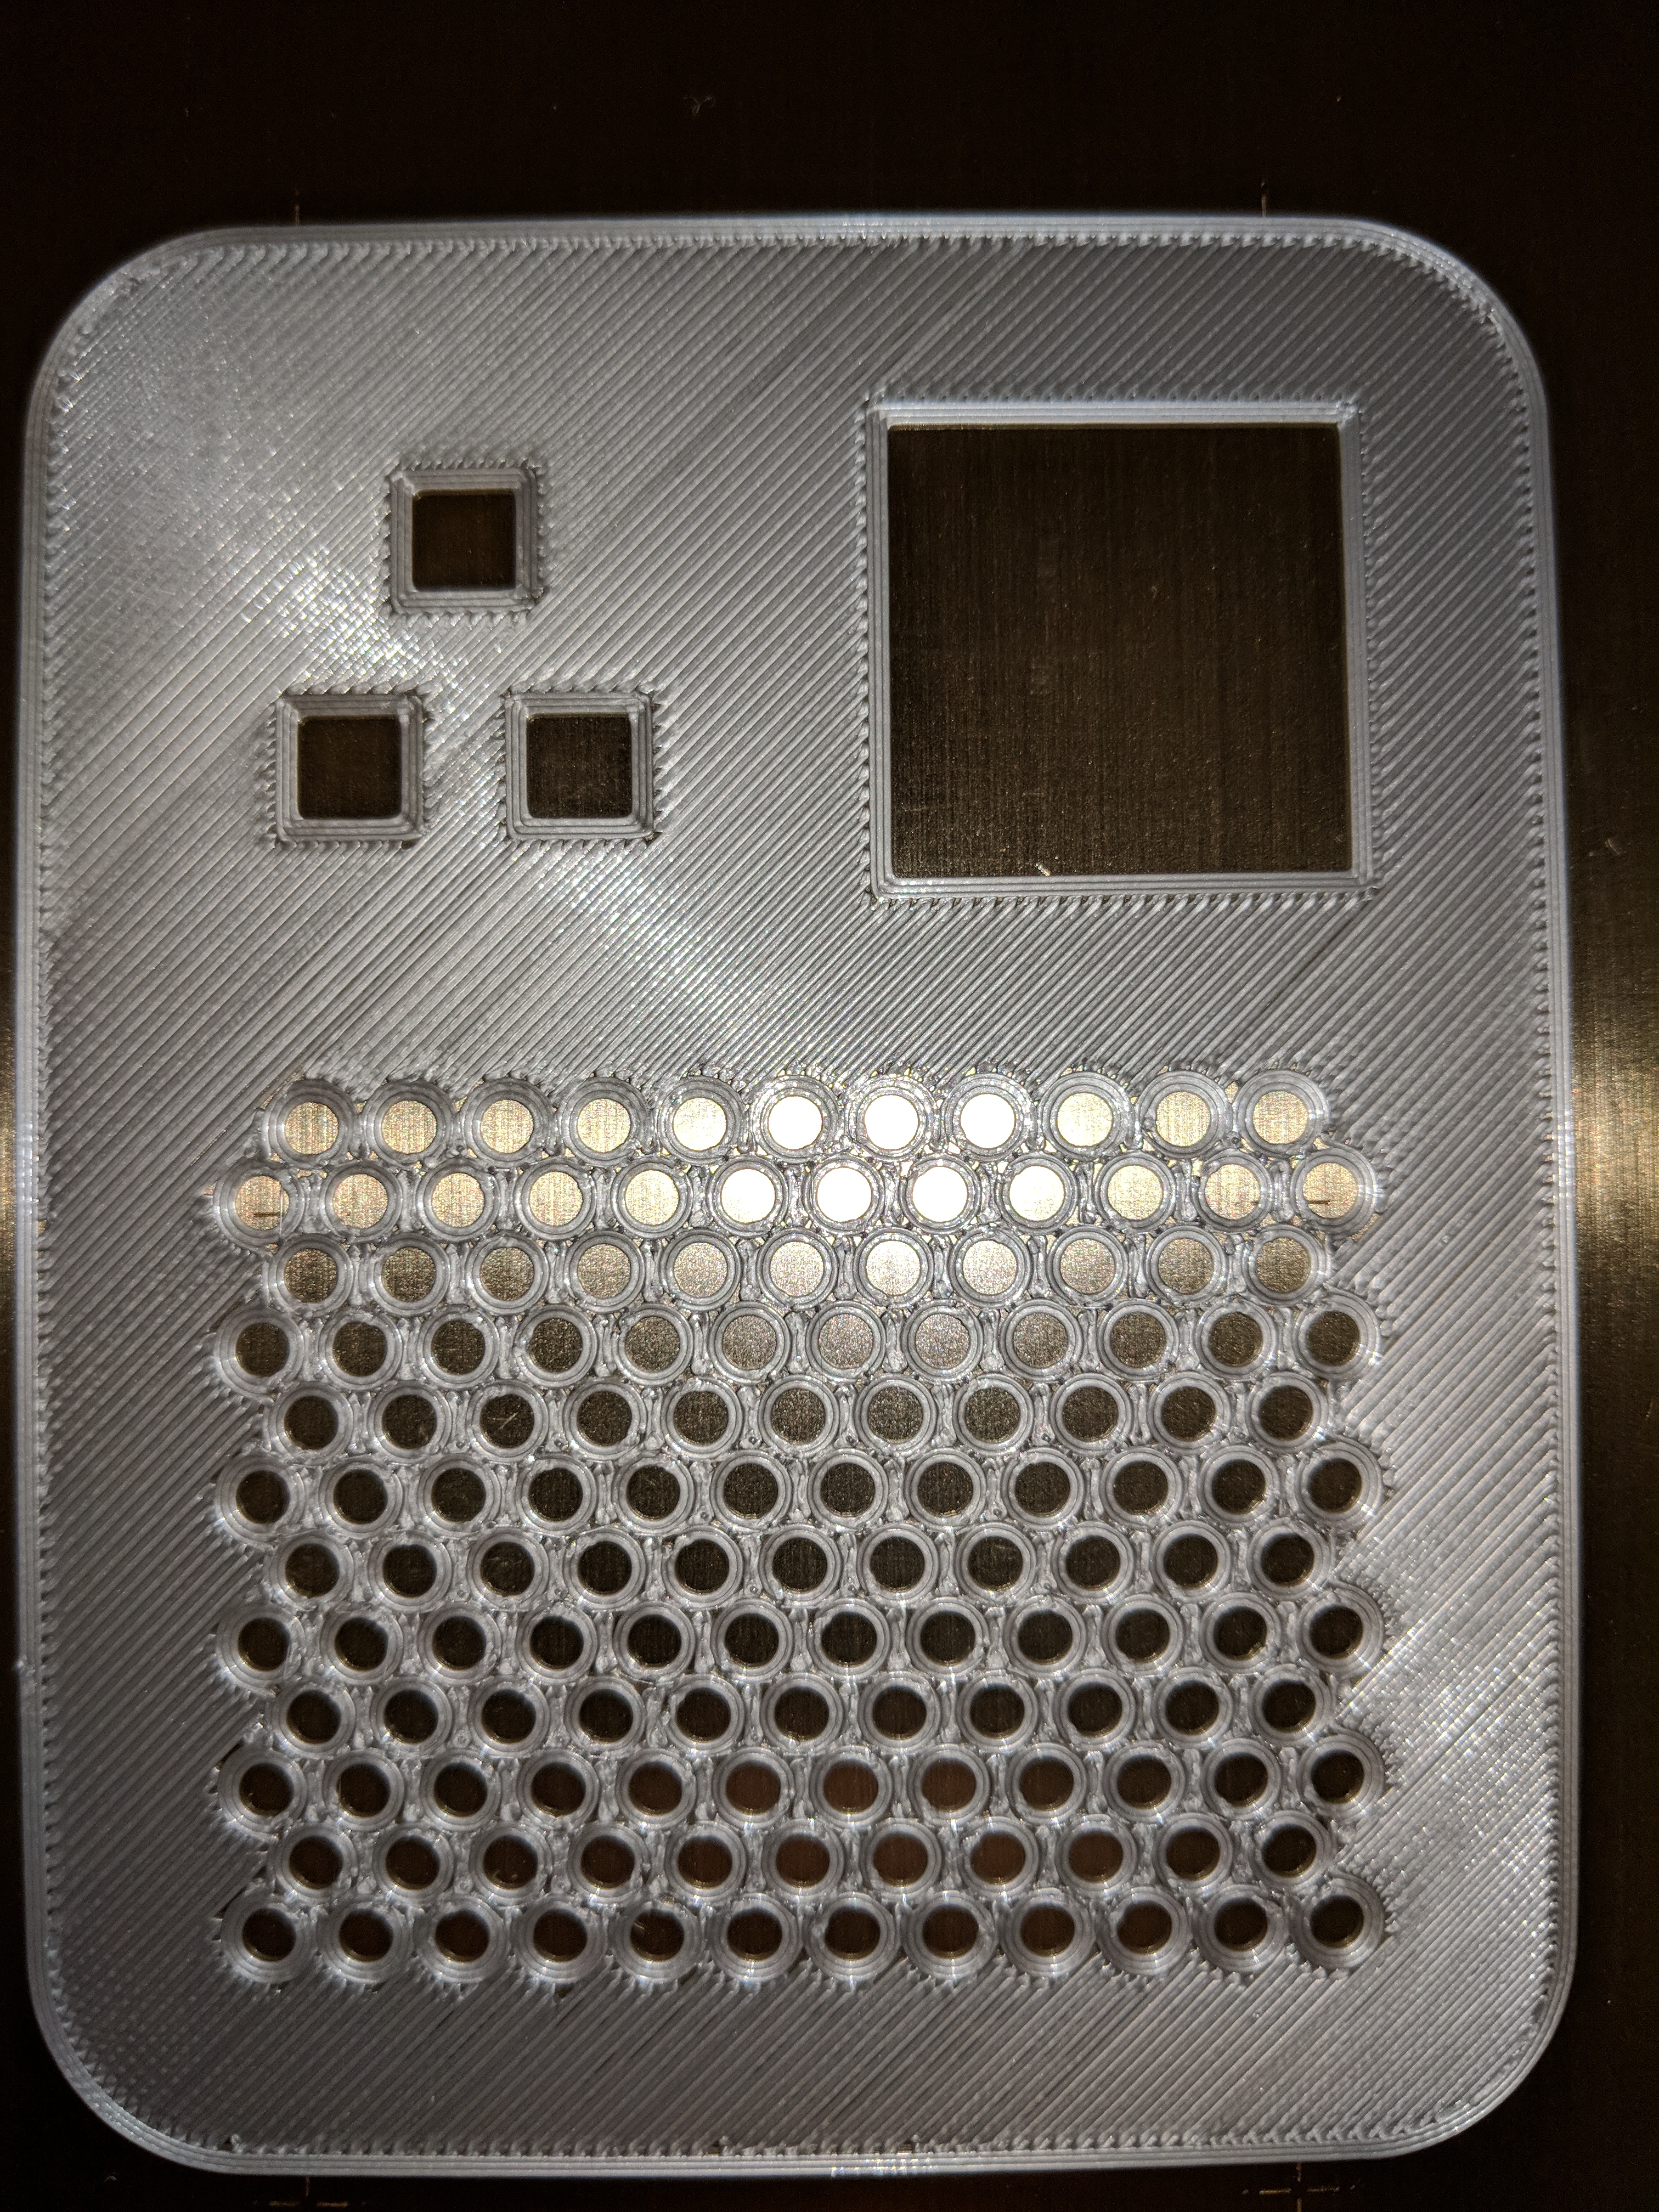
I spend more time than I planed printing rectangular patches :). I tweaked the bed level correction and was able to get some clearner and more even first layers:
The "Extra length on restart" seems necesary; if I remove it there are missing lines again.
@Gaston: What have you used the "bed level with Octoprint plugin" for? This plugin merely seems to visualize the readings from the induction sensor. The values vary from 0.07 to 0.42mm for me. What do I make out of this?
Re: Problem with first own print
You are correct. The plugin is a visualizer of information that the printer captures. We use this information to know how leveled is the bed and know which corrections we can make to the bed. The goal is to get as close as to 0 as possible. The record I think is in 0.03 but we know that it is very close to the margin of error of the measurements. I use it to get a variance of no more than 0.15 which is still a lot but in my case it is on an corner so I try to not print there. The firmware should be able to balance things with that variance (I think). Maybe, depending on how much OCD I want to be, I might try to level that corner. The rest of my bed is pretty much leveled.
