Problem printing a thin walled hollow cube
Hi guys,
Been printing away for a few months now with no issues other than the standard learning curve.
I'm having a strange new issue now and I'm hoping someone can help out.
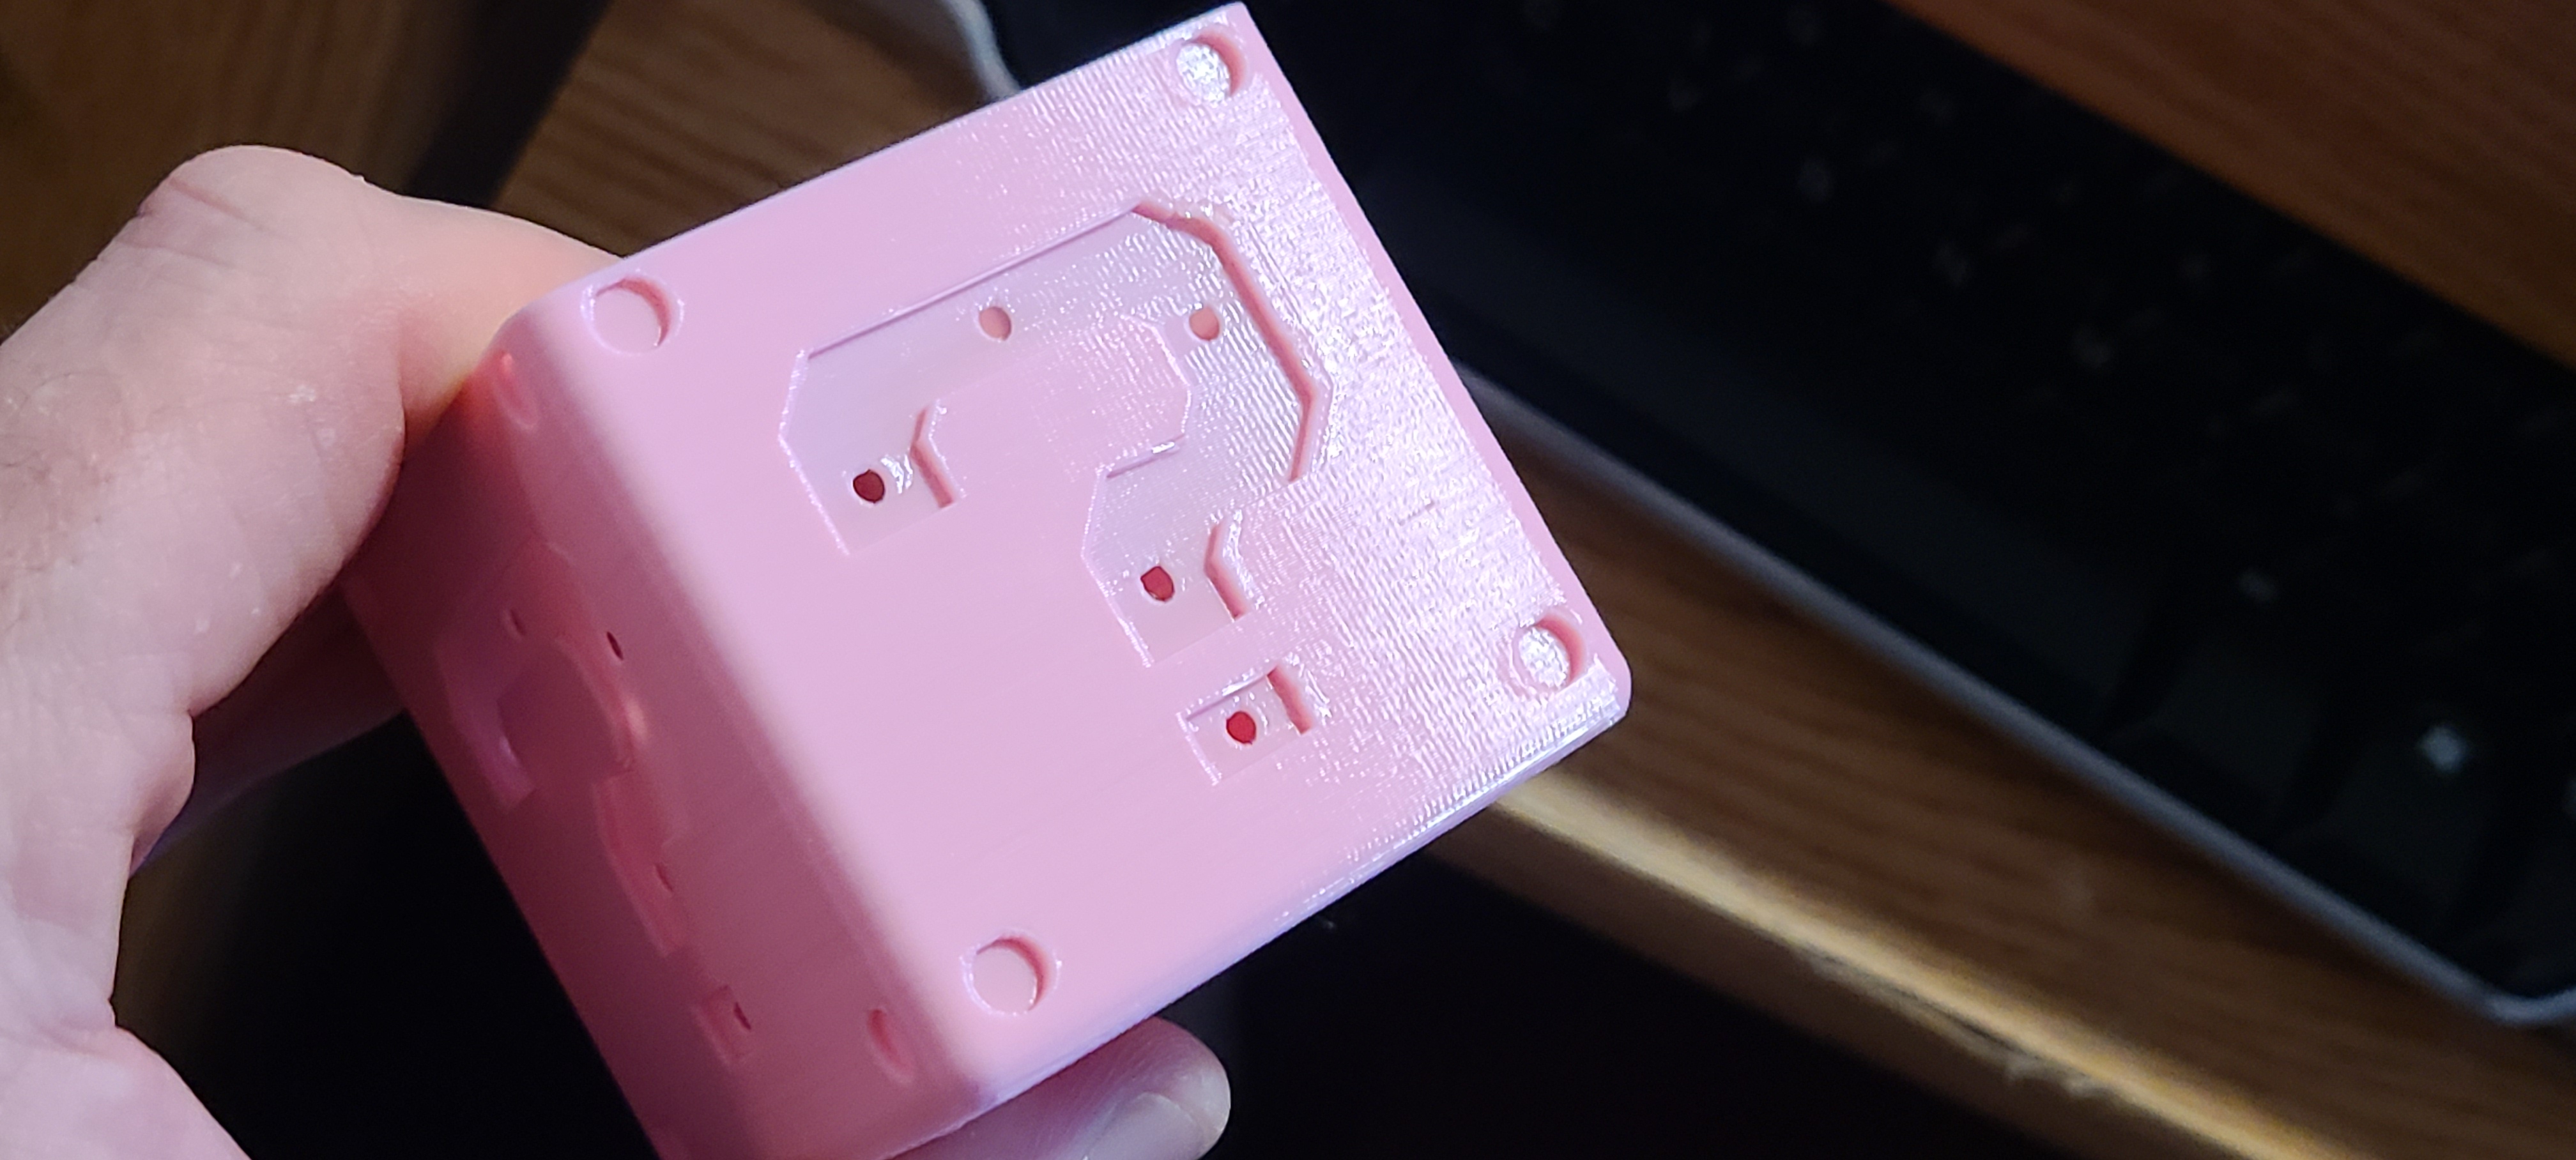
I am printing these little hollow cubes. The wall thickness is 1.75mm. Behind the question mark, the wall thins to 0.5mm so I can flush mount the white inserts. I am printing with a 0.4mm nozzle on a MK3S+. I am getting these variations in the wall surface now that really ruin the print.
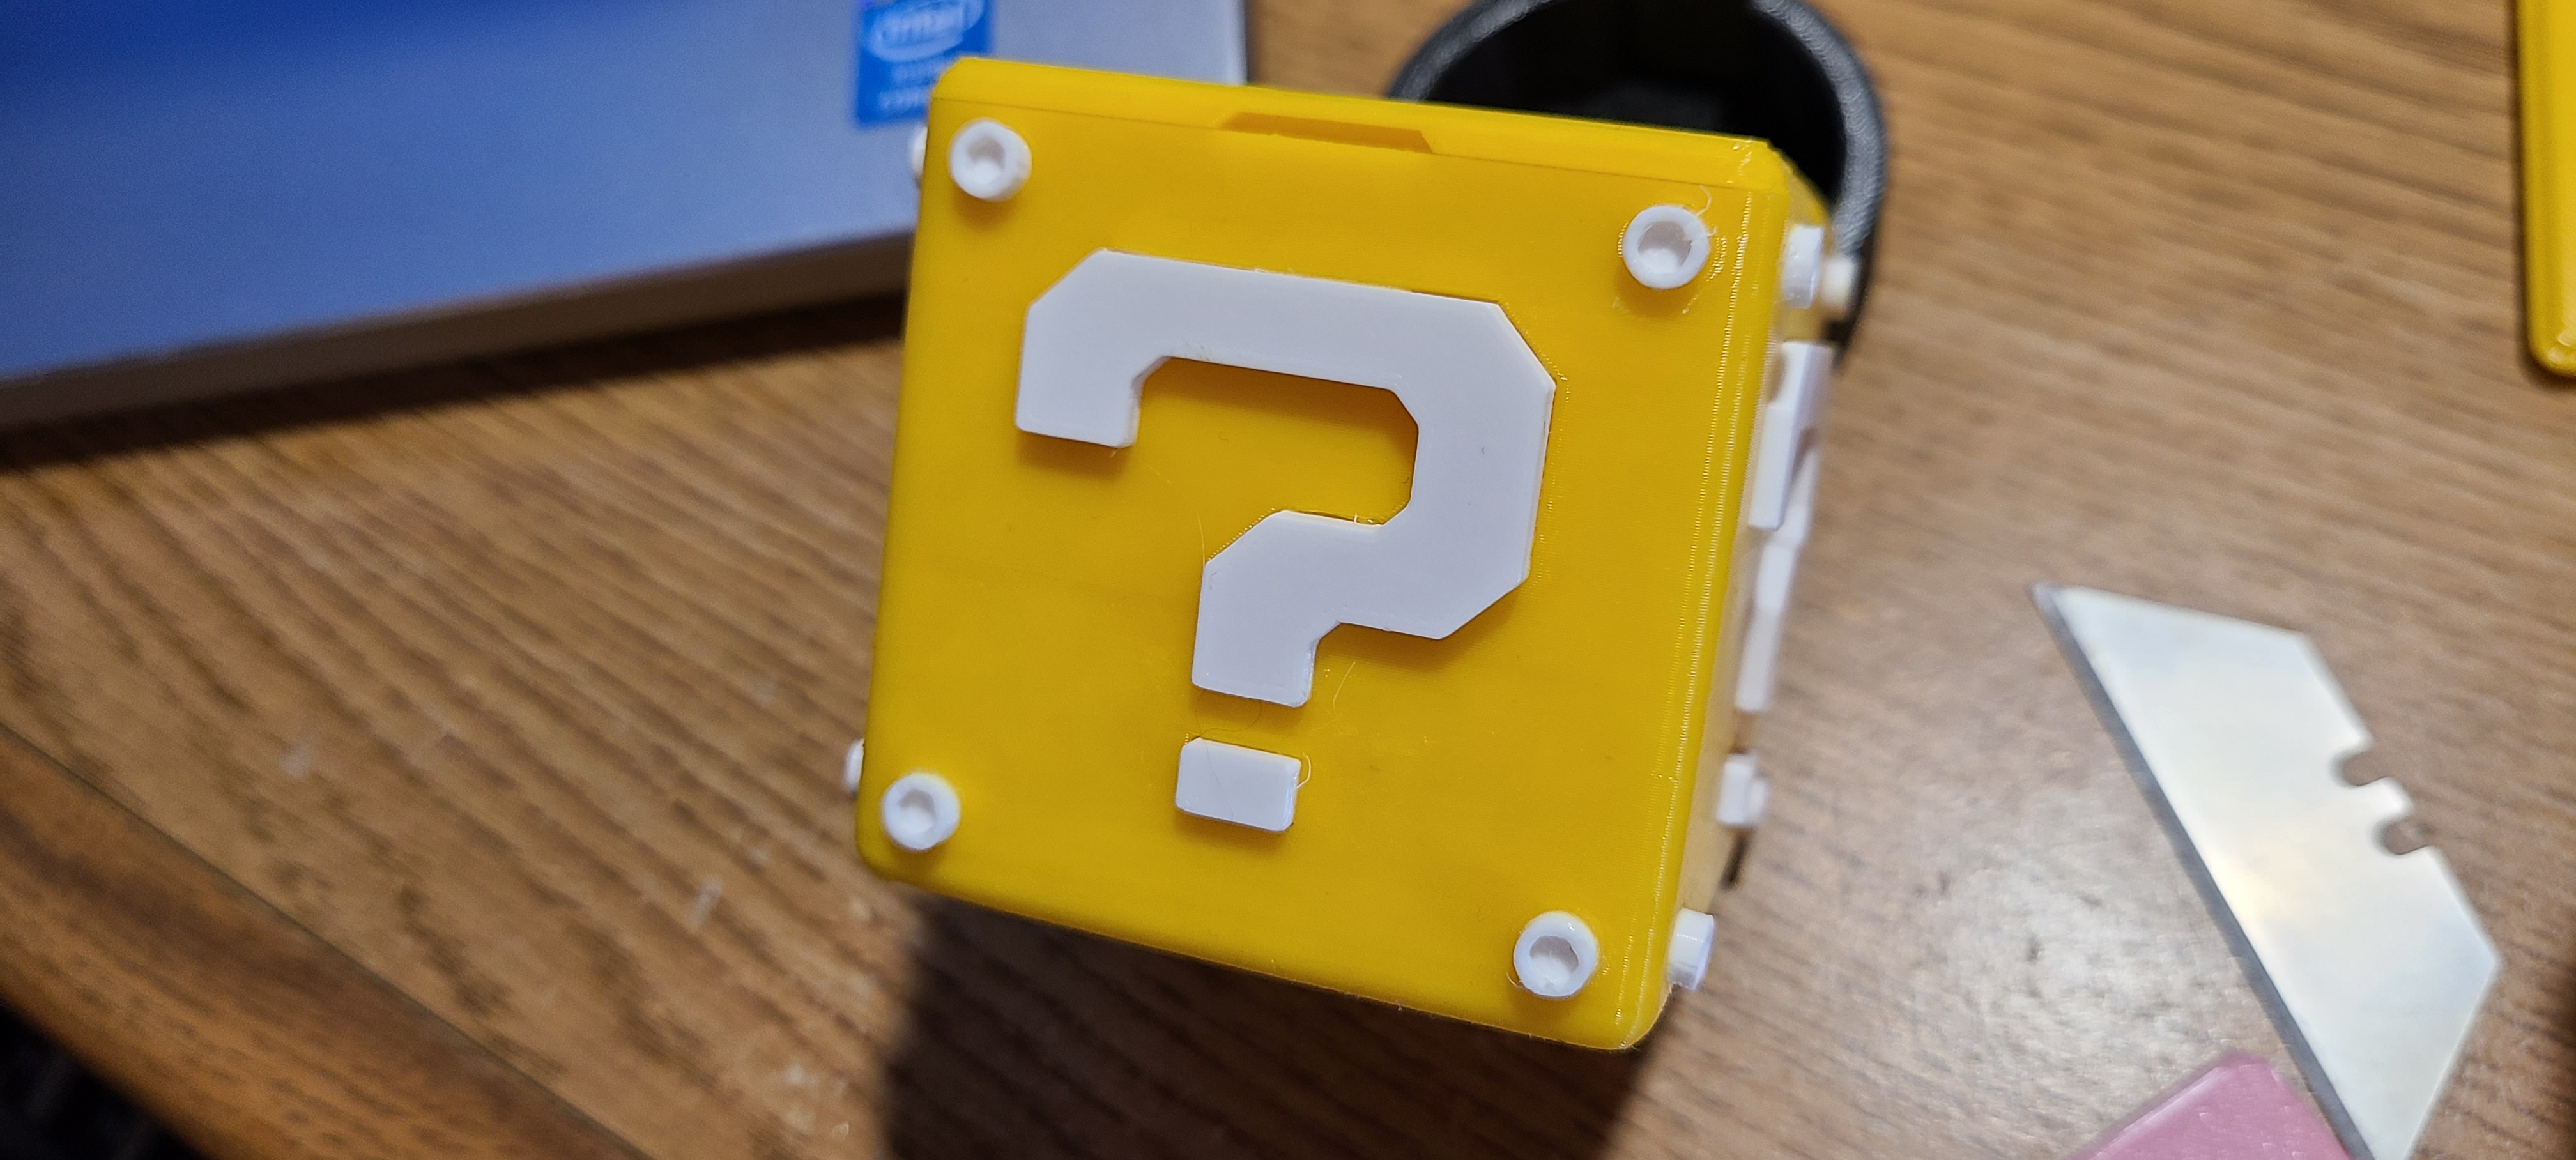
The pink cube is the hollow one with the 1.75mm thick walls. For comparison, the yellow cube has 3mm walls and has infill about 3/4 of the way up, and comes out great. Filament for both is Overture PETG, I print with this all the time and have it dialed in nicely, except for this print apparently 🙂
Ideas anyone?
Thanks!!!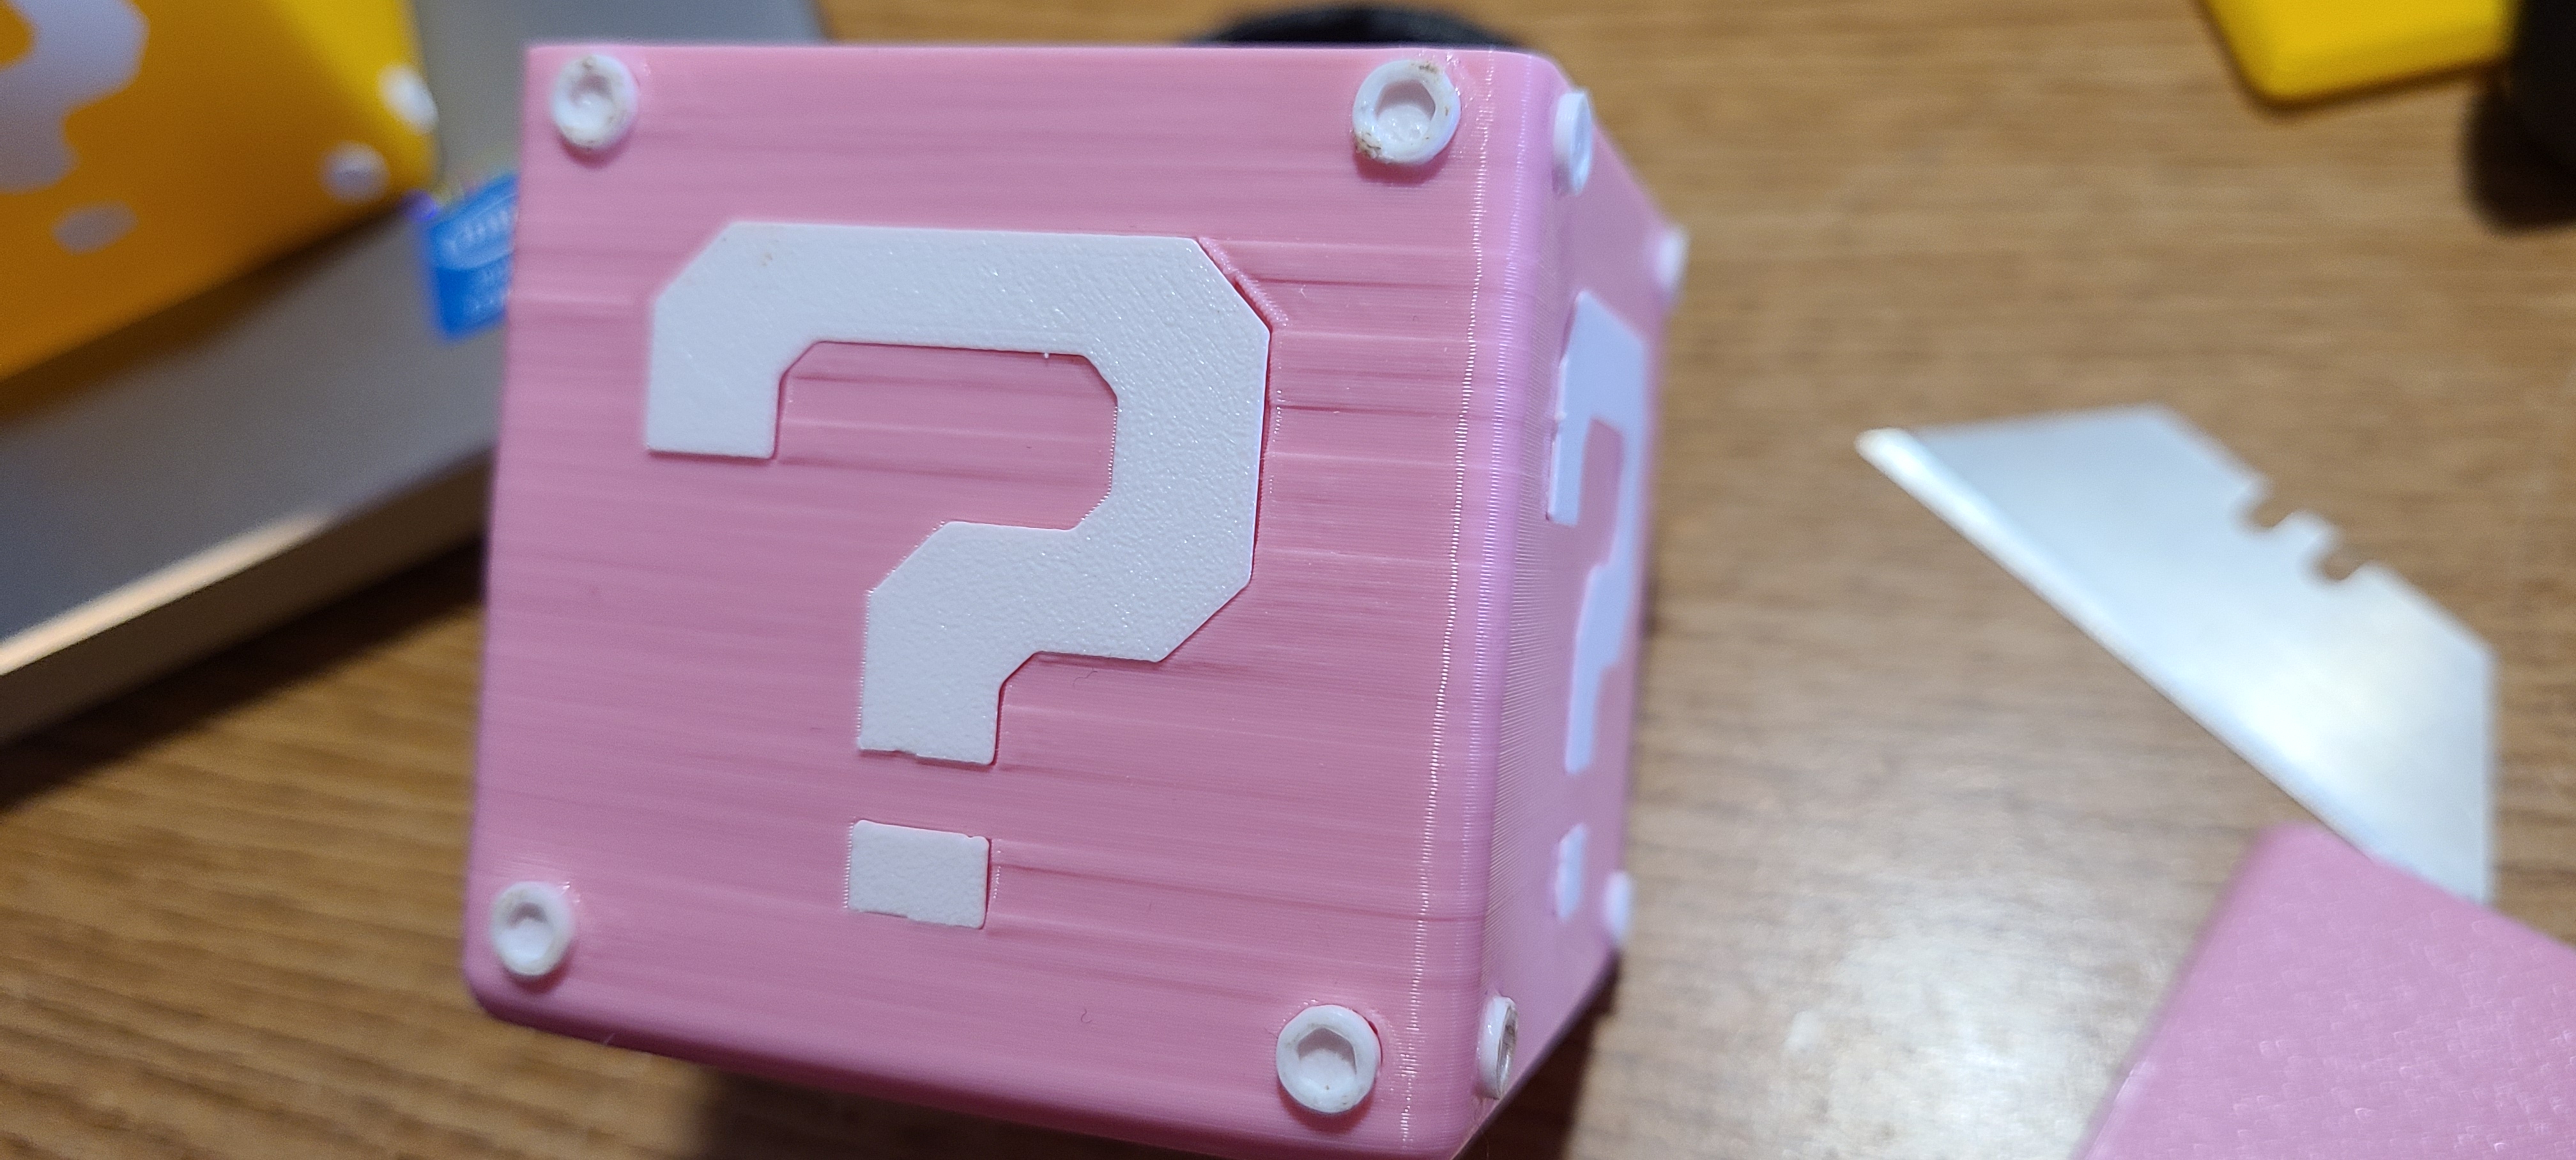
RE: Problem printing a thin walled hollow cube
Why so thin? It's hollow. Make it thicker where it is thin.
The banding sure looks like you have belt tension issues.
RE: Problem printing a thin walled hollow cube
-
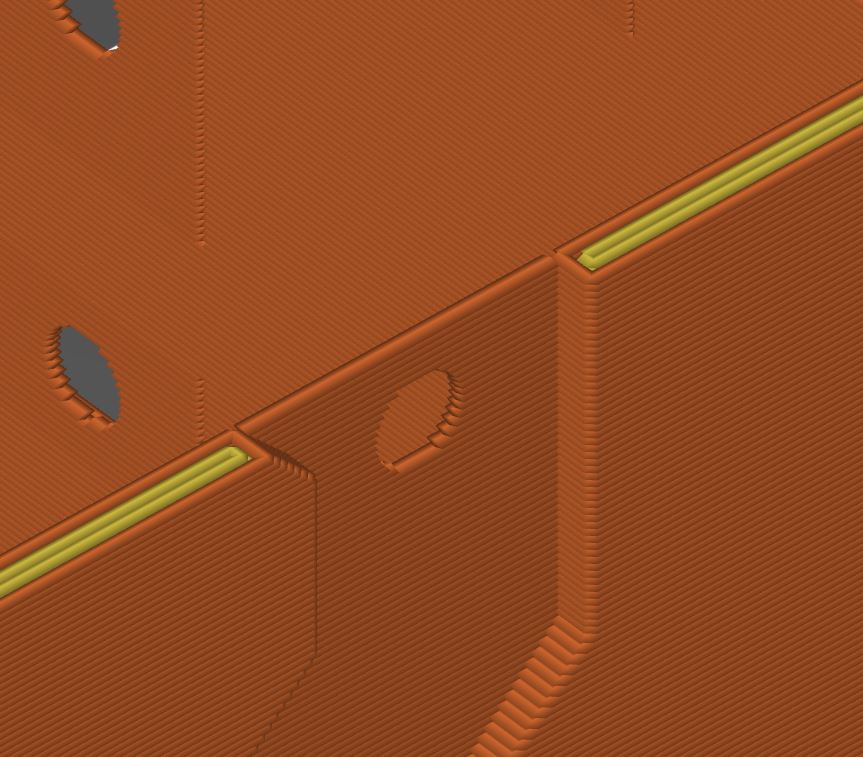
From solid infill to sparse
-
From sparse infill to gap fill
-
Be sure you're not just seeing the effect of minor warping/lifting/curling along edges or in corners. This can really throw troubleshooting off. Rotate the print and verify the problem occurs in the same place.
-
Slow down external perimeter speeds (and all speeds in general). If the nozzle is moving a bit too fast, you get slight under extrusion on some layers. These are apparent as adjacent layers print with slightly different extrusion rates. I use 25mm/s for external perimeters when appearance is important.
-
Calibrate your extrusion multiplier for each filament. Any slight over or under extrusion can produce very small but noticeable variations in layers with different features (e.g. infill, gap fill, top solid infill). The closer your slicer settings match your actual printer and filament, the more accurate the gcode will be.
-
Calibrate linear advance (LA) for each filament. LA adjusts the flow of filament to compensate for acceleration and deceleration. If it's not right, you may see artifacts even away from features such as bumps or hole on the same layer. In some cases, a hole on one wall causes imperfections on the far side of the print.
-
Add an external perimeter if vertical walls allow it. The thicker combined perimeter allows the filament flow to even out.
-
Tweak perimeter extrusion widths. The problem can appear when the slicer switches between gap fill, sparse infill, and solid or top infill. If you can find a multiple of perimeter widths that minimizes these transitions, it can work for a specific print.
-
If you are the part designer, make vertical free-standing walls thicker. IME, at 1.5mm thick, the problem is less noticeable. You can try for a multiple of extrusion widths, although be aware the PrusaSlicer does some internal calculations for overlap between extrusions that can throw you off.
RE: Problem printing a thin walled hollow cube
Thanks!!
To answer the question as to why so thin, they will be lighted on the inside and I need a thin wall to allow them to "glow". 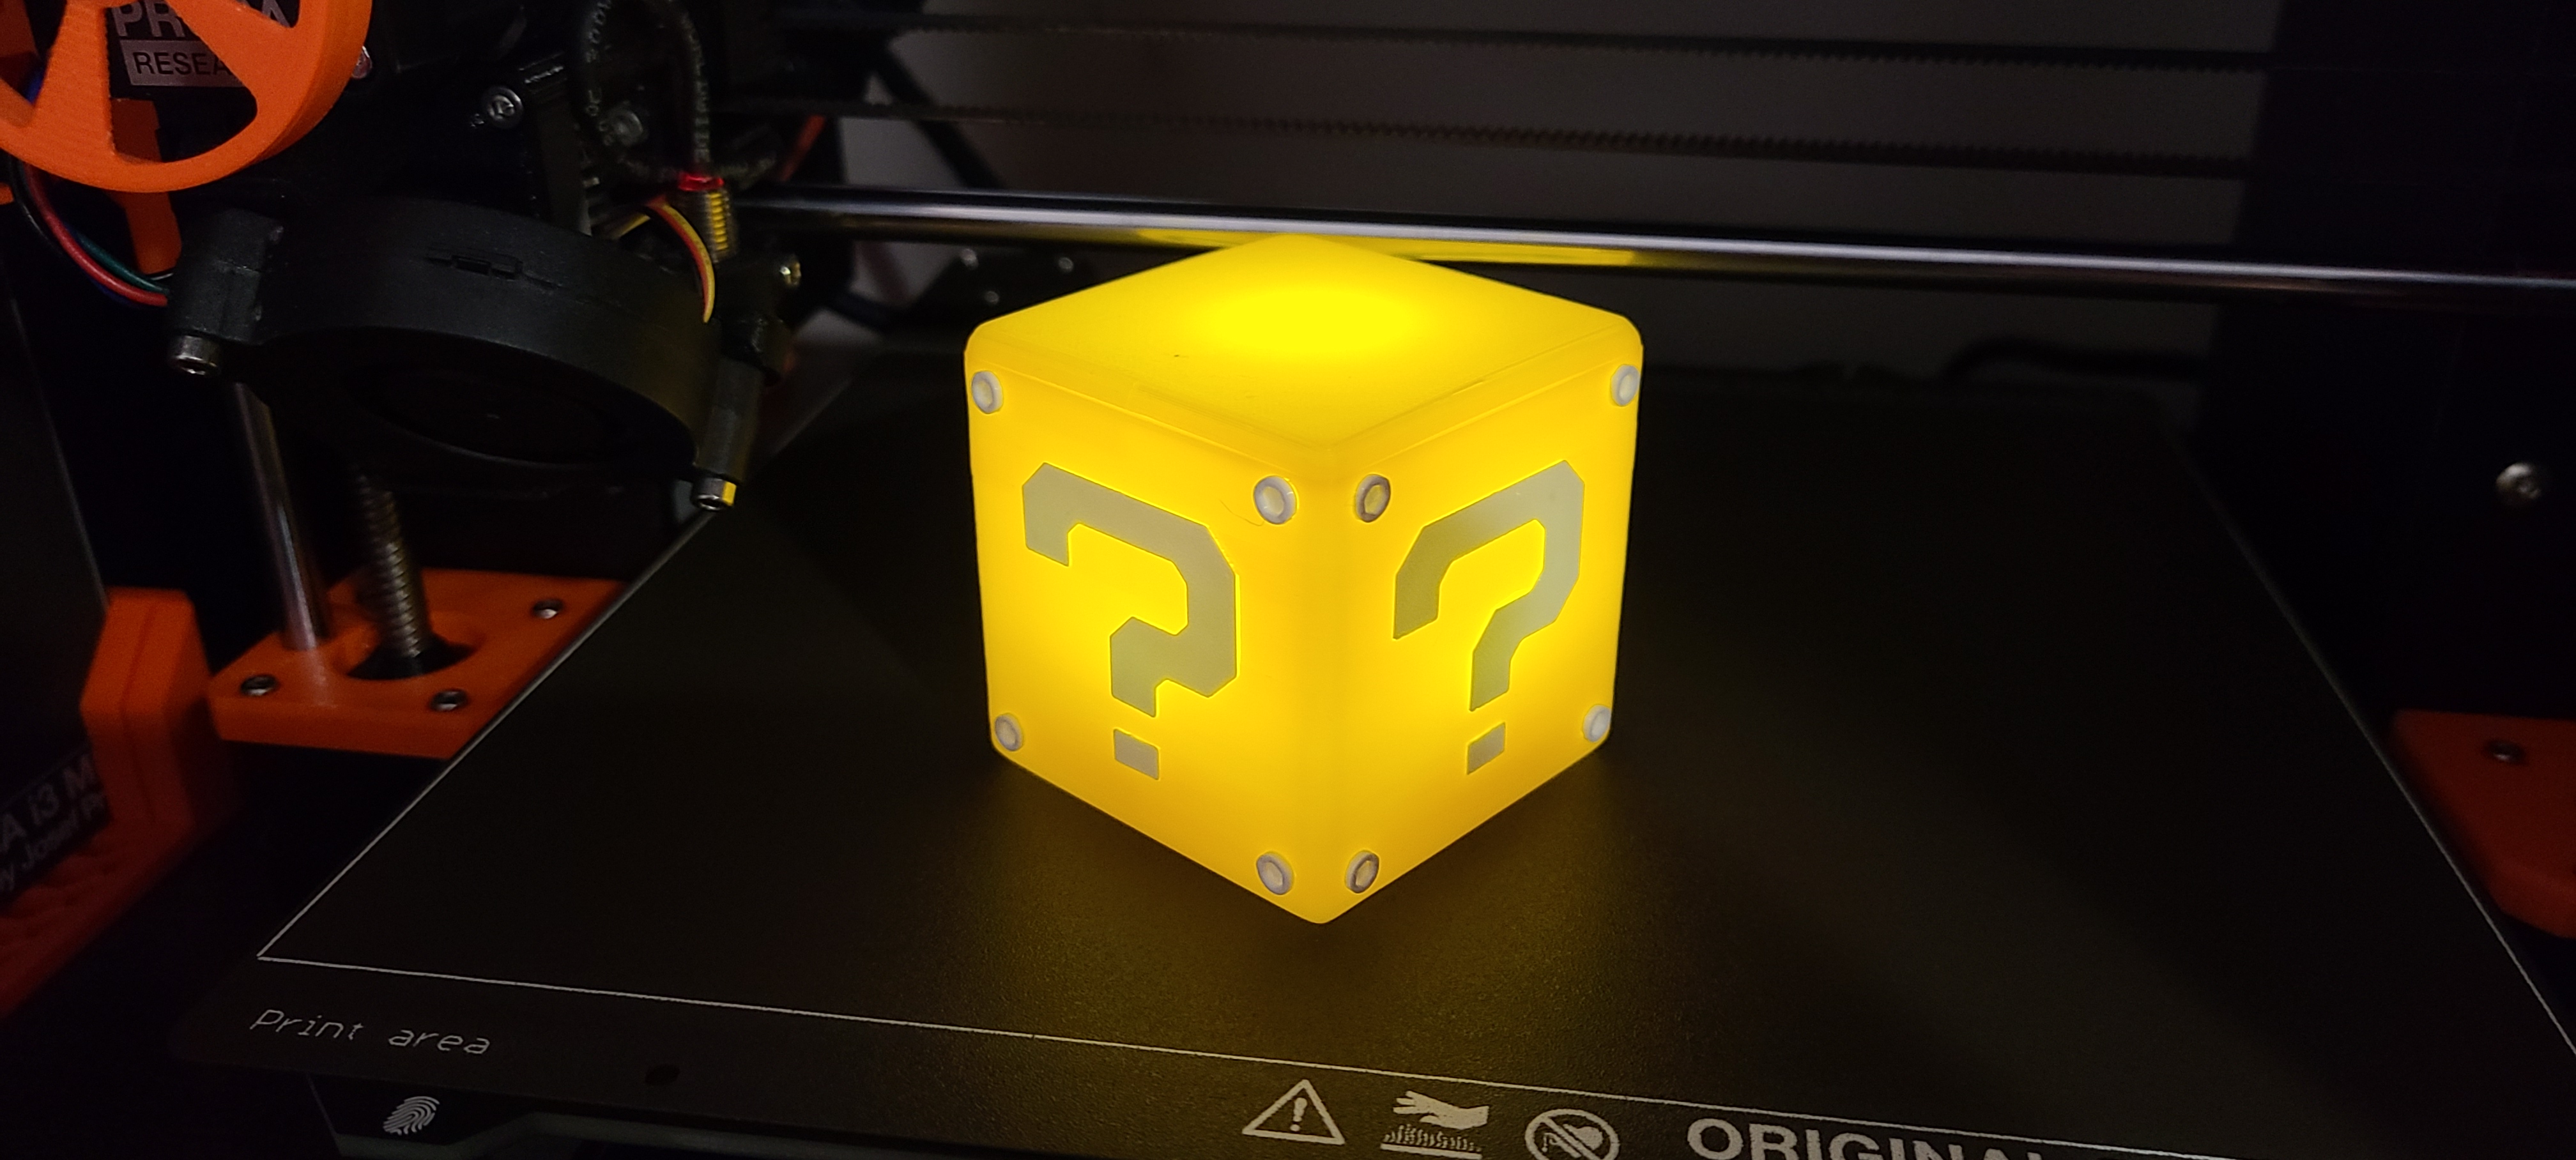
RE: Problem printing a thin walled hollow cube
I am printing these little hollow cubes. The wall thickness is 1.75mm. Behind the question mark, the wall thins to 0.5mm so I can flush mount the white inserts. I am printing with a 0.4mm nozzle on a MK3S+. I am getting these variations in the wall surface now that really ruin the print.
The default extrusion width with a 0.4mm nozzle is 045mm. Your 0.5mm walls are only one strand thick and therefore both fragile and easy to deform.
Any wall thinner than two extrusion widths will only be one strand thick, any less than three extrusion widths cannot be printed exactly to size because both faces must join and there is no room for internal filament. From four or more extrusion widths wall dimensions begin to be reliable. 1.75mm is borderline.
Cheerio,
RE: Problem printing a thin walled hollow cube
Started with the easiest suggestion, belt tension. Printed the prusa tension gauge and my Y tension is below minimum, and my X is right at minimum. Will adjust these and re-print.
Yes, I know the .5mm sections are only one extrusion thick. Dont care about those since they are behind the inserts. I've had good luck with 1.75mm on other prints.
Thanks.
RE: Problem printing a thin walled hollow cube
Walls are 4 extrusions thick and there is nothing funny / different about the tool path where I am having issues, every layer is virtually identical, 2 external perimeters and 2 internal perimeters that all loop back in the same place.
Reprinting now with my newly re-tensioned belts 🙂
RE: Problem printing a thin walled hollow cube
Thank you Dan Rogers. Here is the same cube after just tightening the belts up using the Prusa tension gauge.
And also thanks to everyone else that replied, learned a lot reading through the threads and the replies.
Thanks!!!!!
RE: Problem printing a thin walled hollow cube
Now I can see your design 🙂 Good work!