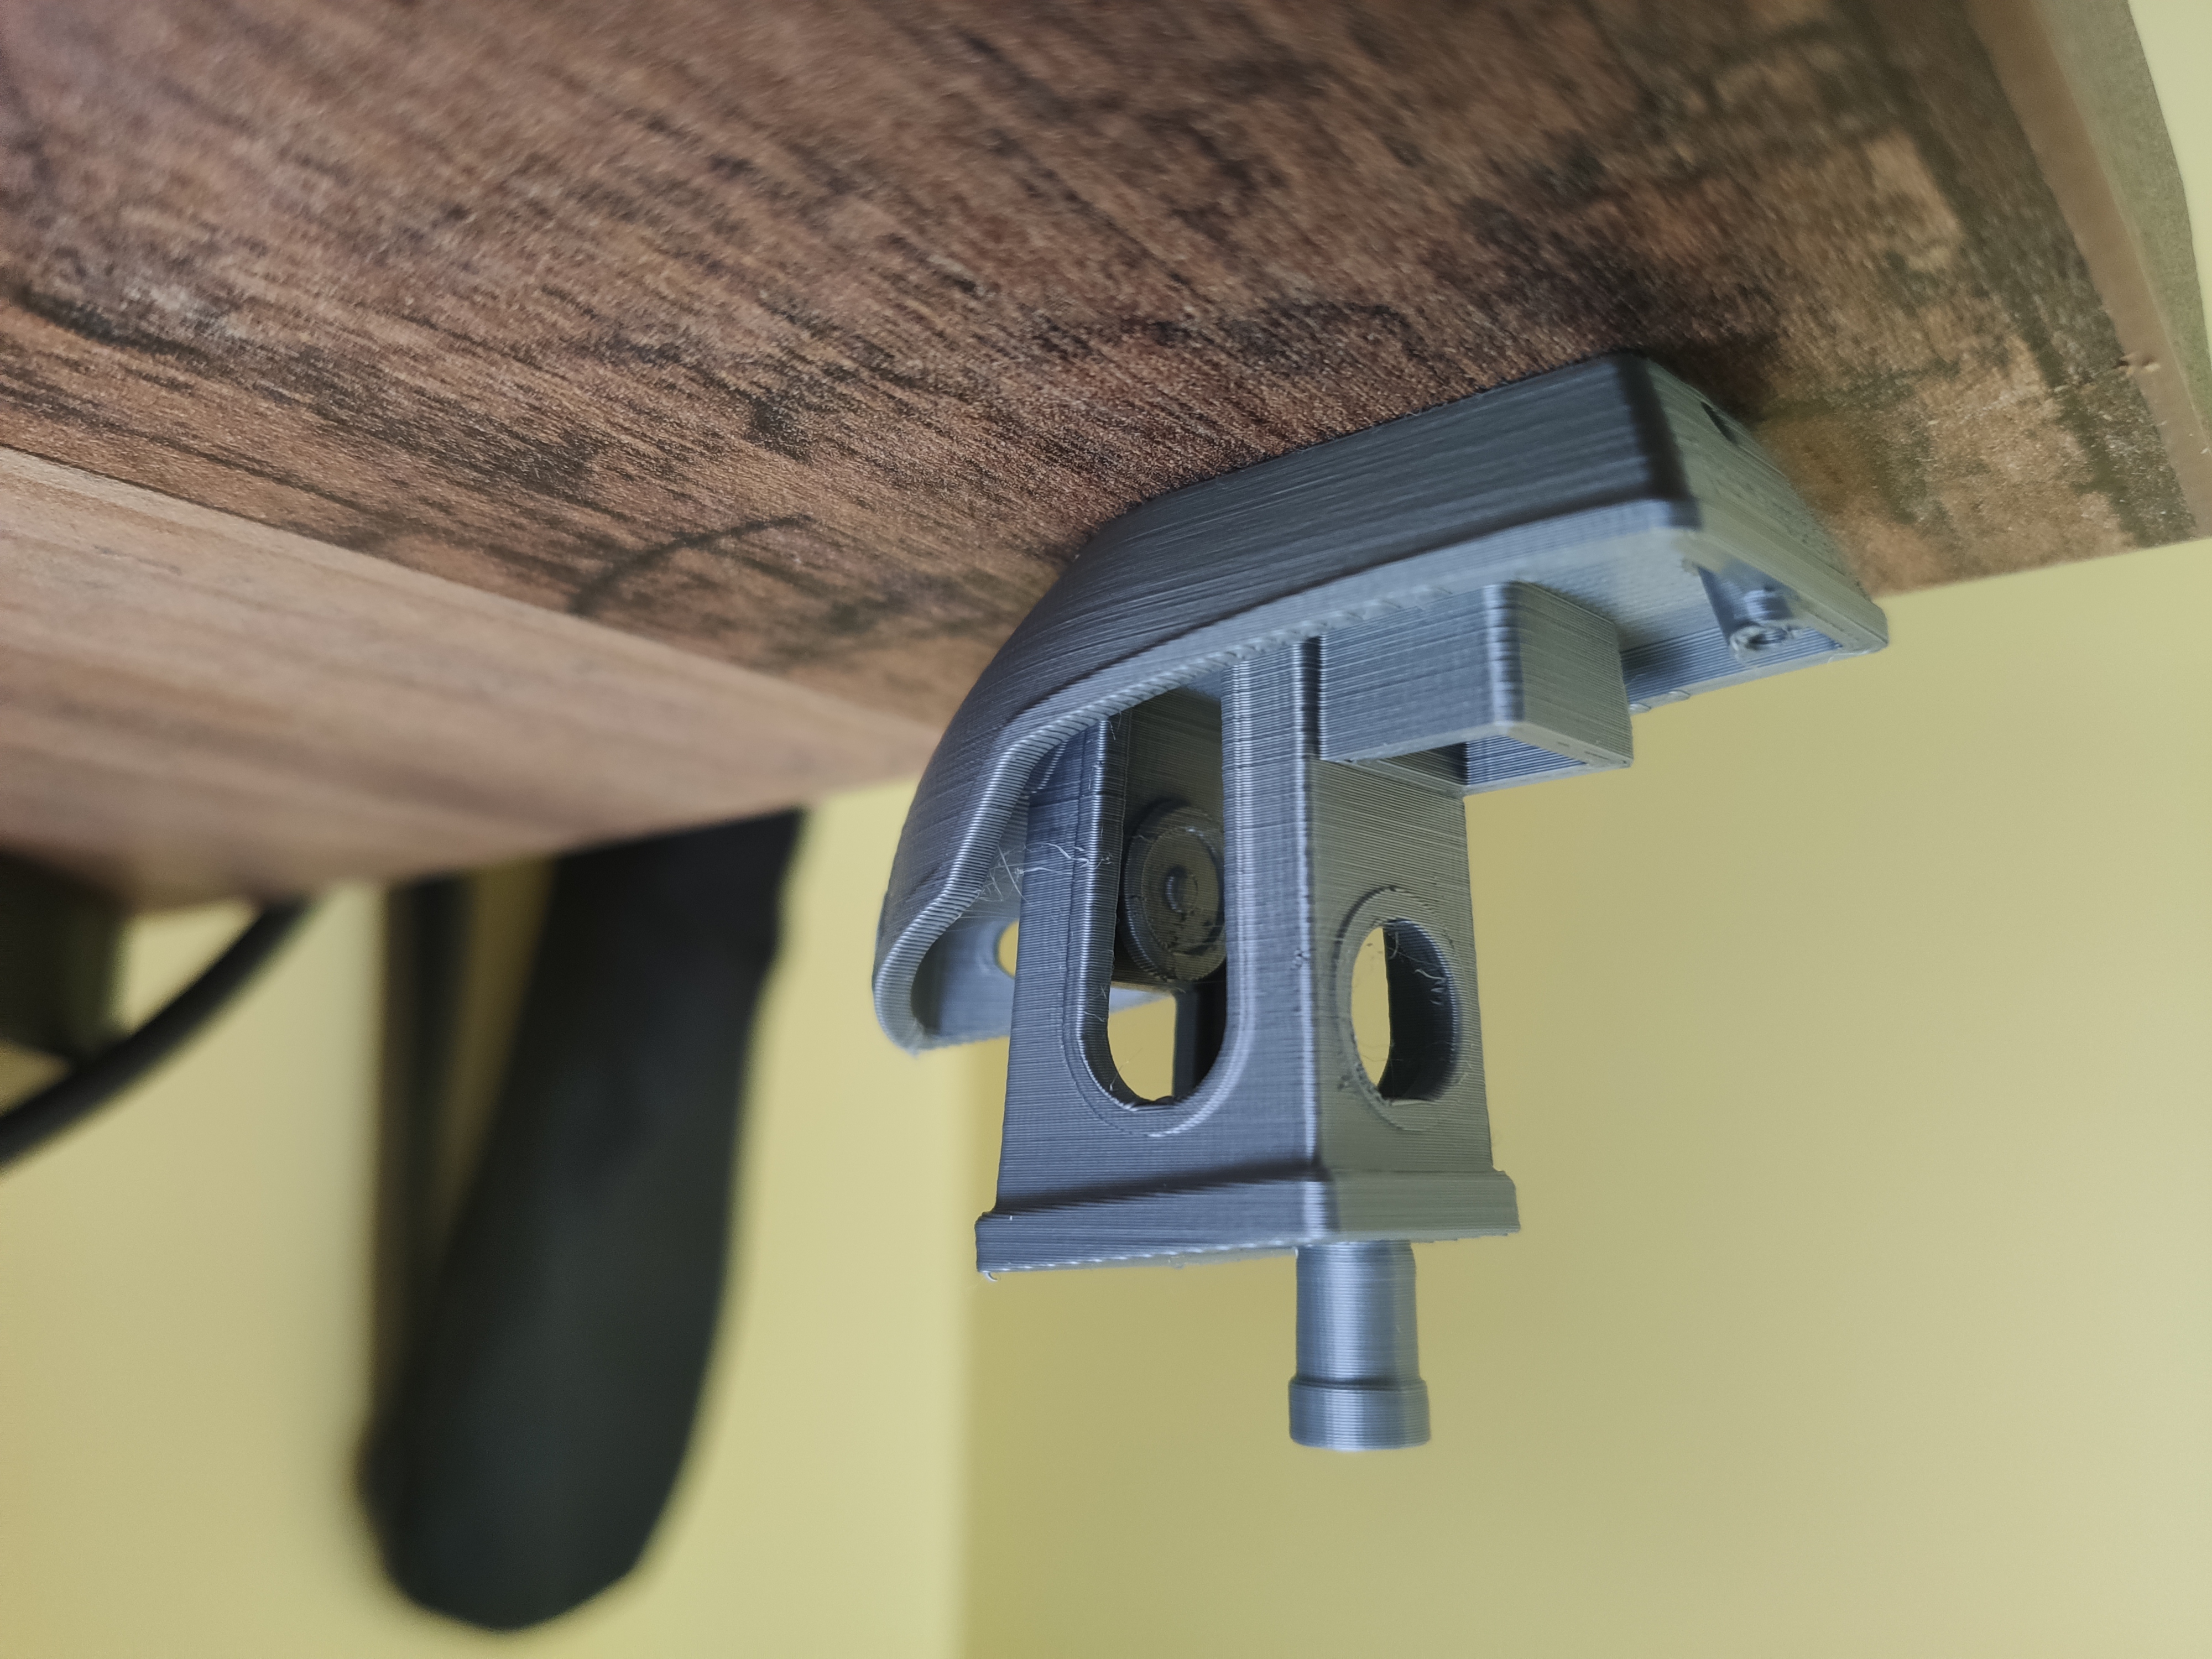
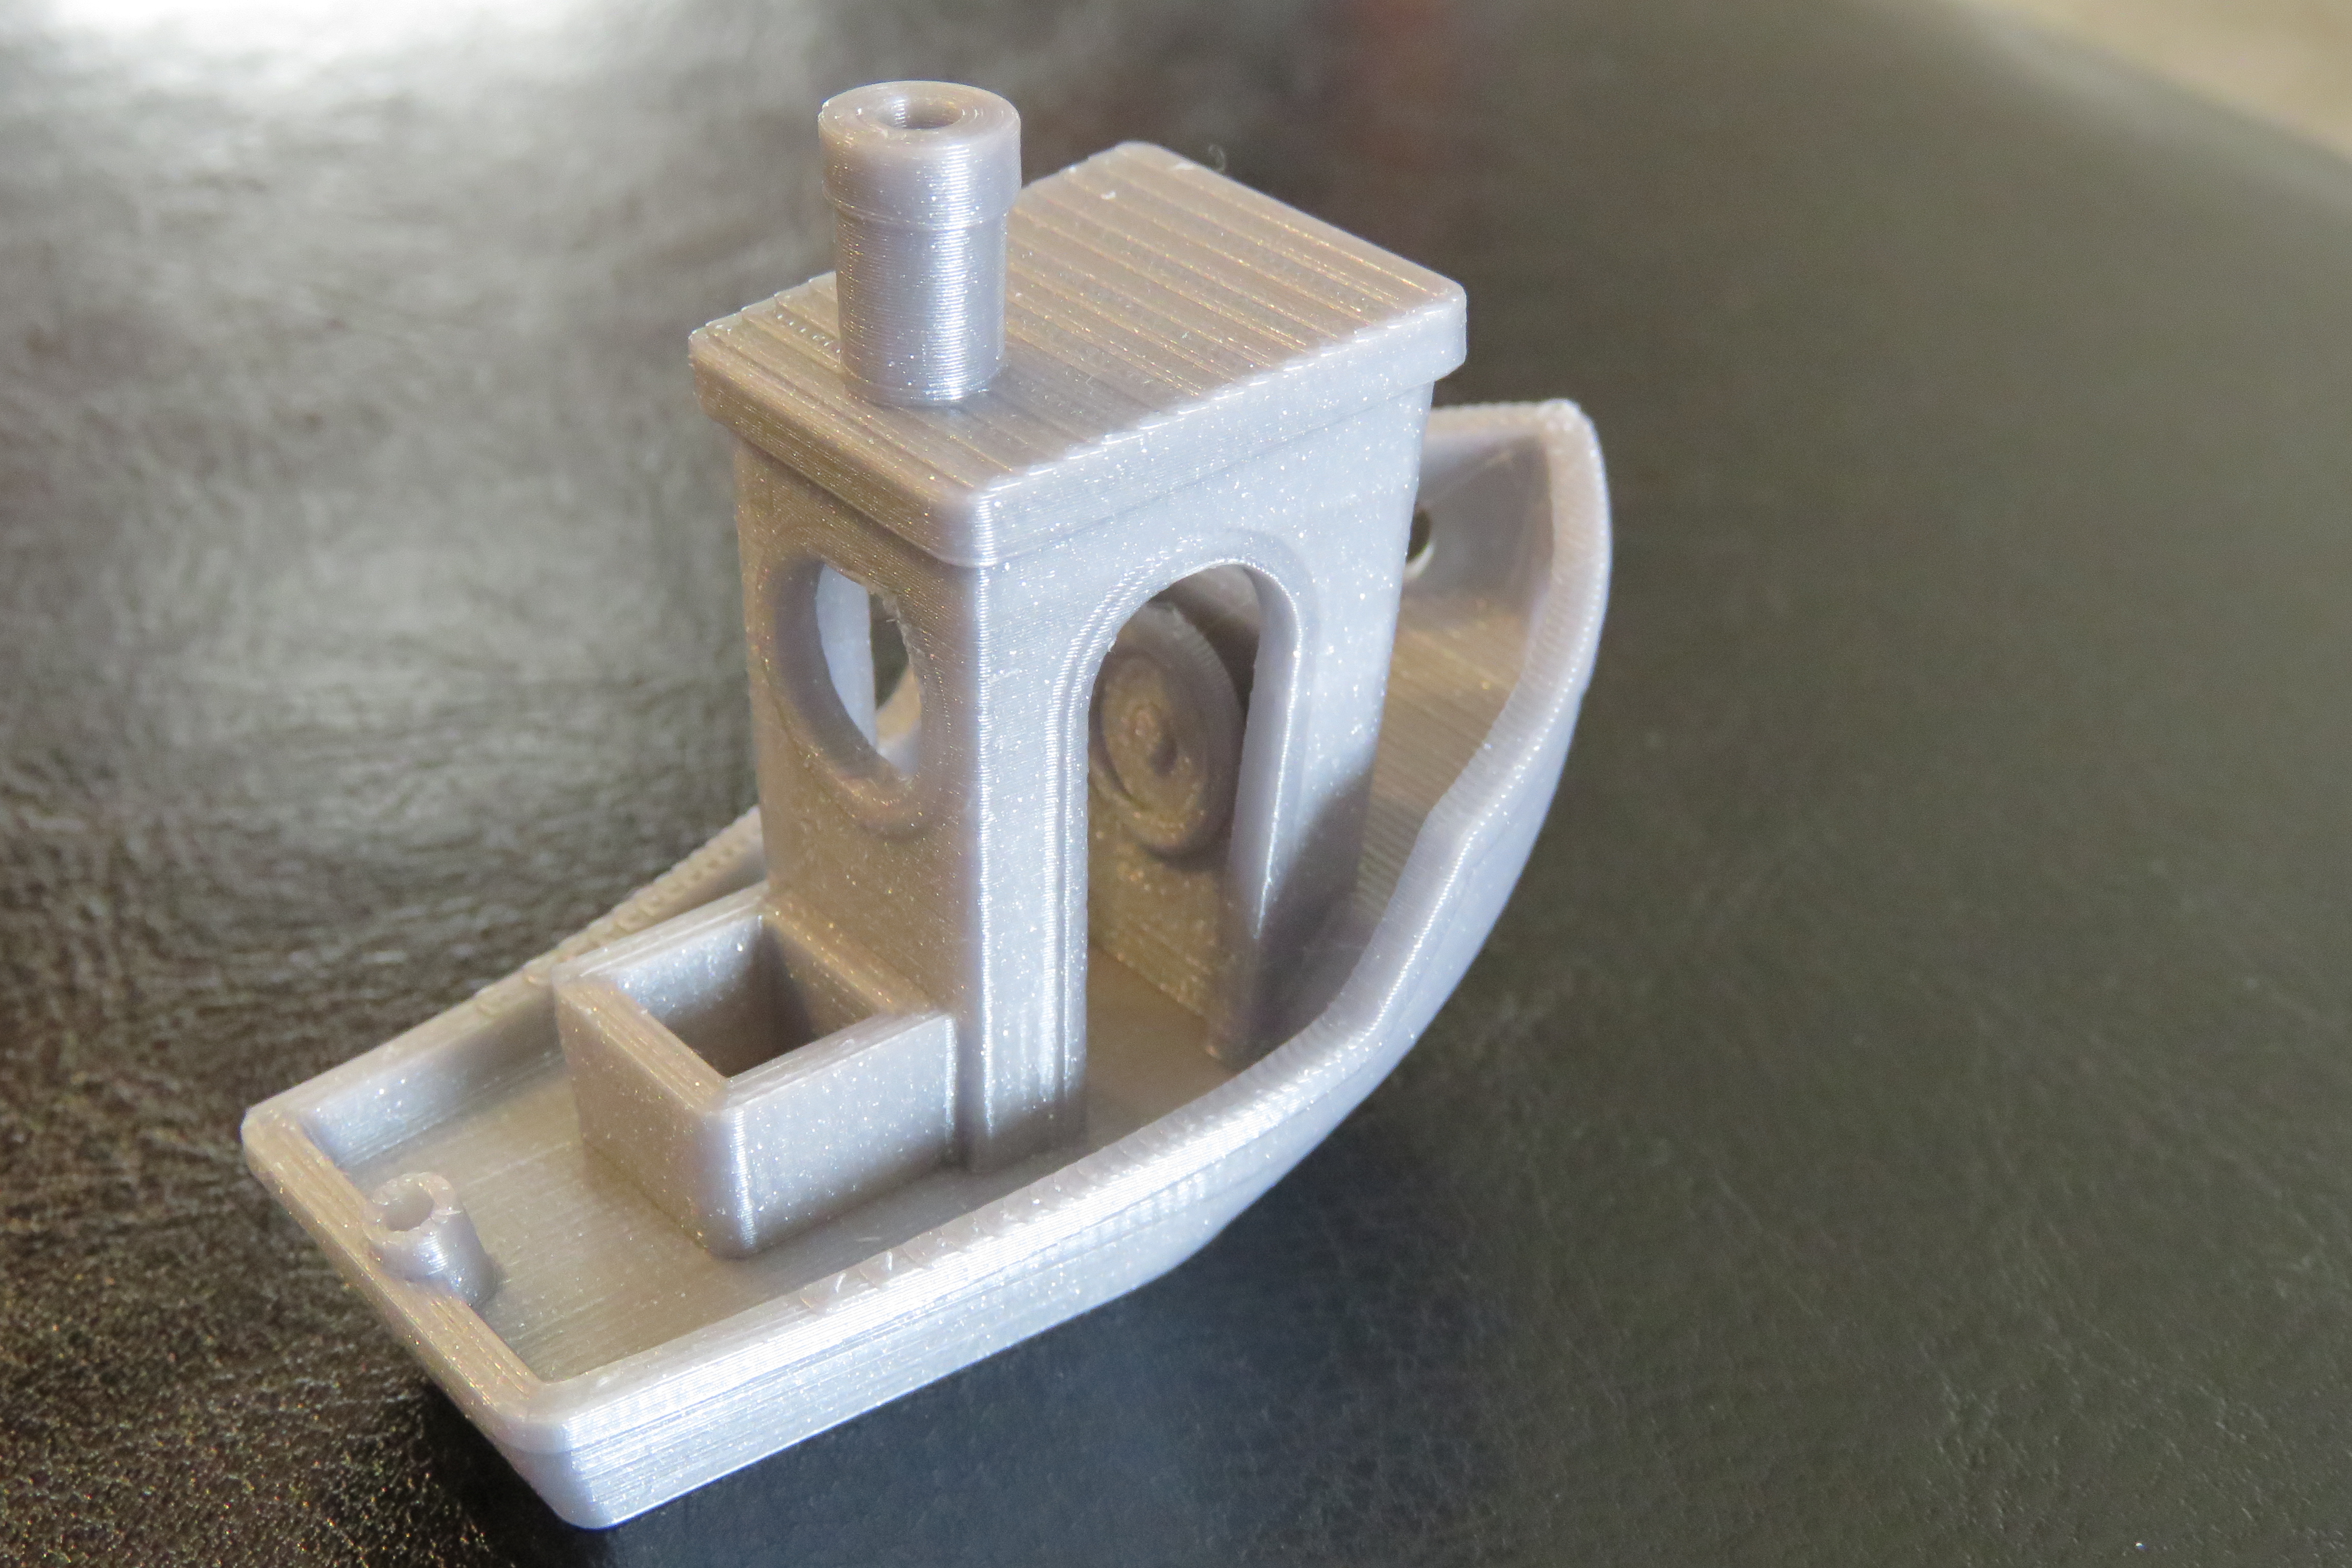
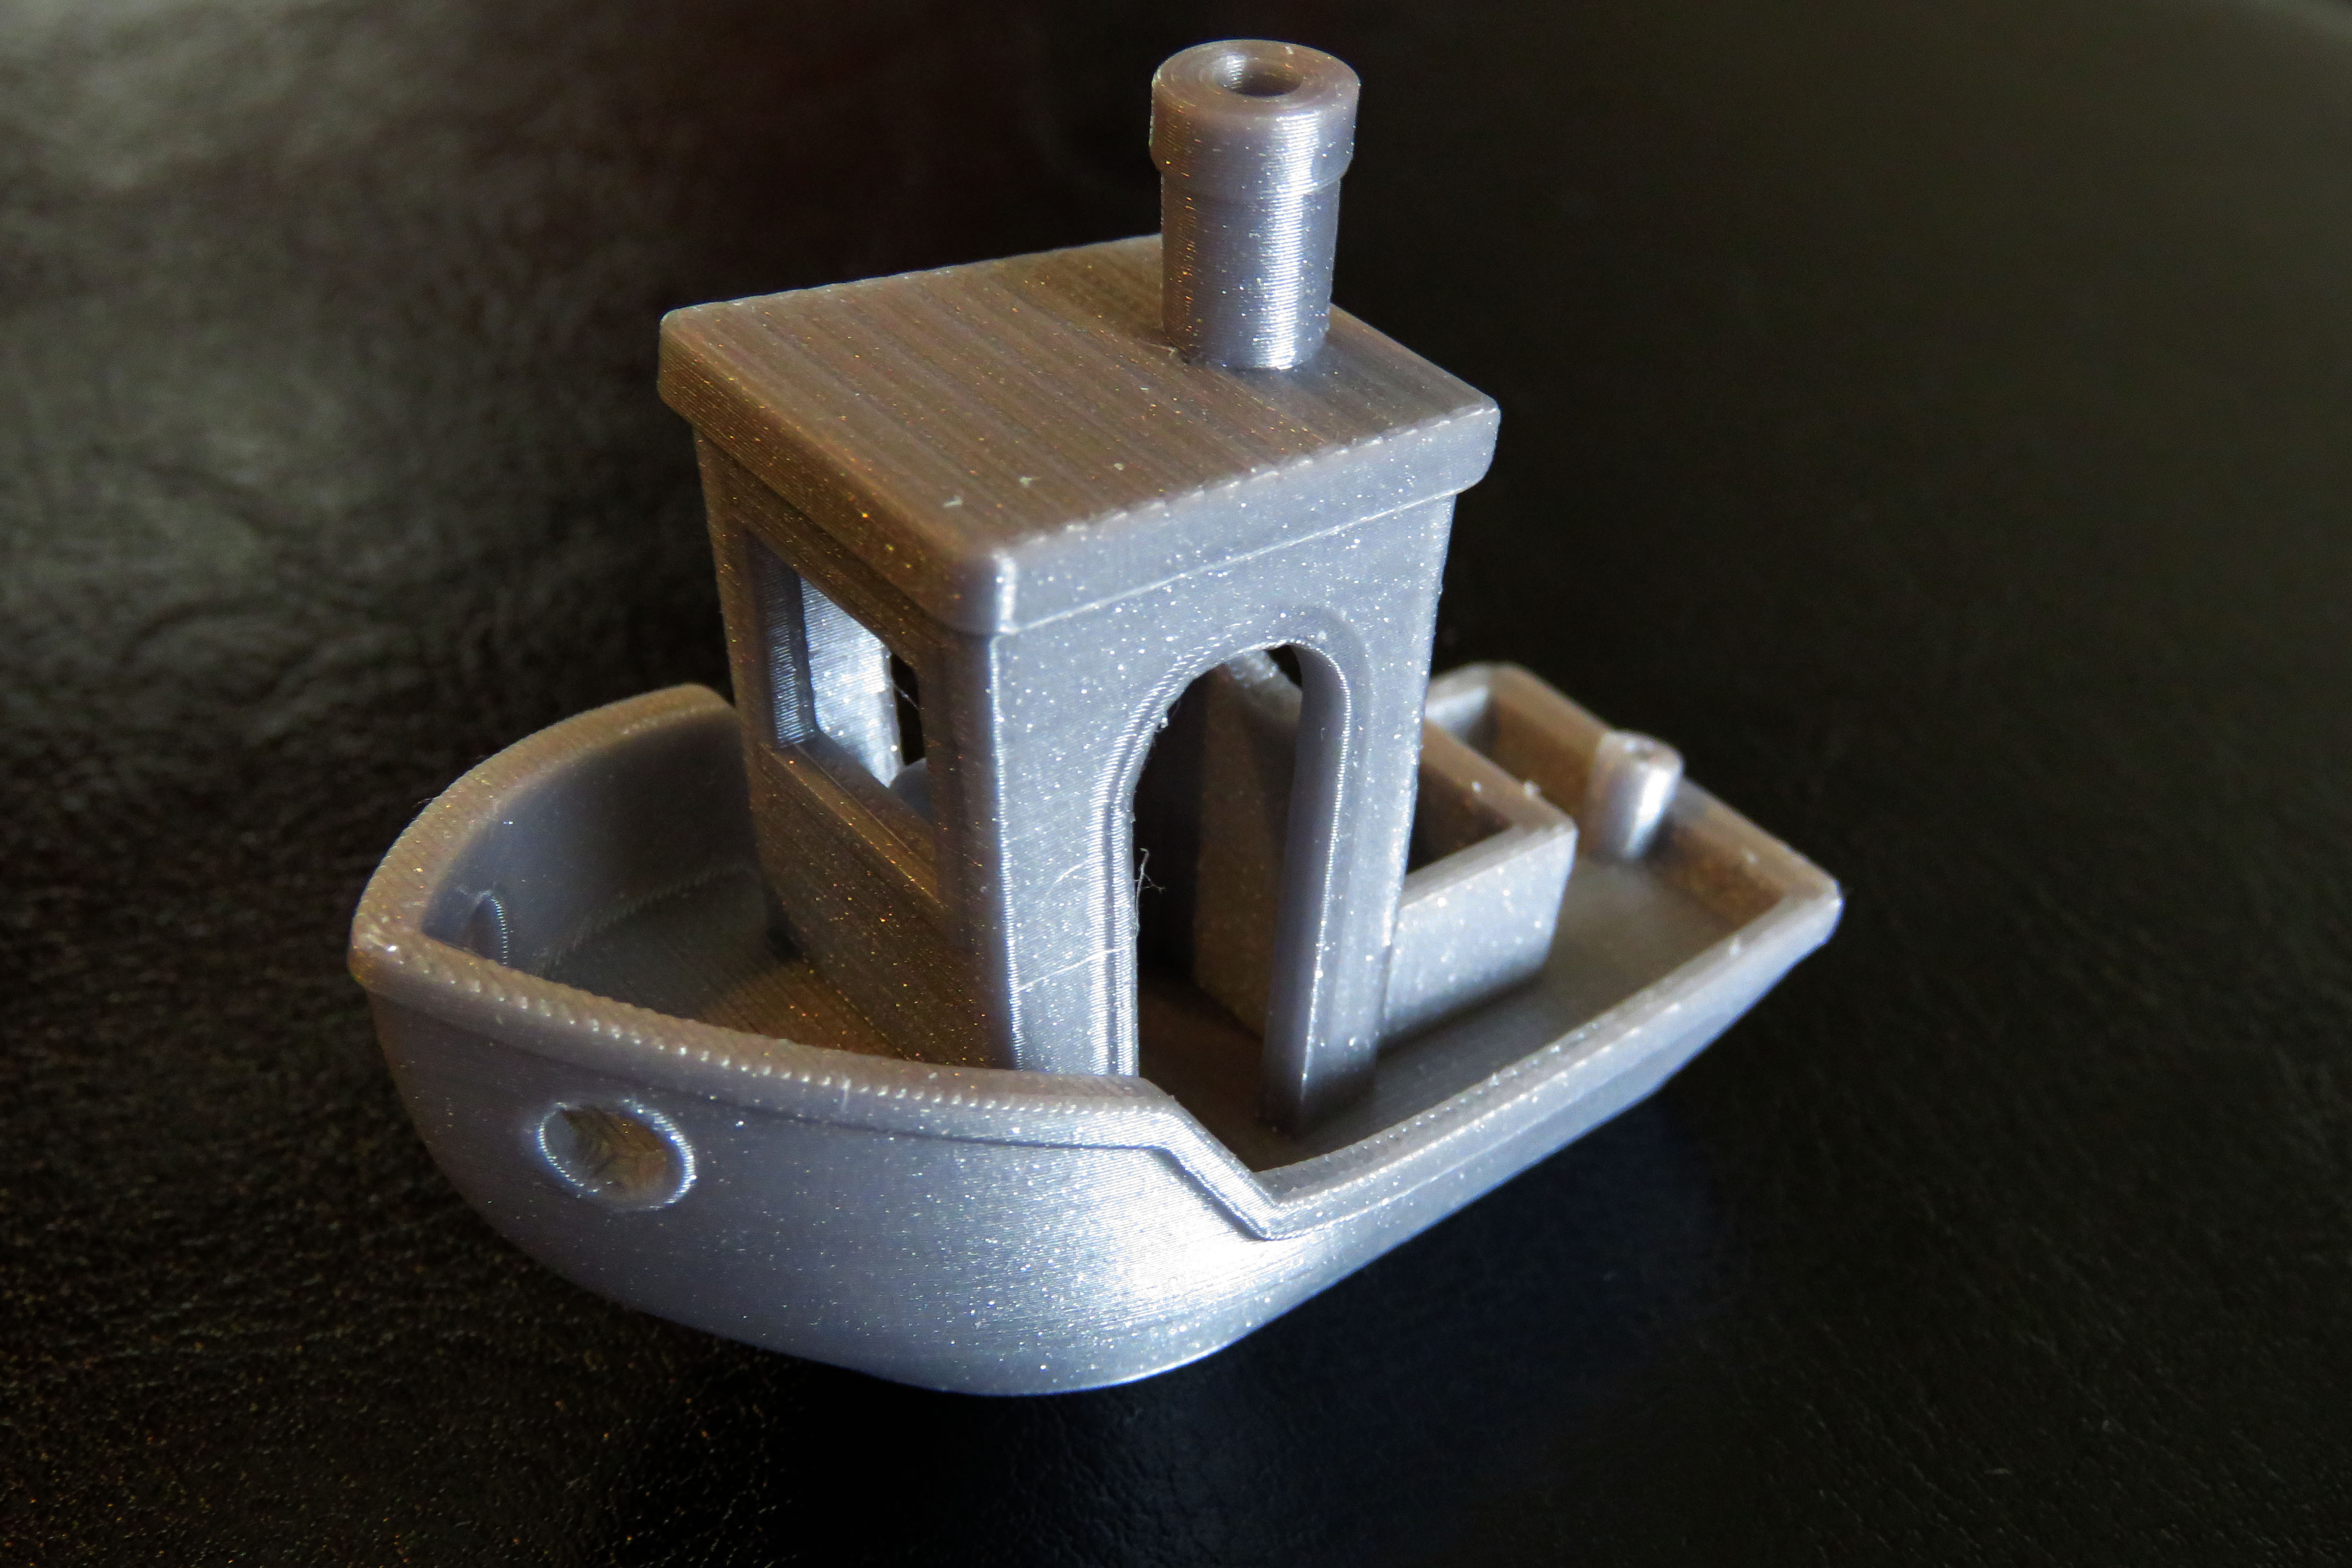
My first Benchy
Hello, this is my first post here on prusa forum. I've just finished assembling of my printer.
Please, look at my pictures and tell me what should I improve in my settings.
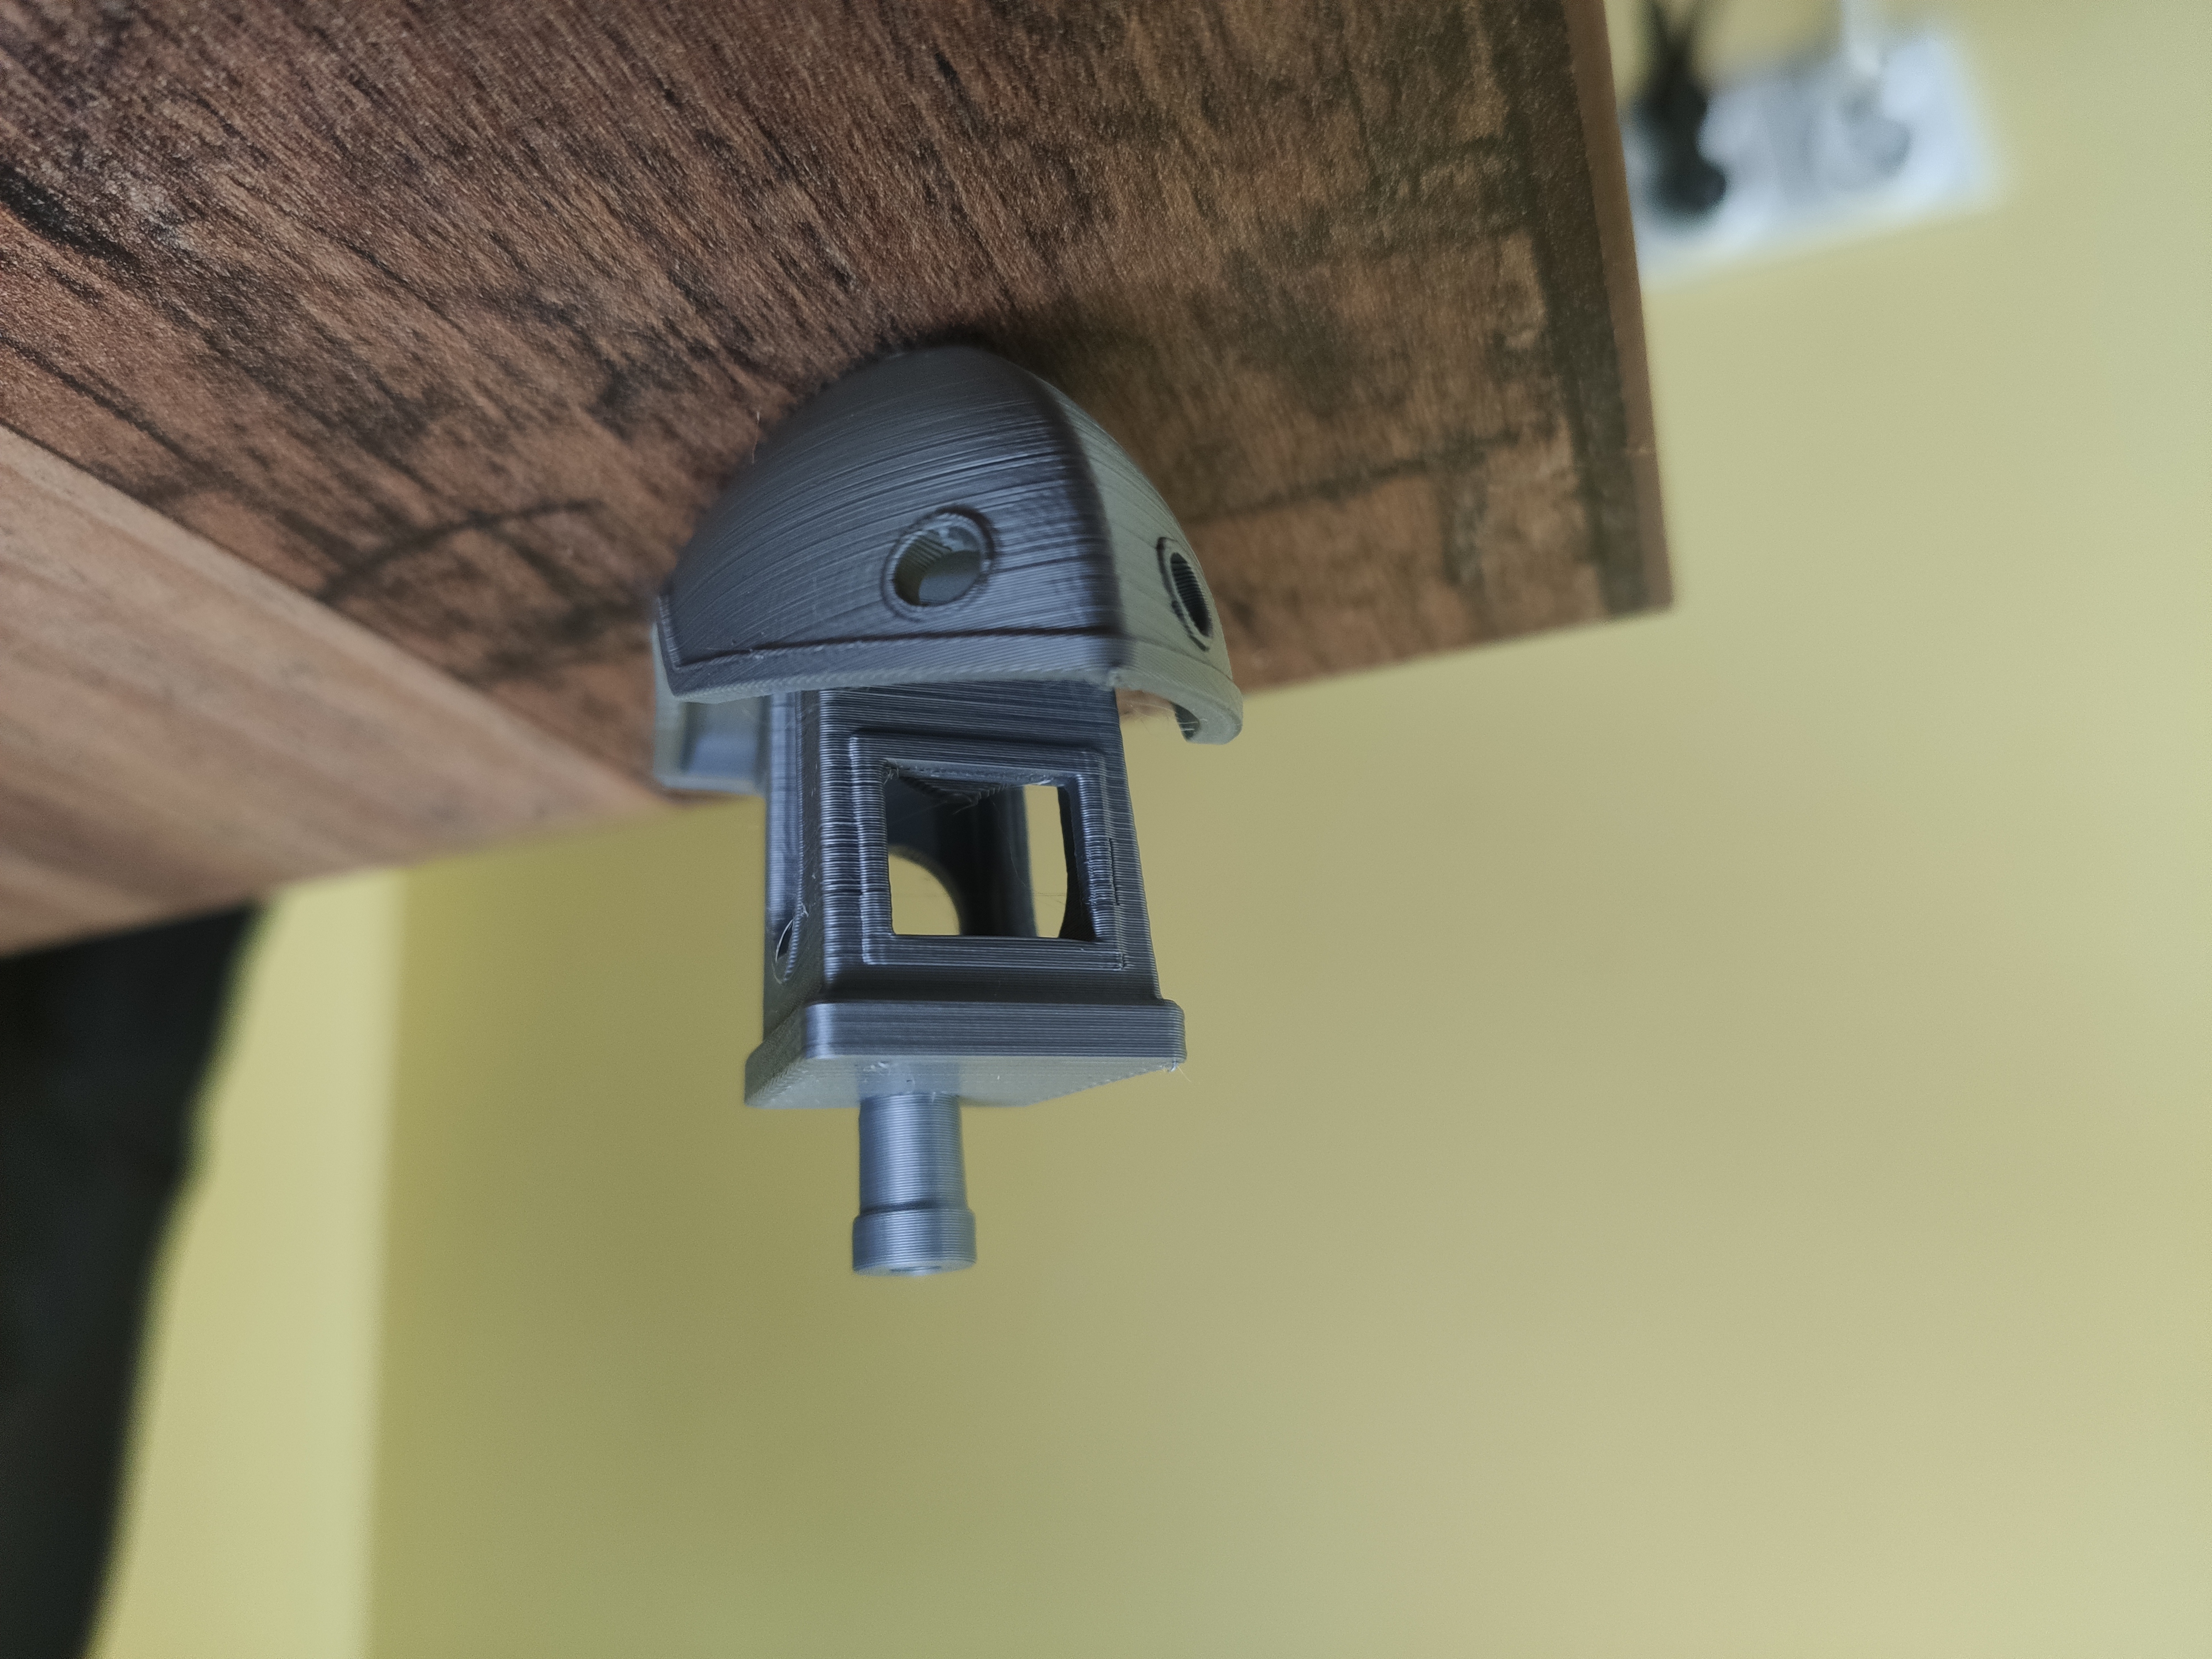
Whole boat looks nice but I found few weakness
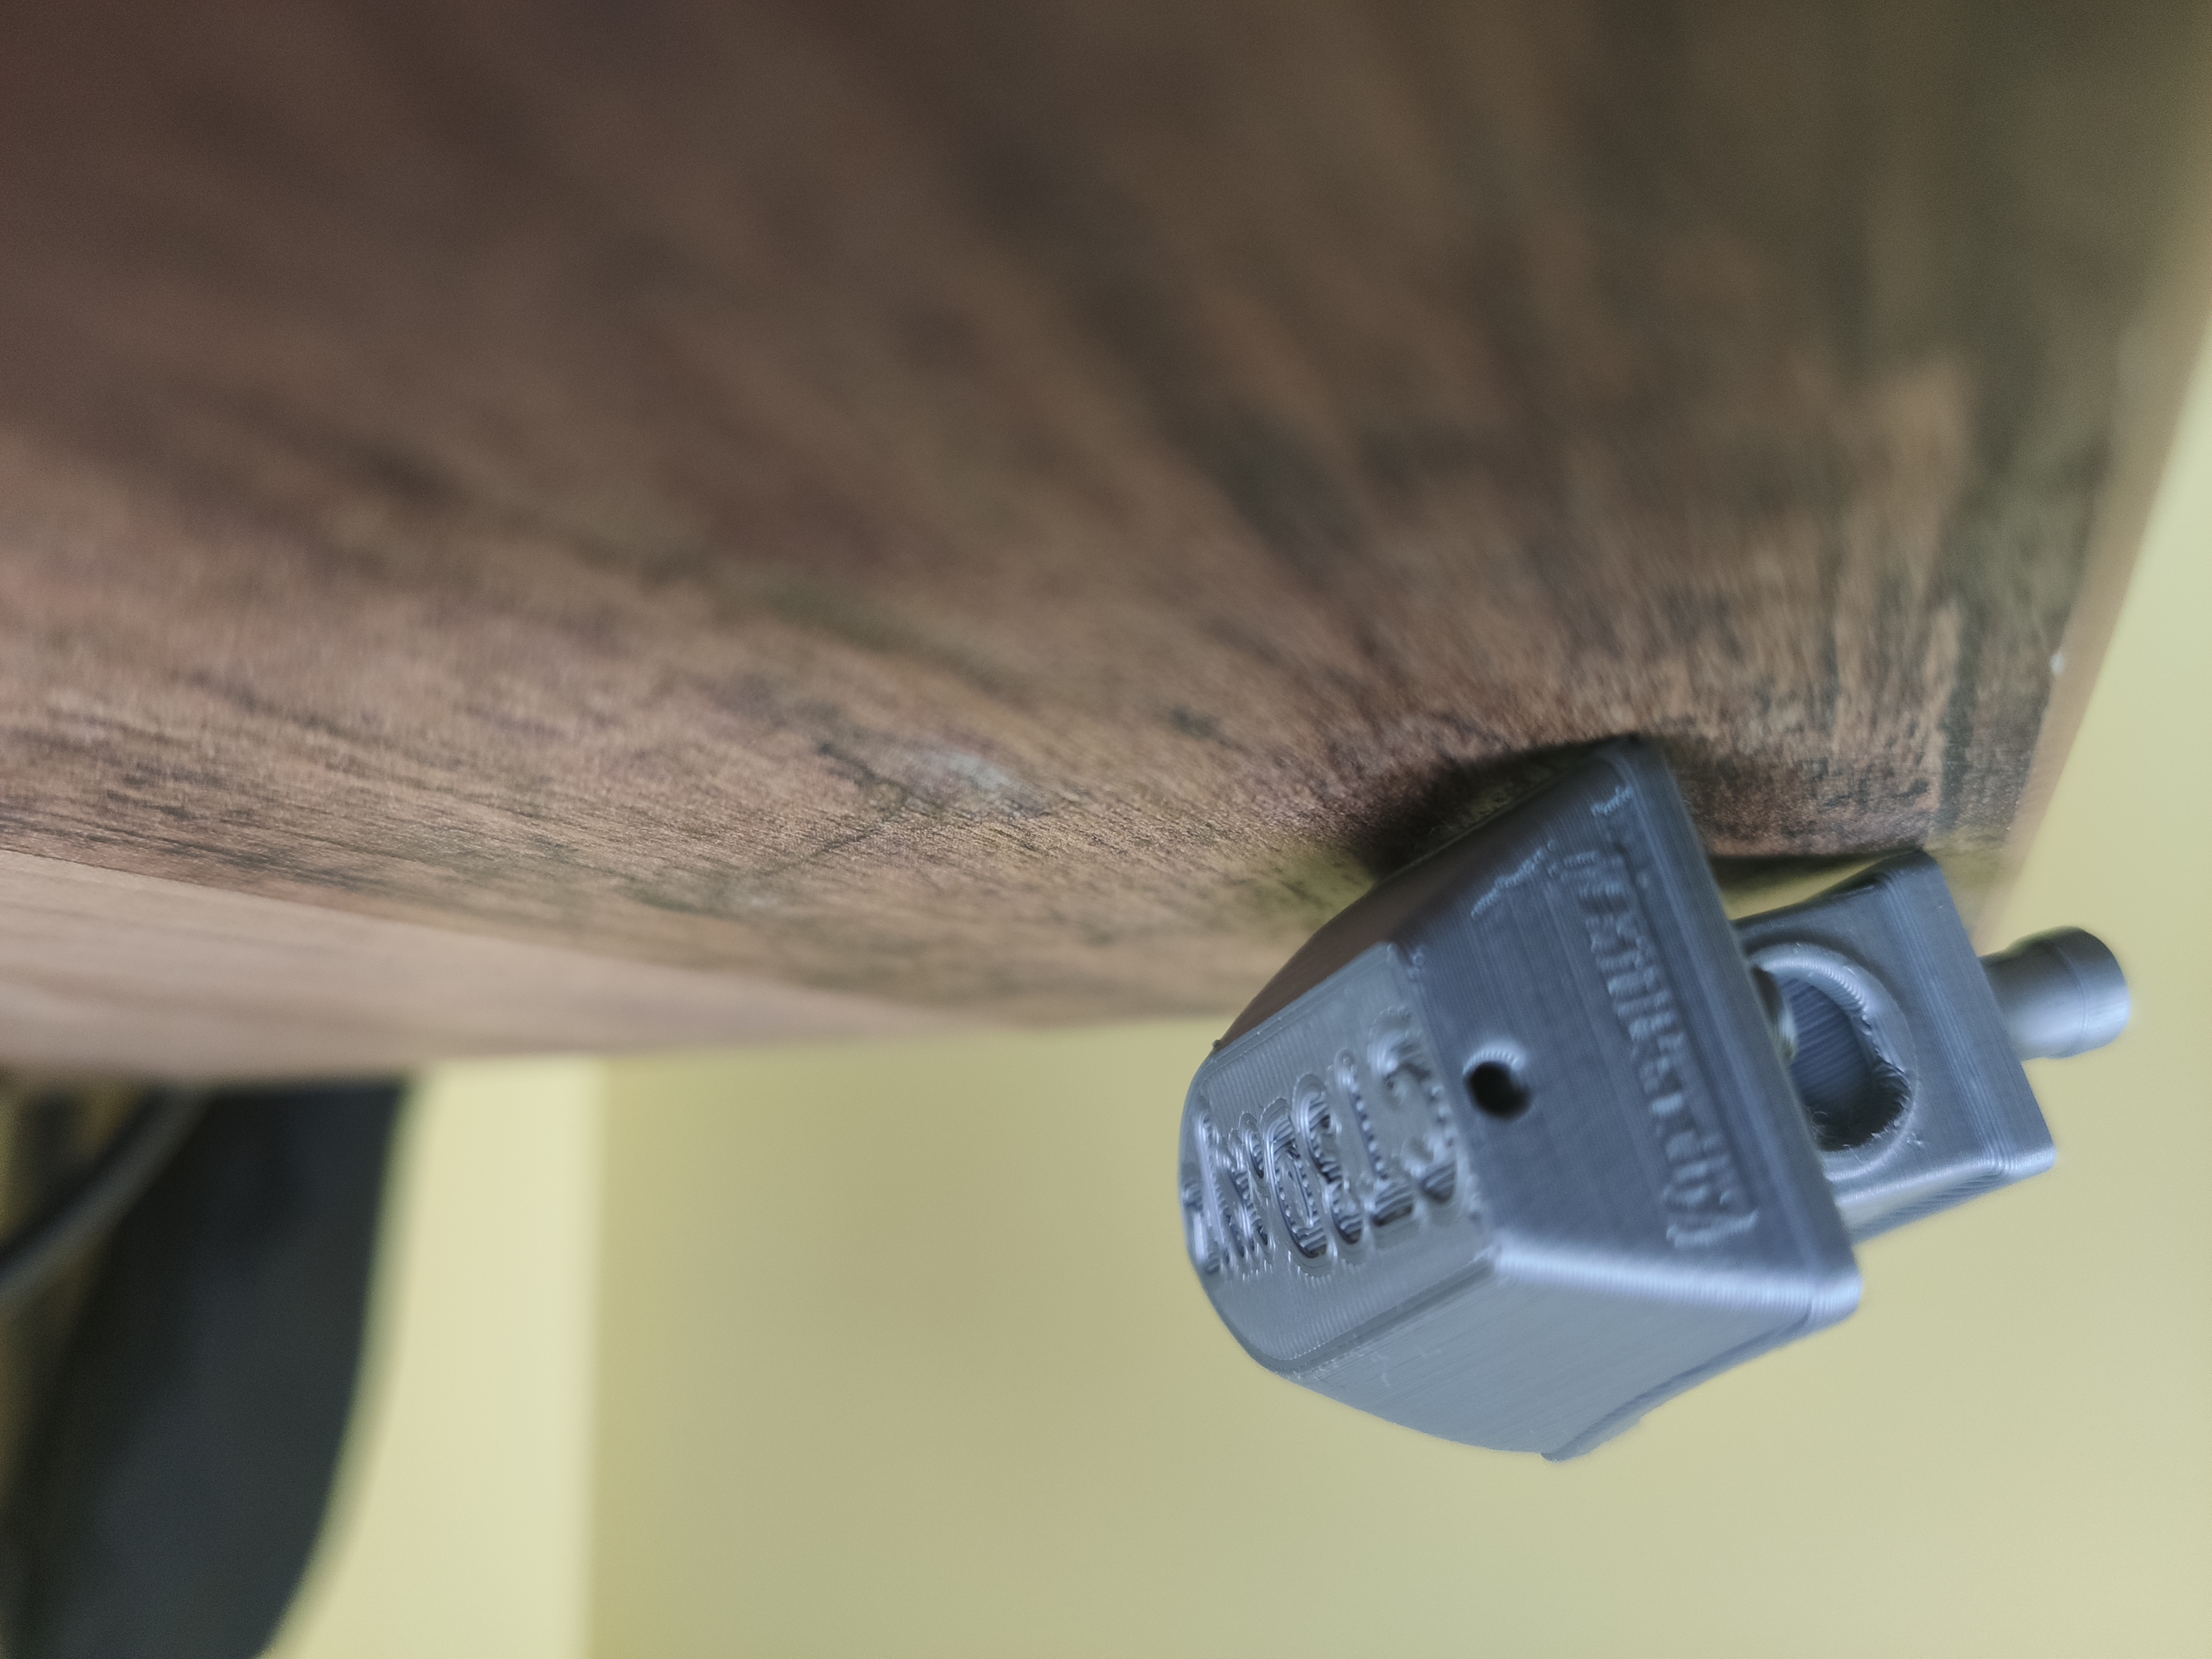
1) text on back of the boat is unreadable
2) some uneven layers on curves
3) ... more...?
Please help me to recognize my printer faluts and help me to improve the results
Thank You
Regards


RE: My first Benchy
Some ghosting and lines, but not bad.
--------------------
Chuck H
3D Printer Review Blog
RE: My first Benchy
Was this a sample gcode file or something you sliced yourself?
RE: My first Benchy
It is gcode grom default sd card included to the kit.
Material - default PLA
RE: My first Benchy
Actually, to me, anyway, that one looks much better than most of those that have been posted here as a 'first print' on the machine.
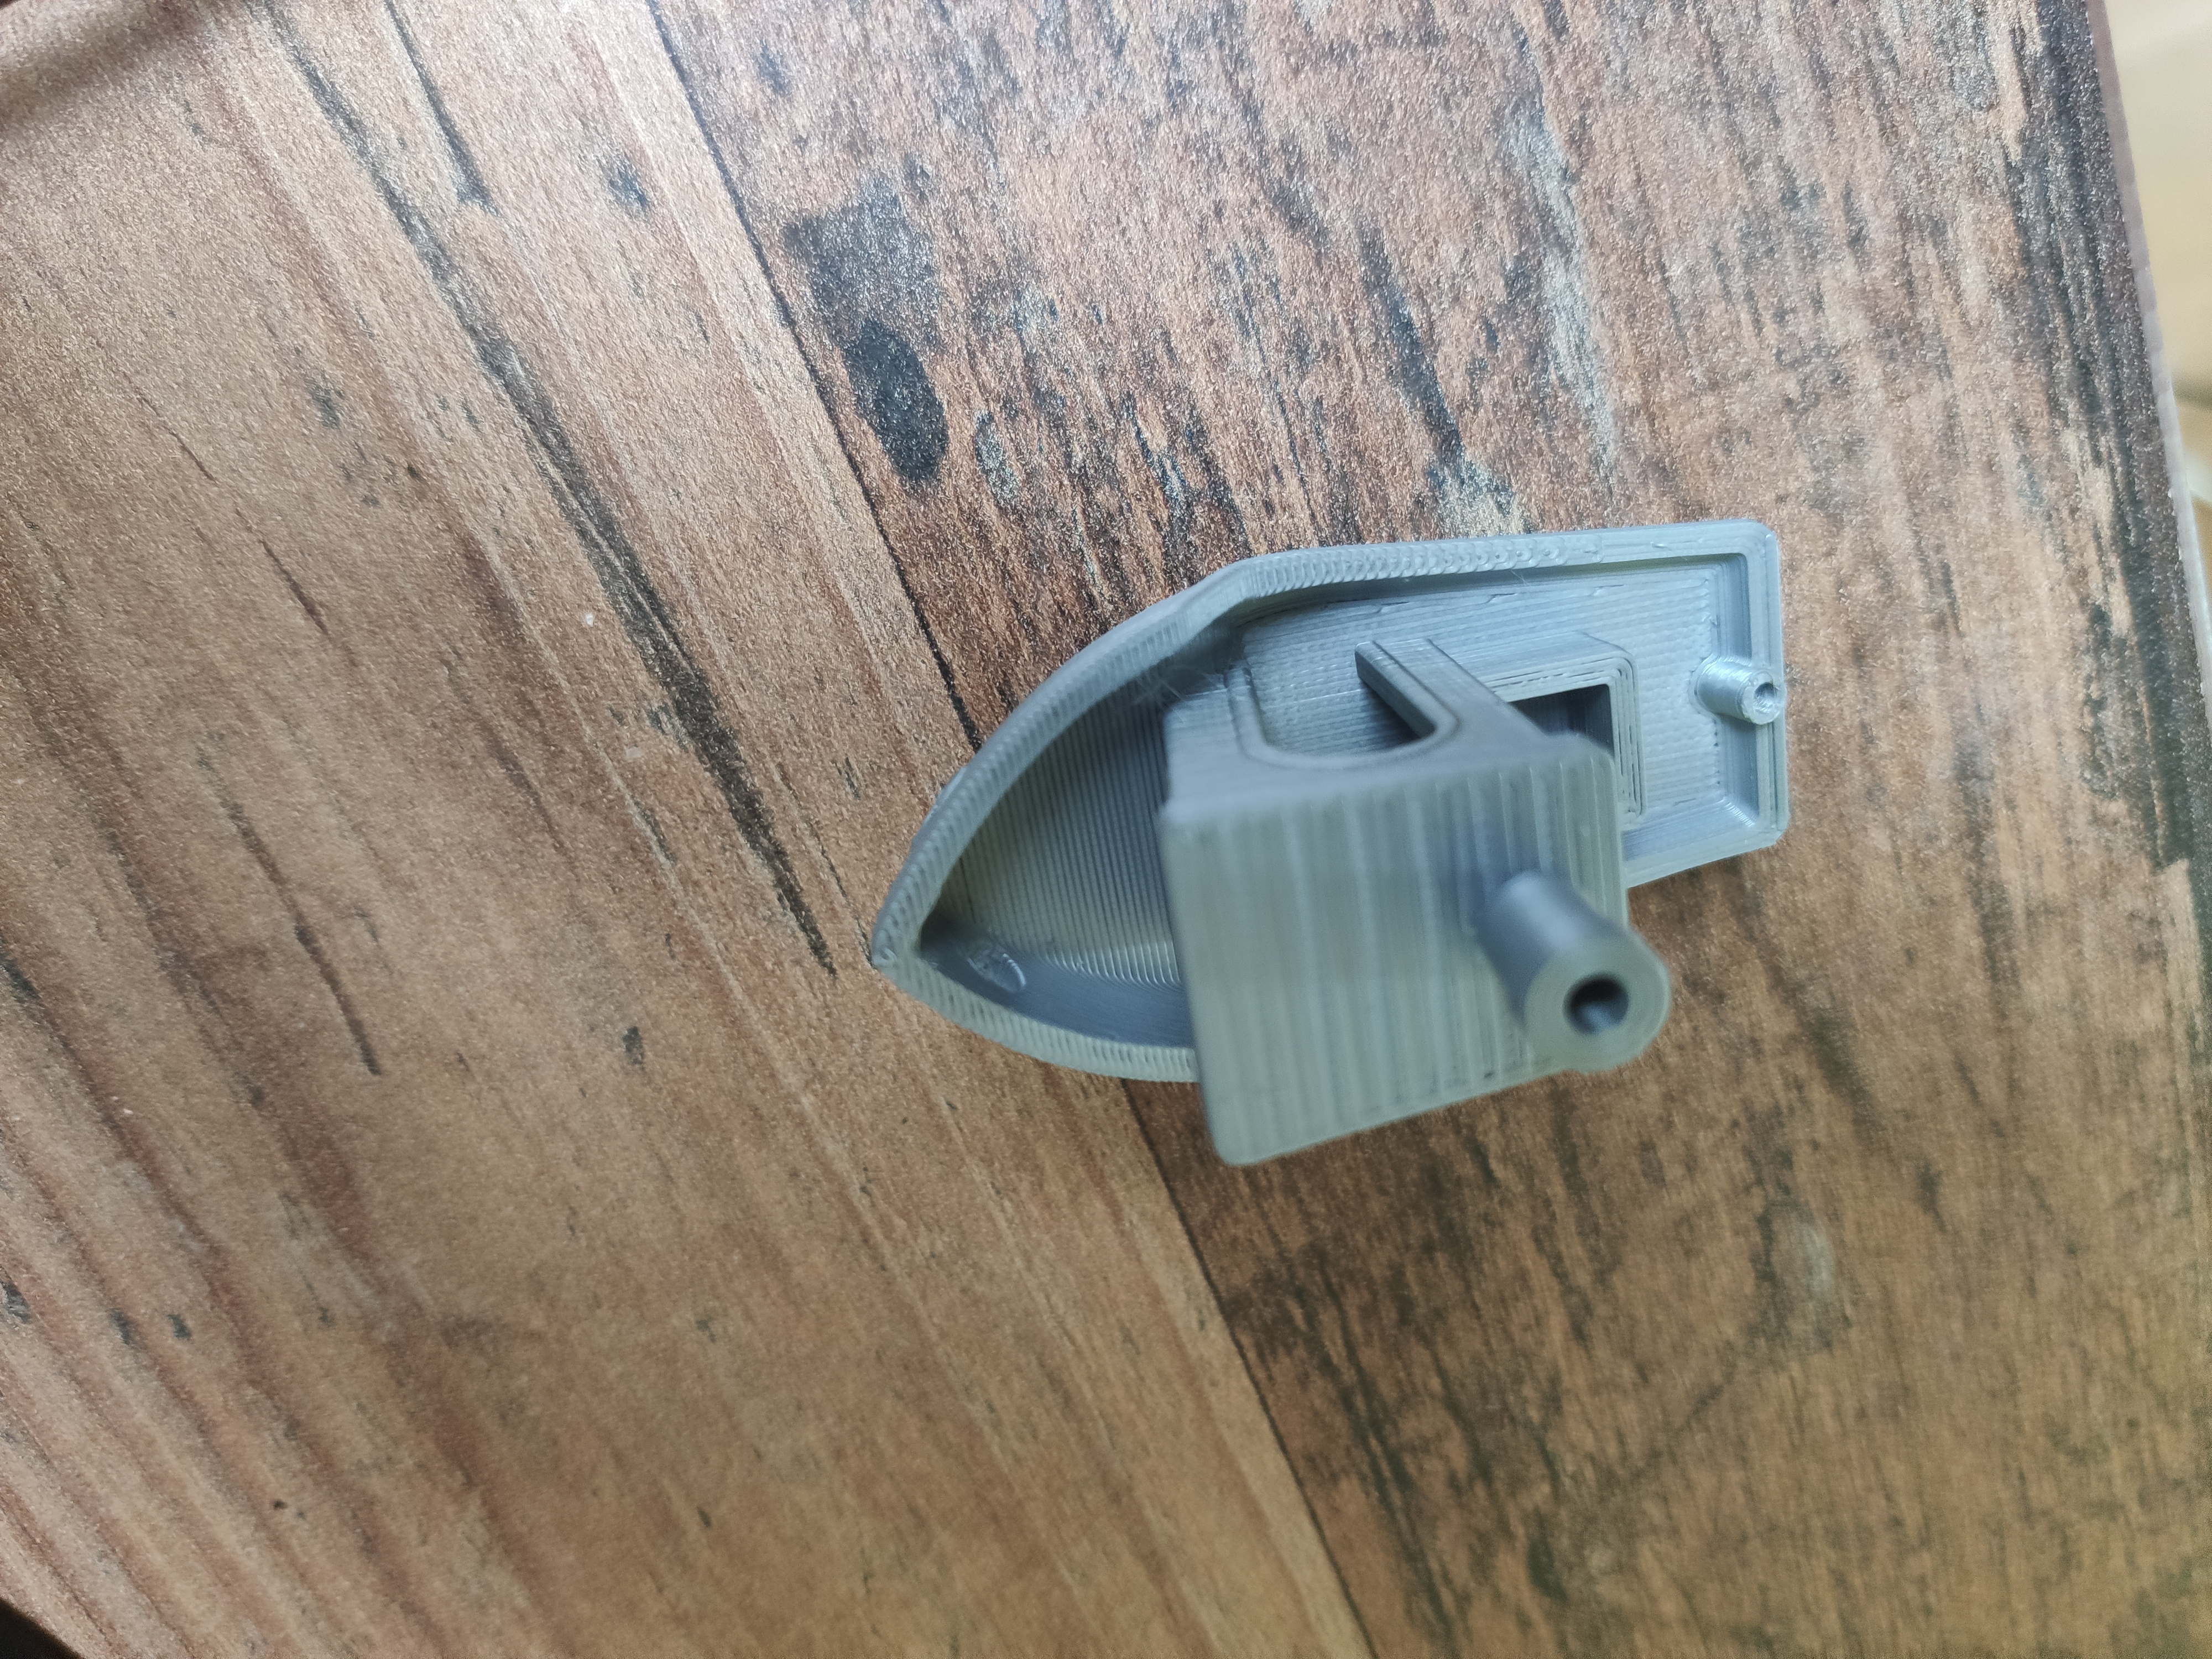
Also remember that Benchy (AKA Boaty McBoatface) is often considered a torture test and not a simple example for a beginner to print. It has a couple of bridges, one horizontal, which will give a good idea on how well your printer handles them, some slight overhangs, some holes (almost) on the Z plane plus the text on the bottom of the hull and the stern.
That text on the stern is almost vertical in orientation, and that can be tricky for any printer to print in a legible manner. I'm looking right now at one I printed a few months ago as a second-set-of-eyes sanity check for another user who saw an issue. The text on it is no better than yours, so what you see is about what you will get.
Your text on the bottom of the hull, at least on my monitor, looks good, as in the sag of the bridging does not appear to contact the build plate, indicating that your Z calibration is close to what you want.
RE: My first Benchy
There are a few spots where it looks like filament drive tension is a bit weak and causes some underextrusion. As an example, here's my first test print of Benchy. Overall, your print looks okay for a first print. Once you get the printer broken in, go back through and adjust belt tensions, bondtech tensions, extrusion multiplier set, etc., then revisit the Benchy.

RE: My first Benchy
Thanks for response.
Yes. I agree. My benchy is looking nice but not perfect.
When I was setting the first layer during calibration. I wanted to set minimal z offset that is "glued" to the bed sheet. I think bottom layer is ok including hull text.
Text on the stern doesn't exist, actually. Do You think I should not worry about it? Maybe there is a tip that could make it more visible?
What kind of parameter could be responsible for that part?
Second issue are the not equal layer on hull and on the cabin walls. I will try to adjust belts tension...
Lastly. How could I improve bridges in windows? Is it possible?
RE: My first Benchy
Belt tension plays a significant roll in print quality. I measure my belts using a scale - the firmware based belt tension is - well - something in the imagination of the designer that doesn't really meet with reality. The FW tension numbers should be as high as possible - which really means the lowest drag on the steppers moving things around.
RE: My first Benchy
Bridging can be improved with slice parameters, but not greatly so. Use the DETECT BRIDGED PERIMETERS setting. As stated above - Benchy is a 90% test, and if you get a result that is acceptable, it means your printer is working as expected. Yes, things can be fine tuned, but I'd recommend you start printing first, get some hours in and learn what works and what doesn't. And, at some point you'll start having questions about the details that you can find answers for. Asking those questions too soon may cause you more grief than you want ... lol.
RE: My first Benchy
As for layer one: it should be 0.20 mm. You may find adjusting Live-Z for less thick helps adhesion, especially with the textured sheet, but mushing layer one is creating an elephant foot. It's a trade-off. Too thick is also a problem in that adhesion falls off rapidly and you end up ruining parts and damaging the extruder as parts break free and gum up on the hot nozzle.
RE: My first Benchy
@tim-m30
thanks, I think You are right. I play a little with some other models.
When I get some 3d printing skills I will back to the benchy 🙂
Now. I will double check the thickness of the 1st layer and corect the belts
Thank You very much for Your advices.