MK3S Kit first print - Improvements
Hi everyone,
I recently received my MK3S Kit and built it following the instructions - took some time but was also a lot of fun.
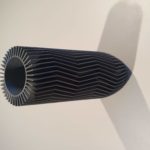
The automatic calibration stated that everything is fine and after a few iterations of the "first layer calibration" with live-Z adjustment I started my first print (vase from the SD card) that was finished over night.
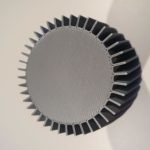
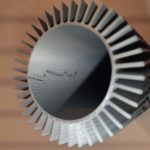
At first glance it looks really good - much better than what I did expect - and I'm really happy about the result. As you might guess there is still a flaw. At least I think it is. While the outside looks perfect to me there is some kind of "artifact?!" on the inside.
What setting could be wrong or needs further fine adjustment? Can you estimate the problem just by looking at the pictures? Can you recommend me the next steps to do?
Thanks in advance!
Greetings
Daniel
RE: MK3S Kit first print - Improvements
Good Morning Daniel,
that looks like the layer retraction / detraction seam, which is unfortunately always going to exist on a 3D print
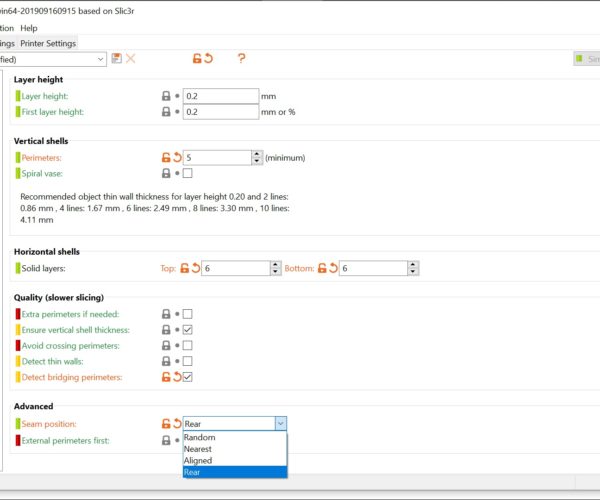
you can try the various Seam Position settings to try and hide the seam,
and you can try adjusting the 'Printer Settings>Extruder>Retraction' settings to try and reduce the visibility of the seam,
Also Print Speed and extrusion multiplier affect the issue too.
metalic and pearlescent filaments tend to make seams seem more apparent because the extruded plastic changes direction at the seam detraction and retraction points giving a visual highlight or lowlight to those areas.
Slowing down the outer perimeter print speed tends to lessen the effect to a degree...
Left to it's own devices Prusa Slicer, tries to hide these artefacts in corners (preferably internal corners) where they are least visible. however =on a circular structure, there are no corners...
if there is definitely a side that you will not see, put that side to the rear of the build plate and set seam position to 'Rear'
otherwise, random works quite well with circular objects as it distributes the seam randomly rather than letting it form a Scar in certain areas.
regards Joan
I try to make safe suggestions,You should understand the context and ensure you are happy that they are safe before attempting to apply my suggestions, what you do, is YOUR responsibility.Location Halifax UK
RE: MK3S Kit first print - Improvements
Try printing this part with 100% infill or with 3 perimeters and see if that helps.
RE: MK3S Kit first print - Improvements
Thank you for your detailed answer. I still need to test the mentioned changes in settings but for now I may have understood what went wrong.
RE: MK3S Kit first print - Improvements
You can also try printing this in Vase mode, which is generally seamless. some parts Vase mode works well, but you do lose strength. If the vase you are printing it to be used, water and all, then Vase mode might not be an option. Try slicing and printing it in Vase mode just for the experience. Plus, it might work for your needs.


