RE: life adjust Z - my way
@robert-rmm200
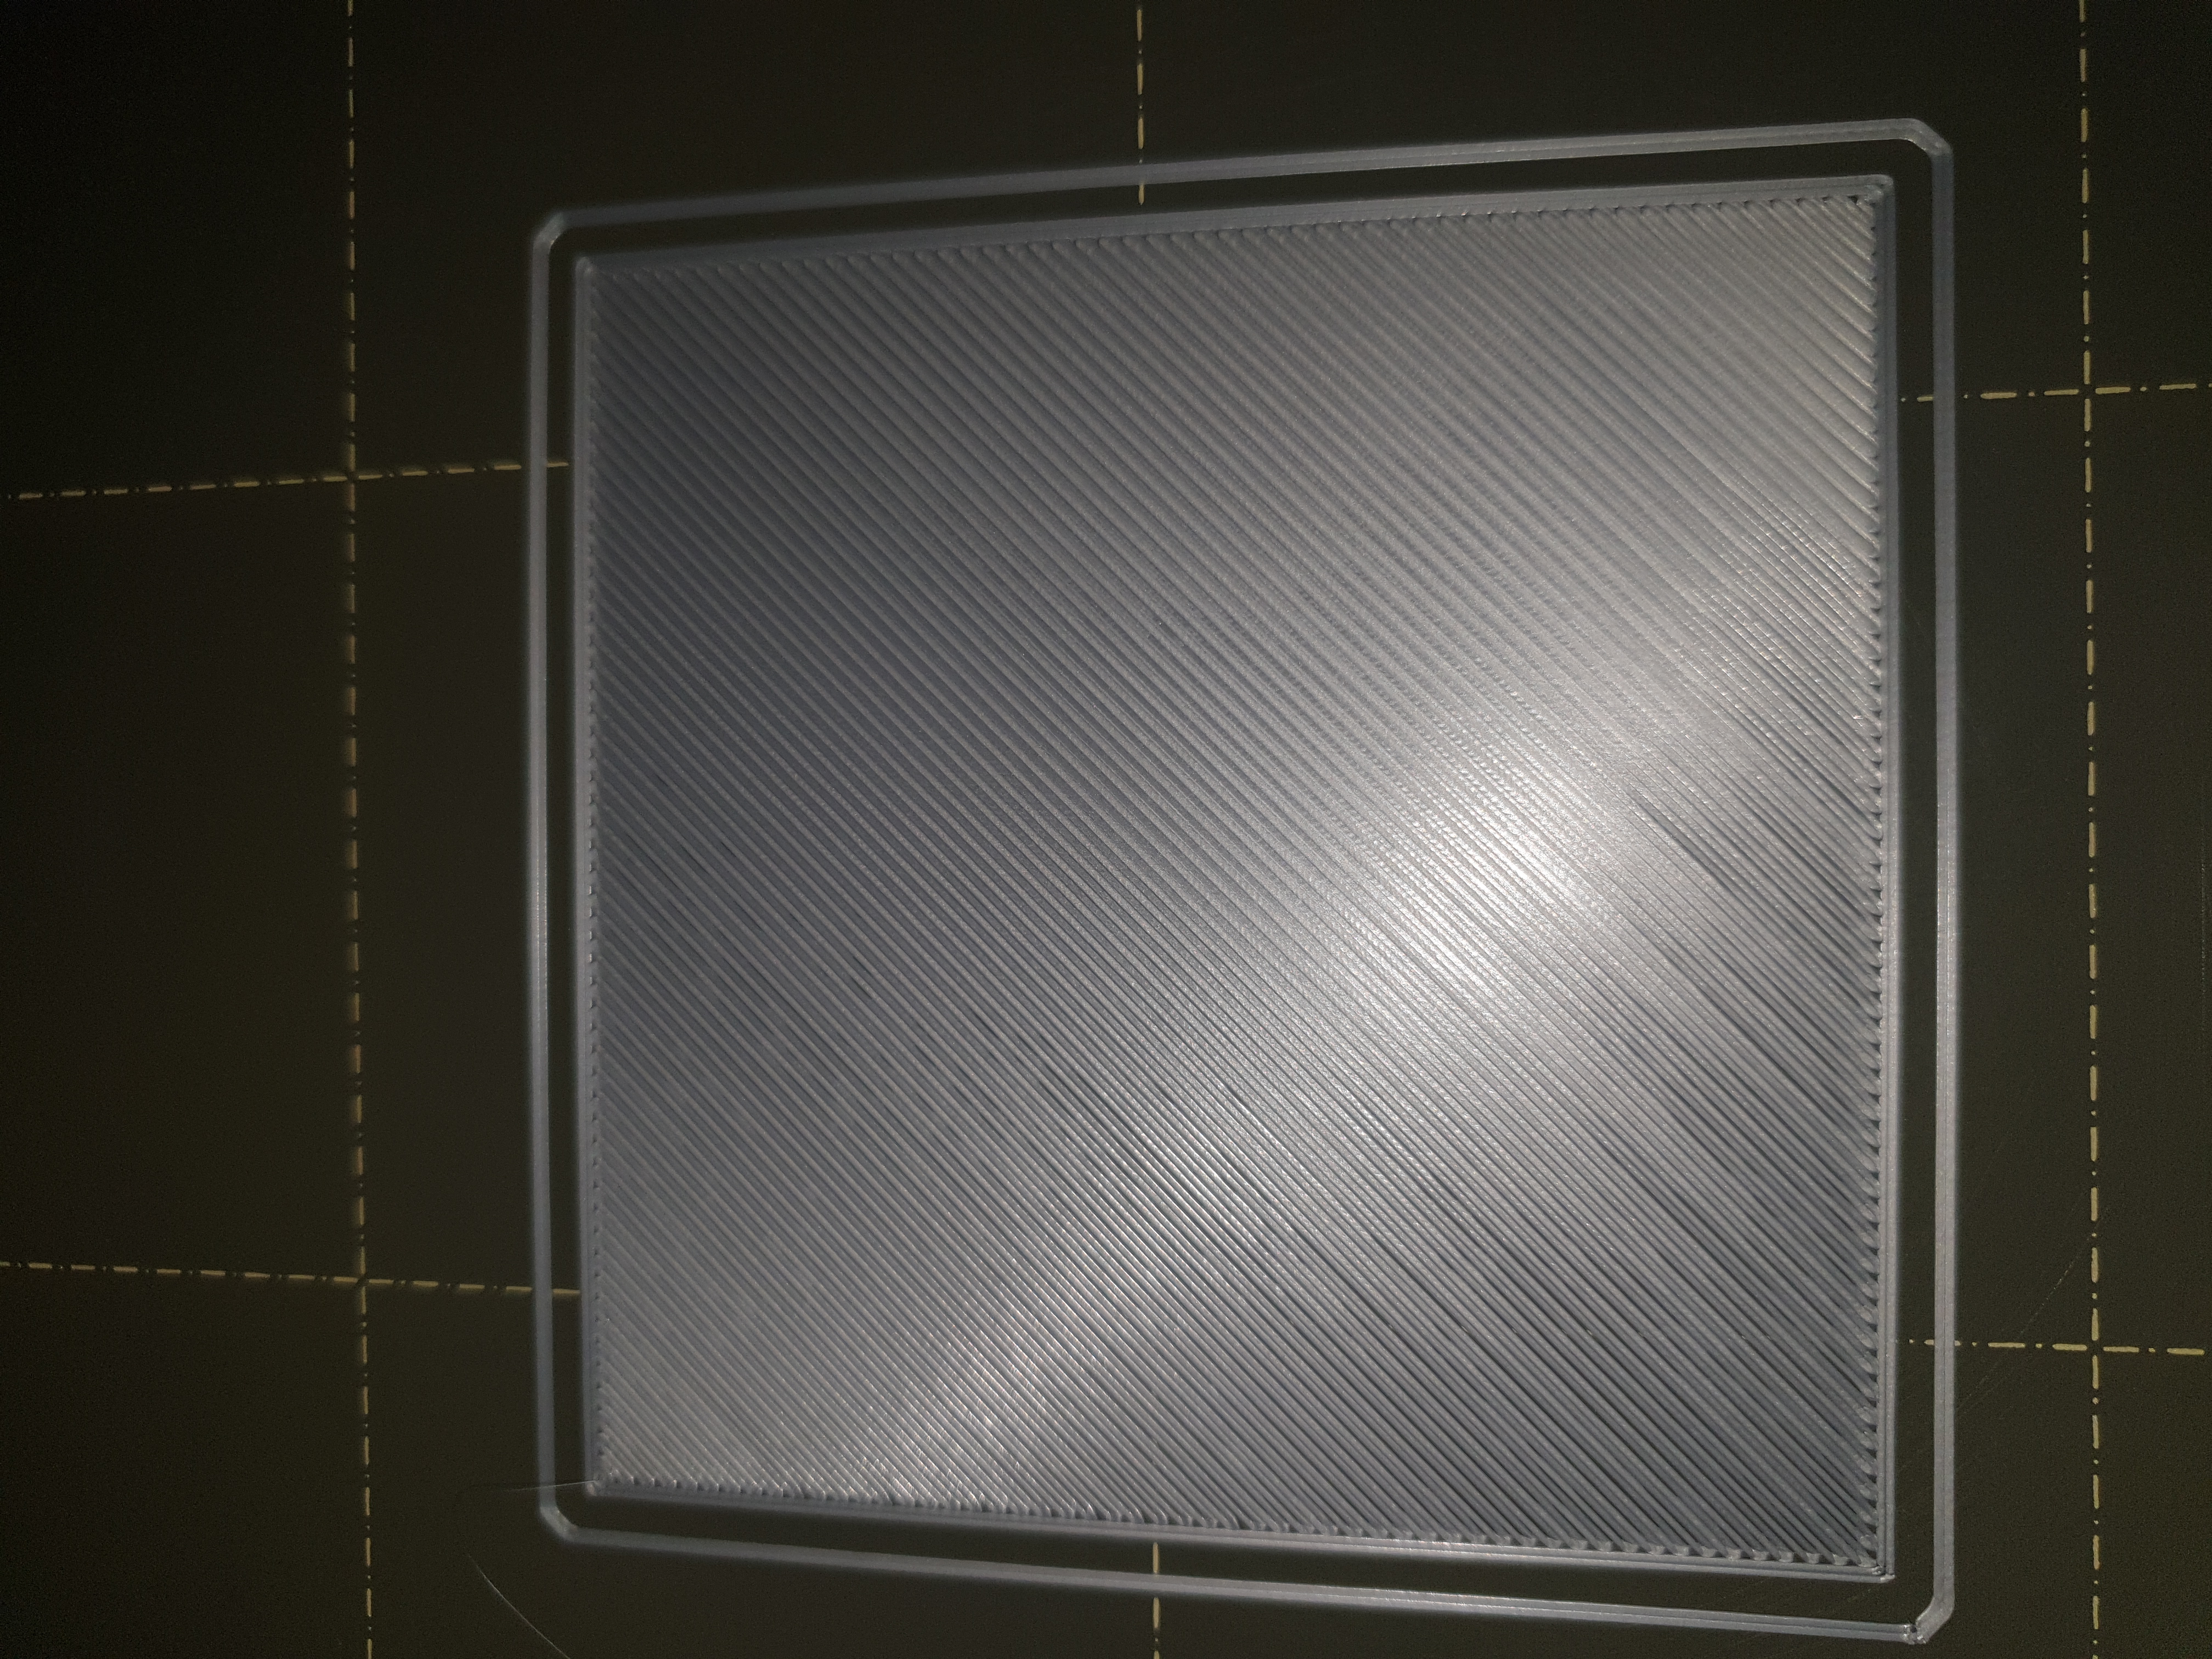
Definite difference in the stands in the top right (or however its rotated it in the image, I think you can see it in the bottom left)
RE: life adjust Z - my way
Looking pretty good.
When you peel it up, it should be one sheet. Not separate threads.
If they are separate, lower Z a bit more while watching it print.
I don't see any lack of adhesion - or tearing - on this one.
RE: life adjust Z - my way
@robert-rmm200
Lower Z as in make the number more negative, right?
RE: life adjust Z - my way
More negative. As long as you are watching the result as you change Z, it is hard to do it wrong.
If you change it, and the surface looks worse - go the other direction.
RE: life adjust Z - my way
Hi Jeff,
Thank you for sharing these with us. I am having issues with first layer looking like too close while printing and I tried to use your files to to readjust the first layer height. I have noticed that the PLA file heats the nozzle to 170 C but the usual printing on PLA is at 215 degrees. Do I miss something ?
Thank you,
Daniel
RE: life adjust Z - my way
same why 170° in the gcode ? 🙂
MK3S and Mini print farm
RE: life adjust Z - my way
same why 170° in the gcode ? 🙂
MK3S and Mini print farm
RE: life adjust Z - my way
Daniel, impression3d, et al,
The 170 C initial warm up temperature is part of a "no ooze", two stage warmup used by many of the experienced printers. Warming the nozzle to 160-170C softens any filament that may be present on the nozzle tip so that damage to the print bed doesn't occur during the mesh-bed leveling, but the temperature is still low enough that the filament doesn't ooze from the nozzle and make a mess either. The nozzle temperature will be set to the proper printing temperature (215C for PLA) prior to the actual print commencing.
Regards,
Steve
RE: life adjust Z - my way
OK, noted, thanks 🙂
MK3S and Mini print farm
RE: life adjust Z - my way
Hi,
Thank you for the reply, I understood the reason now and I will give it a try.
Best regards,
Daniel
RE: life adjust Z - my way
why do you want to print a big square which takes several minutes to print?
Visibility. I use a narrower print for fine tuning, but for a new user, the ability to see long extrusions side-by-side without the nozzle, extruder and fan covering most of it as happens with a smaller print is very helpful. Once you get the hang of the procedure, you can just make minor tweaks as the 1st layer prints. This procedure is really helpful for new users.
and miscellaneous other tech projects
He is intelligent, but not experienced. His pattern indicates two dimensional thinking. -- Spock in Star Trek: The Wrath of Khan
RE: life adjust Z - my way
@max-distortion
Thats equally as valid as the 75mm square. I think the square was originally chosen for its simplicity.
Personally though if I wanted a simple shape like that I would just add it from slicer itself without needing to resort to any external design software.
RE: life adjust Z - my way
@max-distortion,
Not certain exactly what you are asking or trying to communicate. The purpose of the larger square is to more easily judge the quality of the lines being laid down in order to fine tune the live-Z adjustment. It is certainly not necessary to print the entire square, however, if you do print the larger square entirely it also gives you a larger area over which to judge the quality. Even in this relatively small area of the heatbed there can be thickness variations due to bed warping that would not show up with a smaller sample.
While your 45 degree rectangle could be used for the same purpose if it is a constant single layer your post seems to imply that the object that you are printing has different layer heights which would complicate the live-Z adjustment. I apologize if I misunderstood the "every 15 lines I changed the layerhigh." statement.
Regardless, there are many ways to fine tune the live-Z adjustment, this one happens to be widely used, relatively easy to understand and includes ready-to-print files for those who are completely new to 3d printing and don't need the complexity of trying to figure out how to design a test coupon of their own to print in order to make this adjustment.
Regards,
Steve
RE: life adjust Z - my way
@steve_g
my fault. z-layer i change every 10-15 lines 😇
RE: life adjust Z - my way
The Prusa logo print is a perfectly good 1st layer test print. The value of Jeff Jordan's approach is both the detailed instructions and pre-generated gcode he provided. It's easy to look back and claim it's a trivial solution, but he actually broke major ground and has helped hundreds of users understand a vital step in successful 3D printing on a Prusa.
and miscellaneous other tech projects
He is intelligent, but not experienced. His pattern indicates two dimensional thinking. -- Spock in Star Trek: The Wrath of Khan
RE: life adjust Z - my way
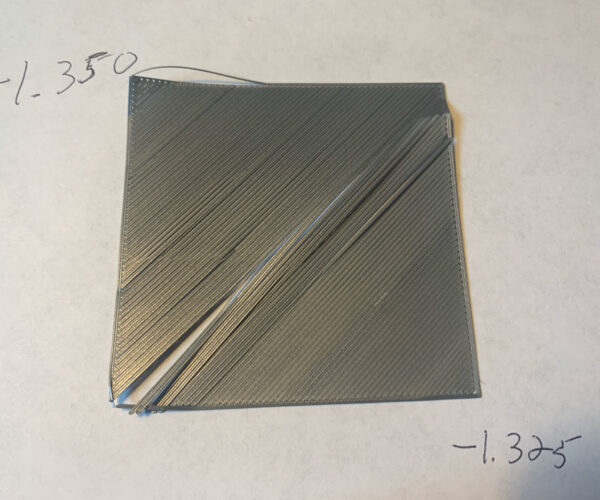
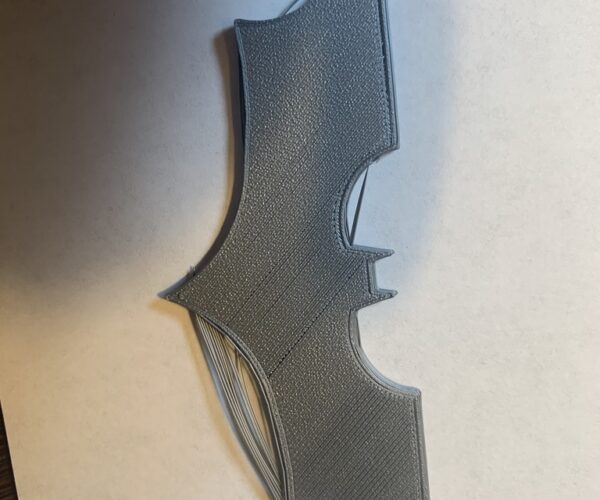
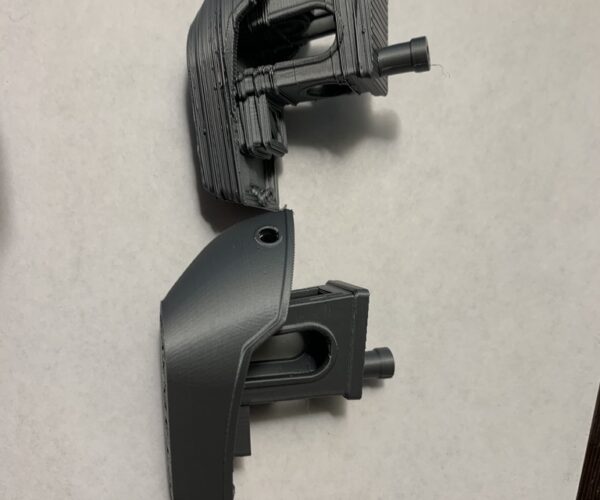
Thank you for this. I think it's helpful. I'm not sure how to fix what I've got going on. It looks like it all starts perfect and just goes awry as it continues. I tried adjusting down midway and it got worse. The adhesion was very good (which is part of why it all fell apart when I pulled it off.
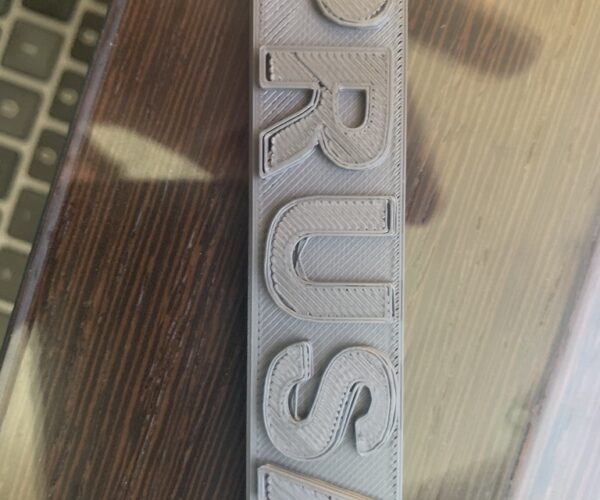
The Prusa badge came out so-so.
The Batsymbol had some issues.
I'm new to all this and could use some guidance.
RE: life adjust Z - my way
Gonzonia,
I'll start out by stating that -1.350 is a much larger number than typical for the live-Z adjustment. I would recommend starting with re-setting the PINDA sensor height following the assembly instructions prior to resuming your attempts to calibrate the first layer.
The PINDA sensor height is set using the thickness of a "zip tie" but the instructions are somewhat ambiguous about how close to the build plate you should position the nozzle tip before using the "zip tie". I found that placing a piece of paper between the nozzle tip and the bed surface and then slowly adjusting Z down until the nozzle just started to touch the paper (indicated by a slight friction when trying to slide the paper around under the nozzle) put the nozzle in a position where using the "zip tie" allowed me to get the PINDA sensor well postioned.
Using this method you should find your live-Z values in the range of -0.650 to -0.850 or so depending upon the build sheet. You did not specify which sheet you have but the printer can store live-Z values for three sheets so be certain that you have the correct one selected before you run the live-Z calibration again.
If you have not already, make sure to select 7x7 mesh bed leveling in the printer settings. This will allow the firmware to create the most accurate mesh "map" of the bed possible which will help with consistent layer thickness.
Finally, make certain that you allow the heatbed to cool to near room temperature before you attempt to remove the coupon (or any future prints) as the bed adhesion gets lower as the surface cools and part removal will be easier.
Keep us posted.
Regards,
Steve
RE: life adjust Z - my way
@steve_g
Thanks for the tips. After troubleshooting quite a bit yesterday I think there were problems other than the 1st layer. Prusa's documentation says anything under -2.00 is okay. I printed a Benchy and there was a lot of layer shifting. I tightened the tension on the X belt, tightened the X and Y pulley screws, changed to 7x7 and I'm printing a new Benchy now. So far it looks fantastic. Nice and smooth. Hoping the details come out nice as well.
Also, I'm using the dual-sided textured plate.
