Re: life adjust Z - my way
Ok, seems super complicated, but thanks so much! Can you PM me the firmware with solution? And mind terribly walking me through the steps like i'm 5?
Really, really appreciate it.
you've got a PM ... and some announcements from my site as an answer to your second question !
dem inscheniör is' nix zu schwör...
Re: life adjust Z - my way
Thanks so much!
Re: life adjust Z - my way
I'd also thank you, who spend your time in helping others out.
In the meantime I got a bit frustrated though. PRUSA promised automatic bed leveling which seems not to work. I fully understand the limitations of the PINDA. But if this is the case, the promised feature simply cannot work.
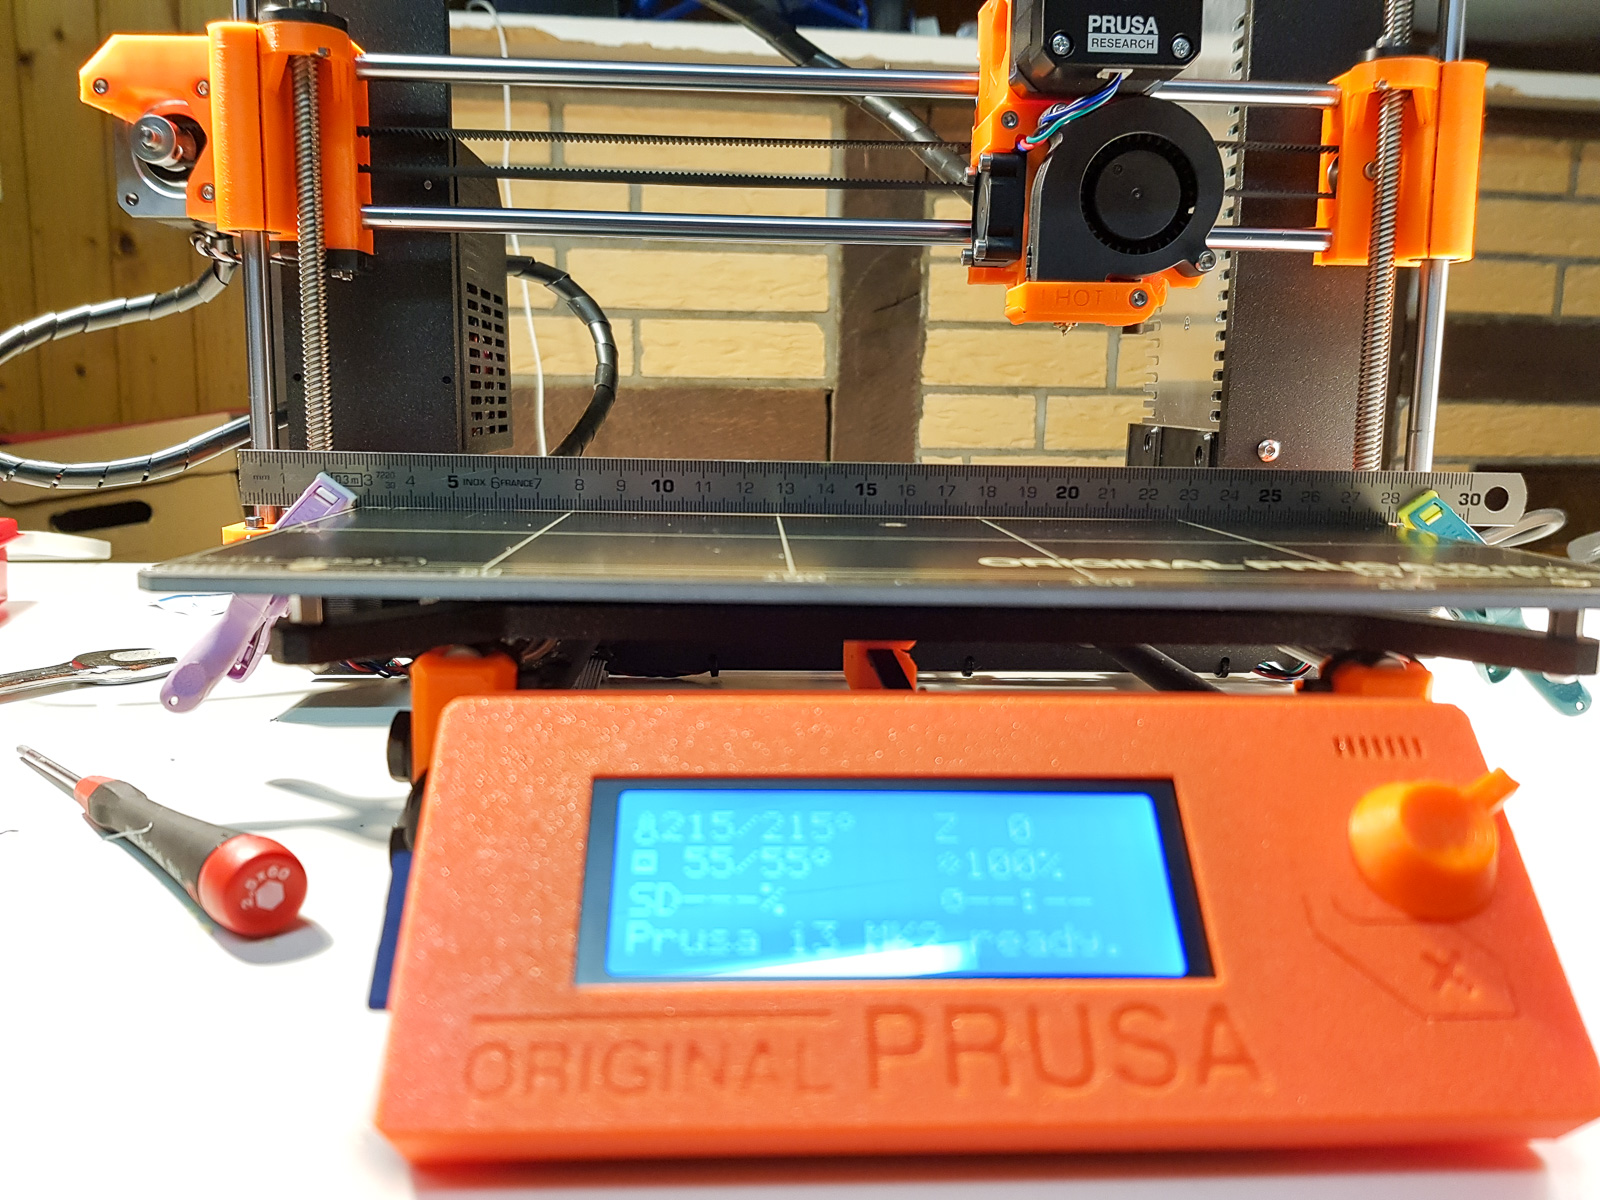
I wanted to have a 3D printer to build parts for my model plane. Now I spent hours in trying to print a single one layer square properly. I triple checked and adjusted geometry to no avail. In the meantime I used a steel ruler to gauge the flatness of the best. It's not flat at all. Does that matter? I don't know?
Is that within limits or not?
I fiddled with the bed correction factors (-50,+50,+50,-50). It brought slightly better results. Still only half of the sqare is OK, in the other third (upper left) the lines are not connected anymore. They stick to the bed though.
I came to a point where I probably sell mine. I want to print 3D parts. Instead I should install an experimental firmware, others say that I need to measure the filament diameter over a length of 6m (!) calculate the average and type it into slic3r. This is not only unpractical but in the end a useless gadget that needs more time to calibrate and so all the other thing than it takes to actually print.
BTW, bed leveling seems to be an inherent problem of the printer. Many others have that problem as well. Too many, if you ask me. PRUSA should address this problem.
Re: life adjust Z - my way
...
Is that within limits or not?
...
I've seen heatbeds much worse.
but such a "valley" or "dip" can be the result of an assembly where you apply force in x or y direction to the bolts of the heatbed. this may occur if the holes inside the y-carriage (just holes, no threads inside !) doesn't exactly match the standoffs of the heatbed which lets you squeeze the bed.
solution: widen the holes at the y-carriage with a drill.
furthermore: manufacturing a dead flat pcb based heatbed is a hard challenge.
I know that it's frustrating to get started with the 3d printer, but once you've overcome the teething problems, you won't miss the printer any more 
dem inscheniör is' nix zu schwör...
Re: life adjust Z - my way
Hi Jeff,
thanks a lot for your answer. I will widen the hole a little if I find it too tight. No issues. I am an experienced RC Model plane builder.
However, I cannot remember that I had issues fastening the screws. I know that I would have realized it if it would have been too tight. Will check it anyway.
After I did some checking and re-fastening nuts on the threaded rods, I experience that XYZ calibration didn't end with "congratulations message" but "Good job" telling me that XY are a bit skewed. How do I address this problem?
Cheers Alexander
Re: life adjust Z - my way
...
After I did some checking and re-fastening nuts on the threaded rods, I experience that XYZ calibration didn't end with "congratulations message" but "Good job" telling me that XY are a bit skewed. How do I address this problem?
...
look at the menu option "support" (actual firmware required), there you get values from which you can derive in which direction you need to correct the skew.
dem inscheniör is' nix zu schwör...
Re: life adjust Z - my way
Thanks a ton! I'll have a look at that.
Cheers Alexander
Re: life adjust Z - my way
Hi,
I now tried everything to get a good calibration. I asked PRUSA support as well and they suggested to add a washer on the lower end. That's what I did. The bed was one mm up at that corner. I would have expected that the nozzle may now even run into the bed.
The good news is: bed leveling works. The bad news: Nothing in the calibration print changed, no matter what I do. The back left half is not dense at all,m while the front right half ist in perfect shape.
Any ideas?
In the meantime I did my 10th calibration to no avail. Went back to "congratulation" message with no skew. However, it doesn't calibrate.
More options highly appreciated.
Cheers
Alexander
Re: life adjust Z - my way
....
The good news is: bed leveling works. The bad news: Nothing in the calibration print changed, no matter what I do. The back left half is not dense at all,m while the front right half ist in perfect shape.
Any ideas?
...
yes, that's the problem with the meshbed levelling ! it works.
if your heatbed is physically dead flat (or as we say in germany: flat like a mirror) and the printer detects the 9 calibration points with different values, it assumes that the measured values represent the real heatbed. but because the probe detects the "depth" of the calibration copper layer different at some of the calibration points, the meshbed levelling corrects the physically flat heatbed to what the printer thinks is flat.
hope I've explained it so that everybody could understand my point.
so the only way to correct this is to find a correction value for each of the 9 points and use the hyperfine bed levelling to correct the deviation in height measurement for each of the 8 reference points surrounding the middle one.
dem inscheniör is' nix zu schwör...
Re: life adjust Z - my way
Thank you Jeff,
Sorry to say that, but if you're right (and from all I saw and read, you are!) the PRUSA i3 MK2S has a major design flaw. It eventually means that you cannot get the stock machine running properly under certain conditions. PRUSA Support insists on adding washers, which is totally in vain, since the machine sort of ignores any straightening or bending (as shown above, and explained by Jeff).
Since the bed is also quite bent I hope for a replacement and see of the copper may have a different density.
Honesty, I bought the wrong machine. At least I should have bought a prebuilt printer rather than the kit. In this case I could easily make a case with PRUSA. My advice from my personal experience would be: don't buy the kit. What really annoys me is that I spent an awful lot of time on trying to fix an unfixable problem. I could have learned Fusion 360 instead. What a waste of time.
I'm off for vacation for the next two weeks, and look into it later.
Re: life adjust Z - my way
hi alexander, personally I don't share your view.
the prusa is a great printer and it's overall design is very smart.
but at least it's an assembly of components that need to play together as good as possible.
each component has it's own tolerances and the majority of printers work very well and deliver very satisfying, yes: sometimes pristine results.
but in a few, rare cases (compared to the number of sold printers), some of the components are out of their manufacturing specifications which makes it hard to get the calibration and alignment dialed in perfectly.
the advice from the prusa support, to add washers, is a good one because it helps you getting your heatbed physically dead flat. so the calibration procedure should always run through, without digging in the nozzle into the heatbed at a certain (undetectable ?) calibration point.
but if the measurement of the reference-point heights deliver a different sensitivity at each point, you need to compensate these mismeasurements.
the genuine prusa firmware only allows the front/right/left/rear compensation, which helps in some cases.
so at this point I've to aggree with your opinion: that's a design flaw.
... and that's why Peter came up with his idea of the hyperfine bed levelling.
dem inscheniör is' nix zu schwör...
Re: life adjust Z - my way
Hi guys. It's me again. It's been a while since I post on here. Anyway I decided to upgrade to the latest firmware and read the troubleshooting post pinned on top of this subforum. I did everything step by step and everything seems fine. However, when I do my live Z adjustment if I go more than -.300 it will start catching on the paper. On the troubleshooting post I read that it should be anywhere between .4 to 1mm. What could this be? Is my pinda probe too low? Let me know what do you guys think it could be so that I can get to fine tune and calibrate this awesome printer and start making creations. Thanks for your time.
Re: life adjust Z - my way
...
However, when I do my live Z adjustment if I go more than -.300 it will start catching on the paper. On the troubleshooting post I read that it should be anywhere between .4 to 1mm. What could this be? Is my pinda probe too low?
...
guess that's the correct conclusion.
the point with the recommendation is that your pinda probe shouldn't hit anything of your print... even when there is some "upcurling" at edges with an overhang.
but don't raise it to much, because the other side of the medal is that it makes it harder for the printer to detect the calibration points securely.
dem inscheniör is' nix zu schwör...
Re: life adjust Z - my way
Hi Guys, I guess I'll need a little help from you 🙂
I'm a new comer in the 3DPrinting community and I'm having hard times with my printer.
After a successful calibration 4 weeks ago on my first print bed, it stopped heating and Prusa changed it quite quickly 🙂
But since, after many calibrations I cannot get a good compromise, I guess the bed is not as good as the first one, and I'll probably need your custom Firmware.
Here is examples of my issues:

Re: life adjust Z - my way
This has been a big help, thanks so much for putting this together! I have what I believe to be a mostly successful test print (though it does appear to angle up to the top left corner).
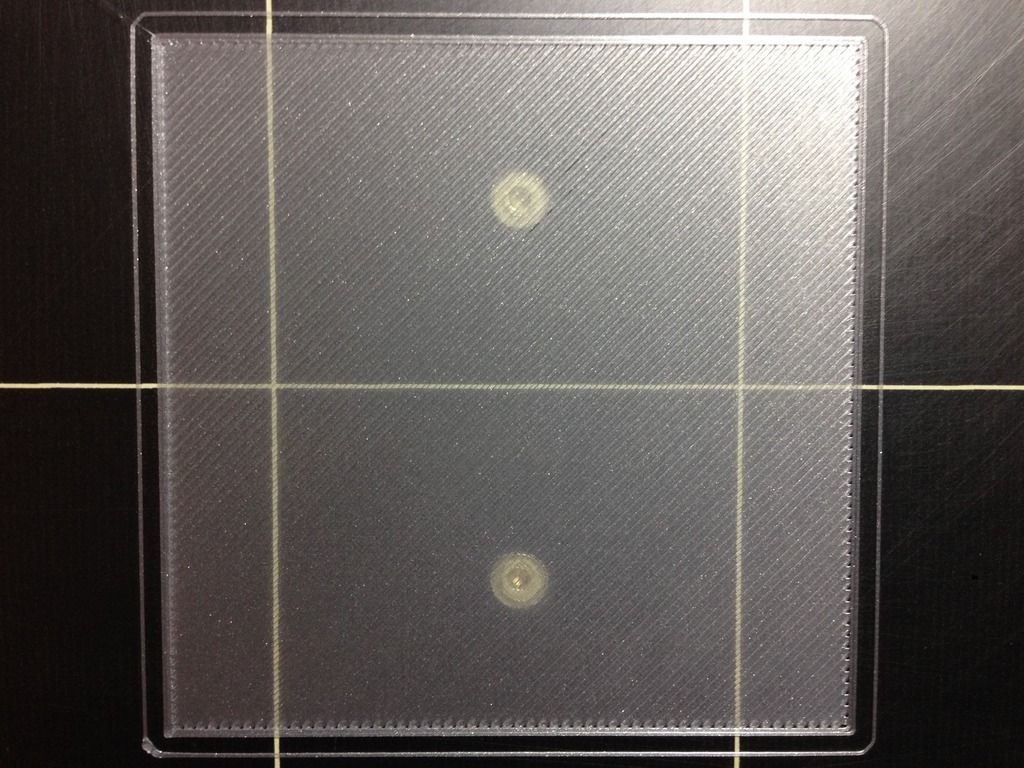
After reading many of the posts I noticed several people mention that once the single layer test print is completed it can be very hard to remove from the bed. In my case, I lay a razor blade flat on the bed and then angle it up just enough to get under a corner. With one corner loose it pulls off really easy. Should it not be that easy? If so, would that suggest there is a cleanliness issue with my bed?
Re: life adjust Z - my way
...
In my case, I lay a razor blade flat on the bed and then angle it up just enough to get under a corner. With one corner loose it pulls off really easy. Should it not be that easy? If so, would that suggest there is a cleanliness issue with my bed?
that's similar to my way. instead of using a razor blade, I use a cutter, with very thin, rectangular blade.
in case of ordinary pla, it should always be as easy as that.
but there are materials out there, like soem PETG and Biofila PLAtech, which sticks like hell at the pei sheet...
furthermore some models with large bottom surface and big, solid body makes it hard to get with the blade under the edge.... so applying mouse-ears to the object, to provide a corner where you can safely squeeze the blade underneath, make things easier.
by the way:
congrats for your pristine looking first layer sheet. and if its thickness measures at 0.20 mm (+/- 0.02mm), you're done.
dem inscheniör is' nix zu schwör...
Re: life adjust Z - my way
Good news, I thought I had another issue there!
Glad to hear the layer looks good! Should I be concerned at all with the holes present in the bottom right hand corner where the diagonal lines meet the perimeter? They are not present in the top left, like the bed is sloped in that direction. Had some recommendations to verify tightness on bed screws and start prints with the extruder far above the bed but no luck. Wasn't sure if that looked to be within reasonable variance or if I need to mess with leveling adjustments. I only have mitutoyo calipers, but I am getting .21 pretty consistently ( with the largest variance occurring between the two corners I mentioned).
Re: life adjust Z - my way
...
Should I be concerned at all with the holes present in the bottom right hand corner where the diagonal lines meet the perimeter?
...
no, that's related to the slicer I used (S3D) and the "overlap" handling, no worries about it.
about the mitutoyo calipers: just googled for them and in my mind they seem to be completely sufficent for such a measurement.
dem inscheniör is' nix zu schwör...
Re: life adjust Z - my way
Beautimus, thanks so much for all the help!!!
Re: life adjust Z - my way
Truly amazing method! Thanks a lot for sharing this.
I'm saving the calibration sheets to see if it's true that Z drifts over time and/or conditions.
Thanks Again!
Alex
AgroMe Inc.
Toronto, Canada