Help troubleshoot i3 MK3S prints
Hello!
I purchased an assembled MK3S and when I was printing with PLA everything worked great - I was super stoked on the new printer. Then I wanted to try 98A filament and in the middle of the print the extruder started clicking and the print failed with under extrusion.
I opened the filament idler door and cleaned out the filament that had gotten twisted inside there and put everything back. First I wasn't certain how tight to make the screw that holds the filament idler door, so I didn't tighten them too much. I went back to printing PLA, but since then pretty much every print has failed.
Prints have been stringy and the flow of the filament out of the nozzle didn't appear to be smooth and continuous, so I assumed a clogged extruder. I tried:
- The heating method to heat to a high temp and then extrude remaining crap in the nozzle.
- The cold pull, 3 times with no noticeable improvement.
- I've put the needle into the nozzle and generally cleaned the nozzle.
- I've played with varying levels of tightness for the idler screw.
- I clean the bed with rubbing alcohol for each run and the bed is clean before every test print/calibration run.
- I've upgraded to the latest firmware (3.7.0)
All with no luck. I've done many first layer calibrations with the PLA that came with the printer, with standard temperature (215/60) and some look better than others. I've tried moving the nozzle closer; further away. Nothing seems to improve matters, prints nearly always fail, and if they don't fail the edges peel up very easily. One run of the first layer calibration can look great, but a subsequent one with no changes looks like the picture below.
Here is the result of the latest first layer calibration run:

The lines are not clean lines, some of them are peeling off. And the square printed at the end? It looks like there is way too much filament being extruded! The extrusion rate is 100% and lowering it doesn't get the print to stick to the bed. I use Slic3r (Prusa version) to do my slicing, but often times trying to print an actual print is pointless -- you can see how badly the first layer calibration goes.
I'm at a loss -- what could be happening? What should I try next? How tight should the idler screw be?
Any tips would be much appreciated, thanks!
Re: Help troubleshoot i3 MK3S prints
Your heat bed is really dirty. A good soap and hot water wash is in order.
In the photo, your layer 1 is much too low - see the side ridges in this clip, right? They should never exist. The xtrusion should be 0.2mm thick, 0.45 mm wide, ideally. Some variation is normal due to bed flatness
If the extruder gears are is clicking,, you might have a loose idler gear shaft. Check the shaft makes contact with both "ears" on the idler door, and the idler gear is firm, not springy.
Do another cold pull and post a photo of the filament that was pulled. It's not uncommon to do several cold pulls to get all the debris out of the nozzle.
Also, sometimes you will need to remove the nozzle and blow the filament path clean (blow compressed air UPWARDS through the heat break) to clear dust and debris that falls down when the nozzle plugs. The extruder gears grind filament and bits drop into the PTFE then jam things pretty well.
And, what is the nominal print temp of your 98A?
Hot Water wash: as needed
Handle the bed only by the edges.
Wash the bed in hot water, use a fresh paper towel as a wash cloth, with a few drops of plain dish soap (Dawn, unscented, no anti-bacterial, etc.). Rinse well in hot water - if you have very soft water, rinse a bit longer.
Dry the bed with a fresh paper towel.
Handle the bed only by the edges.
Place bed on printer.
Alcohol rinse: every few prints
Once in a while, an alcohol rinse is helpful to remove PLA residue. It does not remove finger oils.
Pour a 5 cm puddle of 91%+ alcohol in the middle of the bed, use a fresh paper towel to scrub the bed. Wipe up all the alcohol.
Streak test: when contamination is suspected and after a wash
With a fresh piece of paper towel, and very clean fingers, dampen a fresh piece of paper towel with 91%+ alcohol, and wipe the bed side to side moving back to front, like you're painting it with alcohol. The alcohol should be thin enough on the towel it quickly evaporates. If you see any streaks, the bed is dirty and needs a wash.
Acetone wash: infrequent
Pour a 2 cm puddle of acetone on the bed, scrub it around with a fresh paper towel. It will evaporate fast as you clean. This step removes PEI oxides that form over time and with heat, and improves PLA adhesion to a like new state.
Re: Help troubleshoot i3 MK3S prints
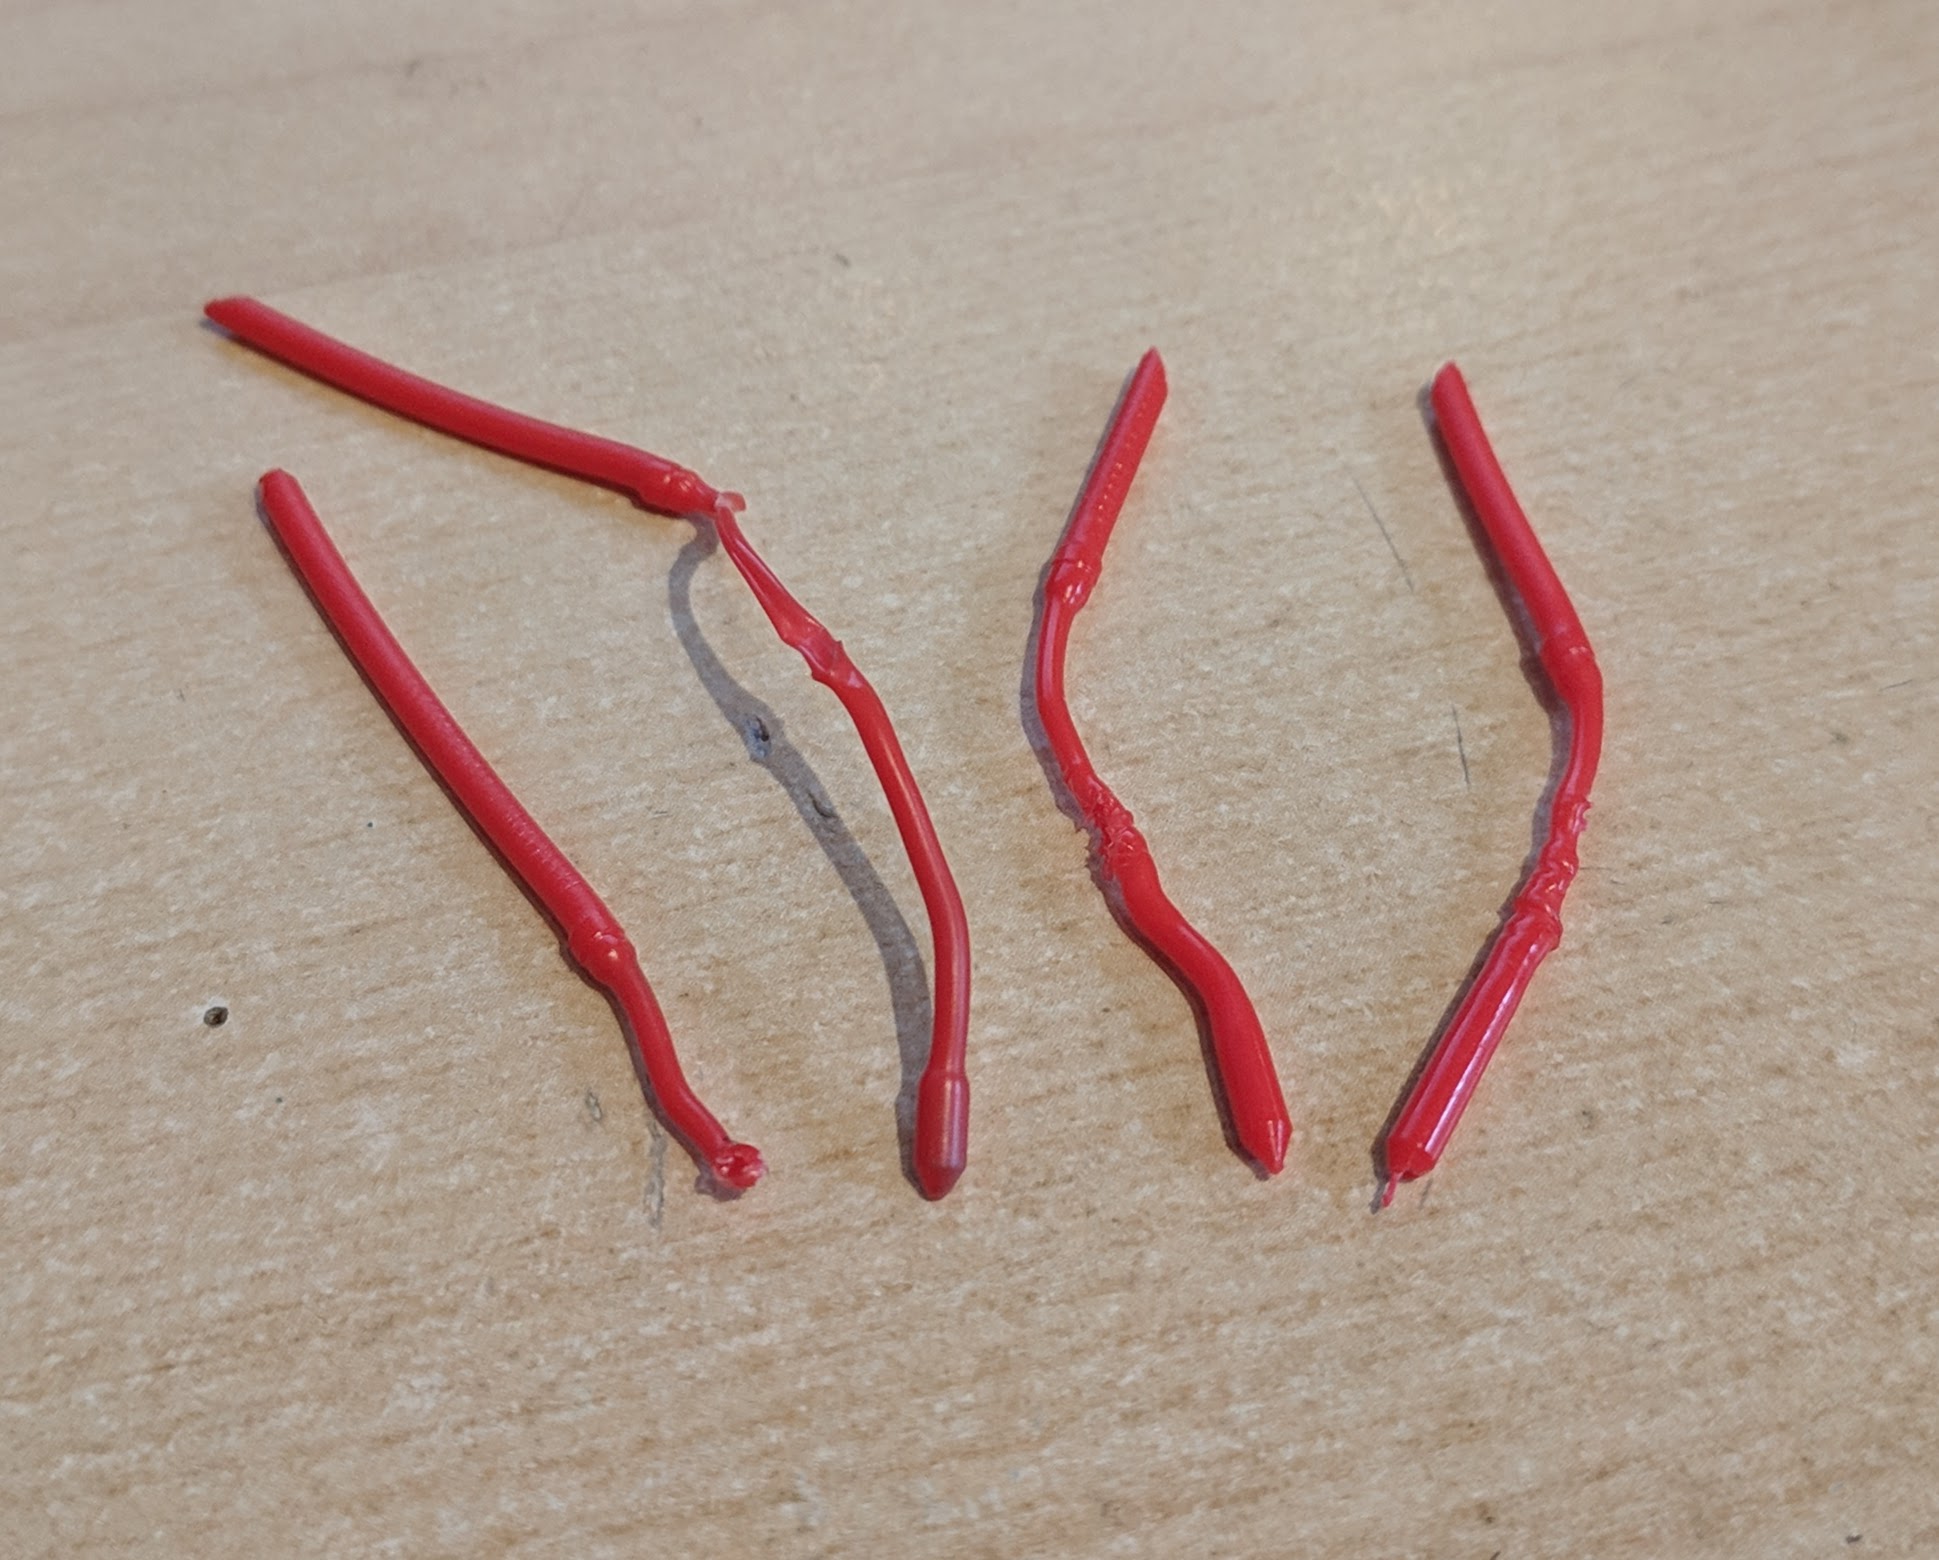
Here are the results of cold pull 4 - 8. Clearly #4 didn't work, but the other two look pretty good:
Thank you so much for all your tips -- I'm pretty certain I need to take off the nozzle and clean it when not installed on the printer.
I'm sure that all the other things you point out are contributing to the issue, the main one seems to be nozzle -- upon observing it more closely the filament doesn't extrude into a straight line that goes towards the print-bed. At first it comes out at a slight angle before the weight of the filament pulls it into a straight line. That sure seems like a persistent clog that I haven't nailed yet, right?
Thanks for your response, I'll work my way through these issues over the weekend.
Re: Help troubleshoot i3 MK3S prints
A cold pull works for cleaning the nozzle; actually better than removing it to clean it, imho. Even if you burn out the nozzle (risks softening it) you'll still need to go back and do a cold pull to remove the baked on plastic char.
As for a deviant stream? I feel that's probably geometry of the metal at the nozzle tip. A few bumps against plastic (e.g., during fast GRID infill) can deform the brass and cause a minor lip to form. In a week the lip will move to a new vector.
Removing the nozzle though allows a clear path up through the heat break and PTFE tube - and you can then blow air up the heat break and clear out debris that falls down and accumulates over time. I've noticed this debris can rattle around for quite a while, and it eventually packs down and jams the filament in the cold zone of the break. Pulling the filament after such a jam (which we tend to do), resets the mess, and it will jam again at the next print. My thinking is debris catches near the PTFE end where it meets the heat break. A good snag there and the debris lingers through filament changes. Then during a print, is rattle for a time, and then jams. This causes prints to fail in about the same place, and unrelated to the part characteristics and temps. My theory - and I'm sticking with it.
The up side is when I've had these odd jams and blown out my heat break, I generally get an impressive cloud of dust: much more than a reasonable person would expect.