Gaps along perimeter, surfaces not smooth
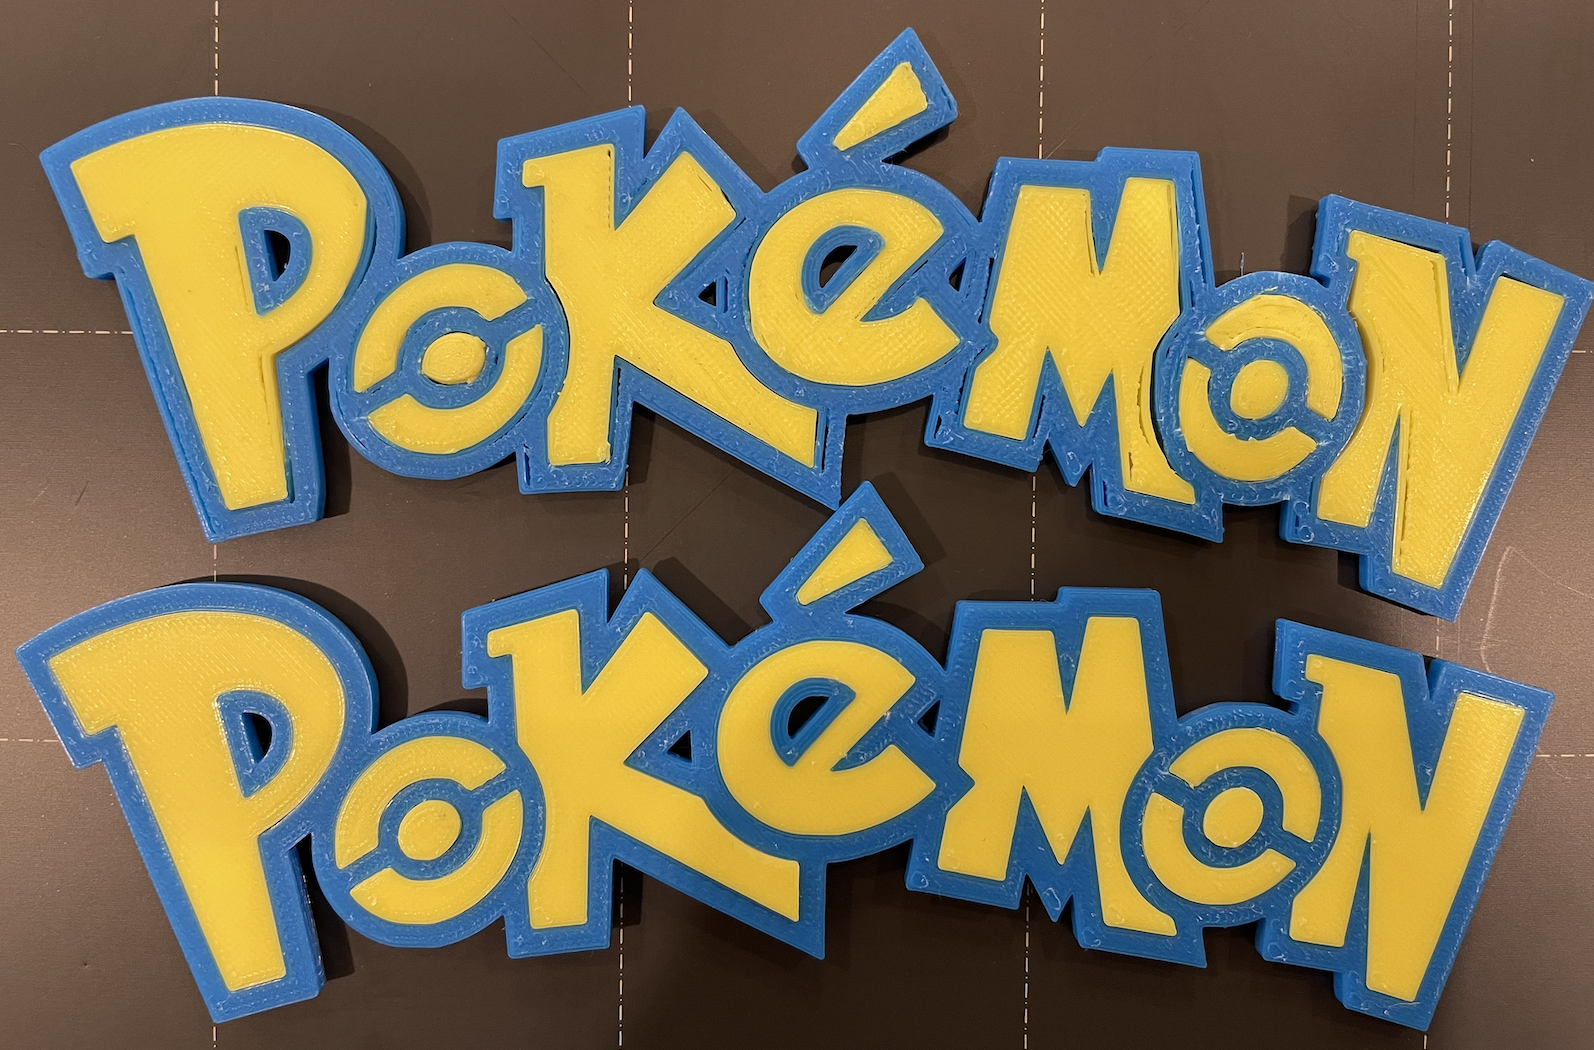
Hi all. I'm a new user and love the printer so far! However, I'm getting some gaps pretty consistently along my perimeters and the surfaces are showing some flaws. I see dozens of suggestions for troubleshooting here on the forum and in videos, but am wondering if there's some issue on print head height or leveling the bed that is screaming for attention here... can anyone suggest what's happening based on the samples in the photo?
Best Answer by Diem:
That is not a good first layer, clean the bed as @joantabb suggests then run a first layer 'Z' calibration and show us the result *on the print sheet*. You have been getting away with it because your prints have a wide footprint and low profile.
Even slight warping can cause issues in the upper layers, make sure you atre not printing in a draft.
Cheerio,
It looks like you are getting some warping - are the edges of the wider prints lifting off the plate?
Please show us the underside of those darker prints.
Cheerio,
RE:
Hi. Edge lifting hasn't been a problem - adherence hasn't been a problem since a friend helped me adjust the first layer height a ways back. Incidentally, I'm using the smooth bed surface that came with the kit, though I'll probably upgrade to the textured one from Prusa since I like the print quality of the kit parts and other prints I've seen. BTW, I'm using the PLA filament that came with the kit as well as other colors in PLA with similar parameters. Thanks!
Nick
RE: Gaps along perimeter, surfaces not smooth
Hi Nick.
Probably need to wash the build plate in the sink with hot water. Dish soap and a new dish sponge. Then rinse well with hot water and dry immediately with plain paper towels. And keep your fingers off the print surface.
Then use the build plate immediately regards Joan
I try to make safe suggestions,You should understand the context and ensure you are happy that they are safe before attempting to apply my suggestions, what you do, is YOUR responsibility.Location Halifax UK
That is not a good first layer, clean the bed as @joantabb suggests then run a first layer 'Z' calibration and show us the result *on the print sheet*. You have been getting away with it because your prints have a wide footprint and low profile.
Even slight warping can cause issues in the upper layers, make sure you atre not printing in a draft.
Cheerio,
RE: Gaps along perimeter, surfaces not smooth
Thanks for the suggestions! I've been pretty careful all along on using a clean print sheet, but was extra careful this time with the specifics Joan mentioned. Here's the result of the first layer calibration. The room I'm printing in is pretty isolated, but eventually I'll probably get an enclosure of some kind. Thanks.
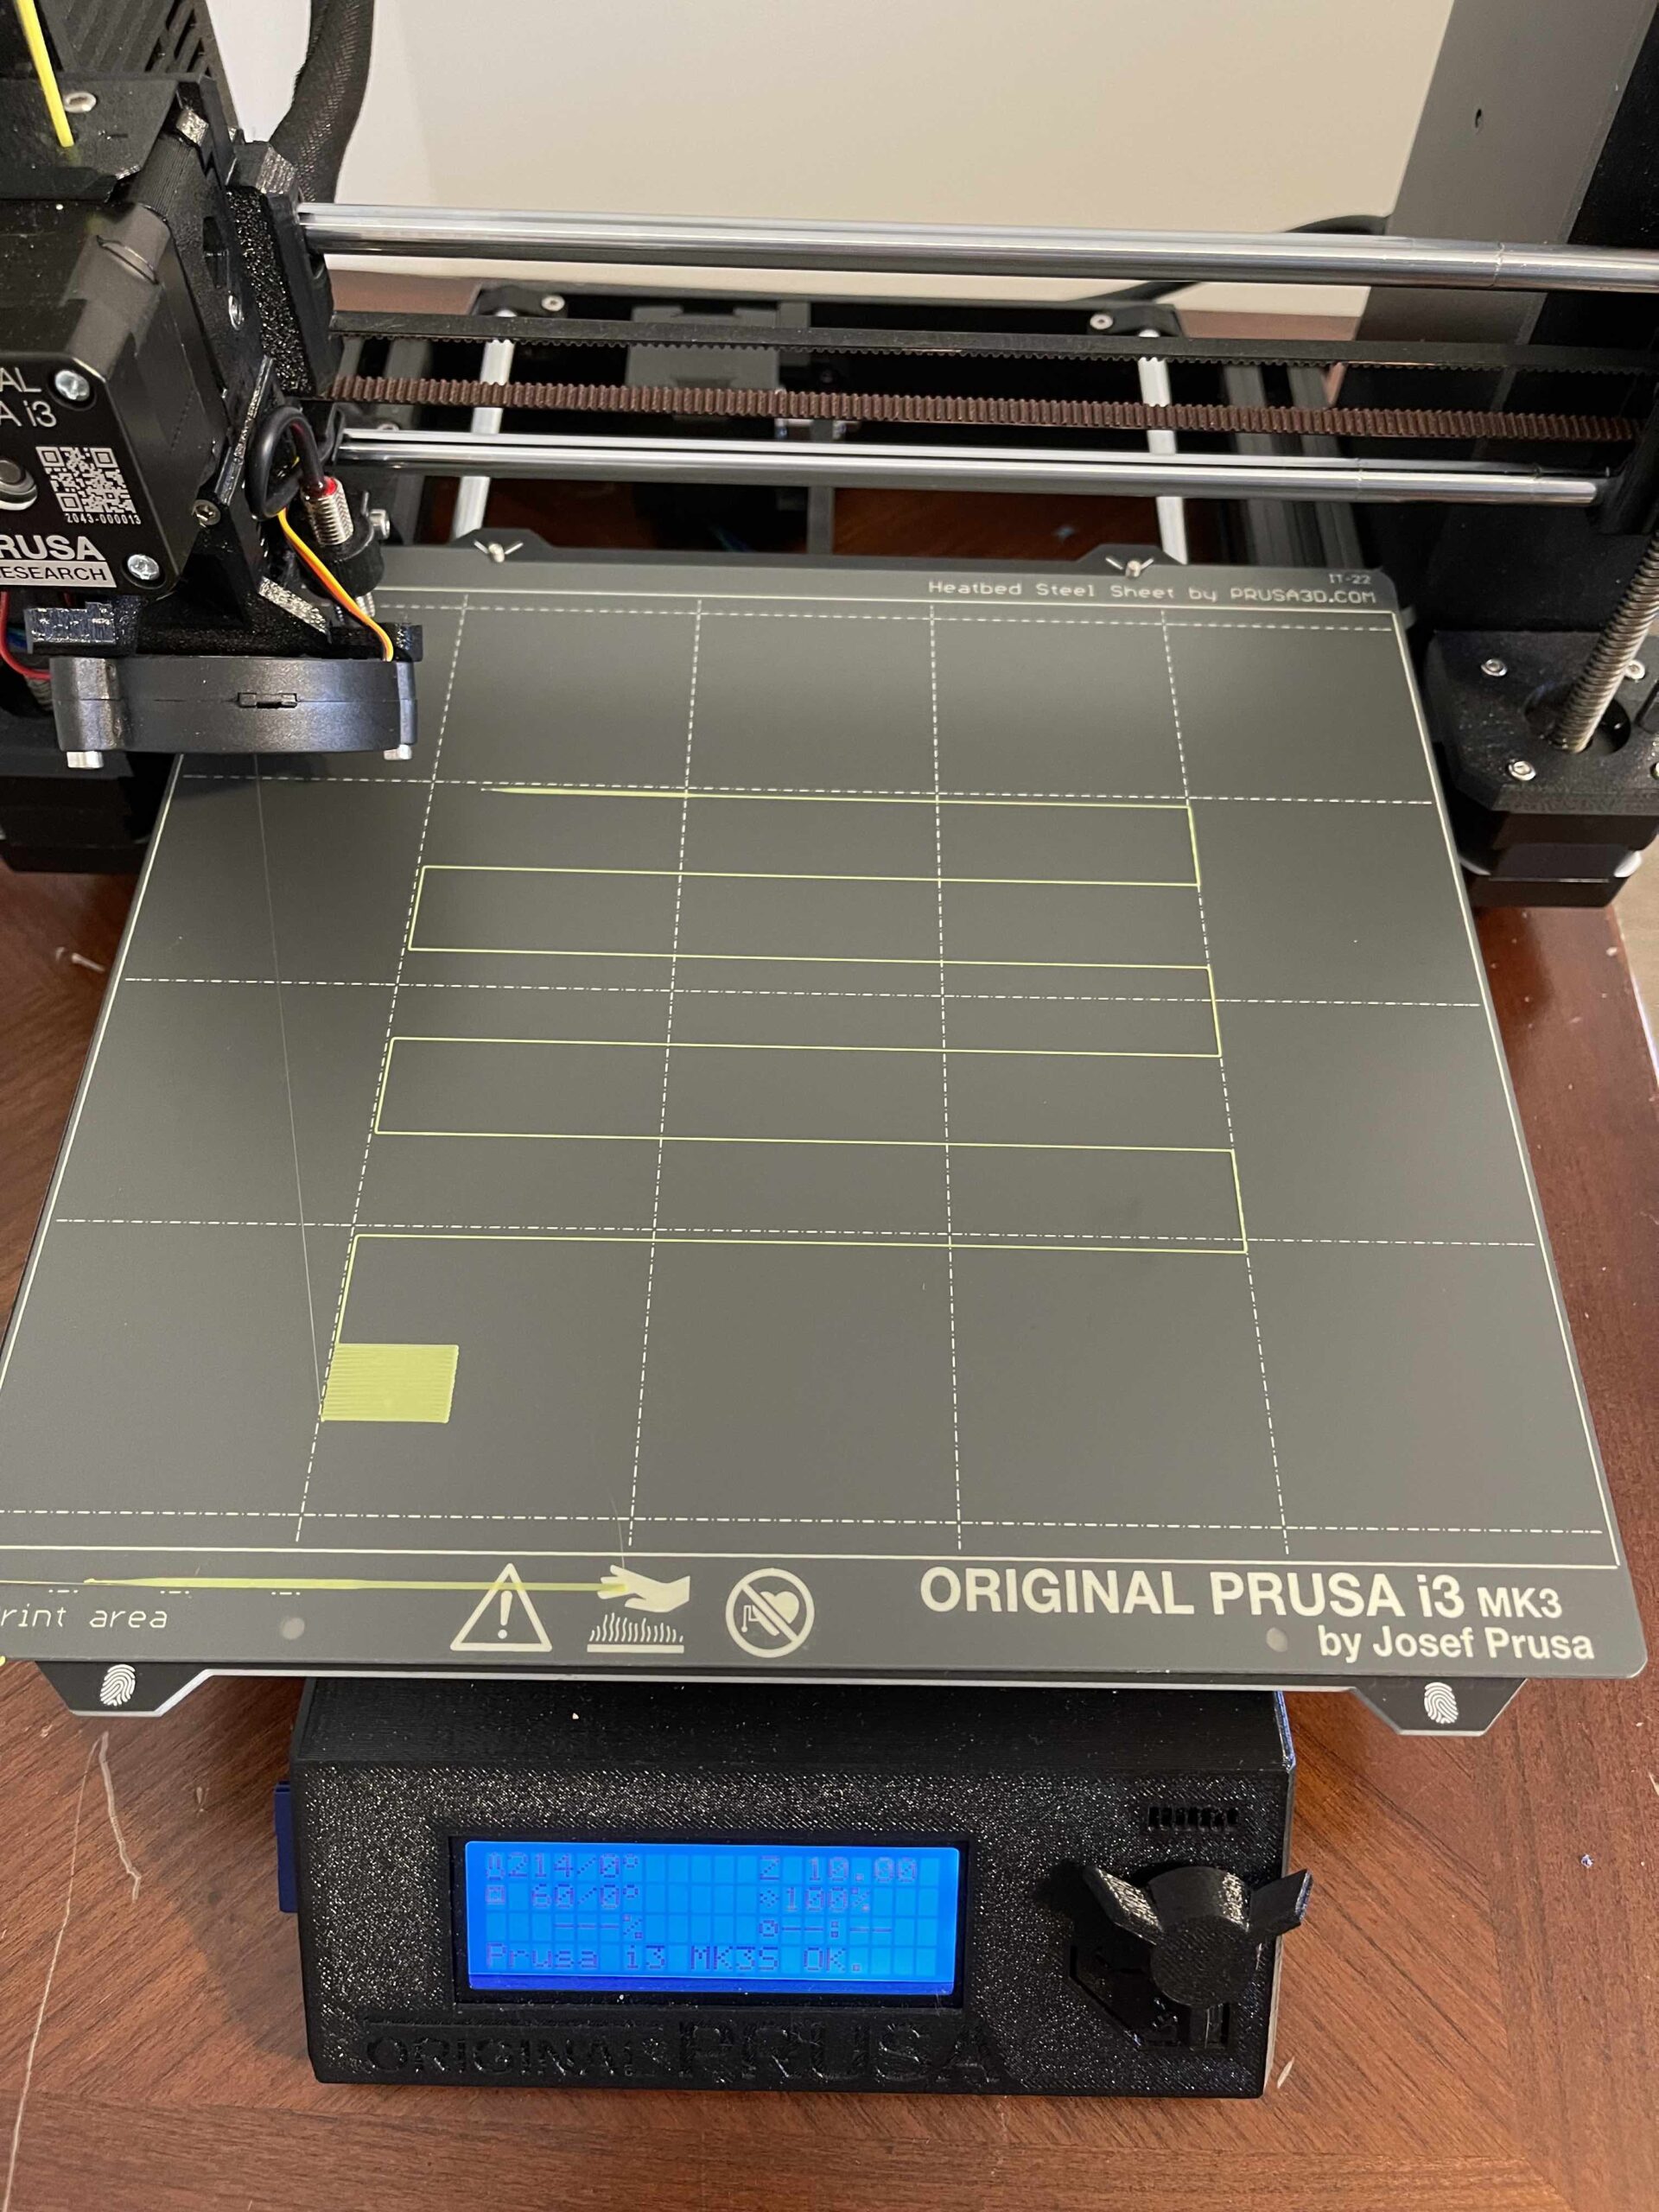
OK, that is close enough to work 'though you might tweak it for cosmetic reasons so that it is just above the point at where it ceases to be smooth.
Bed cleanliness is likely to be the root problem so: try printing again now. Protect the printer from drafts, no need for a full enclosure.
Cheerio,
RE: Gaps along perimeter, surfaces not smooth
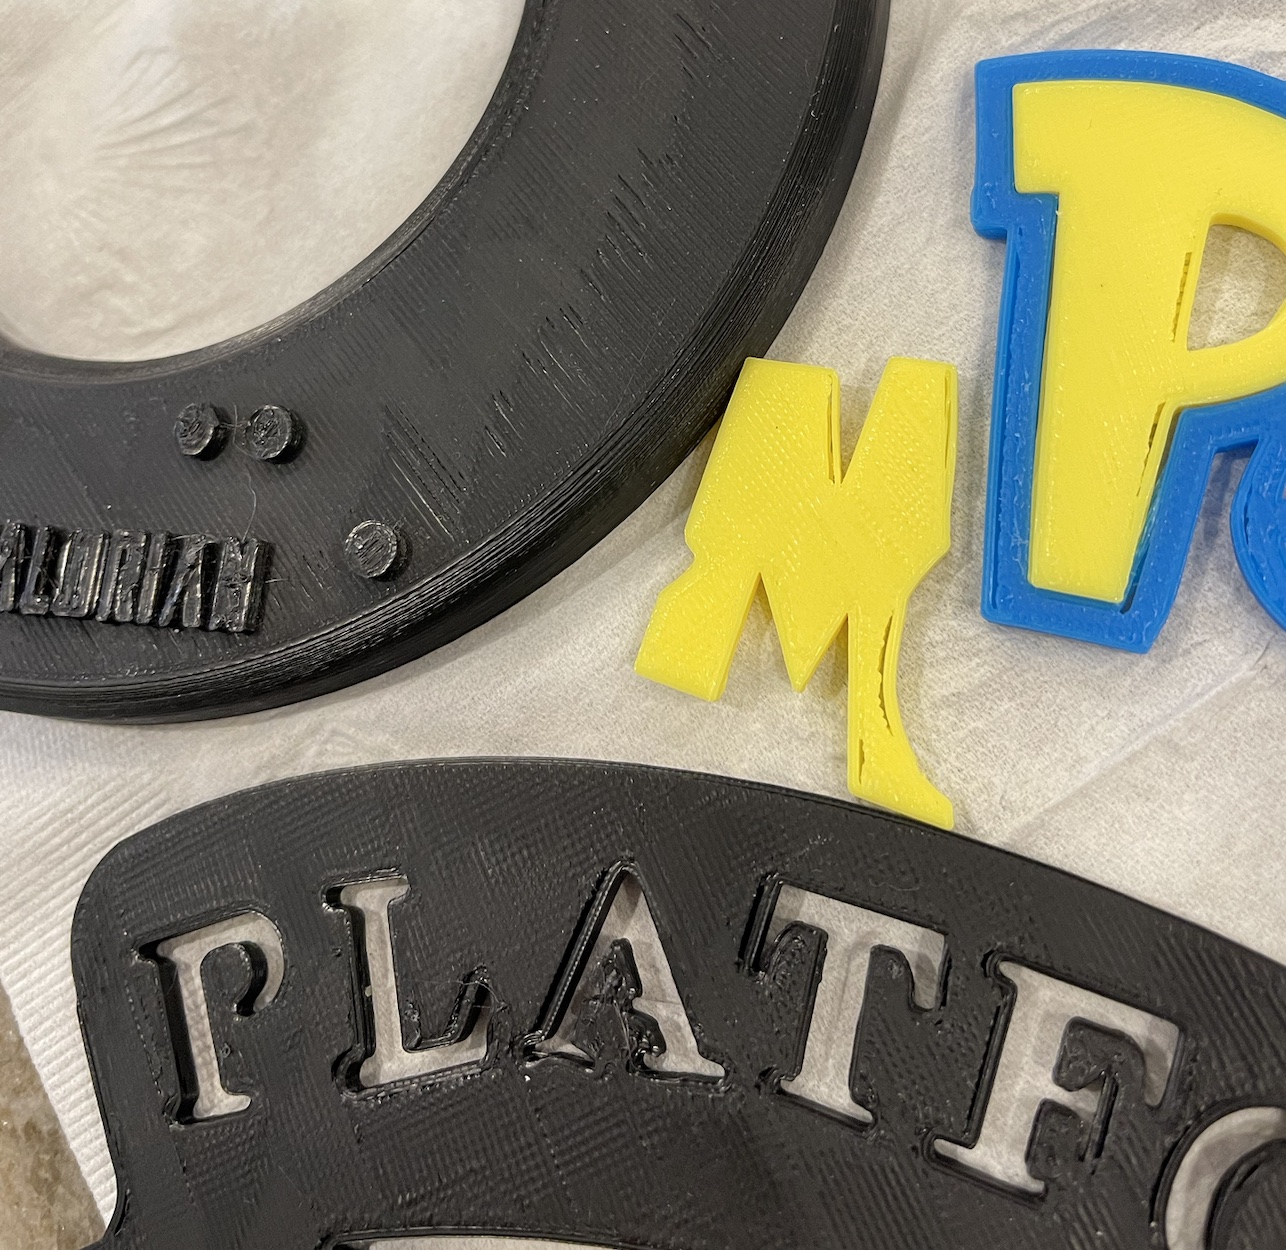
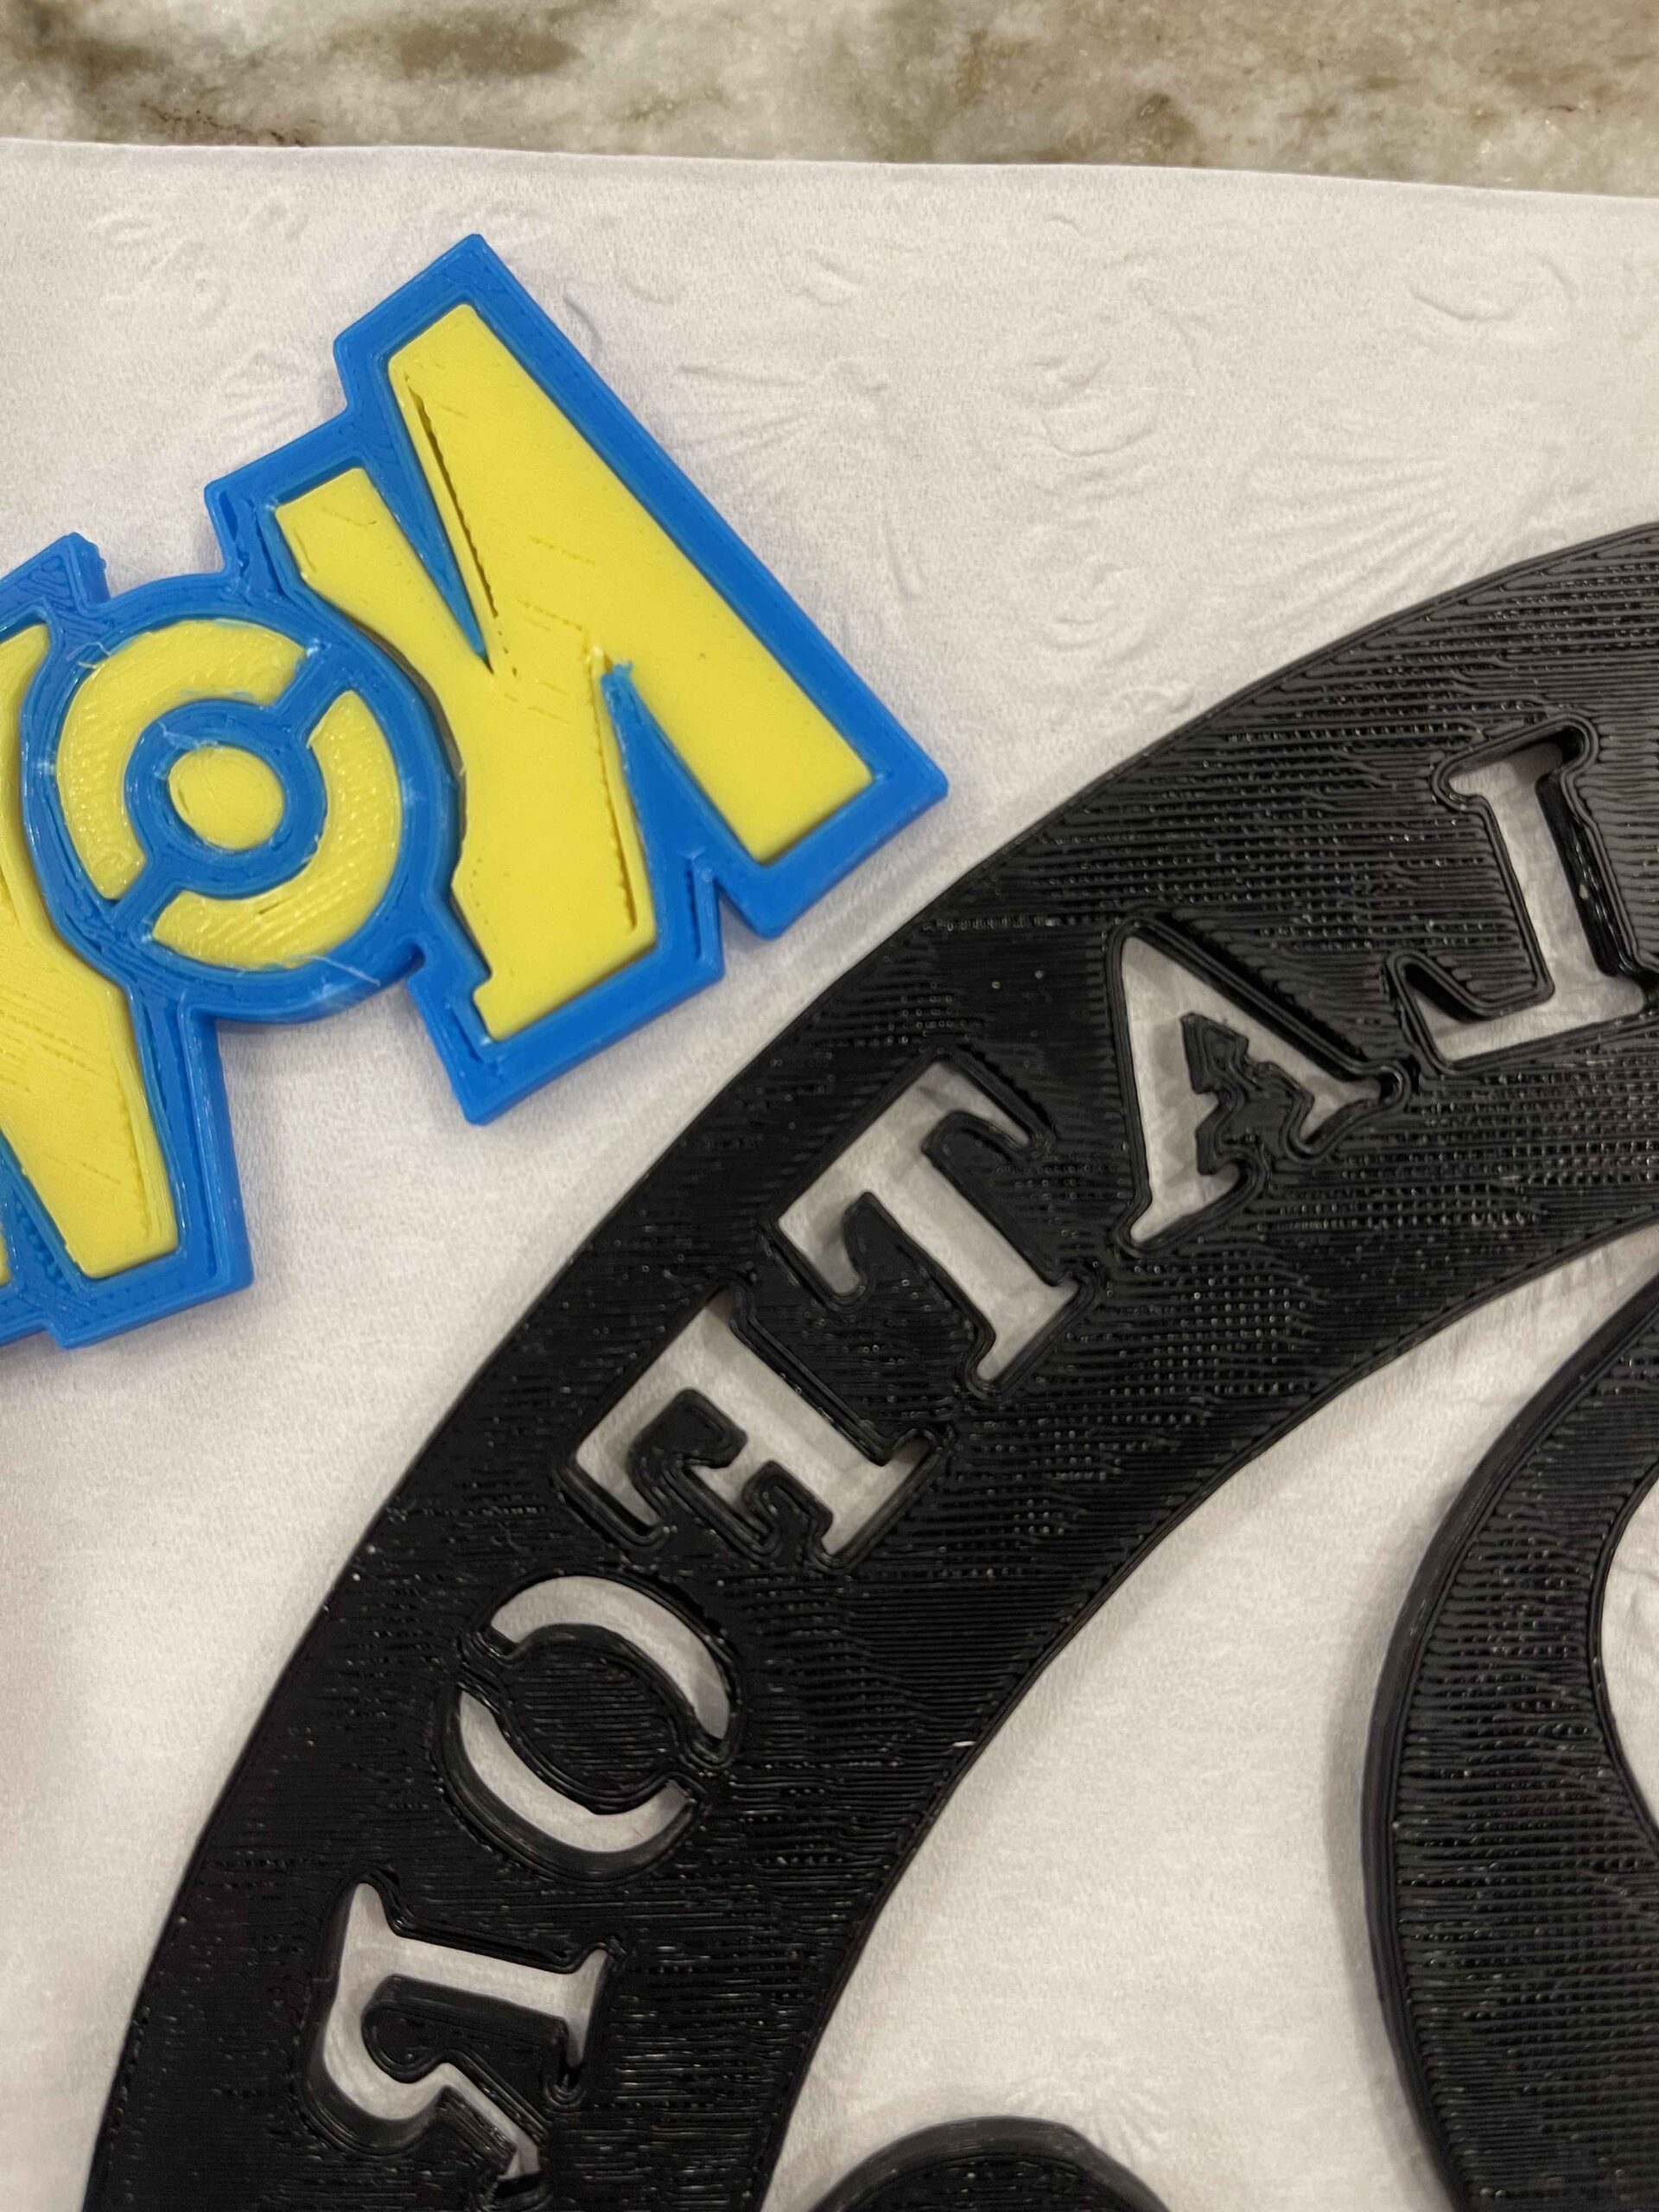
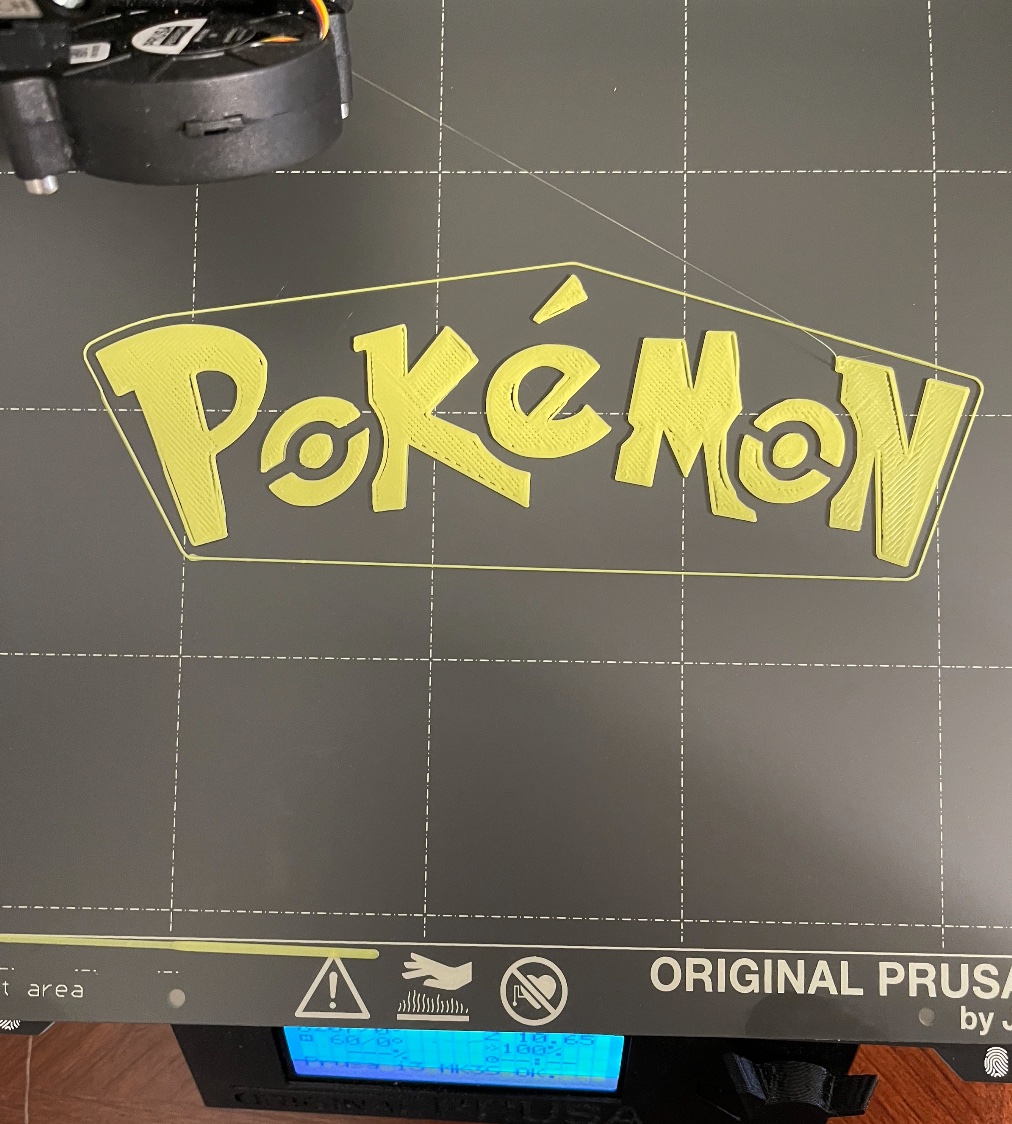
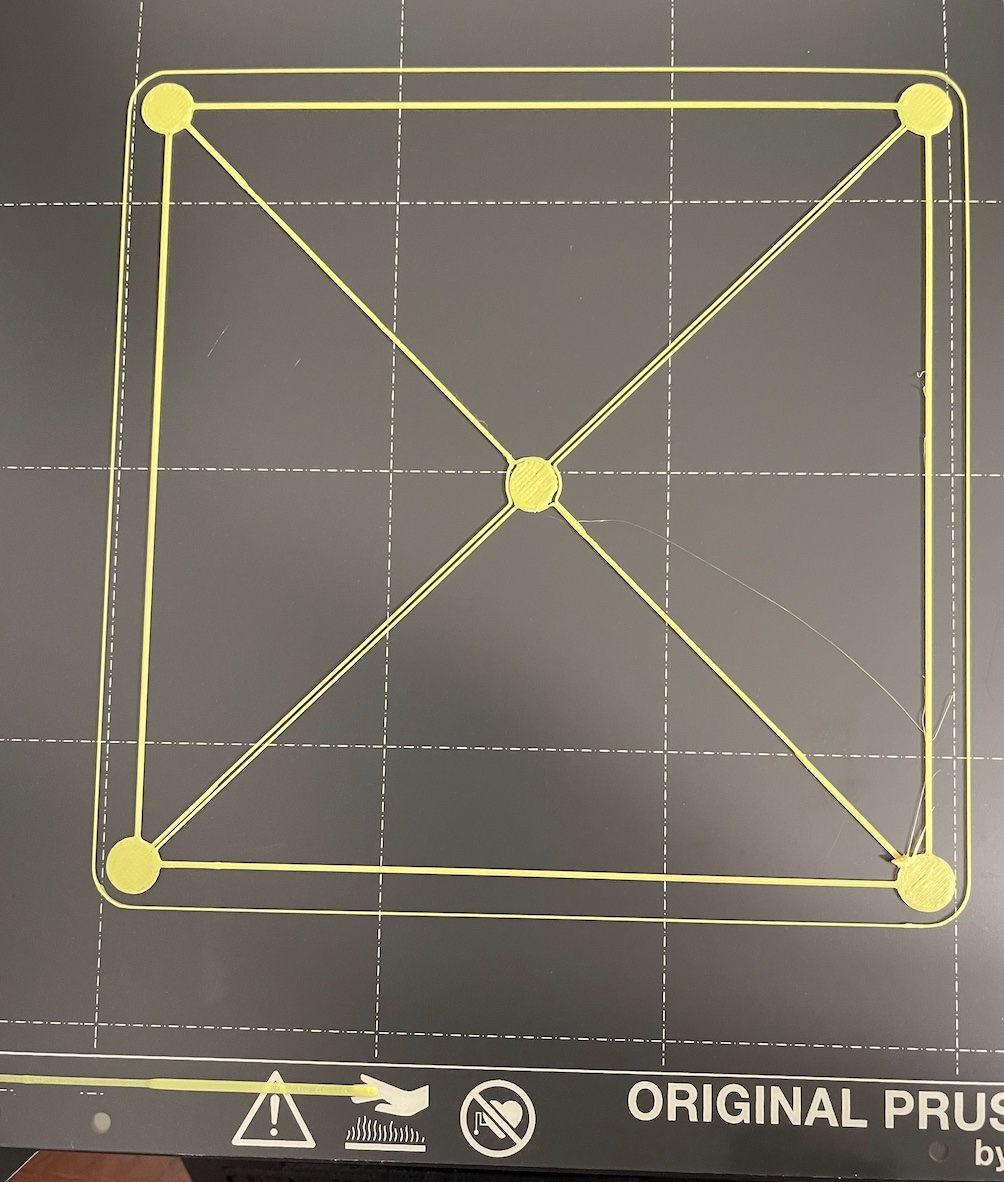
Hi again. Bed cleanliness doesn't appear to be the problem as you can see from the latest print below... the gaps next to the margins are still very much there. I followed a friend's suggestion in printing a calibration test pattern (at https://www.thingiverse.com/thing:5453465) and am getting these same artifacts (see further below), most noticably on the diagonal line in the pattern. There's also some stringing of filament, plus the tops of the circular shapes have the scrubbiness I've seen on some printed surfaces that should be smooth.
RE:
Bed cleanliness doesn't appear to be the problem
It was contributing, now we see a problem remains on change of X direction - often this is due to poor adhesion not keeping the loop at the end of travel in place but we can eliminate that now - ignore the scrubbiness btw, the printer is trying to fit a full length extrusion into a shortened run and the excess has to go somewhere.
The next suspect is/are the grub screws holding the X axis pulley to the stepper shaft.
Look at step 11 of: https://help.prusa3d.com/guide/3-x-axis-assembly_167854
and step 56 of: https://help.prusa3d.com/guide/5-e-axis-assembly_169235
While you have the tension off check your X idler pulley is OK.
Cheerio,
RE: Gaps along perimeter, surfaces not smooth
A picture is worth a thousand words! One of the two grub screws on the X axis pulley wasn't snugged down, and a quick tightening eliminated the gaps I've seen in every print until now. I still have some (much more minor) adjustments to make which should smooth the top surfaces more, but I'm good to go with a vastly improved printer today. Many thanks to the Prusa Research organization for hosting and encouraging this community forum, and special thanks to the rock stars who post solutions to get newbies like me rolling. This experience has tripled my enthusiasm on learning more about the printer HW, slicer SW, and then getting into some design (if my wife lets me disappear....)
Regards -- Nick