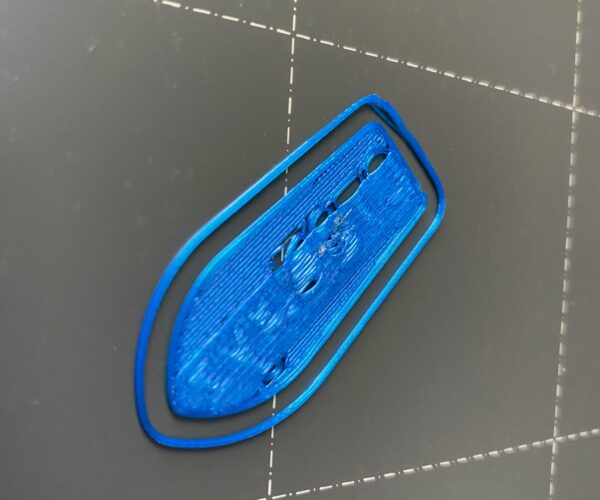
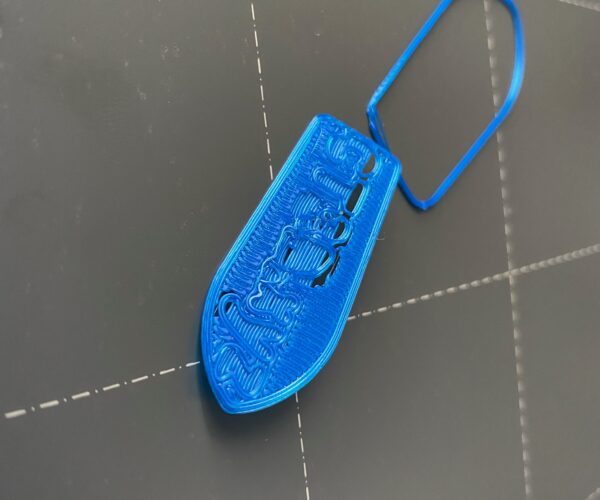
Fully assembled i3 MKS+ issues
Hello guys,
I'm completely new to 3D printing world so I decided to bought fully assembled i3 as my first 3D printer.
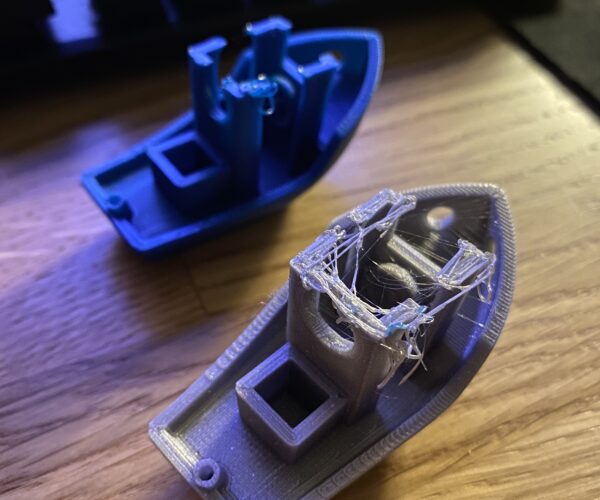
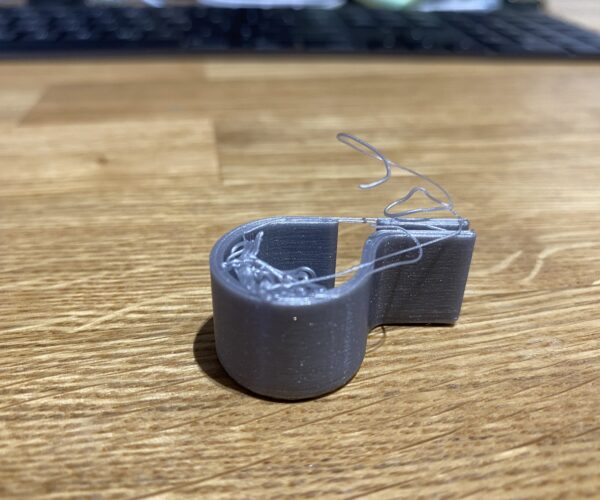
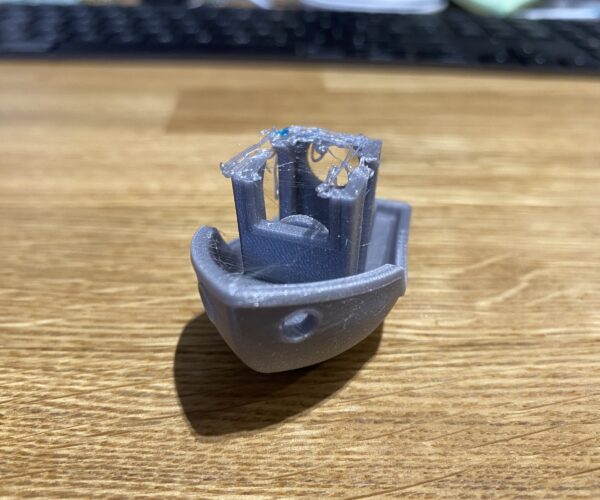
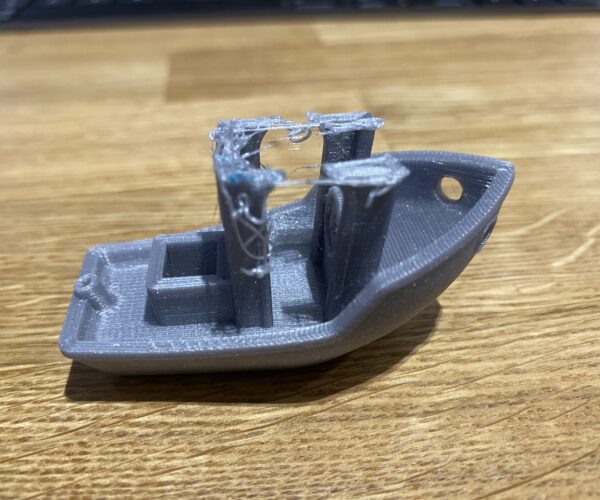
So far I tried couple prints(benchy boat and whistle) and they all was failed close to the end.
I thought fully assembled mean that everything will be calibrated and I will have high quality prints from the box.
Or am I missed something and I need to do some additional calibrations?
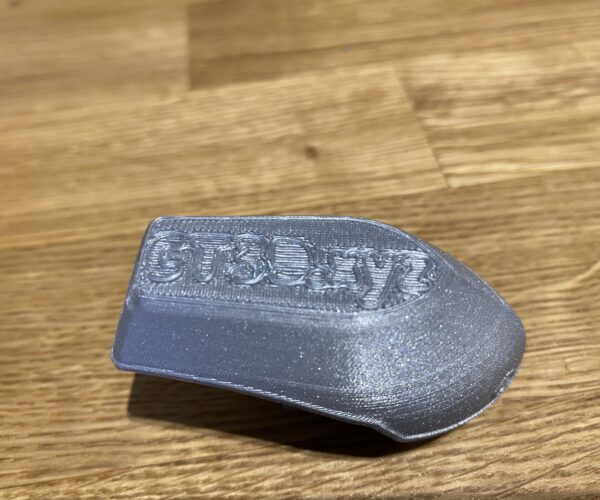
Sending below screenshots of the prints that I tried.
RE: Fully assembled i3 MKS+ issues
How do they fail?
Are you having adhesion issues?
Cheerio,
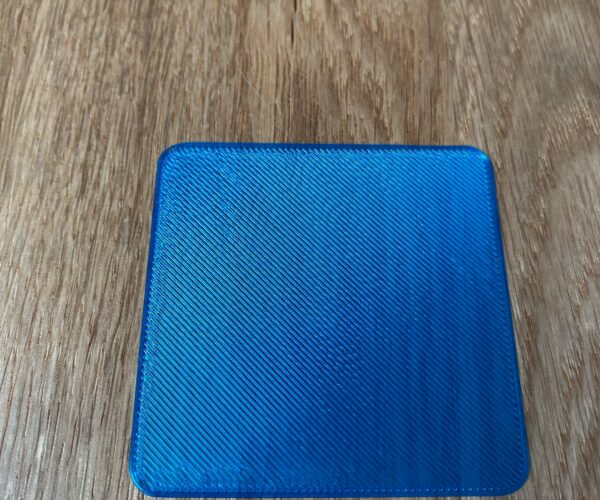
Your first layer is I think to high, the underside looks like opening between the lines.
The fails in upper part you need to give more info.
A 3d printer never works without user input, yes it should print out of the box, but you need to do a few test prints.
A 3d printer will need maintenance and will never print without doing anything to the machine.
You need to learn building the machine(wen it brakes down), or need to adjust after using the printer.
Most important for 3d printing is:
1 Clean bed, use dish soap, use a lot of very hot water, do this a few times. After cleaning you need to use the steel plate so it can dry on the printer. Alcohol you can use in between for cleaning, but is not as good as dish soap, after a few print use dish soap again.
2 First layer needs to be 100%, look at youtube movies how it should loo like. If you are unsure , print several cubes , spread over the bed, then start to high, and lower it step by step. then you find the best setting. First layer needs to be without holes and no waves(to low).
Both settings are needed to stick to the bed. Models can fall down or stick to the nozzle because of point 1 and 2. And cleaning of a big ball of filament sticking to the nozzle.
And search on filament pla, petg, abs on which sheet to use and if you need to use glue stick, and not to damage the bed.
First layer issue.
Your first layer is I think to high, the underside looks like opening between the lines.
The fails in upper part you need to give more info.
1 Clean bed, use dish soap, use a lot of very hot water, do this a few times. After cleaning you need to use the steel plate so it can dry on the printer. Alcohol you can use in between for cleaning, but is not as good as dish soap, after a few print use dish soap again.
2 First layer needs to be 100%, look at youtube movies how it should loo like. If you are unsure , print several cubes , spread over the bed, then start to high, and lower it step by step. then you find the best setting. First layer needs to be without holes and no waves(to low).
Both settings are needed to stick to the bed. Models can fall down or stick to the nozzle because of point 1 and 2. And cleaning of a big ball of filament sticking to the nozzle.
And search on filament pla, petg, abs on which sheet to use and if you need to use glue stick, and not to damage the bed.
This I concur with. Look and smells like a first layer issue.
--------------------
Chuck H
3D Printer Review Blog
Ty for advices
Thanks everyone for answers. Seems like I need to learn a lot to get some decent results 🙂
It really was Z calibration issue and maybe it's still present. I adjusted it a little bit and now I can understand when it's too hight but can't see the difference between normal and very low settings.
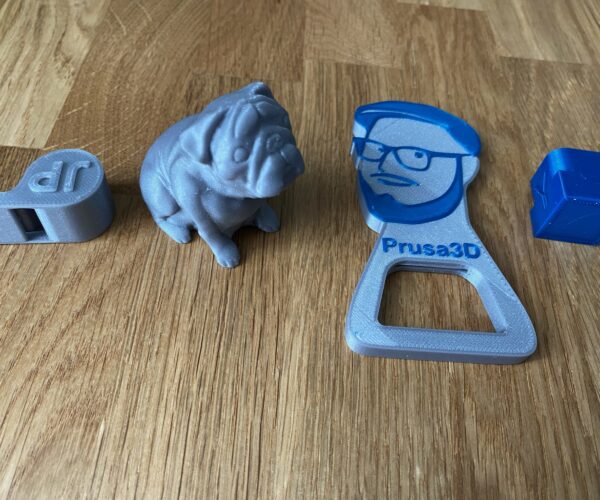
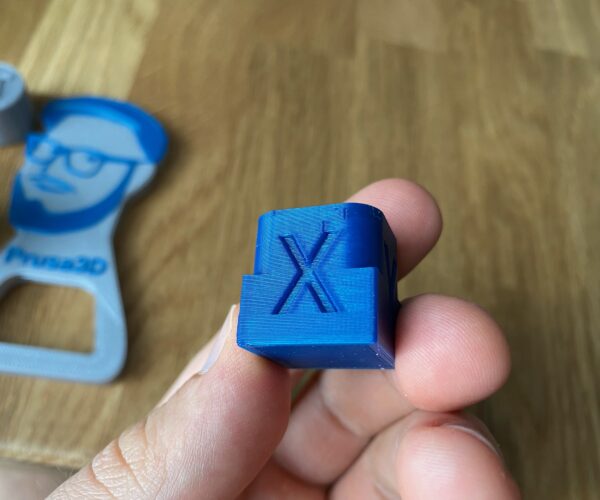
Finally I achieved some good prints but they all was with small defects.
Like here on X side there is some dots(not sure how to call this).
Also my first layer at 0.15mm benchy looks really bad but 0.2mm prints looks much better. There should be some different settings or calibration for each layer heights?
Currently my 0.2mm first layer looks like this, it's not too low?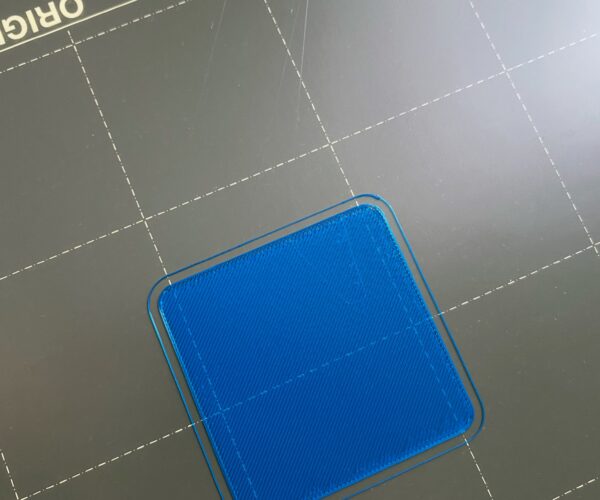 :
: