First Print minor issues
Hi,
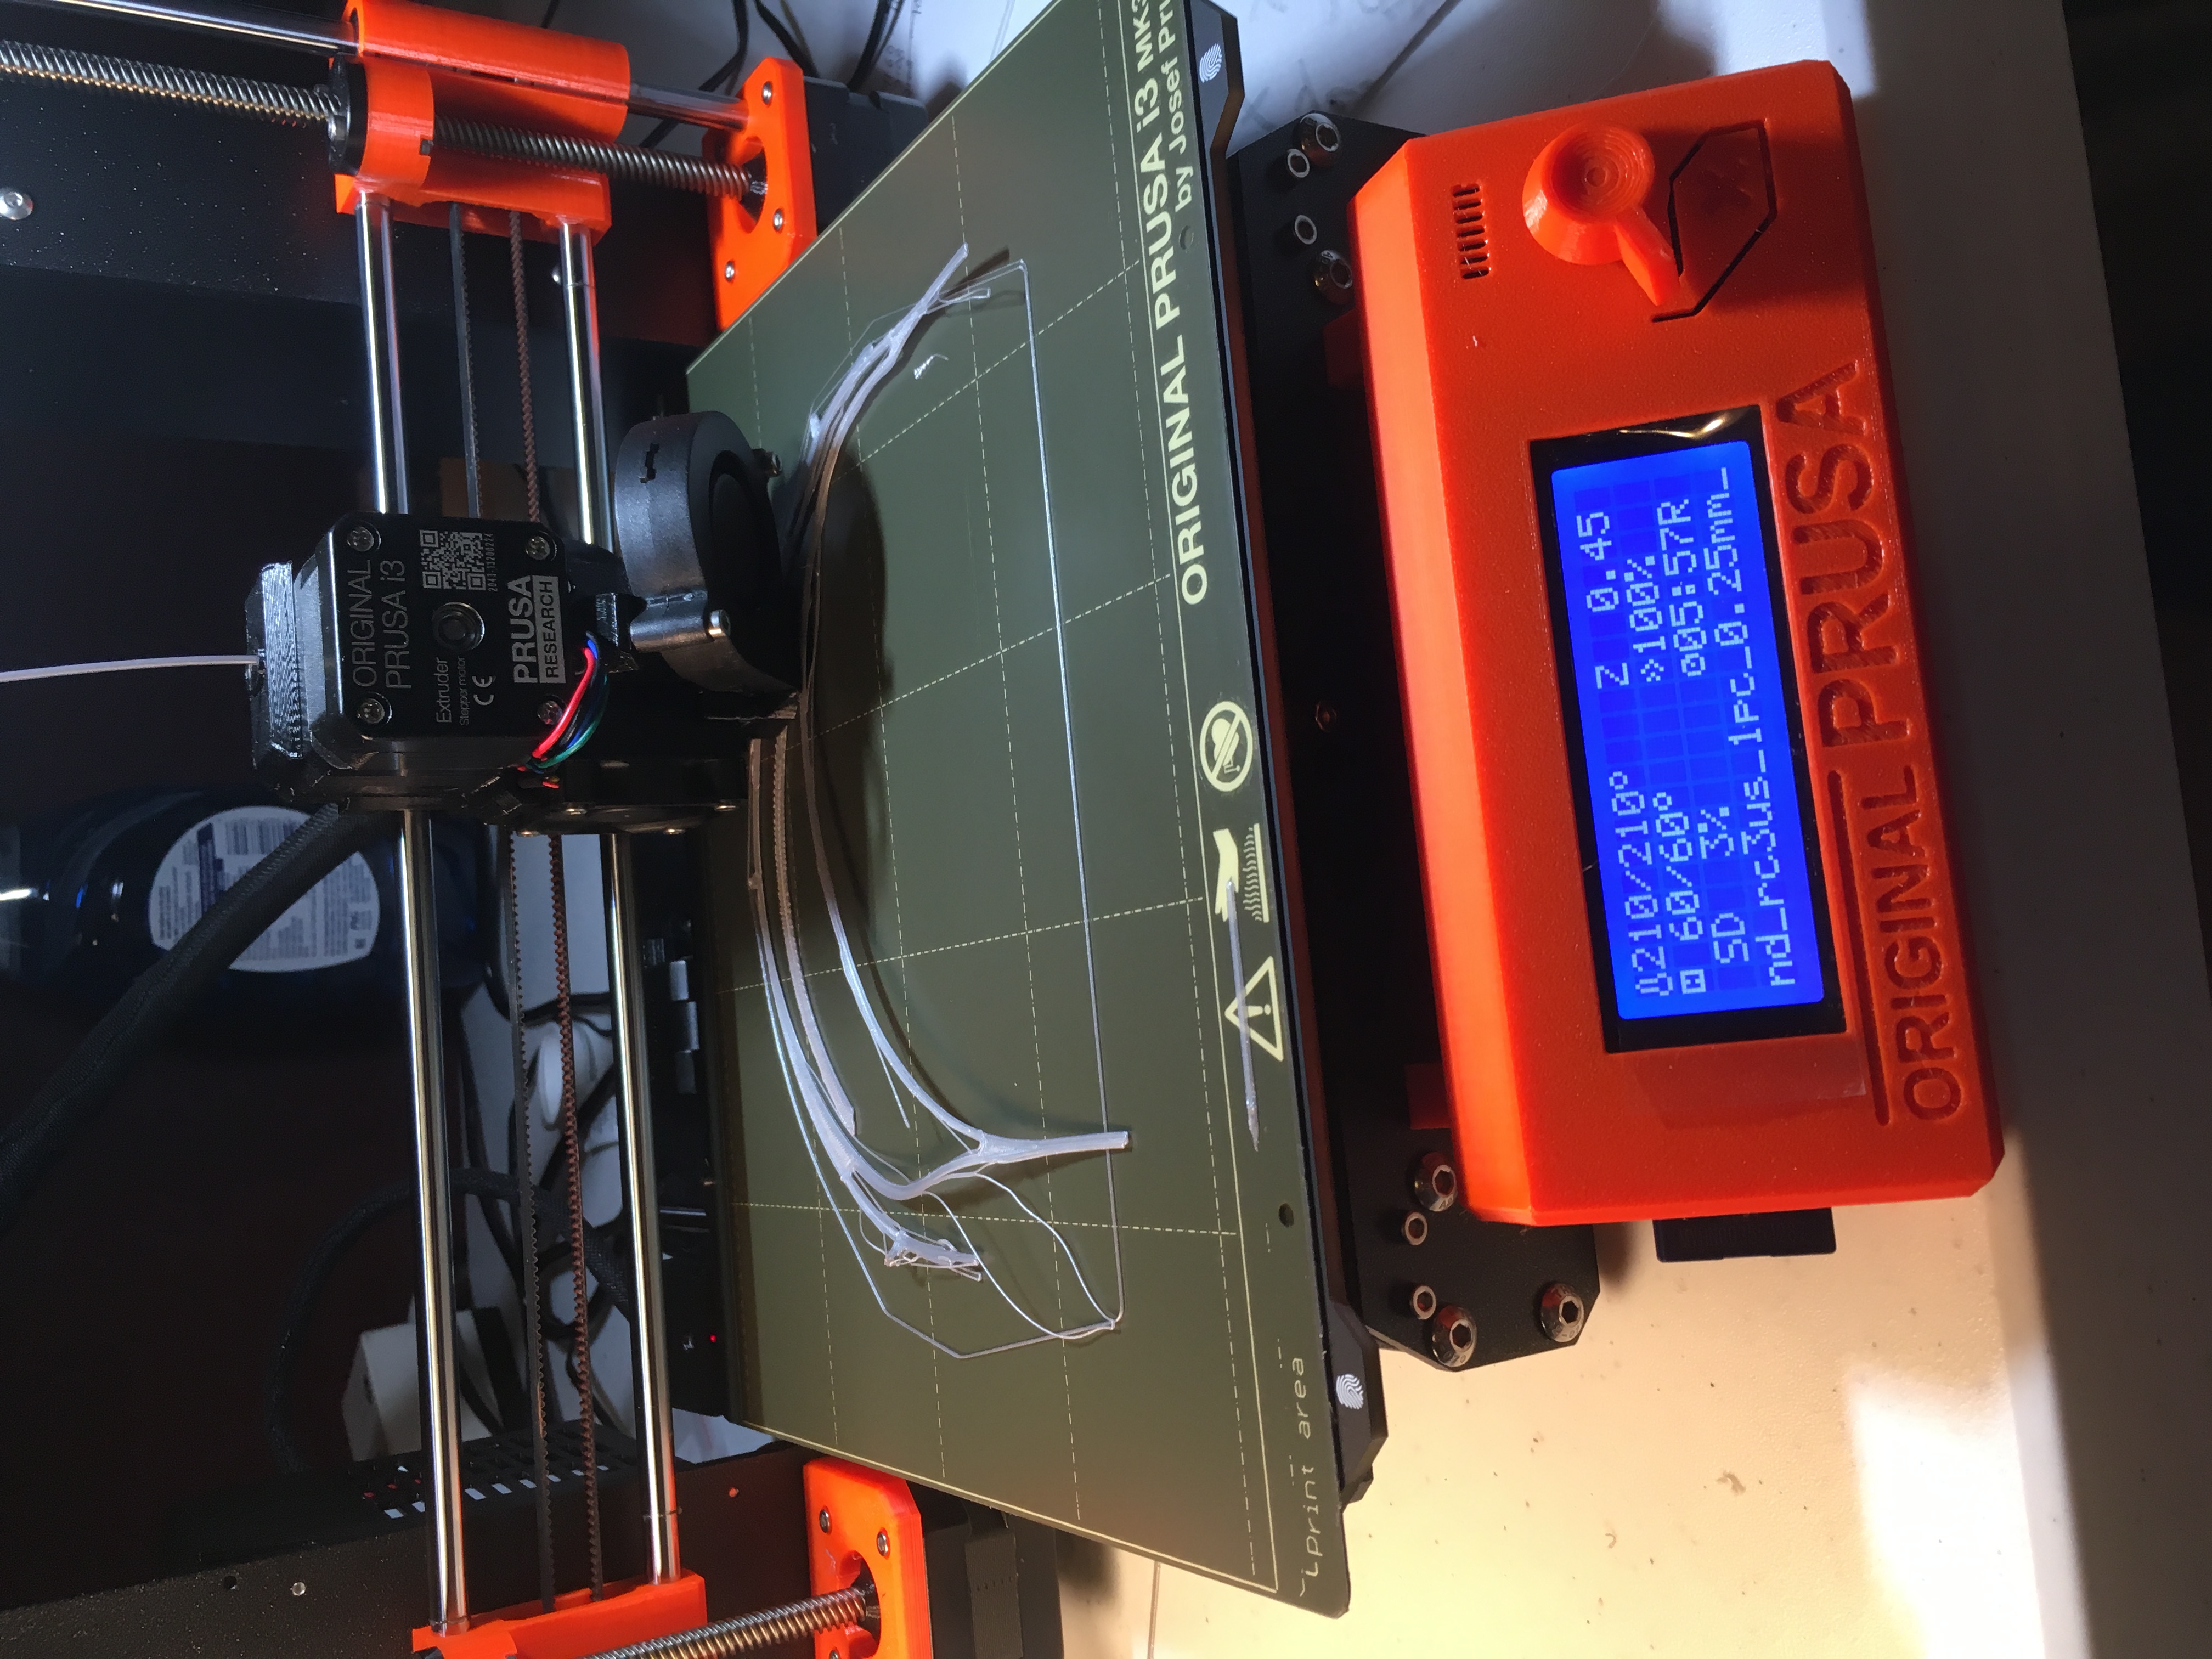
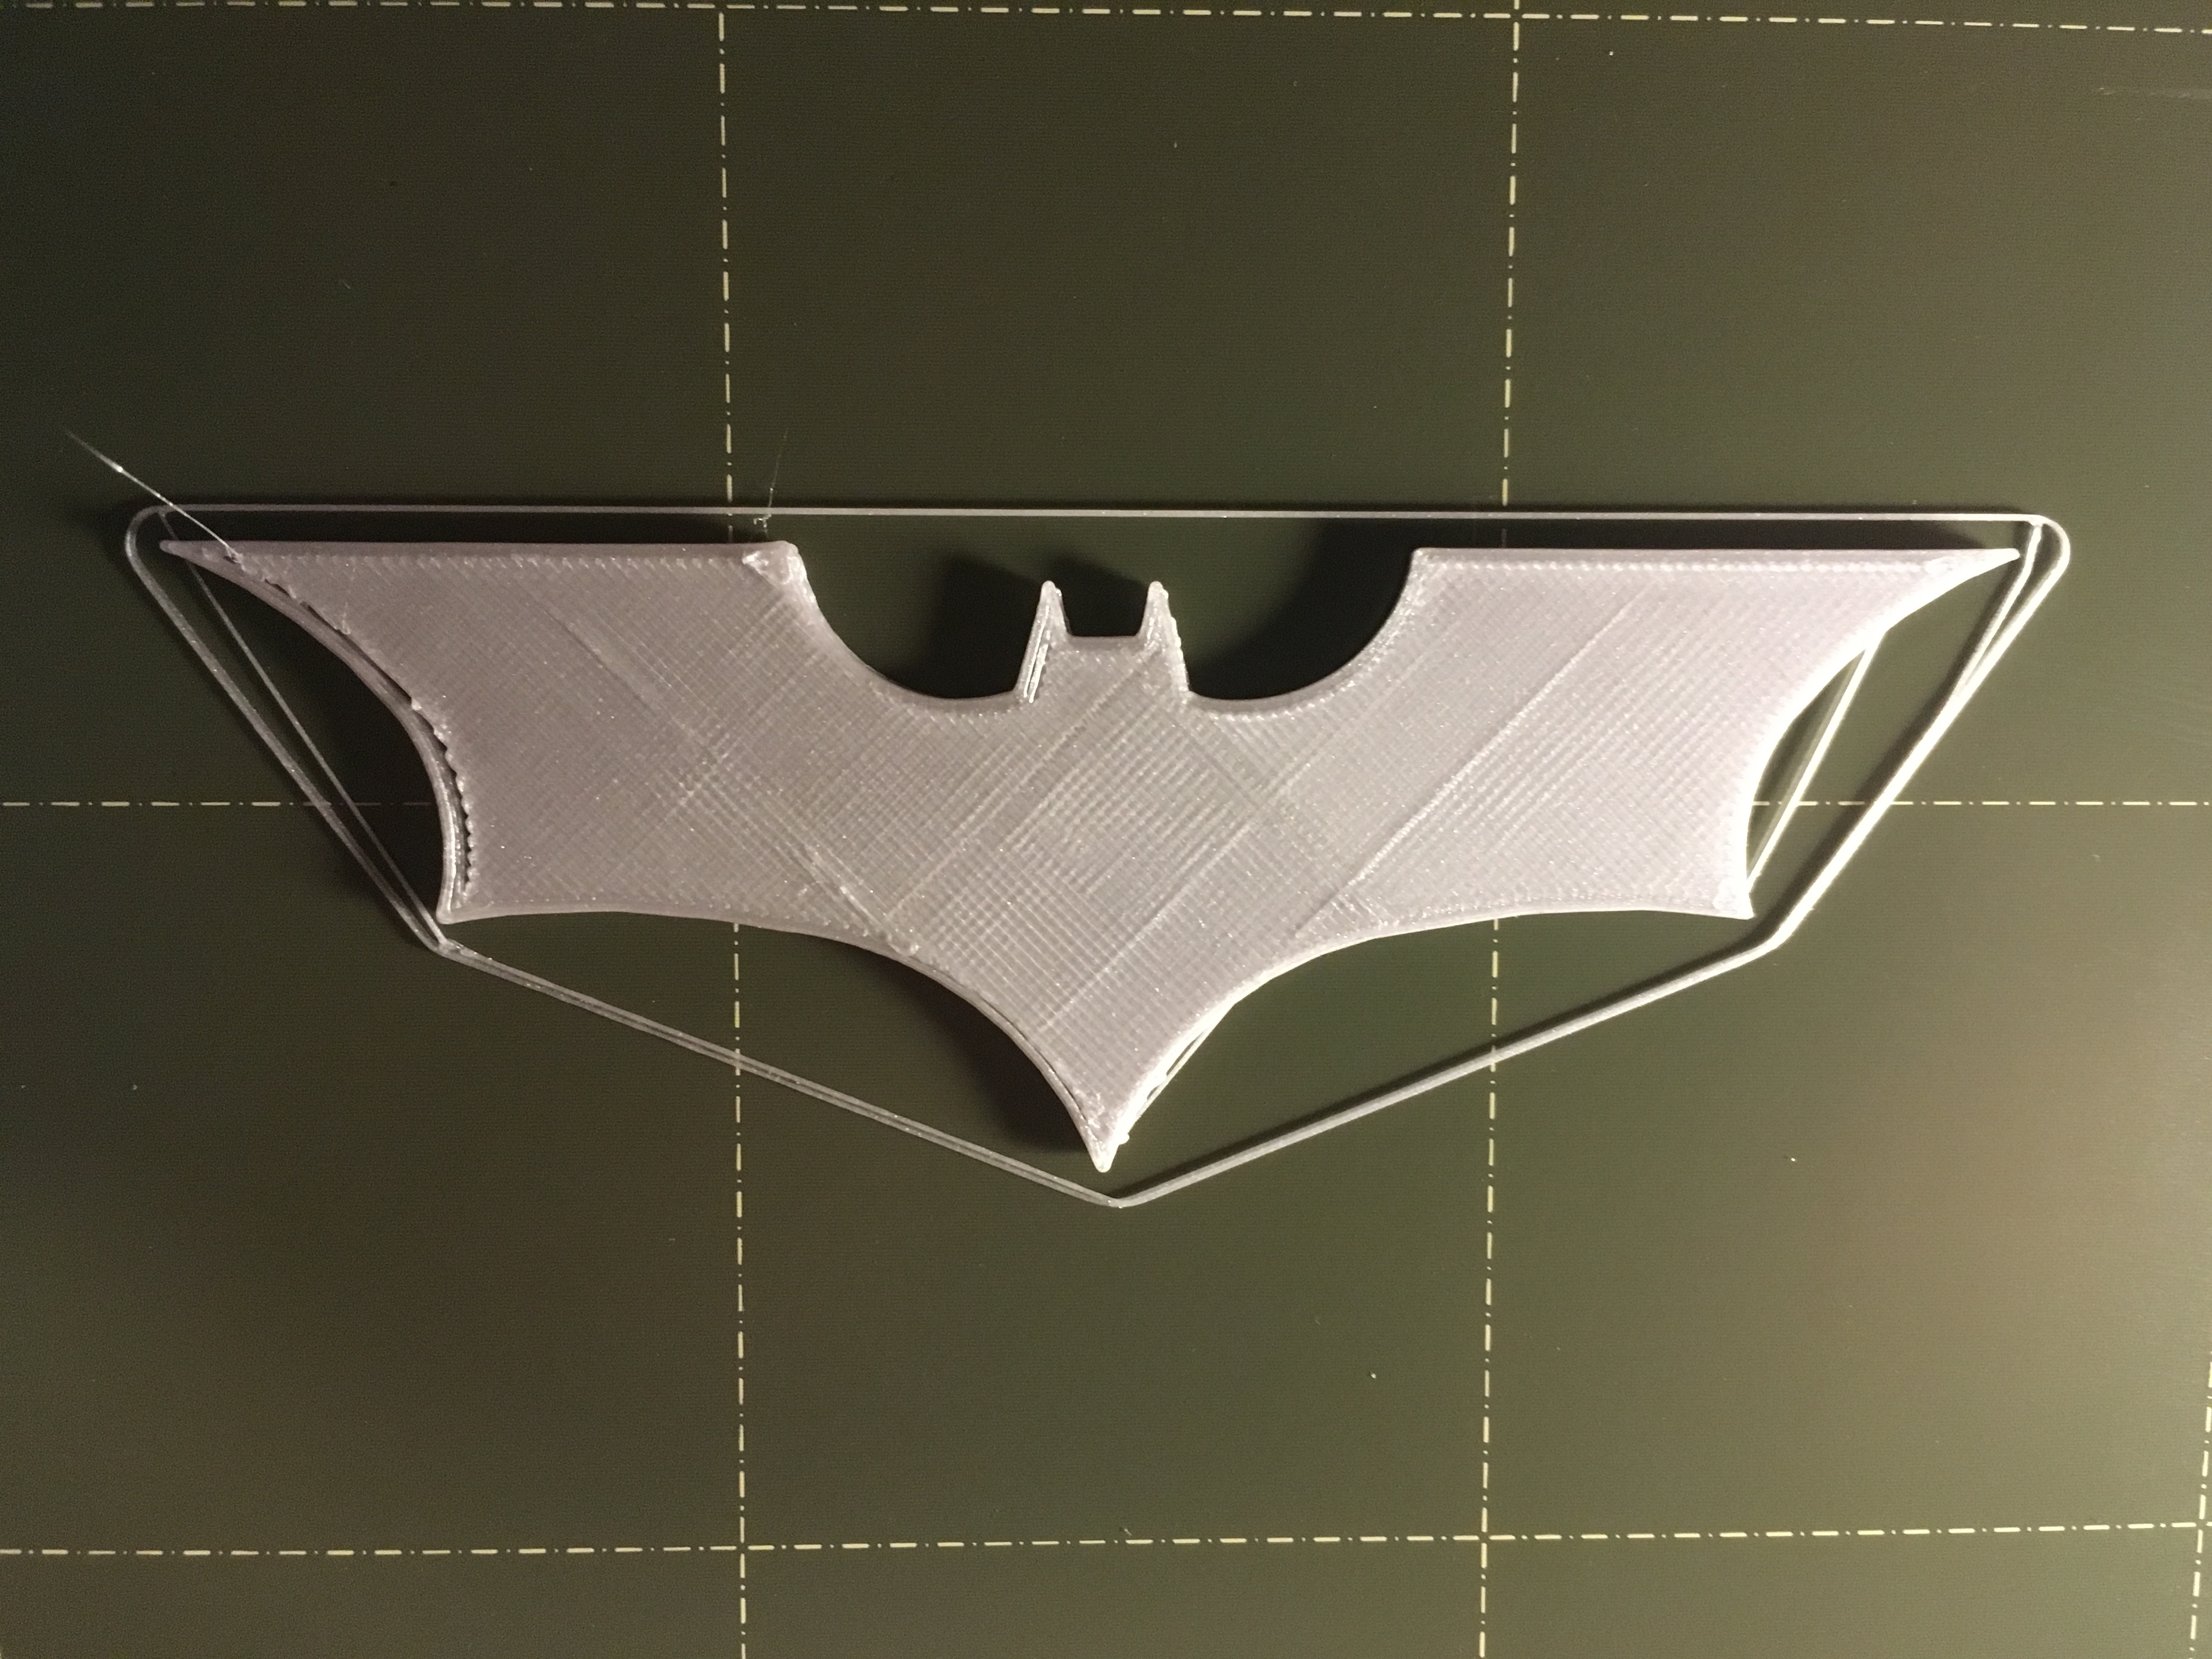
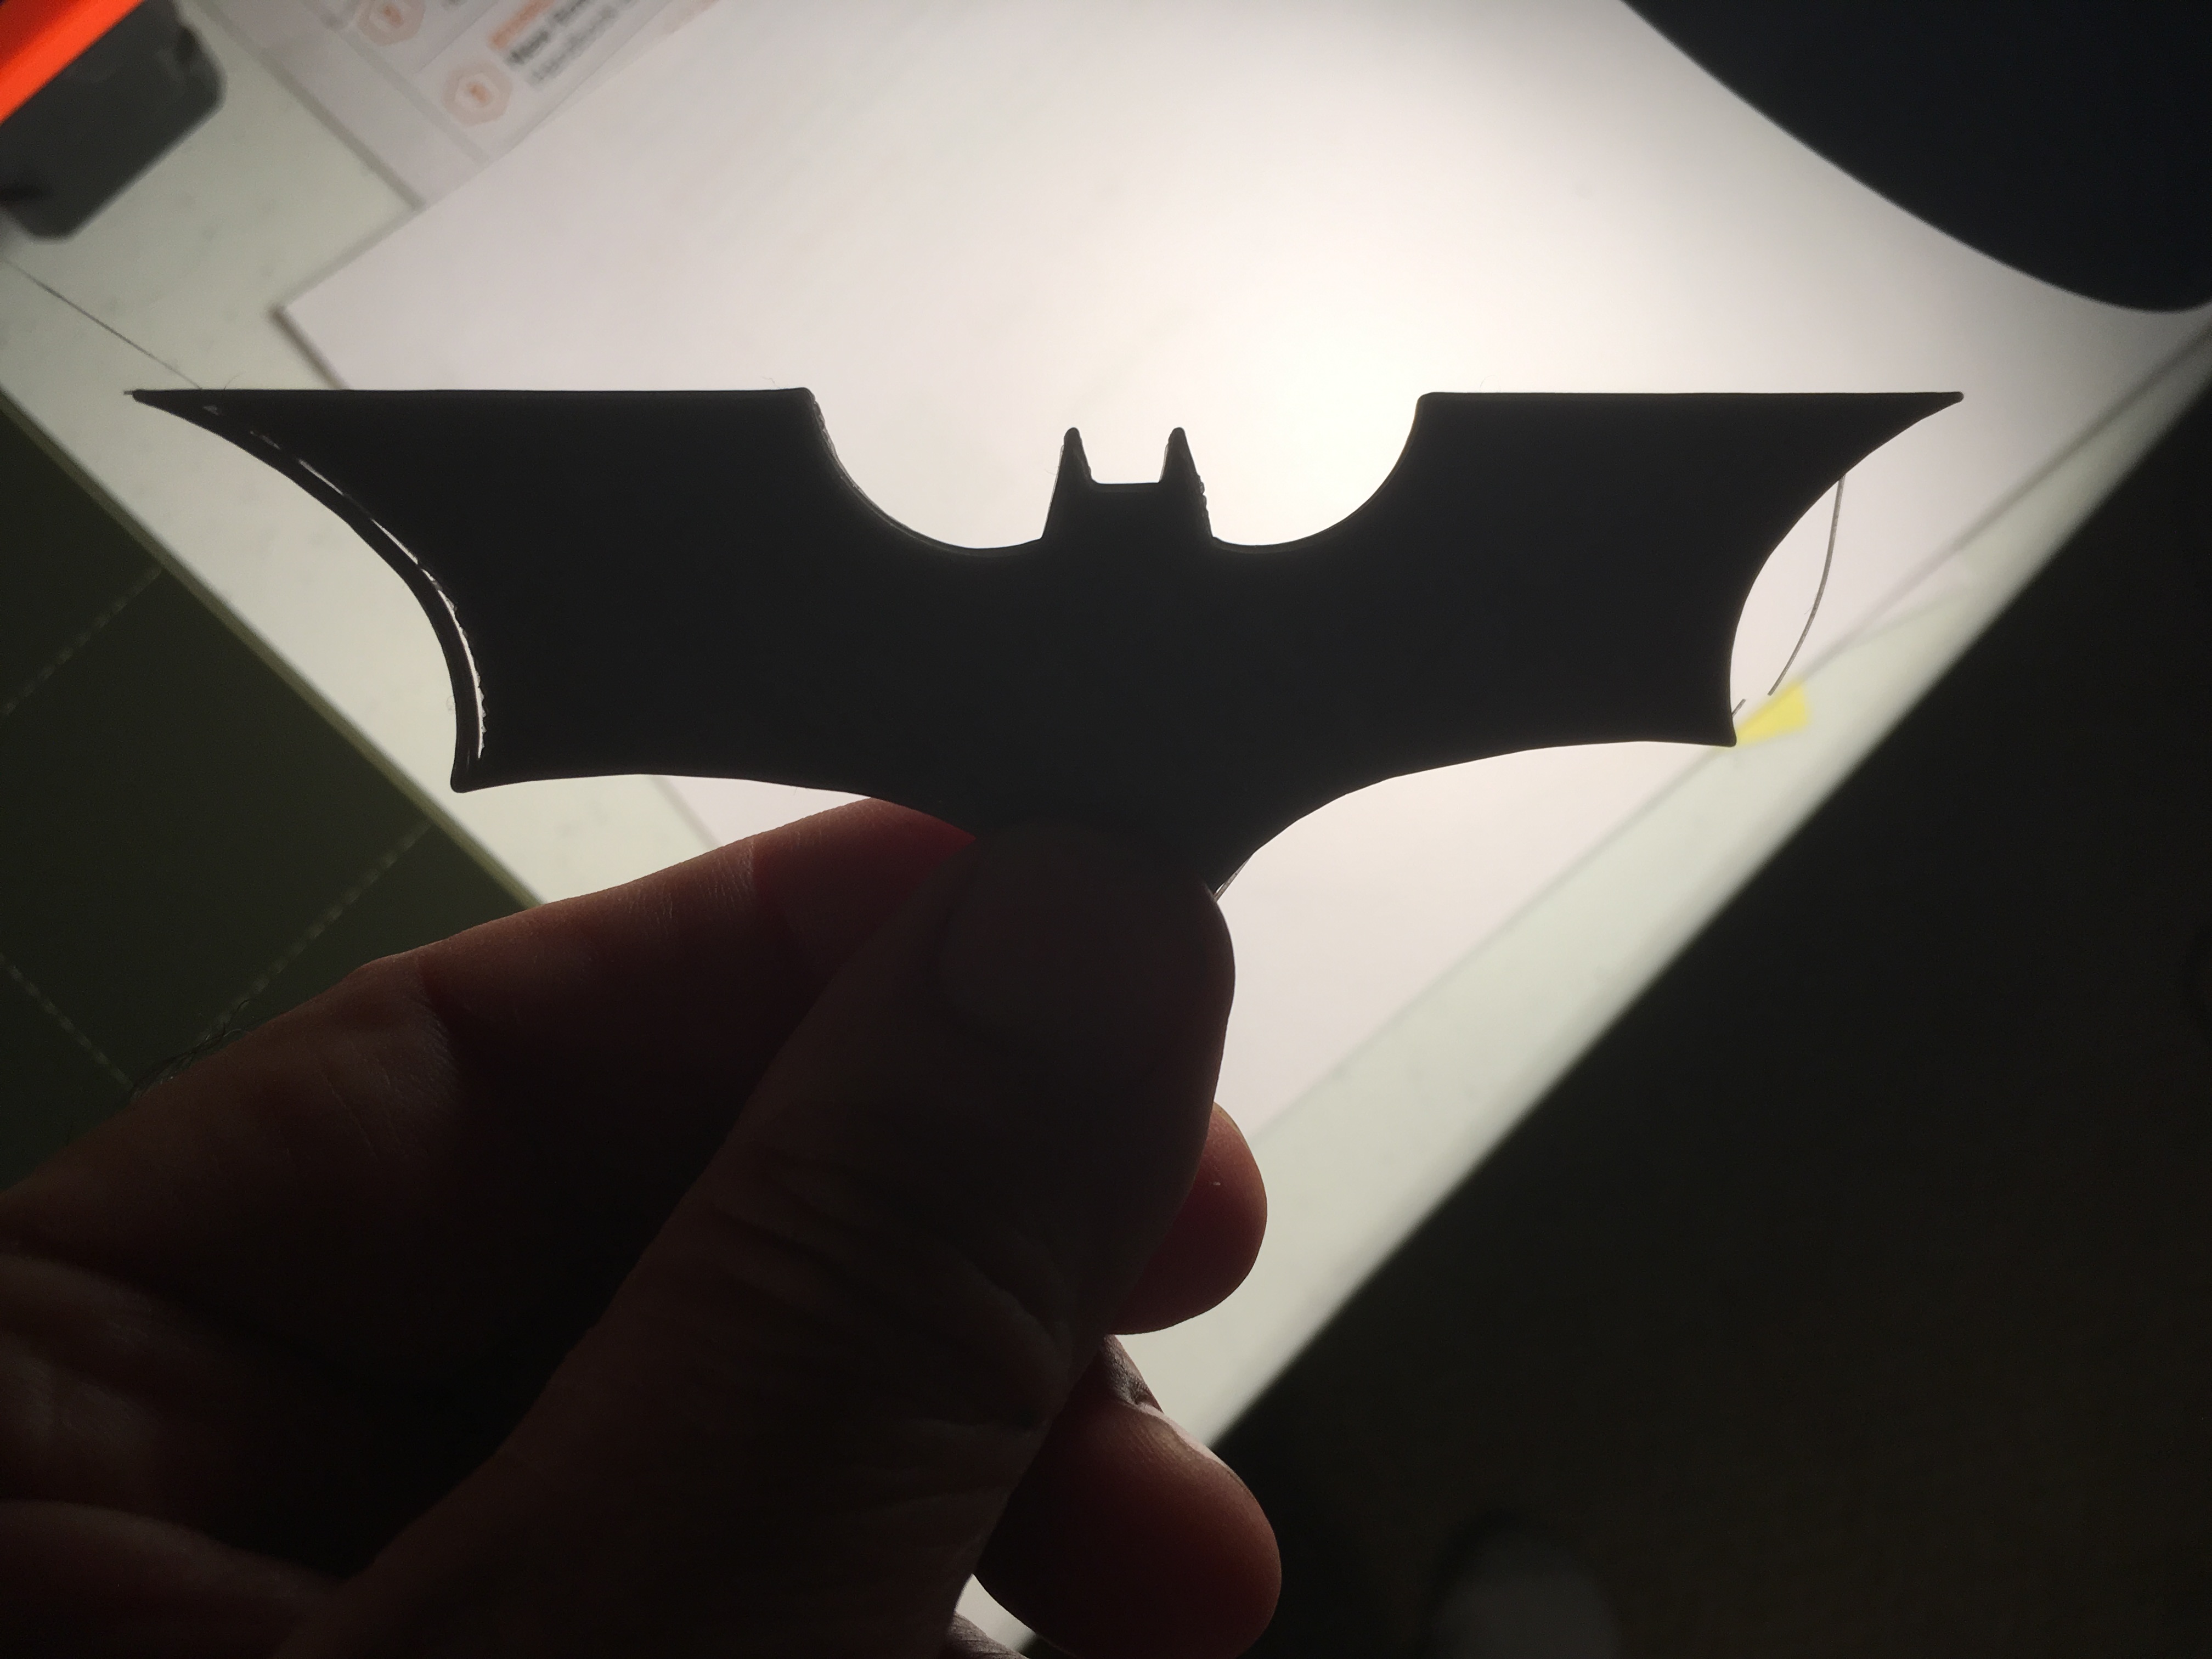
Adding some pics of my first Batman print, looking for causes of the inconsistency and gaps as I get started in this world. Also trying a faceshield with PLA before I switch bed and to PETG. I see some issues with this and now it just totally went bad and wrapped itself around the extruder so please give me your comments. When I printed the face shield the only change I made was selecting Prusa PLA, the z is at 0.00 when it wrapped around the extruder

RE: First Print minor issues
If things are wrapping around the extruder, that means the part is coming loose during the print. That can be related to PEI surface adhesion, Live-Z adjustment or both. Here's an info dump on the topic to get you going...
-
A dirty PEI print surface. Even if you don't think this is the cause, it's always a good idea to make sure your PEI surface is clean before trying any other fixes. If it's a smooth PEI sheet, take it to the kitchen sink and give it a good dunk with Dawn (original formula, no vinegar or hand softener variants) dishwashing soap or your local equivalent (e.g. Fairy in UK). Use a clean paper towel to clean it off, and another to dry it. Avoid using any sponge or cloth that has been in contact with grease. Above all else, avoid touching the PEI print surface. Once it's good and clean, you should be able to use 91%+ isopropyl alcohol between prints, 100% acetone when that fails , and another dunk when acetone fails. Worst-case, use a 3M 7445 ScotchBrite pad or equivalent on smooth PEI to give it a very light buff, but only infrequently. If you've got a textured powder-coated PEI print surface, the official instructions are to use 91%+ isopropyl alcohol on it only. Rumors persist that some tribes deep in the jungle have had good luck getting started with these sheets by giving them a wipe with 100% acetone and a dunk with Dawn. Either way, there's no real warranty on these sheets. YMMV.
-
If you have not already done so, try using Jeff Jordan's "Life Adjust" procedure for calibrating your Live-Z setting. It is much easier to use and understand than the on-board routine and much easier to make mid-print adjustments accurately with. In general, start high (less negative) and work lower (more negative) in large increments (e.g. 0.1mm) until the filament starts to stick on its own. When you've got your Live-Z setting adjusted properly, you should be able to gently rub the extruded lines on the PEI surface without dislodging them. Then start lowering (more negative) the level until there are no gaps between layers. You should not be able to peel the lines apart after printing, but the top should be regular.
RE: First Print minor issues
@bobstro
Thank you very much. I have 99% isopropyl from Ace Hardware that I spray onto a texwipe, which is a 4x 4 cloth from the old days of cleaning video tape heads. I have an unused pack of these cloth wipes and thought now would be the perfect use. I just went through a belt tension procedure on the chat line which tightened things up a bit but my next attempt produced the same shield result, adhesion problem then disaster.My spring steel sheet is brand new but I will try the dawn bath.
RE: First Print minor issues
@bobstro
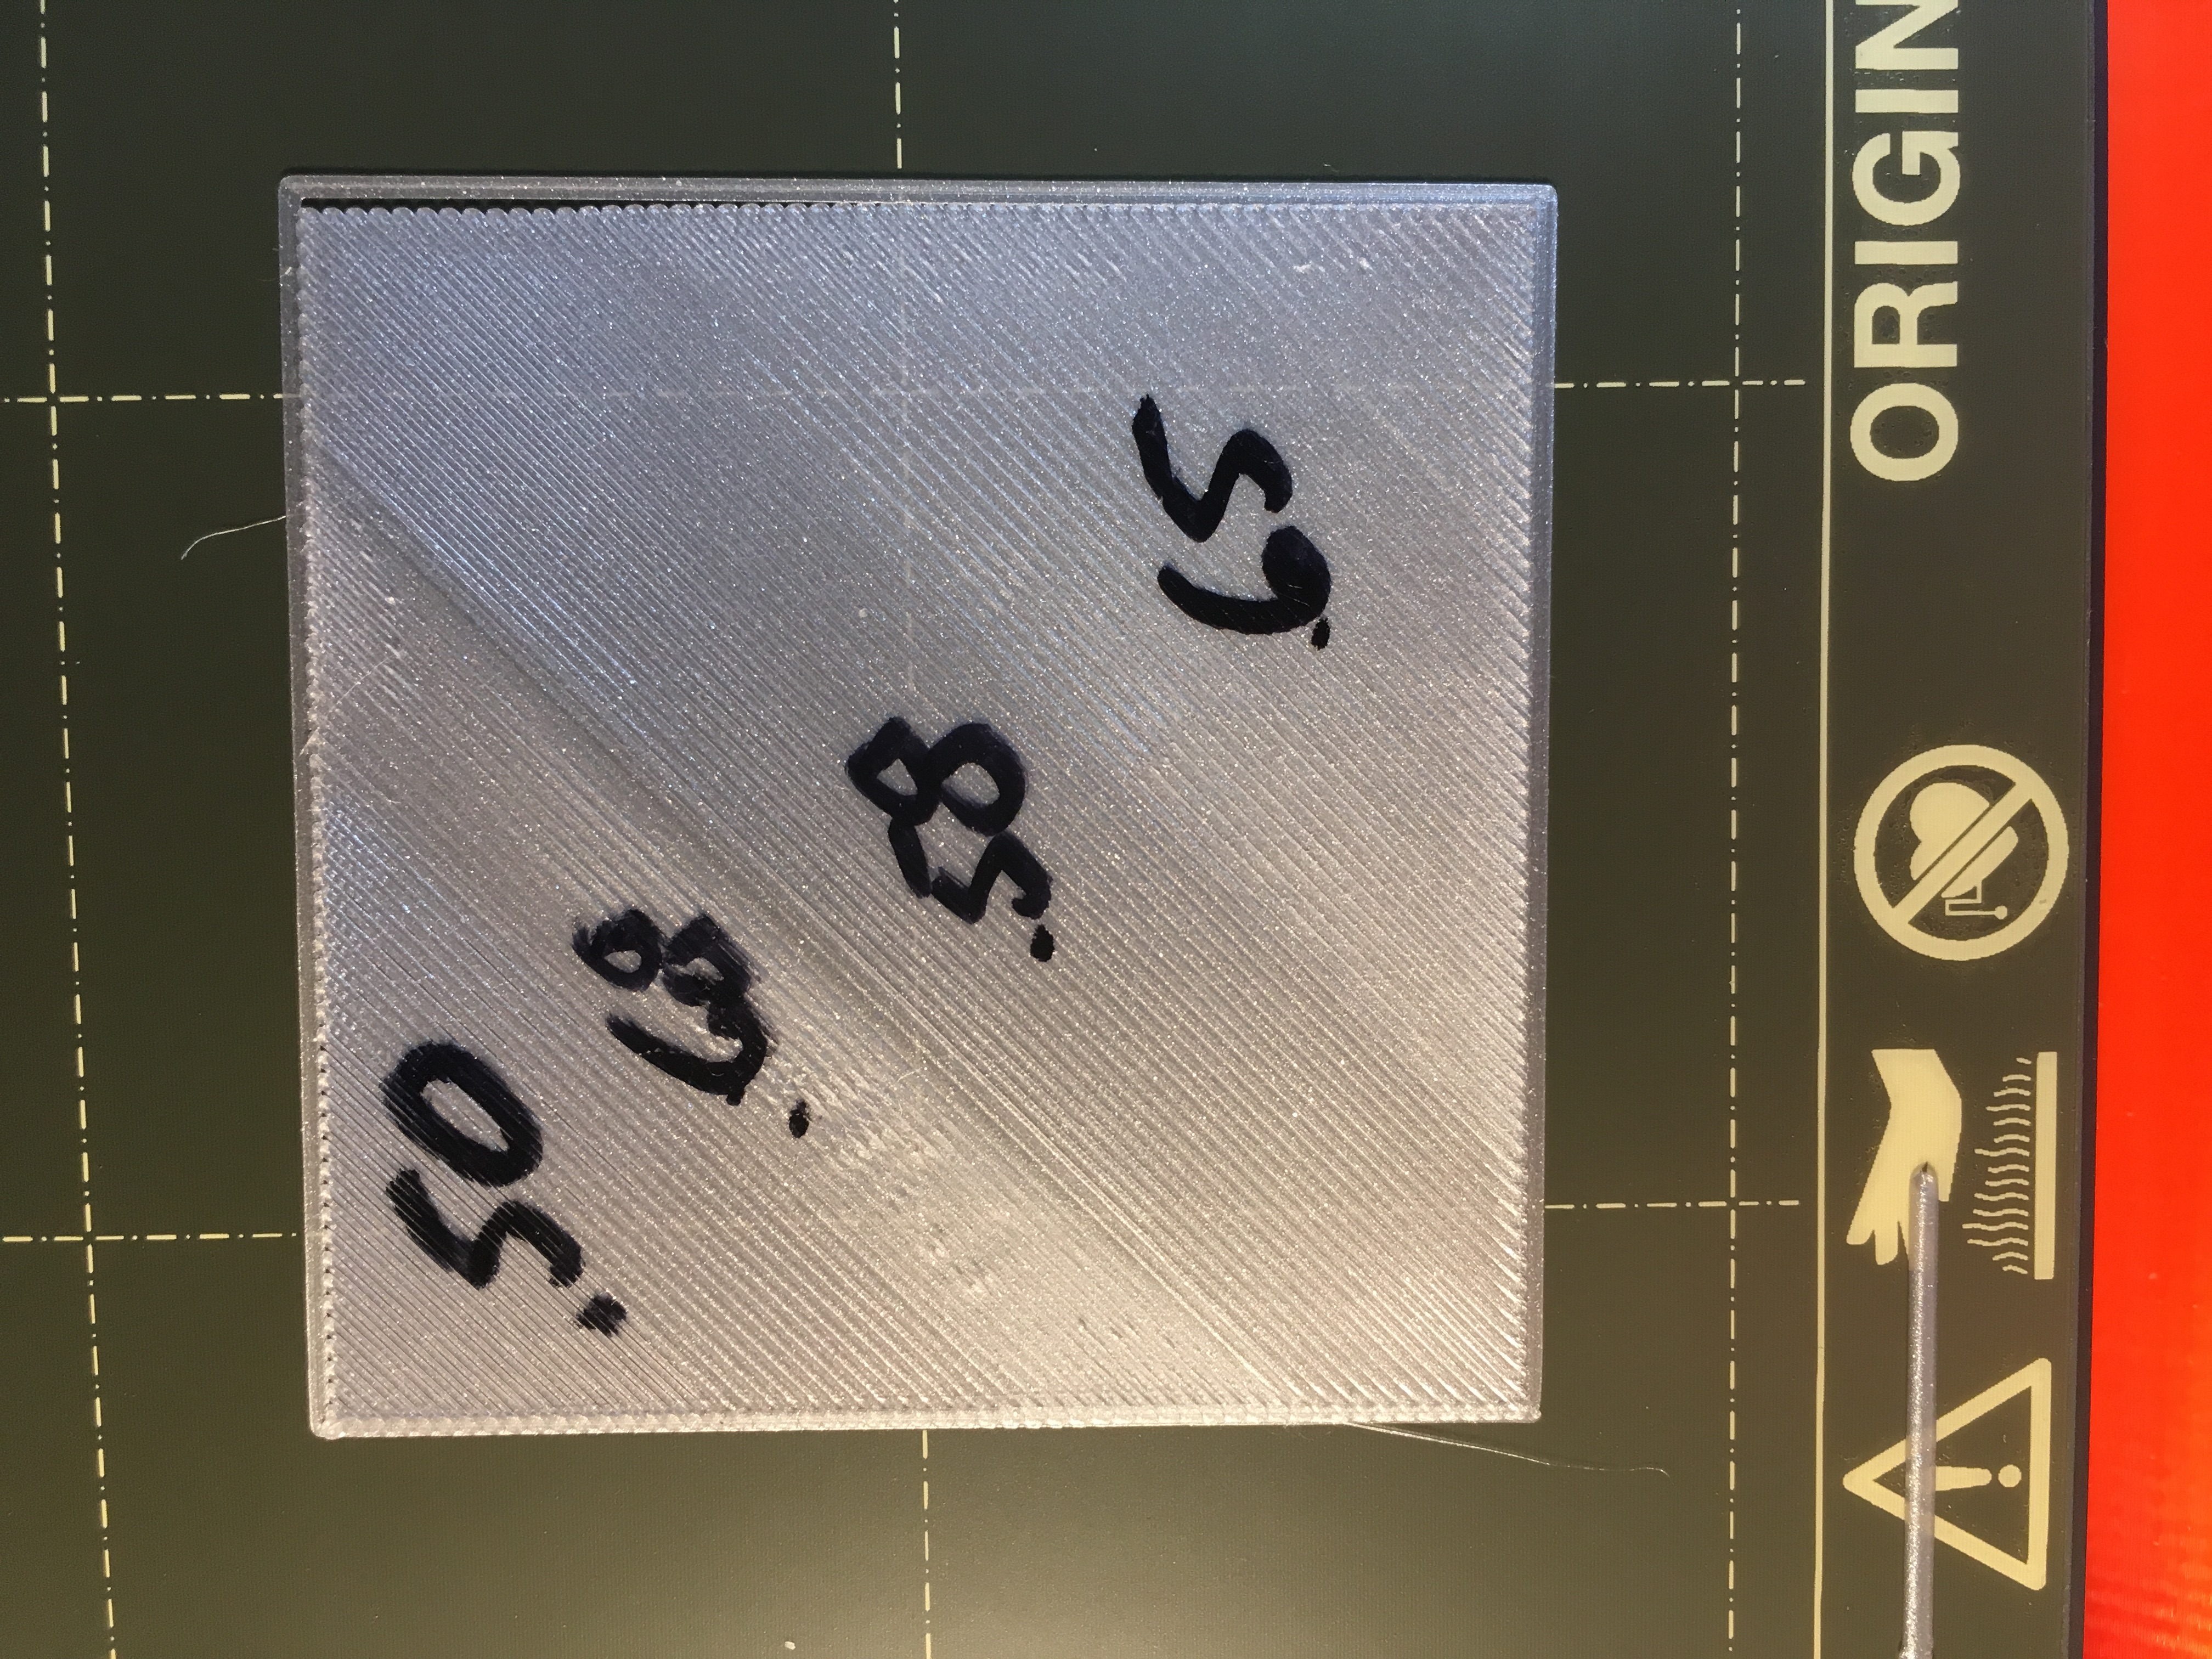
I found 1 bottle of Dawn Ultra original because of the hoarding in the stores. I don't know that it is true Dawn original but doesnt specify any scent or hand sanitizer. Seems to work. The life adjust test is below. I fumbled a bit with my final adjustment, the -.50 is the corner area, between it and -.68 is me adjusting awkwardly. To my untrained eye, the -.50 adjustment (.20 height) is the best looking although .58 isn't bad. The lines appear cleaner, taller and more separated than -.65, is that a bad thing? Still learning what builds best.

RE: First Print minor issues
-0.5 to -0.58 look good from what I can see. Show a pic of the completed layer from directly above. The top should be even with no gaps between extrusions. On removal, it should hold together with gentle tugging. Congrats!
RE: First Print minor issues
@bobstro
There are gaps for sure. It stuck very well, was actually a bit difficult to get off. I then cleaned the bed with 99% Isoprpyl and a clean paper towell.Started another attempt at the face shield. Got farther than previous attempts but then the corners let go, curved up and it was all over. Maybe I should move to the textured bed and PETG and see if that works since thats what I would go int production with anyway.