Dimensional Accuracy, test print and calibration
hi!
I own a MK3S (kit) that I got some months ago, and I am very happy with.
I often design 3d printed parts such an enclosures for electronics, etc. I normally use 0.2 mm tolerances.
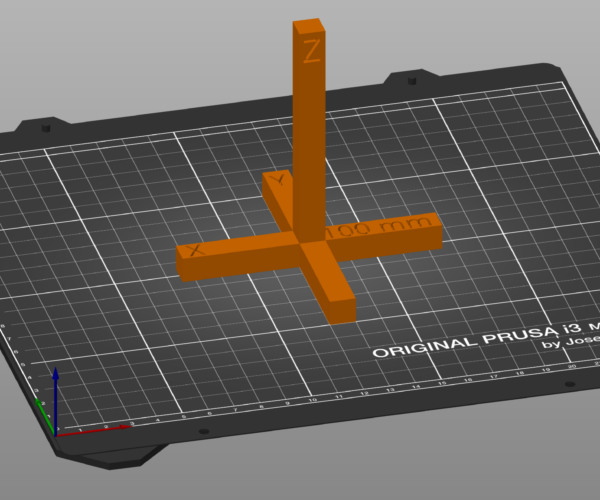
I noticed that some measurements of printed parts differed slightly from the model, so I created this test print:
100mm bars in all 3 axes:
I tested my printer and I get:
z: 100mm or imperceptible difference.
x: 99.9mm, around 0.1mm difference.
y: 99.5mm 0.5mm difference.
I am now trying to understand why is this happening and how to fix it. With my previous printer, there was a calibration test model that one would print and input the measurements back to the software, and this would basically fix dimensional issues, shrinkage, etc.
Prusa Support first pointed at reviewing the assembling and ensure that we get the best out of the printer.
Tension on the belts is reported as 280 and 285 which seems in range. However I am going to tension a bit Y, as this post and support suggests:
Dimension Errors in Slicr manual
I have noticed some threads in the forum were calibration gcode is proposed, to basically scale the model and correct the issue.
Has anybody experienced something similar? What do you suggest doing?
I find it strange that there is no dimensional calibration in the prusa slicer, even when printing injection moulding parts they will adjust dimmensions just for plastic shrinkage, shouldn't prusa slicer do the same?
Here is the test print:
RE: Dimensional Accuracy, test print and calibration
Do an XYZ calibration. That'll get you as close as possible; then you can make fine tuning adjustments in the firmware. But - once dialed in - any belt tension changes or wear will affect the cal.
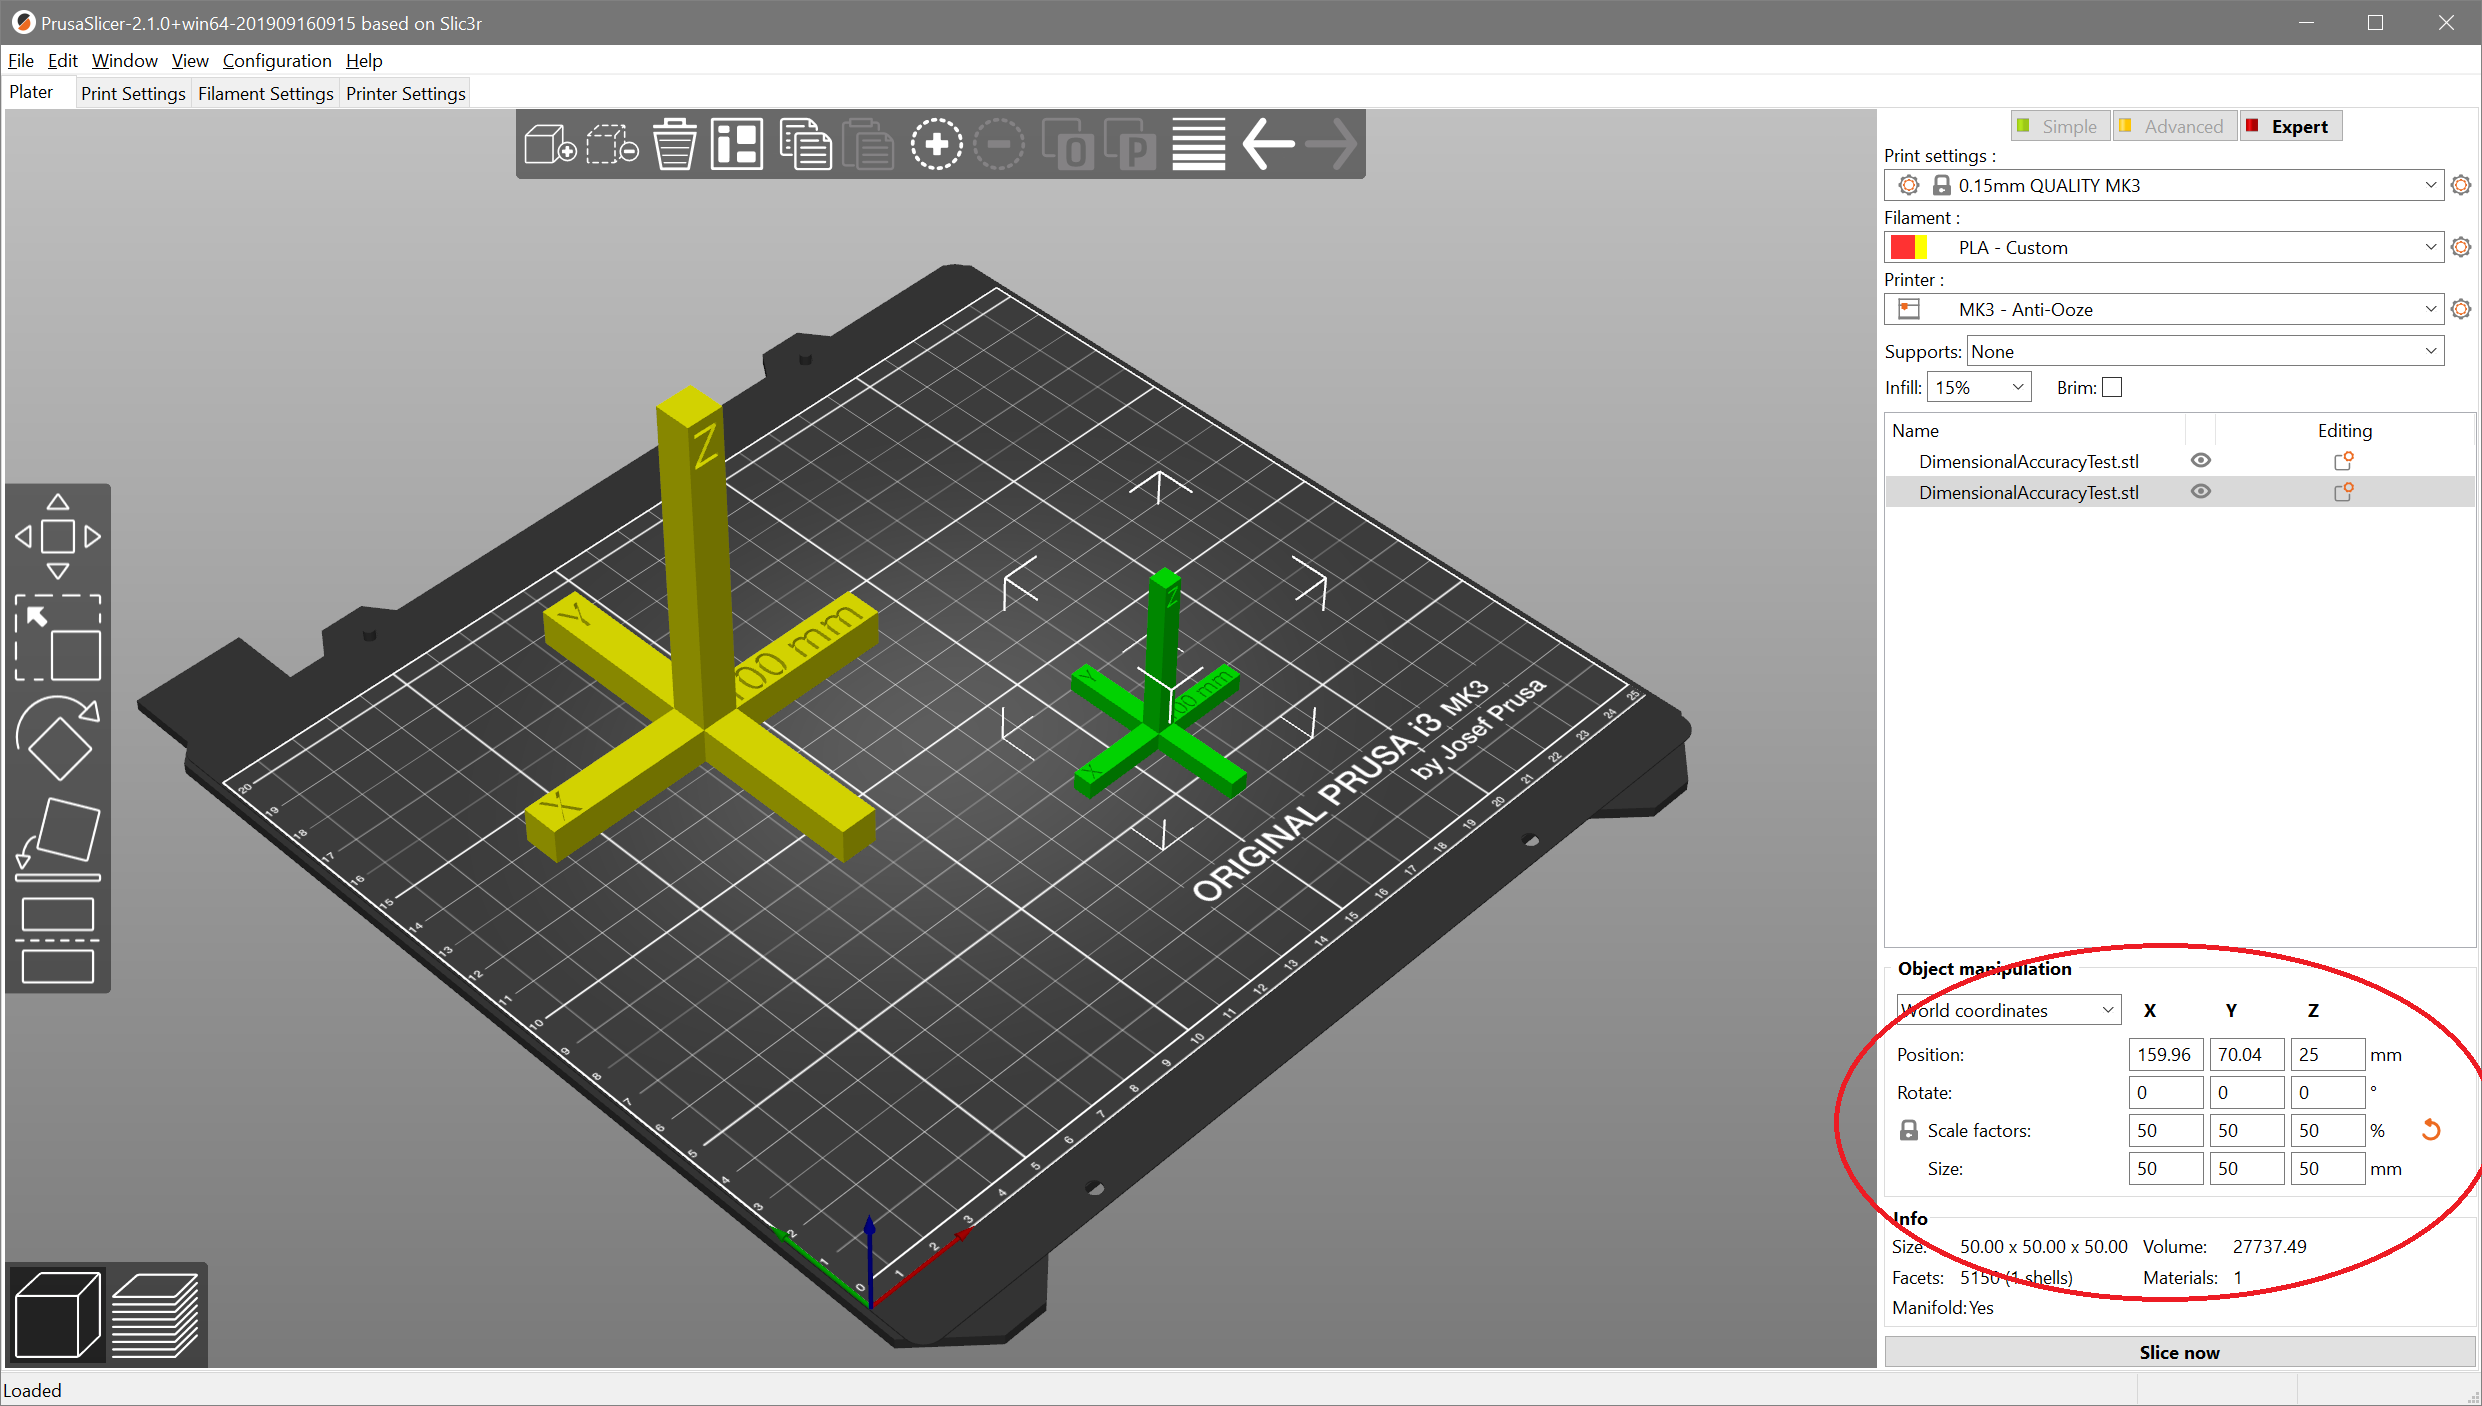
As for adjusting sizes in Slicer: Have you ever noticed the X Y and Z scale factors?
What is the purpose of the XYZ calibration? the people from Support did not mention it, but rather focus on belt tension.
My printer is VERY accurate, it comes up with the same deviation on every single print. Therefore, the way that the previous printer worked, in which a set of prints were measured and re-entered in the slicer, I think it is reasonable.
What do you mean by adjustments in the firmware? how is it done? is it configuration? do you have a link?
Yes, I noticed scaling on the slicer, but I still want to be able to scale objects without having to pull a calculator. In fact I see 3 different level of dimensional adjustment:
- Intentional... as you say, because you want to print an object bigger or smaller.
- Shrinkage compensation: to compensate for material shrinkage, possibly tied to the material profile. This is common in injection moulding.
- Printer compensation: because the printer is made of parts with tolerances too, and each particular assembly will have minor differences
Of course, the composition of the previous things will just apply a single scale to the print...
I just want that the model and the real print match dimensions as much as possible.
RE: Dimensional Accuracy, test print and calibration
@rvalle
You can adjust steps/mm in the firmware. In principle the same procedure as for the extruder calibration:
https://mattshub.com/blog/2017/04/19/extruder-calibration
Instead of M92 Exxx, use M92 Xxxx or Yxxx and then M500 to save. With M503 you can check the values.
For ex.:
Current M92 value = 100
Desired movement = 100mm
Actual movement = 99.50mm
Here's a formula you can use to solve for the New M92 value
New M92 value = Desired movement / Actual movement * Current M92 value = 100.50 steps/mm
Statt zu klagen, dass wir nicht alles haben, was wir wollen, sollten wir lieber dankbar sein, dass wir nicht alles bekommen, was wir verdienen.
RE: Dimensional Accuracy, test print and calibration
As @karl-herbert said, you can adjust steps in firmware to compensate for the X and Y dimensional issues.
Underlying reason that X & Y are more likely to be dimensionally off compared to Z is the mechanics of the axes. Z distances is controlled by stepper motor angle changes rotating a screw mechanism whereas X and Y depend on the diameter of the drive pulley. It is easer to machine a screw with an accurate twist/distance than getting the diameter of the drive pulley exactly right.
Pulleys supplied with both my Prusa's are slightly smaller diameter than would move X and Y the desired distance. It is a small error - about 0.5 to 1% too little diameter. There are some other pulleys I have found with more accurate diameters, but later examples of those obtained by other users were reported to have eccentricity issues.

