Corners Lifting During Prints
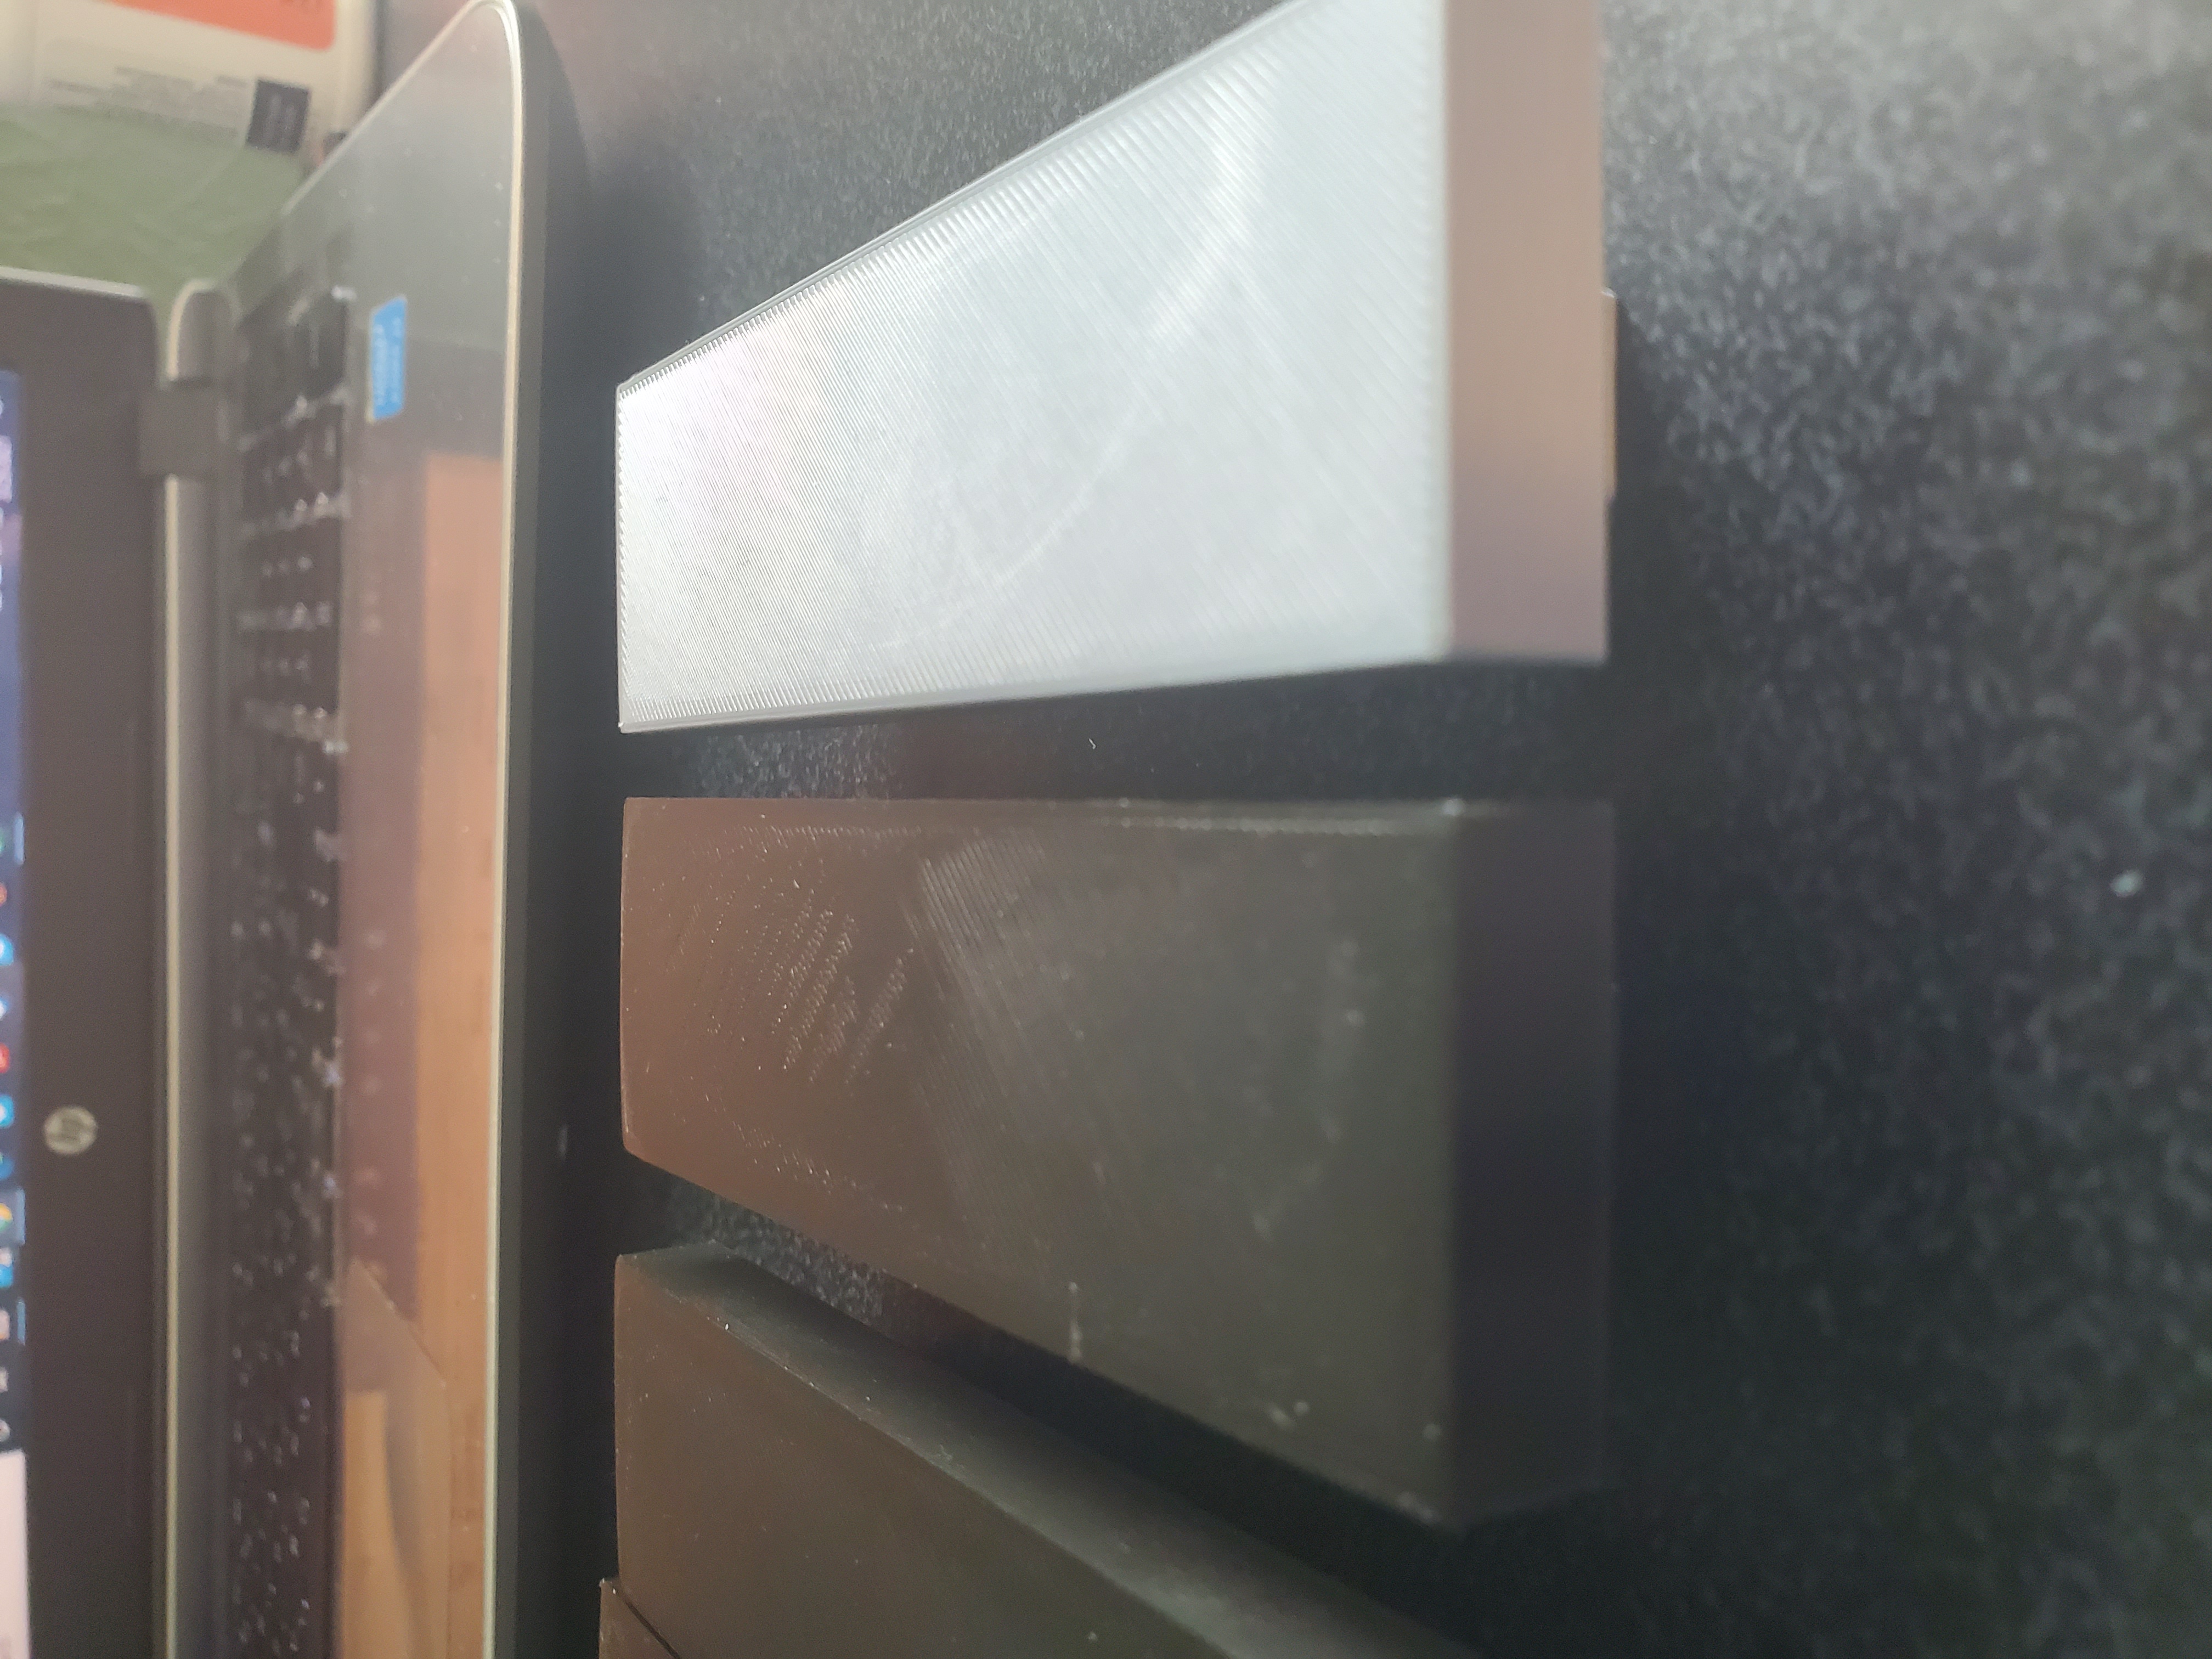
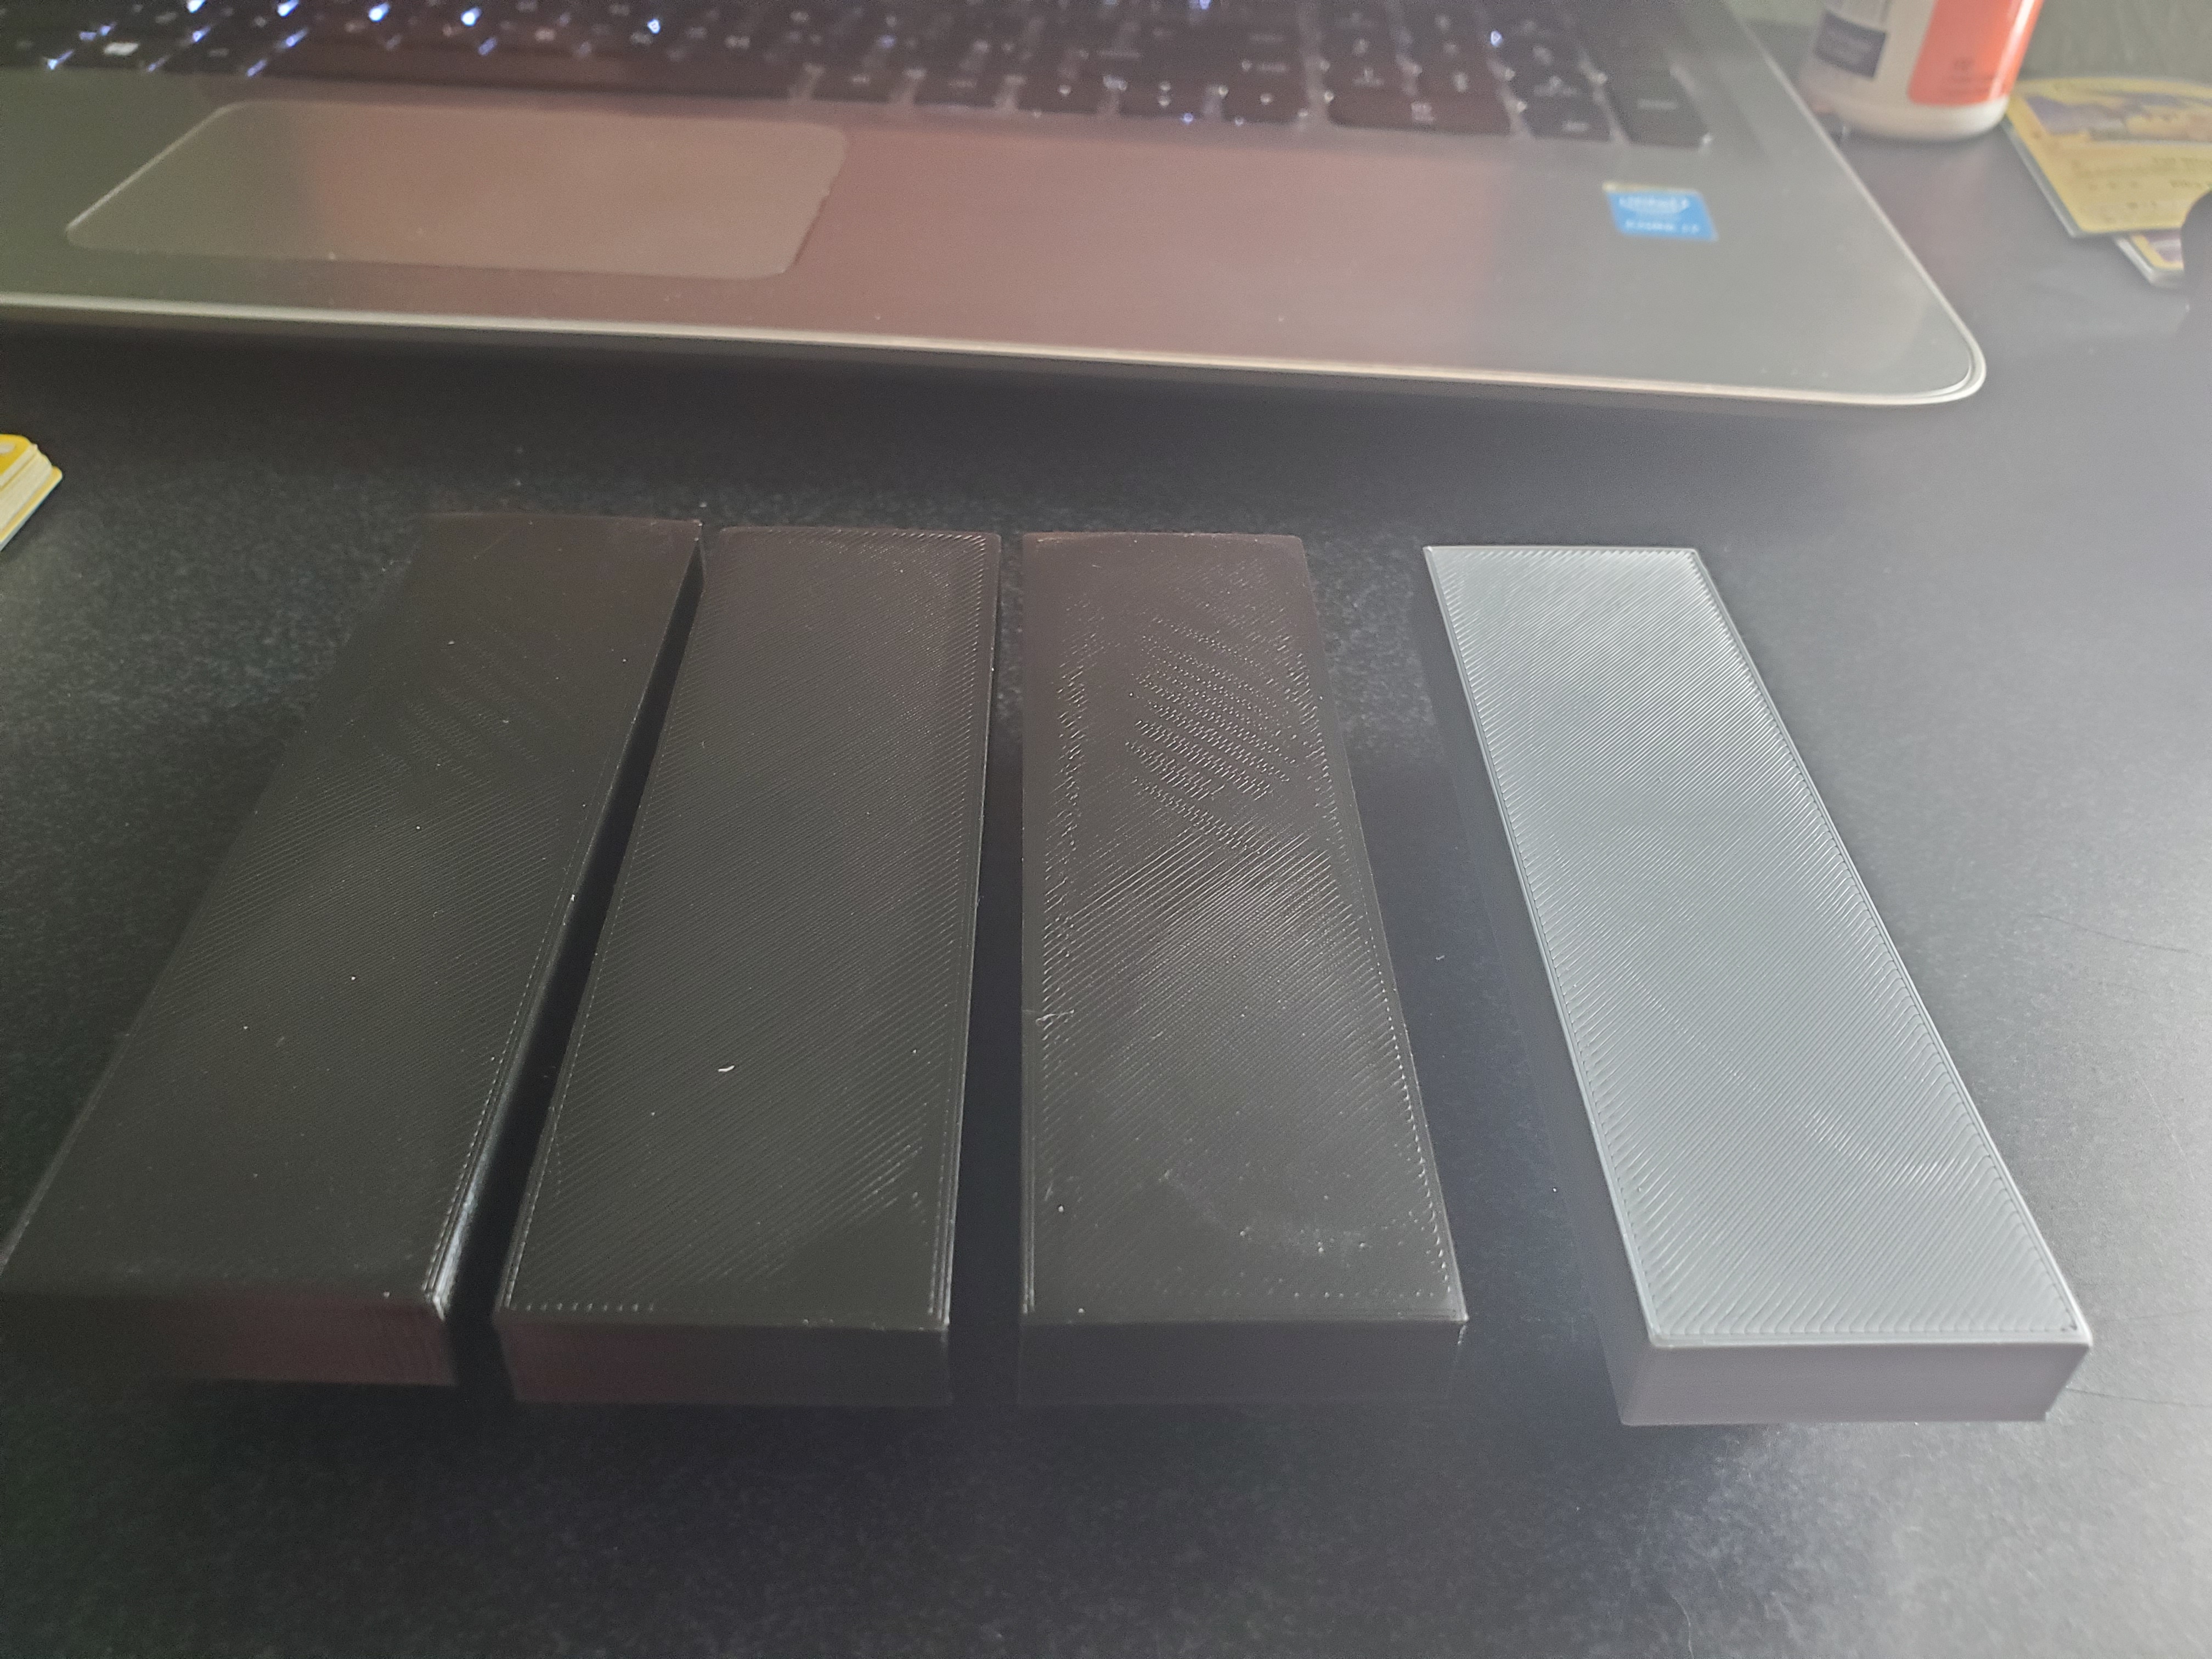
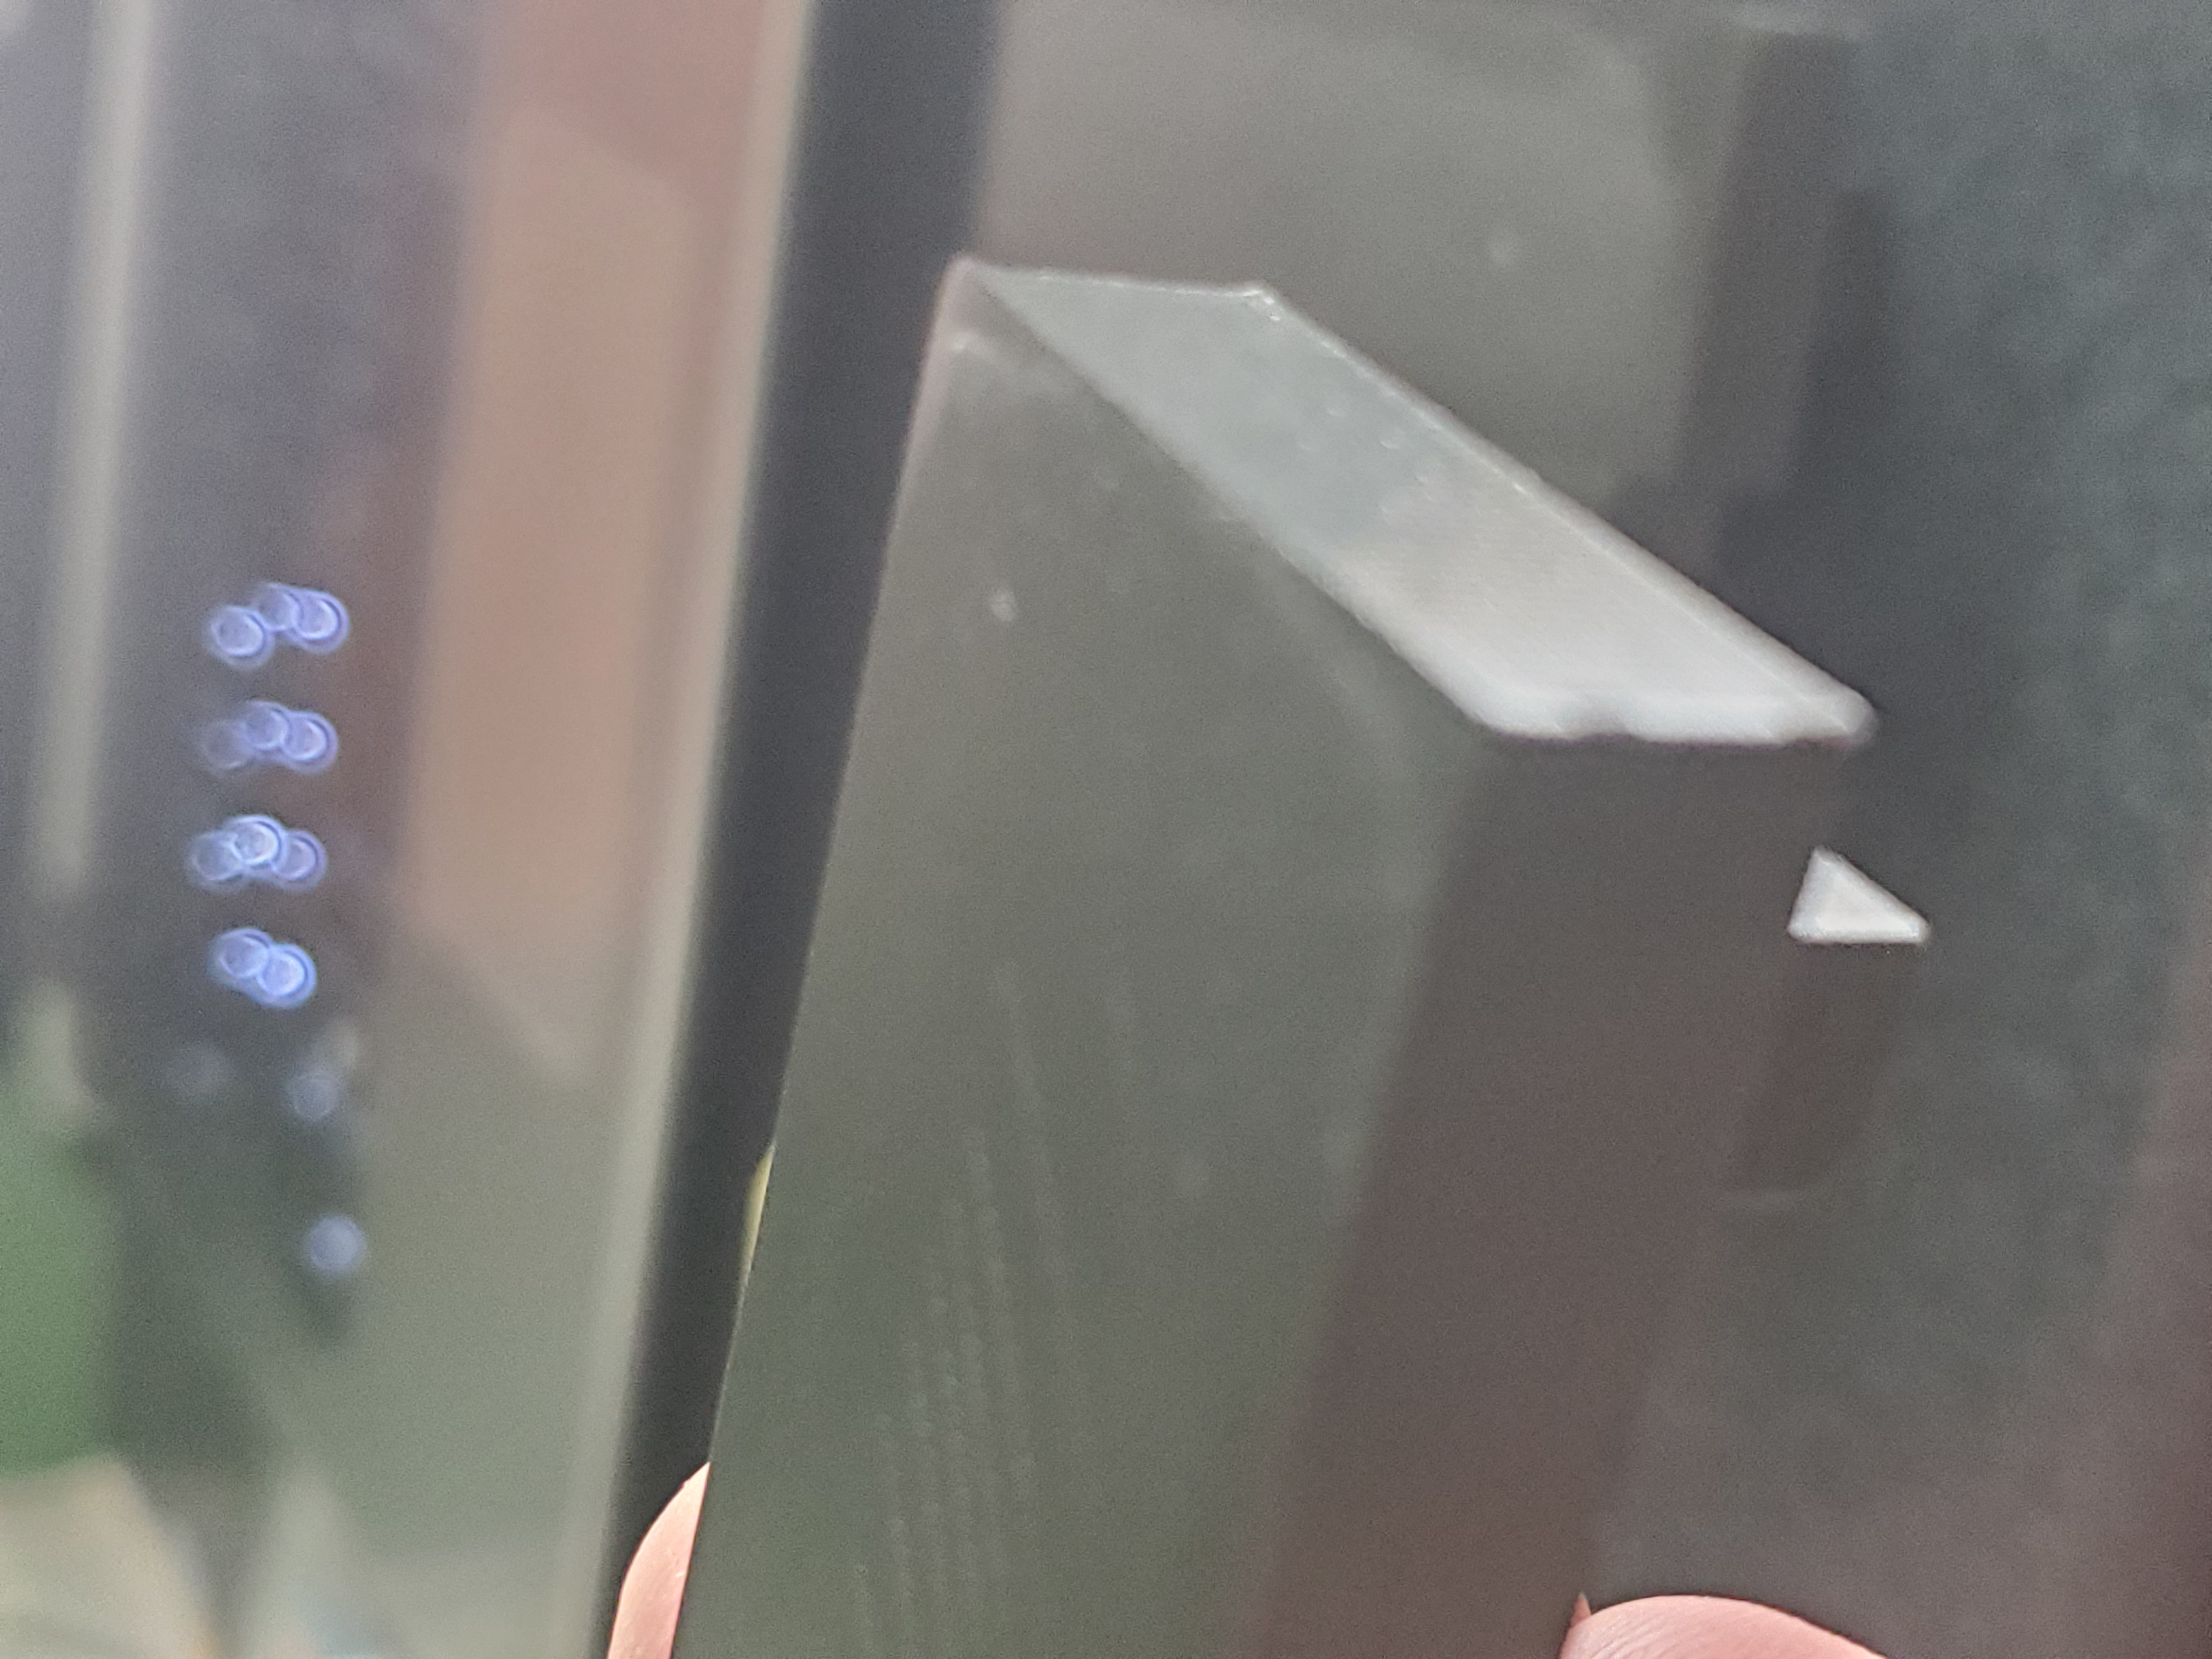
Wondering if anyone else has experienced corners lifting like in these pictures. The first few layers seem to go down fine, but somewhere along the line during the print this happens on the corners, which obviously affects the entire print.
I've tried different filaments, different first layer bed and hot end temps, I've made sure to clean the (smooth) surface with soap and water, I've tried acetone, and 91% alcohol. I'm getting frustrated as I've now thrown quite a few of these away. Any thought are appreciated.
Edit to add: I haven't posted to a message board in forever, so I'm not sure if the pictures need to be hosted elsewhere or if they can be uploaded from my computer. If you right click and open in a new tab, you should be able to see them. The silver one actually had good corners, the black ones do not. These came from different print runs.

RE: Corners Lifting During Prints
You can drag & drop pics into the edit area, or use the Add Media button above the toolbar to upload a bunch at once.
Most of the time, this is due to poor adhesion. Here's a big ol' info dump on the topic. Try these things and see if it improves. If not, reply and let us know and there are a few others things you can try. It's very important that you have a good foundation for your print though, so be sure it's not one of these issues before you go slathering gunk on your bed or making a bunch of work-around changes to your slicer settings...
-
A dirty PEI print surface. Even if you don't think this is the cause, it's always a good idea to make sure your PEI surface is clean before trying any other fixes. If it's a smooth PEI sheet, take it to the kitchen sink and give it a good dunk with Dawn (original formula, no vinegar or hand softener variants) dishwashing soap or your local equivalent (e.g. Fairy in UK). Use a clean paper towel to clean it off, and another to dry it. Avoid using any sponge or cloth that has been in contact with grease. Above all else, avoid touching the PEI print surface. Once it's good and clean, you should be able to use 91%+ isopropyl alcohol between prints, 100% acetone when that fails , and another dunk when acetone fails. Worst-case, use a 3M 7445 ScotchBrite (1200-1500 grit) pad or equivalent on smooth PEI to give it a very light buff, but only infrequently. If you've got a textured powder-coated PEI print surface, the official instructions are to use 91%+ isopropyl alcohol on it only. Rumors persist that some have had good luck getting started with these sheets by giving them a wipe with 100% acetone and a dunk with Dawn. Either way, there's no real warranty on these sheets. YMMV.
-
If you have not already done so, try using Jeff Jordan's "Life Adjust" procedure for calibrating your Live-Z setting. It is much easier to use and understand than the onboard routine and much easier to make mid-print adjustments accurately with. In general, start high (less negative) and work lower (more negative) in large increments (e.g. 0.1mm) until the filament starts to stick on its own. When you've got your Live-Z setting adjusted properly, you should be able to gently rub the extruded lines on the PEI surface without dislodging them. Then start lowering (more negative) the level until there are no gaps between layers. You should not be able to peel the lines apart after printing, but the top should be regular.
RE: Corners Lifting During Prints
First off, I appreciate the thorough response. I haven't used the live z-adjust function yet, I've only gone through the first layer calibration. Something that caught my attention about cleaning the sheet with Dawn was to not use a cloth or sponge that could have grease on it. I've been using a sponge that is used to clean other dishes, so this is a possibility. I will clean in the manner you recommended, and then I've go through the Life Adjust and see where that gets me. Hopefully that'll do the trick! In case people weren't able to look at the pics, I'll upload them now. Thanks!
RE: Corners Lifting During Prints
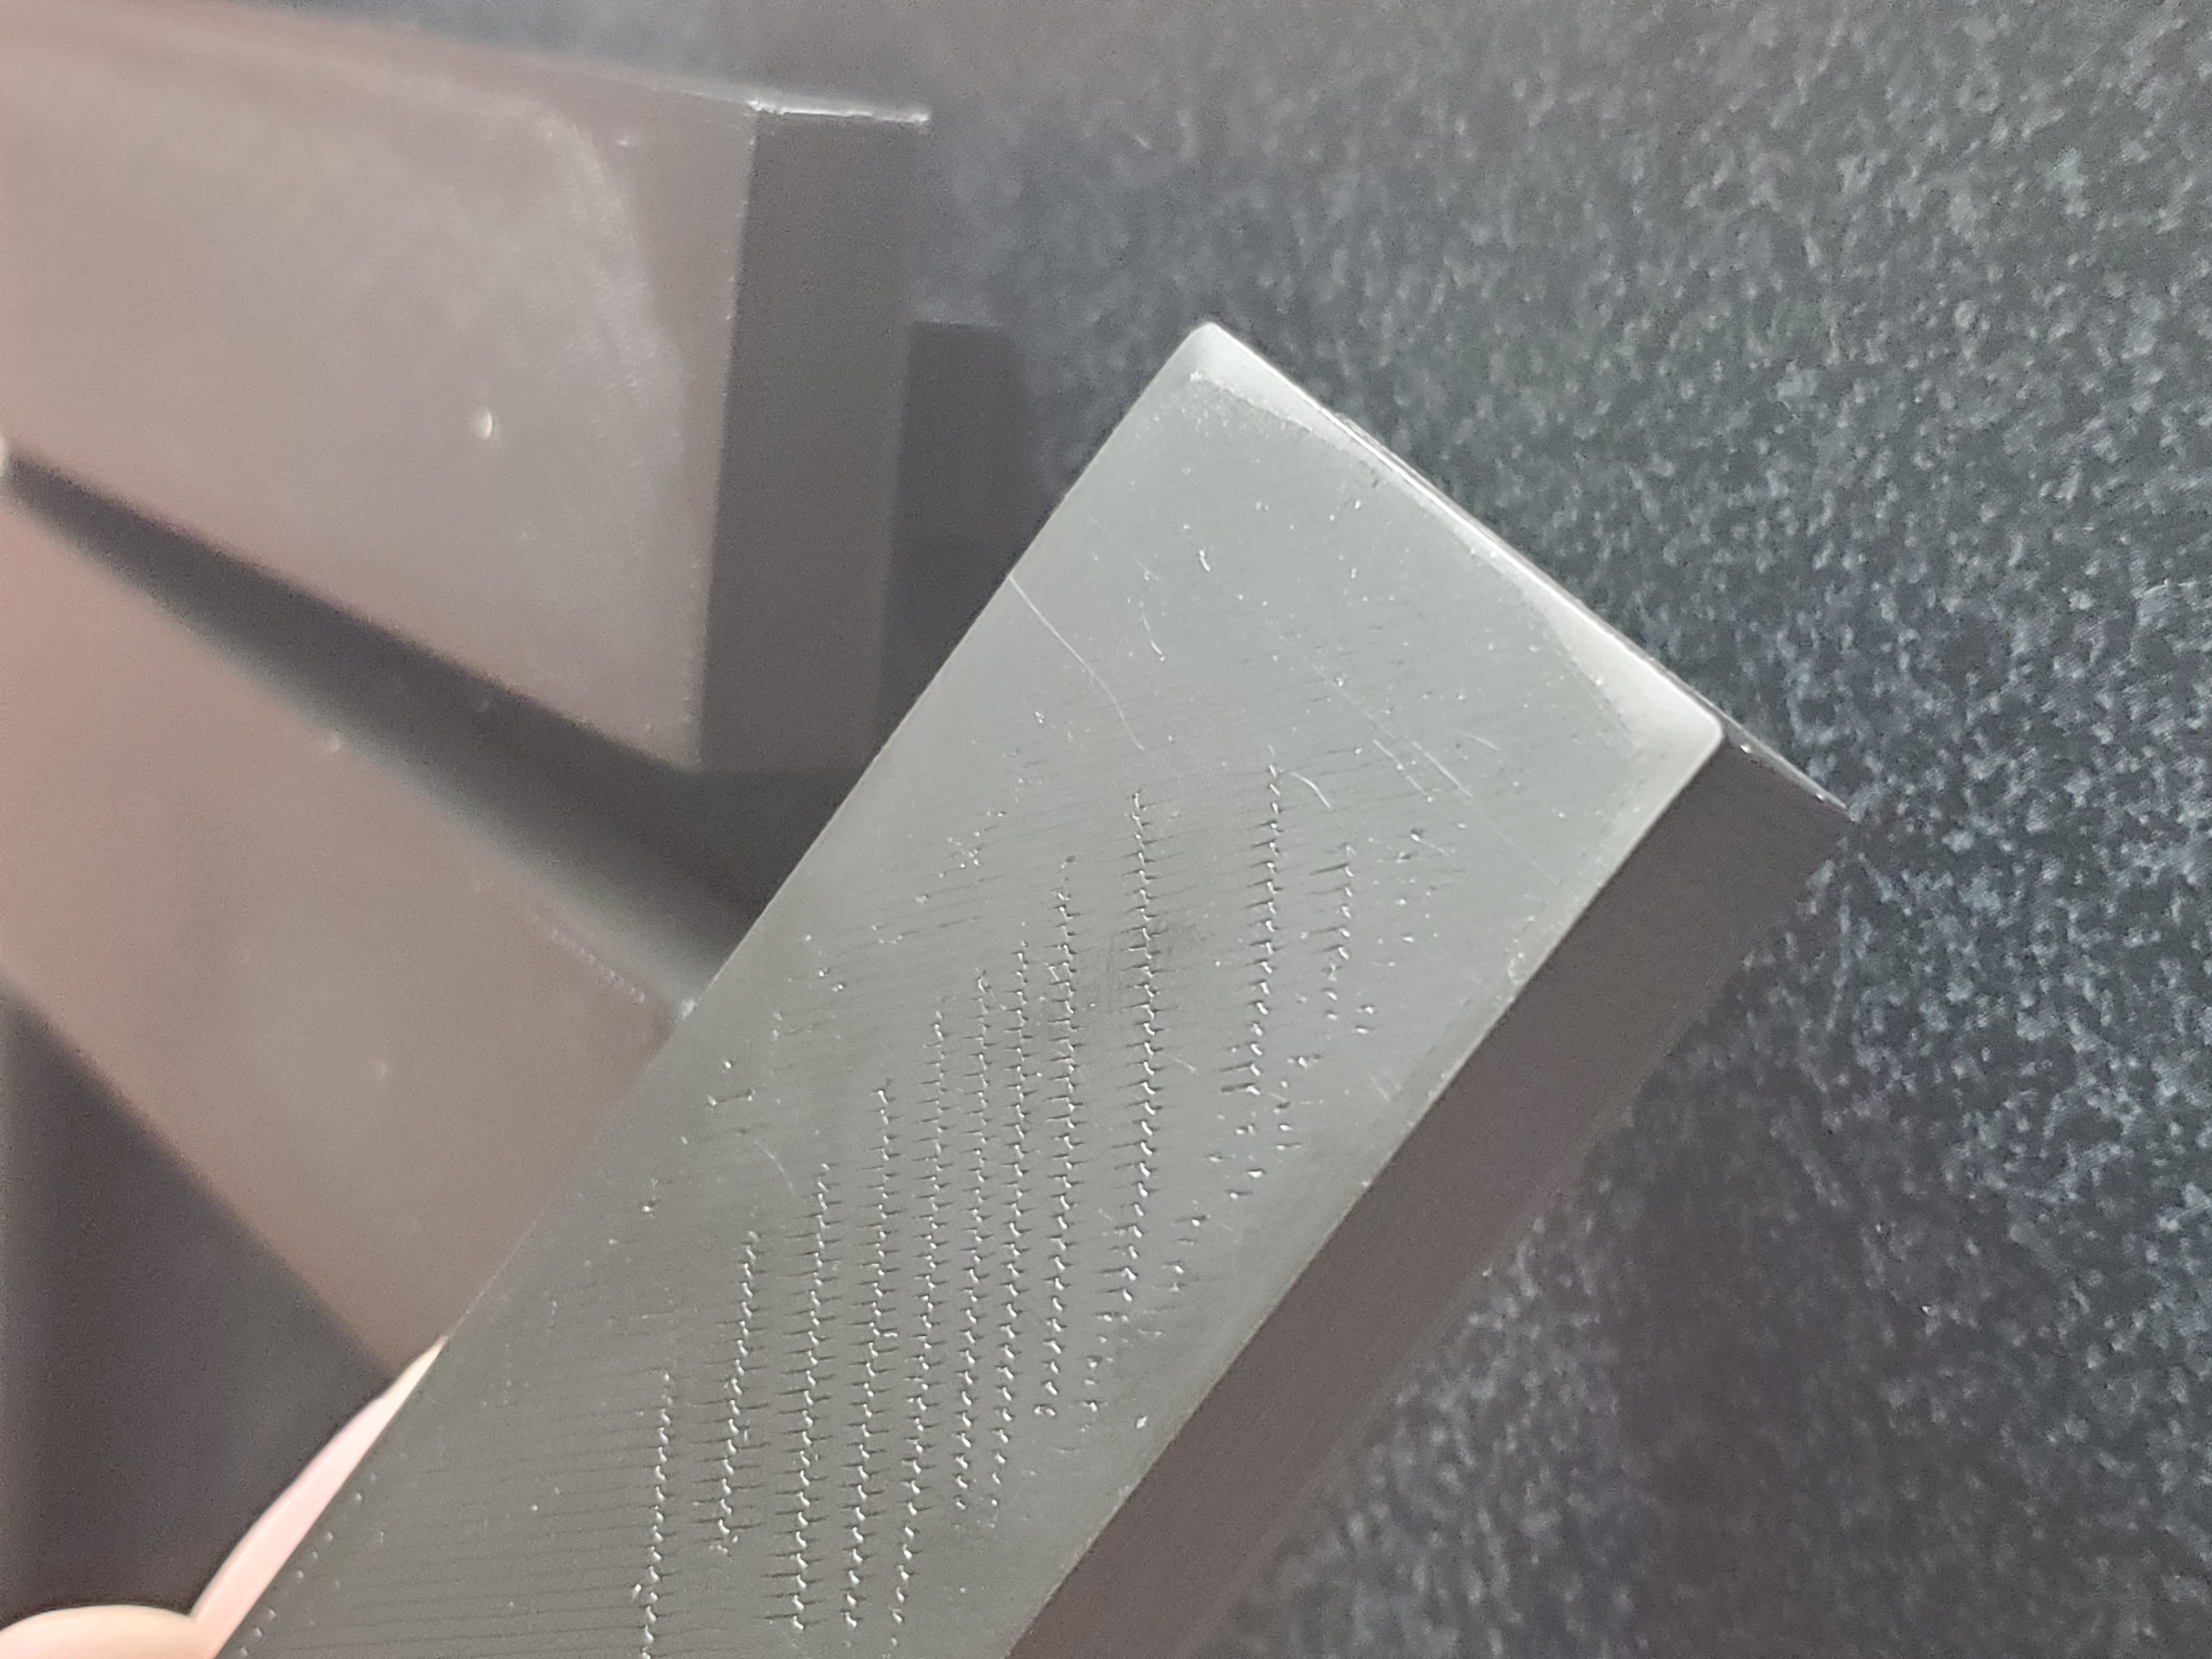
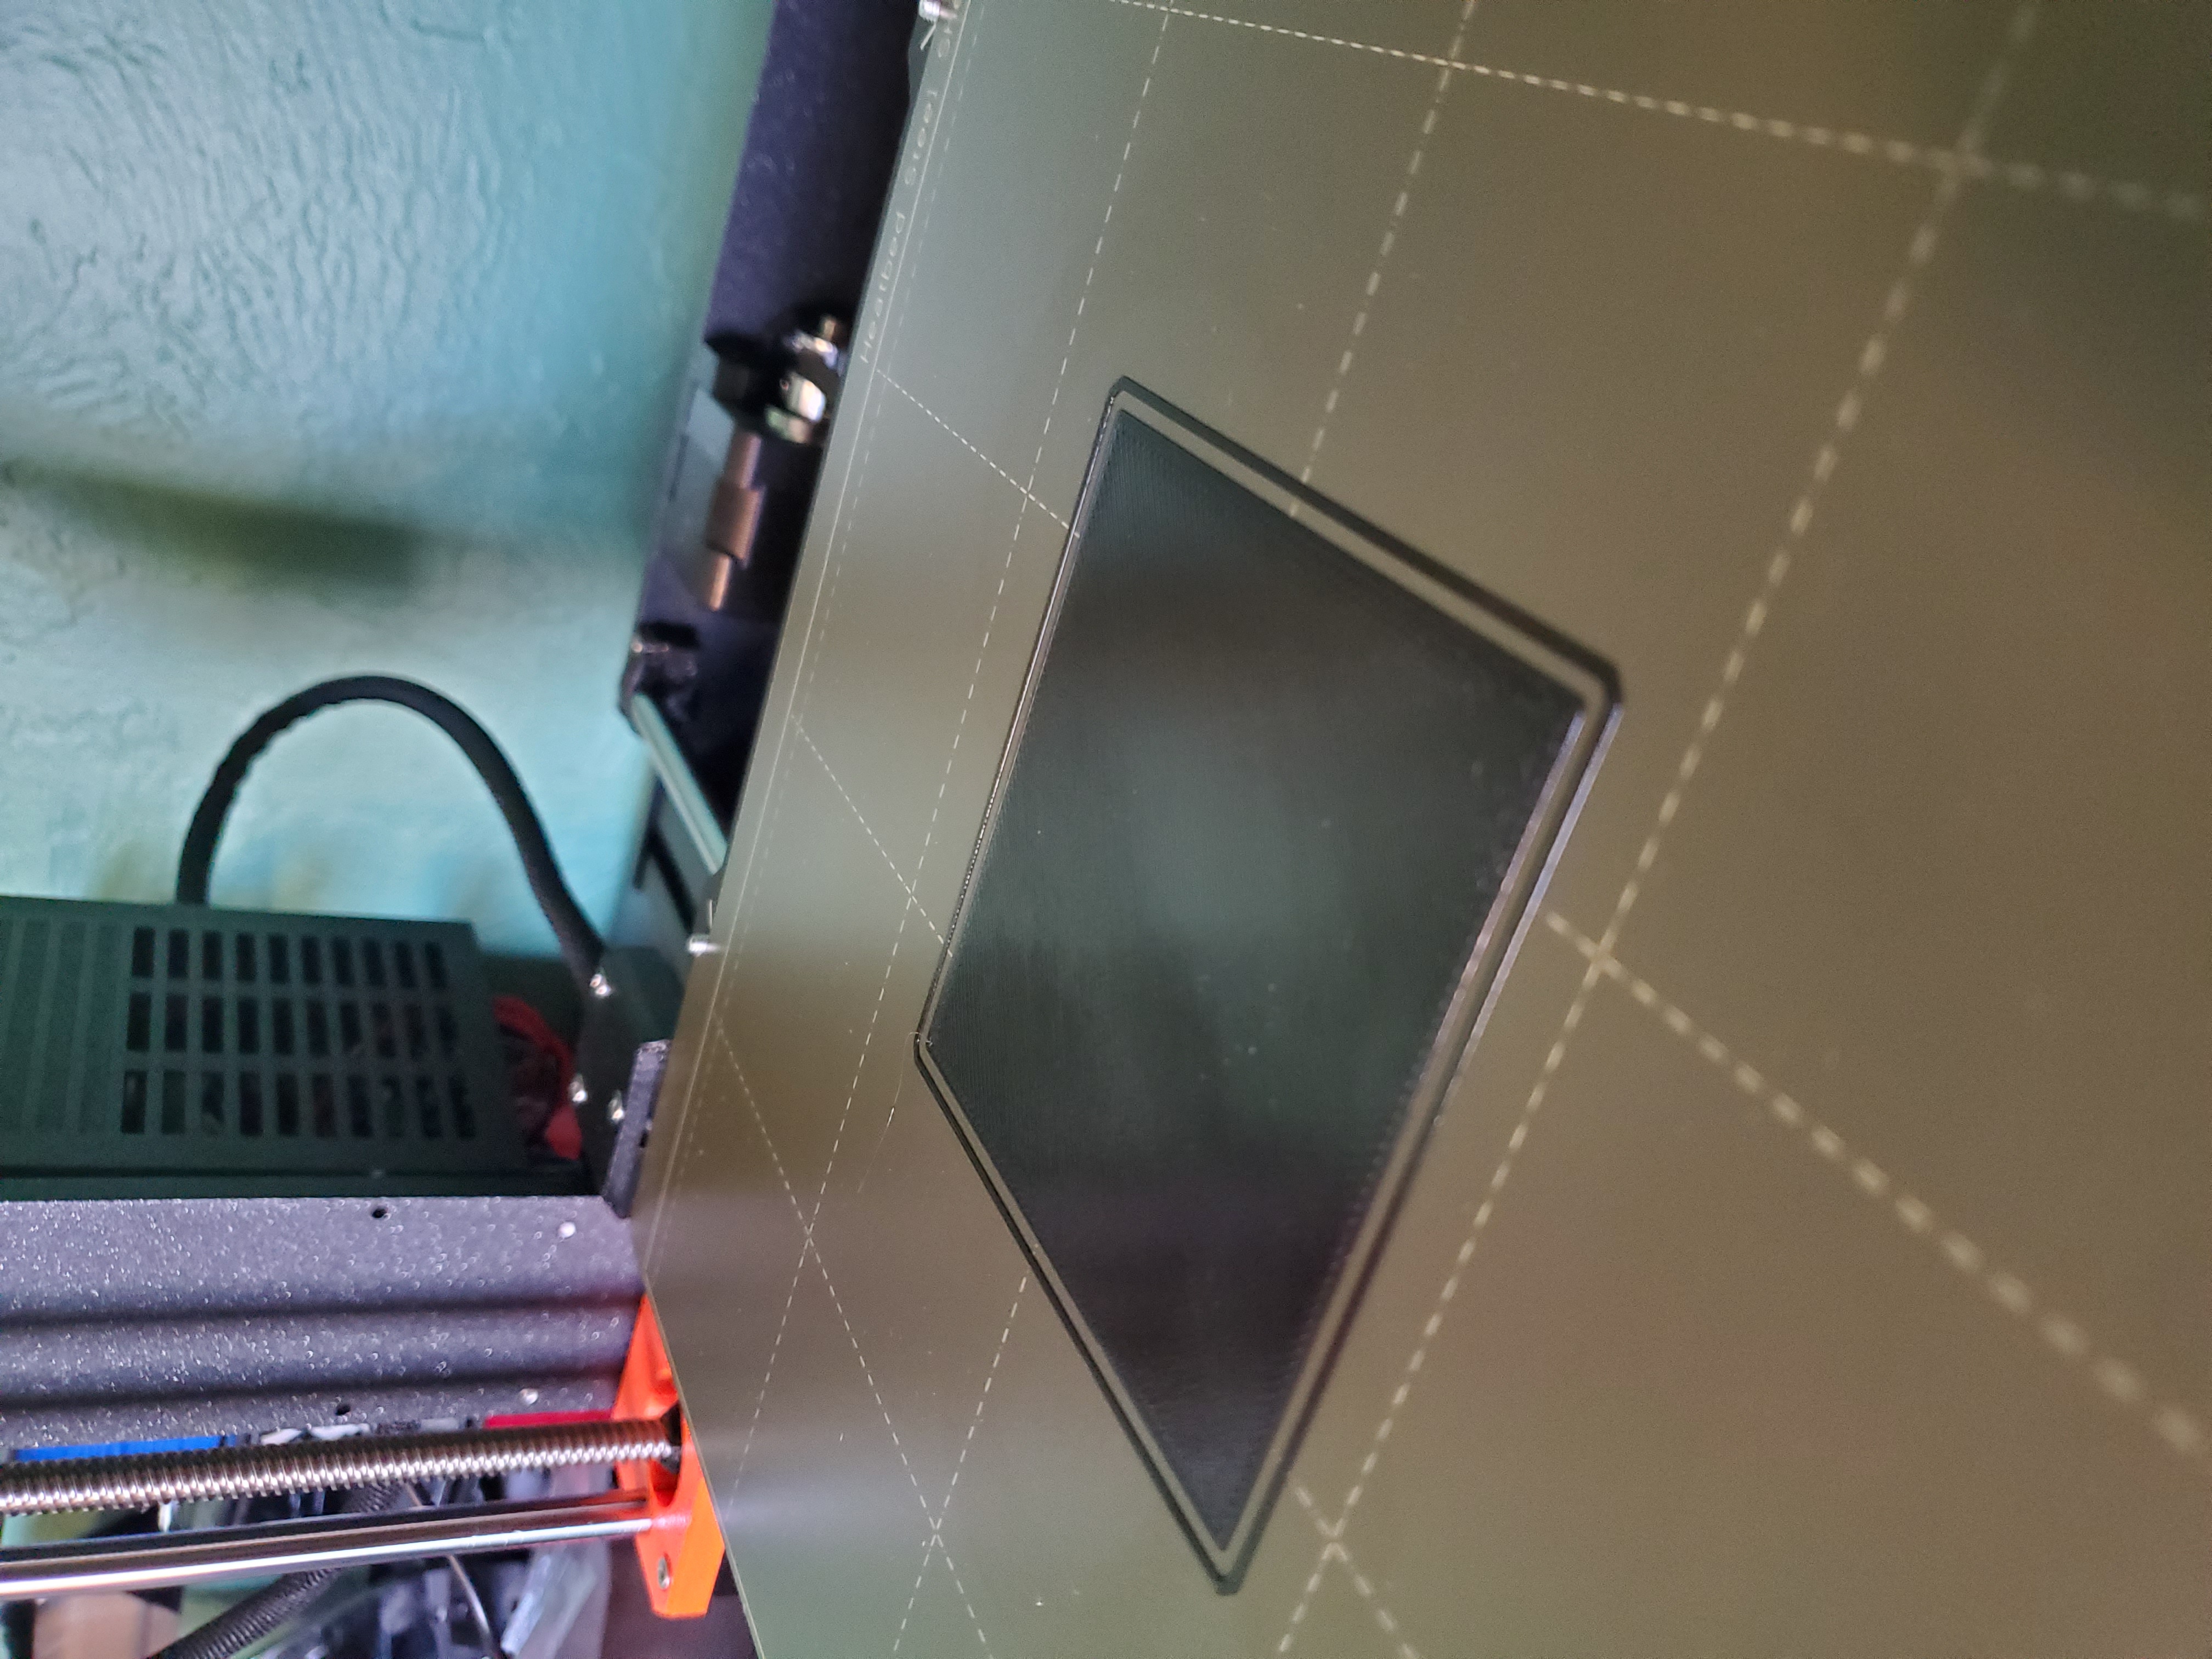
Here is the 75mm x 75mm print from above post. It was quite difficult to pull apart by hand after taking it off of the print bed. I don't have calipers, so I can't measure it for thickness to the accuracy of 0.XXX mm. 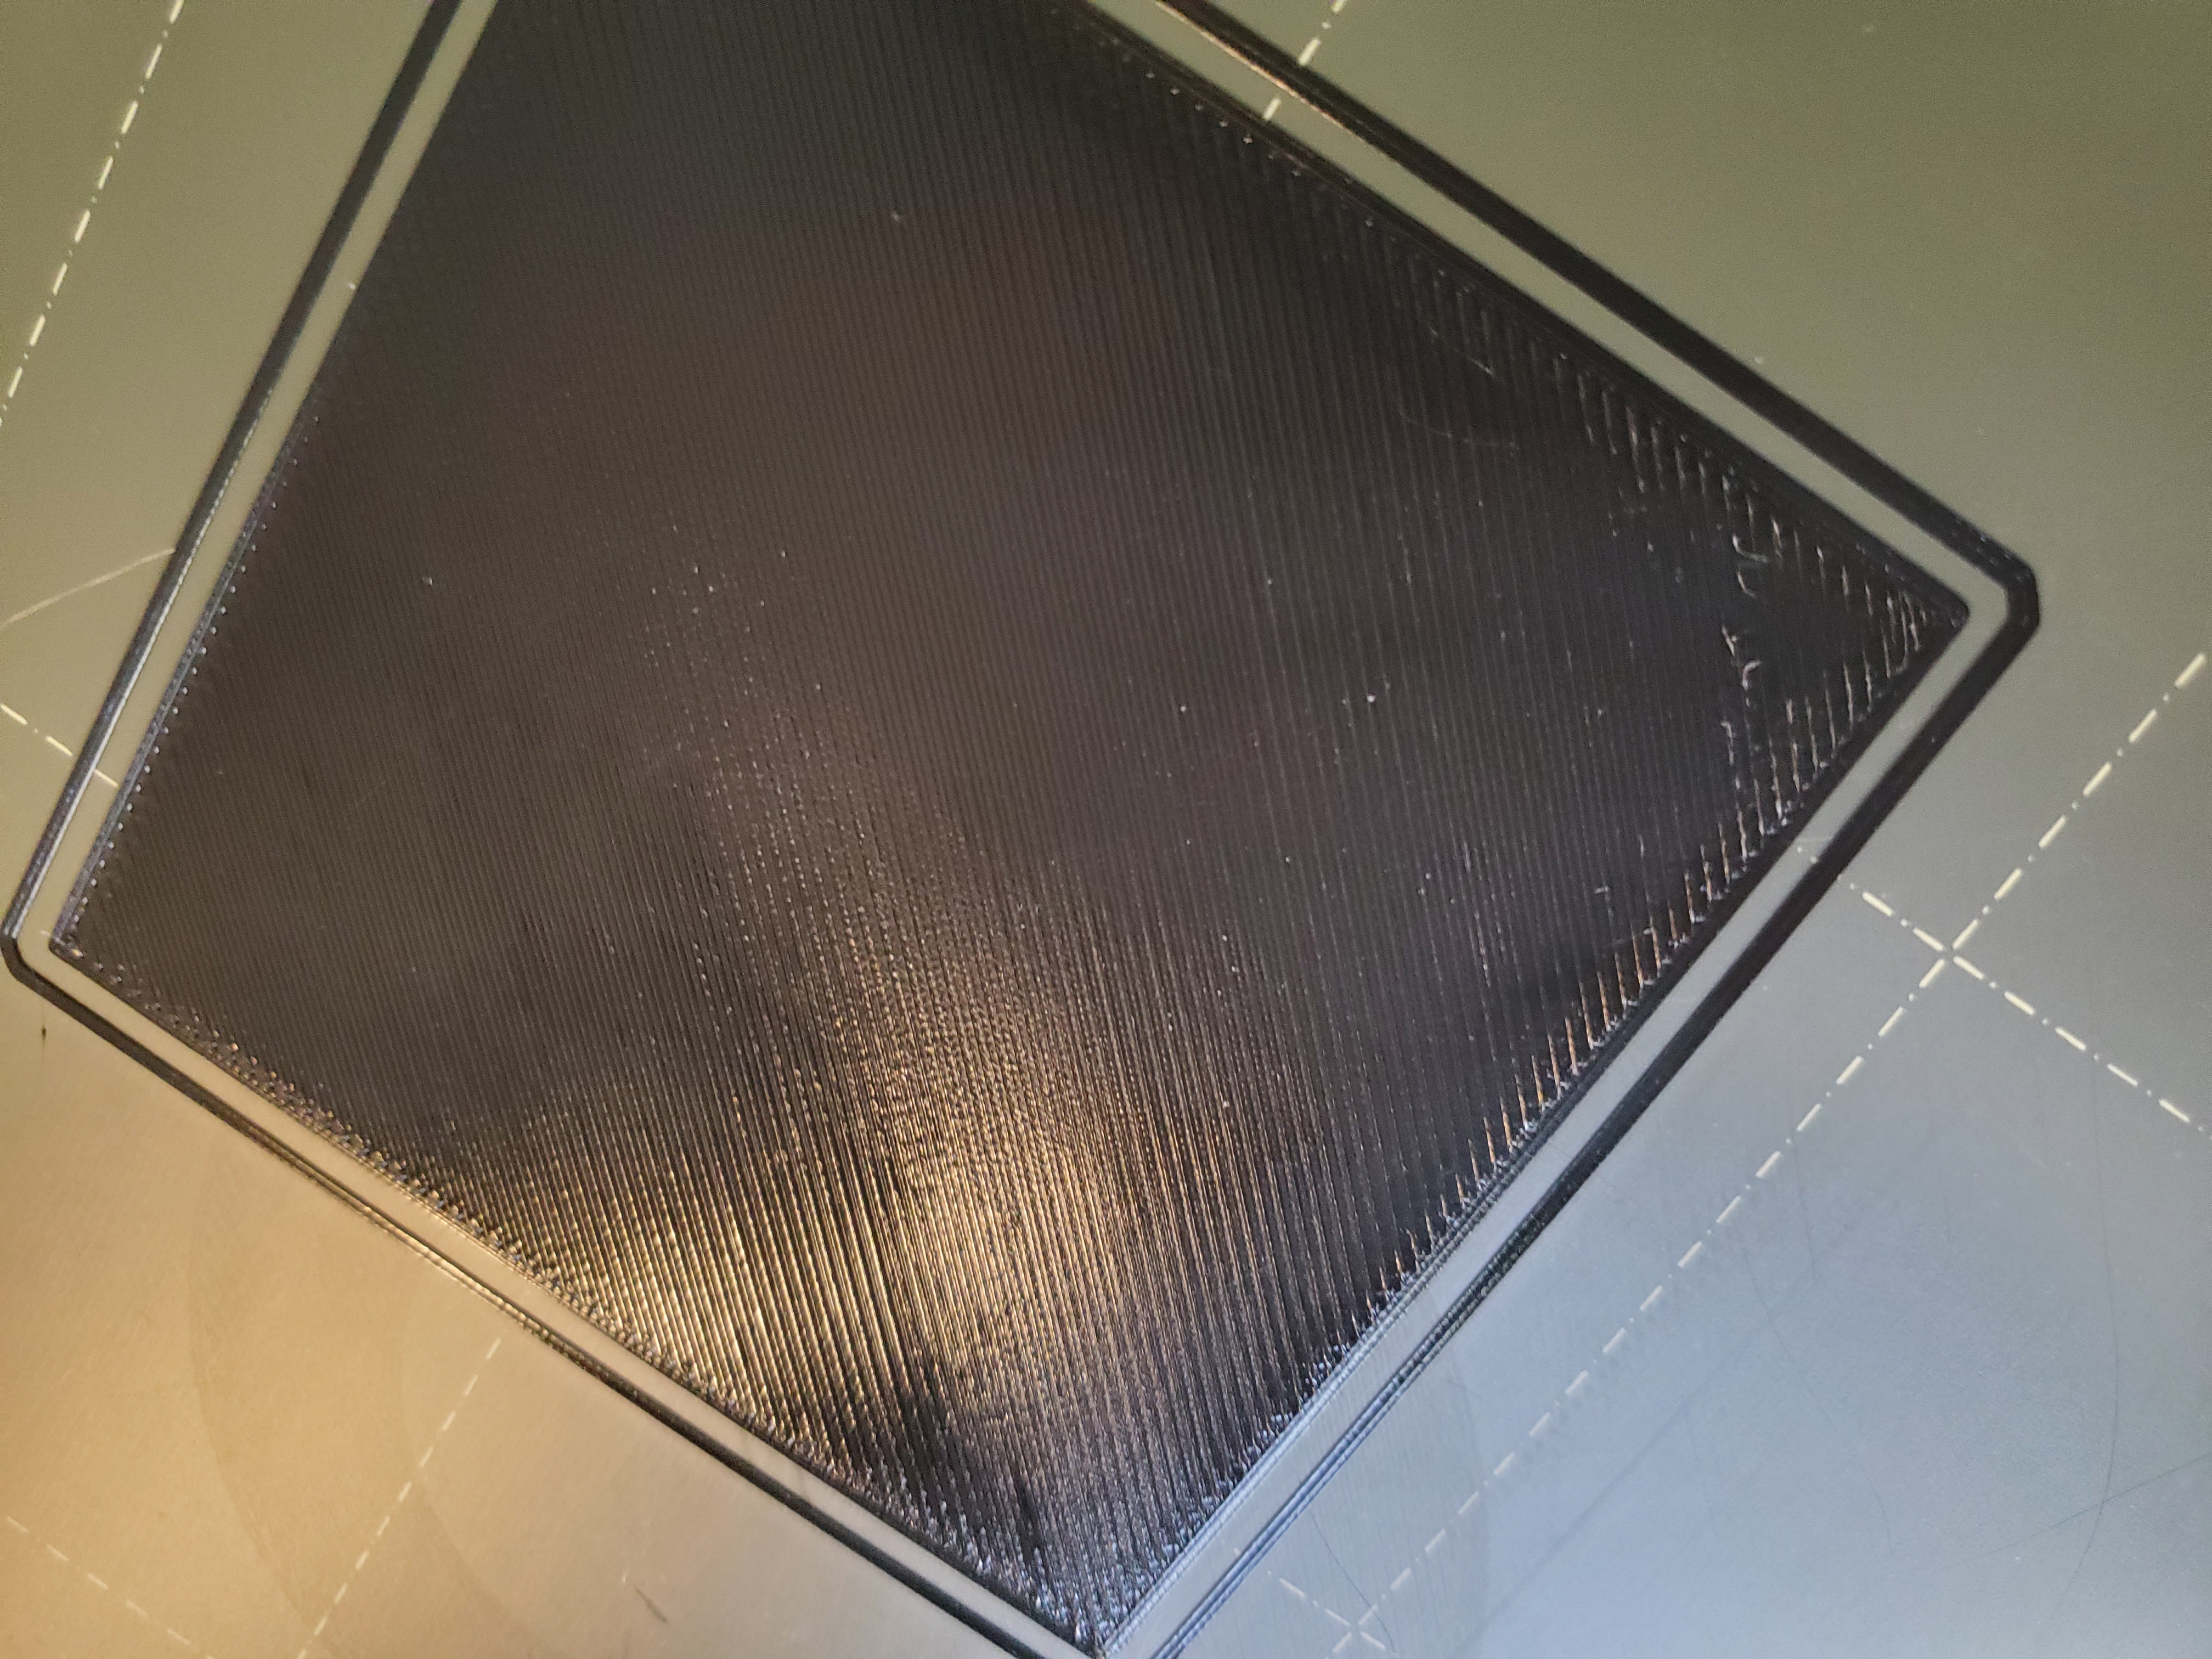
RE: Corners Lifting During Prints
The squares look very good. If the surface is rough, you might be the slightest bit low. You can try raising (making less negative) your Live-Z by 0.02mm or so. I wouldn't worry about it too much. Live-Z is essential for good adhesion. Now if you're careful with the PEI print surface after cleaning, you should get good adhesion. For PLA, you really don't need to do anything after the Dawn dunk. With PETG or other sticky hot filaments, you will want to apply some Windex or wipe it a bit with your fingers to reduce adhesion since they tend to stick too well.
Try some test prints and see if that helps with the lifting corners. On larger pieces, you can have some warping, particularly if you have large temperature fluctuations. Try to reduce breezes around the printer. Consider a tent or enclosure in extreme cases. You can use a brim to hold the entire print down. I like "mouse ears" in corners to tack those parts down without a lot of cleanup. In some cases, some adhesion booster can help. The important thing is that you've ensured you can get a good solid foundation for your prints.
RE: Corners Lifting During Prints
Thanks to BOBSTRO for his response, including his suggestion of "life adjust Z - my way" by Jeff Jordan. Cleaning and the Live Z adjustment worked as advertised!! 🙂
I didn't realize how far off my Z axis was!
Thanks again