Complete frustration with MK3 - first layer/print problems and it's about to become a boat anchor
After repeatedly checking bed level, and using a straight metal ruler, Live Z-axis adjustments, running through the wizard countless times, completely washing and cleaning the plate, modifying temps, checking for clogs, changing material brands, re-calibrating the PINDA sensor, using painter's tape, glue, etc. I still cannot get a good first layer and after having this printer for years and only being able to complete a total of 6 successful prints over the years, I'm about ready to refer to this printer as a boat anchor and treat it as such - this is so frustrating.
Today, this is another attempt at the first layer, and I had to stop the print - a common and repeatable problem with every print I attempt.
If by an absolute possible chance I get past this ugly mess of trash, after printing a few layers, the print comes off the plate (as it did in these pics).
I only use PLA material. The coincidental and (ironic) part of this - my only successful prints have been using Prusa PLA material (which costs me double of other PLA material that I can order online), but even using what little PLA I have left from my printer delivery, it does the same thing.
I normally cannot get past the first layer without the abhorrent scarring I see shaped like lightning bolts which you can see in one of the pictures. Using latest firmware, but this has been a problem across just about every revision I've applied. I print from the SD Card after exporting the GCode.
I'm out of ideas. I've also increased extruder to 1.1 from the default of 1 in PrusaSlicer. I noticed that filament appeared to be skipping and appearing thin no matter what I did with Live-Z adjustments. If I use Cura, the problem exists. If anyone can provide another avenue I haven't tried, I am certainly open to doing so, before this printer is sent back in pieces.


RE: Complete frustration with MK3 - first layer/print problems and it's about to become a boat anchor
First of all don't use glue or painters tape or anything else they are release bonds use ipa on the bed and do first layer then lower the live z till you get a good squashed first layer
Please help me out by downloading a model it's free and easy but really helps me out https://www.printables.com/@Hello_474427/models
RE: Complete frustration with MK3 - first layer/print problems and it's about to become a boat anchor
Been there, did that several times. Before this print, I completely washed the bed, then used 91% IPA on it, as I normally do. First layer isn't bad, but I can't get rid of those scar lines.
I just found OctoPrint and I am going to install and run that on my Linux machine, and see what I can produce with Bed Visualizer.
RE: Complete frustration with MK3 - first layer/print problems and it's about to become a boat anchor
Higher the pinda then do first layer share pictures of first layer
Please help me out by downloading a model it's free and easy but really helps me out https://www.printables.com/@Hello_474427/models
RE: Complete frustration with MK3 - first layer/print problems and it's about to become a boat anchor
It's also better to do first layer calabration instead of first layer of a print
Please help me out by downloading a model it's free and easy but really helps me out https://www.printables.com/@Hello_474427/models
RE: Complete frustration with MK3 - first layer/print problems and it's about to become a boat anchor
I don't know all of what you have tried, however, since it hasn't helped, let's ignore what's happened before.
assuming the printer is totally 'STOCK' No modifications.
I would start off, downloading the test files from the 'Life Adjust 'Z' My Way' thread. (to use, in preference to the Prusa First layer calibration tool). and copy is to your SD Card.
I would check the Pinda adjustment using a ZipTie as shown in the assembly guide. I would give the build plate a really vigorous cleaning with HOT Water, a little basic dish soap with a previously unused dish sponge, then I Would rinse well with plain hot water and dry immediately with plain paper towels. After cleaning, do not touch the build surface with your fingers.
then I would continue by doing a
factory reset of the firmware, (Clearing all data)
then I would follow the wizard to set the printer up.
do an XYZ Calibration. etc, all the way until it's time to do the Live Z adjustment (First layer calibration), at this point, I would use the Life adjust Z file in preference to the Prusa first layer adjustment tool.
I would select 7x7 mesh bed levelling, off the LCD Menu.(Setting the management compensation ON)
with a properly set up pinda, the initial filament trace should be too high and not adhere to the build plate,
Rotate the LCD Control to make the Live Z value progressively more negative, whilst the life adjust Z file is printing,
After a whie, the filament should start catching on the build plate, then it should start creating straight lines, like spaghetti, if you continue lowering the nozzle (Increasing the negative value of Live Z) the spaghetti lines should begin to look slightly flattened, slightly wider, and closer together. at this stage the nozzle is still too high, keep adjusting the live Z, to a larger negative value. the filament strands should begin to merge into a continuous sheet and the surface of the sheet should be smooth This is close to perfect live Z,
If you continue lowering the nozzle the surface of the printed material, will start to get rough if you continue further the printed material will begin to form ripples.... NOW you have definitely gone too low,
At this stage reduce the size of the negative live Z value until the printed surface goes smooth again...
at this point your live Z should be good.
stop the print
Remove the filament off the build plate, and try printing the Prusa Logo. from the pre sliced models files.
Hopefully all will be good.
the first layer should form a thin, smooth, continuous sheet with no gaps, if it looks like spaghetti strands, re adjust live Z lower (Larger negative number)
If the first layer starts to ripple, the extruder is too low, reduce the size of the negative Live Z value a little.
with a couple of test prints, you should be able to get good prints.
regards Joan
I try to make safe suggestions,You should understand the context and ensure you are happy that they are safe before attempting to apply my suggestions, what you do, is YOUR responsibility.Location Halifax UK
RE: Complete frustration with MK3 - first layer/print problems and it's about to become a boat anchor
That first layer is nowhere near squished enough. I'm not surprised it's not sticking to the bed no matter how clean you get it.
A single layer is what is needed to check live z, not a part. With a single layer you can bend it and see if the lines separate, you can also see the texture of the top to see when you have gone just that little bit too far in lowering the Z axis offset so you can dial it back 5-10.
RE: Complete frustration with MK3 - first layer/print problems and it's about to become a boat anchor
After a nightmare of trying to get the Live Z adjusted, I agree with the comments about the Live Z thread. I would also measure the thickness of your first layer. Not doing this created a headache for me as the visual for the setting looked good and I had decent adhesion to the plate, I was too high. Once I measured the thickness, I got much closer and I was finally able to print.
RE: Complete frustration with MK3 - first layer/print problems and it's about to become a boat anchor
Just do what Joan says. Don't interprete, guess, skip steps, assume anything. Just follow her advice.
I try to give answers to the best of my ability, but I am not a 3D printing pro by any means, and anything you do you do at your own risk. BTW: I have no food for…
RE: Complete frustration with MK3 - first layer/print problems and it's about to become a boat anchor
If the Z calibration is a 'nightmare', something is definitely wrong.
The photos of the prints above look to me like the Z is most likely too high.
Joan has detailed the steps to zero it in. Those steps start with the machine in a known state and progress to a good base-level Z calibration.
At that point the lines in the test pattern should be straight and the corners should be square. The 'flag' should be clean and smooth on the top and bottom.
I'm assuming that your filament is dry and your build plate is clean. Those two are very important for a successful Z calibration and successful prints.
After you have this base-level Z calibration dialed in, you can then go to a more precise test, using one of those single-layer 3x3 test prints (shown below).
You want to have all of the patches consistent across the build plate. If some of them are good but some on the edges are bad, you can go into the front panel and adjust the front/rear and/or left/right correction factors to compensate. If that needs to be done I suggest first tweaking the basic Z calibration so the center patch prints with the correct degree of 'squish' and working from there.
RE:
OK so an update to this - I have re-adjusted the PINDA a bit more, and even though I follow the manual on PINDA and how to set it every time that I have adjusted it, my first layer is finally improving.
@Joantabb that is the same file that I use for my first layer calibration, but I am curious as to why the gcode file is set higher temp for PLA than we normally print at and the heat bed is lower. PLA as you know is 215/60 default. The gcode on that file is 225/55. If we are supposed to compare apples to apples here, why is it a different heat setting? Doesn't this skew our results a little bit here?
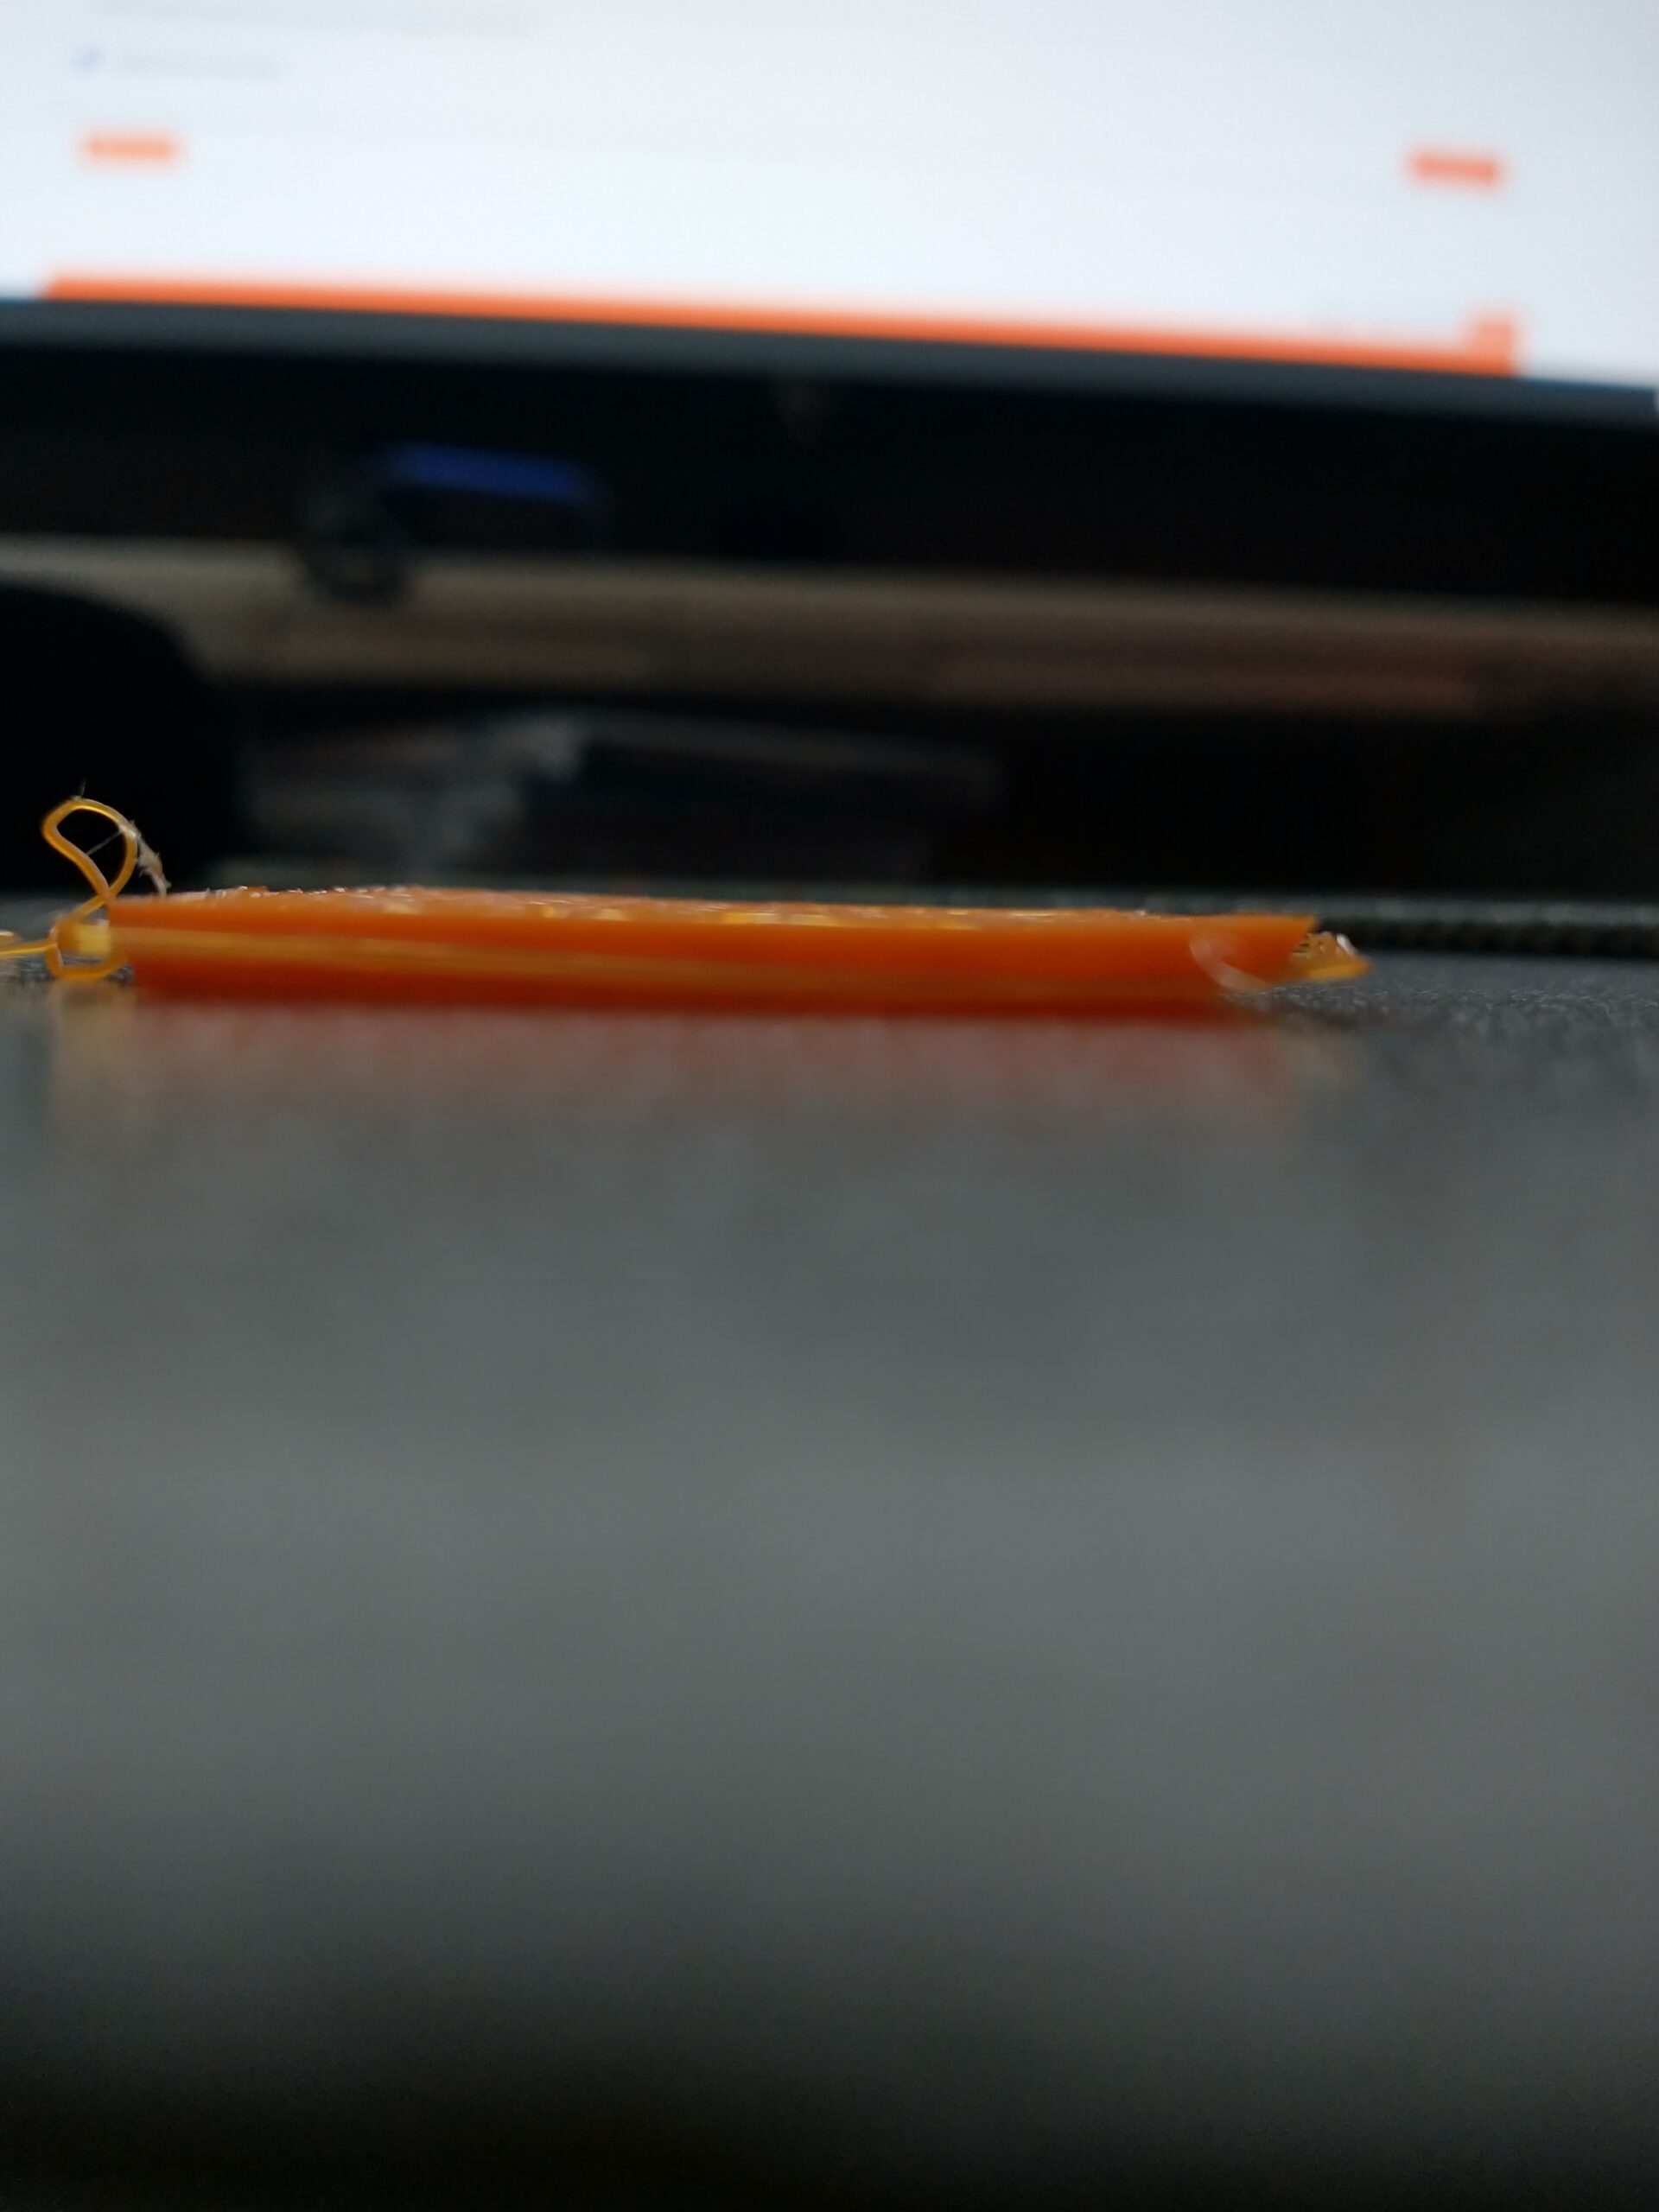
At any rate, posting my first layer cal. here. I am at -0.170 with this entire first layer, and appears it needs to be dropped some more. Forgot to mention that I have a digital caliper and this layer measures at .3mm.

RE: Complete frustration with MK3 - first layer/print problems and it's about to become a boat anchor
Yes, you need to go lower still. You'll see an improvement when you get there.
RE: Complete frustration with MK3 - first layer/print problems and it's about to become a boat anchor
Shawn, like you I was having all kinds of issues getting the Z level calibrated with PETG. Most due to learning as I have only had my printer for close to 2 months. I for one, find that I cannot see the "correct" amount of pressure and was fighting from what looked correct. Like you I took a caliper and measured mine and found out what looked good in the one Live Z calibration print was high, like yours. From the manual, it should be about 1/2 the width of the nozzle. So, for 0.4mm, that should be 0.2mm. Knowing that my caliper has an accuracy of +/- 0.02mm, which is quite normal for low cost calipers, I know that I am much closer, just like you are now.
What I did to get close was run the Z calibration on the SD card until the individual strands were in the 0.20mm range and the end square was in that range. I also found that the print stuck to the plate much better and when I was too low, the print was almost impossible to get off where as, when it was too high, it almost fell off.
3D printing is not a plug and play process and the ones that do it where I worked have had massive failures, at first, even though it was their job. Even one of the large, expensive commercial machines wouldn't provide great prints at times as I had one that literally fell apart in my hands. Listen to the comments on here and they will lead you in the right direction and it gets better.
I look at this process with the idea that I will have to learn something almost daily on 3D printing and there is much more than I expected.
RE: Complete frustration with MK3 - first layer/print problems and it's about to become a boat anchor
So I am at -0.30 and the first layer looks a lot better than earlier. I question how far down this setting is though - isn't this indicative of too high of a PINDA? I mean, I can live with it if the printer can, but if I have to raise PINDA some more and do it better - by all means, lol.
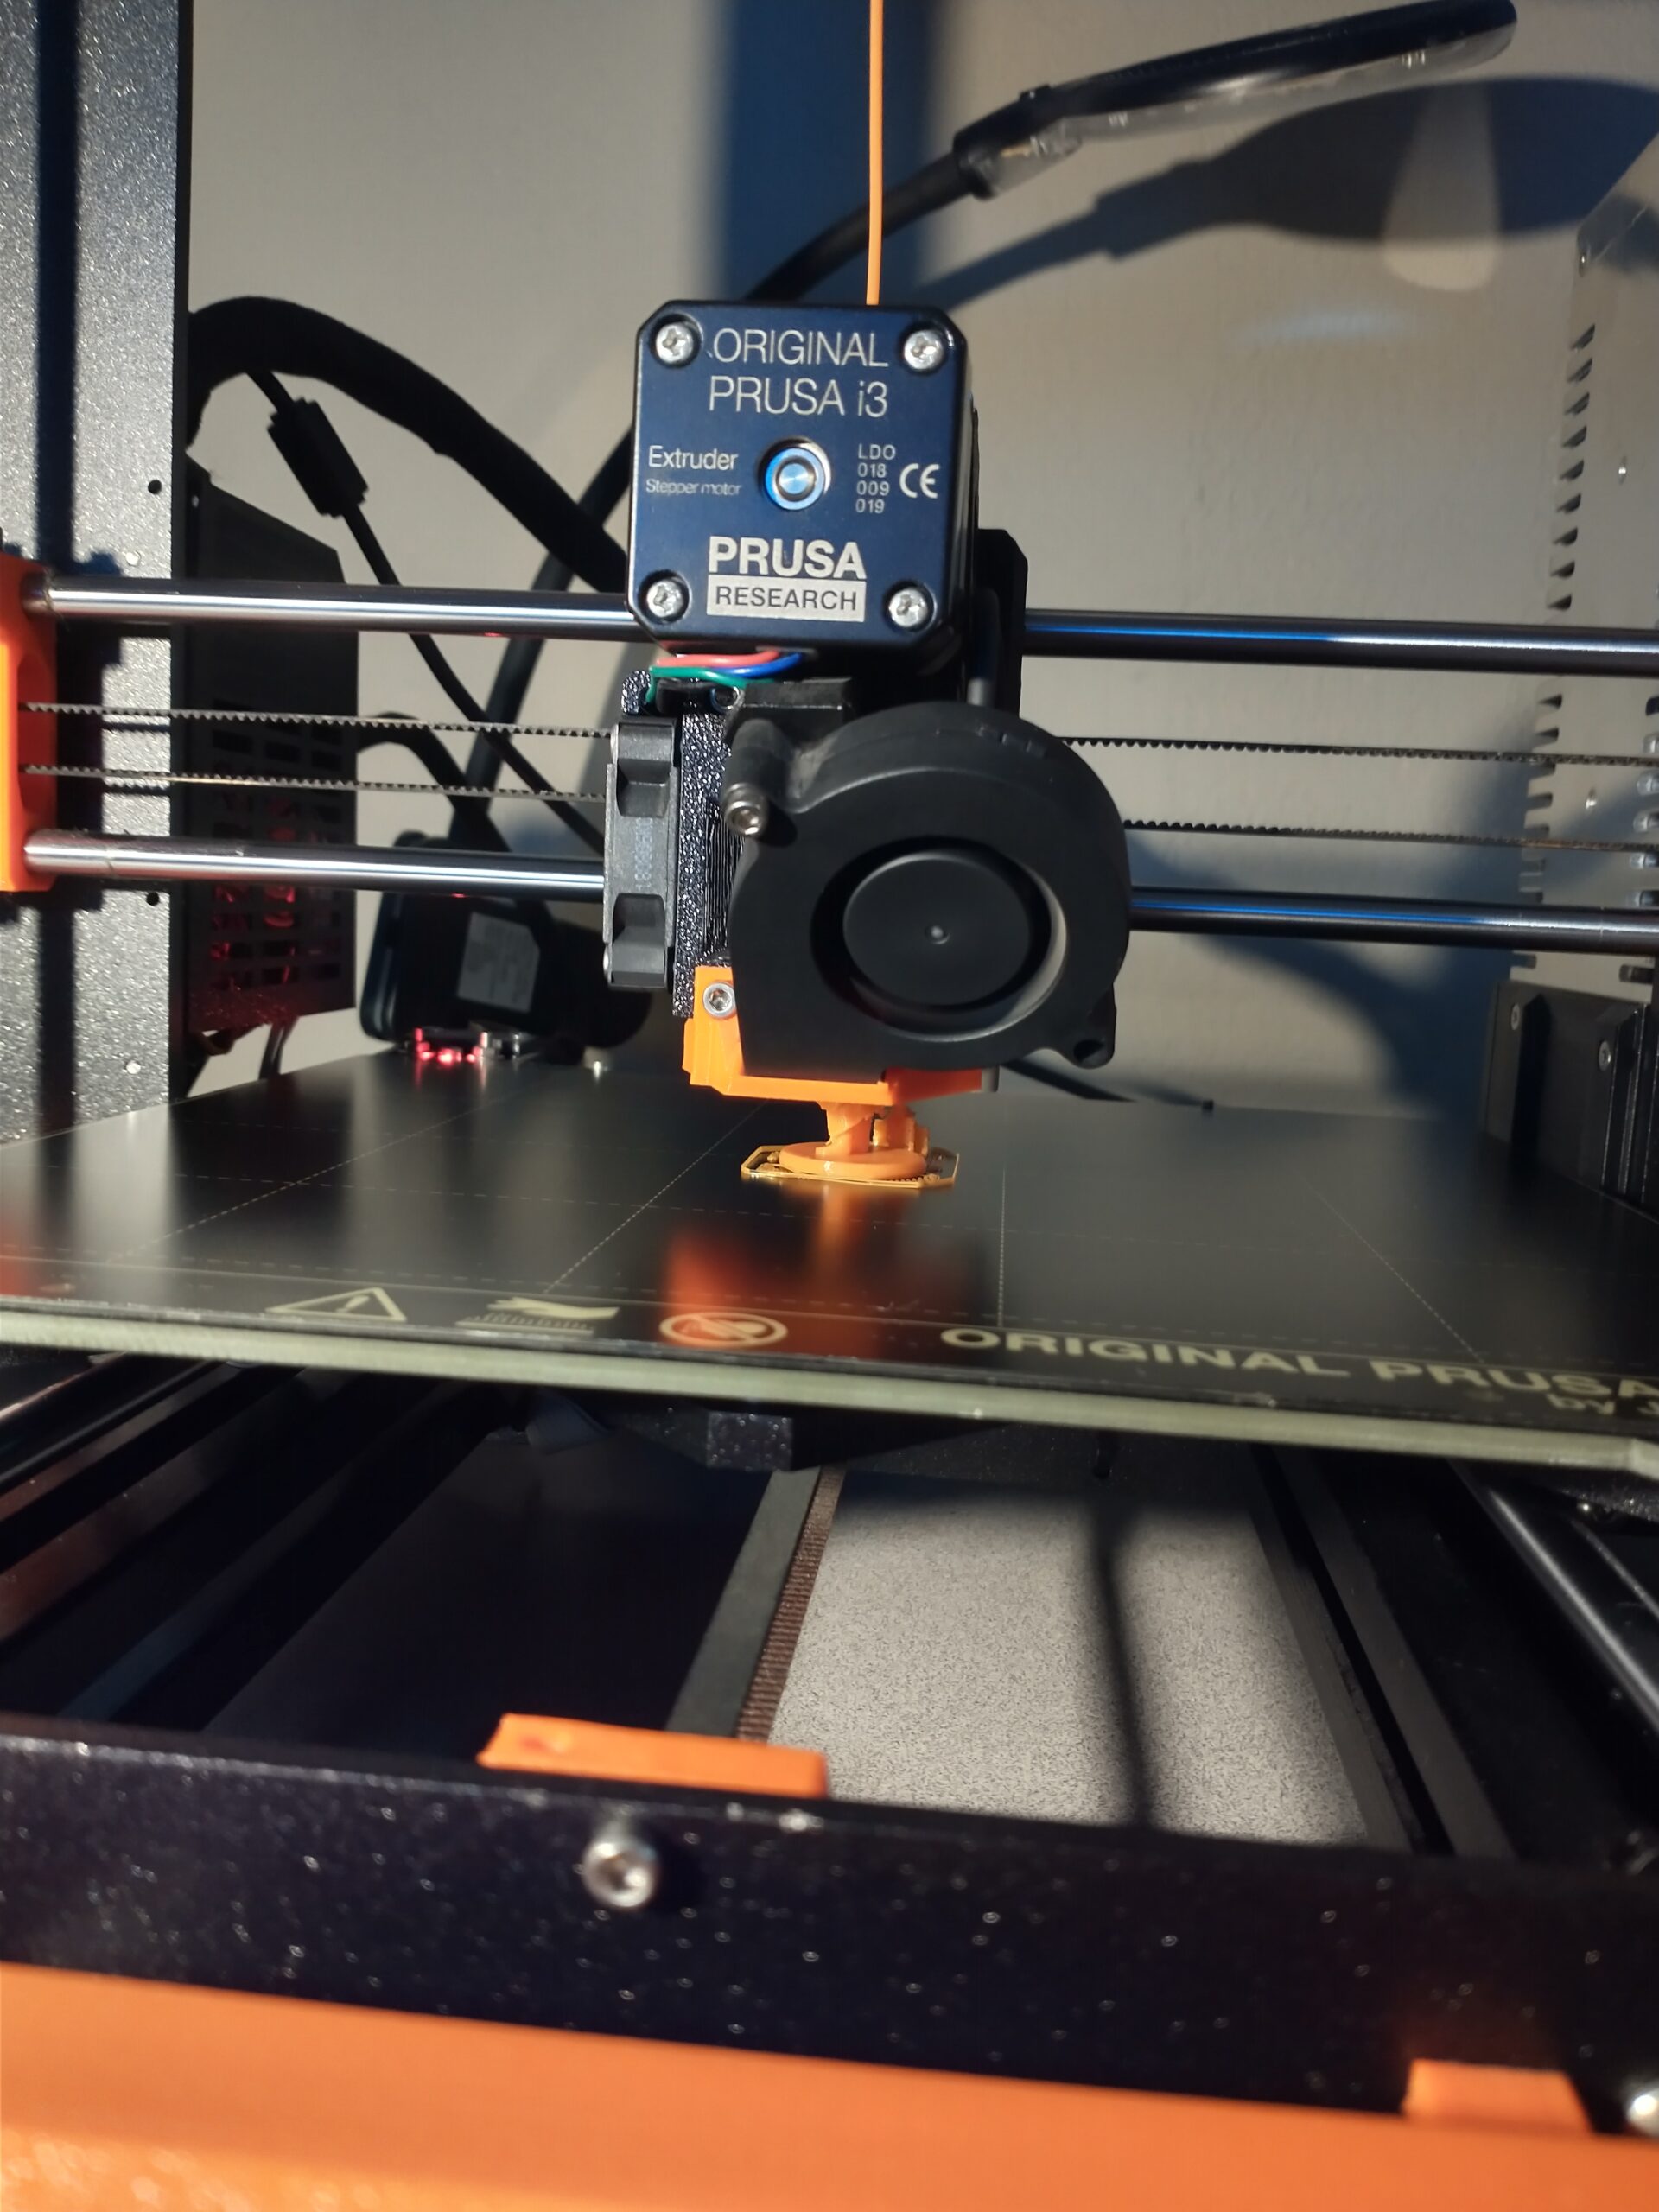
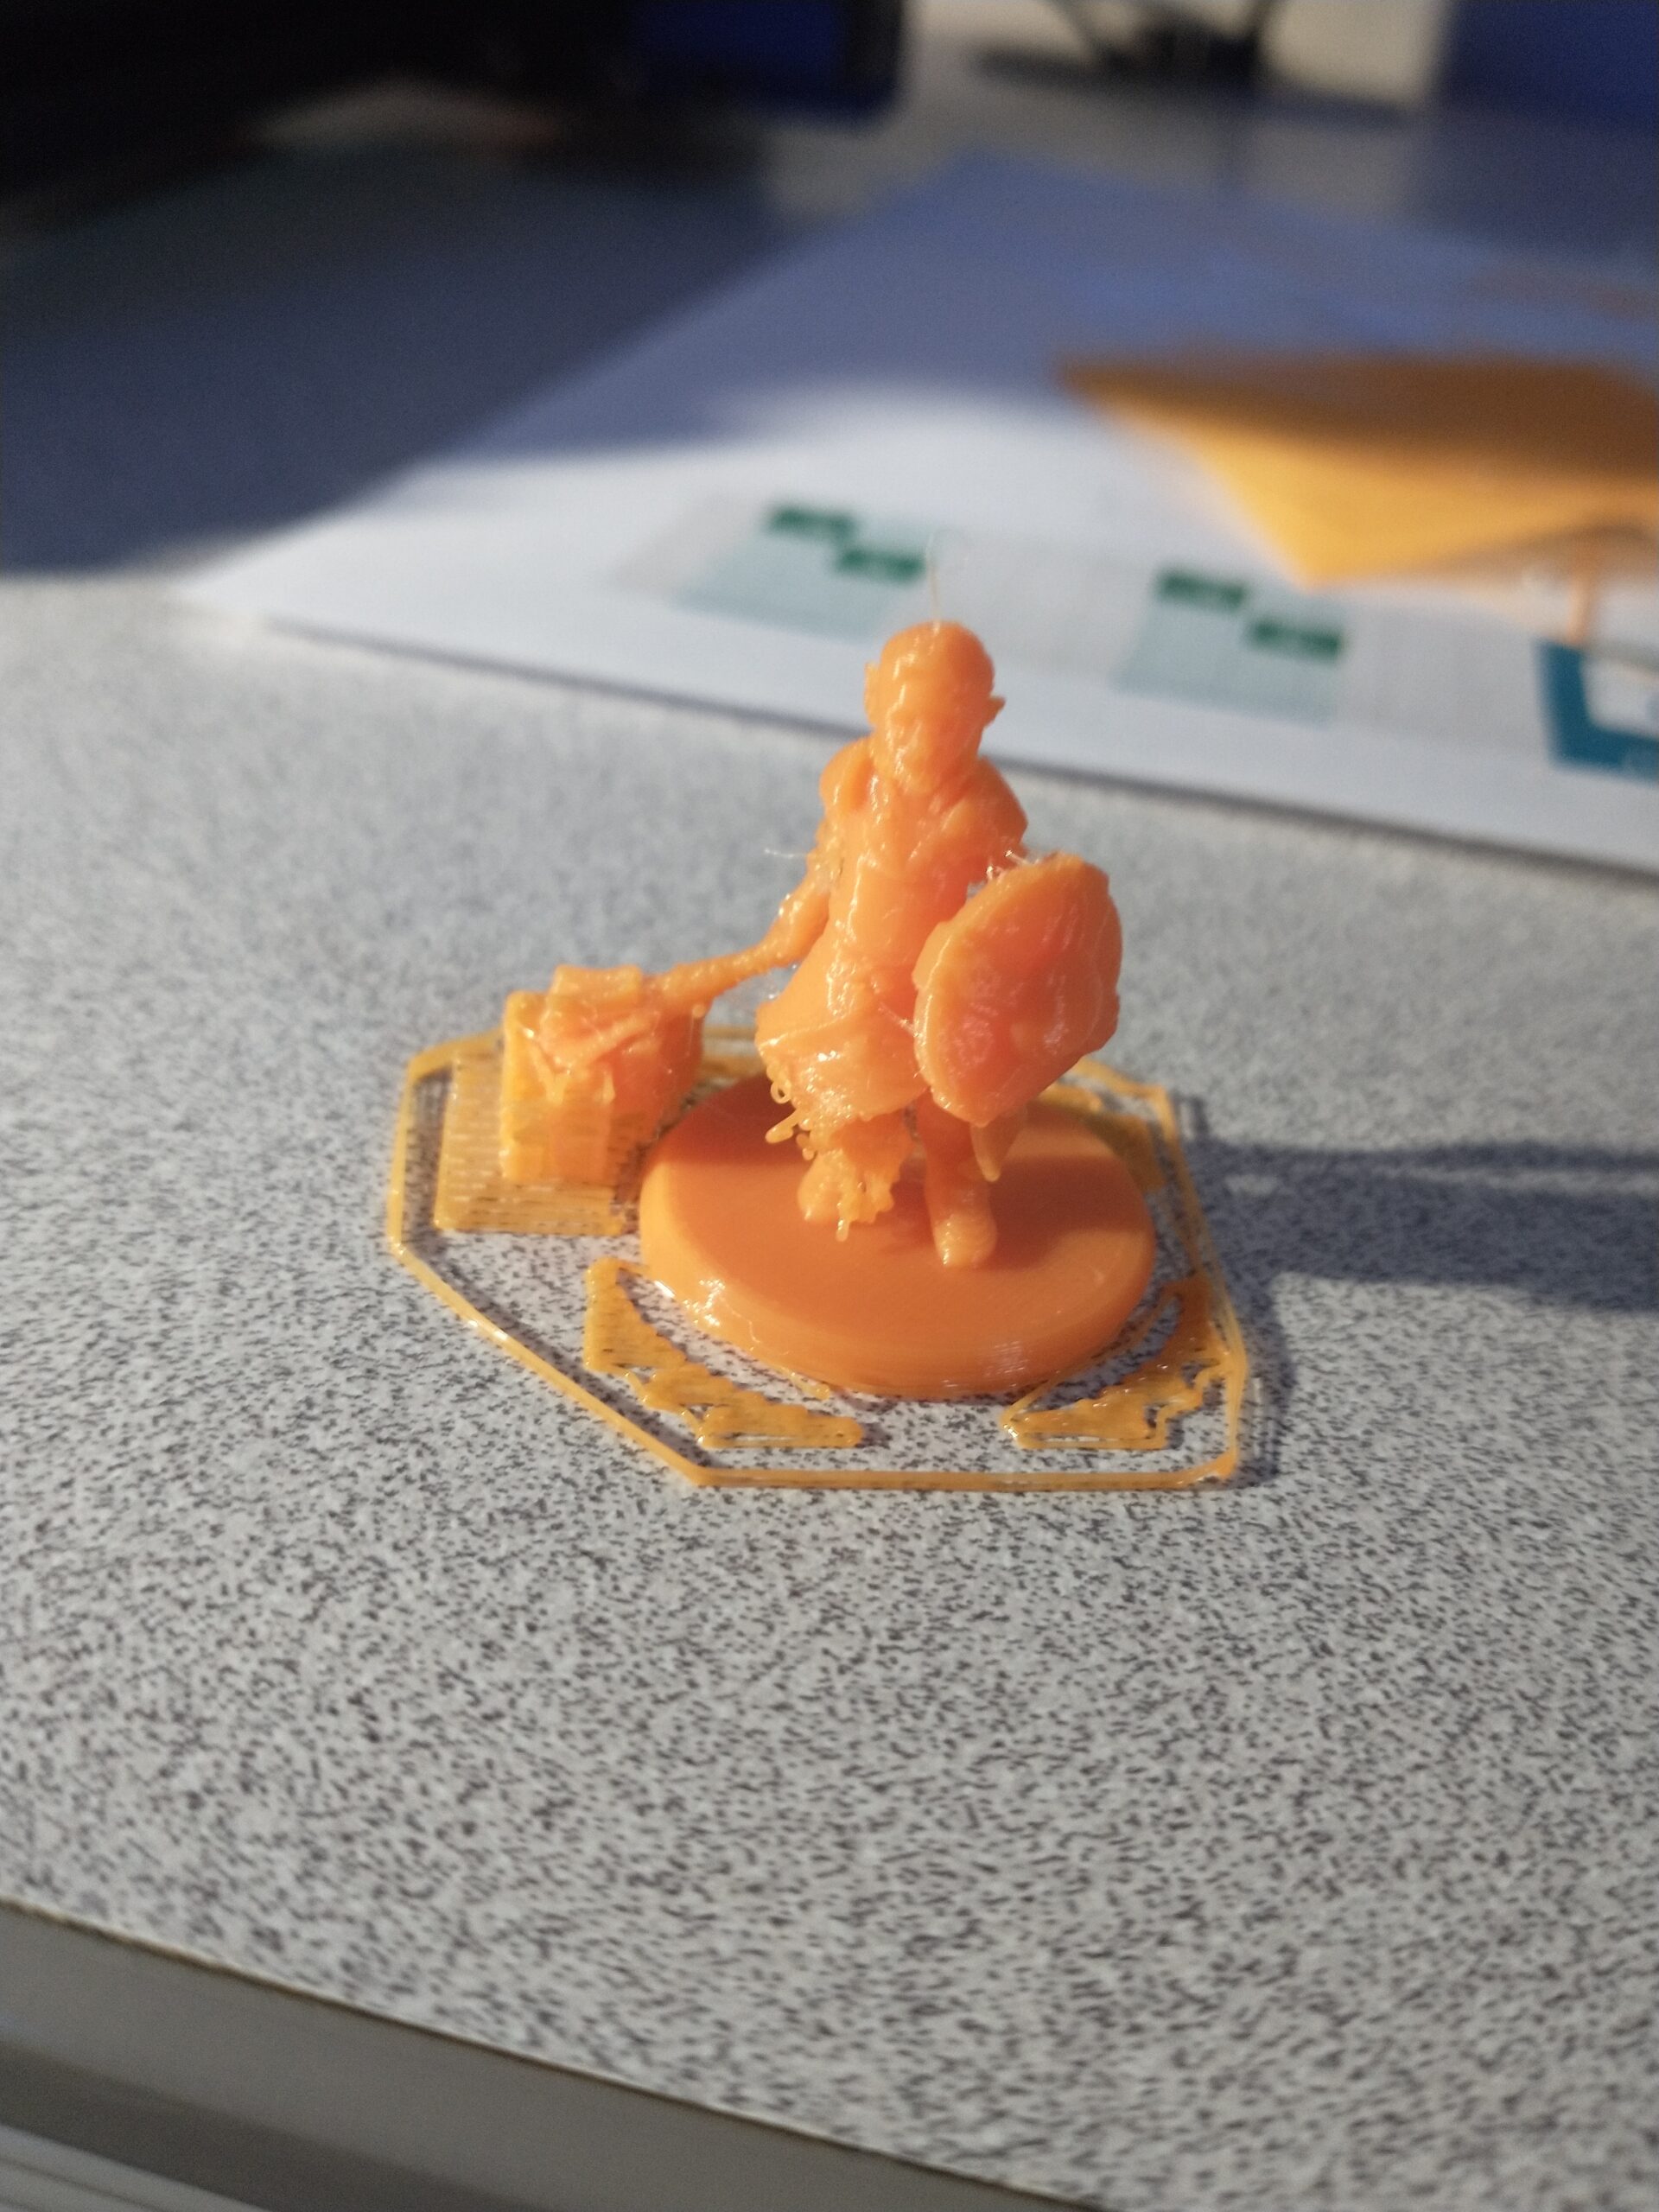
I'm running a test print of a small D&D figure (my wife just broke her resin print one she just bought) and so far, I've made it further than I care to admit, out of fear my printer will see this and go south. So yes, this is a big improvement over what I've been battling for a long while. It seems though that even following the manual, testing after testing, I think maybe my problem was like you Robin, to not just go far enough and fighting what I keep saying to myself, "But damnit, it's supposed to be like this!" when it's in fact not.
RE: Complete frustration with MK3 - first layer/print problems and it's about to become a boat anchor
No it isn’t, many people end up at -1.800 range. The pinda is cable of sensing up to around 2mm, so that’s -2.000 on the live z setting. I personally try and keep it around -0.800 to -1.200 to keep in the middle of the range but the exact distance you end up with depends on what you used to set the gap, zip ties not being the most precise thing.
RE: Complete frustration with MK3 - first layer/print problems and it's about to become a boat anchor
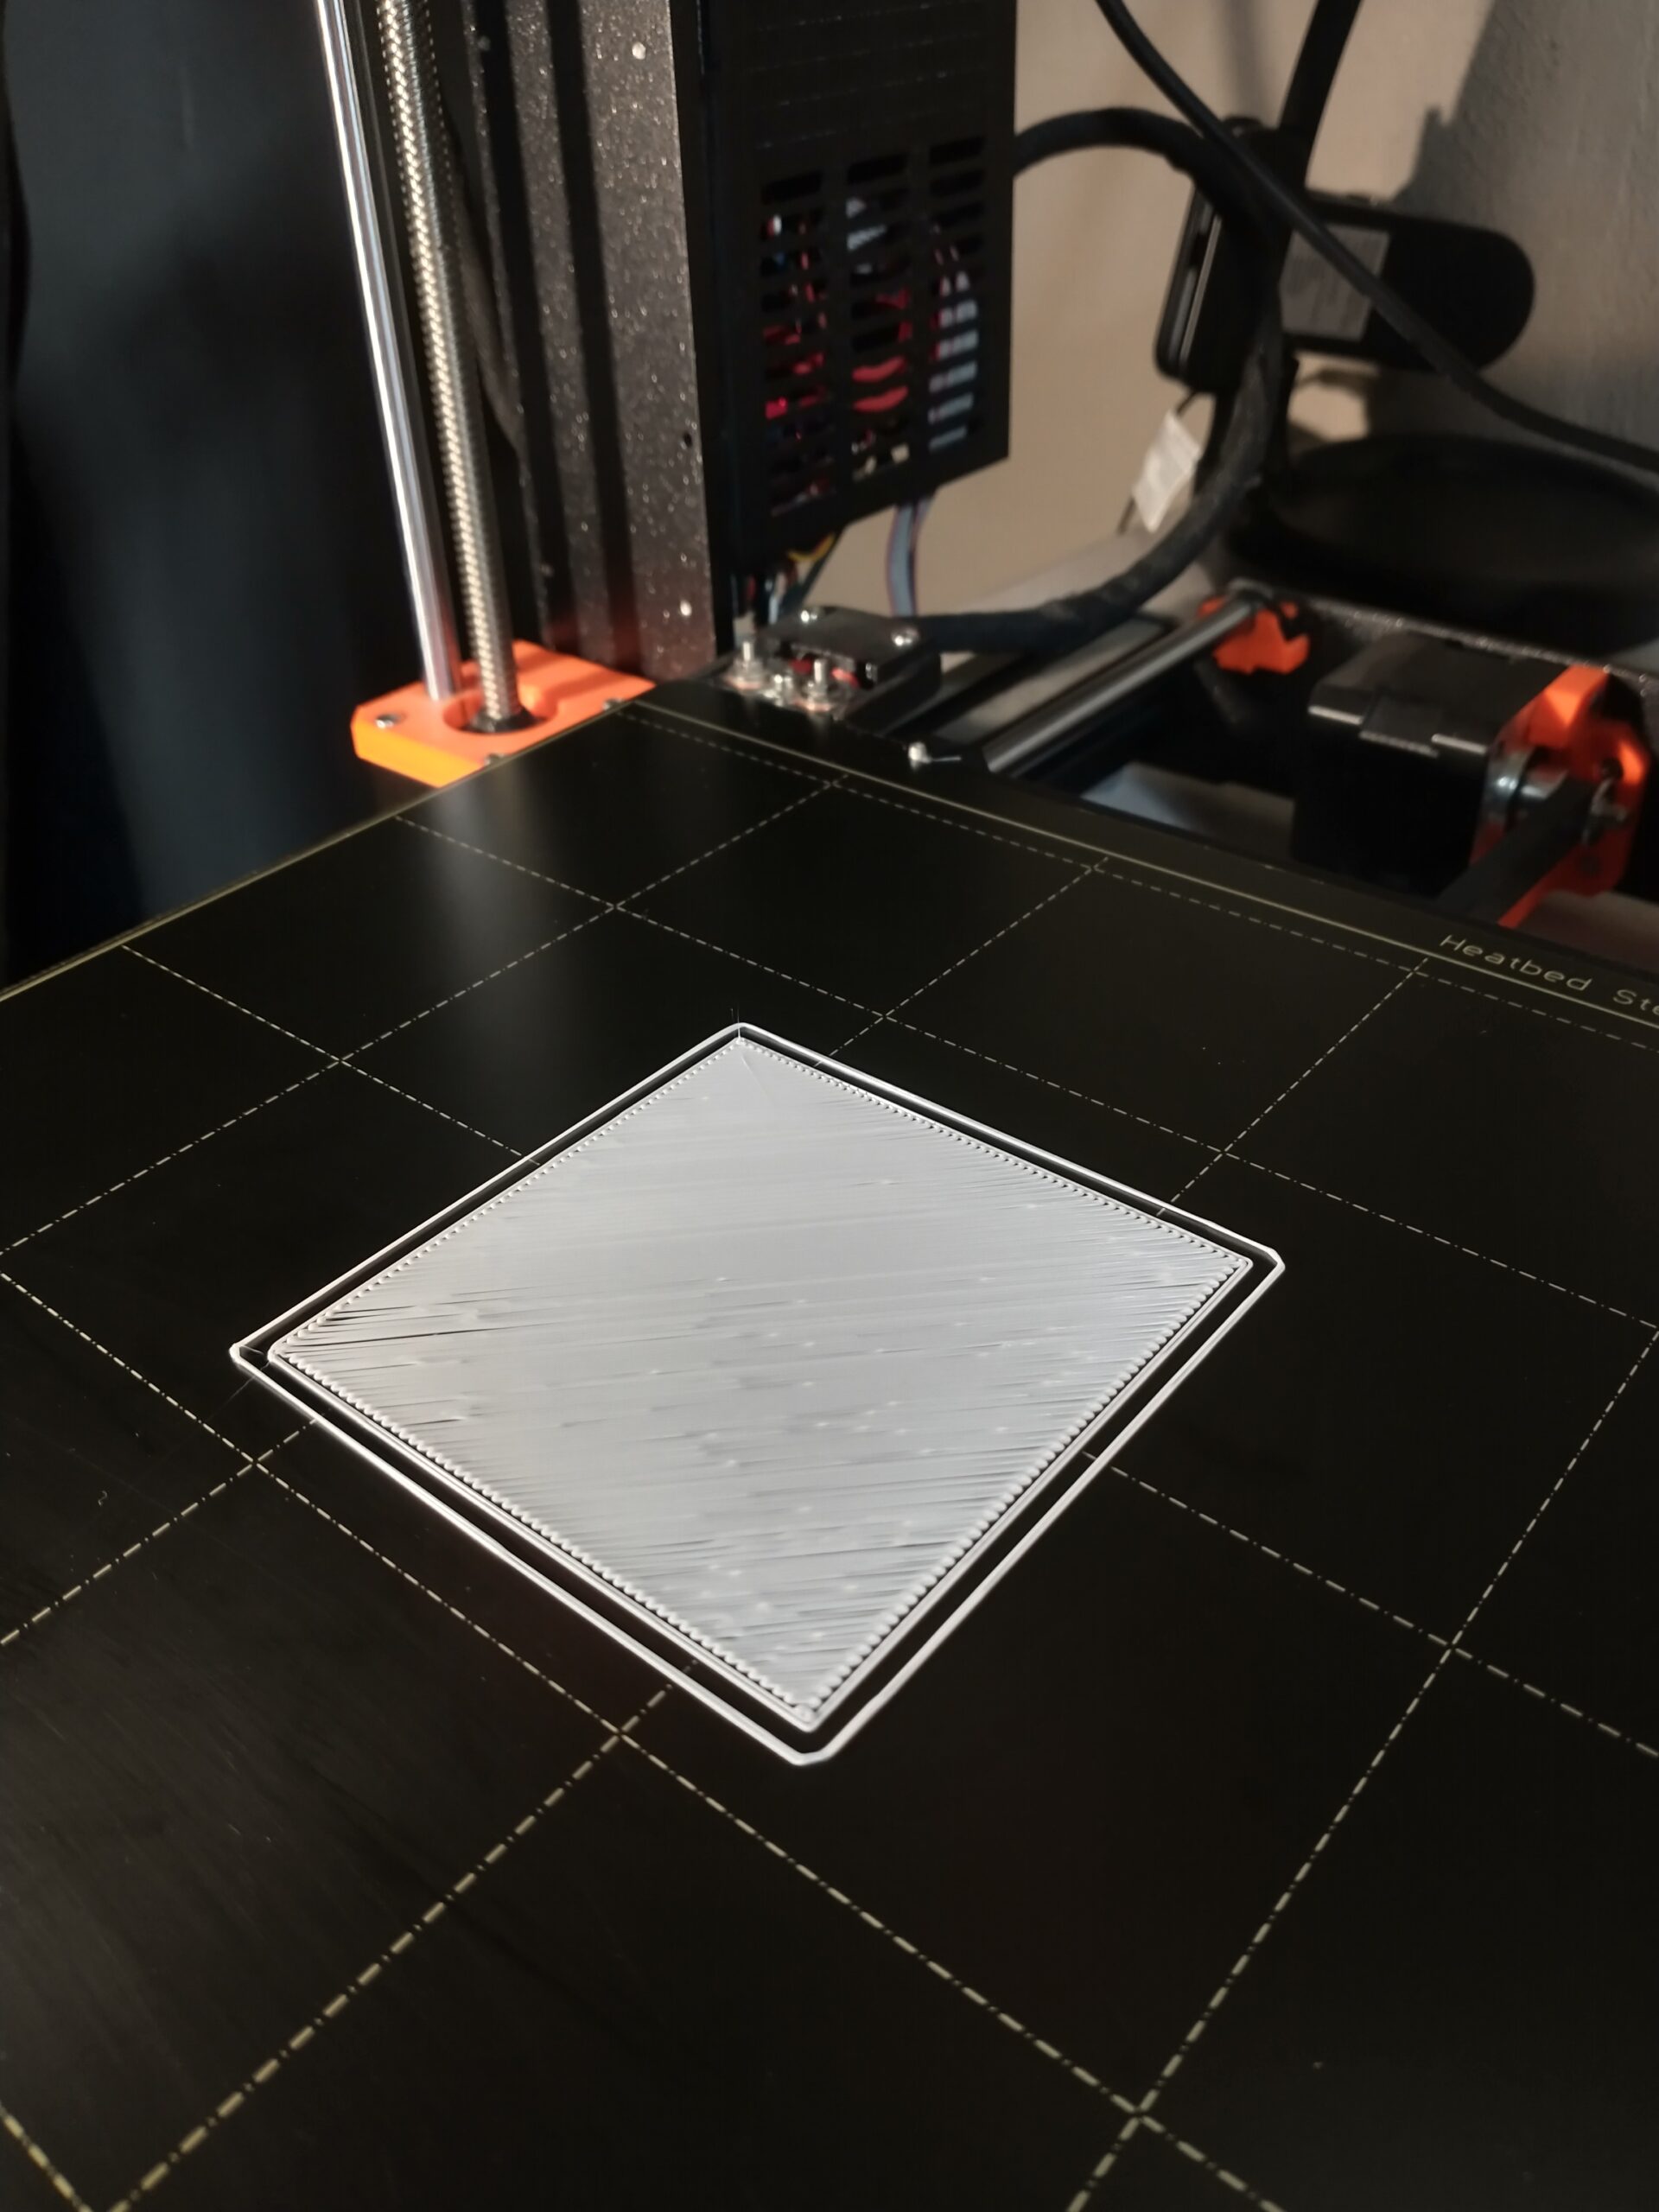
Okay, well this makes me feel a LOT better about the settings. Print is still chugging along at a good pace and still adhered to the bed. Here is my first layer at -0.3 and progress!

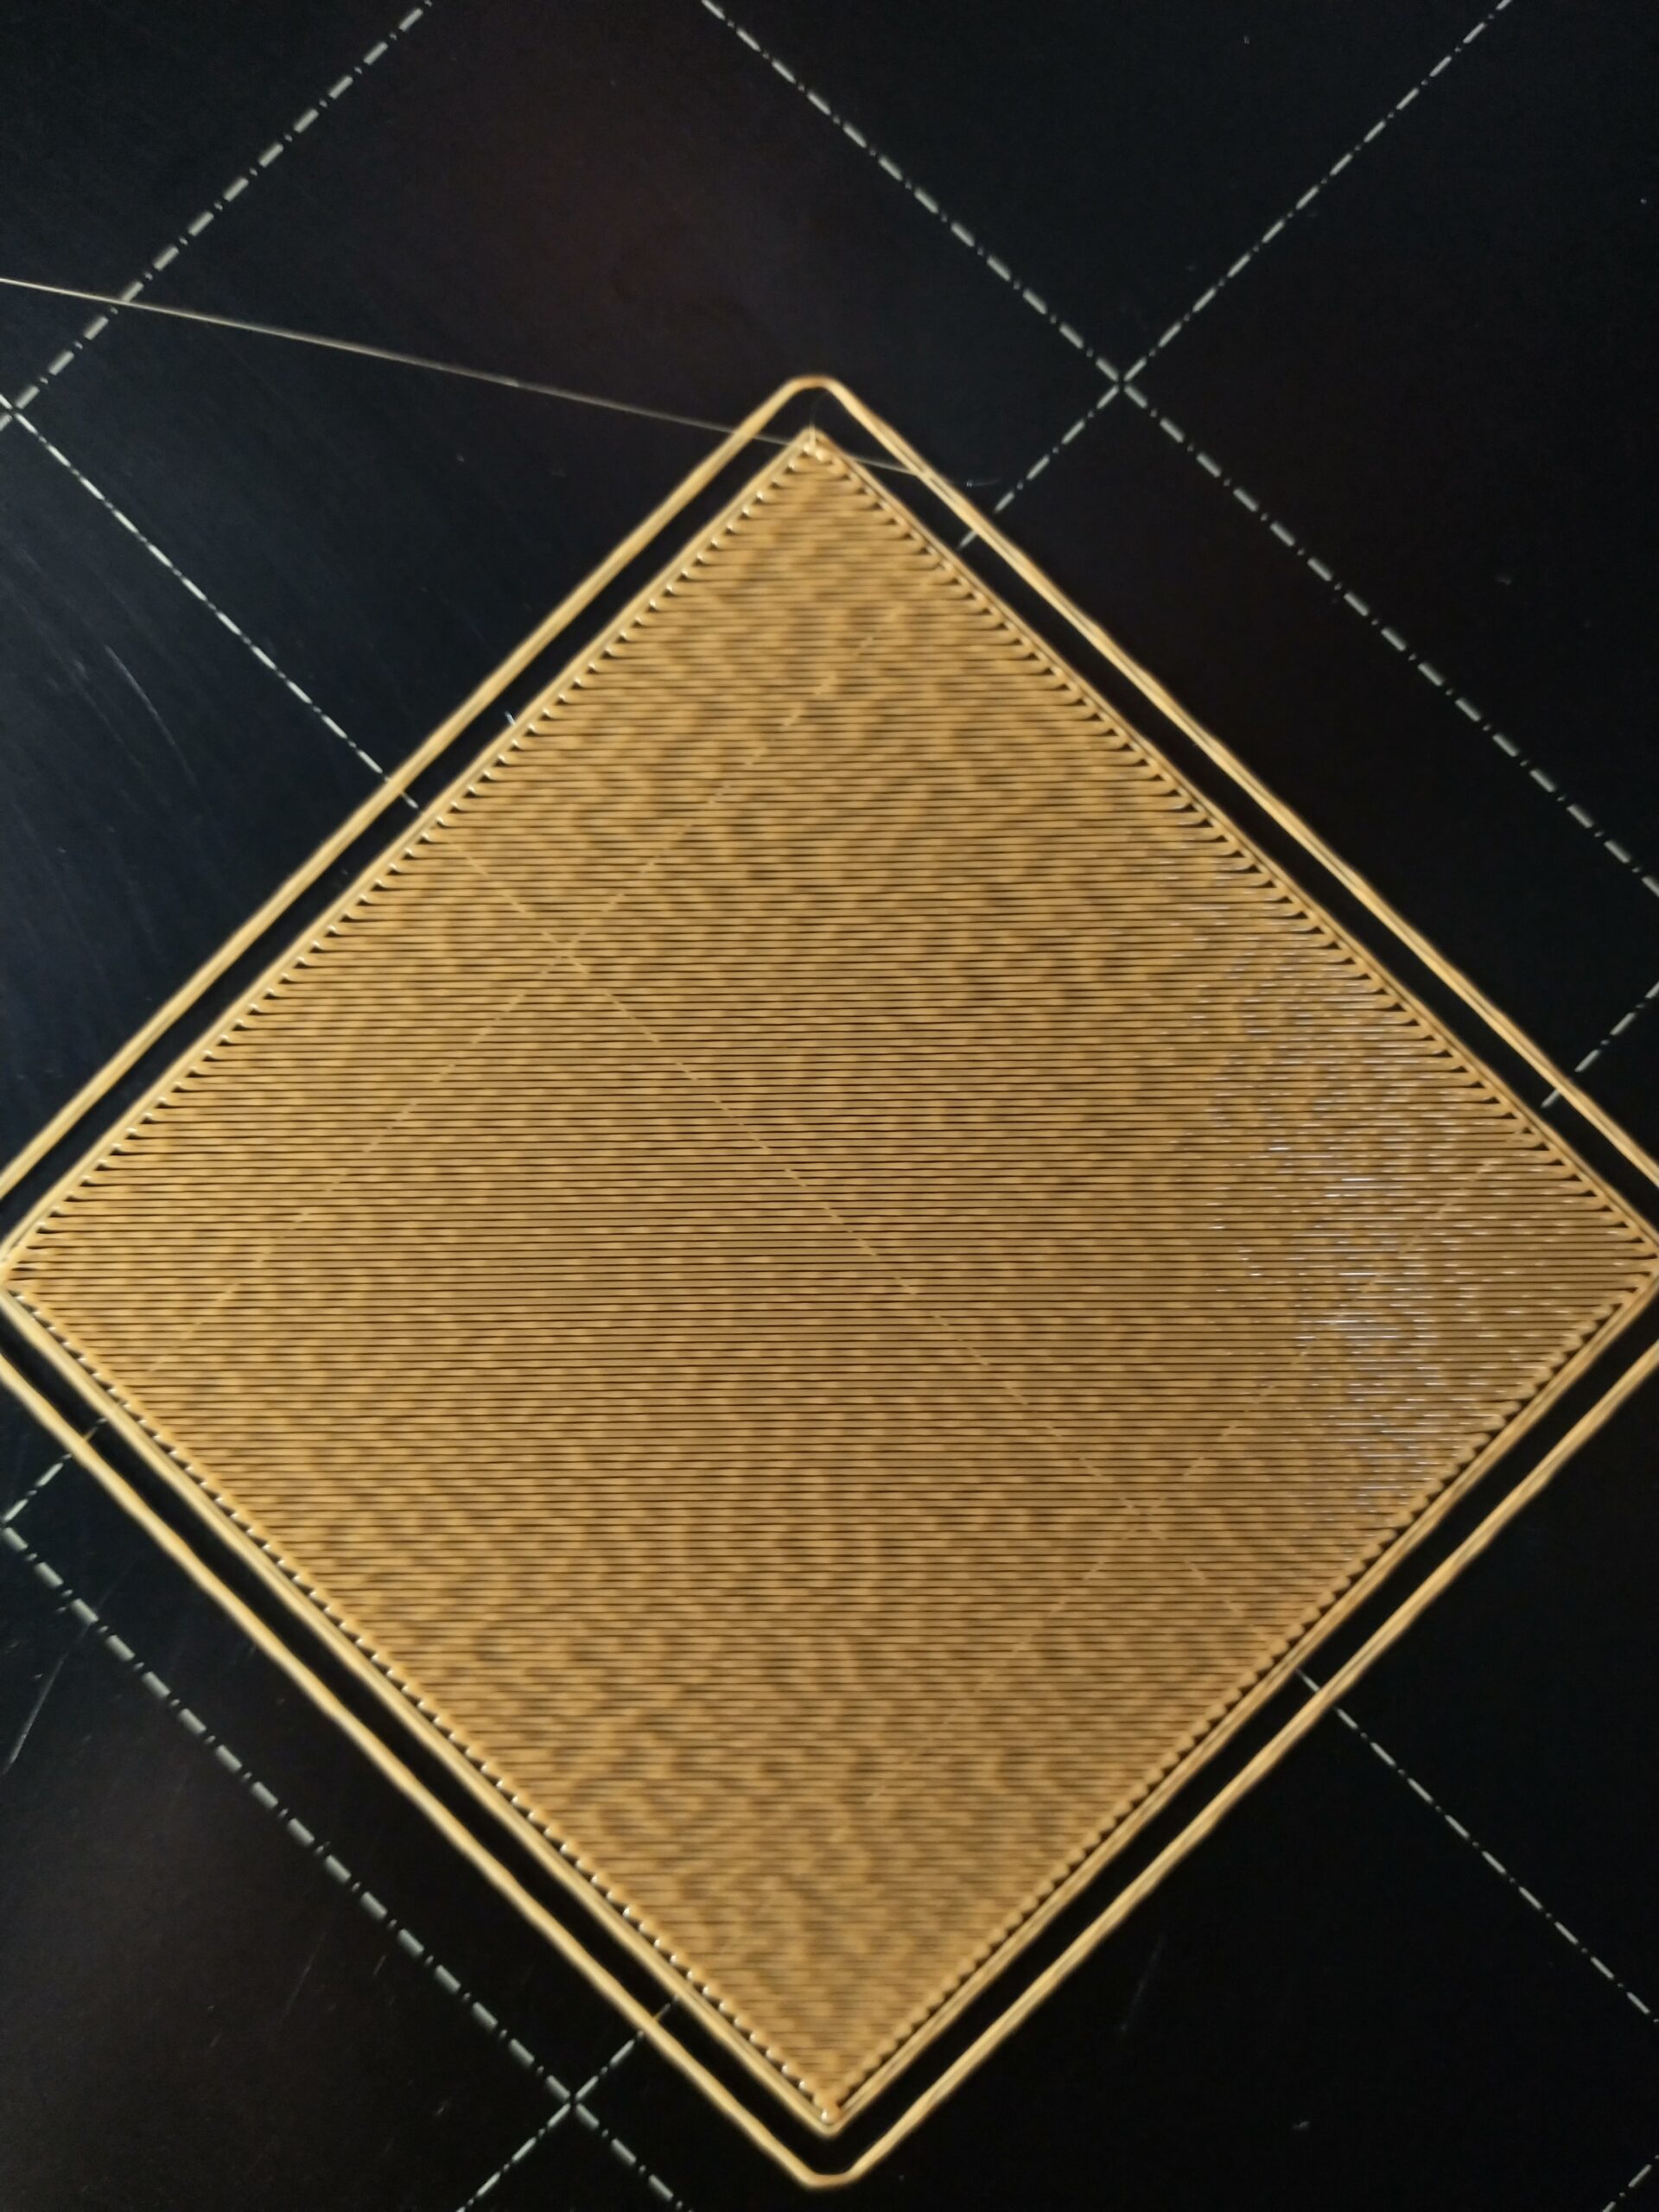
RE: Complete frustration with MK3 - first layer/print problems and it's about to become a boat anchor
what does the other side of your orange squares look like?
regards Joan
I try to make safe suggestions,You should understand the context and ensure you are happy that they are safe before attempting to apply my suggestions, what you do, is YOUR responsibility.Location Halifax UK
RE: Complete frustration with MK3 - first layer/print problems and it's about to become a boat anchor
They look identical on both sides, but the bottom is more shiny than the top.
RE: Complete frustration with MK3 - first layer/print problems and it's about to become a boat anchor
Well, success with the small print. It's the first time I've been able to complete a print in about... two years. Joan, did you see my question above about the Live Z file?
I think I can lower the nozzle just a little bit more, but this is definitely some great progress.

RE: Complete frustration with MK3 - first layer/print problems and it's about to become a boat anchor
Could we see the bottom of it please
Please help me out by downloading a model it's free and easy but really helps me out https://www.printables.com/@Hello_474427/models