RE: Bed Adhesion Issues
@bobstro
That is a great summary.
--------------------
Chuck H
3D Printer Review Blog
RE: Bed Adhesion Issues
@bobstro
That is a great summary.
Thanks. I've tried to distill all the info I've picked up over the years from Joan and others and word it to help new folks understand and hopefully avoid some of the odd superstitions that take hold. One guy on another forum swore that 71% alcohol from a specific pharmacy was the end-all solution. He swore it was some additive in the stuff. 😀
Use what works, but I have to admit the "dunk with Dawn" seemed too simple when I was starting out.
RE: Bed Adhesion Issues
@bobstro
The key is drying the bed. You can't put a set bed on the printer and let ti sit.
--------------------
Chuck H
3D Printer Review Blog
RE: Bed Adhesion Issues
Thanks to all for adding to this conversation. I think I'm finally getting a sensible handle on the problem and probable solution. I started out with a less expensive printer (Sovol SV01). It really did an overall great job on the glass bed that came with it. But, it started developing adhesion problems. Why? Did the glass surface deteriorate in some way? Did the microscopic pores in the glass "fill up" with material that made a much more smooth and solid surface? I was pretty good about cleaning with IPA (70% that I had on hand) but the adhesion problems continued to get worse. I was getting desperate to finish a few prints for a project I was working on. I finally resorted to glue stick to get my last few usable prints. But, I still wondered why I had to do that? I hate not knowing the answer. All the conflicting advice on videos and forums didn't make for a very convincing, solid reason for the adhesion problems that developed on my printer after having initial, early success with my prints. Some of the explanations out there are absolutely ridiculous (I was standing on one foot, whistling Dixie, during a full moon and my print came out great! I do that all the time now).
The hypothesis of IPA (and other solvents) just moving the gunk around made a lot of sense to me. Now that my current project is done (and while I'm waiting on my MK3S to arrive) I'm going to try the soap-rinse-with-a-lot-of-elbow-grease method and do a print that I had adhesion problems with before. I'll post my results when I get a chance.
Thanks again for all the helpful insights!
RE: Bed Adhesion Issues
[...] The hypothesis of IPA (and other solvents) just moving the gunk around made a lot of sense to me. Now that my current project is done (and while I'm waiting on my MK3S to arrive) I'm going to try the soap-rinse-with-a-lot-of-elbow-grease method and do a print that I had adhesion problems with before. I'll post my results when I get a chance.
I picked up a 2nd printer at the start of the COVID PPE push. Due to time and availability, I wound up with an Artillery Sidewinder X1 which ships with the UltraBase-style glass bed. Reading through hundreds of posts from people having issues with adhesion, I was pleased to find that the same advice that works for PEI works very well for this glass surface. I gave it a good preliminary wipe with a splash of acetone and noticed all sorts of yellow gunk coming up. It's apparently manufacturing residue. It's not a removable bed, so a dunk under the sink is sadly not an option, but cleaning crud off makes all the difference. Just have to be careful with excess water.
Even with the badly warped glass these printers are known for, I was able to get good adhesion across the entire bed. Ultimately, I had to recompile Marlin firmware and enable manual mesh bed leveling to get consistently good results.
RE: Bed Adhesion Issues
Finally, some really great progress.
I followed directions supplied by @bobstro. I got a box of Scotchbrite 7445 pads. I cleaned the glass bed with 100% acetone. I then cleaned it with Dawn, lots of elbow grease and copious amounts of water. I then cleaned it again with Dawn and flushing it with lots of water. For each step I used a new Scotchbrite pad so as not to carry crud from one cleaning step to another.
I went thru the bed leveling process and first layer tweaking before trying to print one of the parts I've been having adhesion problems with.
Then I printed this part (a shim for a blast gate assembly) and VOILA!!! It stuck!!!
![]()
OK, now I'm ready to tackle another part. I printed out a case for my Raspberry Pi and, DANG, it warped off the bed.
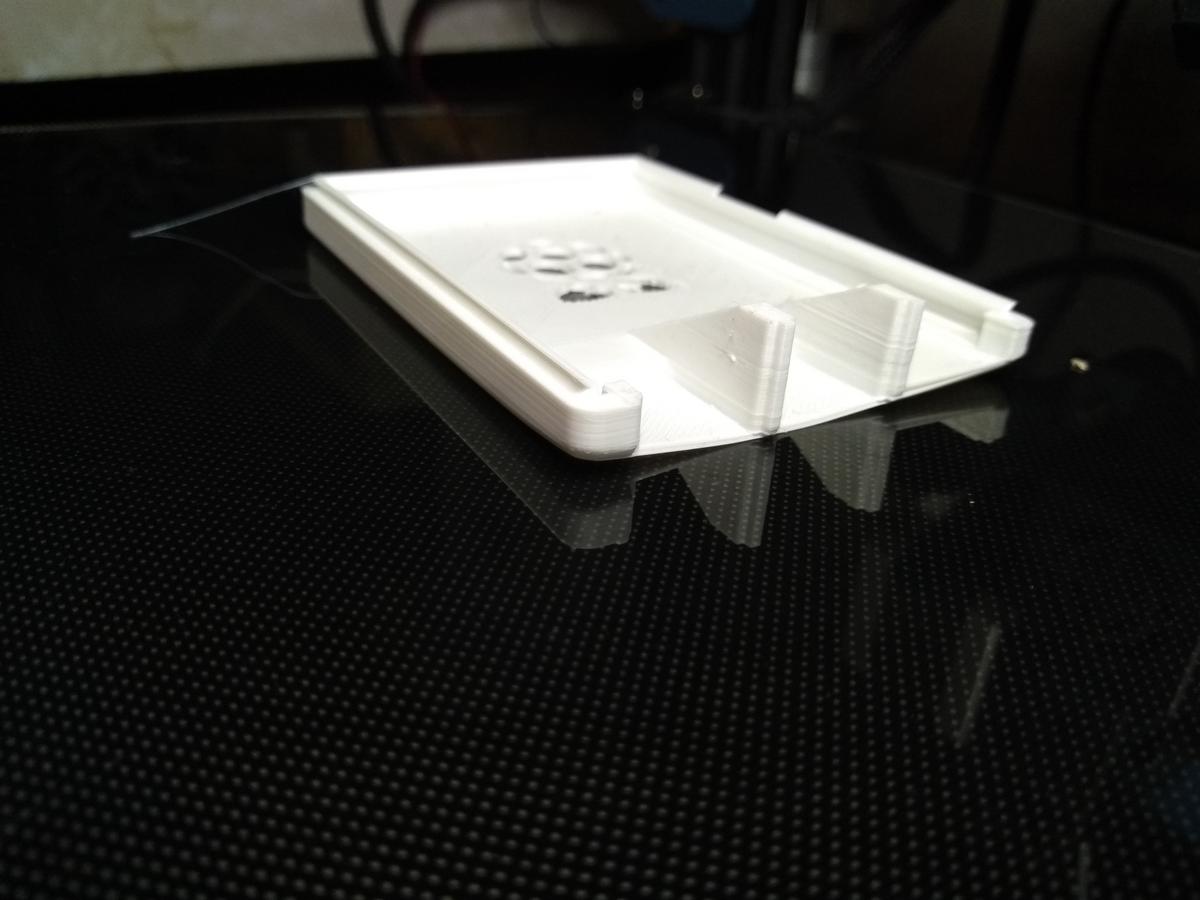
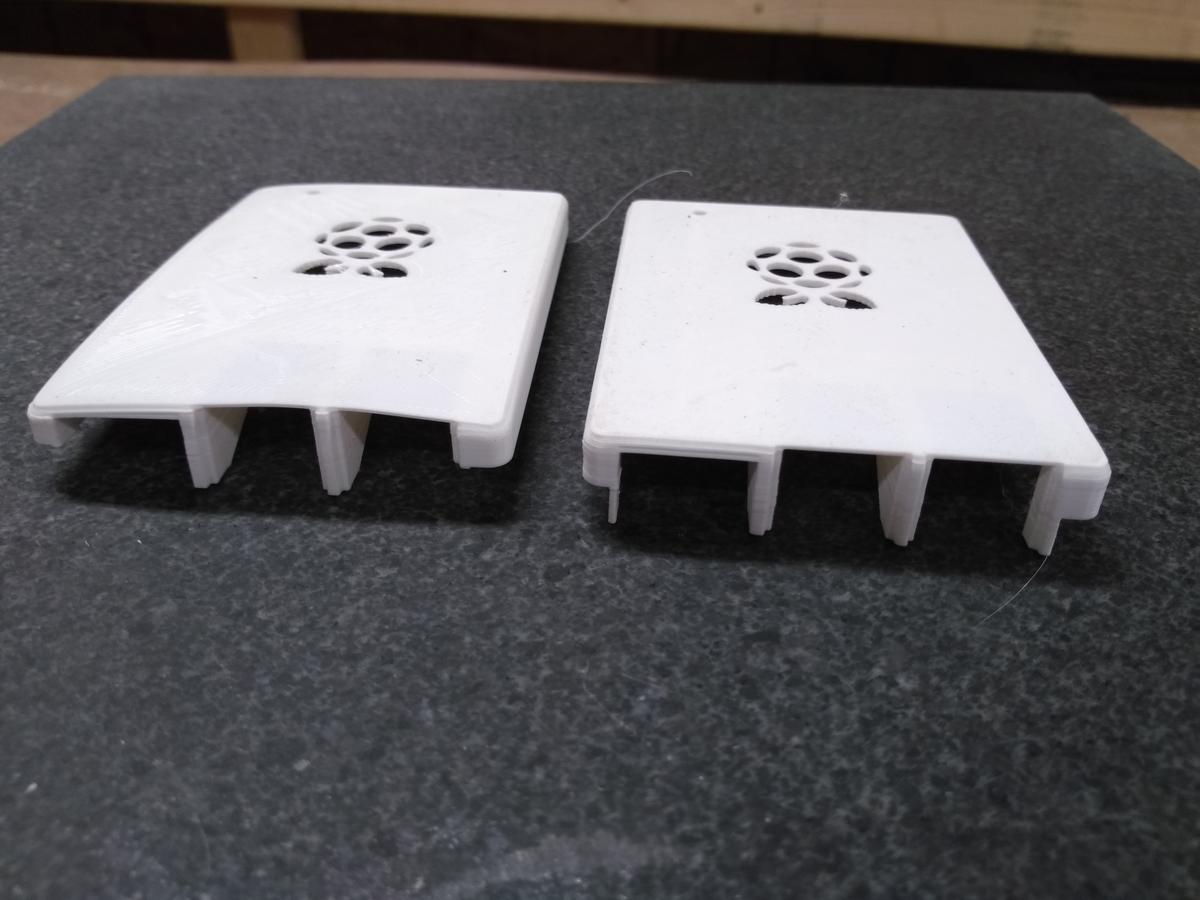
I KNOW I have printed these kind of parts before without problems. I realized that in my trying to solve my adhesion problem I had been tweaking my slicer (Cura) settings and trying different things. Basically, my slicer settings needed to be reset. So, I went back to a previously saved Cura profile that I had success with and reprinted the Raspberry Pi case. VOILA, AGAIN!!! It came out great. Here's some before and after pics:

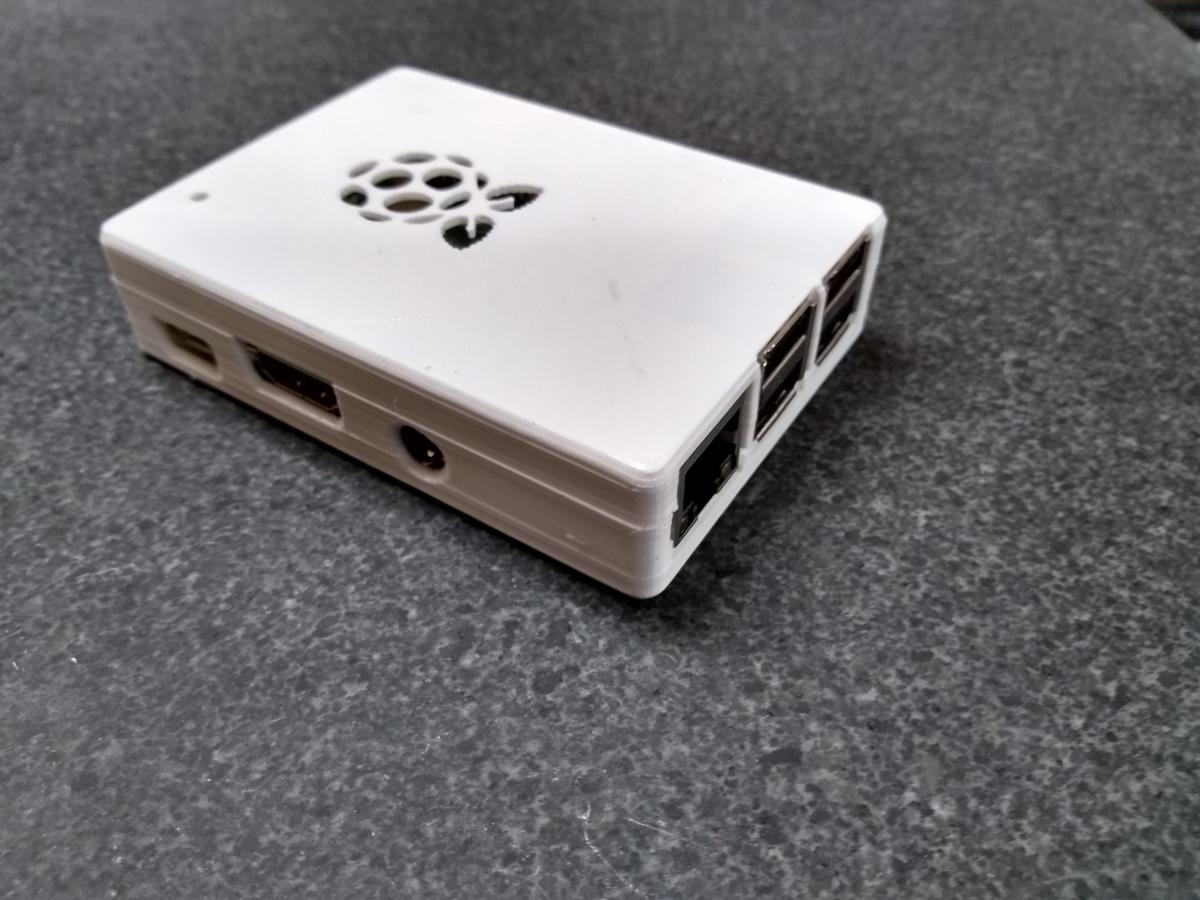
Here's the assembled Raspberry Pi case:
Bottom line: bed adhesion issues involve a LOT of variables. It's not a simple, one-step fixing process.
Obviously, you have to starting with the obligatory bed leveling and 1st layer refinement steps.
Then, a clean bed is mandatory. A simple, occasional wiping with IPA doesn't do the job long term.
For me in this particular process, the geometry of the part had a lot to do with adhesion. An object with a flat bottom and vertical walls around the perimeter caused the part to pull away from the bed. The key slicer settings that gave me success are as follows:
Material: PLA
Bed temp: 70C
Extruder temp: 200C
1st layer height: .2mm
Additional layer heights: .2mm
Cooling:
1st layer: cooling off
Full cooling by layer 4. I.e, layer 2 was 33%, layer 3 was 66%.
Thanks again to @bobstro and others for their advice. I hope that posting my "travails" and ultimate success (at least so far) is helpful to others.
RE: Bed Adhesion Issues
OK, now I'm ready to tackle another part. I printed out a case for my Raspberry Pi and, DANG, it warped off the bed.
The glass bed at the one machine I used to use at the local 'makerspace' also had some inconsistency issues. (I think some of it was that those machines were used by many people and were well 'student-ized')
I found by trial and error that glue stick worked quite well on those.
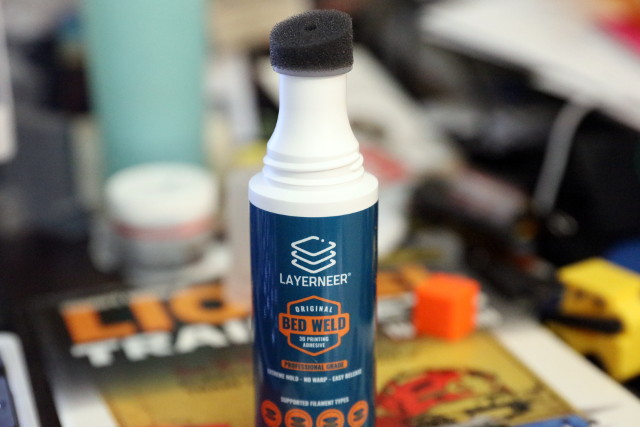
However, this product which I now use on the Prusa was originally intended for glass places and works very well as an adhesion enhancer and as a release agent. Layerneer Bed Weld. It really works and a little goes a long way. (LOL, one guy in an off-line conversation speculated that this is simply repackaged hair spray.)
Coincidentally, one item I had some difficulty with warping a couple of years ago was a Pi Zero case.