Bearing installation
I have my kit and have been watching youtubes about assembly. I noticed that most people installed the bearings so that a single row was centered at the top but I had a thought that if the single row were centered at the bottom that the weight would be supported by two rows of bearings rather than one since they are arraigned 120 degrees apart (I think).
Any thoughts on this?
RE: Bearing installation
You are correct about running on two rows is better.
But the bearings in the Prusa kit have 4 rows. Atleast mine did in a kit I build a few weeks ago.
And there should be a addition to your printed manual in the the box about how to install the bearings.
It is also in the online manual: https://help.prusa3d.com/en/guide/2-y-axis-assembly_25488#26592
RE: Bearing installation
Actually, I'll have to have another look but, I believe there are four rows of balls arrared at 90 degrees apart. It' s best if two rows share the load rather than one. Also, the two rows will also be side loaded due to the 45 deg. force vector. This will also provide better horizontal linear tracking.
RE: Bearing installation
More important than ball alignment, is that the bearings are lubricated with grease before installing. Use a lithium grease or a synthetic to pack the bearings or you'll have issues down the road (soon).
I installed my bearings where the balls are 45 from top. But pretty sure it really doesn't matter that much because forces are all over the place: and when not on top, it's my gut impression the tolerances of two opposite bearing rows add to make the bearings a bit more loose side to side. It's a trade off - a little better downforce load wear life vs motion rattle.
RE: Bearing installation
I just assembled my Y carriage for the first time. I want to point out an issue I encountered.
There was a tiny-maybe.002 inch-interference between the right u-bolts and the cross-frame. It was barely perceptible but could probably cause havoc with the controller. I filed the cross frame a bit and touched the lower radius of the u-bolts on my belt sander.
Smooth now.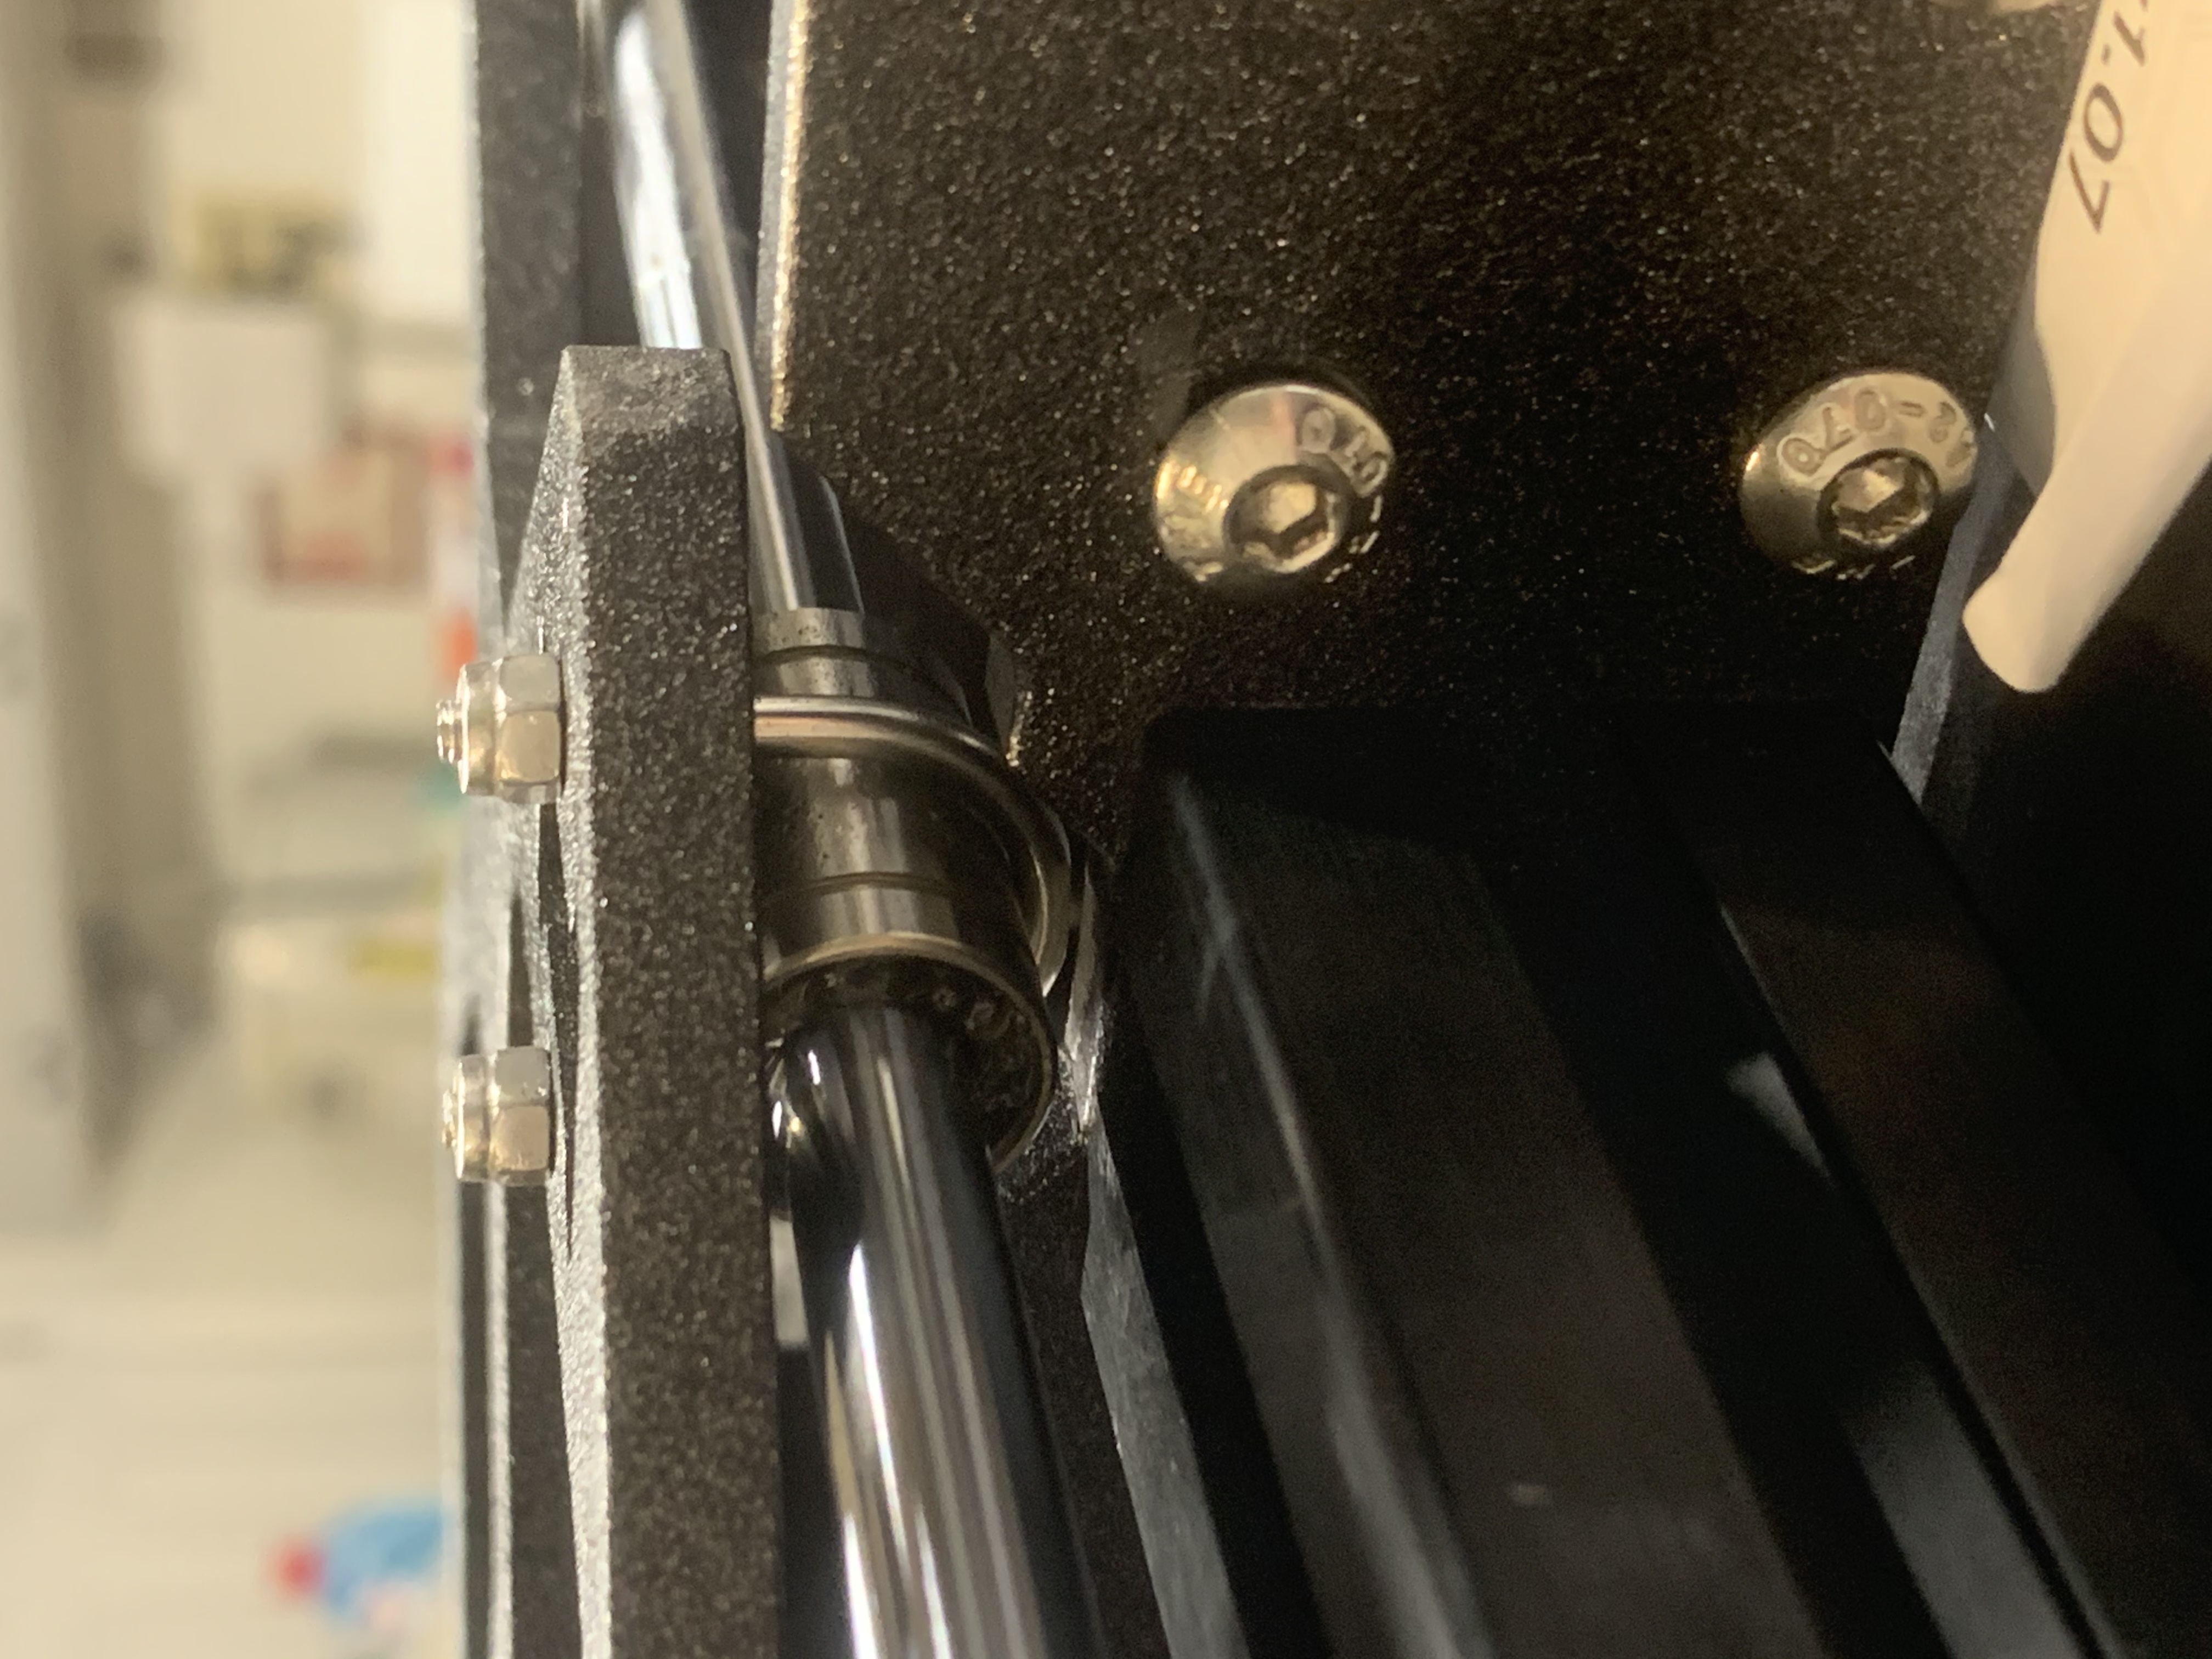
RE: Bearing installation
@mstromberg7
You mentioned u-bolt*S* on the right side of the carriage. There is only one bearing and one u-bolt on the right side. Is it possible that you have the Y carriage reversed 180 degrees?
-Scott
RE: Bearing installation
@mstromberg7
Looking at the picture it looks like the smooth rod is not centered (a little hard to see in the picture)
The smooth rods have to be centered above the 30x30 extrusions at the front.
RE: Bearing installation
My printer has exactly one sheet of card stock clearance between the u-bolt and the frame & extrusion. Pretty sure that is normal. And it is more than enough for reliable operation.
By card stock I mean the thick paper on the pack of glue you buy that hangs on the hooks in stores.
I've only heard one other case of the u-bolts interfering - and that was when the bolt wasn't evenly centered around the bearing. I.e., equal lengths of threads coming out of the nuts.
RE: Bearing installation
@baklin
Thanks! I suppose the video I watched used the older method and I may have misunderstood the bearing arraignment.
They all did recommend washing the bearings in alcohol and re lubing with a higher quality grease. I saw one person use a 3d printed Linear Bearing Greasing Cap for 12g Super Lube Tube. I can find the download for it but is there a source for these already printed since I can't print yet?
I have a small torque wrench calibrated in inch pounds. would this be useful during assembly to ensure consistency when tightening screws and do you recommend any sort of thread locker?
Thanks!
RE: Bearing installation
I tried to use a torque wrench and found it wasn't that helpful except on the extrusion frame bolts. Most everything else is bolted into varying thicknesses of plastic... or thin stainless nuts that are way too easy to strip.
I used a syringe loaded with grease, and used the needle to squish the grease sideways into the rollers. The stick end of a long cotton swab would do as well. Even a pen or pencil that fits. Most important is to get grease inside the bearing so all the rollers sets are covered. Once on the shafts, the seals will keep the grease inside the bearings where it will distribute along all the rows.
ps: and thread lock would probably be a mistake.
RE: Bearing installation
I didn't use any thread locker or torque wrench either. These are all very small bolts so don't over tighten them.
I washed out the bearings and put some grease in them. Than blocked one end with my finger and pushed in one of the smooth rods in the other end. This forces the grease in the bearings.
I saw This Old Tony do that too. So you can watch the video to see how it is done.
RE: Bearing installation
@tim-m30
The instructions encourage me not to tighten the nuts which makes sense, but might not close a gap somewhere. I tightened the nuts and then loosened them a bit. I’m satisfied that all’s well now. I just think it’s something to watch for. Slight load on the carriage causes deflection which could present a problem with large parts.
RE: Bearing installation
@baklin
Hey, I'm a This Old Tony fan as well. He's great!
One last thing What's the reccomended grease? Synthetic or Silicone? Looking at;
Super Lube 92003 Silicone Lubricating Grease with PTFE, 3 oz Tube, Translucent White
or;
Super Lube 21030 Synthetic Grease (NLGI 2)
Thanks!
RE: Bearing installation
The U-bolts need to be snug and wiggle free, but balanced such that both nuts have the same amount of thread extending. Anything else puts side loads and/or can crimp the bearing shell and cause friction issues.
RE: Bearing installation
I would keep away from Silicone lubricants, Silicones have a tendancy to migrate to surrounding surfaces and reduce adhesion.... which is not a good idea for nearby build plates! (And they are hard to clean off...)
regards Joan
I try to make safe suggestions,You should understand the context and ensure you are happy that they are safe before attempting to apply my suggestions, what you do, is YOUR responsibility.Location Halifax UK
RE: Bearing installation
I use SuperLube 21030 ... synthetic, with Teflon, and claims no silicone oils.
RE: Bearing installation
SuperLube 21030 it is then. Thank you all very much!