Bad print quality on my new MK3S
Hi,
This is the first time i am building a 3D printer.
The build is done and was a beautiful experience.
Now i have some issues.
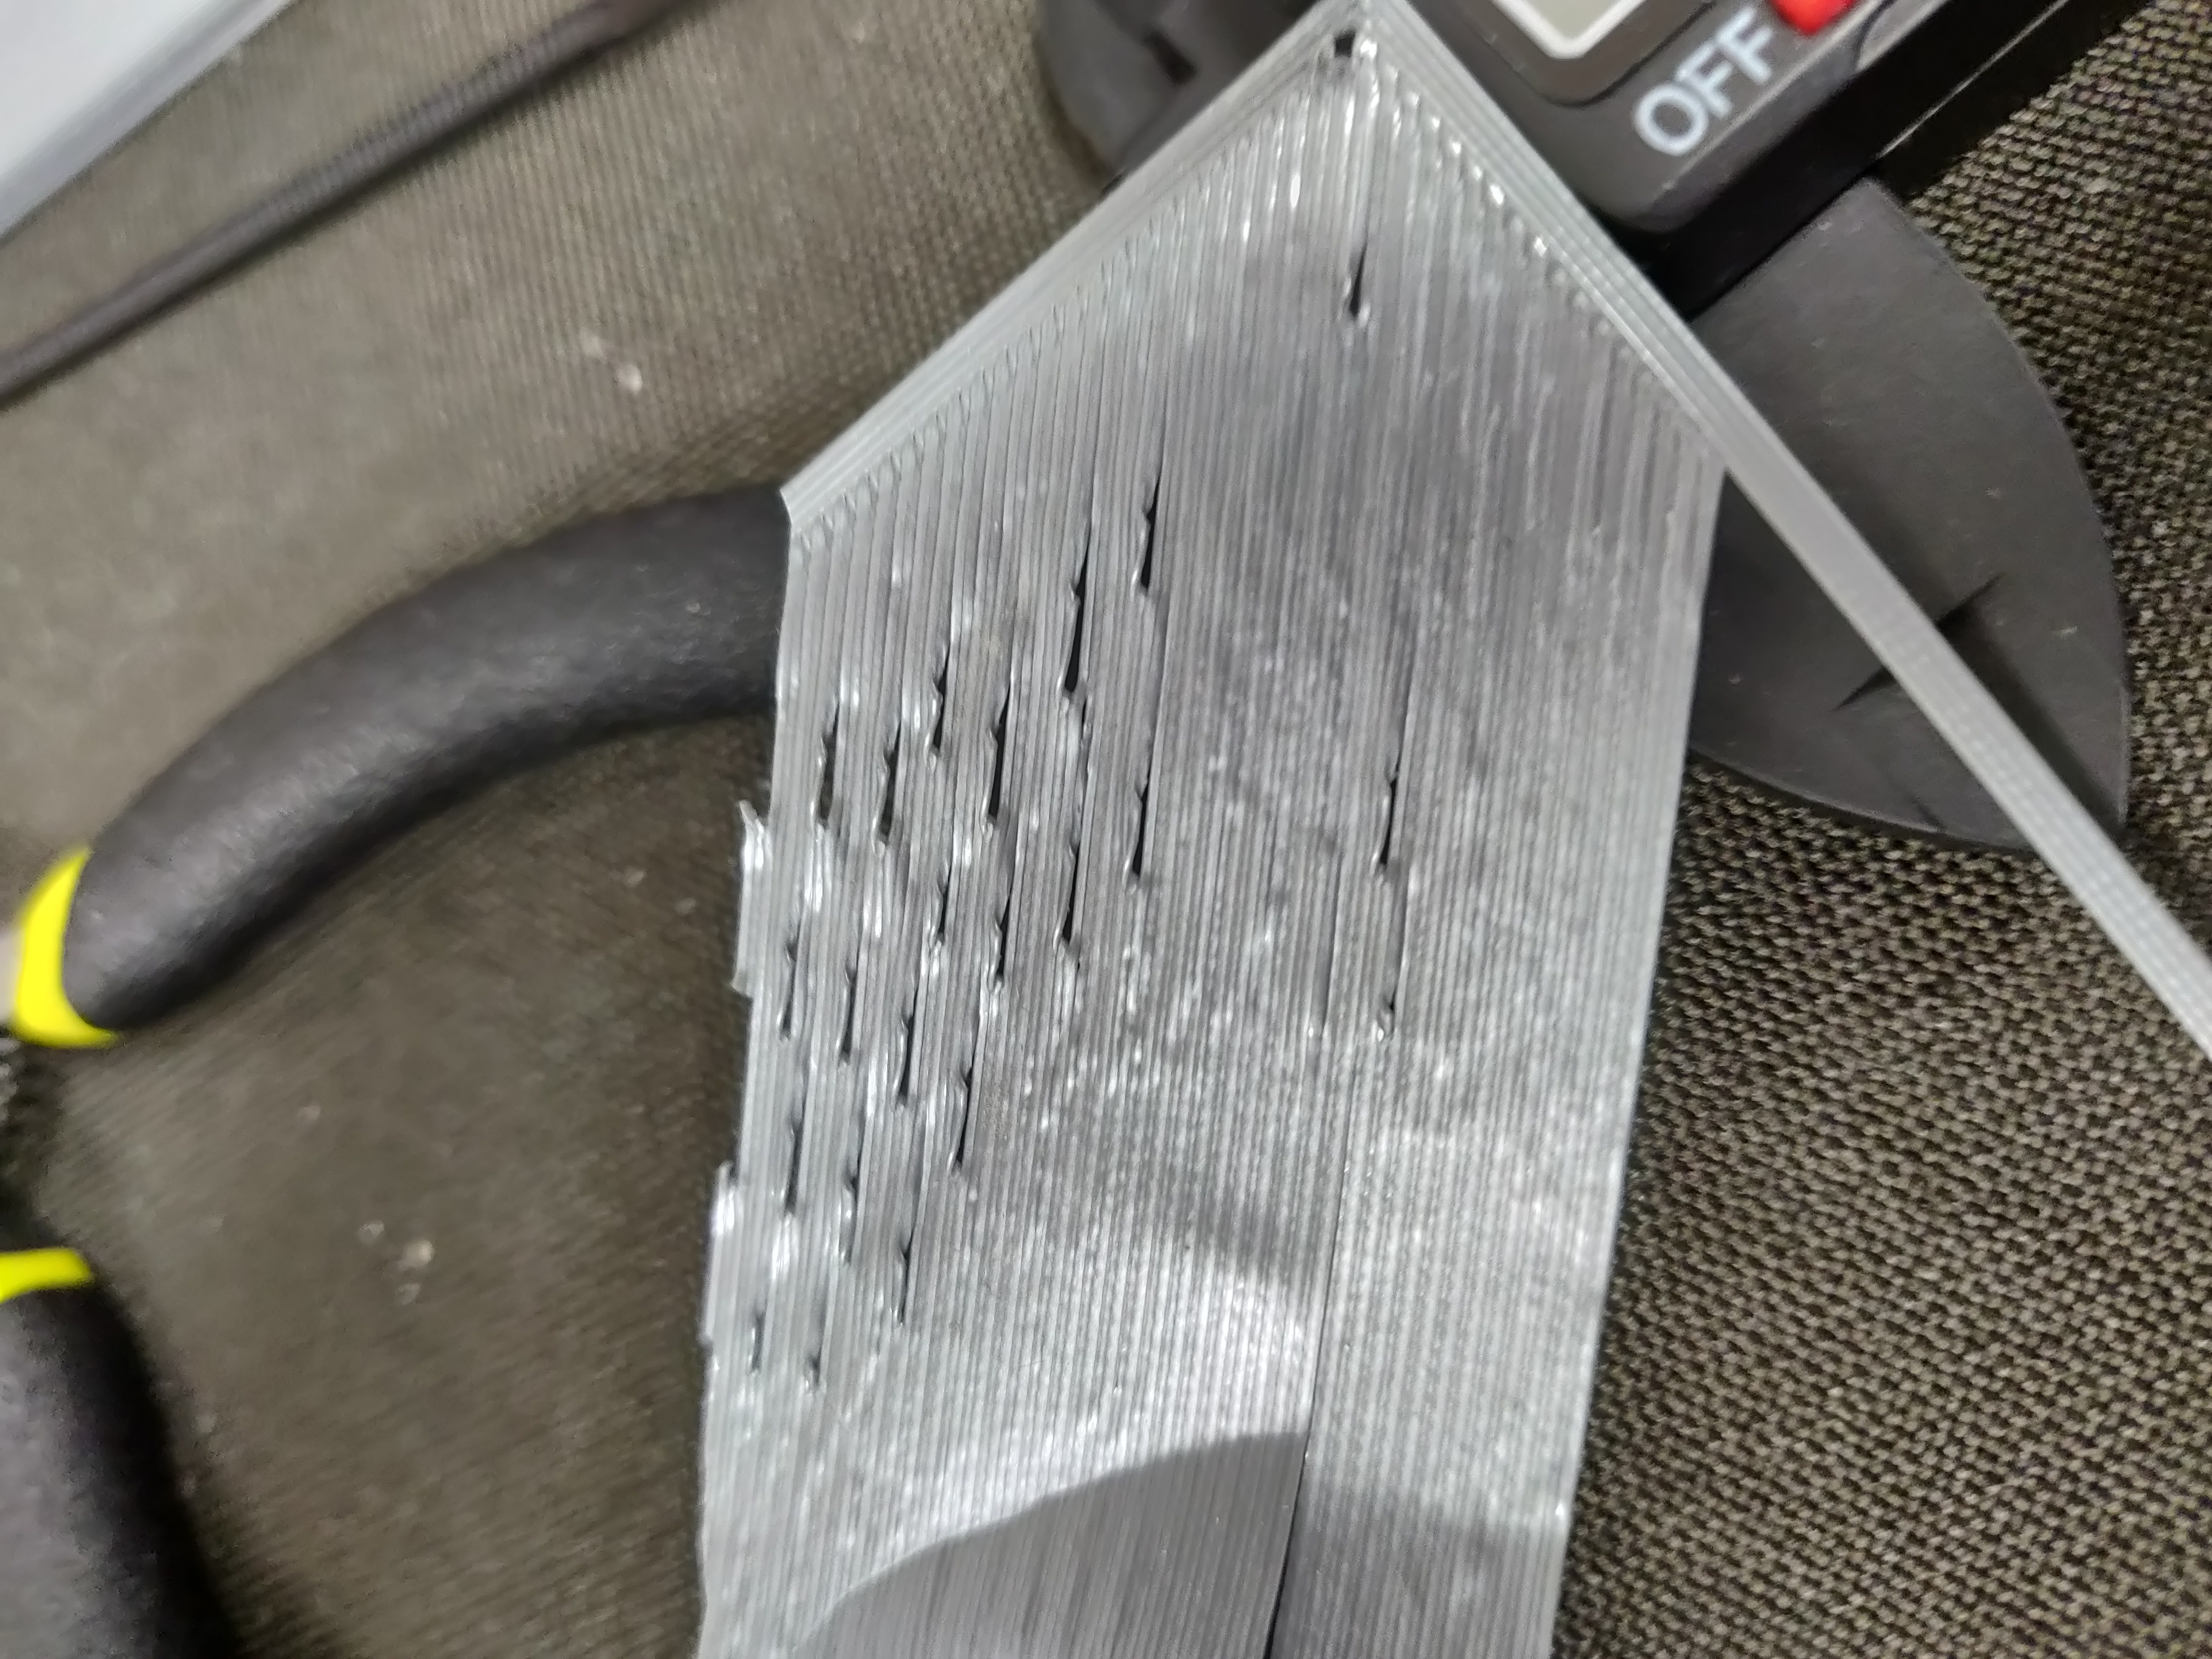
First, my 1st layer is really bad, i have tried to adjust my Z height, double-checked every pulley and every screw, double-checked my linear bearings, everything seems fine.
Same on print : I have some layer shifting and some bad looking surfaces.
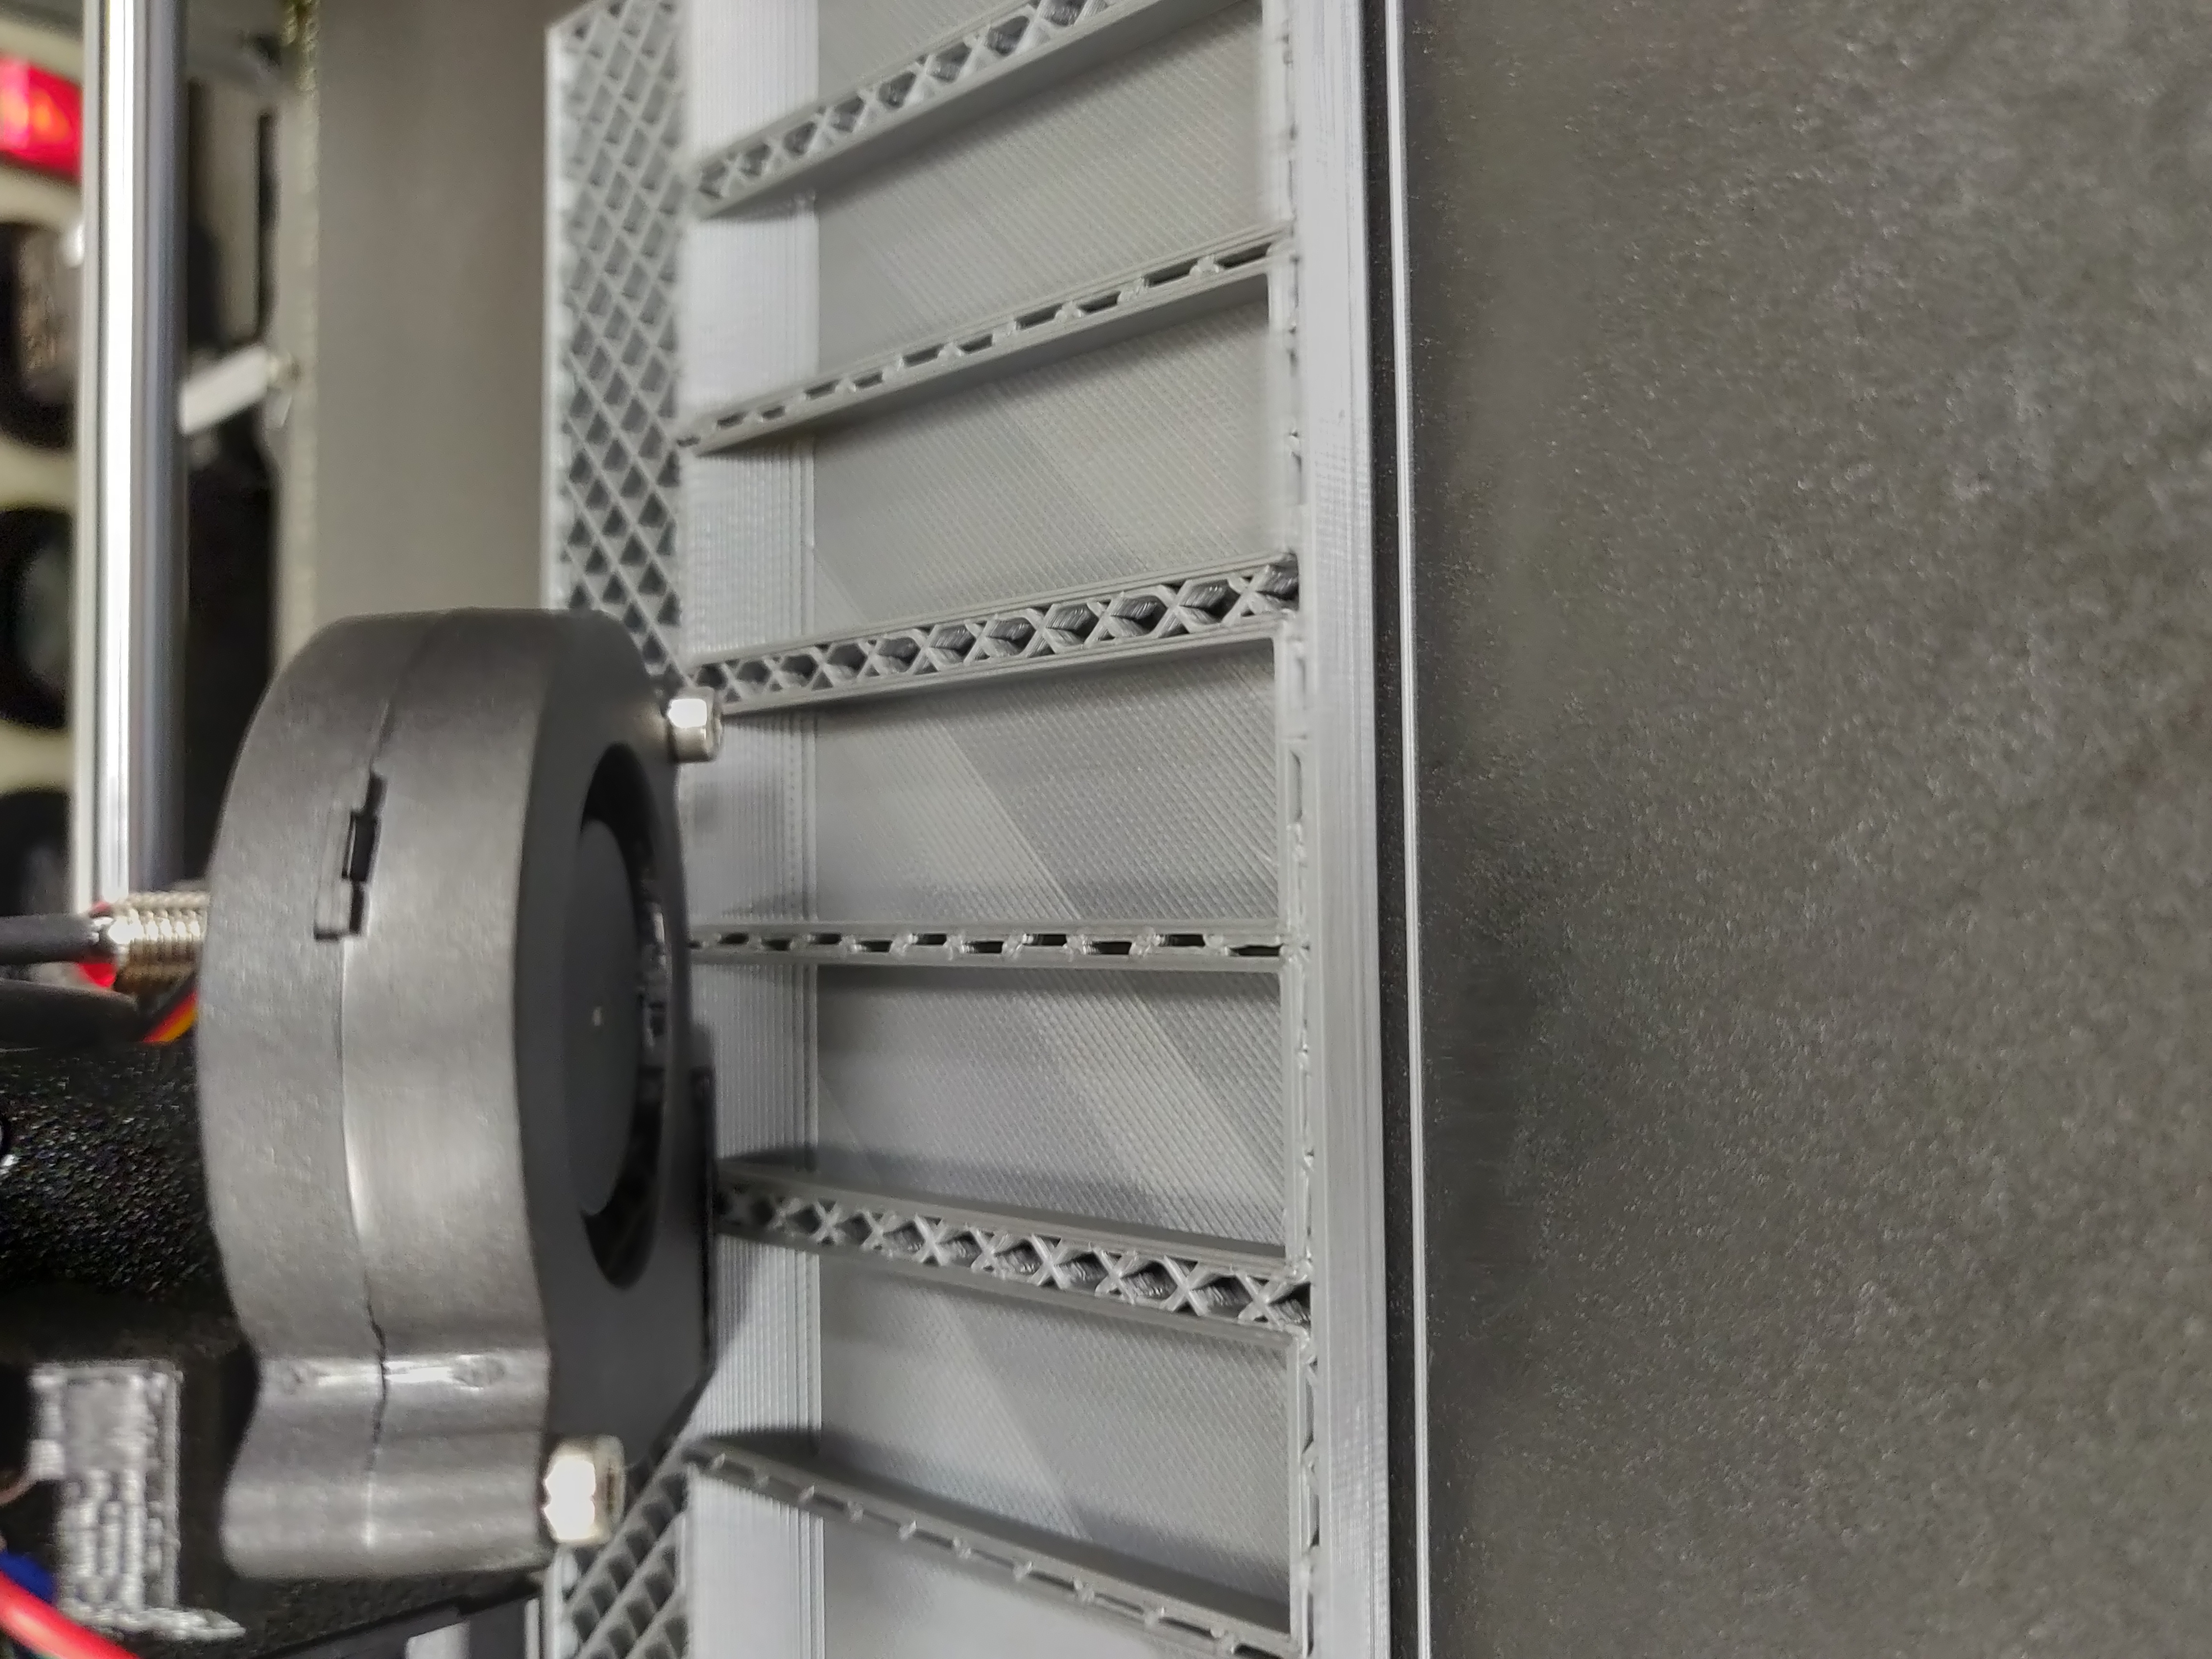
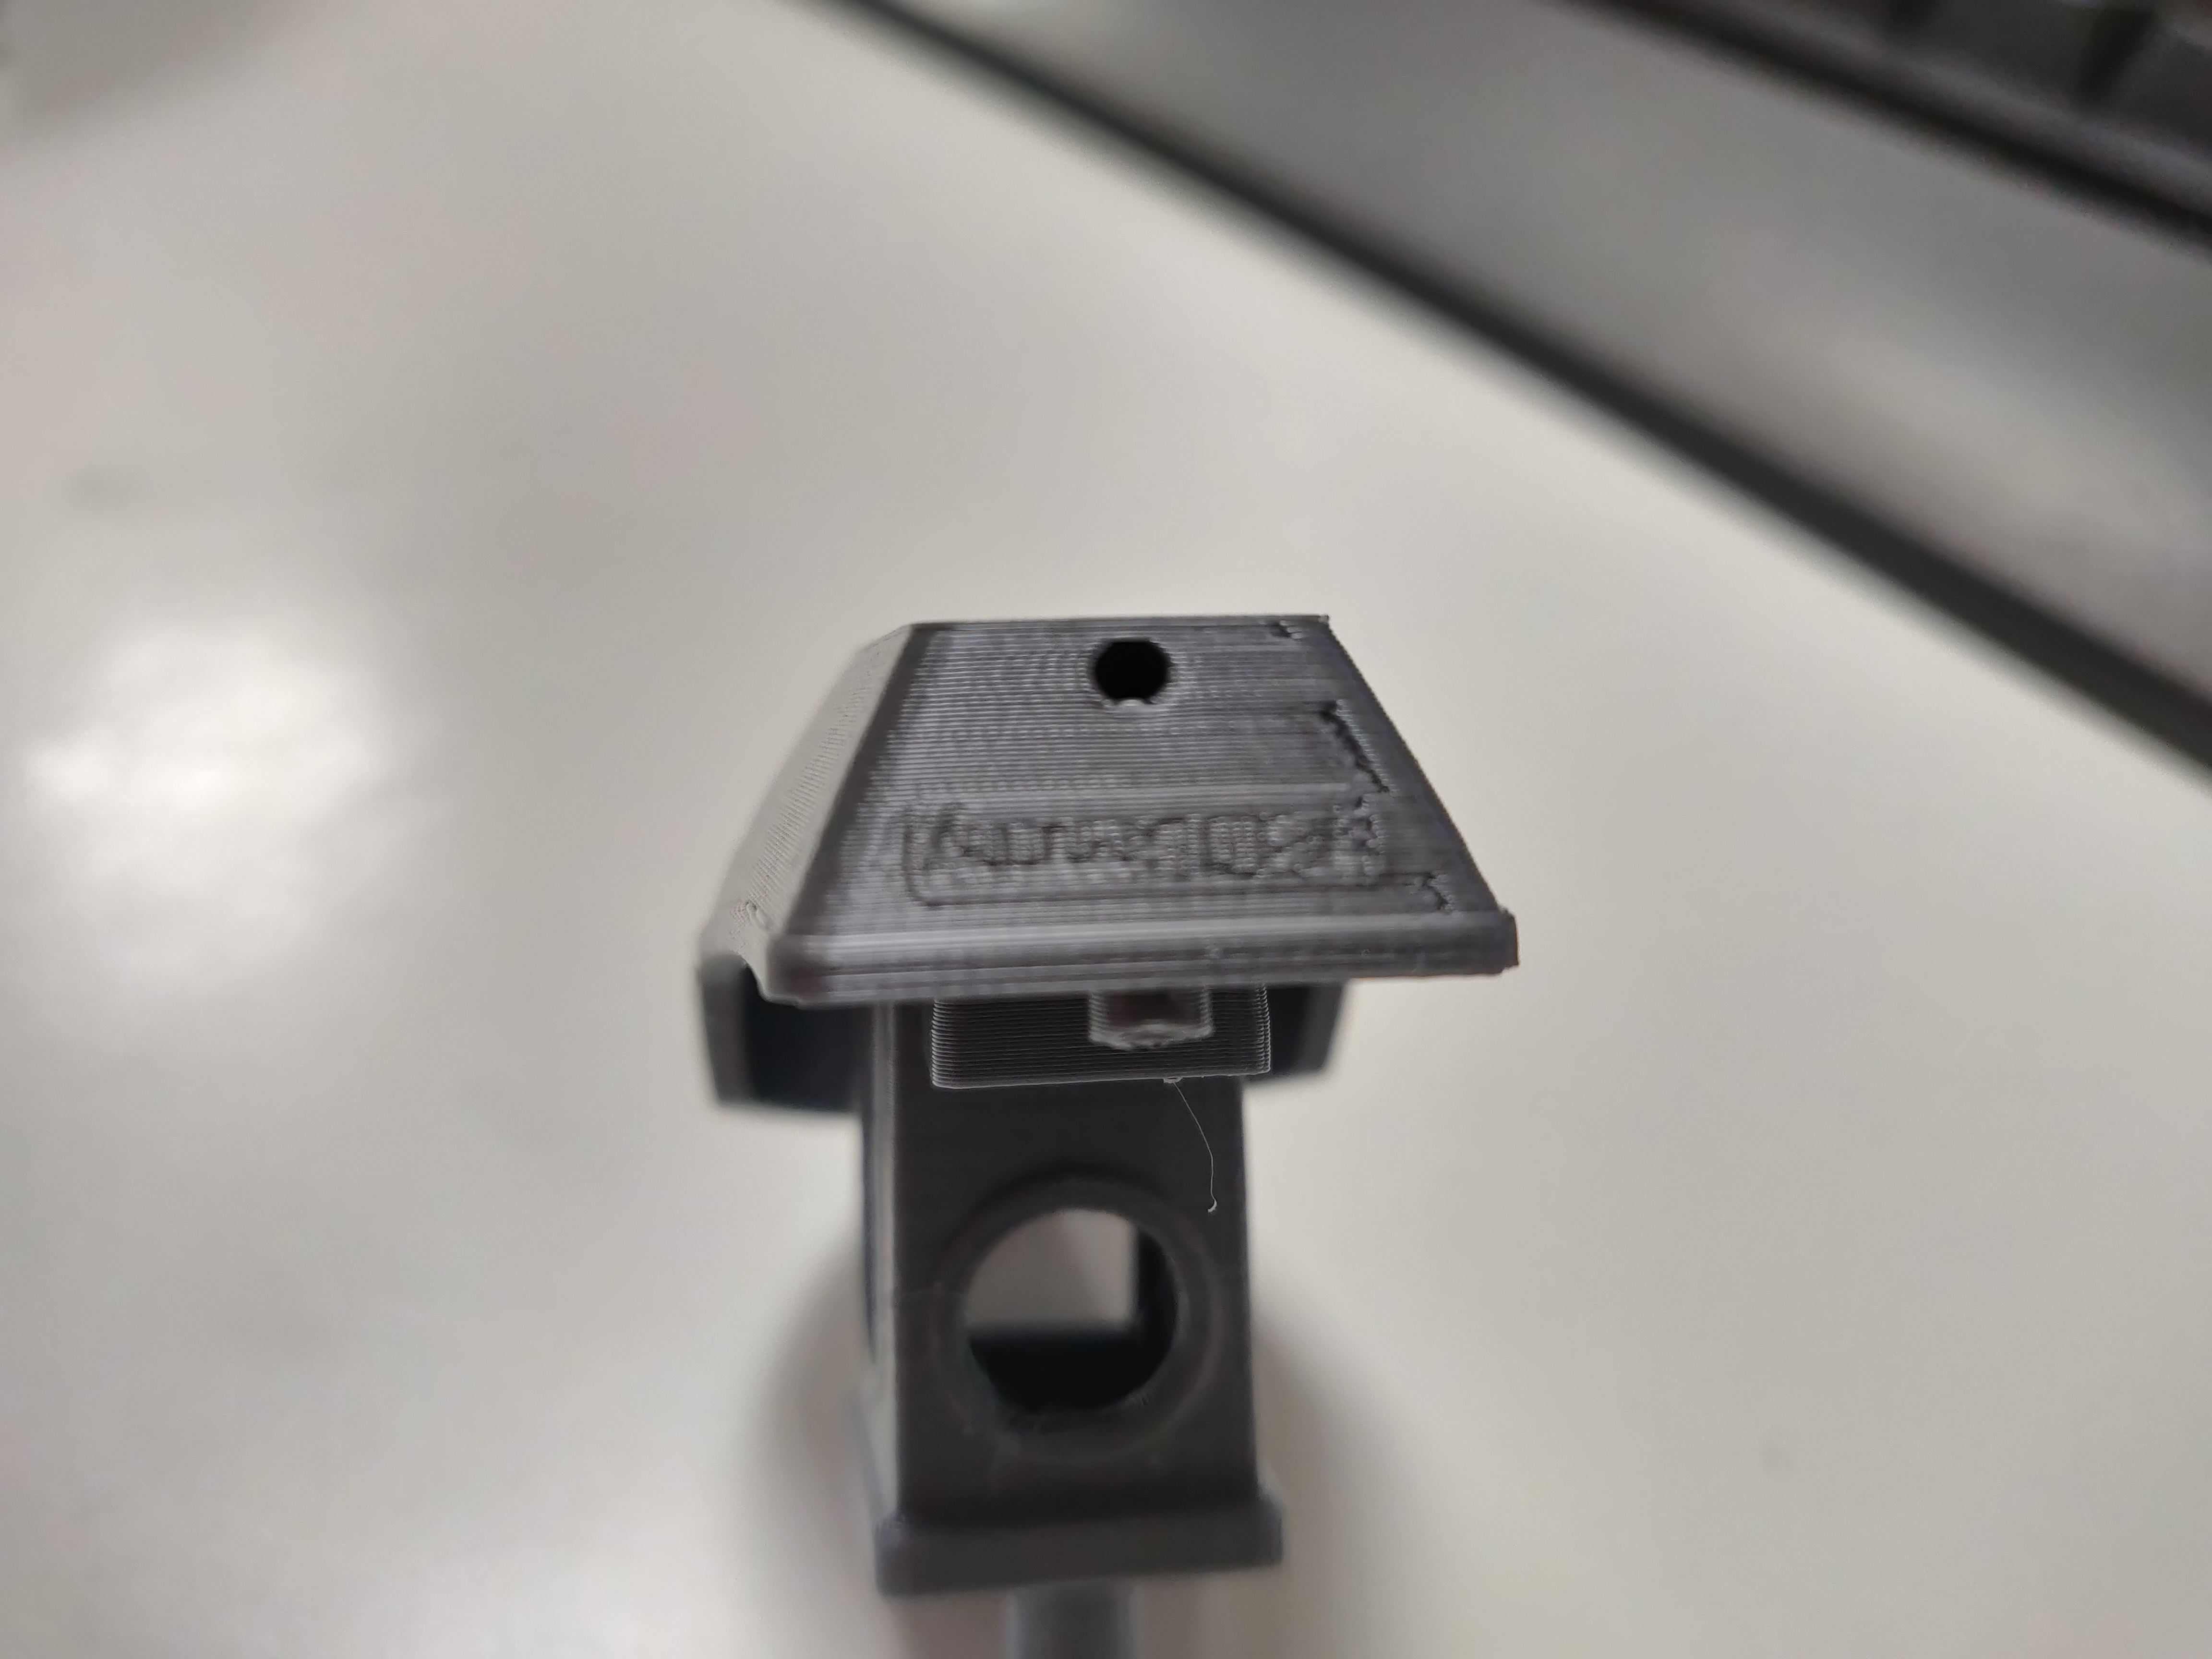
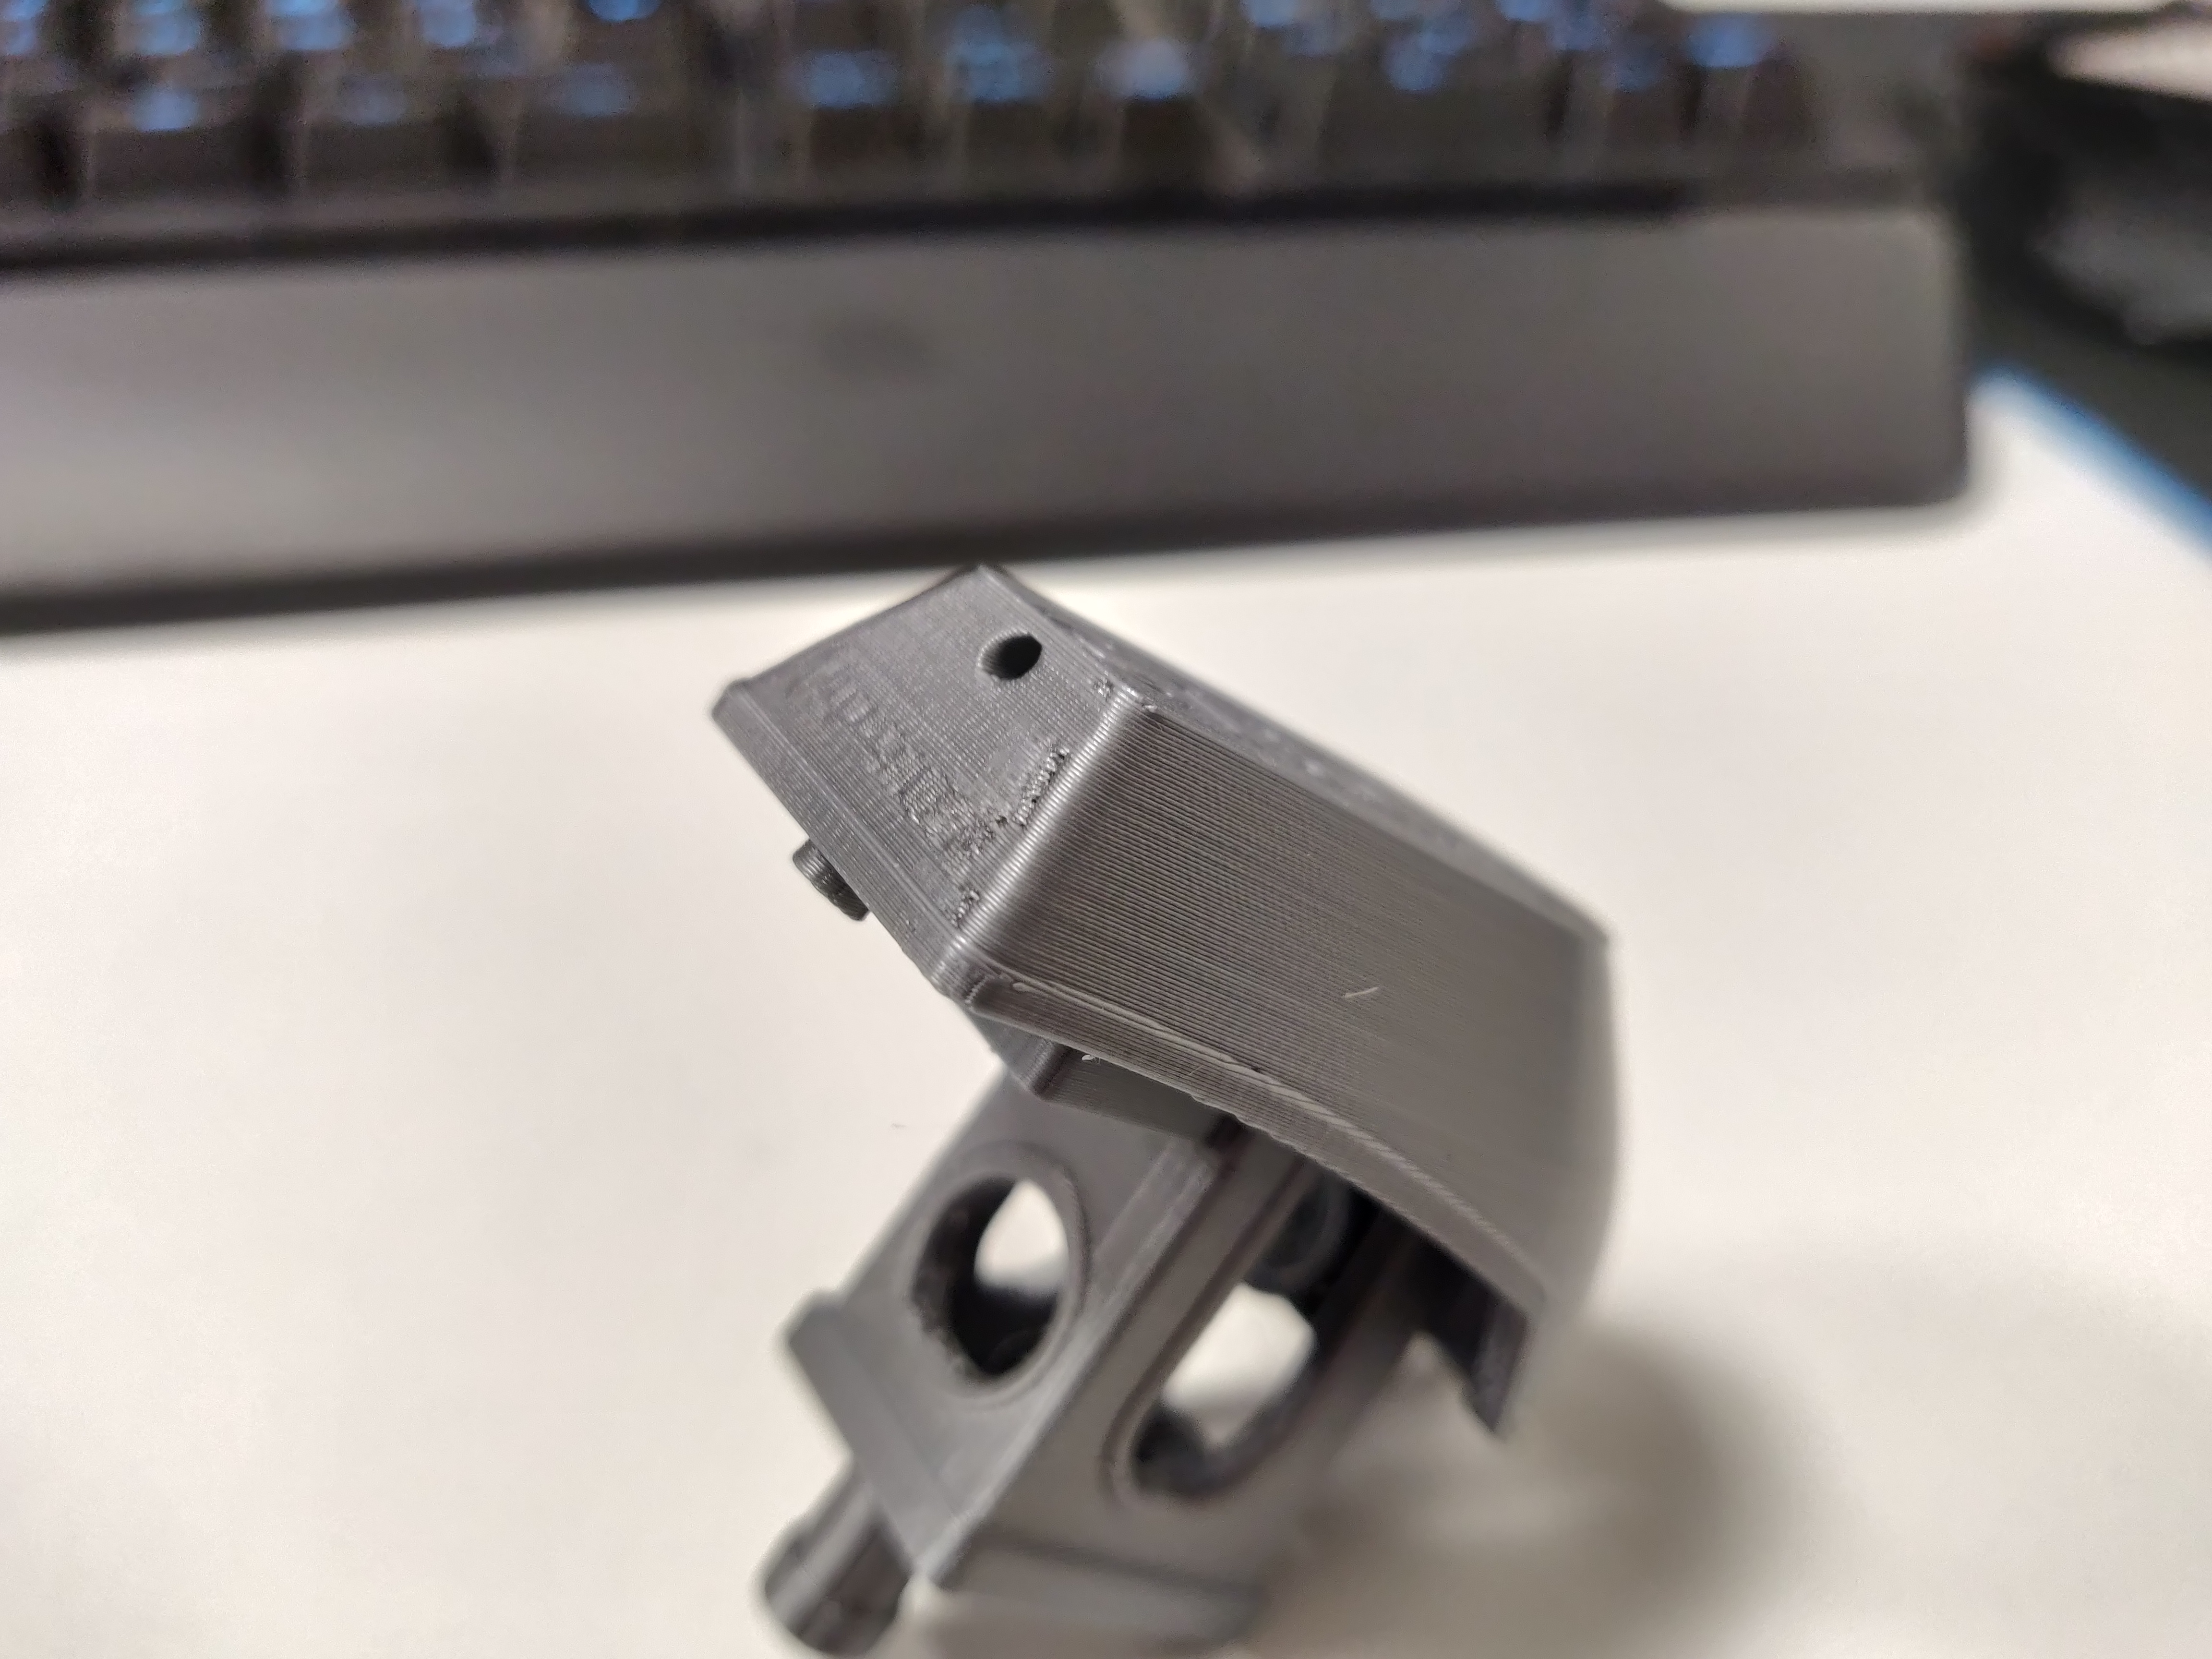
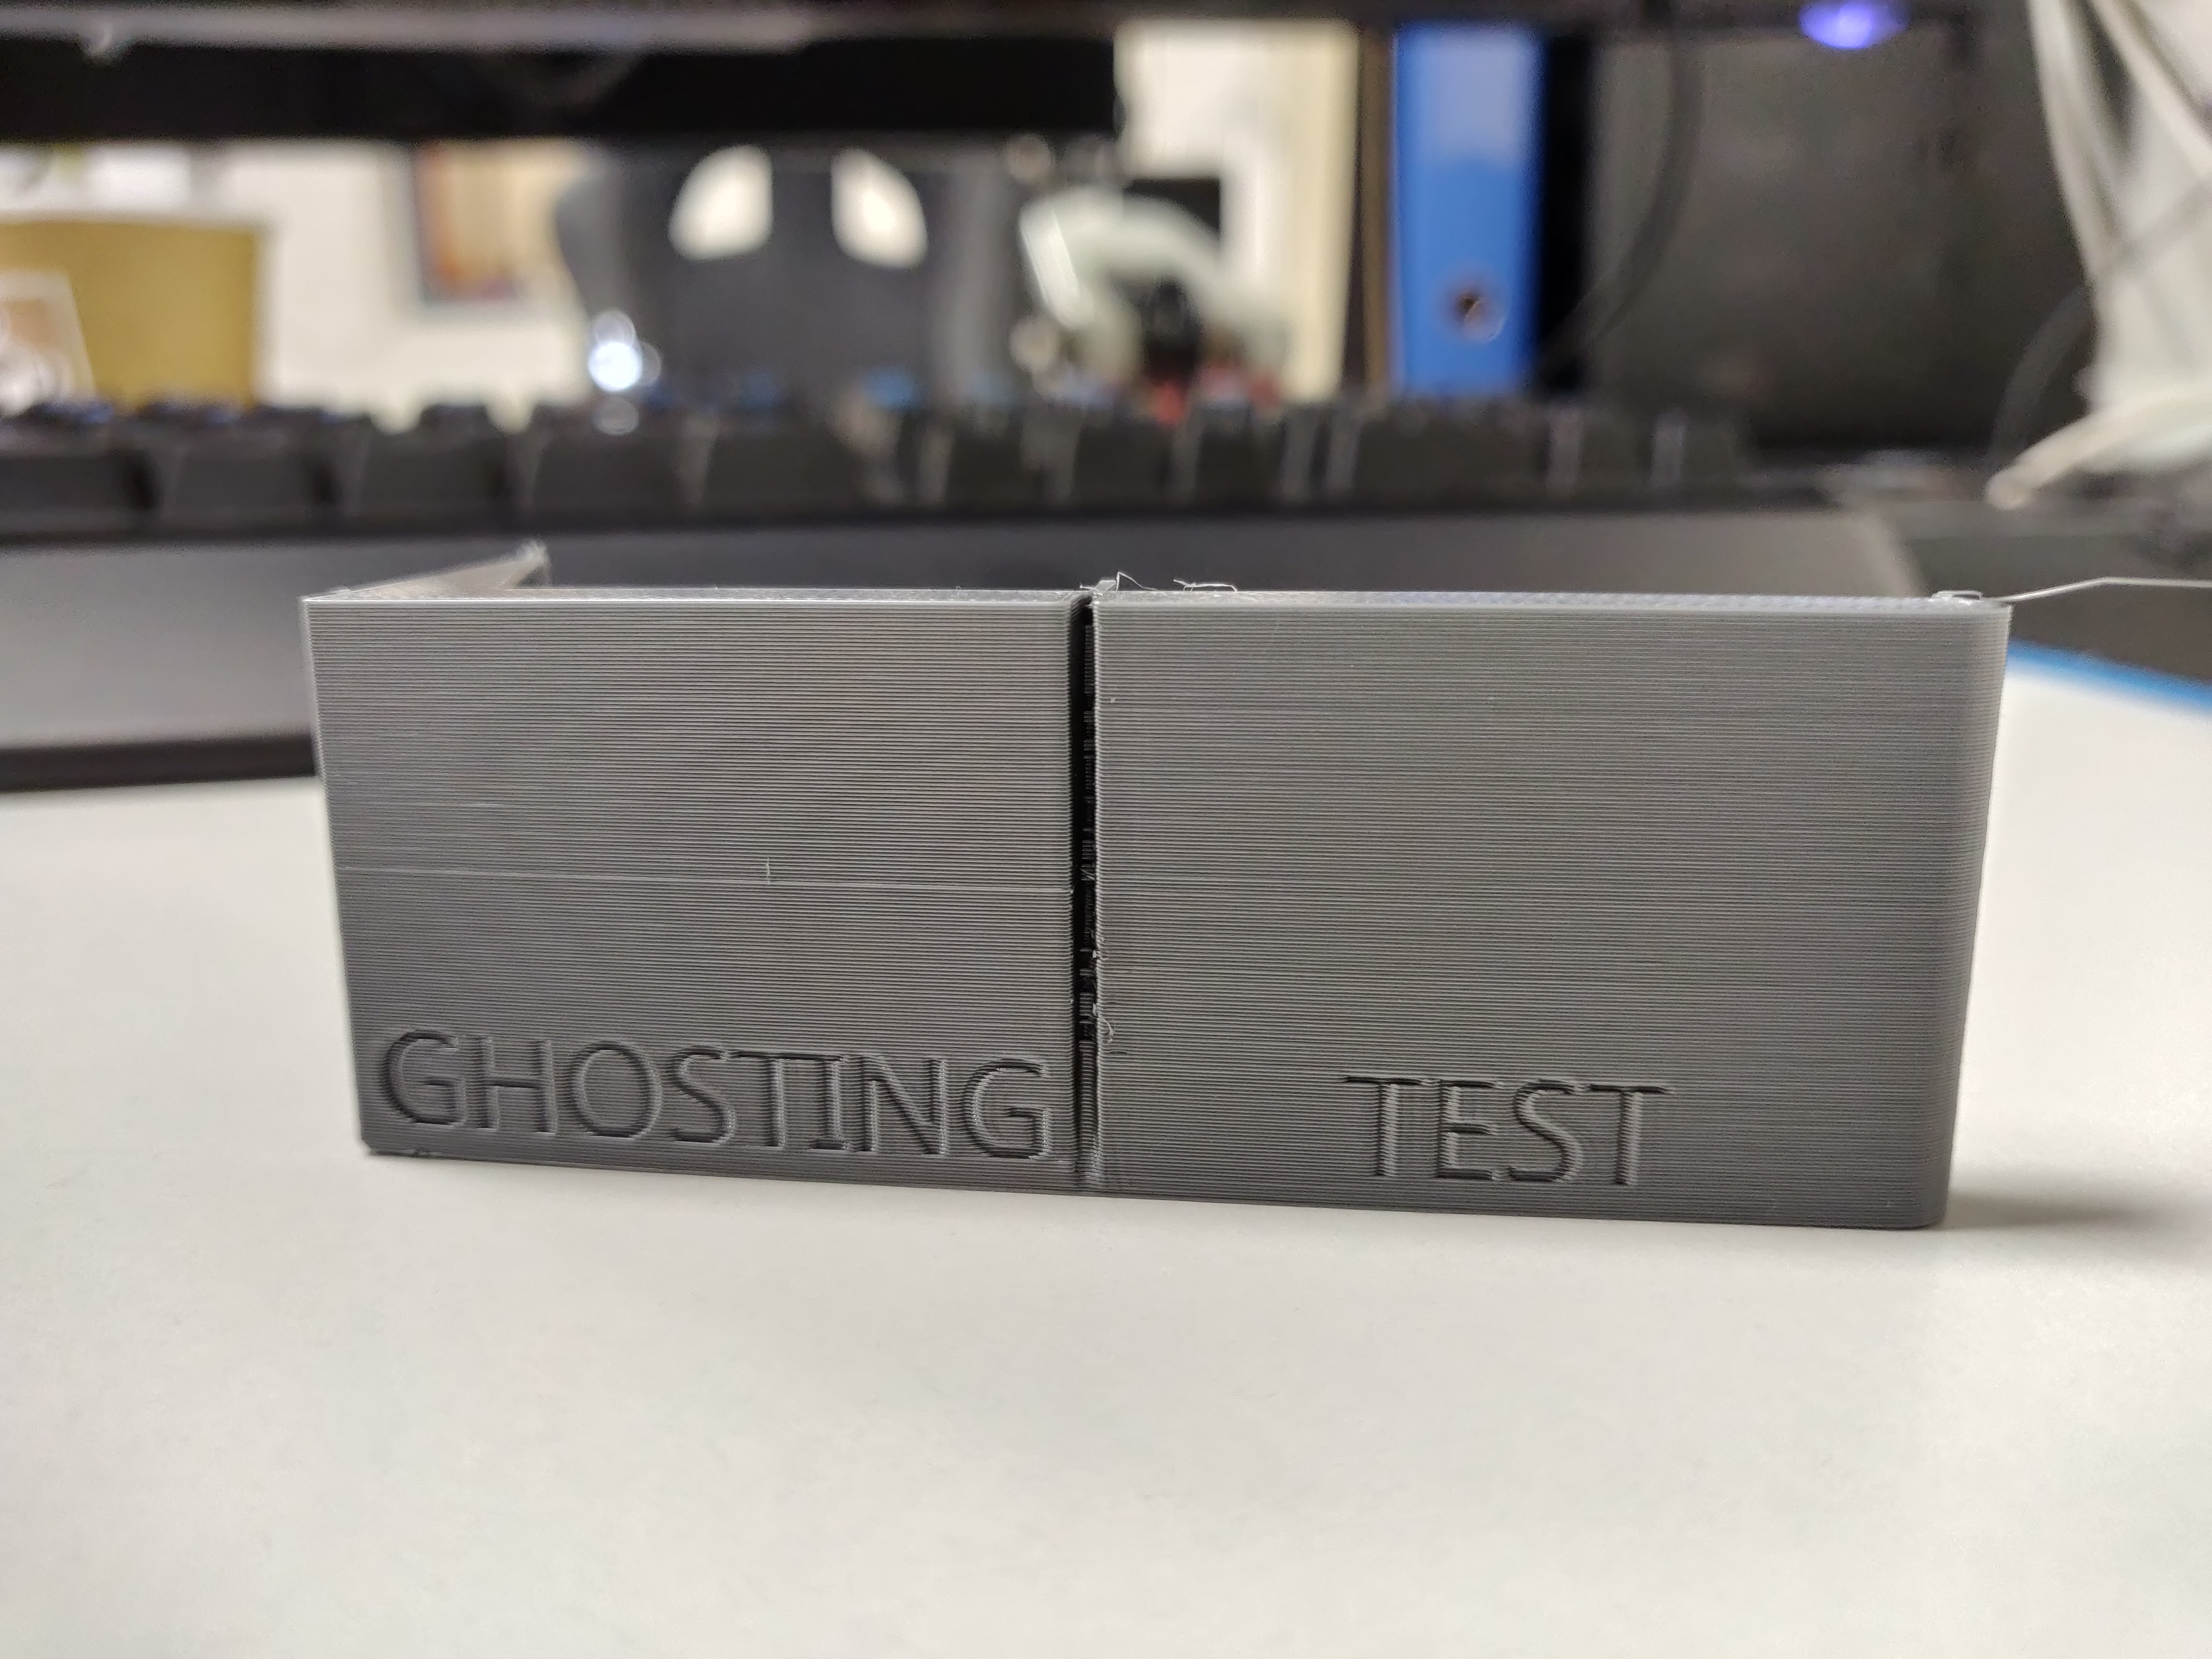
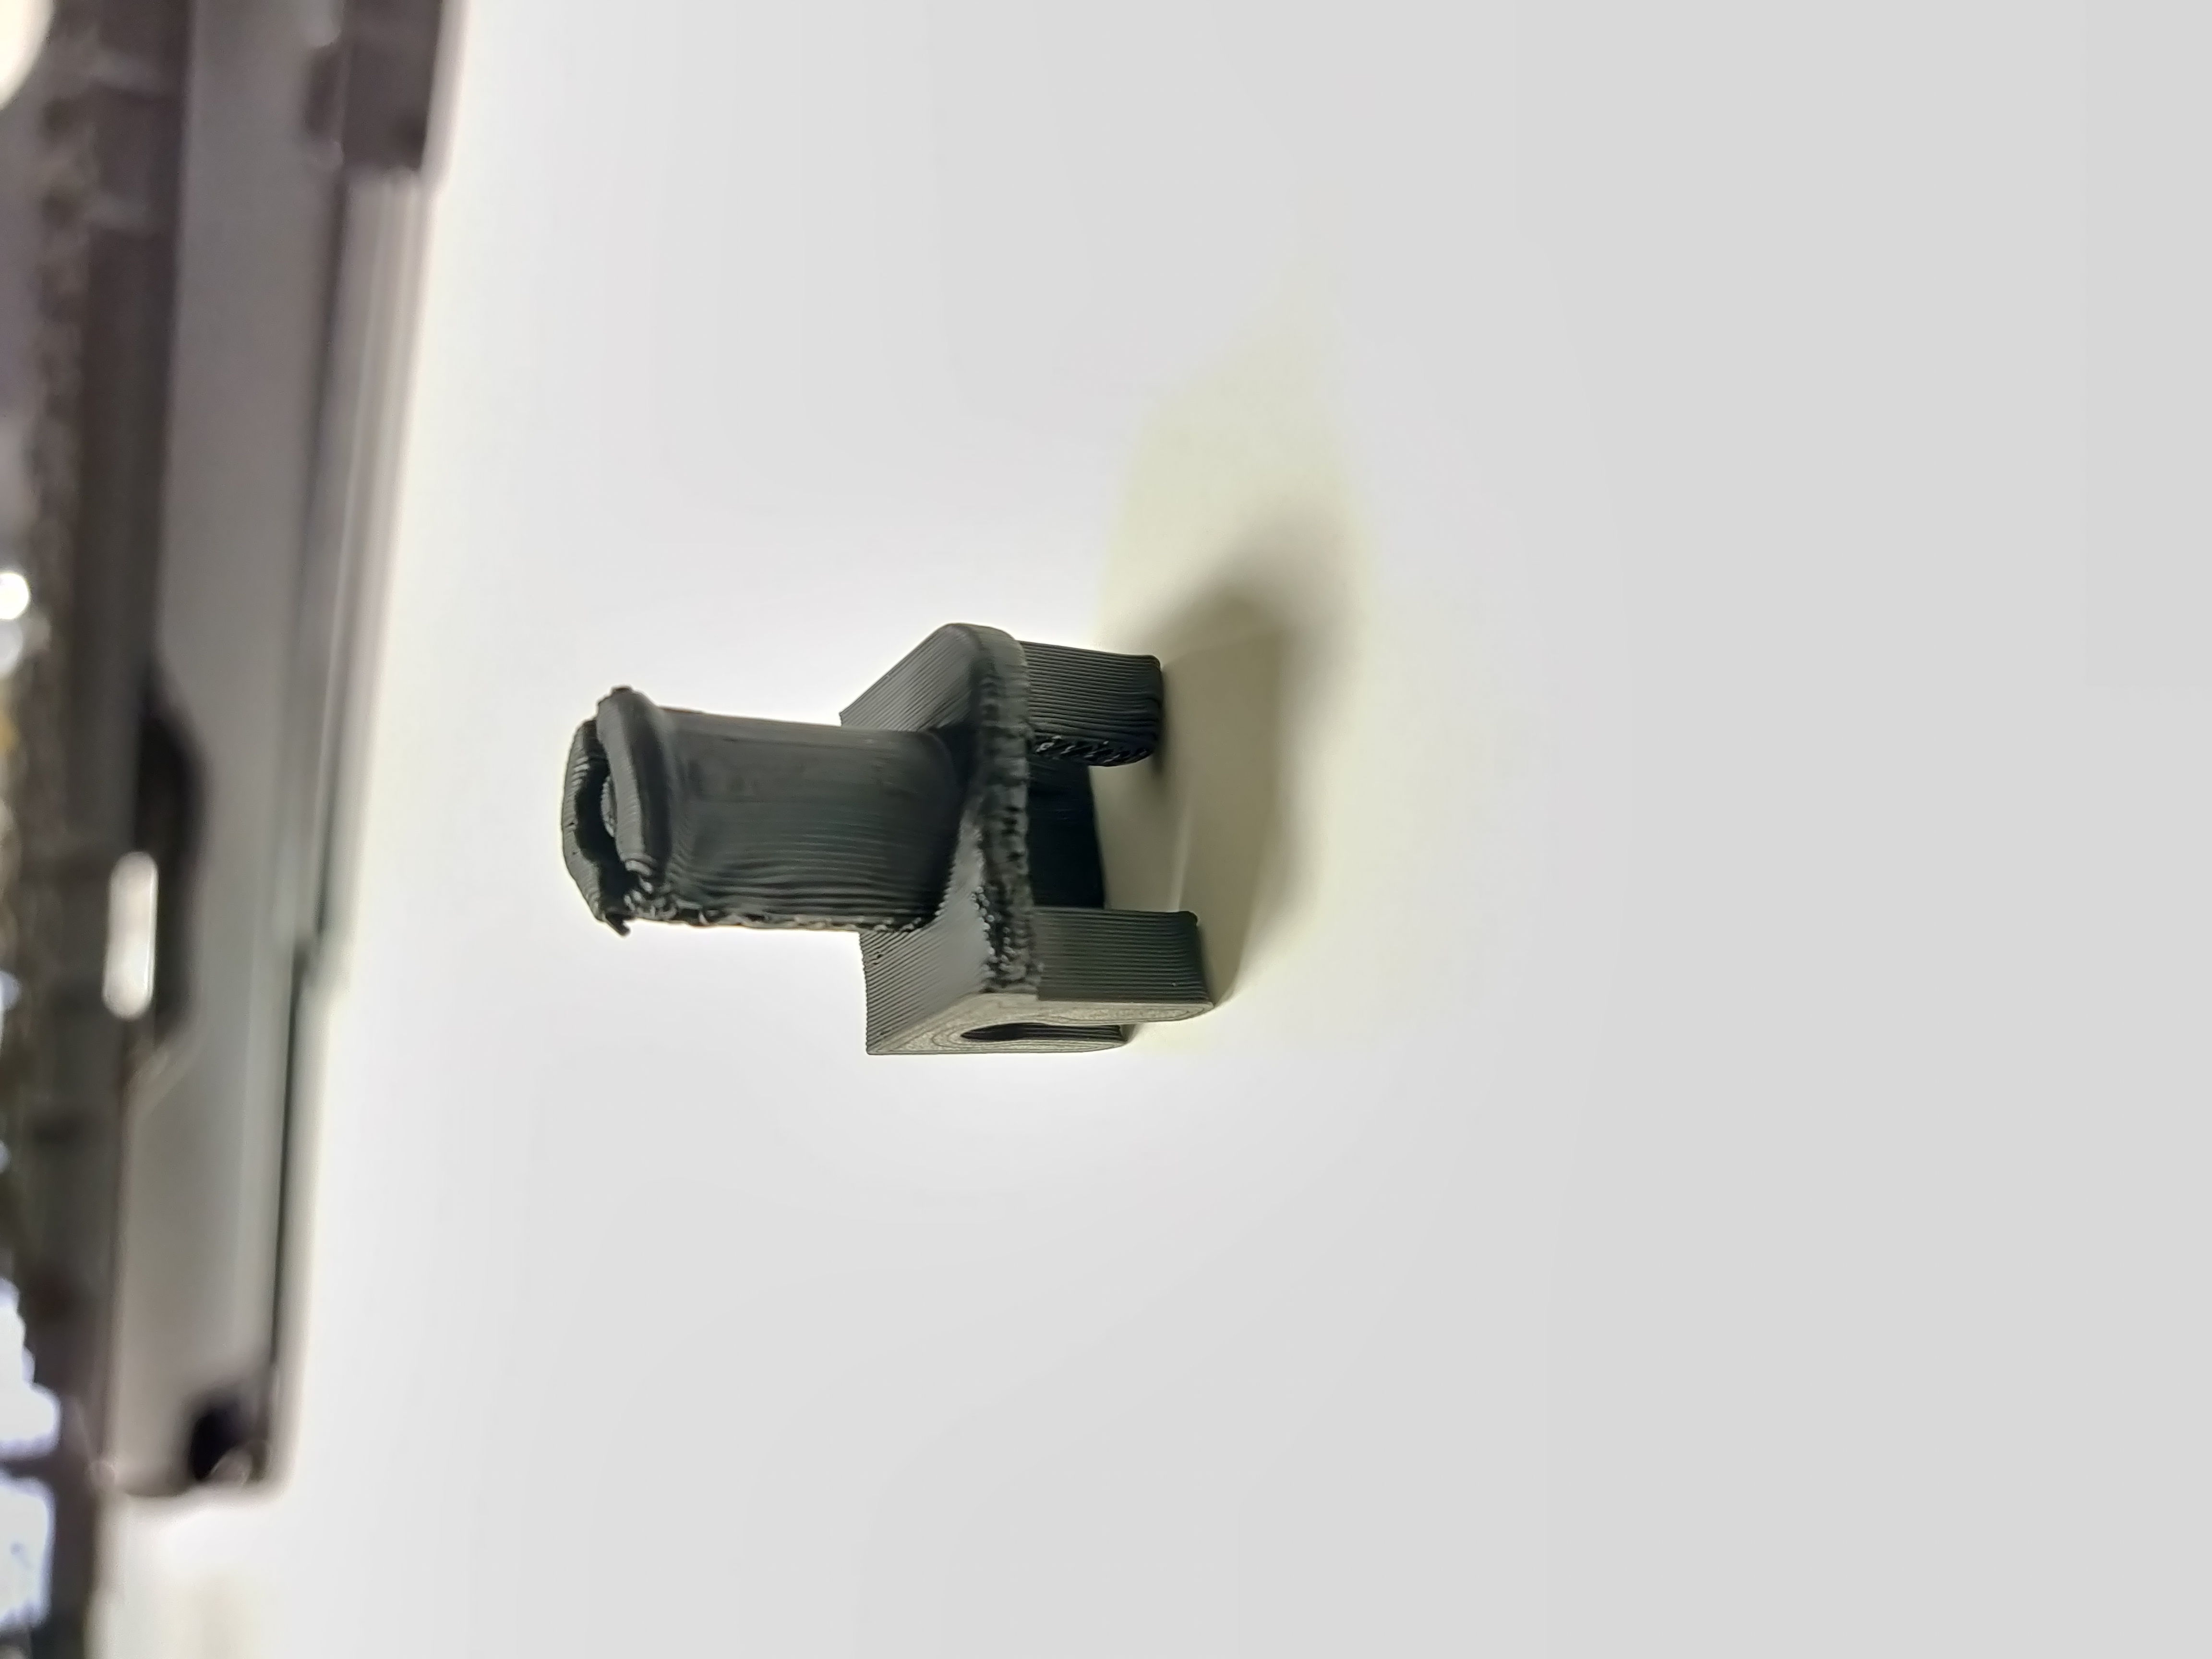
There are some pictures of my issues.
Re: Bad print quality on my new MK3S
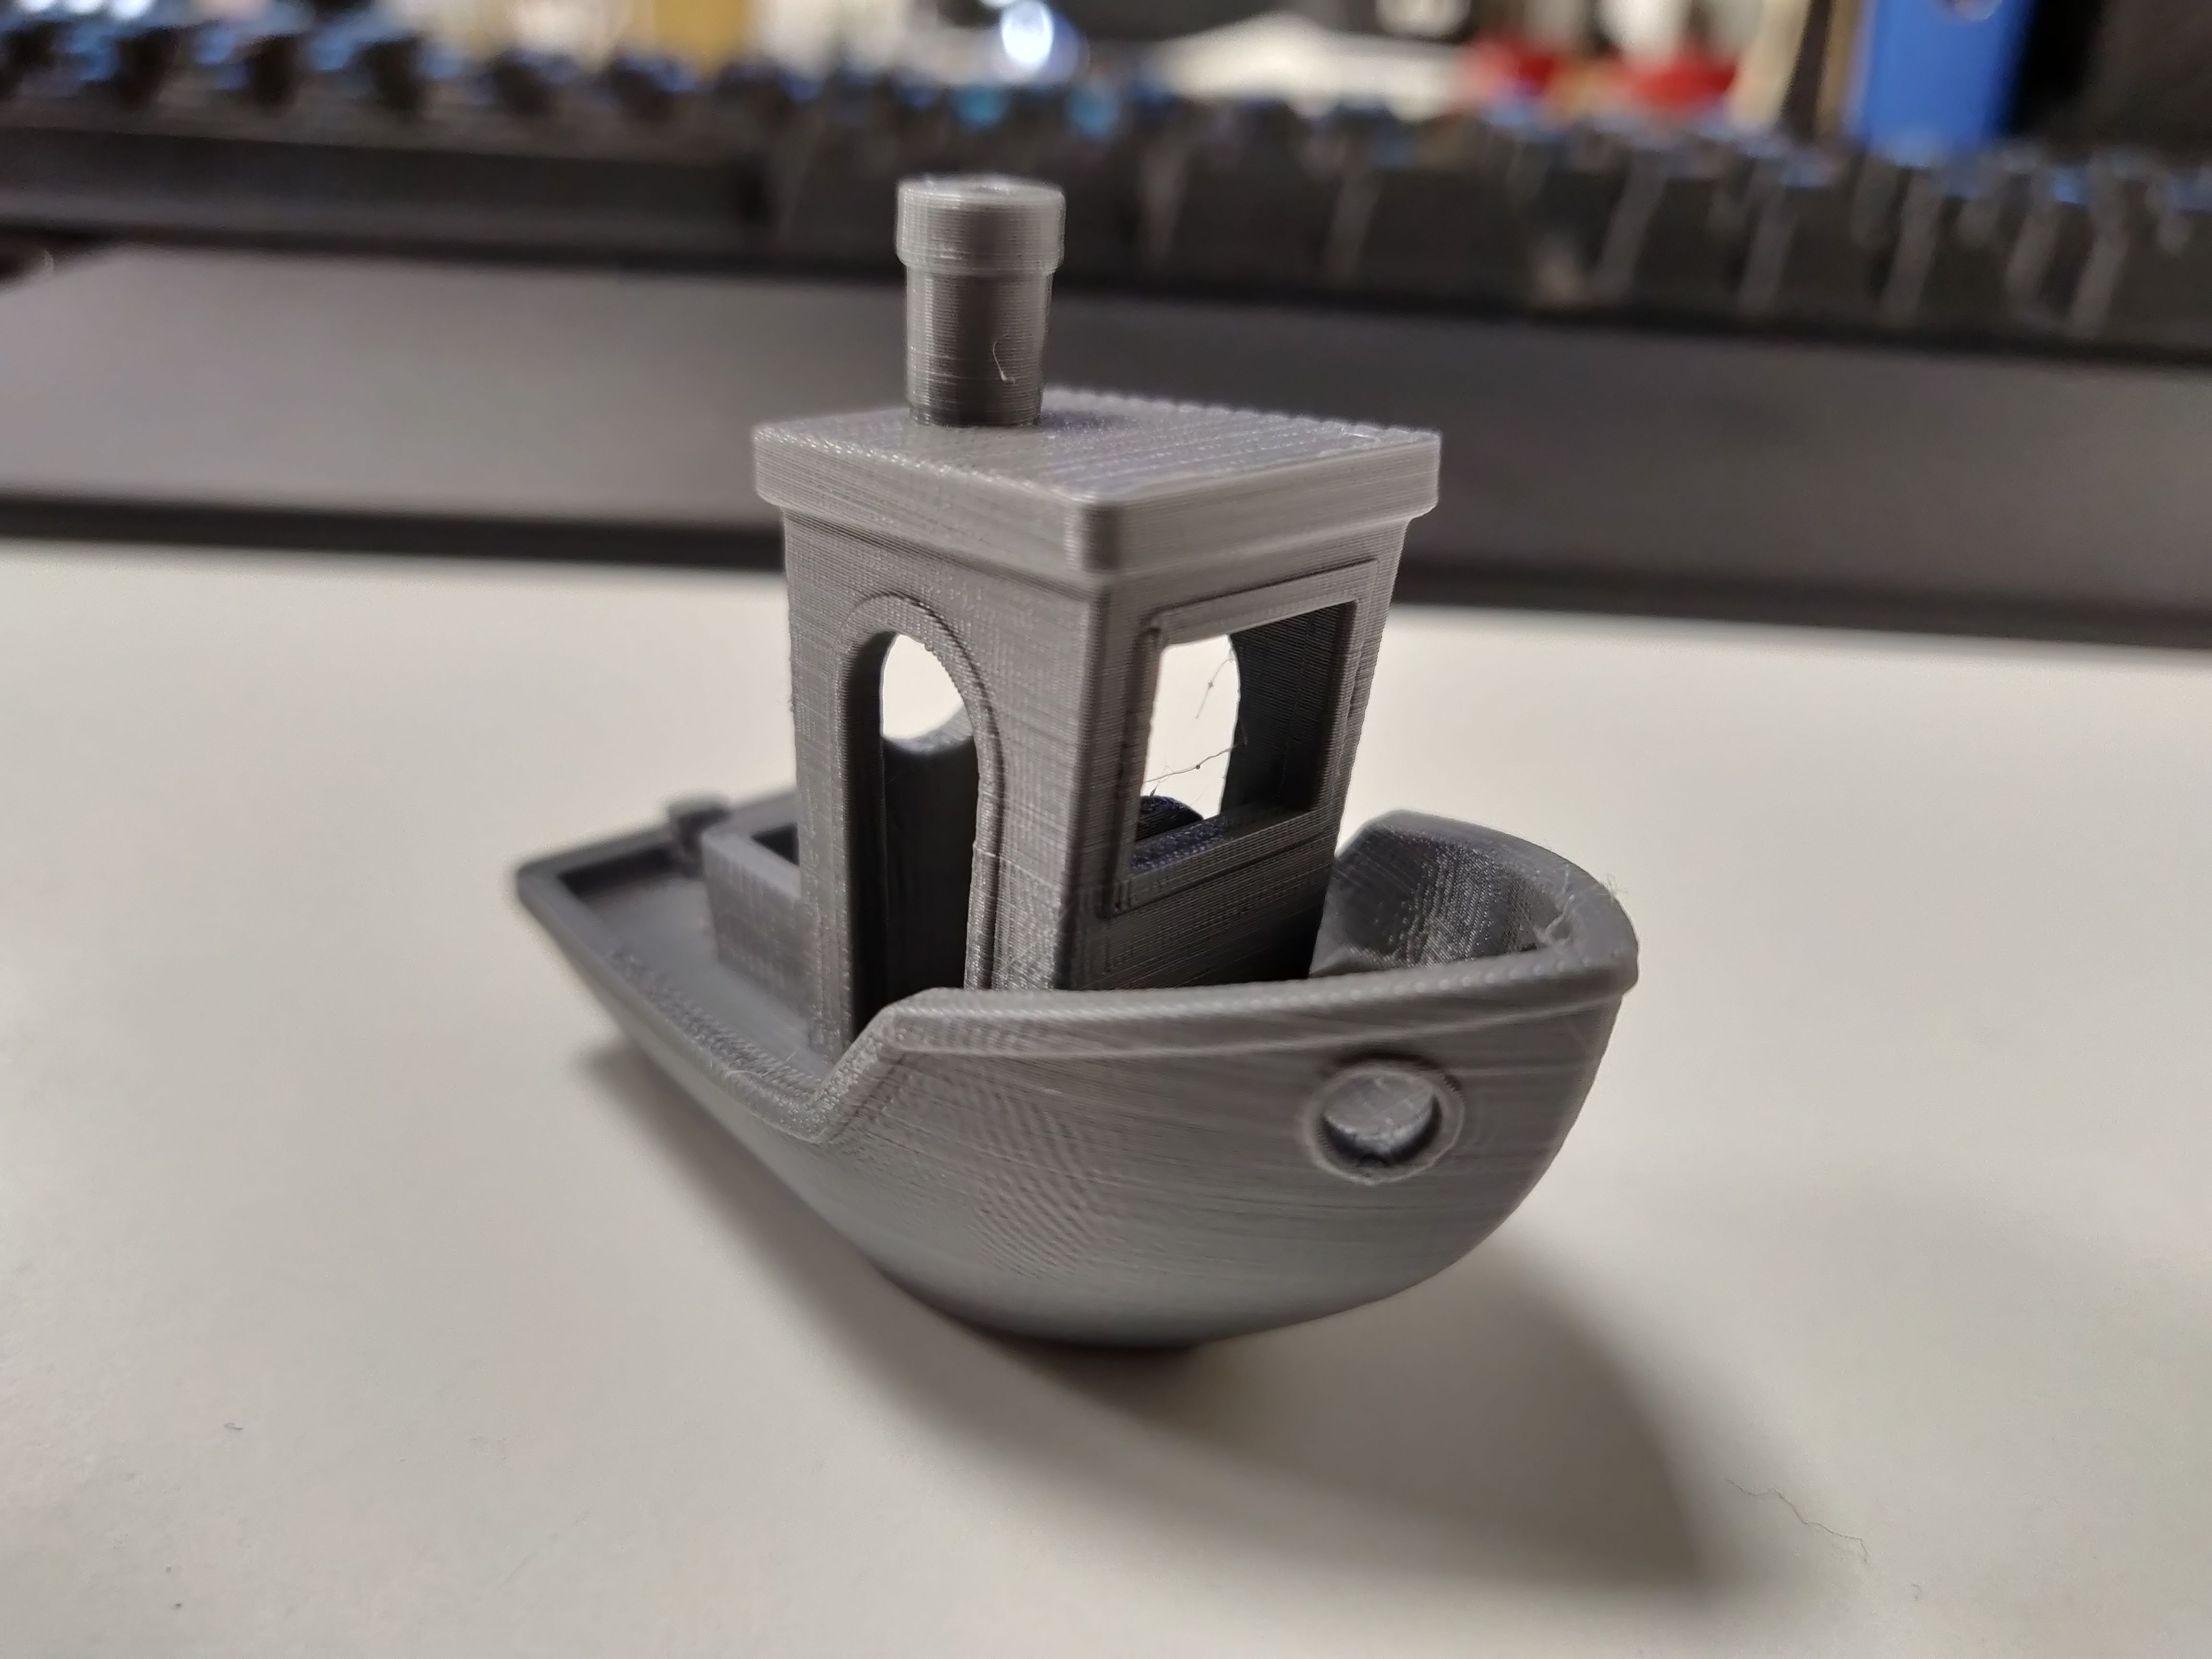
The best test if to print one of the gcode samples from the SD card; the Frog or the Benchy boat. Print one of those and post a photo.
For your layer one, contaminants on the bed can affect adhesion; even cause splits and bubbles in the extrusion; but the layer 1 photo itself looks like the thickness is okay. If you have dial calipers, measure the thickness: it should be close to 0.2 mm.
The part being printed also looks like it is printing okay. nothing obvious in the quality of it. Again, hard to tell printer quality when printing some random part: print defects could be the printer, the part, or how the print was sliced.
Re: Bad print quality on my new MK3S
The Benchy looks pretty good. Area that might need attention is belt tension. But it really looks ok for now.
Ghosting is something that has complex causes. It is rarely one thing. Basically, when the printer starts to move, it does so in what's called a "jerk" ... this jerk is a fast change in speed, from zero to xyz in one step. This jump in speed rattles everything in the printer. Especially the belts get stretched like a rubber band, and the frame flexes, As these things return to their initial positions they ring - causes the nozzle to move in all directions right along with the ringing. The filament gets wavy at places near the movement starting point. Think echos.
An easy solution to reduce ghosting is reducing print speed and acceleration and initial speed (jerk). This makes the print take longer to finish. So a trade-off is made for getting the best quality needed for the time spent printing.
Belt tension can also affect surface quality. The nozzle moves different directions during infills, and if a belt is slack it will cause gaps and pileups of the fill. I'm not seeing this on your parts except for the seam at the stern of the boat. But the wide seam may be from other reasons, too.
At the end of they day, is the surface quality 'good enough' - or do you want to take the time to fight all of the adjustments that might help make a small improvement. Most of us accept the standard quality (which really is pretty good) - especially for one-off parts.
Re: Bad print quality on my new MK3S
Belt tension can also affect surface quality. [...] if a belt is slack it will cause gaps and pileups of the fill. I'm not seeing this on your parts except for the seam at the stern of the boat.
Thank you for pointing that out - I'd started seeing that in some of my prints too and was scratching my head whether it was retraction or coasting. But in retrospect, I'd done some work on my X axis, so my belt is probably one notch looser than it was before.
Being a lurker pays off sometimes! 🙂
Re: Bad print quality on my new MK3S
Quick update :
I have changed the bed bearings and the quality seems way better. I think i have overtightened the first ones.
Re: Bad print quality on my new MK3S
I have been experiencing similar issues with my new MK3S. I have ringing/ghosting in my prints as well as some odd re-occurring pattern that shows up in each layer of the print. I have sent a couple e-mails to [email protected] with details and pictures but so far have not gotten a response. Hopefully someone here can help point me in the right direction. This is my first 3D Printer, so I may not know all the terminology yet.
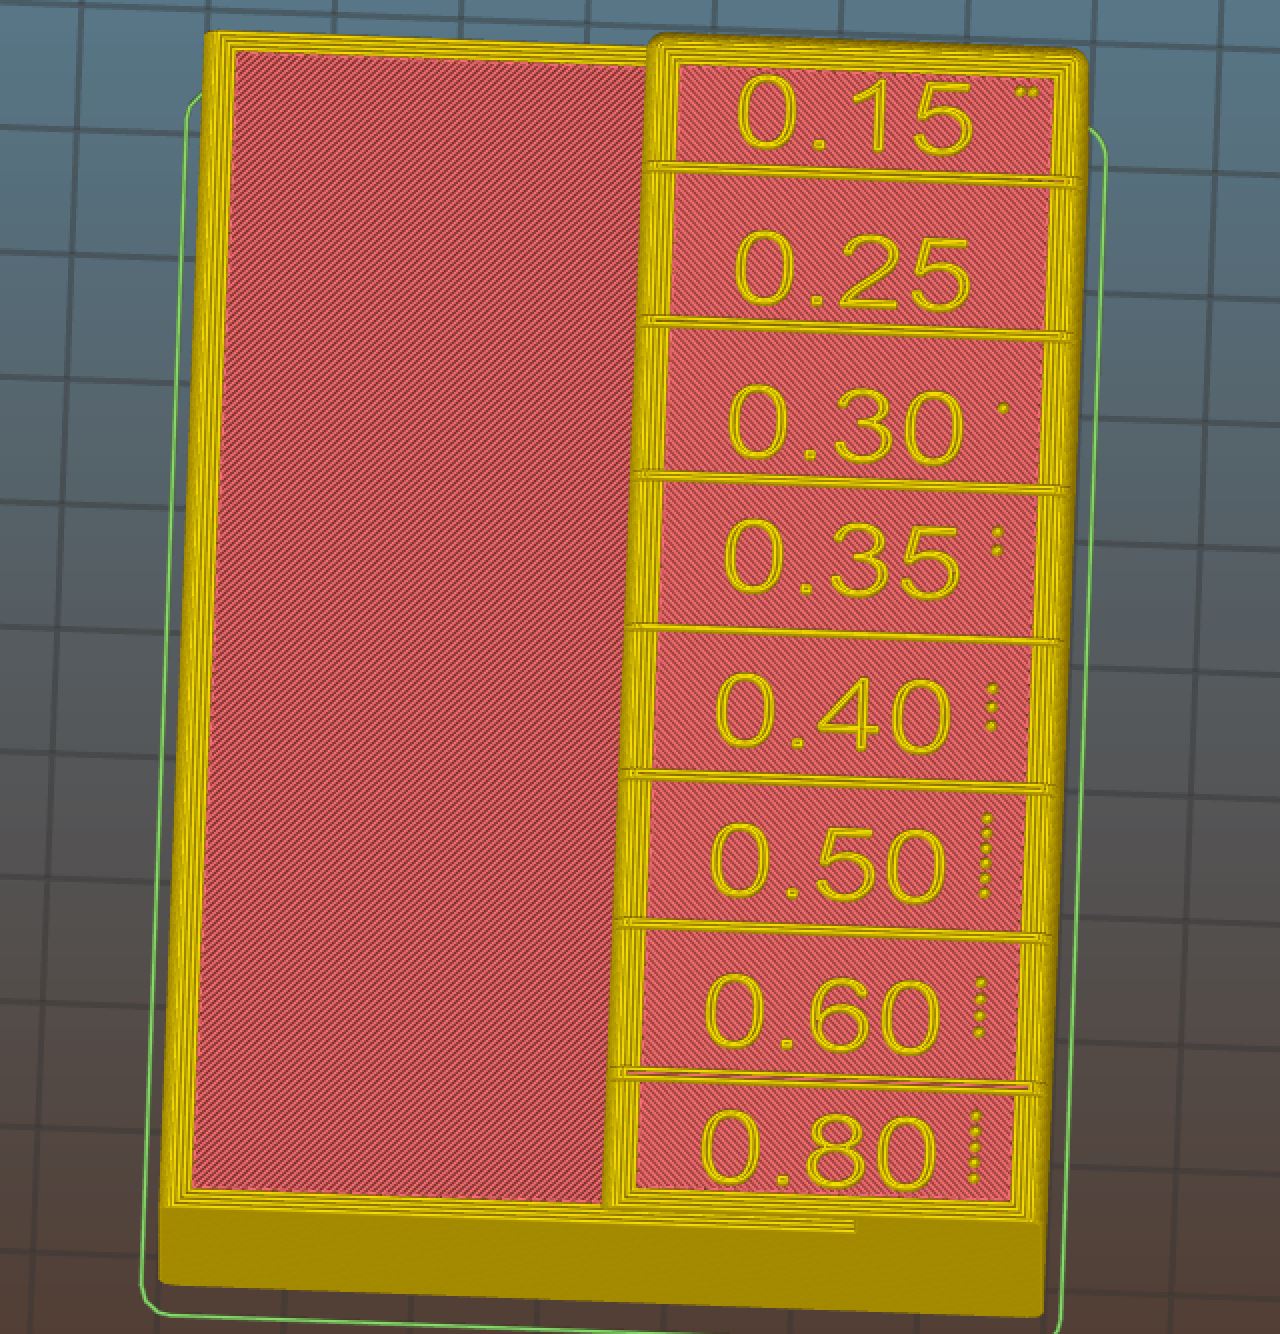
In the pictures you can see my Layer Height Calibration stamp which to me looks good me and measures to be a thickness of around 0.21mm. However, when I print the Prusa Logo stl from the SD card and stop it after the first layer I am getting this odd pattern where part of the first layer looks fine, but the rest looks like it is under extruded. Notice that the shape of the pattern is the same shape as the model, but offset. I also downloaded and printed the extrusion multiplier 20mm calibration cube from help.prusa3d.com and an XYZ calibration cube from Thingiverse. In these models in addition to the layer pattern showing up on the both the top and bottom layers, I also am noticing some ringing/ghosting on the sides of the prints. The bottom right XYZ calibration cubes is one that I printed a couple days after the initial build and everything work perfectly. These issues with the layers and the ghosting only start to appear about a week after I had the printer up and running.
I have gone back through the printer A-Z following the instruction manual and rechecked everything from the bearing alignment/tightness to belt tension. My current Belt Status shows values of X: 217 and Y: 284. Even though my X Axis shows to still be outside the 240 – 290 range, if I loosen it any more it starts to become very loose and I notice the belt rising up on the drive gear when the E-Axis changes direction. I am not sure how reliable the Belt Status readings are.
I see here and elsewhere that this ringing/ghosting issue can be partially addressed by slowing down the print speed. However, I cannot find anywhere in the printer menu where there is an option to set the print speed. Can someone please expand on how to adjust the print speed? I would like to try this and see if it makes any a difference. I don’t care if the prints take longer as long as I get a good quality print.
Thanks in advance for the advice.
Andrew J
Re: Bad print quality on my new MK3S
Belts stretch over time. Especially when first installed. So after a few weeks an adjustment is normal.
The geometric pattern in the part, especially on layer one, is not something I've seen. So I am hanging out on a limb here.
There are some odd "echo" effects when printing, one area of a part influencing another area - like a bulge in a perimeter when another area of the part ends - were you printing multiple parts when these patterns showed up? Or, do they appear when printing a single part?
The pattern and the line look like symptoms of a large dent on one of the linear bearing shafts (aka rods). Turn printer power off and manually move X and Y axis between stops as smoothly as you can. Is there any position in travel that grabs? If yes, examine that spot on the shafts for any sort defect. Also, examine the belt at the motor drive gear when it's positioned at the grab spot. Belts can also have defects.
But even as I write this it really doesn't make sense why a damaged rod would cause the pattern in apparent extruder flow change. So perhaps something very odd in power distribution also affecting the the extruder motor. Do you have a DVM to monitor the 24v power rails?
Ah ha -- are you using the default profiles, or did you make changes? A step change in acceleration will do exactly what you are seeing.
Re: Bad print quality on my new MK3S
Hi Tim.
Thank you for your reply and for the suggestions. I have a small update. After a rather lengthy chat with Prusa support yesterday, we finally concluded that the Belt Status readings are incorrect. No matter how much I loosened the X Axis Belt the highest value I could get was 217 and this was just this side of the Self-Test failing due to belt slipping. They had me test the X Axis motor with a multi-meter and it checked out ok. Thinking this might be a firmware issue and they had me try both 3.5.3 and 3.5.0 in addition to the current 3.6.0 version. They said they need to do some more investigation and they would get back to me.
Following my discussing with Customer Support, I went back and tightened the X Axis based on “feel” so that the tension felt close to what I have for the Y Axis belt. I then re-ran the Calibration Wizard and then tried to print the 20mm calibration cube. The good news is that the under-extrusion layer aberration issue was was no longer present. So that one issue seems to have been a result of the X Axis Belt being too loose. The bad news is I still have ringing/ghosting on both the X and Y Axis.
To your point about being able to move the X and Y Axes back and forth to check for “grabs”. I have had issues with rough spots on both Axes since the initial build. Earlier this week I reoriented the linear bearings on the Y Axis so that ball bearings where perpendicular to the Axis so that the load would be riding directly on the rolling balls in the bearing. This helped to reduce the grabs on the Y Axis. However, I still have rough spots on the X Axis and bearing reorientation does not seem to make much difference on this Axis. Visual inspection of the rods does not reveal any obvious defects. I am thinking of upgrading to the Misumi Rods and Bearings as I think it would be difficult to convince Prusa that they should replace my current Axis rods and bearings. I know there is an issue as I am getting a lot of vibration on the printer. Even during the Mesh Bed Leveling, when the Extruder finishes step 9 and moves from corner to corner of the bed I am getting a lot of vibration and noise and this is not caused by high speed.
Regarding your question about changing profiles. Except for the calibration cube, all my other prints have come directly off the SD card that I received with the printer. For the Calibration Cube, I sliced it using Prusa Control using the default settings for PLA, although I did change the layer height to 0.15 as recommended on the Thingiverse page where I downloaded it. I have performed factory resets and erased All Data when I changed the firmware versions and re-ran the calibration wizard. Other than that, I have not made any other changes. I did see that I can change the print speed once the print starts. I think it is a percentage. Any idea what speed I should try to reduce or get rid of the ringing/ghosting?
Thanks again.
Andrew J
Re: Bad print quality on my new MK3S
Tight bearings are the reason for the low "belt check" numbers. Those numbers report the torque required to move the axis, and nothing to do with belt tension. No clue why Prusa insists they are useful for tension. Did you grease the bearings when you installed them? If not, put it on your list of "To-Dos" ...
You'll never eliminate ghosting. Just my opinion... You can minimize it by printing at minimum speed. Tight belts will help, but also not eliminate it.
Belts need to be tightened down to a known method. Deflection force / distance is the only solution recommended by Gates (the belt manufacturer).
Apply an 8 ounce pull on the belt (use a trigger pull spring scale). The belt should deflect at most 15/64ths (1/4 inch), and will be at about 7.5 pounds tension (safely within motor specs).
I go on the tight side, at 2 pounds 3/8" -- but I am at or just beyond the motor shaft load limit. The belts are rated many times that for "optimal" tension. Gates specs a tension range of 2 pounds minimum for motion transfer (printing), and 80 pounds for a new belt at rated horsepower (power transfer). Motor is rated around 11 pounds at 1/2" ... my 3/8" gives about 18 pounds... and my drive gear is 3/8" out ... so I am pushing the envelope.
Ghosting is caused by the motor starting from zero to a non-zero speed. A step in energy. This stretches the belt, which then acts like an undamped rubber band (think car without shocks). The printer frame also flexes, adding to the springiness. Minimize that initial step in energy and you minimize ringing (aka ghosting). A belt already at high tension stretches less when plucked, less ghosting. Smaller pluck, less ghosting.
Move the extruder to the far left, bed to the far back, measure deflection middle of lower belt.
Re: Bad print quality on my new MK3S
Tim. Thank you for your detailed and helpful response. Its possible that after I get more experience that I may be able to tell by "feel" if the belt tension is correct. However, as this is my first 3D Printer it is nice to know there is a accurate repeatable process for setting the Belt Tension. I have added a trigger pull scale to my shopping list on Amazon.
Thanks again for the advice.
Andrew J
Re: Bad print quality on my new MK3S
that pattern on the bottom of the prints looks like a previous print you did that was too low and indented the PEI sheet causing enough change in height to cause a noticeable difference.... or it came that way. flip the sheet or use a different spot on the bed and see... unless it's auto-leveling glitch....but it's much too defined to be that so my take it's a print you did before.
Far as ghosting goes, belt plays a part but leadscrew driven systems can also have ghosting which is caused by resonance of the printer itself and sometimes changing or removing those rubber feet on the printer will yield different results. same goes for the surface it's on....
