3mm Nylon Strain Relief
I can't get the nylon filament strain relief to stick into the extruder body; I even tried heating it in boiling water first.
Anyone have any suggestions before I use a tap and Die set? Or maybe Gorilla Glue?
Re: 3mm Nylon Strain Relief
Nylon absorbs water; maybe try drying it out instead of immersing it in water?
Also try cutting the filament at an angle to see if that will help get entry.
Since the hole it's going into is printed, there's a possibility that the hole has some stray plastic that's not intended to be there. The filament that's called "3mm" is actually 2.85mm so you could try cleaning out the hole with a drill bit (2.85mm is very close to 7/64 if you are in the US).
Re: 3mm Nylon Strain Relief
I tried all of the methods found online to address this, and finally just 'plugged' the filament in tight and depended on the spiral wrap to hold it longer term, careful to not pull or tug on it until after wrapping was complete.
After hours of use, it seems to be holding and working as needed.
Re: 3mm Nylon Strain Relief
I was unable to get it in until about halfway down the comments in the online manual for this step I saw someone recommend small viseGrips and I recalled I had one of the smallest (only 14mm long) they make and they were just the right thing for the job.... this was one of the most frustrating parts of the build for me as each time i pulled on it hard enough to see any tiny deflection in the bars out it would pop 🙄

Re: 3mm Nylon Strain Relief
lol ... I was pushing hard enough I was afraid of BENDING the bars or breaking the extruder housing. The only thing that would have worked for my build was cleaning the hole out with a drill or melting the nylon down. I refused to drill because I didn't want plastic dust everywhere for fear of it getting somewhere important. And melting the nylon in place seemed overkill - and contrary to ever repairing any extruder failures.
Re: 3mm Nylon Strain Relief
IIRC, I had few/no problems after reading all the online comments for that step.
I probed the hole to determine its depth to know how far in the filament could go.
I may also have cleaned the hole out a bit with a slightly smaller (than the hole) drill bit using a hand drill.
I cut the end at an angle (as suggested) and used a small pliers to assist pushing/twisting it in there.
Everything's been copacetic.
That's "MISTER Old Fart" to you!
Re: 3mm Nylon Strain Relief
I went so far as polishing the end of the nylon into a four sided chisel with about 2:1 slopes: very pointed. Still didn't 'stick' as instructions said it should. And I used 8" pliers - and was worried the pressures I was using would permanently bend the precision guide bars. They were flexing quite a ways despite back-pressure I was applying with my hand on the extruder.
I guess I was just lucky and got a way undersized hole in my extruder part.
Re: 3mm Nylon Strain Relief
It is hard to just push it in - but if you "twist and turn" the nylon in it is really an easy thing to do!
Until I knew that trick I added a dap of soap to the nylon and tried pushing it in. That worked OK to but was quite heavy.
Re: 3mm Nylon Strain Relief
Stal; Your parts were not my parts. No amount of twisting and turning worked. None, zero, zip, nil, nada. I even heated the Nylon and it still wouldn't fit.
The hole was too small. Period.
My recommendation is for the instructions to mention fitment of this nylon earlier so that it can be dealt with without forcing or reaming and drilling the part while mounted on bendy high-precision rails.
Re: 3mm Nylon Strain Relief
I was unable to get it in until about halfway down the comments in the online manual for this step I saw someone recommend small viseGrips
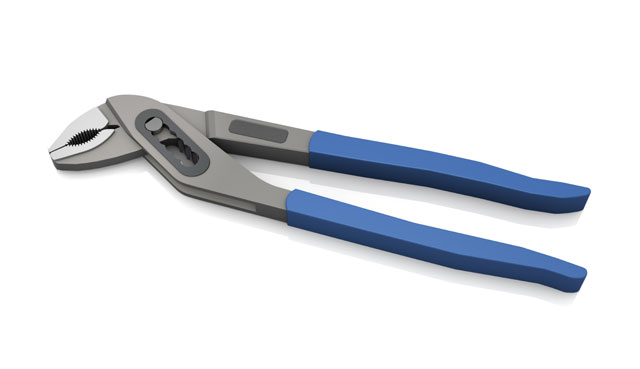
Thanks for that tip! I used a small pipe wrench and finally was able to get it in.
I watched a few live assembly videos on YouTube and it seems this part changed a lot since the early versions, but it seems it used to be easier to put in!?
Re: 3mm Nylon Strain Relief
My recommendation is for the instructions to mention fitment of this nylon earlier so that it can be dealt with without forcing or reaming and drilling the part while mounted on bendy high-precision rails.
Yeah. This was the most tedious thing of the whole assembly for me. I'm still not sure I got it right. Someday if I take things apart I would be inclined to design a modified part that has a loose hole and grips it with a setscrew.
