Ripped PEI Causing Heatbed Issues
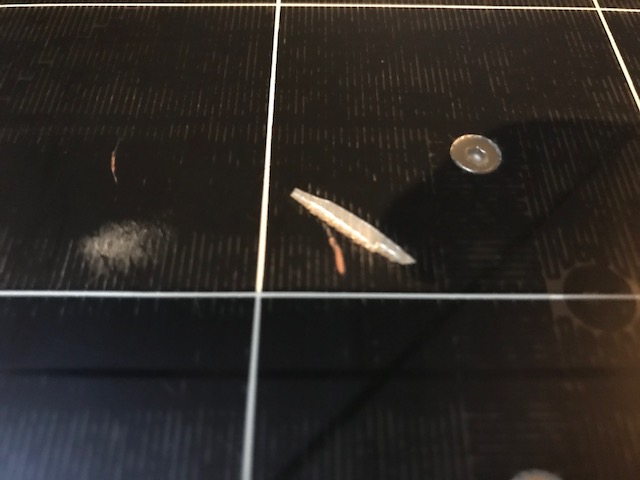
I unfortunely ripped my PEI sheet in the left center but not fully so I can seal the flap back down. A very small amount of copper is exposed. I am trying to print in the good areas while the replacement is shipped but am having issues with bed heating up. I get thermal runway errors because the bed isnt heating up fast enough. Not sure how the small amount of exposed copped could cause this. Running a PID tune right now and can already tell the values are way different than usual.
Current cycle
Recv: Classic PID
Recv: Kp: 151.54
Recv: Ki: 2.01
Recv: Kd: 2855.28
Is this normal to have heating issues like this?
Also, I have new PEI sheets I was going to replace this sheet with. Will there be issues with having a small amount of exposed copper or missing black coating and having a new PEI sheet over it?

Re: Ripped PEI Causing Heatbed Issues
Here is my theory, lifting the PEI sheet by pulling up on it will NEVER reveal the traces of copper. I know this because I peeled mine entirely off to replace it and never had a piece of copper show. It looks like you used a sharp tool and dug under the PEI and scared the beds copper lines. You may have damaged the copper channels completely causing an intermittent connection on the circuit for the heatbed which in turn will cause heating issues. Just my 2 cents but you may want to hit up Prusa support for access to the parts shop to order a new bed.
Philip G.
Original Prusa i3 MK2S
Turnigy Fabrikator Mini
Re: Ripped PEI Causing Heatbed Issues
Already ordered one. So theoretically I could solder any visible damaged circuits prior to placing new PEI sheet on this board. It would be a shame to have it no longer functional since It didnt create a giant gouge in the bed itself.
Re: Ripped PEI Causing Heatbed Issues
You can try removing the PEI and running a solder flow in the cracked or damaged area. Just don't get carried away and create a bead that will cause a lump in the PEI. Doesn't hurt to try before tossing it.
Philip G.
Original Prusa i3 MK2S
Turnigy Fabrikator Mini
Re: Ripped PEI Causing Heatbed Issues
**UPDATE**
So I followed the steps to replace the PEI from prusa which works quite well. Freezing it for 20 mins helped the old one come right off. Soaked papertowels in Turpentine(sp?) and allowed to soak over glue for about 40 mins. Used scrapper to remove and did one more quick soak for the rest of it.
Now that I had a better view of the scrape, I could see about ~8 lines of copper had been scrapped and cut through. At that point I hooked board back up and tested heating. First thing I noticed was temp probe was right under area that ripped and scrapped board. Moved the probe to the other side. Now I could tell the area cut was a little bit colder then the rest during heating. If you let it warm up a bit, the entire board did get warm, presumably due to conductive heating and being close to other areas being warm. The lines were too small for me to solder back together. I tested a small piece of foil that I laid over all of them. Although its connecting all the lines together instead of each individual one, it appeared/felt like it was heating up again in that area.
I cut a small piece of foil to cover the scrape, prepped the bed by cleaning with ISO alcohol, and began placing new PEI. Once I got to the scrape, I used the small piece of foil to cover the scrape, and put PEI over it to help connect the copper again. It laid down nicely with a scraper, and you could tell foil recessed into the gash and made a nice seal over it.
Hooked it all back up and tested. It appears the area around gash still is cold and copper isnt connected. It does still warm up with longer heating. Although the foil obviously failed at connecting wires, it did help seal gash and create a nice solid layer for the PEI to lay down over. Also reran PID tuning to help compensate for probe movement and longer heating.
Overall:
I am printing most smaller parts on the R side to avoid the slightly colder spot.
If I am printing a bigger piece, I will put a wait code after bed heats up to allow the heat to distribute evenly.
Have a new bed coming within the week but this will be a nice backup as necessary or for a clone printer.