MK2 Cheap Y-Axis Upgrade
Many users of the Original Prusa i3 MK2 have noted that there is considerable vibration associated with movement on the Y-axis. The vibration seems to be particularly intense when the print head is moving along a diagonal of both the Y-axis and X-axis such as when printing infill material.
This has lead some crafty makers to replace the stock linear bearings on the Y-axis. The bearing upgrade seems reduce the vibration by limiting the amount of play between the Y-axis rails and the print bed. But this modification does not limit frame resonance in the 10mm threaded rods that make up the structural portion of the Y-axis.. With the new MK3 model, Prusa has replaced these rods with aluminum extrusions. Unfortunately, this upgrade is not compatible with the MK2 aluminum frame.
Some users may decide to go for the full MK3 upgrade kit and scrap out most of the original components from their MK2 but it is likely that many may decide to stick with the totally functional, but somewhat noisey MK2 model. I personally am considering going with the 2.5 upgrade as it includes the new features that are most appealing to me. But for some time now I have been wondering if there is perhaps a low cost way to improve the MK2 frame.
The Junk Pile:
I tend to be a bit of a pack rat with too many interests and an inventory of junk left over from many past projects. So I happen to have some black powder coated ½” steel pipe left over from a cheap electronic drum kit in my garage. It occurred to me that it may be possible to use this material to make the Y-axis of the Prusa more rigid. To implement this I have printed a set of bushings that go between the 10mm nuts and the ½” pipe. I also already have a pipe cutter...
The Theory:
So here is my hypothesis; It appears that the 10mm threaded rods have a tendency to oscillate during certain repetitive motions. I believe that adding a ½” tube over the threaded rod will stiffen the Y-axis (frame) and reduce this oscillation. The idea here is that ½” (22mm OD) tube has six times the section modulus of a 10mm threaded rod. What does that mean? Simply put, a ½” tube is more rigid than the threaded rod.
Modulus of Elasticity:
10m Threaded rod
Minor diameter = 8.38 mm
Section Modulus = 57
½” Pipe
Outside Diameter = 22mm
Inside Diameter = 20mm
Section Modulus = 331
Tension and Compression:
Of course the new ½” tube is not completely replacing the existing threaded rod. So not all of the benefit of the larger section modulus is being utilized. However, there is another factor here, unlike the stock threaded rod, the new configuration is taking some advantage of having the threaded rod in tension and the tube in compression. To a small degree, this assembly would be similar to a truss rod in a guitar neck or a post tensioned beam in a building. While the amount of tension and compression is limited, it allows the threaded rod and tube to work together as a system. The 3d printed bushings that connect the pipe and threaded rod will only allow for a limited amount of tensioning of the system but offer yet a third possible benefit. The plastic is significantly more elastic than either the metal components and may serve to dampen vibrations between the two structural elements.
So that is my theory at least. Sophisticated readers will probably find gaping holes in the concept and rightfully label it as utter bullsh*t. Particularly because this approach does nothing to reduce vibration in the sooth rods that the bearings slide across. But the proof is in the pudding so my next step will be to put it to the test.
It should be noted that while the MK3 model does use aluminum extrusions to form the structural portion of the Y-axis, the new model still uses rods and linear bearings as the running surface. Joseph Prusa has indicated problems with running the bearings directly on the aluminum extrusions due to alignment issues. With this in mind, the aluminum extrusions on the MK3 are purely structural elements and do not replace the smooth rods.
Anyway, I have already printed out a set of 8 plastic bushings and in the next few days will be cutting the pipes to the (hopefully) correct lengths in preparation for assembly. Prior to making this modification I will attempt to measure the amount of noise generated by the printer to establish a baseline for before and after the mod. Incidentally I have also ordered new bearings, just in case...
I will put some photos of the printed bushings in a follow up post and will try to do the experiment next weekend. If the results seem to be beneficial I will also post STL and Fusion files for others to work from.
Re: MK2 Cheap Y-Axis Upgrade
Chris, please publish a series of photos as you go along on this project. It sounds interesting.
Re: MK2 Cheap Y-Axis Upgrade
Chris, please publish a series of photos as you go along on this project. It sounds interesting.
Will do!
Re: MK2 Cheap Y-Axis Upgrade
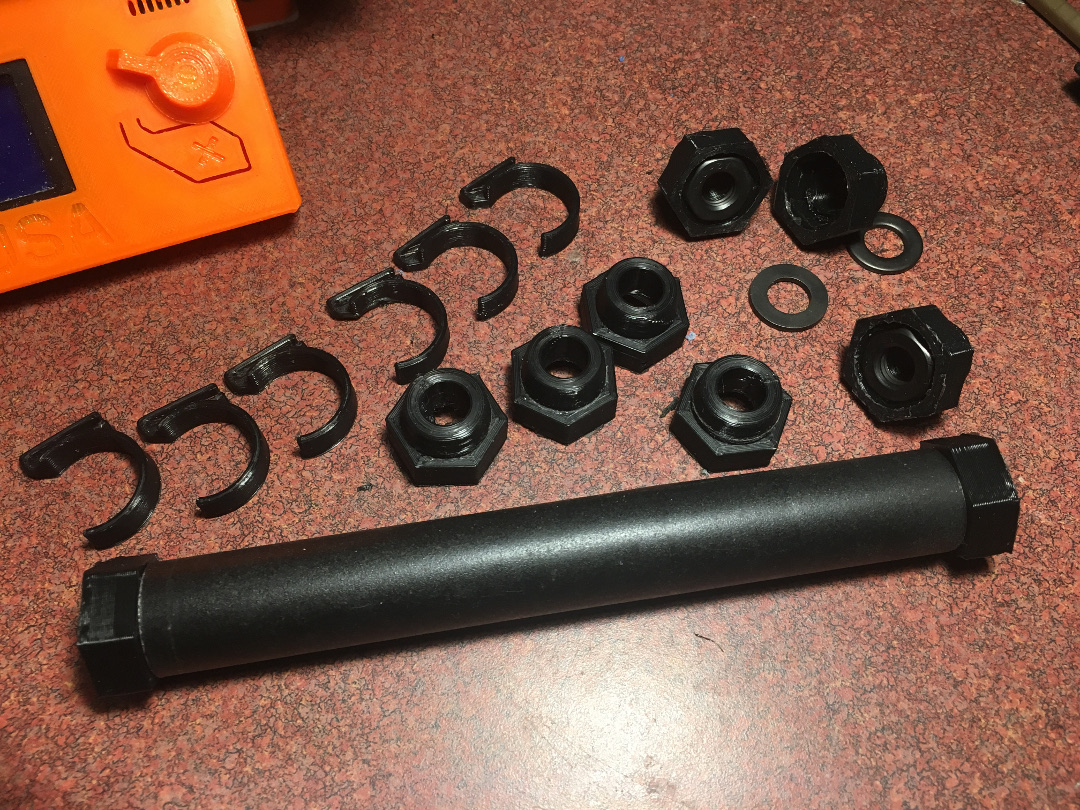
Photo of components:
8X bushings to adapt from 10mm nuts to 1/2" tube. The hex end is intended to allow for twisting the nuts for tension.
6X oversized wire clips for the 1/2" tube.
1 segment of 1/2" pipe (not yet cut to a specific length).
Re: MK2 Cheap Y-Axis Upgrade
Innterested to see how this works out. I saw a different solution to a similar problem on thingiverse https://www.thingiverse.com/thing:100128 that uses 8mm rods diagonally forming a triangle between the y and z axes. Maybe worth a look in addition to the pipe to add rigidity on the z frame.
Re: MK2 Cheap Y-Axis Upgrade
Hi Chris!
The most effective and surprising modification was to put the printer onto a granite plate.
I’ve only had the MK2S for a short time (sold it and ordered the MK3) but I used it on 3 sufaces.
On the very stable floor in my office it was actually pretty quiet, then I put it omto an IKEA Lack table and it was very loud with pronounced vibrations. But when I put a granite slab on the Lack table (piece of cheap carpet underneath) and placed the printer on it, I was amazed about how quiet and smooth it became.
When you test your solution, could you also check the effect of the base on which the printer is located?
I’d like to know how it affects any changes of your fixture.
Cheers and good luck, George
Re: MK2 Cheap Y-Axis Upgrade
Interesting, that's the first thing I got after buying the printer. It's not a surface plate that machinists use but just a 24"x18" slab bought on kijiji that I checked with a straight edge to help me build a true flat frame.
I'm something of a packrat too and just found some 1/2" high quality steel tube in my workshop!
Already thinking of a modification all before my first print....thanks Chris!
Re: MK2 Cheap Y-Axis Upgrade
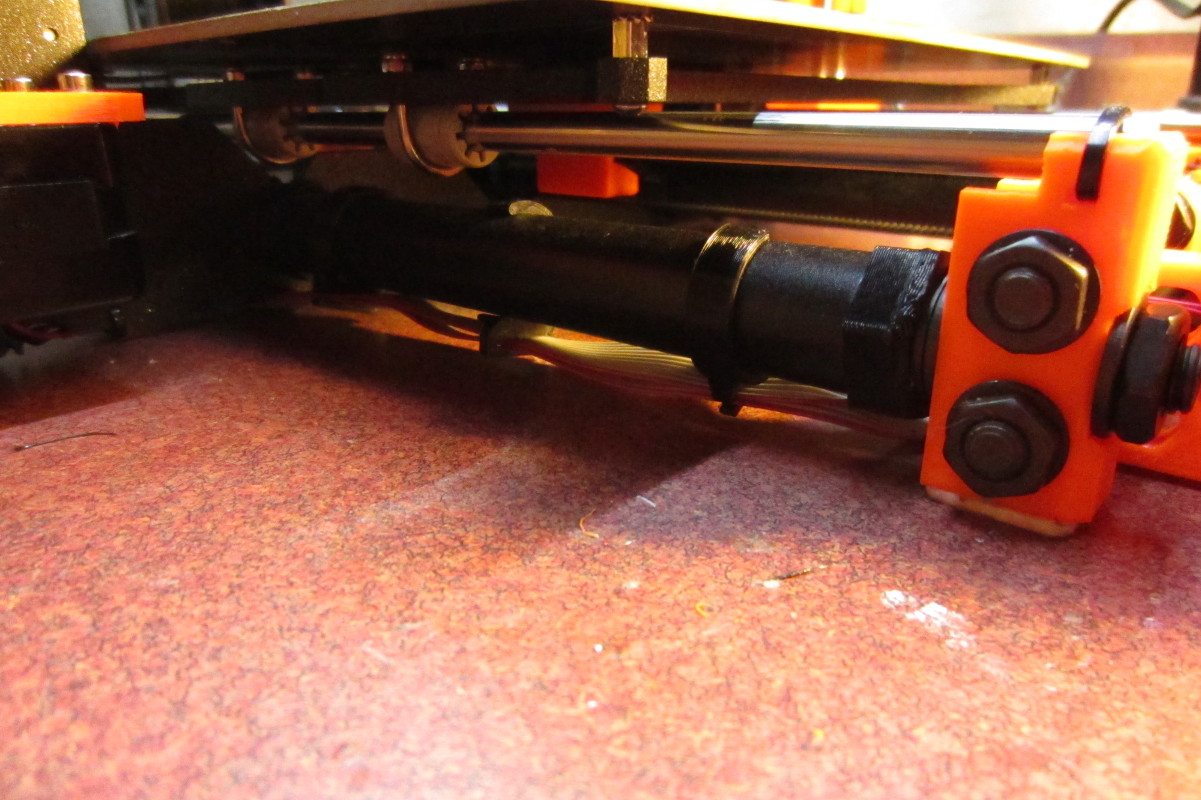
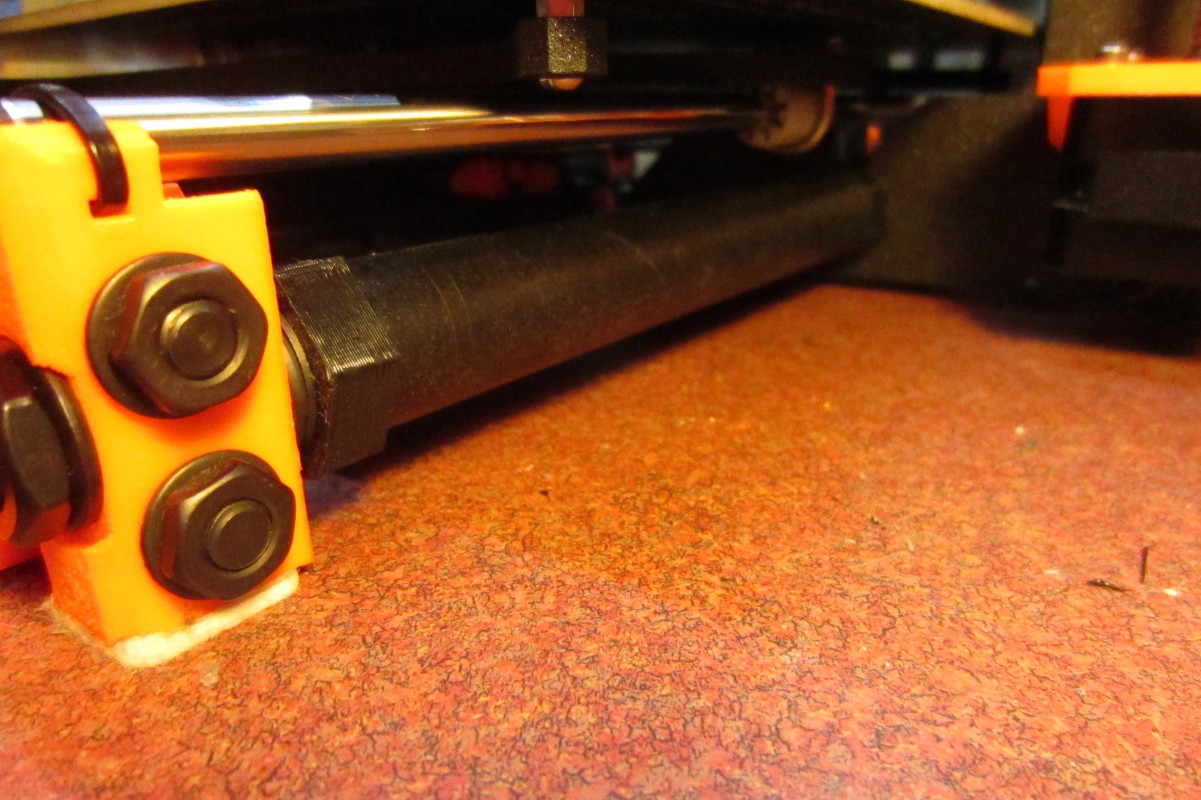
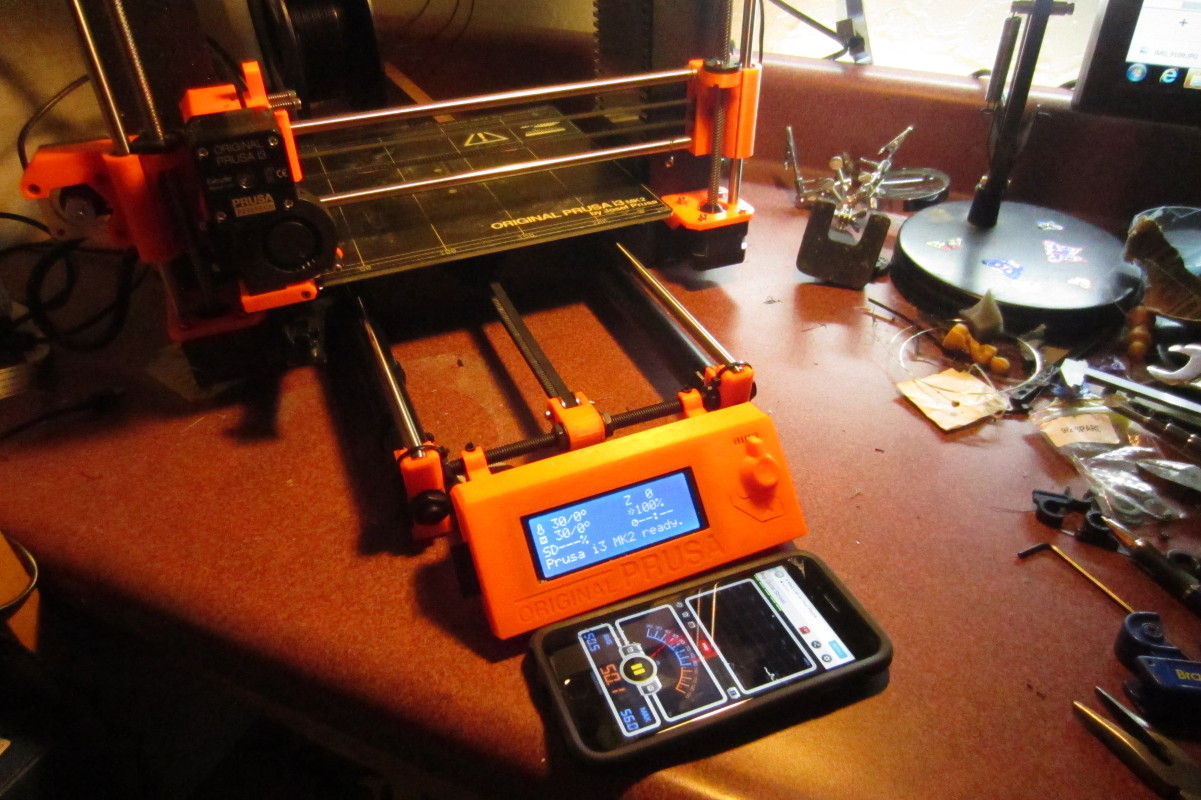
OK so I made modifications to the Y-Axis:
So I am not seeing an obvious reduction in sound level or vibrations but I also don't see that this modification has any negative effect either.
Lessons Learned:
Re: MK2 Cheap Y-Axis Upgrade
So the more I think about this, the more it seems to me that the vibration issue is related the smooth rails. I can't help drawing an analogy to a stringed instrument like a guitar. The print bed (and possibly the aluminum z axis frame) act like the resonant sound board on a guitar and amplifies any resonant frequencies. The Y-axis frame is similar to a guitars neck and the smooth rods may behave like the guitars strings. Vibrations that occur on the smooth rods seem to cause the print bed and aluminum frame to resonate. Making the Y-axis frame more rigid may not change this effect. To follow through with the analogy, guitars come with necks made of various types of wood or cut to different thickness etc. These variations in the neck construction may change the tone of the instrument but they don't stop the strings from vibrating.
It may be possible mask or incrementally reduce these vibrations by putting the printer on a concrete surface or putting it into an enclosure. But I am not sure the vibrations can be eliminated completely without swapping out the smooth rods with something that has some kind of integral vibration dampening.
I have also considered installing a layer of cork under the print bed. It would seem that could make the machine more energy efficient as well as possibly dampen resonance in the print bed or Y carriage.
Anyway, another project I am working on is an enclosure with L shaped doors that swing out of the way to allow full access to the print bed for removing prints or cleaning the bed. I have my printer set up in a basement space so controlling the ambient temp and eliminating drafts is probably more of a concern than the sound of the machine.
Oh and yes I will pick up a concrete paver block next time I am at Home Despot... 😉


