Bed Level Correction calibration squares - scarring
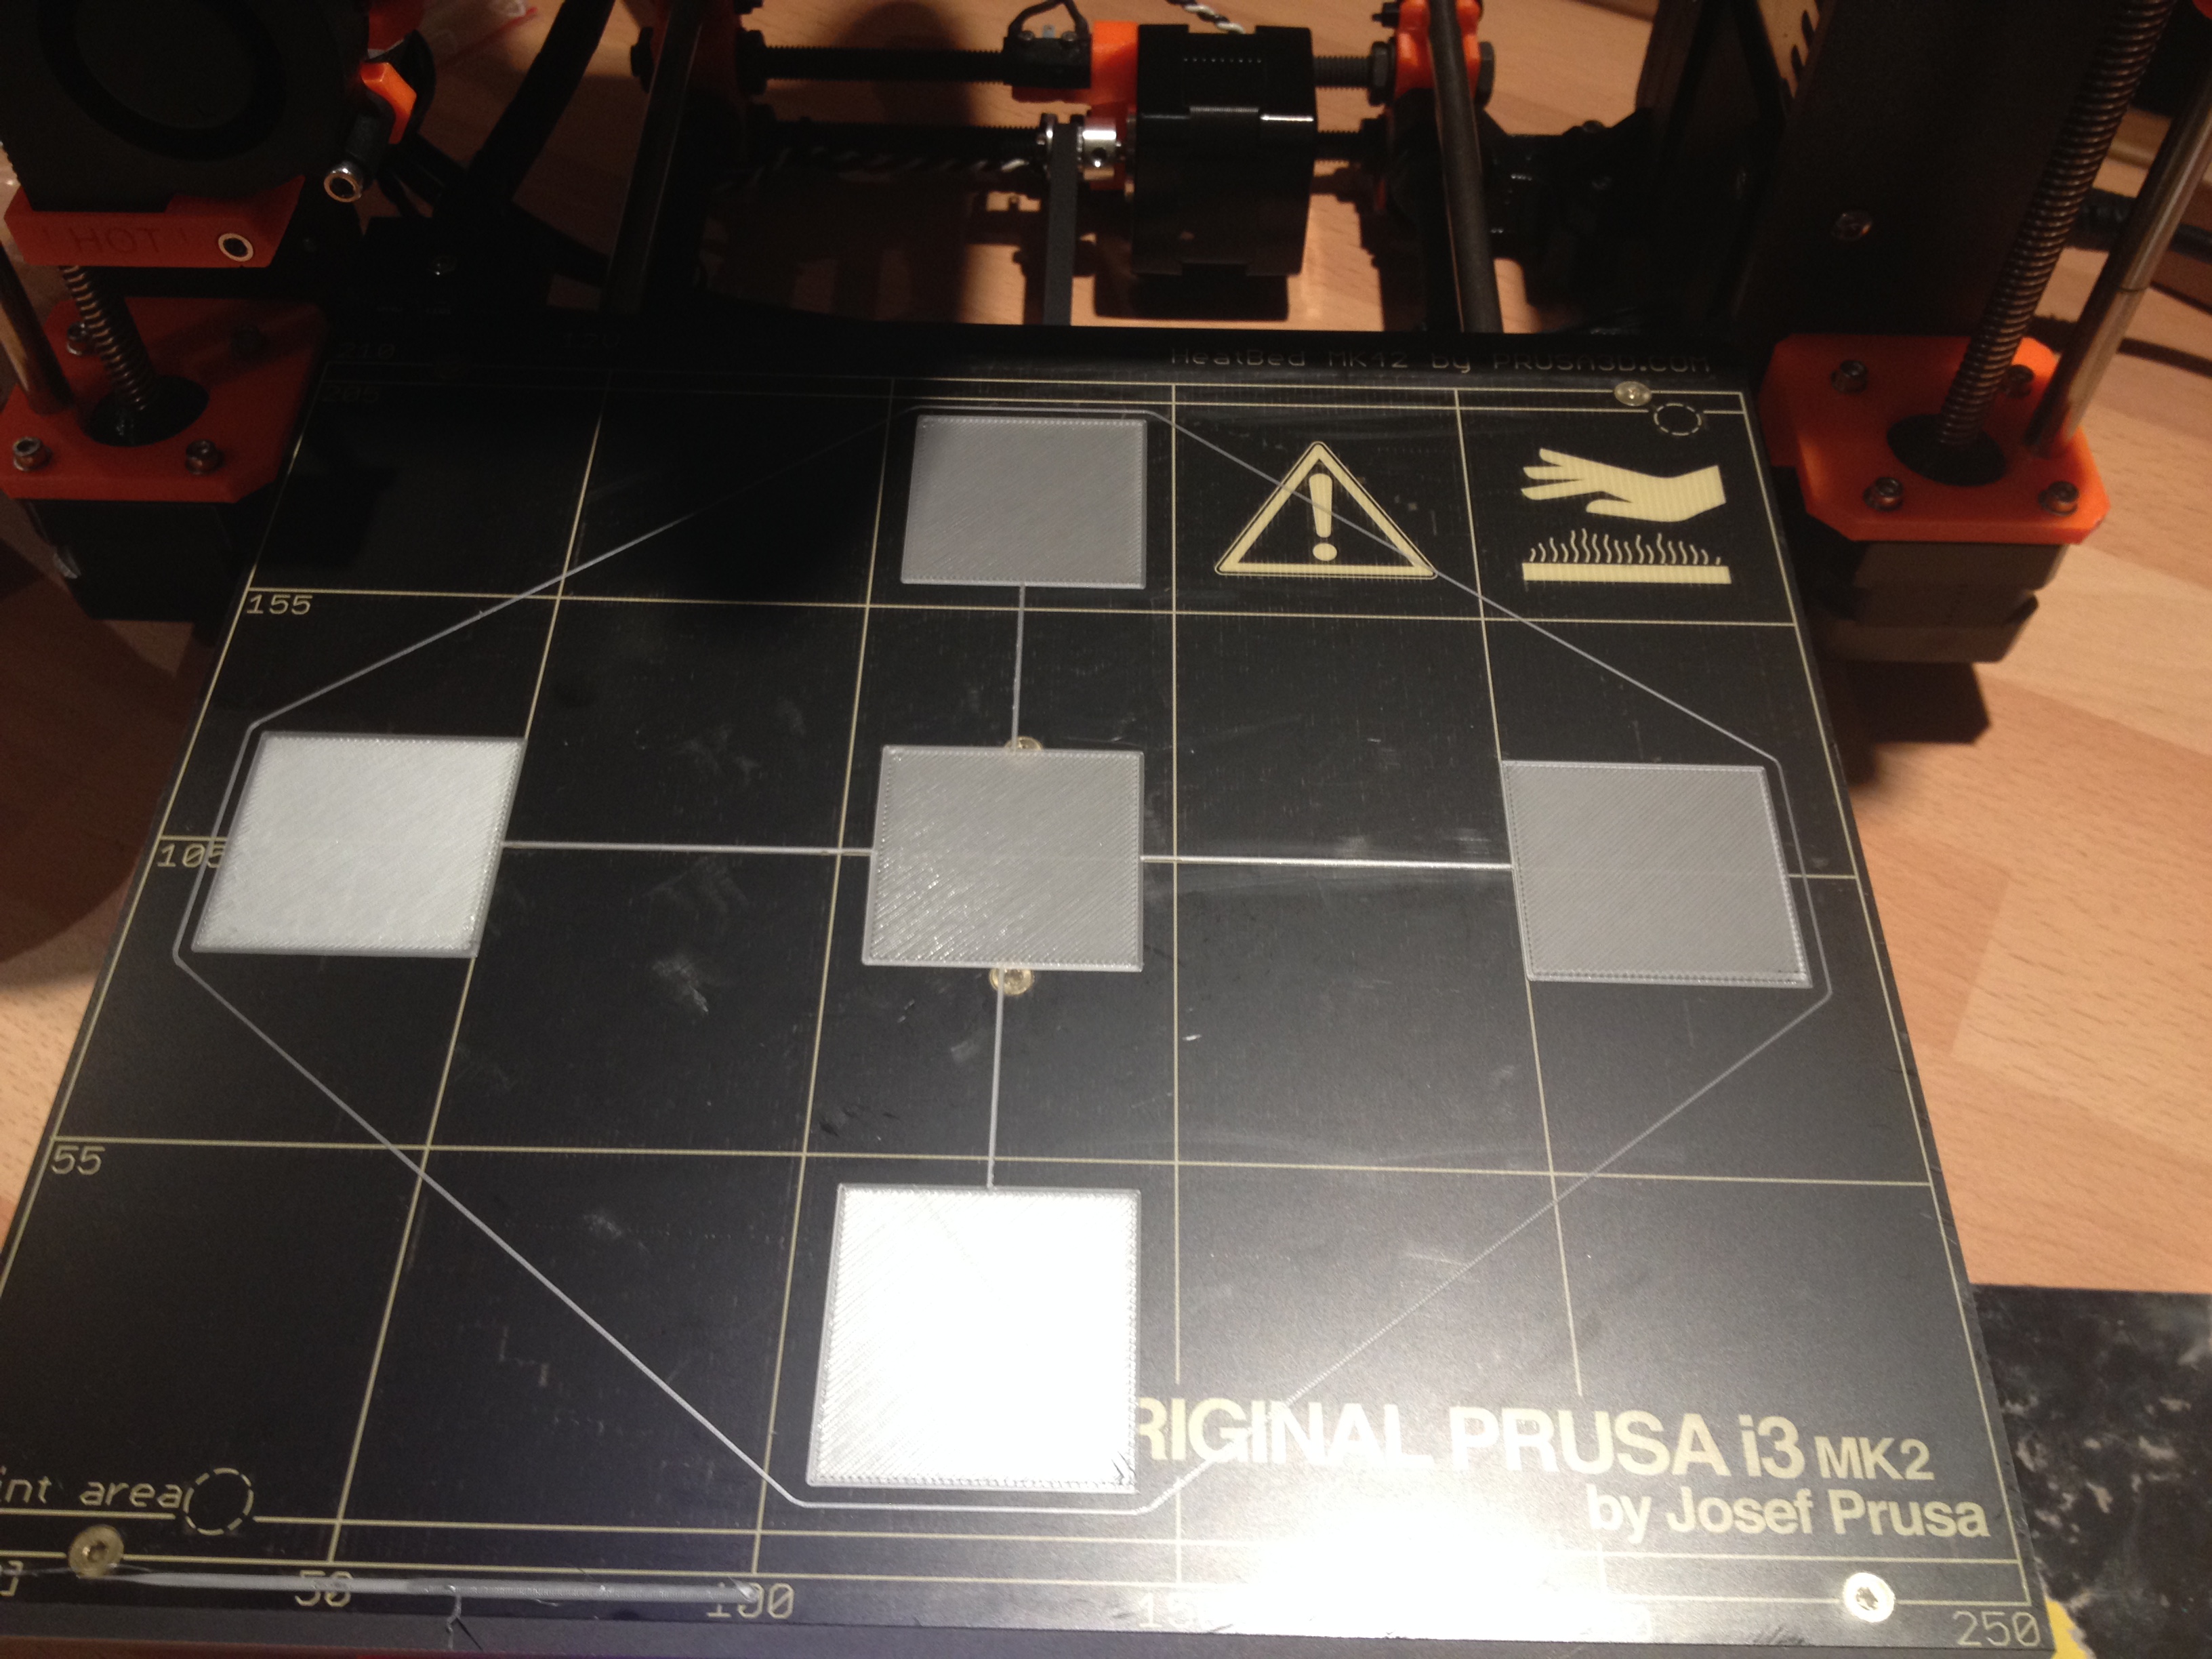
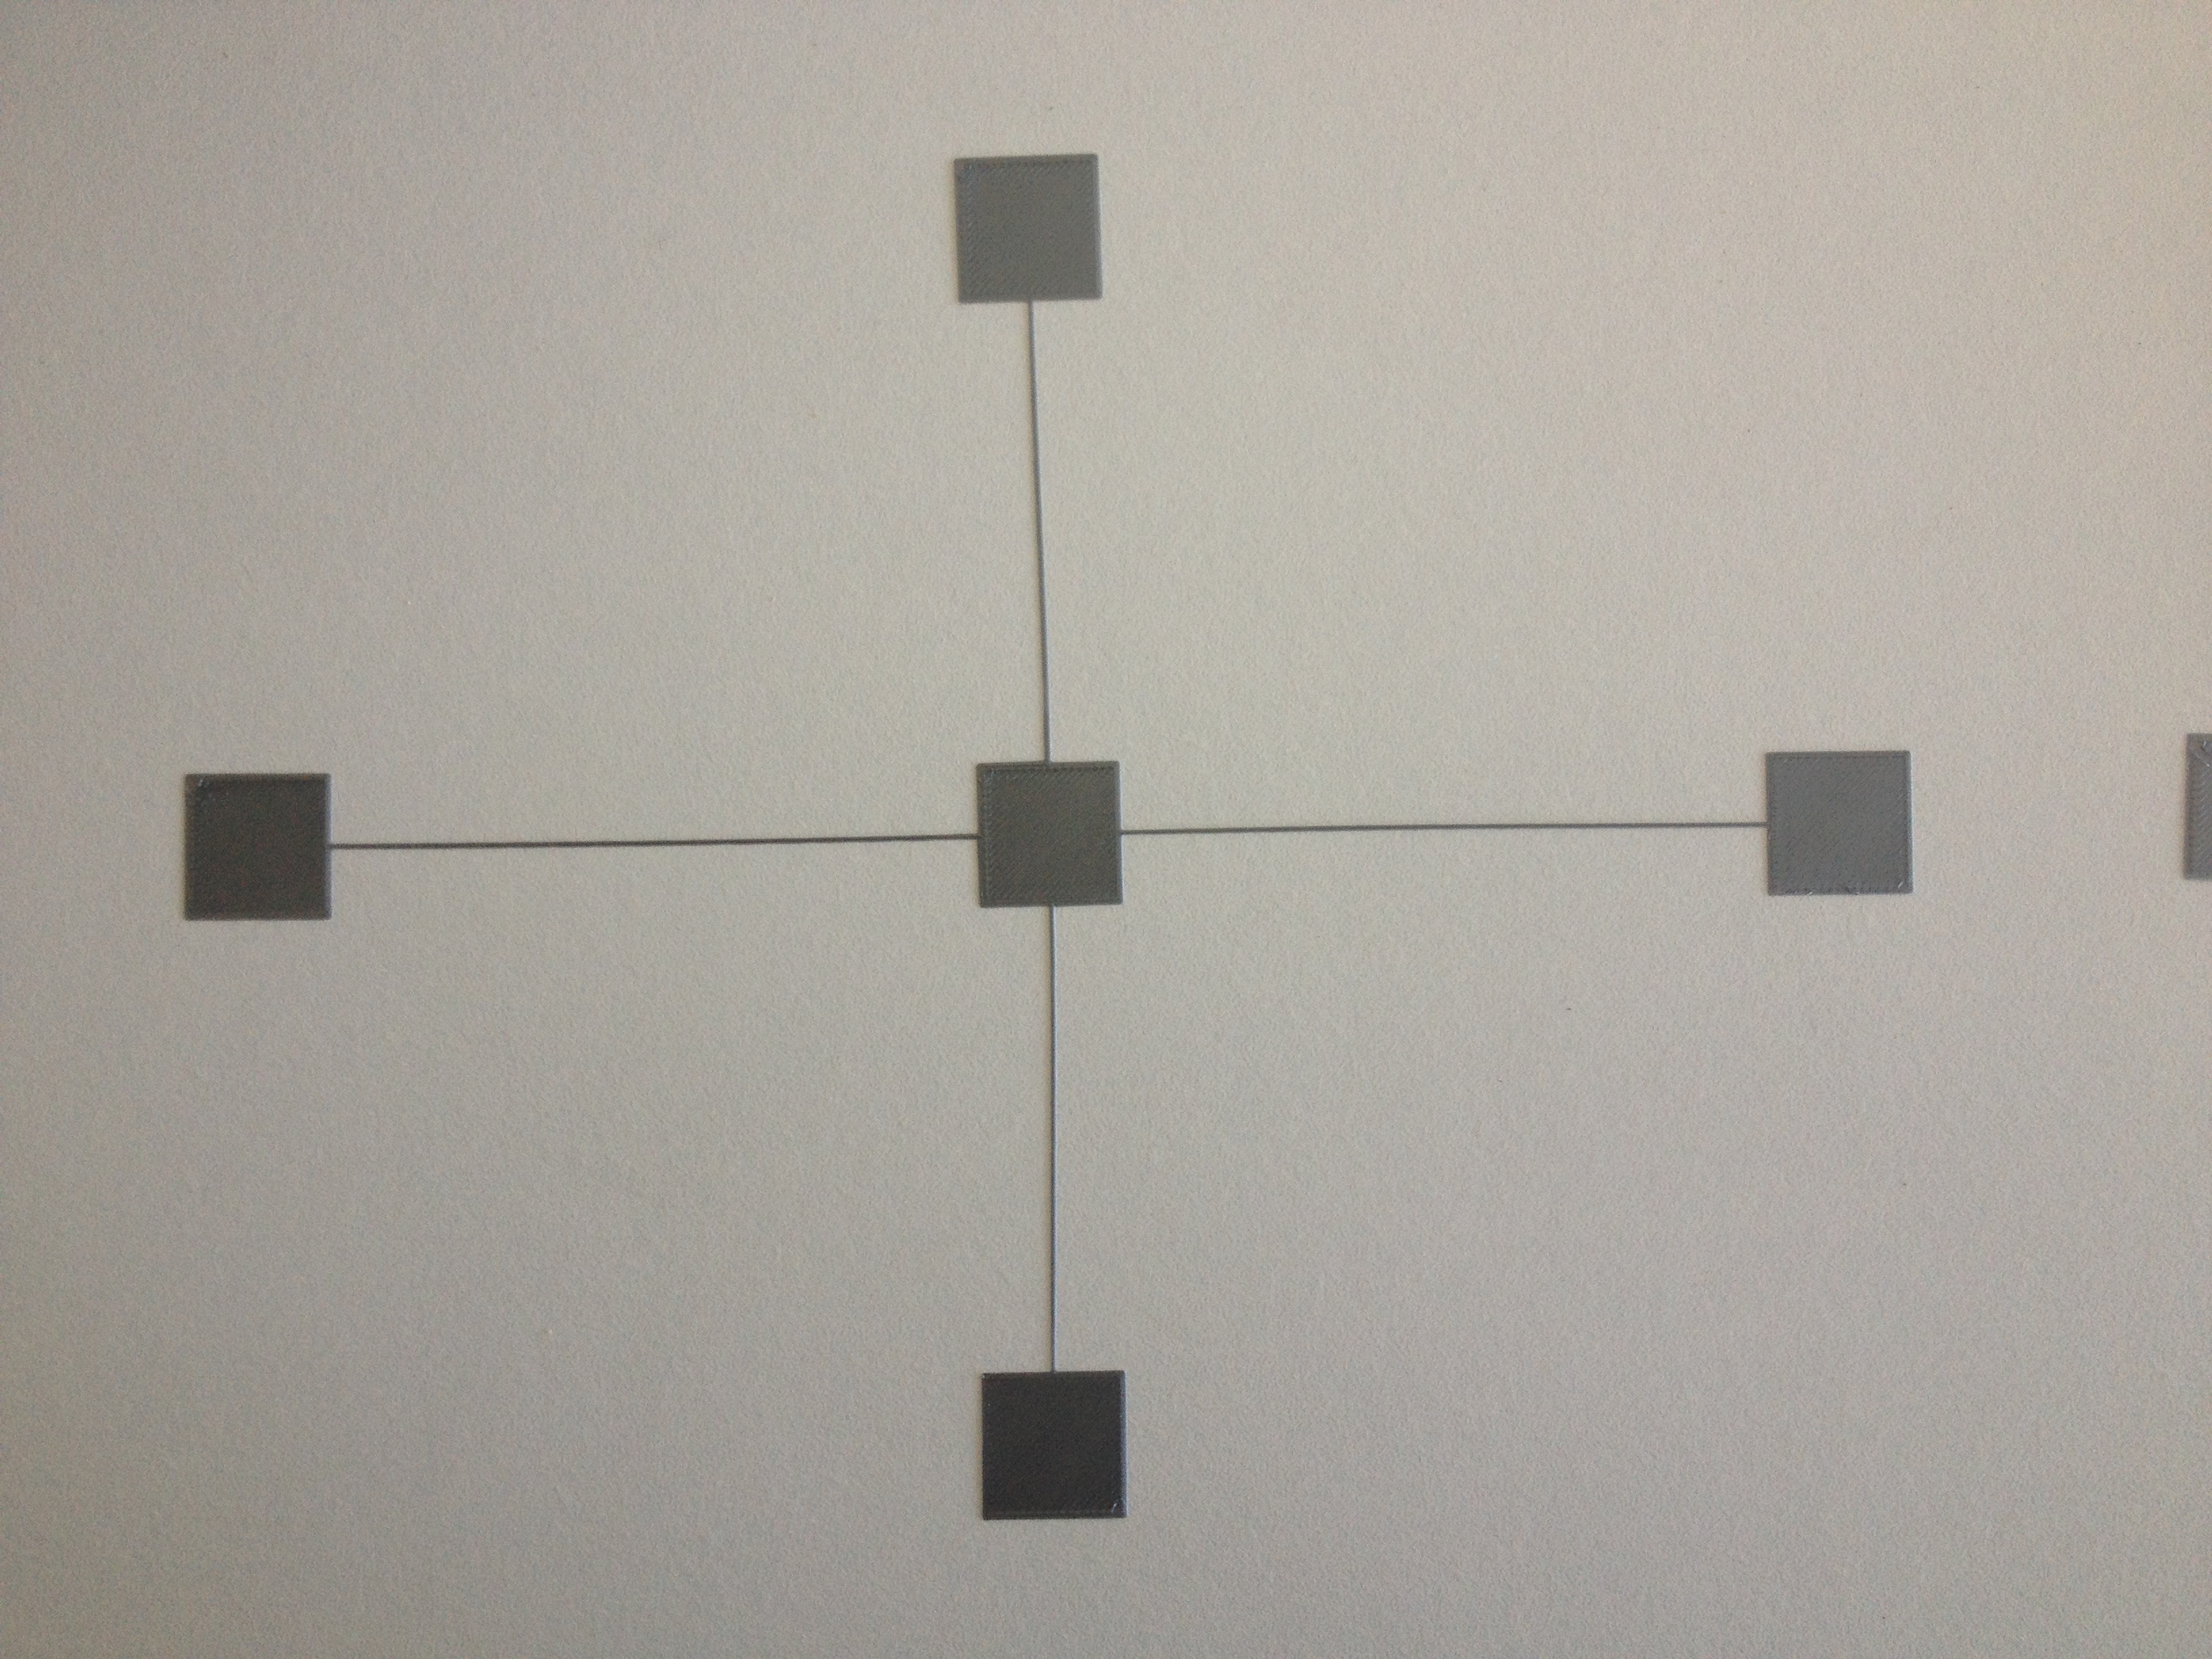
I made stl with 40mm squares on each side and one in middle to help when setting bed level calibration:
http://www.thingiverse.com/thing:1776031
To use, I print out initially where one square is perfect (by adjusting Live Adjust Z calibration). Then I check the opposite square and saw the separation between filament lines. It could be ripped easily indicating not enough squish. In the calibration settings I lowered the nozzle by 15 microns (-.15). Eventually I was able to determine that with a left side bed level correction set to -.35 all 4 outer squares (and center square) printed with an equal squish. Further Live Adjust Z will set all sides equally going forward.
I do notice that although the squish is level on all sides there is some nozzle dragging on corners. If I raise live z adjust then there is not enough squish. Not sure how to handle that. Simplify3D print guide says to use z hop or check that too much extrusion is happening. I used default slic3r settings and measured filament diameter so that's correct.
Re: Bed Level Correction calibration squares - scarring
Hi Prusayo,
I like the isea, I will probably test it 😉
I'm like Jon Snow, I know nothing.
Re: Bed Level Correction calibration squares - scarring
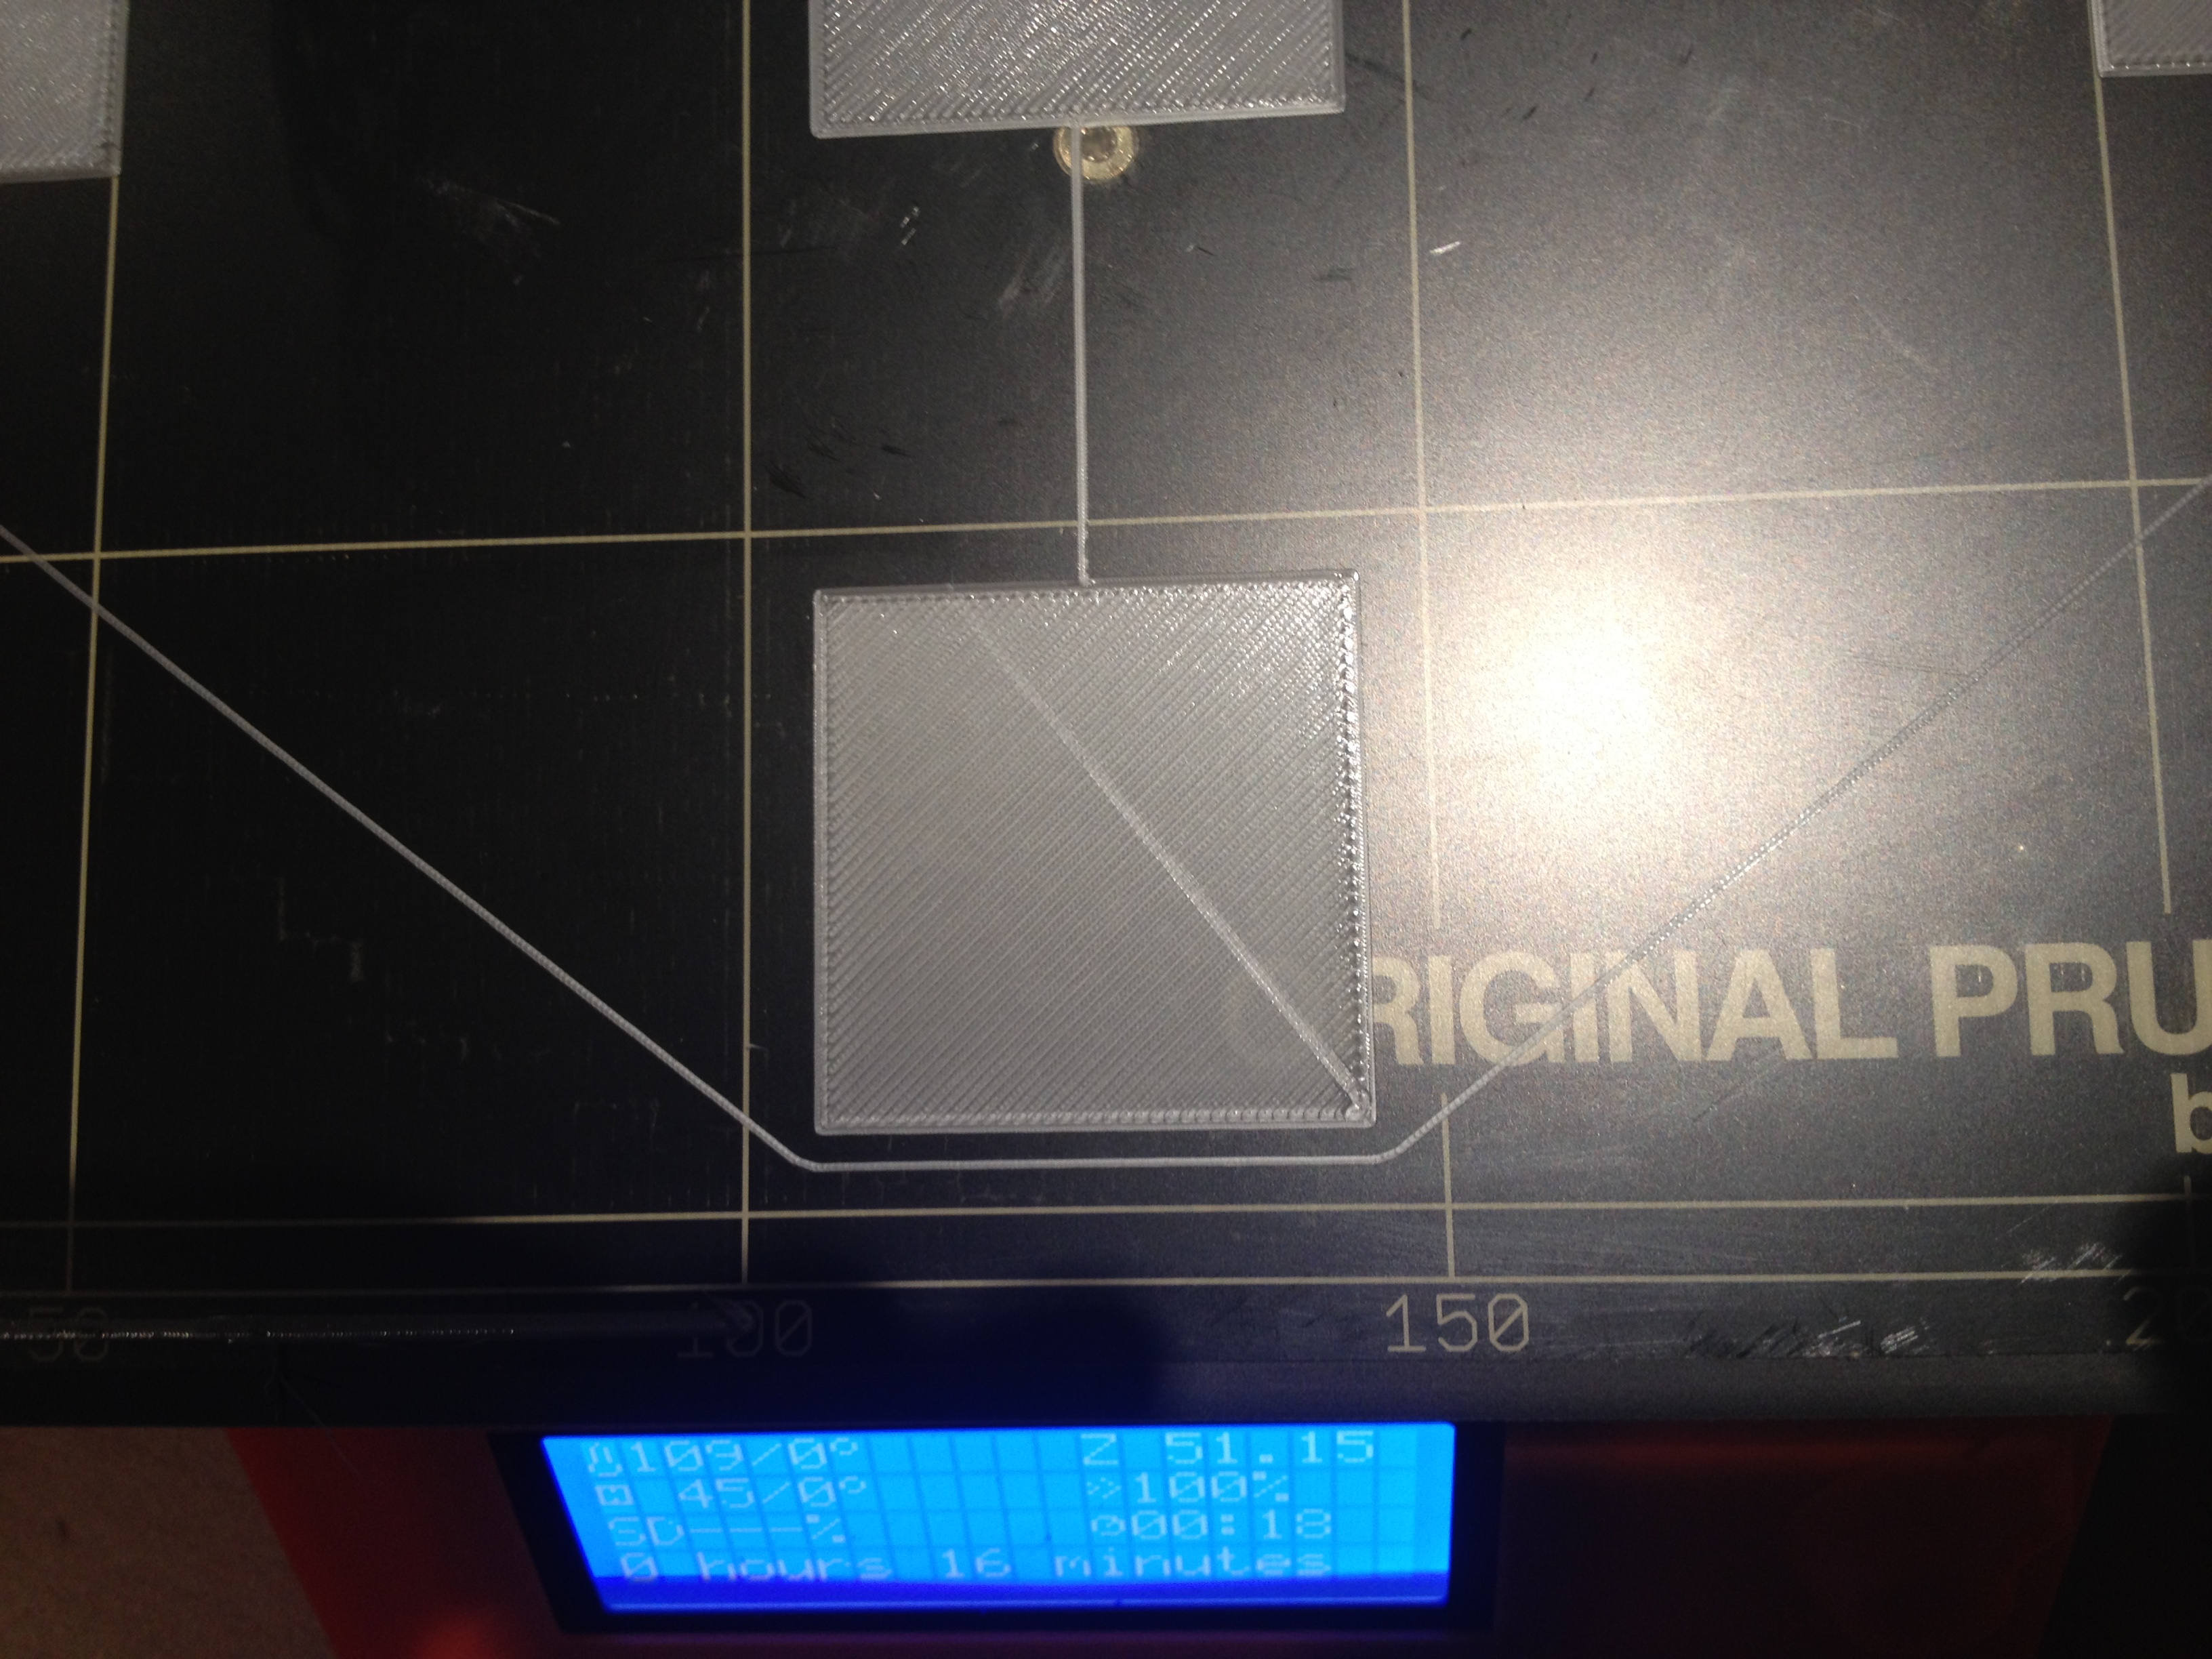
Hi, I had the same idea to fine tune my bed but with 9 squares 20mm each side. I think 5 squares like you say is enough to tune the bed. Why didn't you use 20mm squares ? The printing took 16min with default setup on slic3r with your 40mm squares.
My youtube channel about the Prusa I3 MK2 https://www.youtube.com/channel/UCz-zQZcKcvEDdd9C9hOKYWg
Re: Bed Level Correction calibration squares - scarring
My nozzle seems to have touched the right and the front square during the print, so I think there is too much squish in those positions, what do you think ? Perhaps I have too much squish in every positions ?
My youtube channel about the Prusa I3 MK2 https://www.youtube.com/channel/UCz-zQZcKcvEDdd9C9hOKYWg
Re: Bed Level Correction calibration squares - scarring
I just want to add that I've printed more than 30 hours with this setup and all my printings were good. But it was small objets. I guess objects that would have been large enough to reach the right and the front side would have got some problems ?
I've printed a cube with 20mm each side and there was less than 0.04mm gap on all axis. I would even say that for Z axis the measure was 20.04mm while it was 19.98mm on X and Y axis. I think the precision is very reasonnable (this cube was printed at the center of the plate) but the above test makes me wonder if I should fine tune it more ?
Finally I've measured the thickness of each squares and they were all 0.15mm except the one on the left side (0.16mm). Now I don't know if I should fine tune juste the left side or let everything like this.
My youtube channel about the Prusa I3 MK2 https://www.youtube.com/channel/UCz-zQZcKcvEDdd9C9hOKYWg
Re: Bed Level Correction calibration squares - scarring
My nozzle seems to have touched the right and the front square during the print, so I think there is too much squish in those positions, what do you think ?
I think your first layer looks quite good. Enable Lift Z from 0mm (it's from 1mm by default) and the nozzle will no longer make scars in first layer.
Re: Bed Level Correction calibration squares - scarring
Ok thank you david, I will try the same test print with your tip.
If I understand this option, it will lift Z from my first layer instead of the first mm ? But in fact for all prints that are higher than 0.15mm, it won't impact my last layer and will remain invisible into my print ? or does this scar will impact the last layer too ?
My youtube channel about the Prusa I3 MK2 https://www.youtube.com/channel/UCz-zQZcKcvEDdd9C9hOKYWg
Re: Bed Level Correction calibration squares - scarring
No, it will only impact top layers. If the layer is not top layer, scars will be invisible (covered by next levels).
Re: Bed Level Correction calibration squares - scarring
Hi all hi David. Thanks for the tip, that was the good choice to avoid scars in the first layer, I enabled lift Z from 0mm and there is no more scars in my first layer. I wonder why it's at 1mm by default ?
lift Z from 1mm:
lift Z from 0mm:
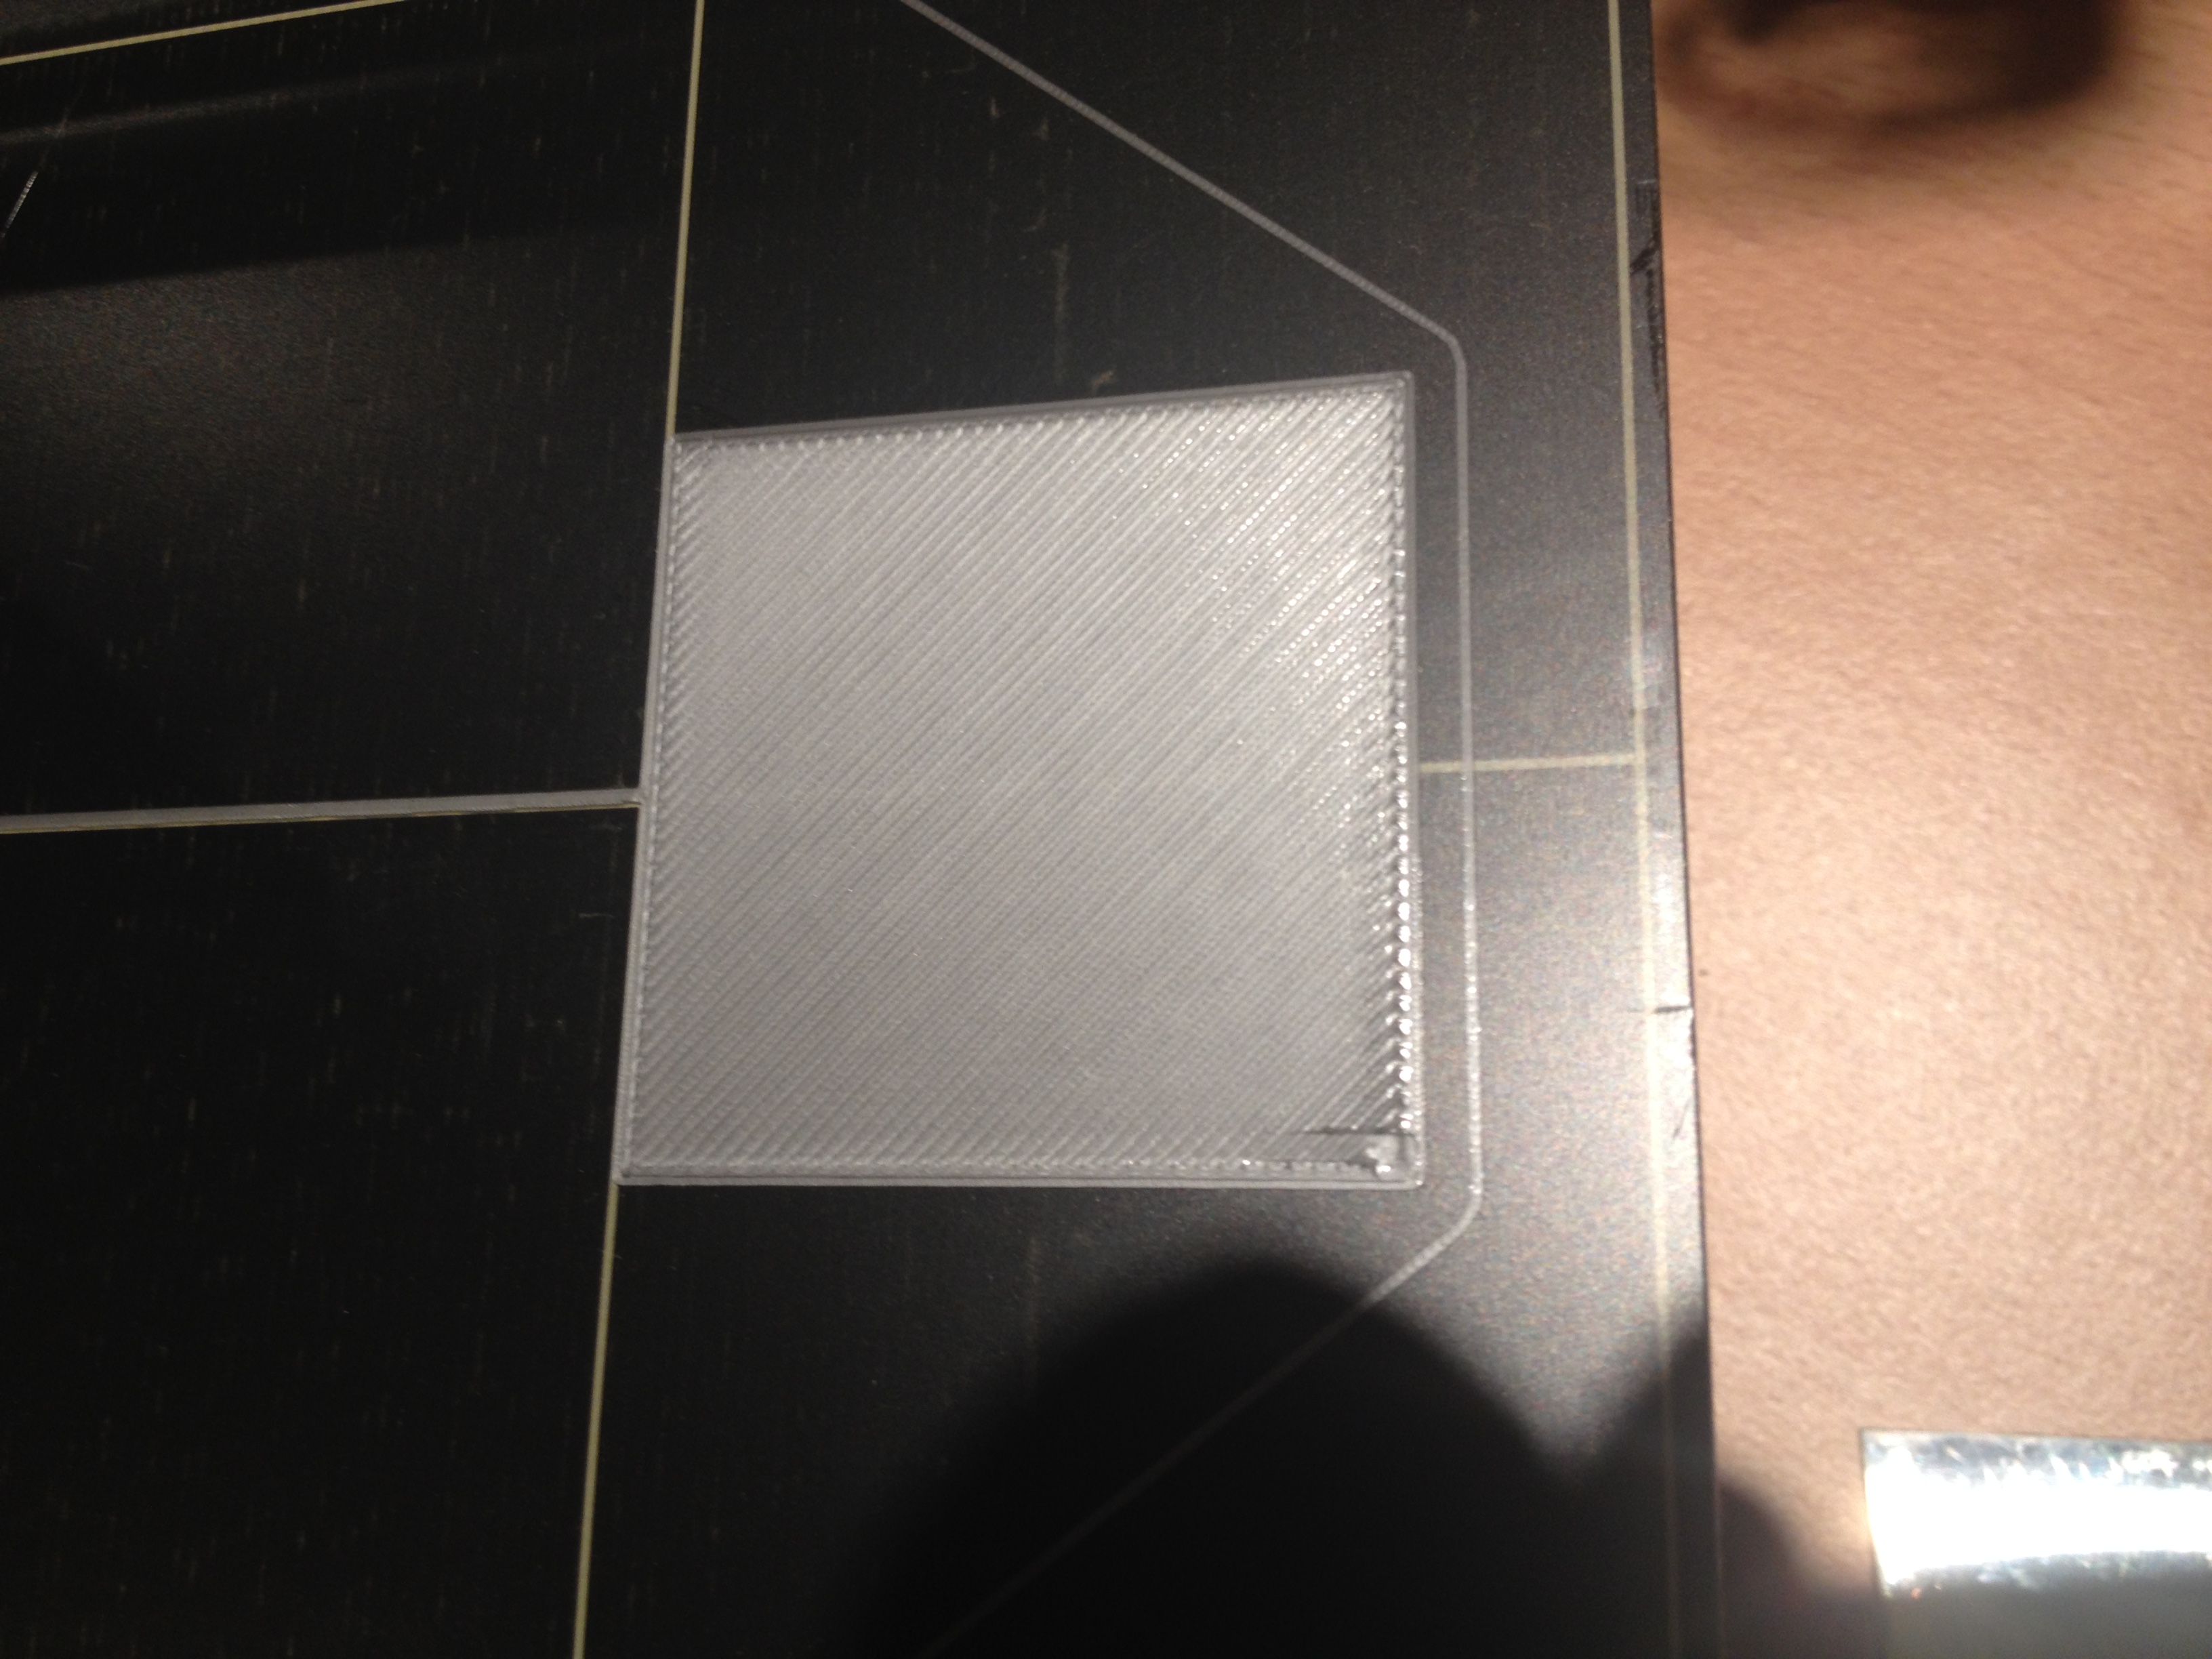
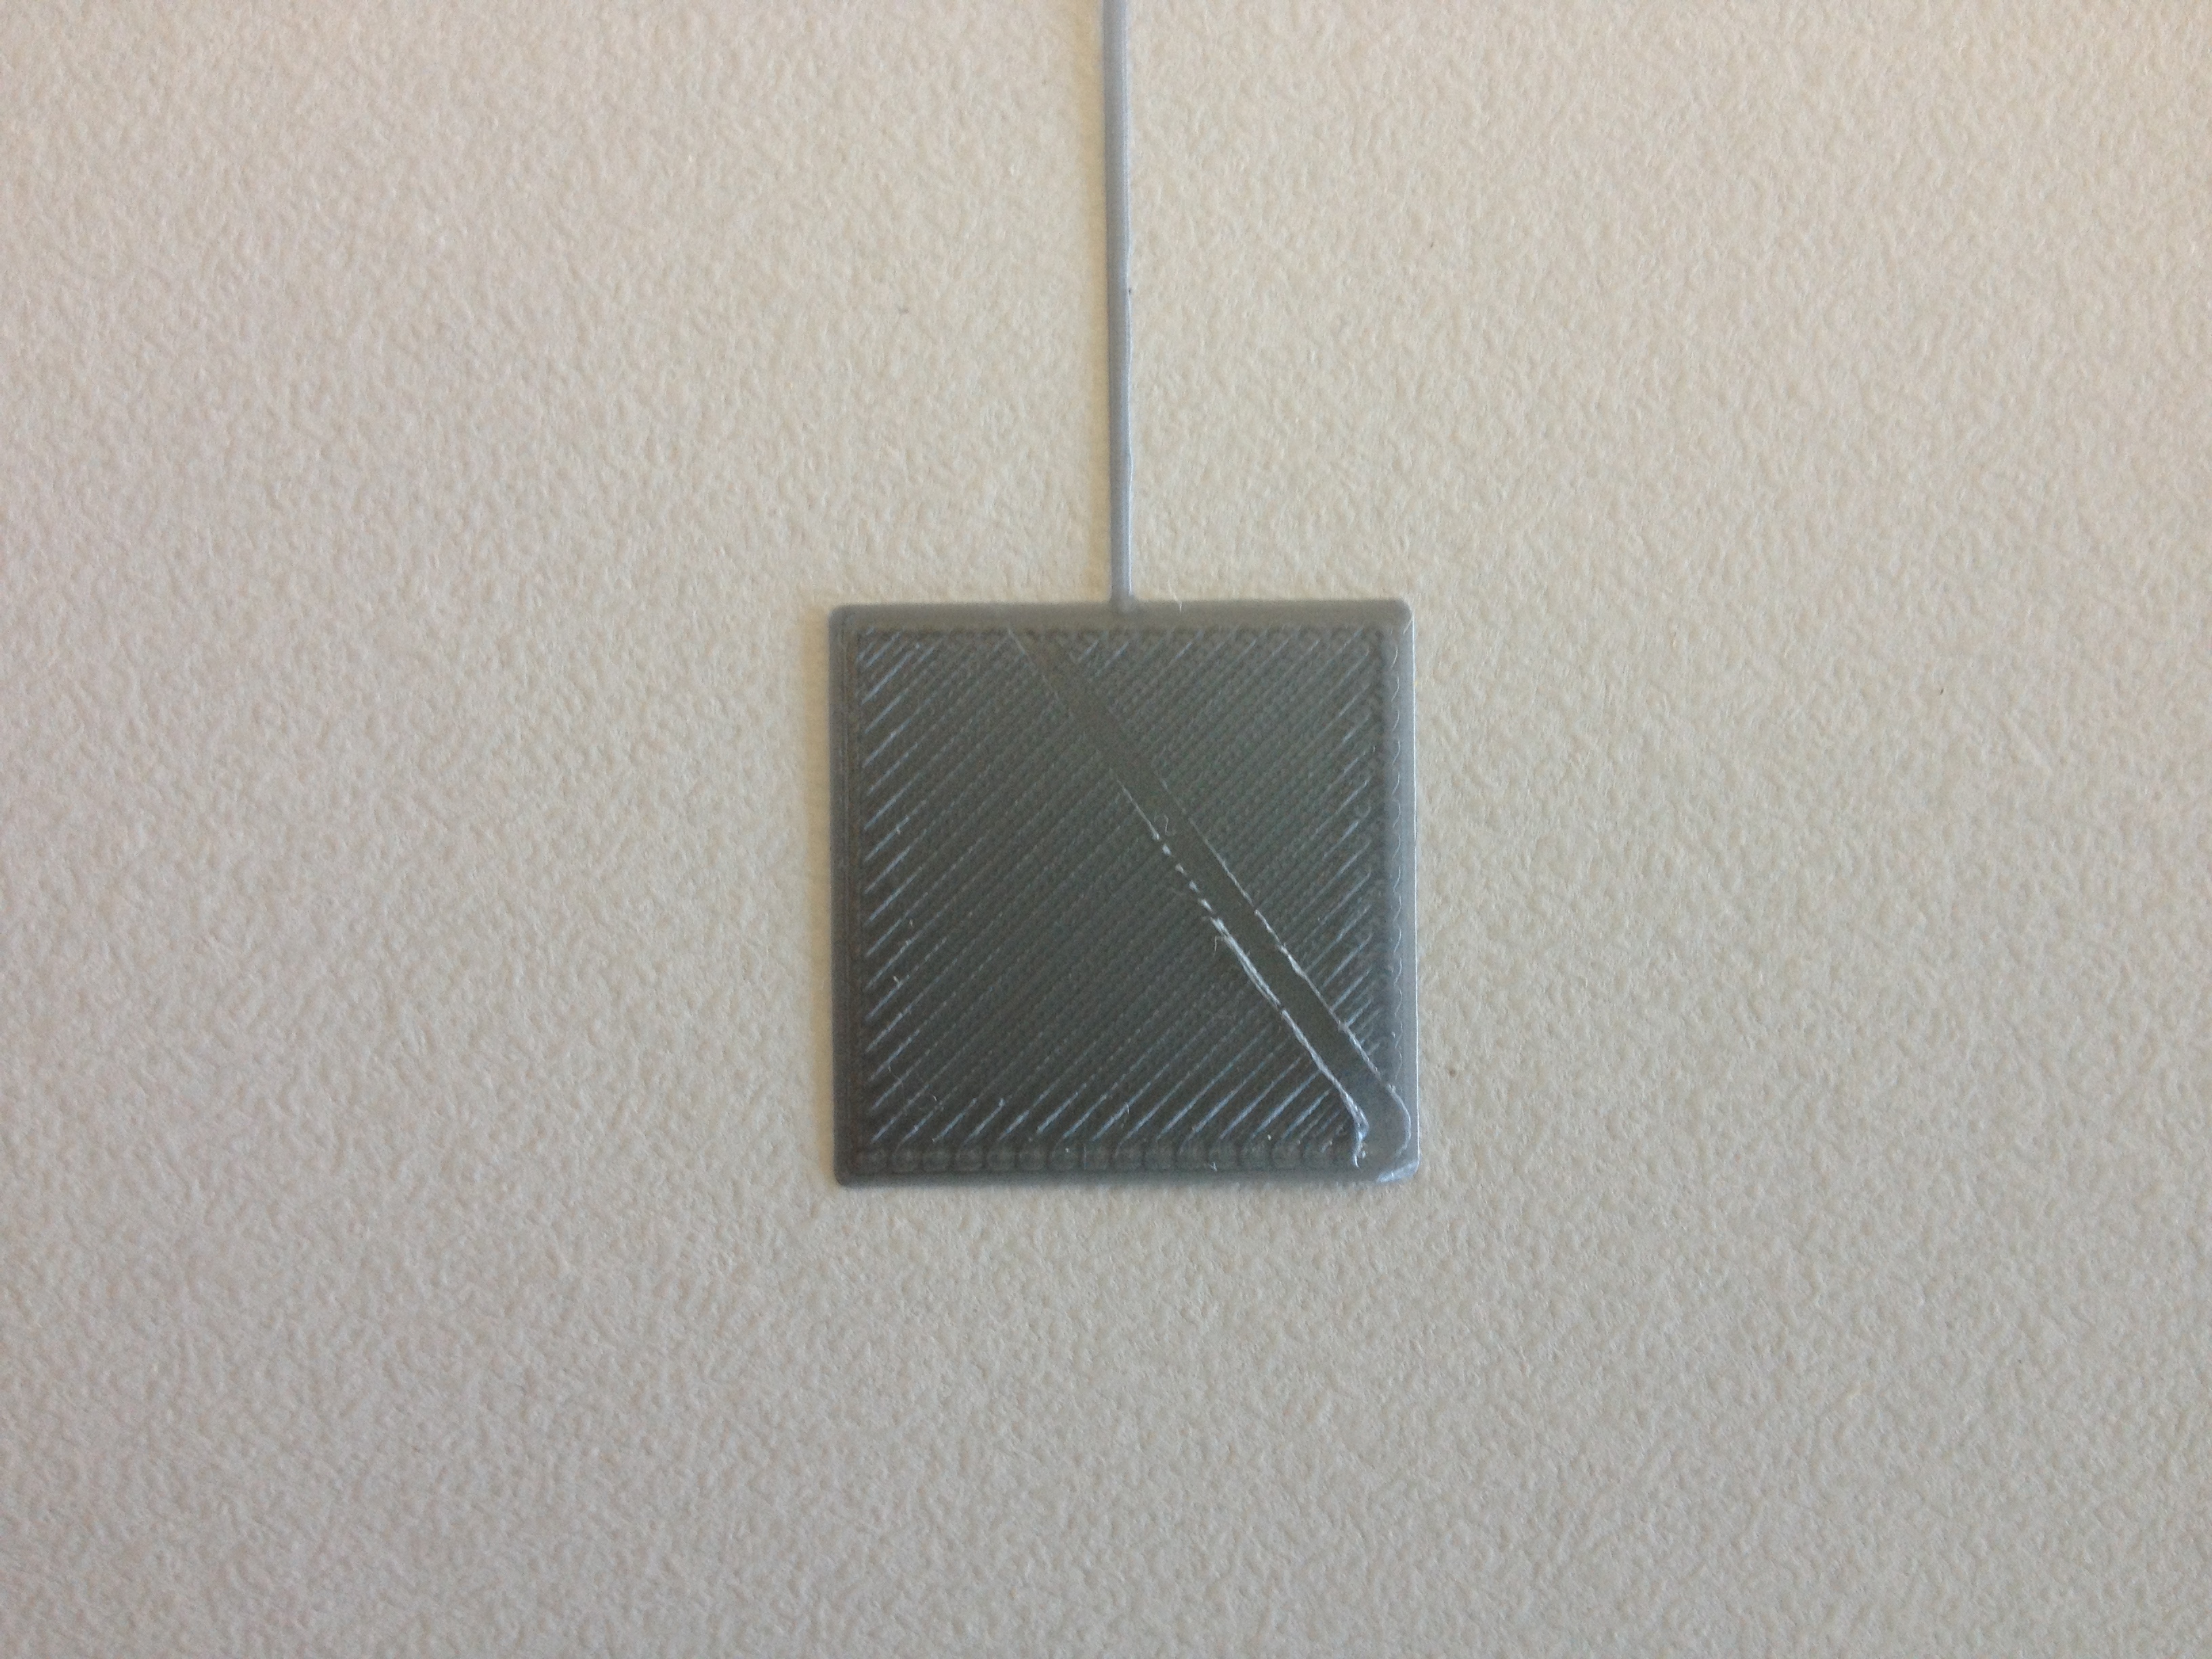
There is still a little scar in the bottom right corner, this is where the extruder ended the layer, I don't know if I can change something in the options of slic3r to avoid this.
My youtube channel about the Prusa I3 MK2 https://www.youtube.com/channel/UCz-zQZcKcvEDdd9C9hOKYWg
Re: Bed Level Correction calibration squares - scarring
I also changed the dimensions of the squares (20mm each side instead of 40mm) so this test is faster (5min instead of 16min) I think this dimension is enough to calibrate the bed. I can measure the thickness of each square (should be 0.15mm) so I can fine tune the bed in front, left, right and rear positions in the calibration menu.
My youtube channel about the Prusa I3 MK2 https://www.youtube.com/channel/UCz-zQZcKcvEDdd9C9hOKYWg
Re: Bed Level Correction calibration squares - scarring
Great
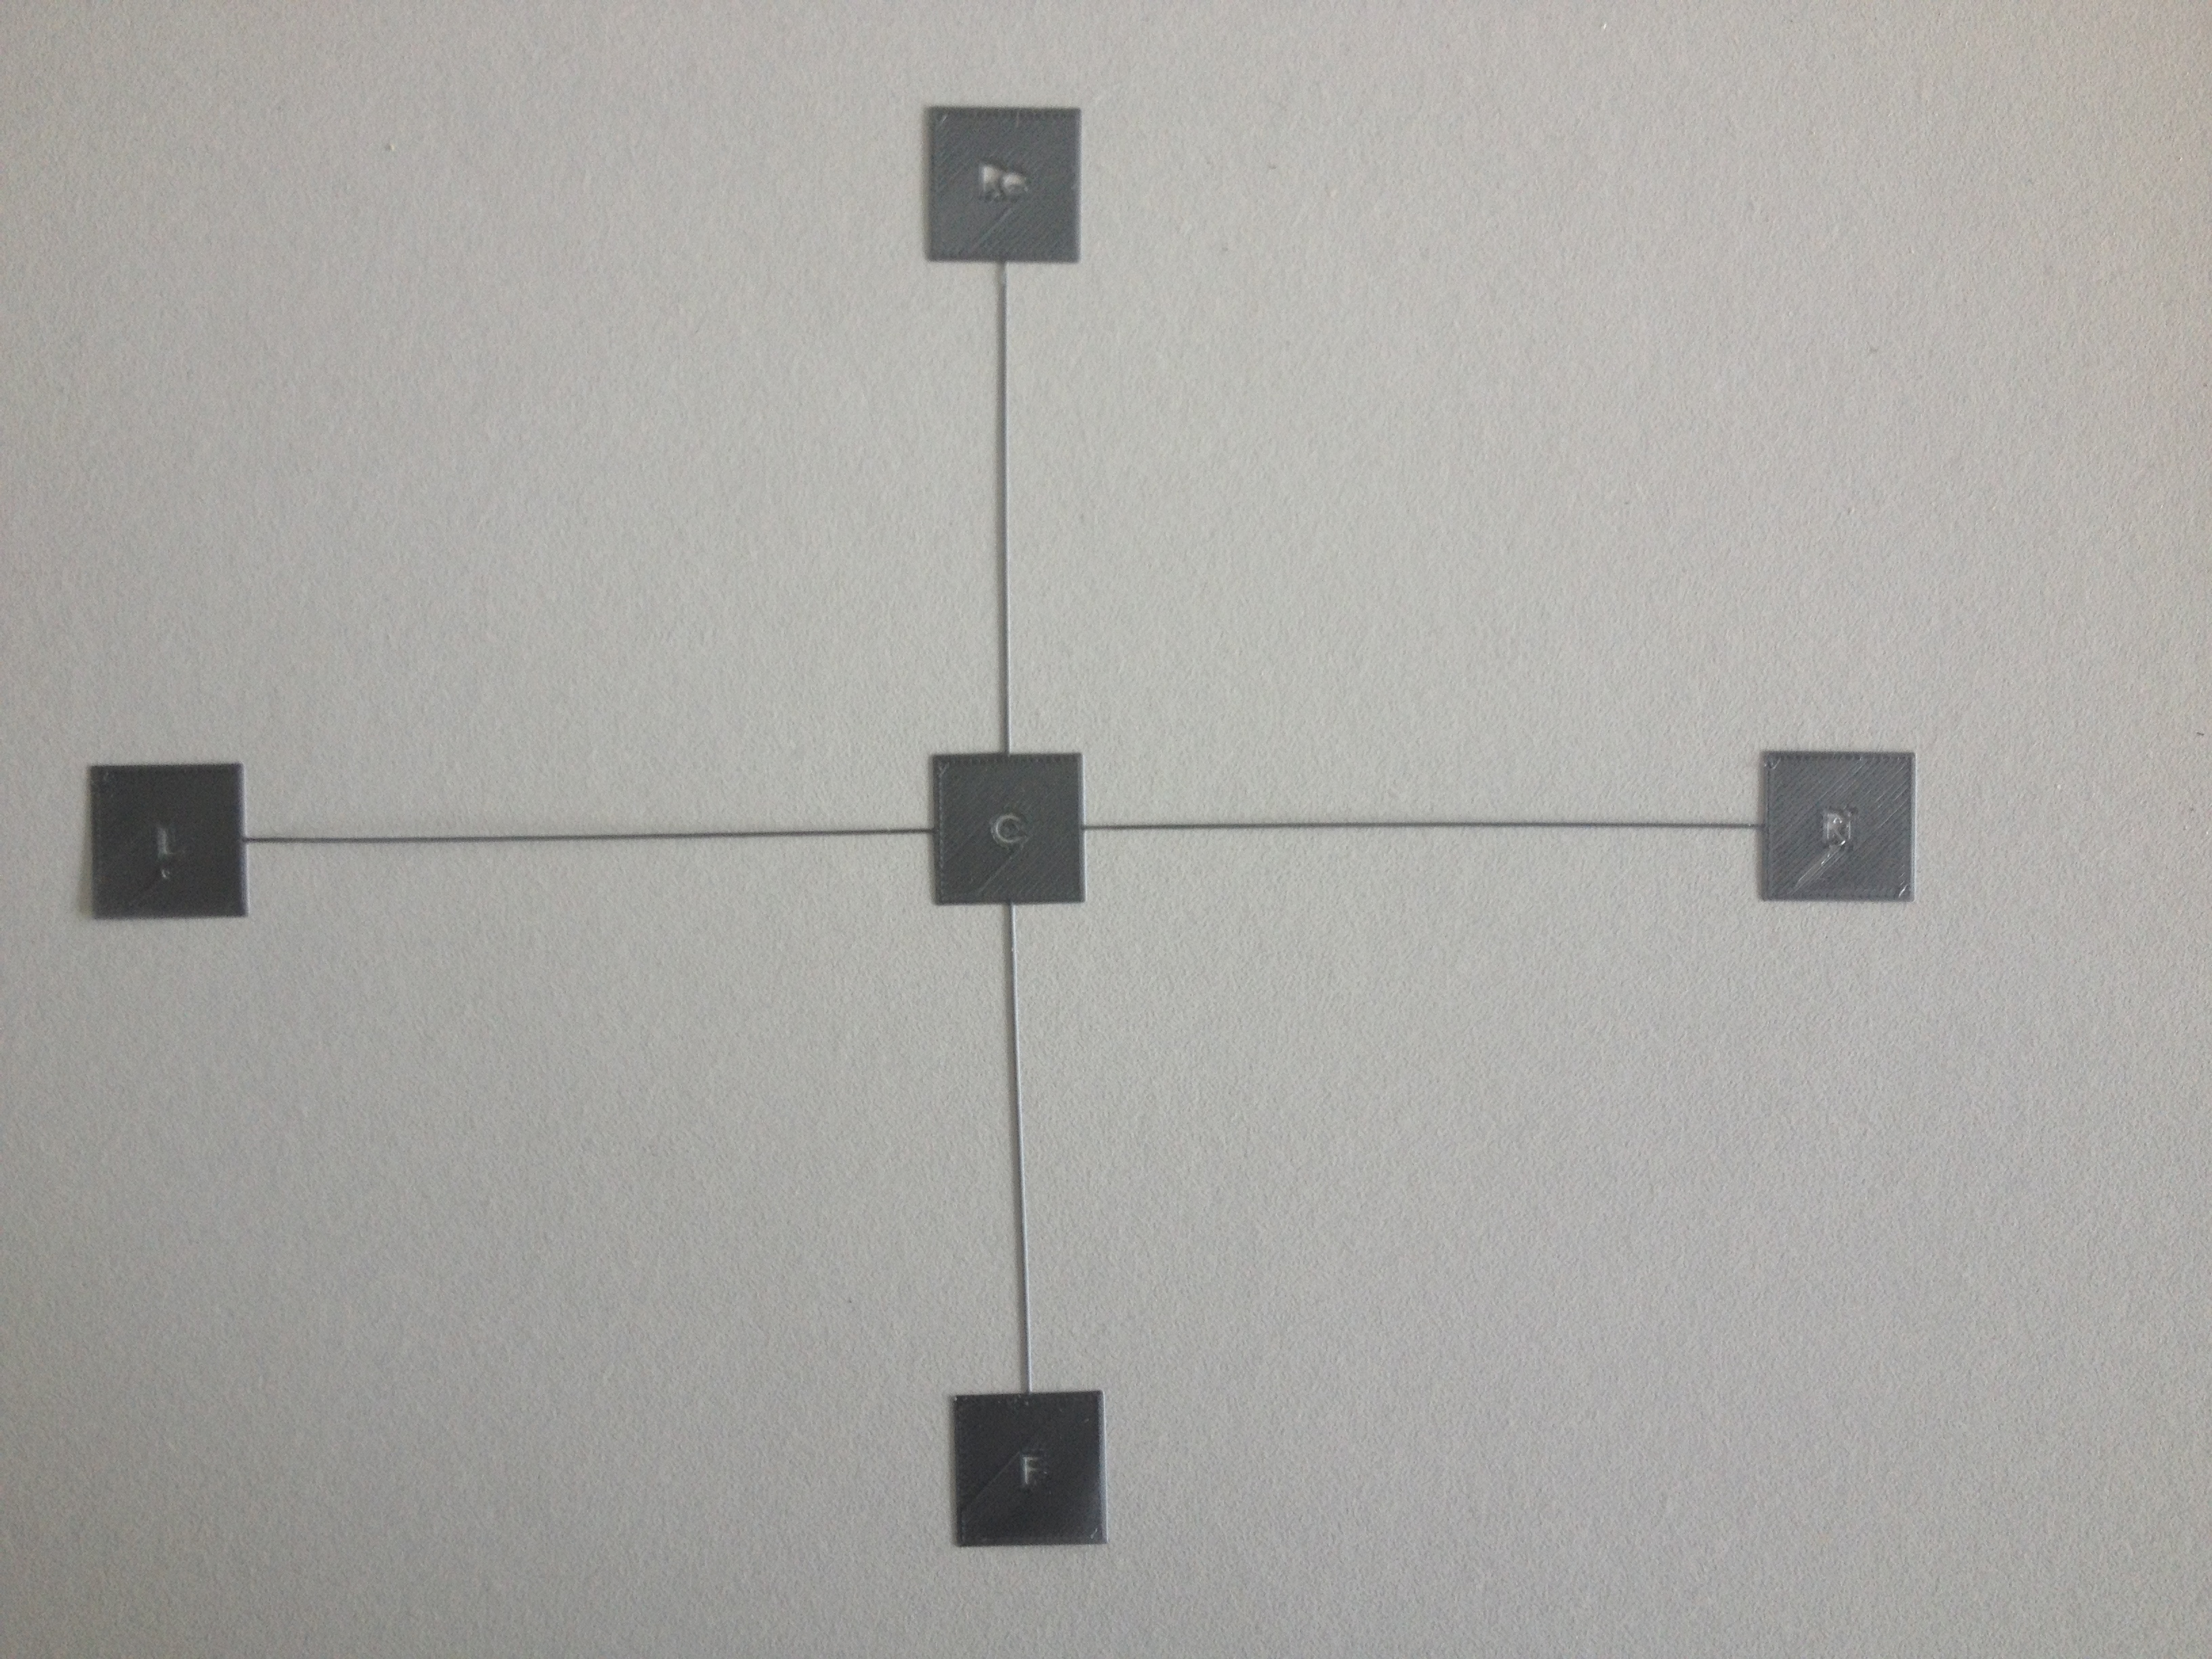
I just have a request on his model: To have "F", "Re", "L", "Ri" and C on each square to remember which square is where once removed from the bed 😉
I'm like Jon Snow, I know nothing.
Re: Bed Level Correction calibration squares - scarring
There is still a little scar in the bottom right corner, this is where the extruder ended the layer, I don't know if I can change something in the options of slic3r to avoid this.
It is still overextruded a bit, get the nozzle a bit up using Live Z adjust.
Re: Bed Level Correction calibration squares - scarring
Great
I just have a request on his model: To have "F", "Re", "L", "Ri" and C on each square to remember which square is where once removed from the bed 😉
I think all of this will extend the print time ? Will we be able to easily and quickly analyse the layer with the letters ? I will try to see how much time it takes. I could also just put one little point in the middle of the front square, it would be enough to find the orientation of the squares as they are all attached ?
There is still a little scar in the bottom right corner, this is where the extruder ended the layer, I don't know if I can change something in the options of slic3r to avoid this.
It is still overextruded a bit, get the nozzle a bit up using Live Z adjust.
Ok david, I'll play with Live Z adjust to make it perfect. Thanks
My youtube channel about the Prusa I3 MK2 https://www.youtube.com/channel/UCz-zQZcKcvEDdd9C9hOKYWg
Re: Bed Level Correction calibration squares - scarring
Great
I just have a request on his model: To have "F", "Re", "L", "Ri" and C on each square to remember which square is where once removed from the bed 😉
Done for you, only one more minute. 6 minutes total. But the print is not so clean than a simple square (each left bottom side of the letter). However we can see that it's missing lines in the right square (I will fine tune it next print)
I didn't think the tuning was so touchy:
Live Z adjust for the center square : -0.380 --> too close (we see a small scar point in the angle of the square)
-0.367--> too far (we don't see the scar but some little holes at the perimeter of the square when seen through light)
-0.375-->perfect balance
Now I will go on to fine tune the right square (like seen above, it seems too far from the plate)
My youtube channel about the Prusa I3 MK2 https://www.youtube.com/channel/UCz-zQZcKcvEDdd9C9hOKYWg
Re: Bed Level Correction calibration squares - scarring
Great
I just have a request on his model: To have "F", "Re", "L", "Ri" and C on each square to remember which square is where once removed from the bed 😉
I added calib-squares-30x30.stl which uses smaller 30mm x 30mm squares and includes an "L" letter next to the Left square to make it easier to track which side is which.
Re: Bed Level Correction calibration squares - scarring
This is really a very good test method. I've been printing a full-bed single layer print in an attempt to do bed correction and it takes an hour and 17 minutes. This one only takes 6 mins or so, enabling me to make 10x the tests/adjustments that I used to. Very well done.
I'm curious what people's bed correction values are. Mine seem awfully extreme:
Left side: -25
Right side: -45
Front: 50
Back: -50
Despite maxing everything out,I still have some nozzle scarring in the front block that isn't removed with a Z lift of 0.20
Re: Bed Level Correction calibration squares - scarring
Yes curtis, that's why I did smaller squares, mines are 20mm each sides, and I 've put a little hole in the middle of the front one to identify it when all is removed from the bed. It all takes less than 5min to print, so it's quick enough to do lot of prints to calibrate the bed.
I don't have so extreme values. I think to have minimal values, Z Live should be well calibrated. And more important, I guess the axis shouldn't be skewed ?
My youtube channel about the Prusa I3 MK2 https://www.youtube.com/channel/UCz-zQZcKcvEDdd9C9hOKYWg
Re: Bed Level Correction calibration squares - scarring
Yes curtis, that's why I did smaller squares, mines are 20mm each sides, and I 've put a little hole in the middle of the front one to identify it when all is removed from the bed. It all takes less than 5min to print, so it's quick enough to do lot of prints to calibrate the bed.
I don't have so extreme values. I think to have minimal values, Z Live should be well calibrated. And more important, I guess the axis shouldn't be skewed ?
I've spent a lot of time trying to get this printer to print, and haven't been successful yet. Lots of time spent in tweaking before realizing that the bed was warped-convex in the middle. Prusa replaced that under warranty. Now, the biggest problem is that Z is not perpendicular to the XY, despite everything I've tried--and it isn't adjustable. I've rebuilt the bed 3 times, alignment is perfect, etc. etc. Support is stumped--I wonder if they've stopped responding as they don't have good answers.
Re: Bed Level Correction calibration squares - scarring
You should make new thread about that issue, as this thread is about calibration pattern not XY/Z perpendicularity.