Bed Adhesion Part 2
Received a lot of help in the following post that definitely identified some problems.
https://shop.prusa3d.com/forum/original-prusa-i3-mk2-f23/bed-adhesion-issues-t5599.html
I now have what should be a thoroughly clean bed and have completed what seems to be a successful first layer test. Unfortunately I am back to the problem that started this, which is the corners lifting on the following print.
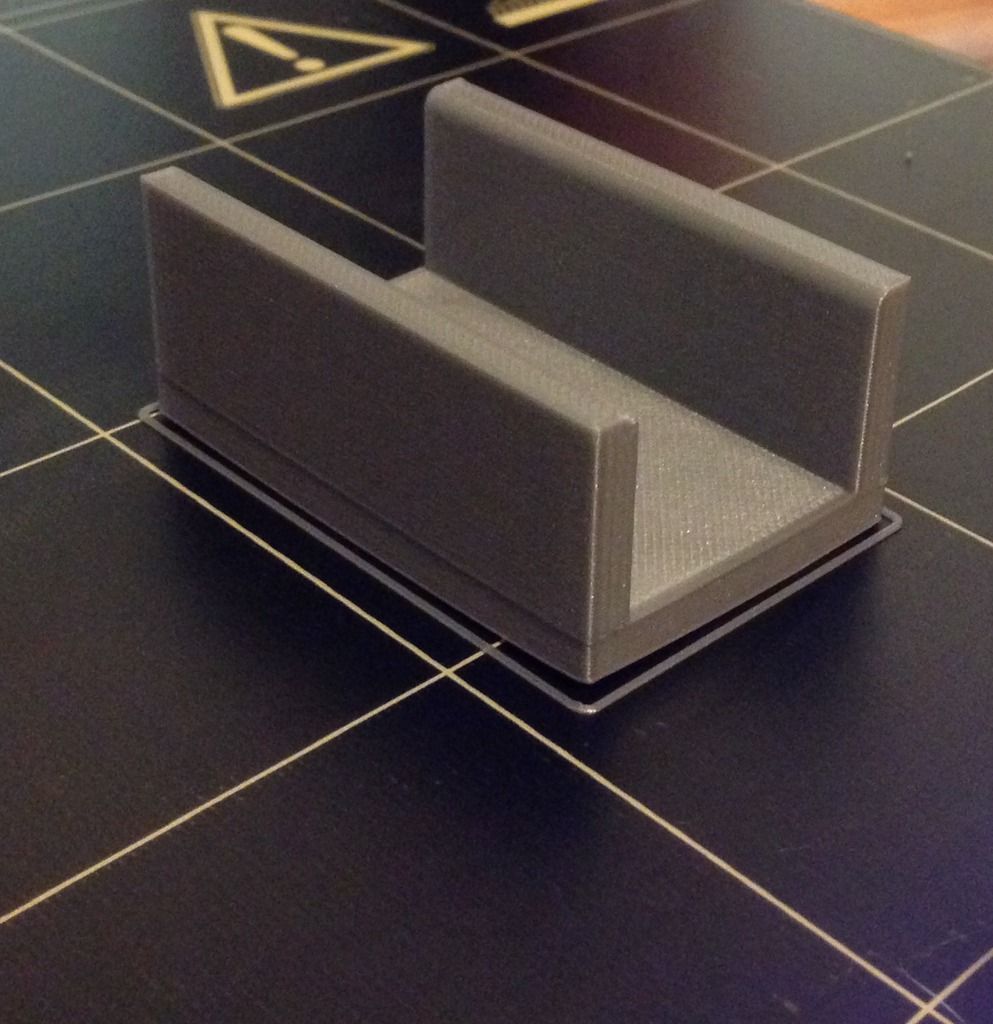
Sorry for a crappy pic, but in case it is hard to see none of the corners stayed on the bed. This is just a test piece of a print that would ideally be as long as the bed would allow. Am I committing some sort of geometry faux pas and this is just a shape that will never print right without a brim or or could I still be dealing with another issue?
Re: Bed Adhesion Part 2
PLA? What bed temperature?
Are you sure you have a good first layer? The skirt looks like it is printing on the bed, not squashed into the bed (can we see a picture of the underside of this print?
How many parameters and how much infill? If high on both, that will aggravate the curling forces, which might make it lift up like this, in which case brim is your answer.
But I think you still have a first layer problem.
If this is ABS, then yeah, you need brim.
Any advices given are offered in good faith. It is your responsibility to ensure that by following my advice you do not suffer or cause injury, damage or loss. If you solve your problem, please post the solution…
Re: Bed Adhesion Part 2
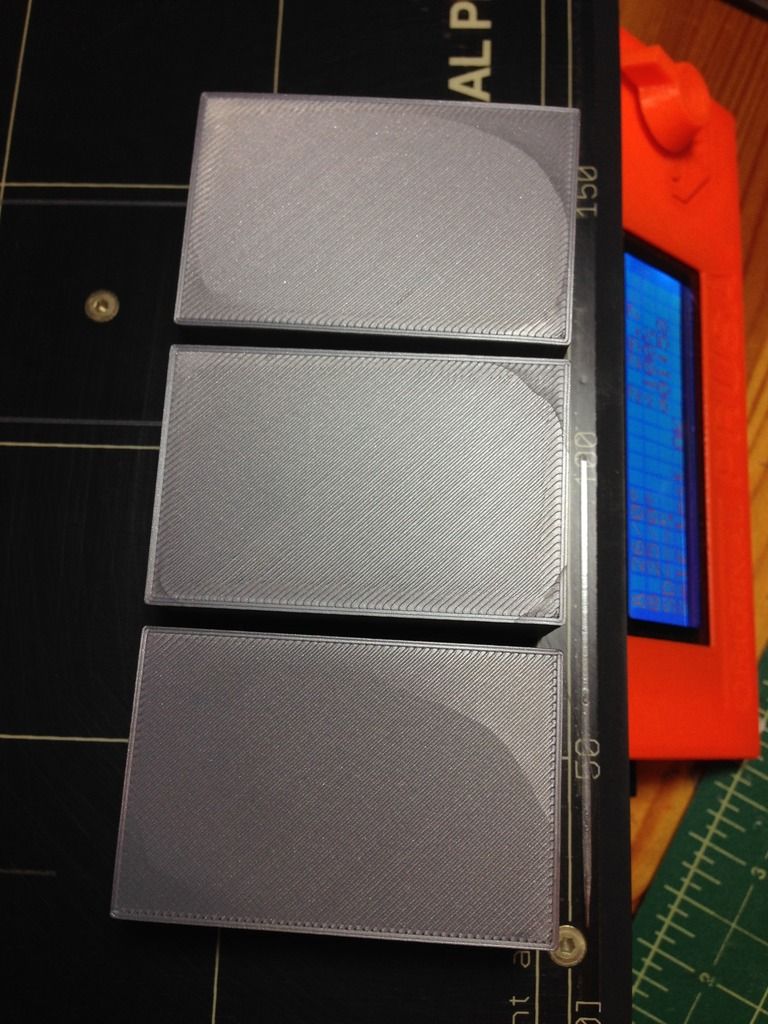
PLA, 215 hot end and 55 on the bed. 15% triangular infill. Checked the first layer again and made some adjustments. Bottom one in the pic is from the first post. To your point the first layer was no bueno. Middle one was after the tweaks. Glass like finish this time, but the corners still popped. Top one is the same as the middle except rectilinear infill, still 15% though.
Re: Bed Adhesion Part 2
I stand corrected. Your first layer is fine (very nice!). And from your first post, I presume your bed is very clean.
So, it seems this geometry shrinks in the wrong directions and curls up. Brim is your only weapon left. Or Mickey Mouse Ears.
Any advices given are offered in good faith. It is your responsibility to ensure that by following my advice you do not suffer or cause injury, damage or loss. If you solve your problem, please post the solution…
Re: Bed Adhesion Part 2
Things I would do:
1. Clean the bed with acetone - this restores the "stick"
2. Increase bed temp to 60 degrees (or maybe 65)
3. Position the model towards the corner of the bed
4. Use a brim (last resort).
Peter
Please note: I do not have any affiliation with Prusa Research. Any advices given are offered in good faith. It is your responsibility to ensure that by following my advice you do not suffer or cause injury, damage…