Prusa i3 MK2 MultiMaterial dimensions
Hi 
The MultiMaterial upgrade is adding some height to the overall exterior dimensions of the printer.
I am building an amazing enclosure box for the prusa, but i would like to know the exact dimensions in case i would like to upgrade 
Thx
Re: Prusa i3 MK2 MultiMaterial dimensions
Same for me, I am waiting on the MM upgrade later this year, but want to build my enclosure before then.
Can someone please advise on the total height of the i3 MK2 including the 4 stepper motors mounted on top of the frame, and also the seperate dimensions for the 4 x spool holders.
Thank you.
Re: Prusa i3 MK2 MultiMaterial dimensions
Honestly the extruder motors can get very hot. Personally I would not use an enclosure.
Peter
Please note: I do not have any affiliation with Prusa Research. Any advices given are offered in good faith. It is your responsibility to ensure that by following my advice you do not suffer or cause injury, damage…
Re: Prusa i3 MK2 MultiMaterial dimensions
I think this can be solved easily, by adding fans to the enclosure 😉
Is there really nobody who can give us the dimensions of the printer with the upgrade?
Re: Prusa i3 MK2 MultiMaterial dimensions
The motors as in the pictures stick out about 3 cm above the top of the frame. The PTFE tubes move up to a complete maximum of 18 cm above the top of the frame. My custom built enclosure is about 44 cm and it seems to be enough. The PTFE tubes just squish up near the top and I basically never print all the way to the top so I have no issues since they are flexible.
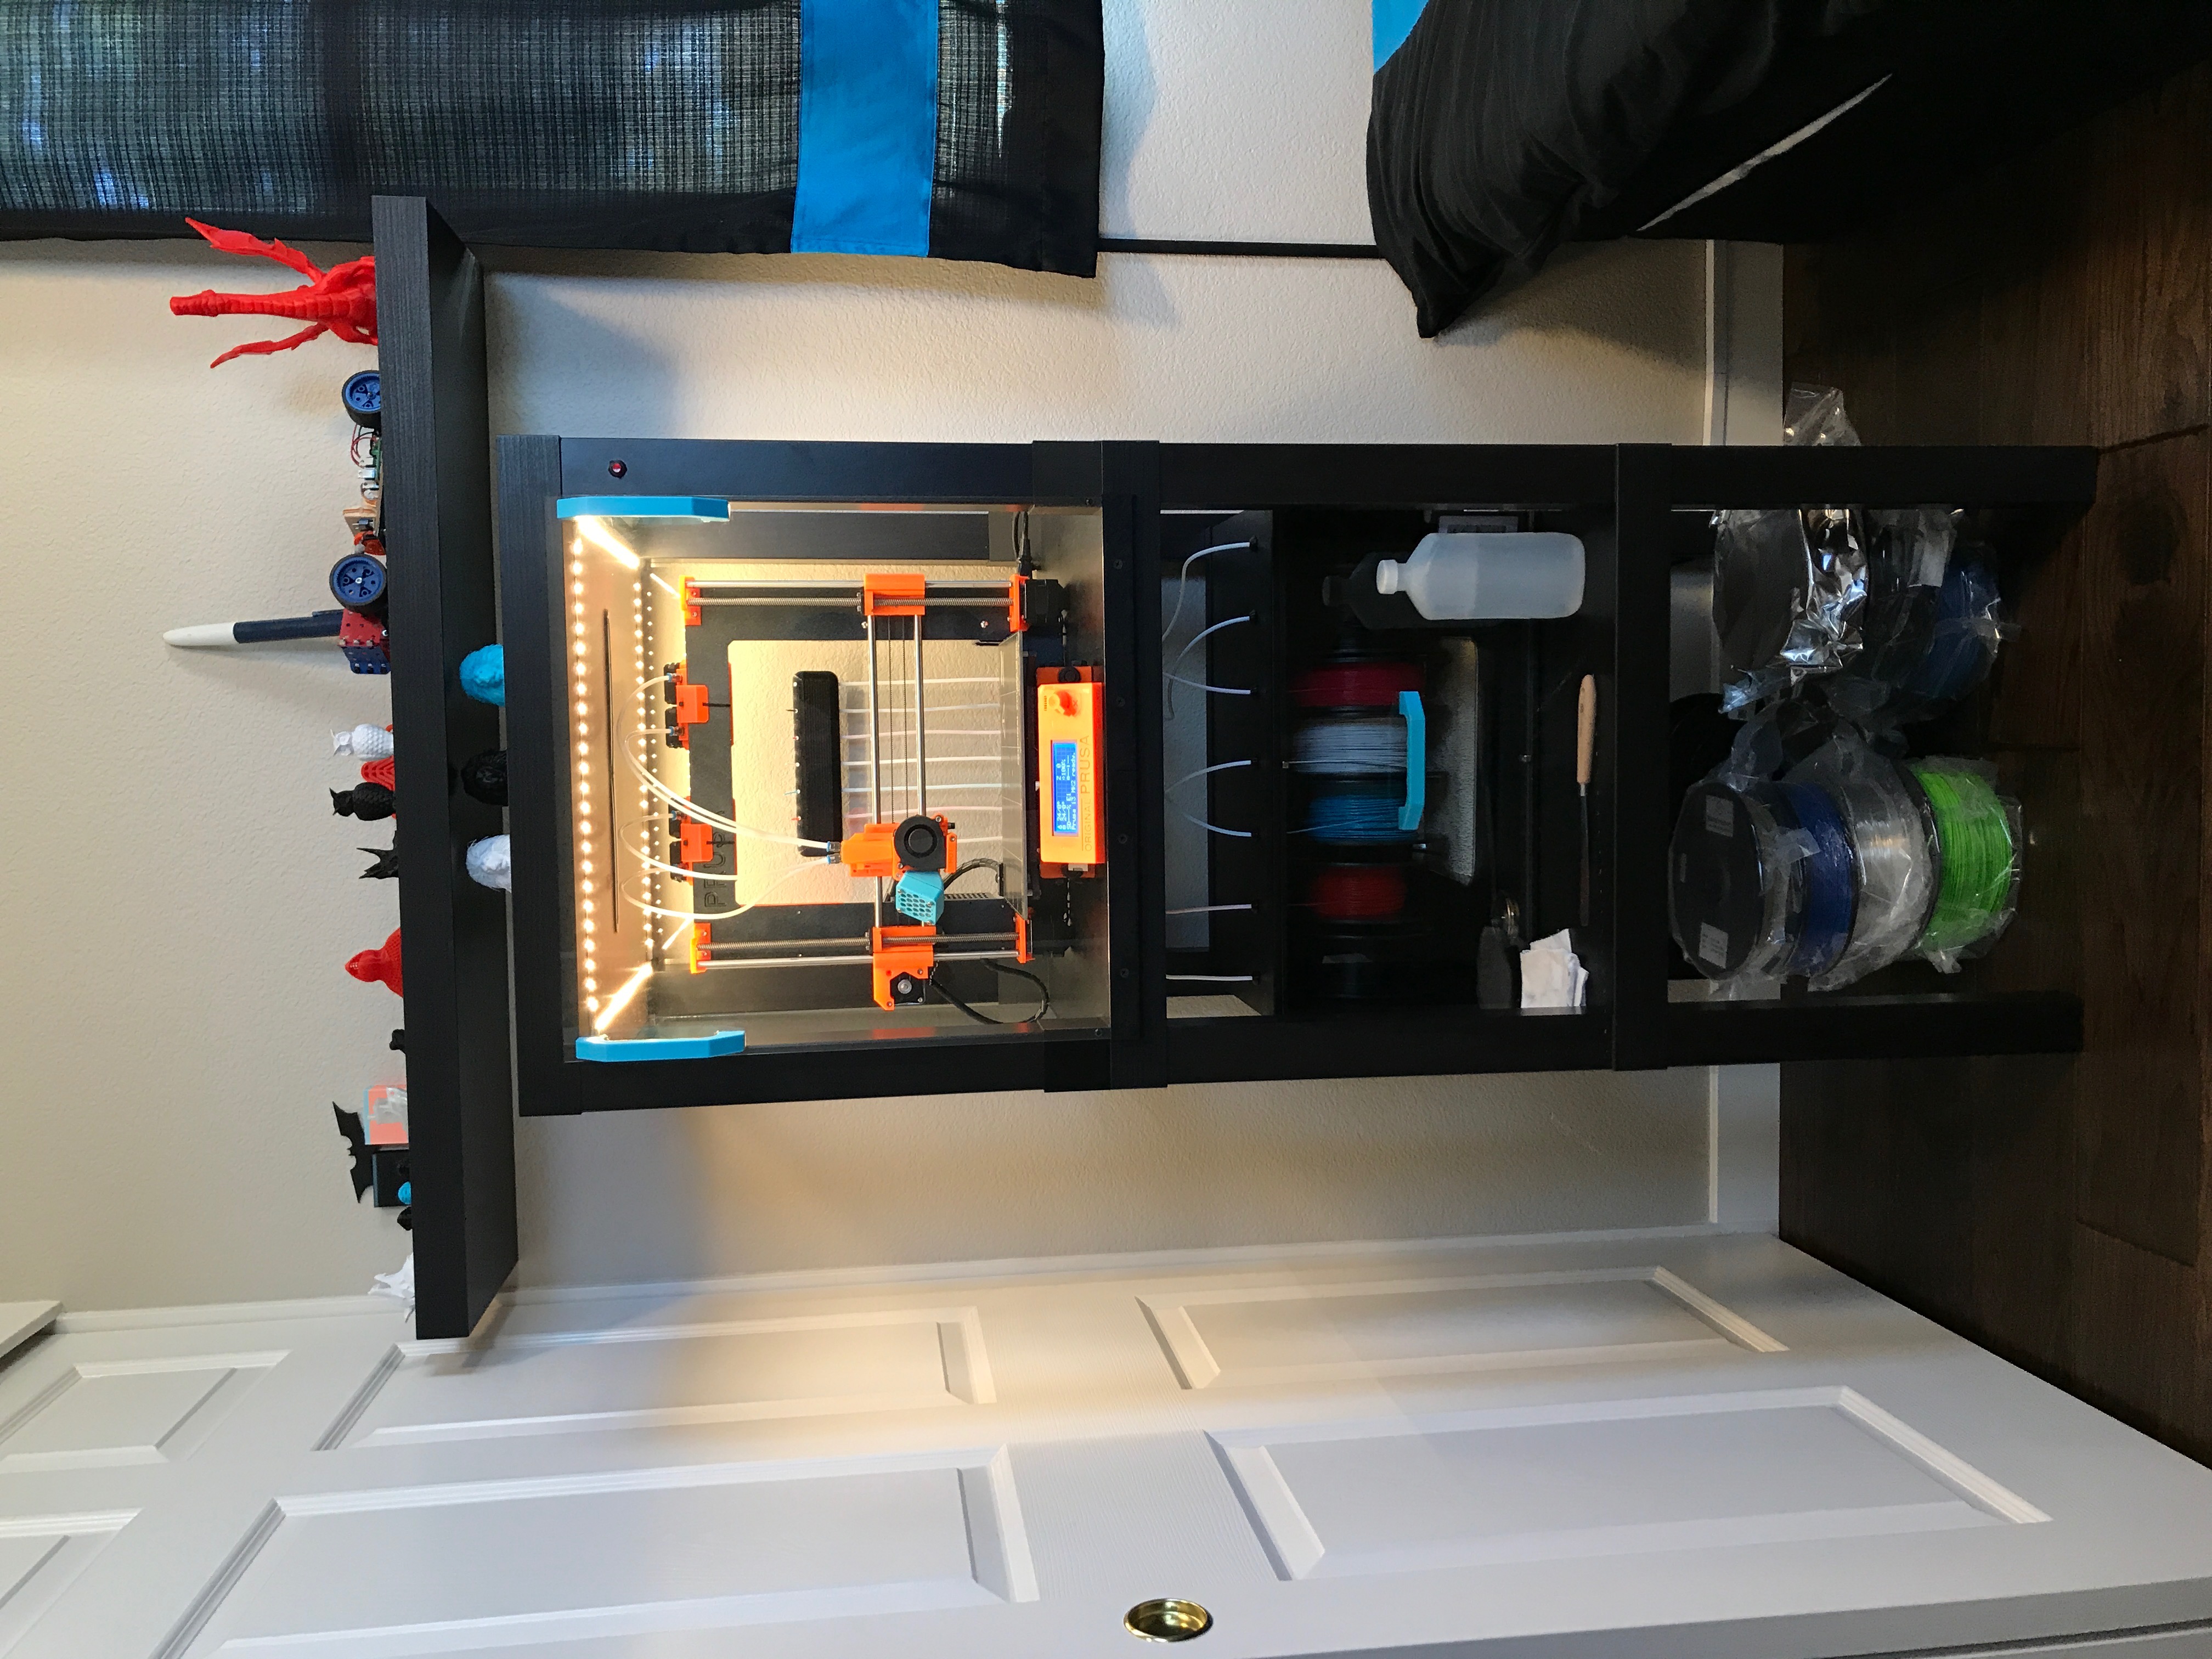
Here is a picture of my full enclosure. I am updating it right now to add another box for more filament at the bottom.
E4087740-6964-49EC-9342-6E3377D6066B.JPG
Nice box by the way
Re: Prusa i3 MK2 MultiMaterial dimensions
Thanks for the information.
Here's the enclosure I've made, soft-close glass door, internal LED light, temperature gauge and HD wifi (not show mounted properly) in this picture.
I have since designed and printed (some of) the parts for my own extraction/cooling fan using a HEPA filter from a Roomba 700 series vacuum, and a 50mm 12V CPU fan.
The sizing you gave for the MM setup should give me plenty of room to position the printer towards the front of my cabinet, and install a filament spool rail across the back edge of the cabinet.
Re: Prusa i3 MK2 MultiMaterial dimensions
Hi which ikea cupboard did you use for this and do you feel its better than the use of lack tables and Why?
Re: Prusa i3 MK2 MultiMaterial dimensions
It's all IKEA gear. I used the METOD 60x60 cabinet, which is normally used for a sink/basin or stove-top, so normally does not have a lid. Instead I repurposed the door (that comes with the cabinet) as the lid, and then purchased the GLASSVIK 60x64 glass door, and used UTRUSTA 153-degree soft-close hinges, to allow me to fully open the door, to provide better access into the cabinet.
The door is slightly larger (40mm / 4cm) in height, but I use this to my advantage by using the overhang as my handle to pull open the door. My workshop area is small, so I didn't want a handle on the front to avoid a "snag" point.
The only thing you need to do to mount the UTRUSTA hinges on the GLASSVIK door is drill out 4 small holes for the locater pins of the hinge. I think it was an 8mm hole, but you can easily check on the METOD door used on the top!
The METOD cabinet also has pre-drilled holes for the hinges, and allows me to mount other things like my camera and thermometer without needing to drill extra holes.
I liked the LACK table ideas at first but thought about how long they would take to build, close in the sides etc, to get a really neat finish. My workshop/garage has a lot of dust, so I wanted something really well sealed when I'm not using it, and my setup is pretty much air-tight once you close the door.
I had recently renovated my apartment and used the METOD system for my cabinets, so I knew them well and could assemble them quickly.
This took me less than 30-minutes to build, including installing the LEDBERG LED lights (diagonally across the top)
Depending on how you build a LACK setup, this METOD cabinet is likely heavier; but I would be confident this would be a lot stronger!
Happy to send more photos if you need them. Just let me know.
My printer is still dead at the moment, so I've not had a chance to finish my exhaust fan build for the cabinet.

