MK2 with MMU problems 🙁
Good day all,
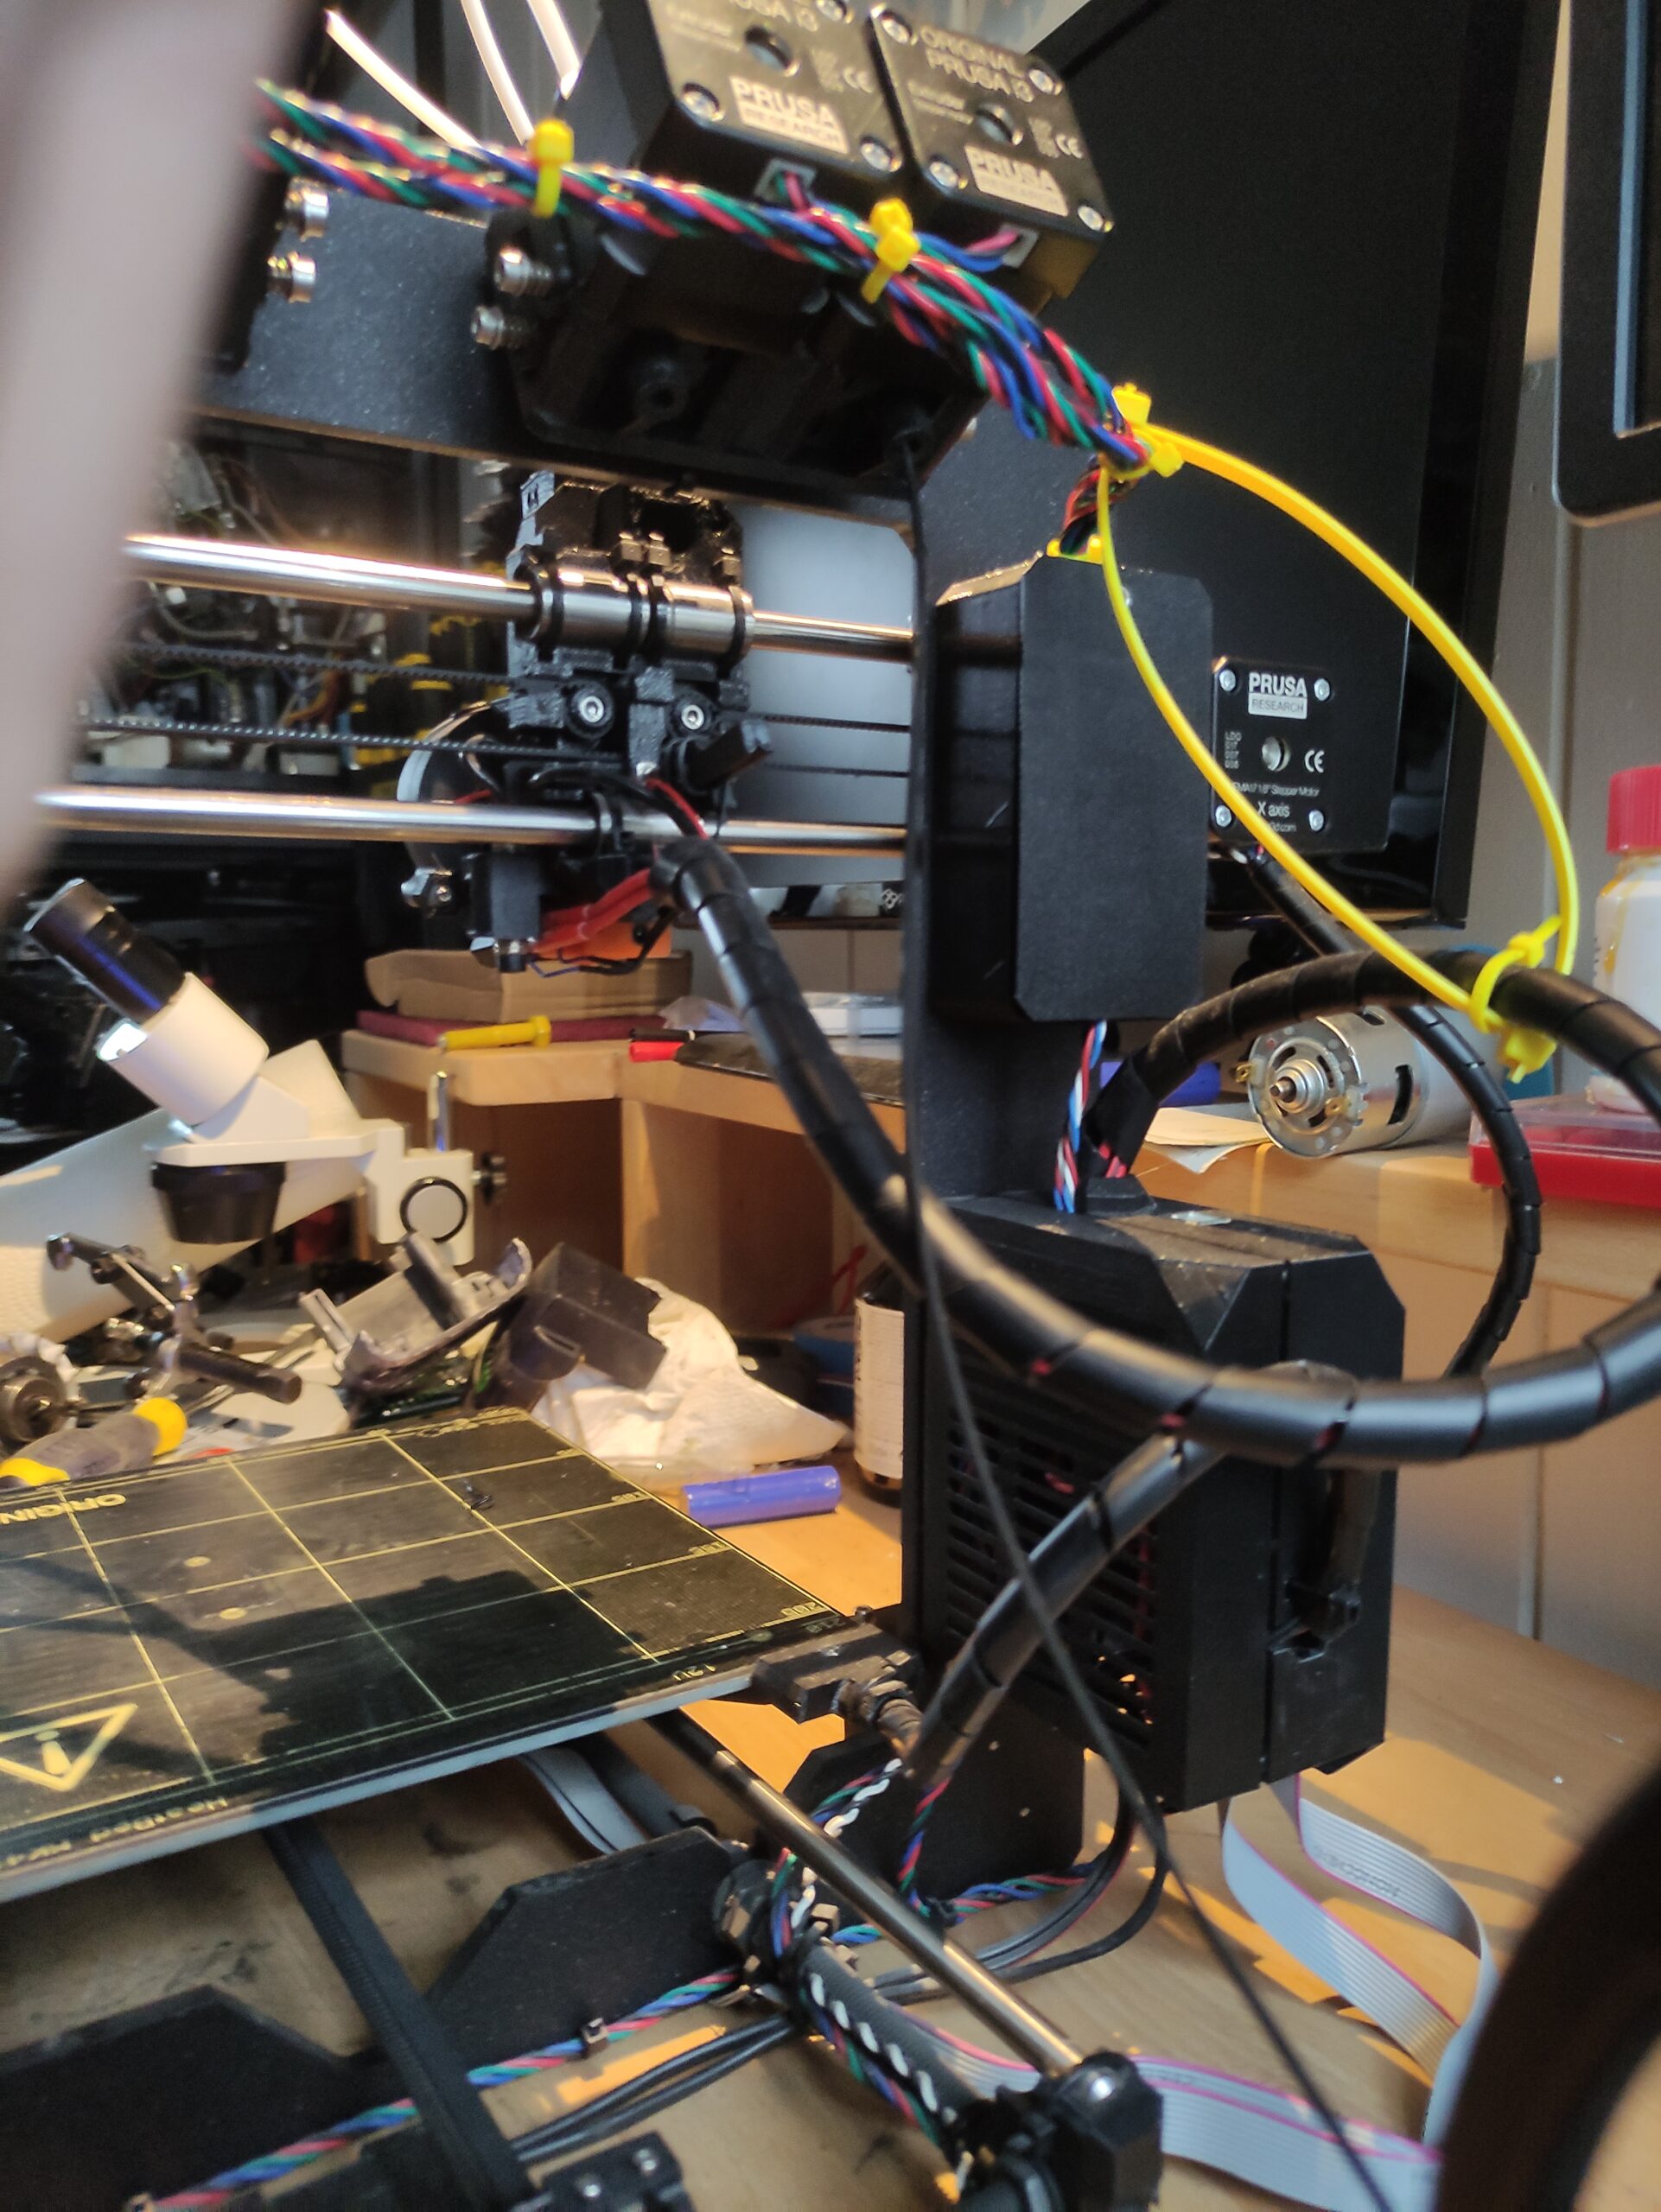
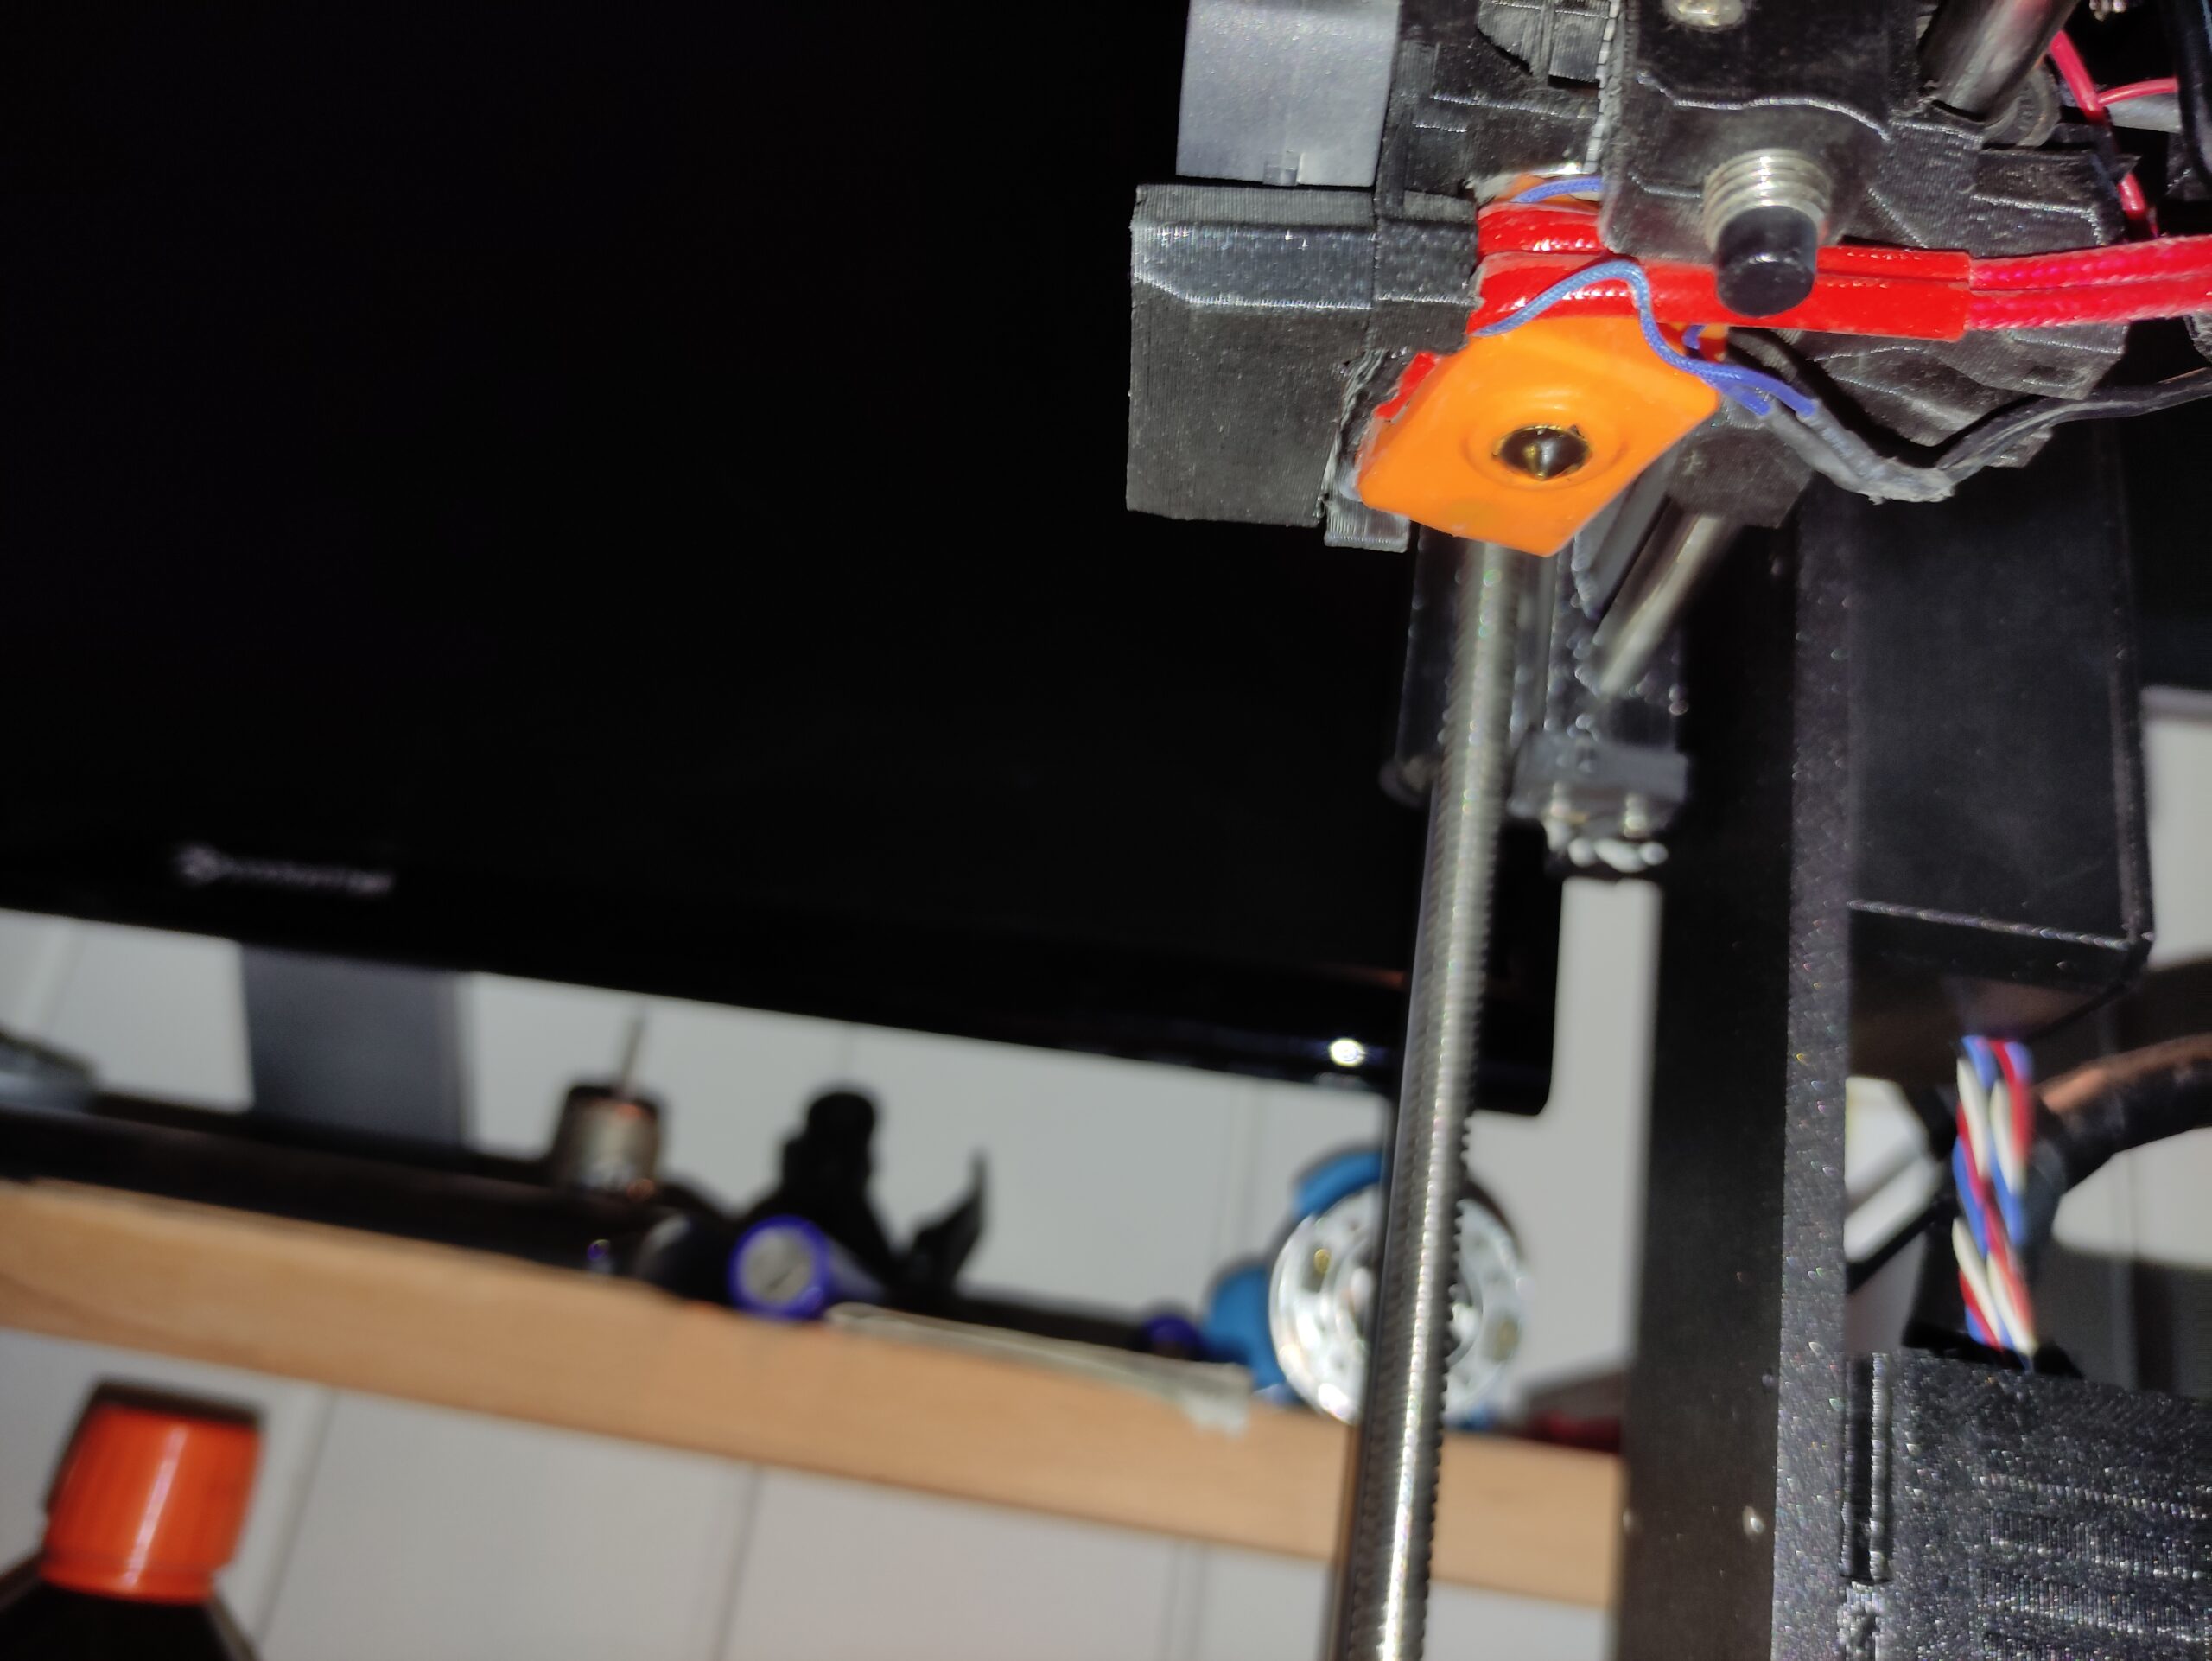
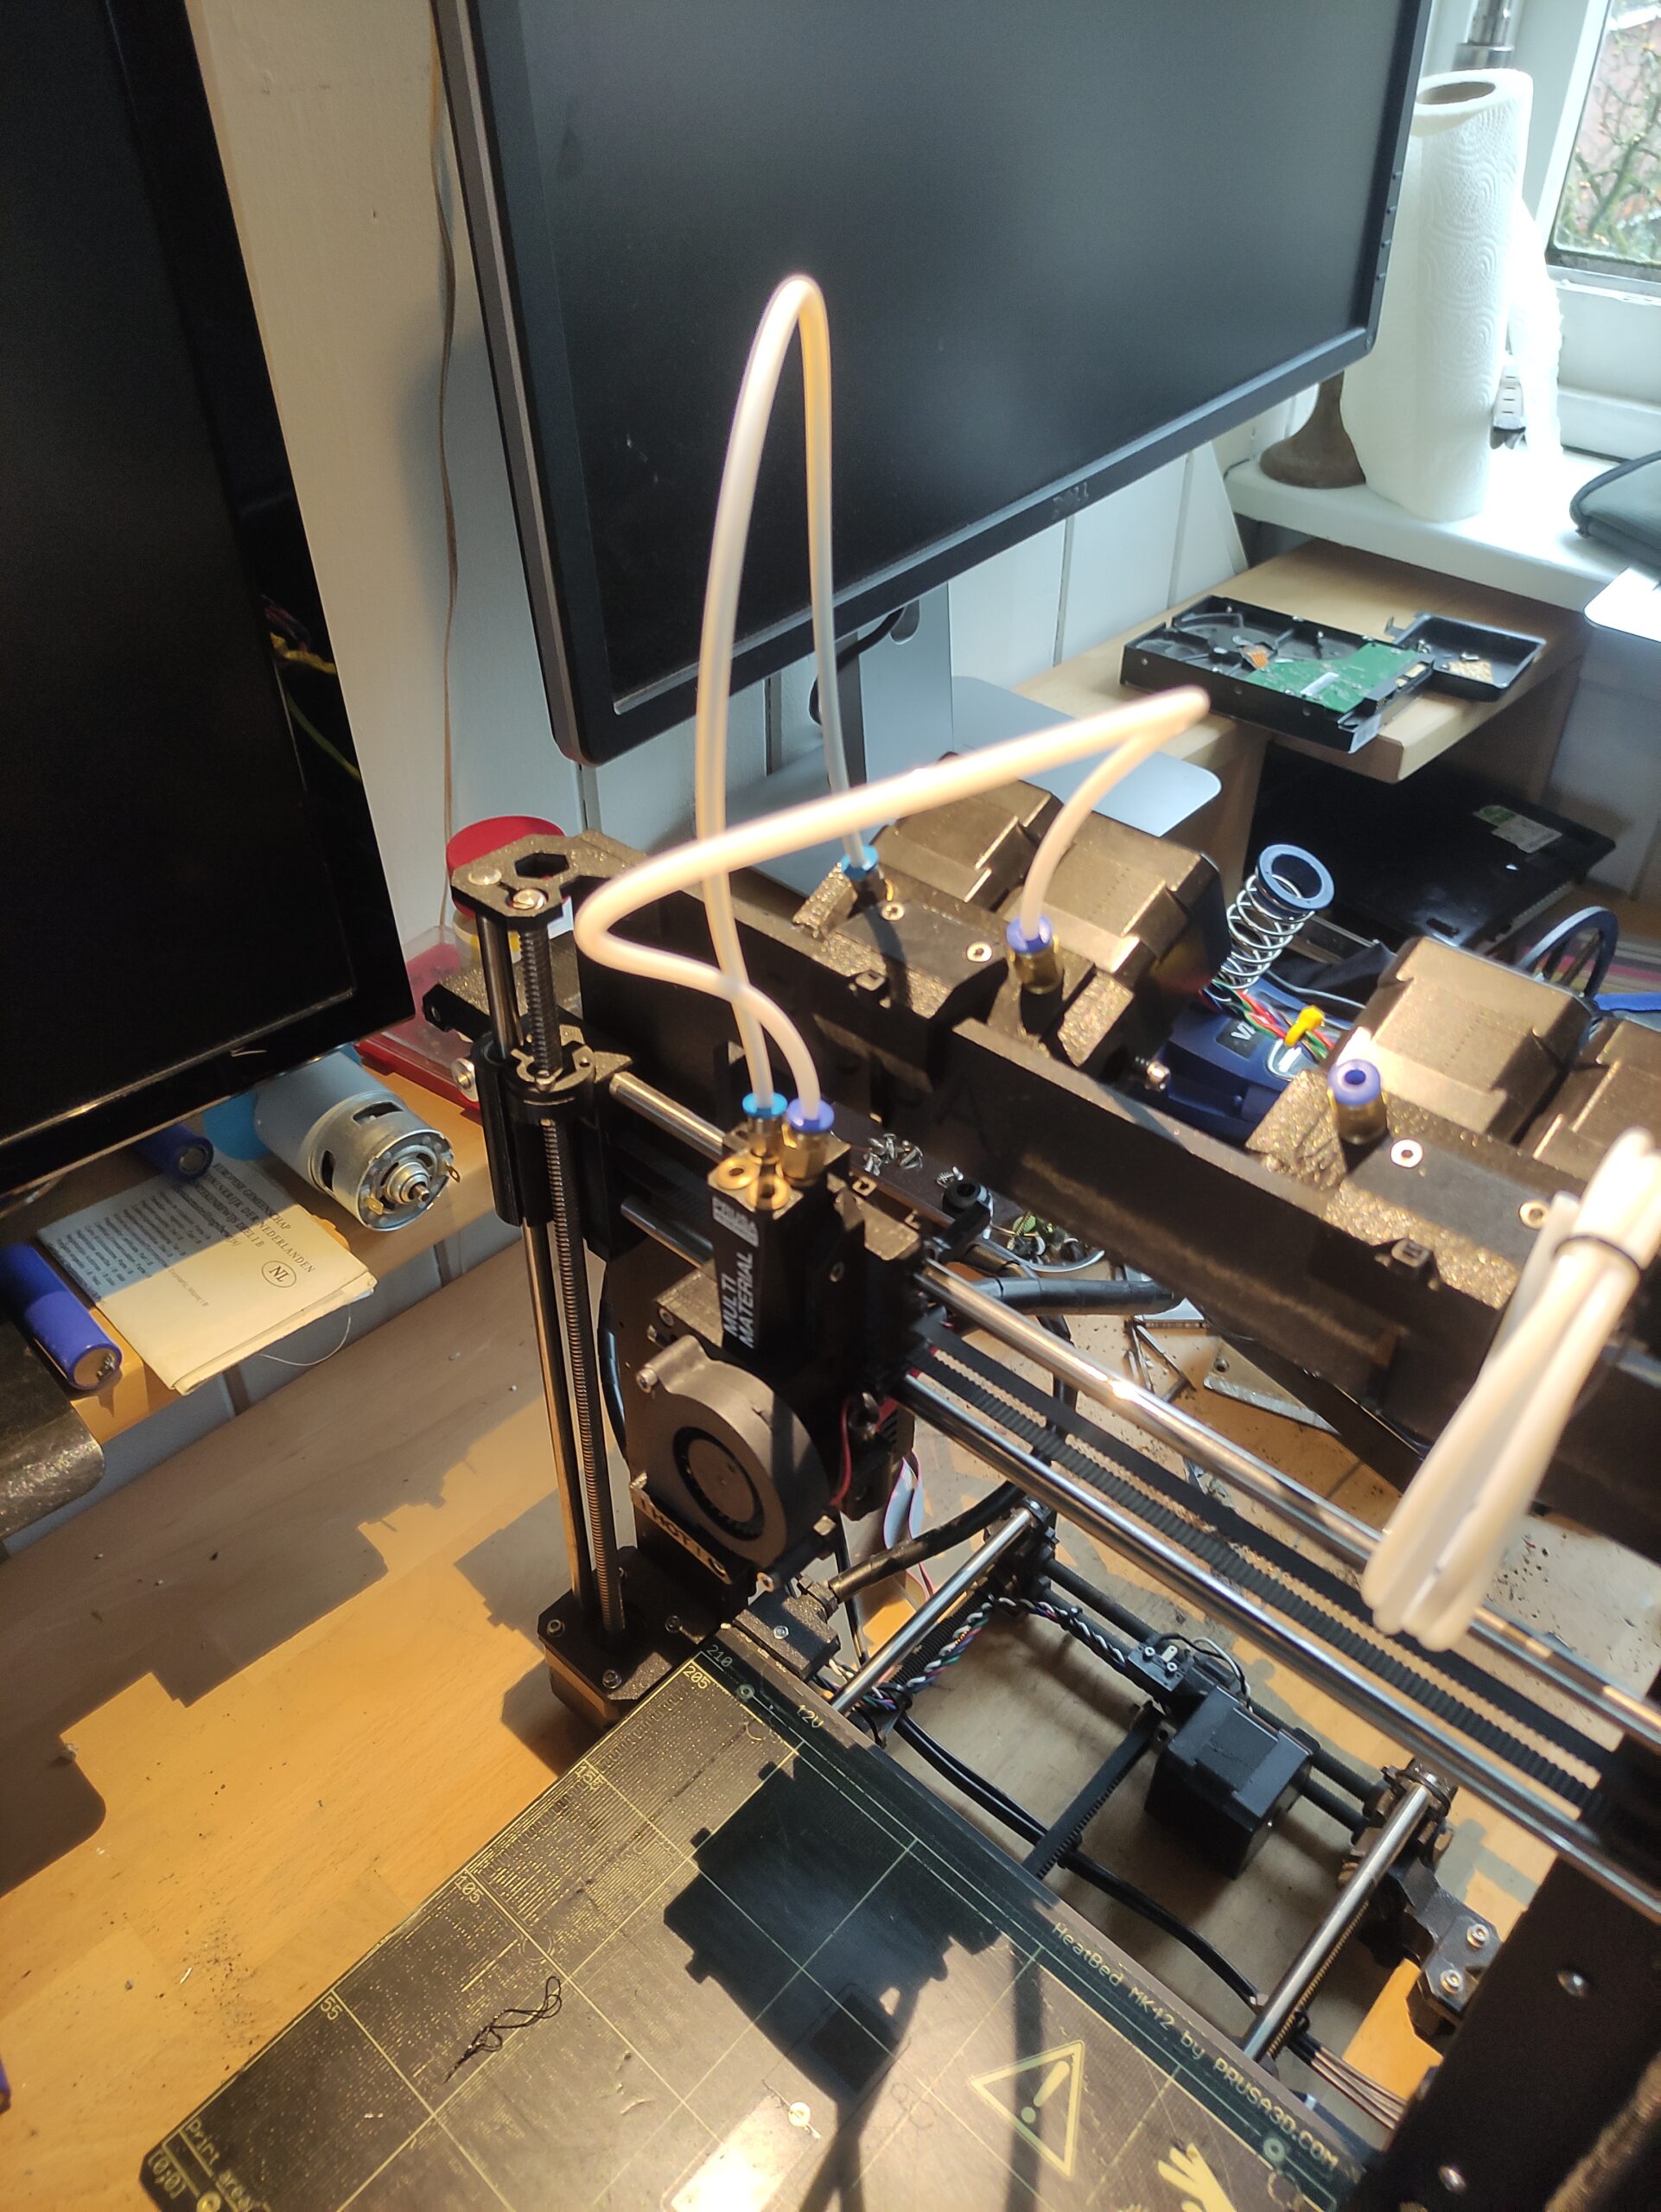
Today I picked up a second-hand Prusa MK2 with an MMU upgrade. The machine looks nice and well-maintained from a 3D studio. However, when I was home and tried my first test print I encountered a problem. When I tried to run my first test print no PLA was coming out of the nozzle. I assumed the nozzle or hot end was dirty and clogged, so I took it apart and replaced the nozzle. Also checked all screws of the hot-end and the extruder en tightened them where needed. After reassembly, I tried true, move axis in the settings, to push true the PLA. This was working fine. After starting the same print, the same problem came back, no PLA. again tested it true settings and there the PLA was again. Somehow the extruder is not working properly when printing.
First I tried to slice in Pruca, but since the printer was giving me some problems I tried it with Cura and both slicers gave me the same problem. I also tried one of the other extruders, no luck there.
two links of two short video's I made:
https://youtube.com/shorts/HFrVtqYPhSw?feature=share
https://youtube.com/shorts/DzwKJ-sibwo?feature=share
I am quite new in the printer world so some advice would be really helpful.
Thanks in advance
RE: MK2 with MMU problems 🙁
your heater block is assembled incorrectly. for starters,
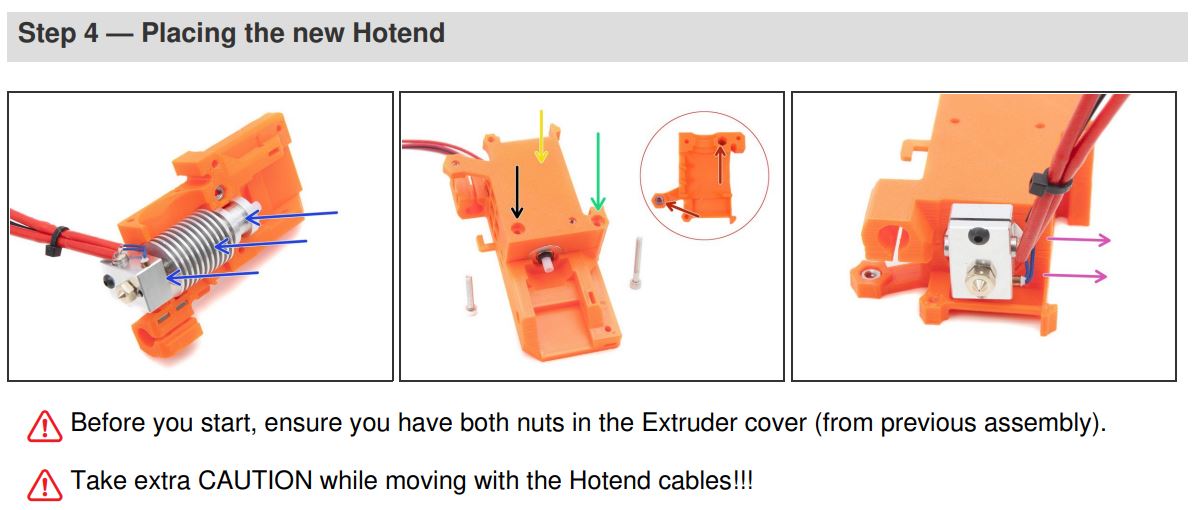
https://help.prusa3d.com/wp-content/uploads/2021/05/Original-Prusa-i3-MK2S-to-MMU1.pdf
chances are that you are also using the printer with wrong slicer settings
Are you using the Prusa Mk2 MMU1 slicer settings?
Do you have the Mk2 MMU1 Firmware loaded?
First of all, I would remove the fan shroud, and loosen the extruder front housing,
If neccessary I would cut the cable ties on the wiring bundle to the rear of the extruder and I would re position the heater block so that the long section of the heater block runs front to back with the heater wires and the thermistor wires along the left hand side of the heater block (Looking from the front
then I would tighten the extruder housing, re arrange the wiring bundle as described in the assembly manual, (linked above) making sure that the cable tie nuts, are located in the correct positions
Then I would replace the fan shroud.
next I would turn the printer on, and preheat to the preferred temperature,
while this is heating I would press the display knob once and rotate the knob until you can see the firmware version (I believe it is in the last LCD Menu option)
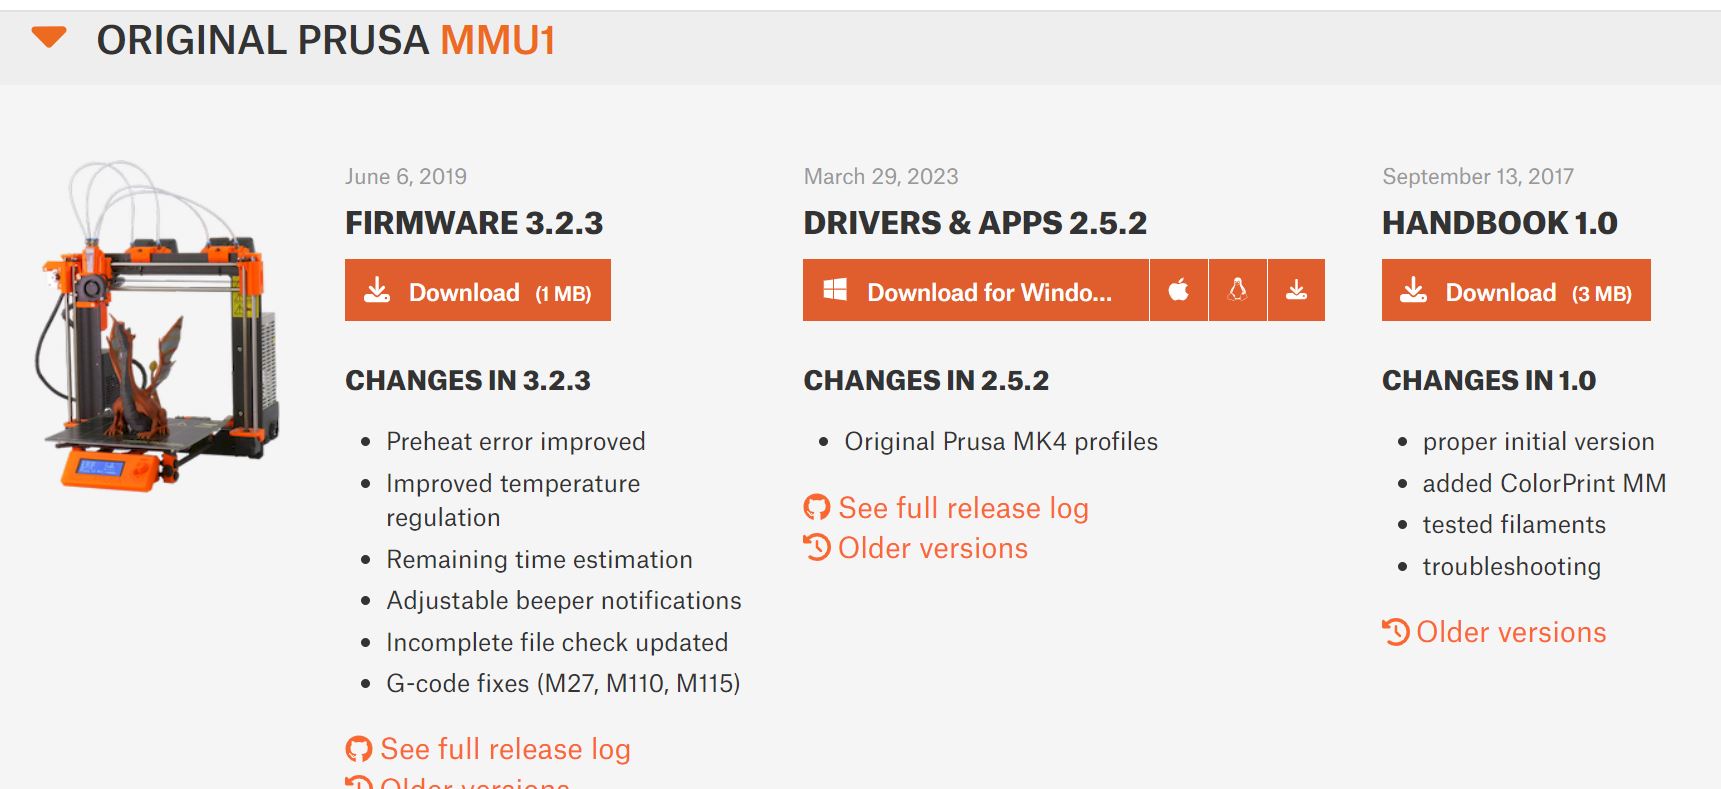
You should be able to download firmware from here if needed https://help.prusa3d.com/downloads
If the firmware is OK,
I would check that there is NO filament loaded.
If there is filament loaded, I would start by unloading all filament
then I would check the first three feet of each filament for damage, the extruder gears can chew up the filament if it is not feeding properly
If there is any damage, cut the filament back to good filament.
then cut the end of the filament at an angle as normal.
Choose a colour for extruder 1 (in the enclosed files, I have nominated black) select load filament 1 on the LCD Display
the filament is usually pushed up a length of feed PTFE tubing and into the extruder ( extruder 1 should be 'Ticking' at this stage. )
as you feed the filament into the extruder the extruder should grab the end of the filament. at this stage, press the lcd knob... the extruder should feed the filament quickly, into the top of the X carriage assemble, and 'Park it' about 20 mm inside the X carriag assembly (At this stage the filament IS NOT loaded to the extruder)
Repeat the process with a contrasting colour filament in extruder 2, and the second filament should be parked about 20mm into the X carriage assembly.
Now unzip the files that I have attached below, and transfer the Gcode onto your SD Card
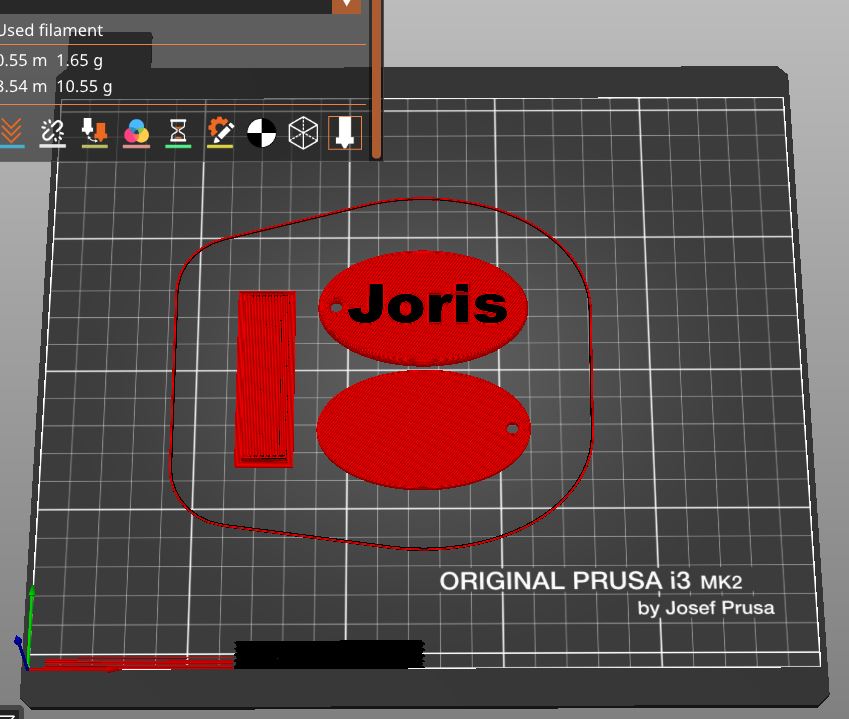
Insert the SD Card into the LCD and select 'Print from SD Card' then select "JorisTag.Gcode"
the printer should heat up with the bed at 70C and the nozzle at 215C, then it should start printing
the printer should initially try to print filament 2 (this should purge whatever colour was in the printer before so it may appear the wrong colour! (don't worry))
then the printer should change filaments to filament 1, and print a larger purge line, (As shown on the image below )(Note this larger purge line will probably start with the colour from filament 2... as it is purged from the nozzle, again, don't worry. )
After printing all of the colours used in the print, (2 colours in this case) the printer should stop, awaiting your attention... (This is to allow you to remove the purge lines, if they a re likely to interfere with your print... In this case, they will not interfere, so just press the LCD Knob) (Be aware that if you do not respond, the printer will wait a while, then begin the print anyway. )
the printer should now begin the print and change filaments automatically.
regards Joan
I try to make safe suggestions,You should understand the context and ensure you are happy that they are safe before attempting to apply my suggestions, what you do, is YOUR responsibility.Location Halifax UK