PETG problems
Hi all,
I am proud owner of a i3 MK2/S I built from a kit. After successfully printing PLA for a while, I am trying to switch to a PETG spool I have ordered with the printer kit from Prusa.
I am using PrusaControl and the default Prusa settings for their PETG.
Unfortunately, I do not succeed to print. Main problem is first layer adhesion. I tried playing with the Z adjustment, but am not sure whether it is too high or too low or whether the problem is a different one. Basically, the layer does not stick well and is dragged off the bed when the extruder moves around corners and I constantly get a really bad mess on the nozzle.
Before I continue: do the PrusaControl defaults work for you with the Prusa PETG?
Somehow I am under the impression that print speed is rather high for the first layer. But then I read many times that the PrusaControl settings were fine for their own filaments and I am therefore reluctant to change much before understanding what is wrong .
What I also noticed is that the filament slowly flows out of the extruder, even when not printing. Already during Z calibration, this thin stream of filament is "bent upwards" and I think it then starts to stick to the nozzle. Is this the normal "oozing" described for PETG?
What I also wonder is what happens if I reduce print speed. If I do so, is the extrusion rate automatically also reduced?
Lots of questions, but I would appreciate your help! And yes, I have read many threads about PETG problem but am not sure whether they apply to my case.
Re: PETG problems
This what the next try looked like. I lowered speed to 50%.
At the left the extruded string did not stick and looks thinner. I had already removed the skirt there during printing because it was loose but I nevertheless wanted to see how the rest turns out.
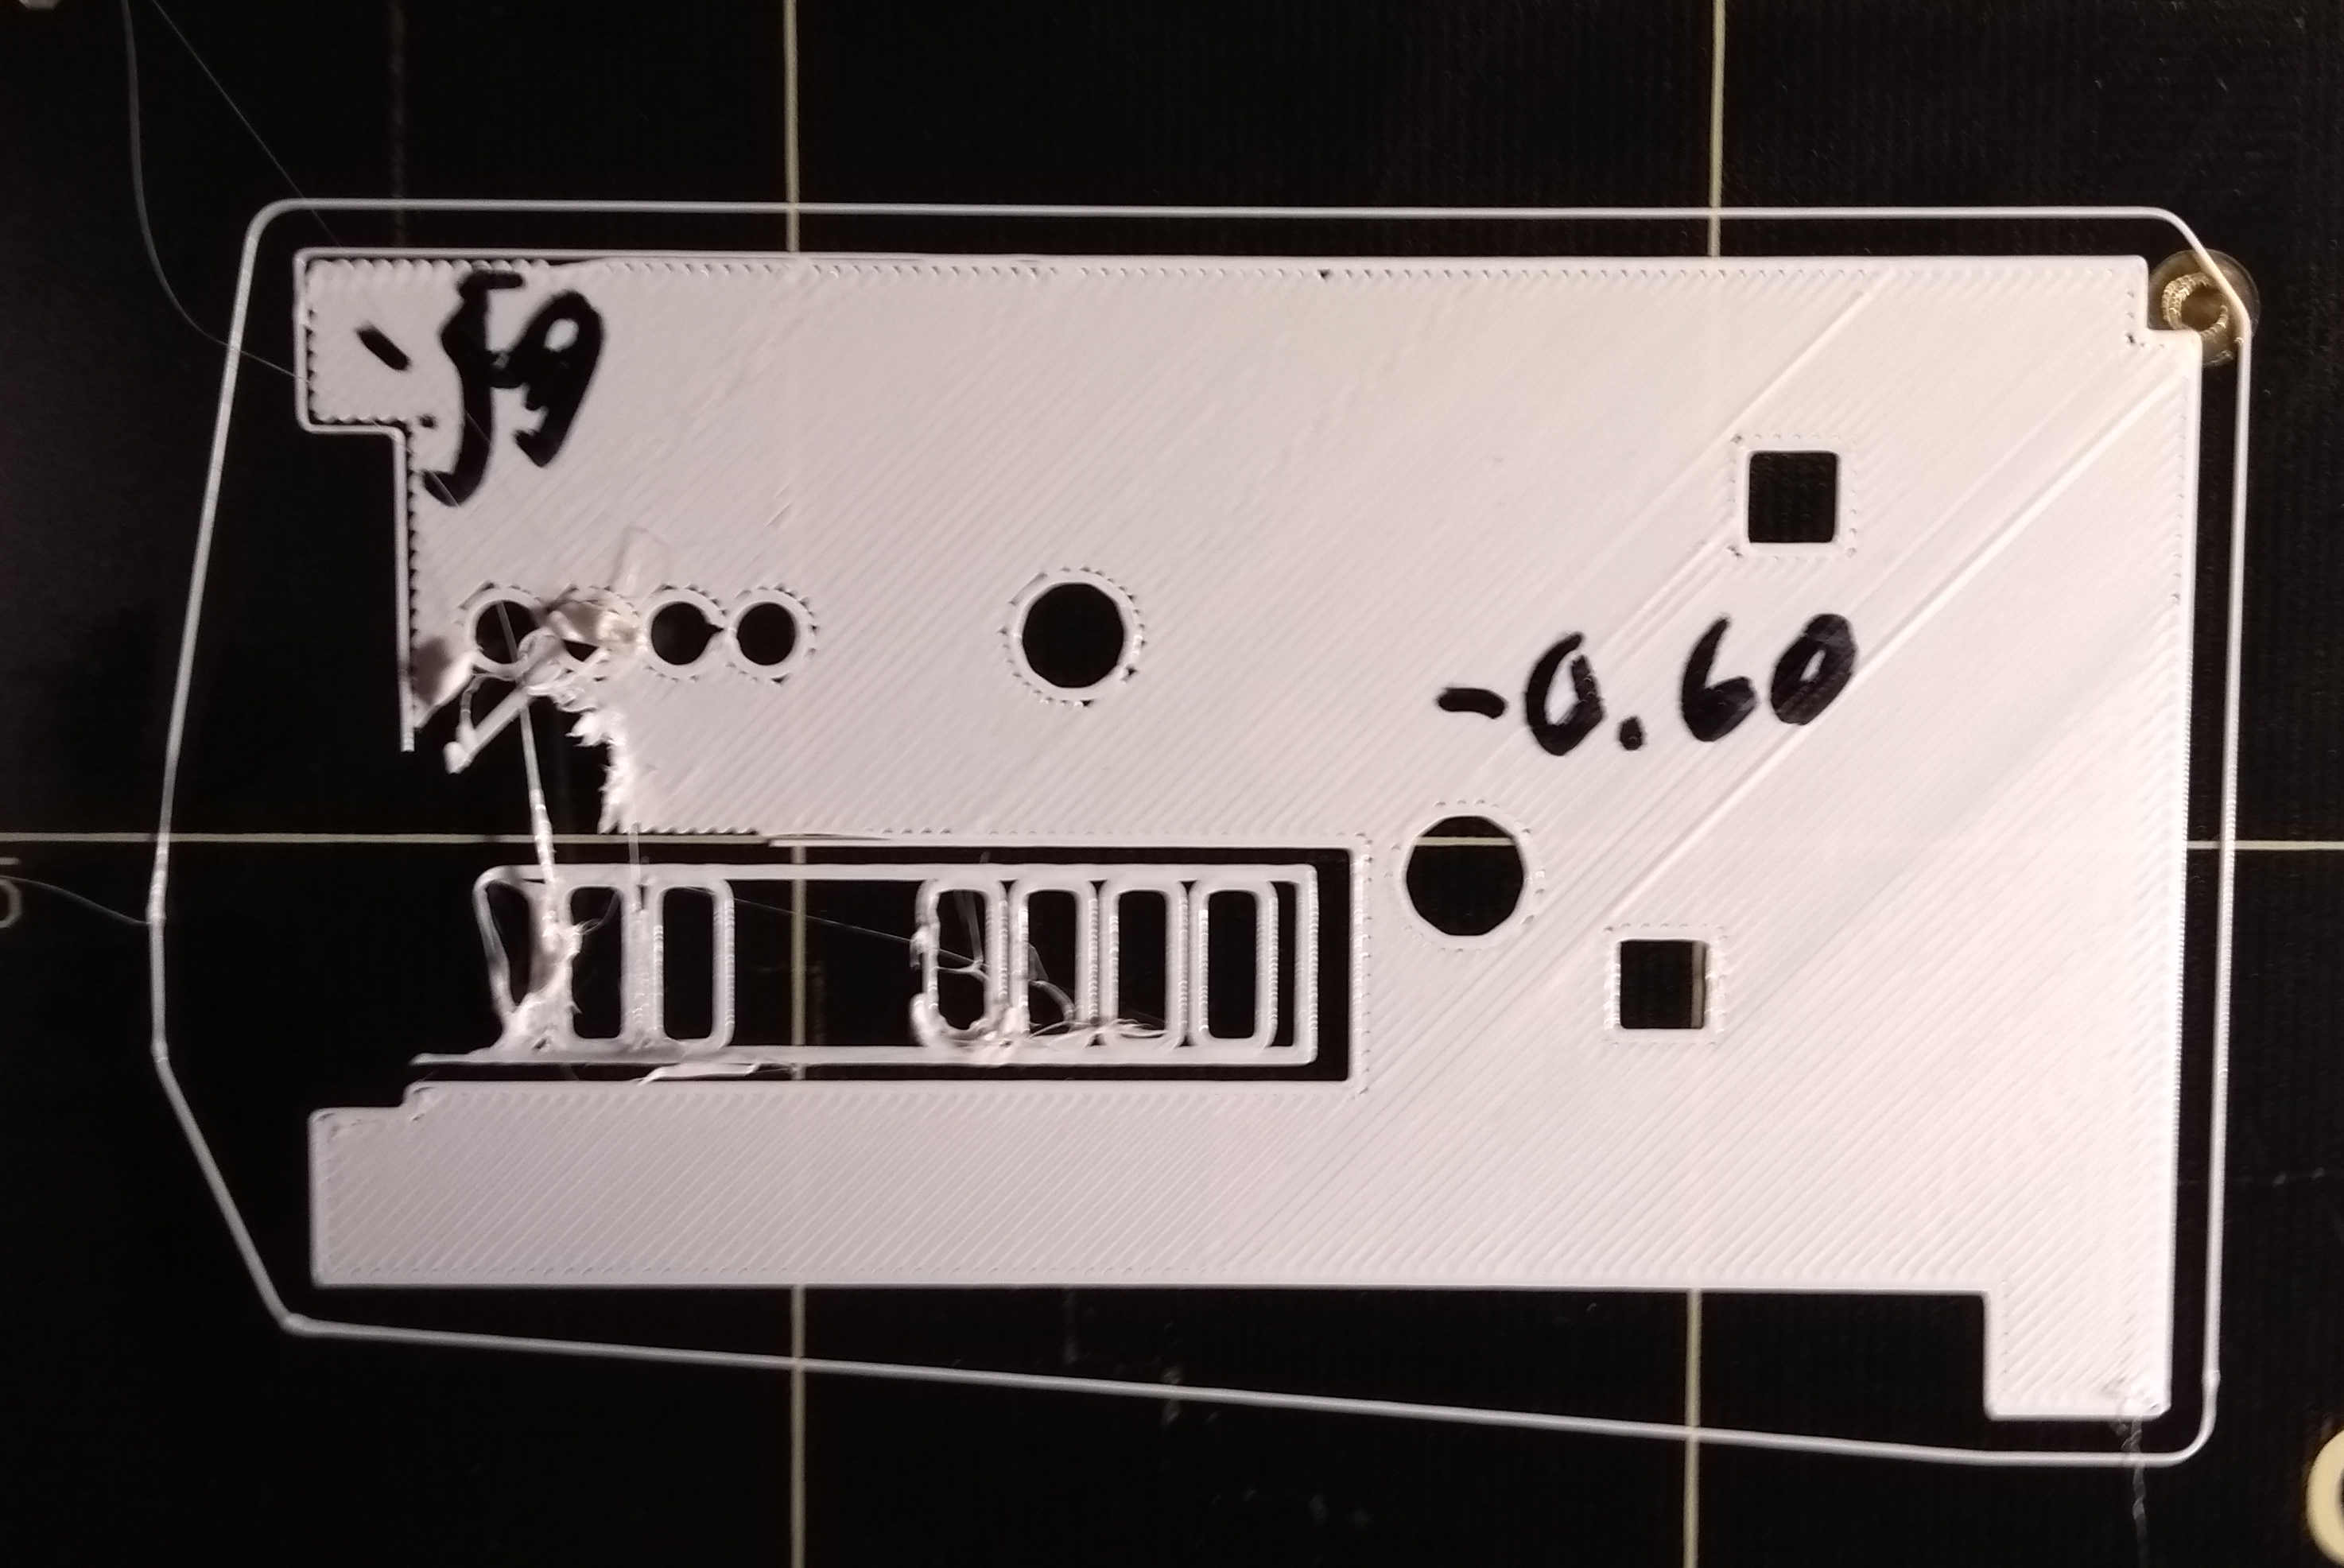
Is the bed warped in the end? But then I thought that the Z calibration at the 9 points would fix that...
Question for the experienced PETG users here, does the right part look ok?
Re: PETG problems
You might want to lower you live Z a bit.
And maybe you should run the Z calibration routine, which should help level out any slope on the X axis. It does this when it pushes the X ends to the very top of the printer. Of course, that assumes that your Z rod holder brackets at the top of the frame are both installed correctly; the top of the brackets should be horizontal. It might take a little "persuasion" to get both smooth rods properly seated in their brackets. Then during Z calibration, when the X ends touch the brackets at the top, the X axis will get leveled.
Nothing terrible is going to happen if you play around with a few parameters like hot end temperature and bed temperature, as long as you stay close to the machine so you can stop it if it's messing up. Not all spools of PETG are identical, so some may need different settings.
And yes, when you slow down the print speed, the extrusion rate also slows down. The G-code basically says how much plastic to extrude during a given move, and the printer itself calculates how many steps of the various stepper motors are require to accomplish that.
Letting a printer that's not adjusted correctly run unattended for a long time can lead to big blobs that are hard to clean up, which is why I said stay close to the machine when you are experimenting with different settings. Once you have everything dialed in, you can develop your own level confidence in how long to let it run unattended.
Re: PETG problems
You might want to lower you live Z a bit.
Ok, will try again with a lower (more negative) Z value.
And maybe you should run the Z calibration routine, which should help level out any slope on the X axis.
I did that to rule out this problems. However, I thought the 9-point Z calibration with the PINDA probe would fix any small remaining bed unevenness. With PLA, I print in the middle of the bed and there it seems flat enough. However, when I tried the same with PETG the heater could not hold the measured bed temperature because the fan cooled the probe down and printing stopped with a bed temperature "runaway" error.
Anyway, I will try again in the middle.
I also wonder whether there is some temperature-dependent bed warping...
Re: PETG problems
Hey:
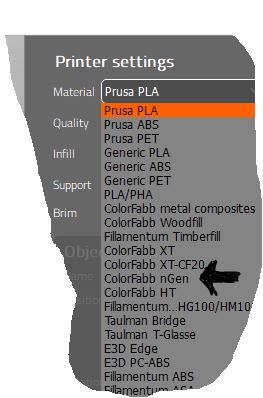
I have many PETG prints and also used Prusa Control with the PETG presets and have not had a problem. However, Prusa Control does not let you adjust temperatures and such. I also always used the NGEN profile instead of PETG and found it better. It was with I started with and it worked well in Prusa Control so that is what I used until switching to Slic3r PE once comfortable
You might want to clean your bed real well, do a calibration square from the life z adjust thread located under the MK3 subheading in the assembly and first prints section first to ensure your live z is dialed for PETG, and then slice and generate the GCODE with the NGEN profile
instead of PETG and see if that is better. Please excuse my horrible snipping skills.
Prusa Control is awesome to get up and running, but you cannot beat Slic3r PE for the control over print settings like temp and stuff... PETG is very sticky and oozy unless you get the settings right. Also, Humidity is something to think about. I am in a very humid location and have to dry my PETG after a day or so of use because it sucks up moisture like crazy. I find it gets really stringy and oozy when it needs to be dried.
Good luck and enjoy!
Strange women, laying in ponds, distributing swords, is hardly a basis for a system of governance!
Re: PETG problems
It was with I started with and it worked well in Prusa Control so that is what I used until switching to Slic3r PE once comfortable
I will switch to Slic3r but wanted to know where to start the tuning... without an understanding of how the many parameter play together and which ones am wrong this is difficult! I think I will lower first layer speed massively.
You might want to clean your bed real well, ...
PETG is very sticky and oozy unless you get the settings right. Also, humidity is something to think about.
I did clean the bed with acetone and dried the PETG in the oven at 70°C for a few hours. This seems to have helped adhesion and the filament does no longer flow from the extruder when it is idle (it did before, with the roll fresh from the packaging).
How do you dry your PETG filament?
If it takes up humidity so quickly, it would mean I need to unload the filament and remove it from the printer all the time between prints...
Re: PETG problems
I have had similar experiences like you.
I printed more than2 rolls of PETG without big issues, but then I also ran into the problems that have been described so many times.
This weekend I tried printing with Prusa PETG and had exaclty the same behavior as you describe. filament not sticking, creating a blob on the nozzle, IPA and Z-level didn't help.
* You dried your PETG - excellent, that helps! (I never dried in oven, just keep it in an airtight box with >500g Silica)
* gently scrub your print plate with soap and warm water, dry with paper towel
* do a cold pull to get any dirt out of your nozzle
* let your printer heat up for 10 minutes to give the pinda probe time to stabilize temperatures (Not sure if that is essential)
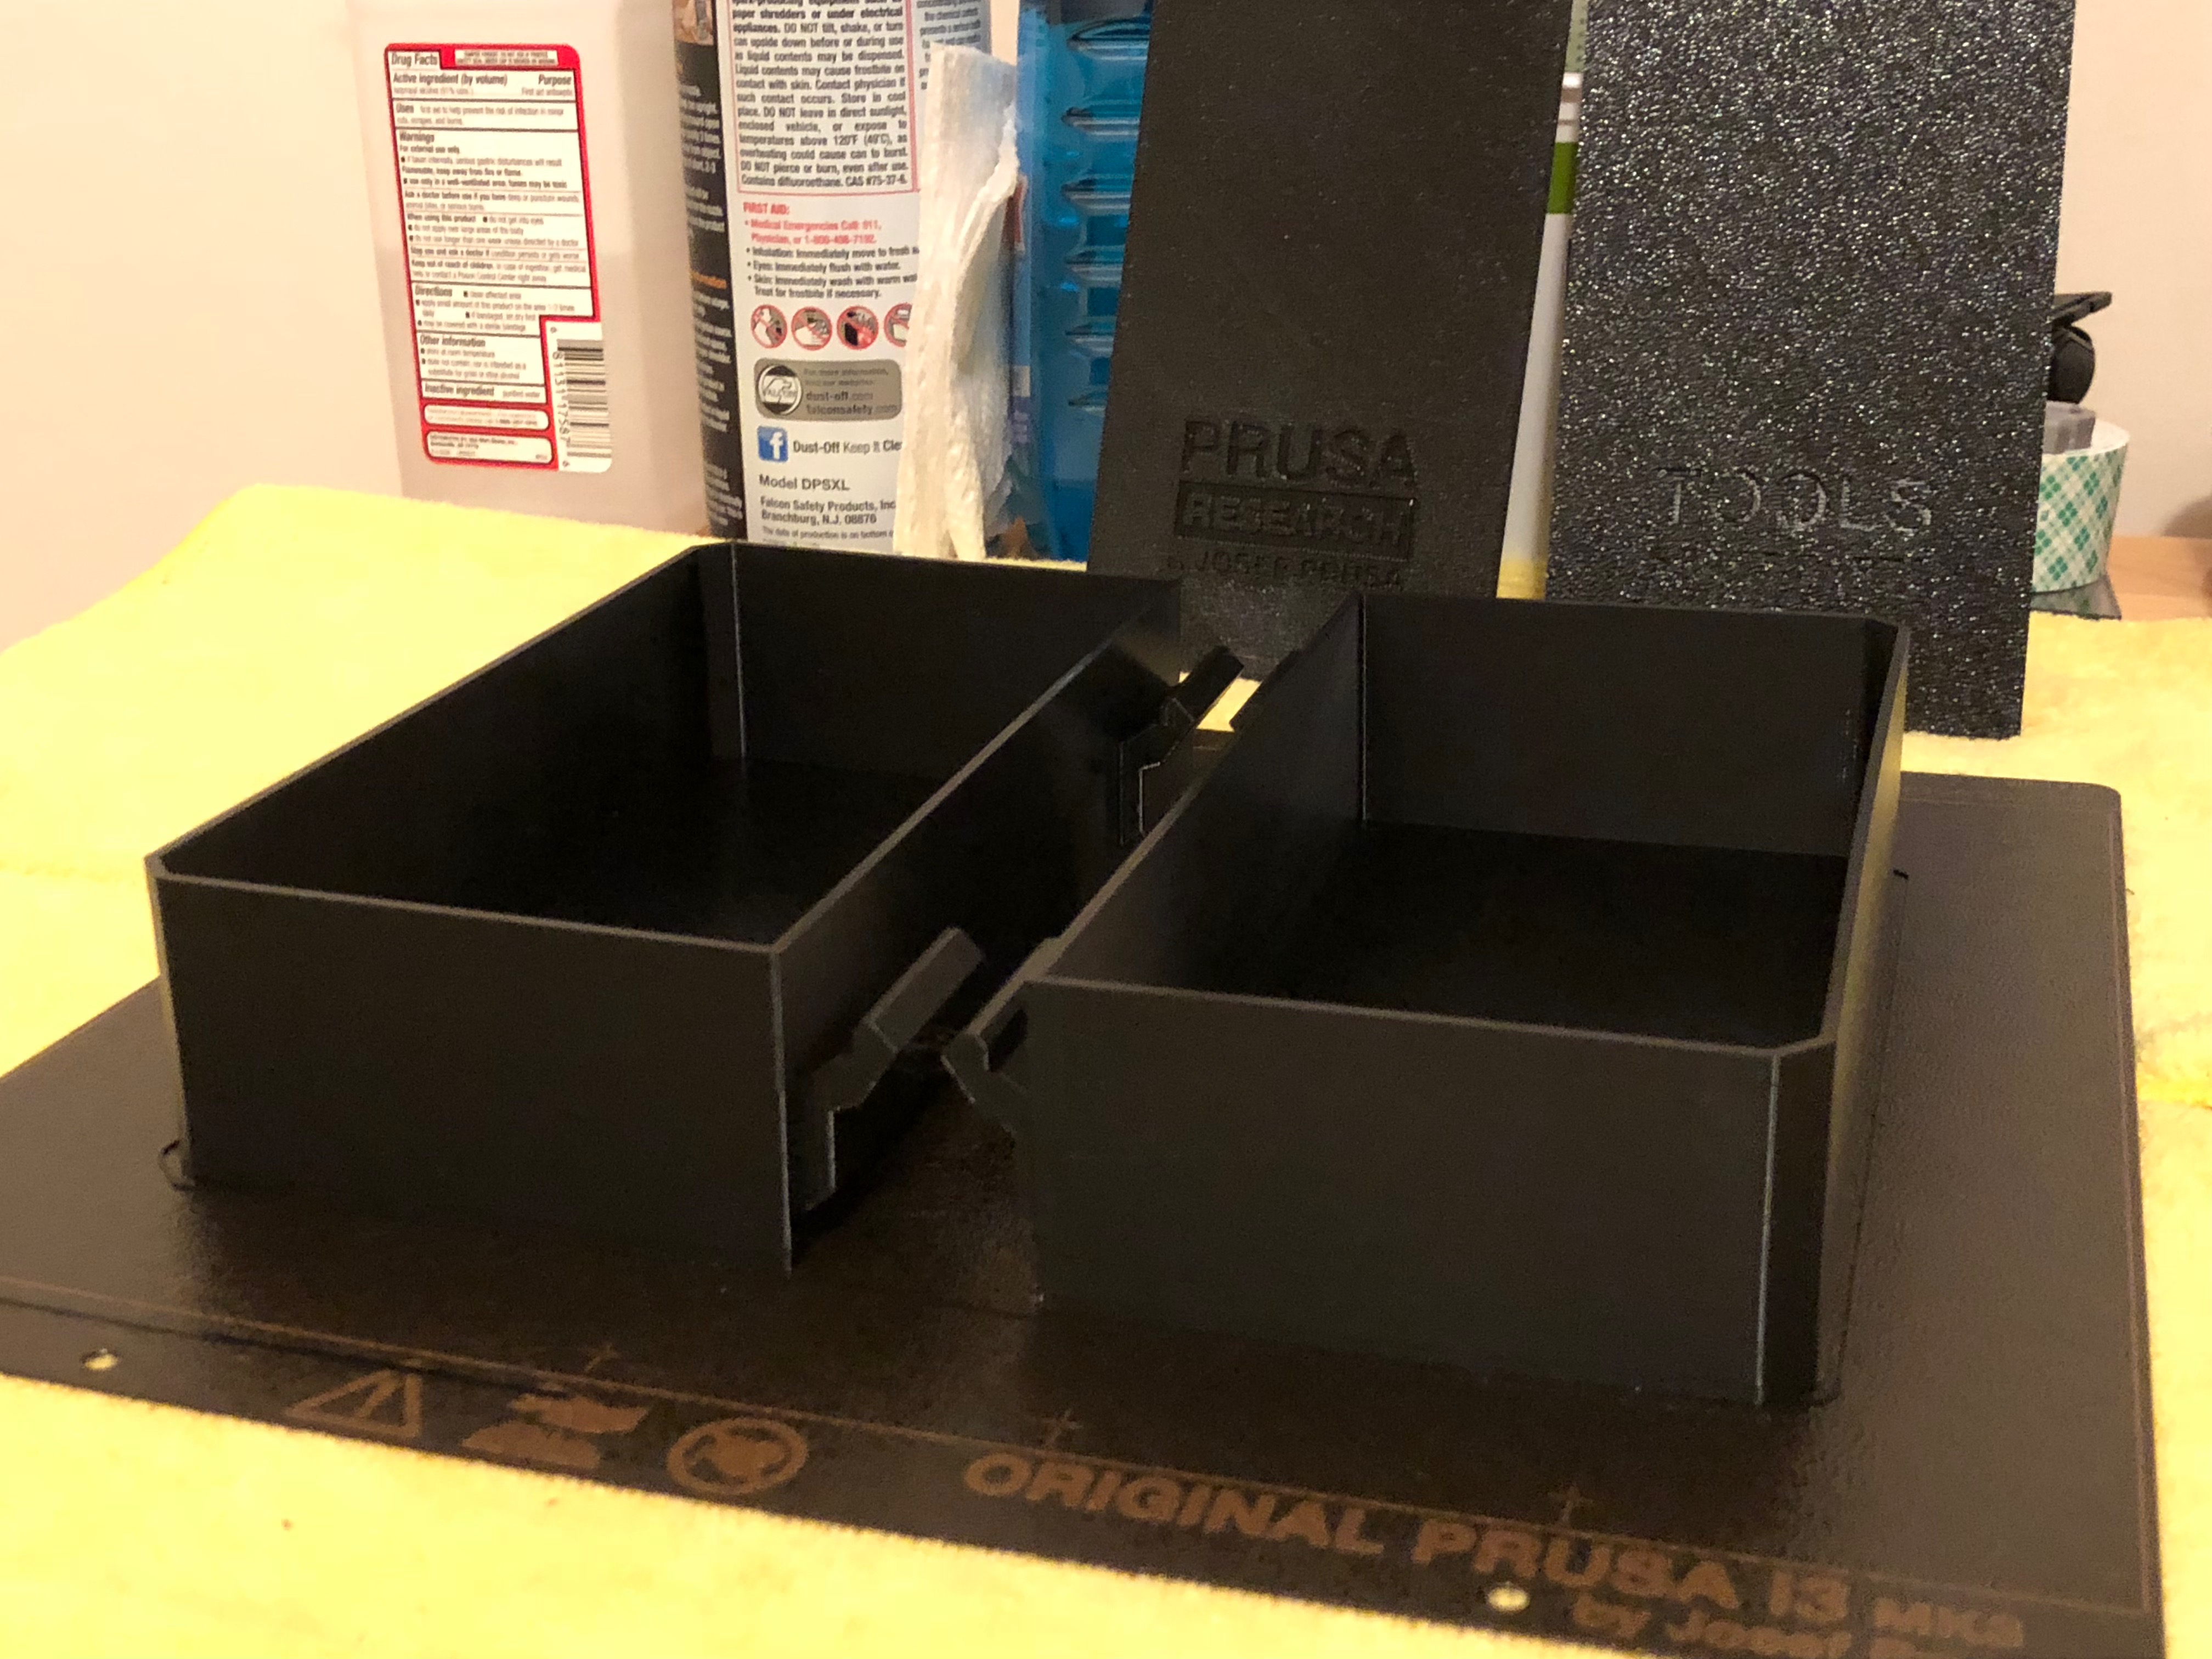
After doing these steps above yesterday the PETG printed almost flawlessly, only a small issue in the support but I let it continue and worked out fine.
I always use the Prusa PET preset and only change shells and supports, but I do slow down the print at least in the beginning to 80%
This is the result:
Re: PETG problems
If it takes up humidity so quickly, it would mean I need to unload the filament and remove it from the printer all the time between prints...
That's exactly what it means. And if it has been sitting around (even in a bag with silica) for quite a while you may find drying it will still be required. This also depends on your climate to a degree as well. PLA is more forgiving.
I can back this statement.
After experiencing the humidity related issues (oozing, stinging and blisters) I always remove the filament rolls after printing and store them in watertight storage boxes with plenty of silica gel. I bought 5kg of gel which came with 10 nylon mesh bags that hold about 250g---300g each, and I put 3 of those bags into a box with 8-10 rolls of filament.
Printer is in a LACK enclosure, roll on top, and I am now also covering the roll with a transparent IKEA box on the Lack shelf to limit moisture absorbtion. Planning to start printing with Nylon soon, will then also put a bag of silica gel under the IKEA box to further reduce moisture issues.
Re: PETG problems
PN2:
"How do you dry your PETG filament?"
I got a Westinghouse WFD100W dehydrator from Amazon, like $32 and free shipping, and modified it for filament rolls. they also have big ones at Walmart for $30 too if one is near you. There are Thingiverse prints you can download so you do not have to cut up the trays, but I will never use it for anything but filament rolls so I did not care. I got the Celsius version. Here is a good article on it. https://letsprint3d.net/2018/04/20/how-to-make-a-filament-dryer/ . The oven works too if you can measure Celsius, most US ovens are in F and don't go low enough..
"If it takes up humidity so quickly, it would mean I need to unload the filament and remove it from the printer all the time between prints..."
Yes. I open a new roll and print for a day. Then I seal it in a box with silica gel beads, print a second day and then dry to the filament dryer for 4-8 hours before sealing back in an airtight box. Living in very high humidity, I have to dry my filaments, PLA too, after a day or two out. I really notice the change. The filament will get real stringy with PETG once it starts absorbing moisture, before it starts popping and crackling. You can also extrude some filament and feel the extruded string - once it cools. It should be smooth, if it has bumps in it that is the moisture bubbling and popping. Tom Salander has a youtube video on wet filament which is good. You could also get a $10 - $12 hygrometer at a sporting goods store to measure humidity in the boxes and monitor the humidity.
You got some good advice in this thread, I would focus on humidity of the filament and using a different profile like NGEN before messing with other settings, but once you get into Slic3r PE go to github and download the Chris W. profiles to upload and use the Pretty PETG profile. it is pretty bulletproof and the standard for settings. https://github.com/eoprede/prusa_profiles/tree/master/MK3/Slic3r . you need to register on github and download the full profiles, saving them individually does not always work.
George: that is a good looking PETG print!
Some pics.
Colorfabb econ PETG printed using NGEN profile 10 hr print
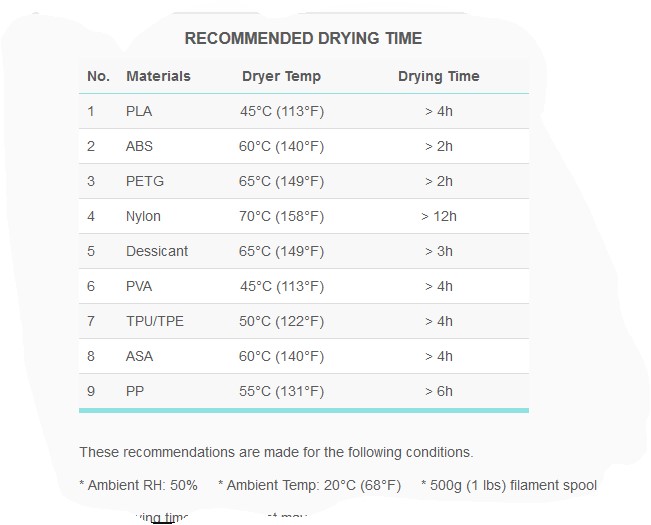
Drying temps
Strange women, laying in ponds, distributing swords, is hardly a basis for a system of governance!
Re: PETG problems
PN2:
"How do you dry your PETG filament?"
Or buy a cheap food dehydrator and convert it. Pretty easy to convert and they are pretty cheap even new.