A Chilling Tale
Greetings esteemed colleagues;
I come to you tonight with a chilling tale that will make your blood run cold, and if not your blood than perhaps your heat bed.
Last week I was running a print with old reliable, my trusty I3 Mk2.5s. This printer arrived to me in the summer of 2017 as a lowly Mk2 which I assembled with loving care. A year later I bought the upgrade kit for the Mk2.5s, mainly to get the removable steel sheets and have spent many an hour spinning roll after roll, after roll of PLA and PETG through it's extruder.
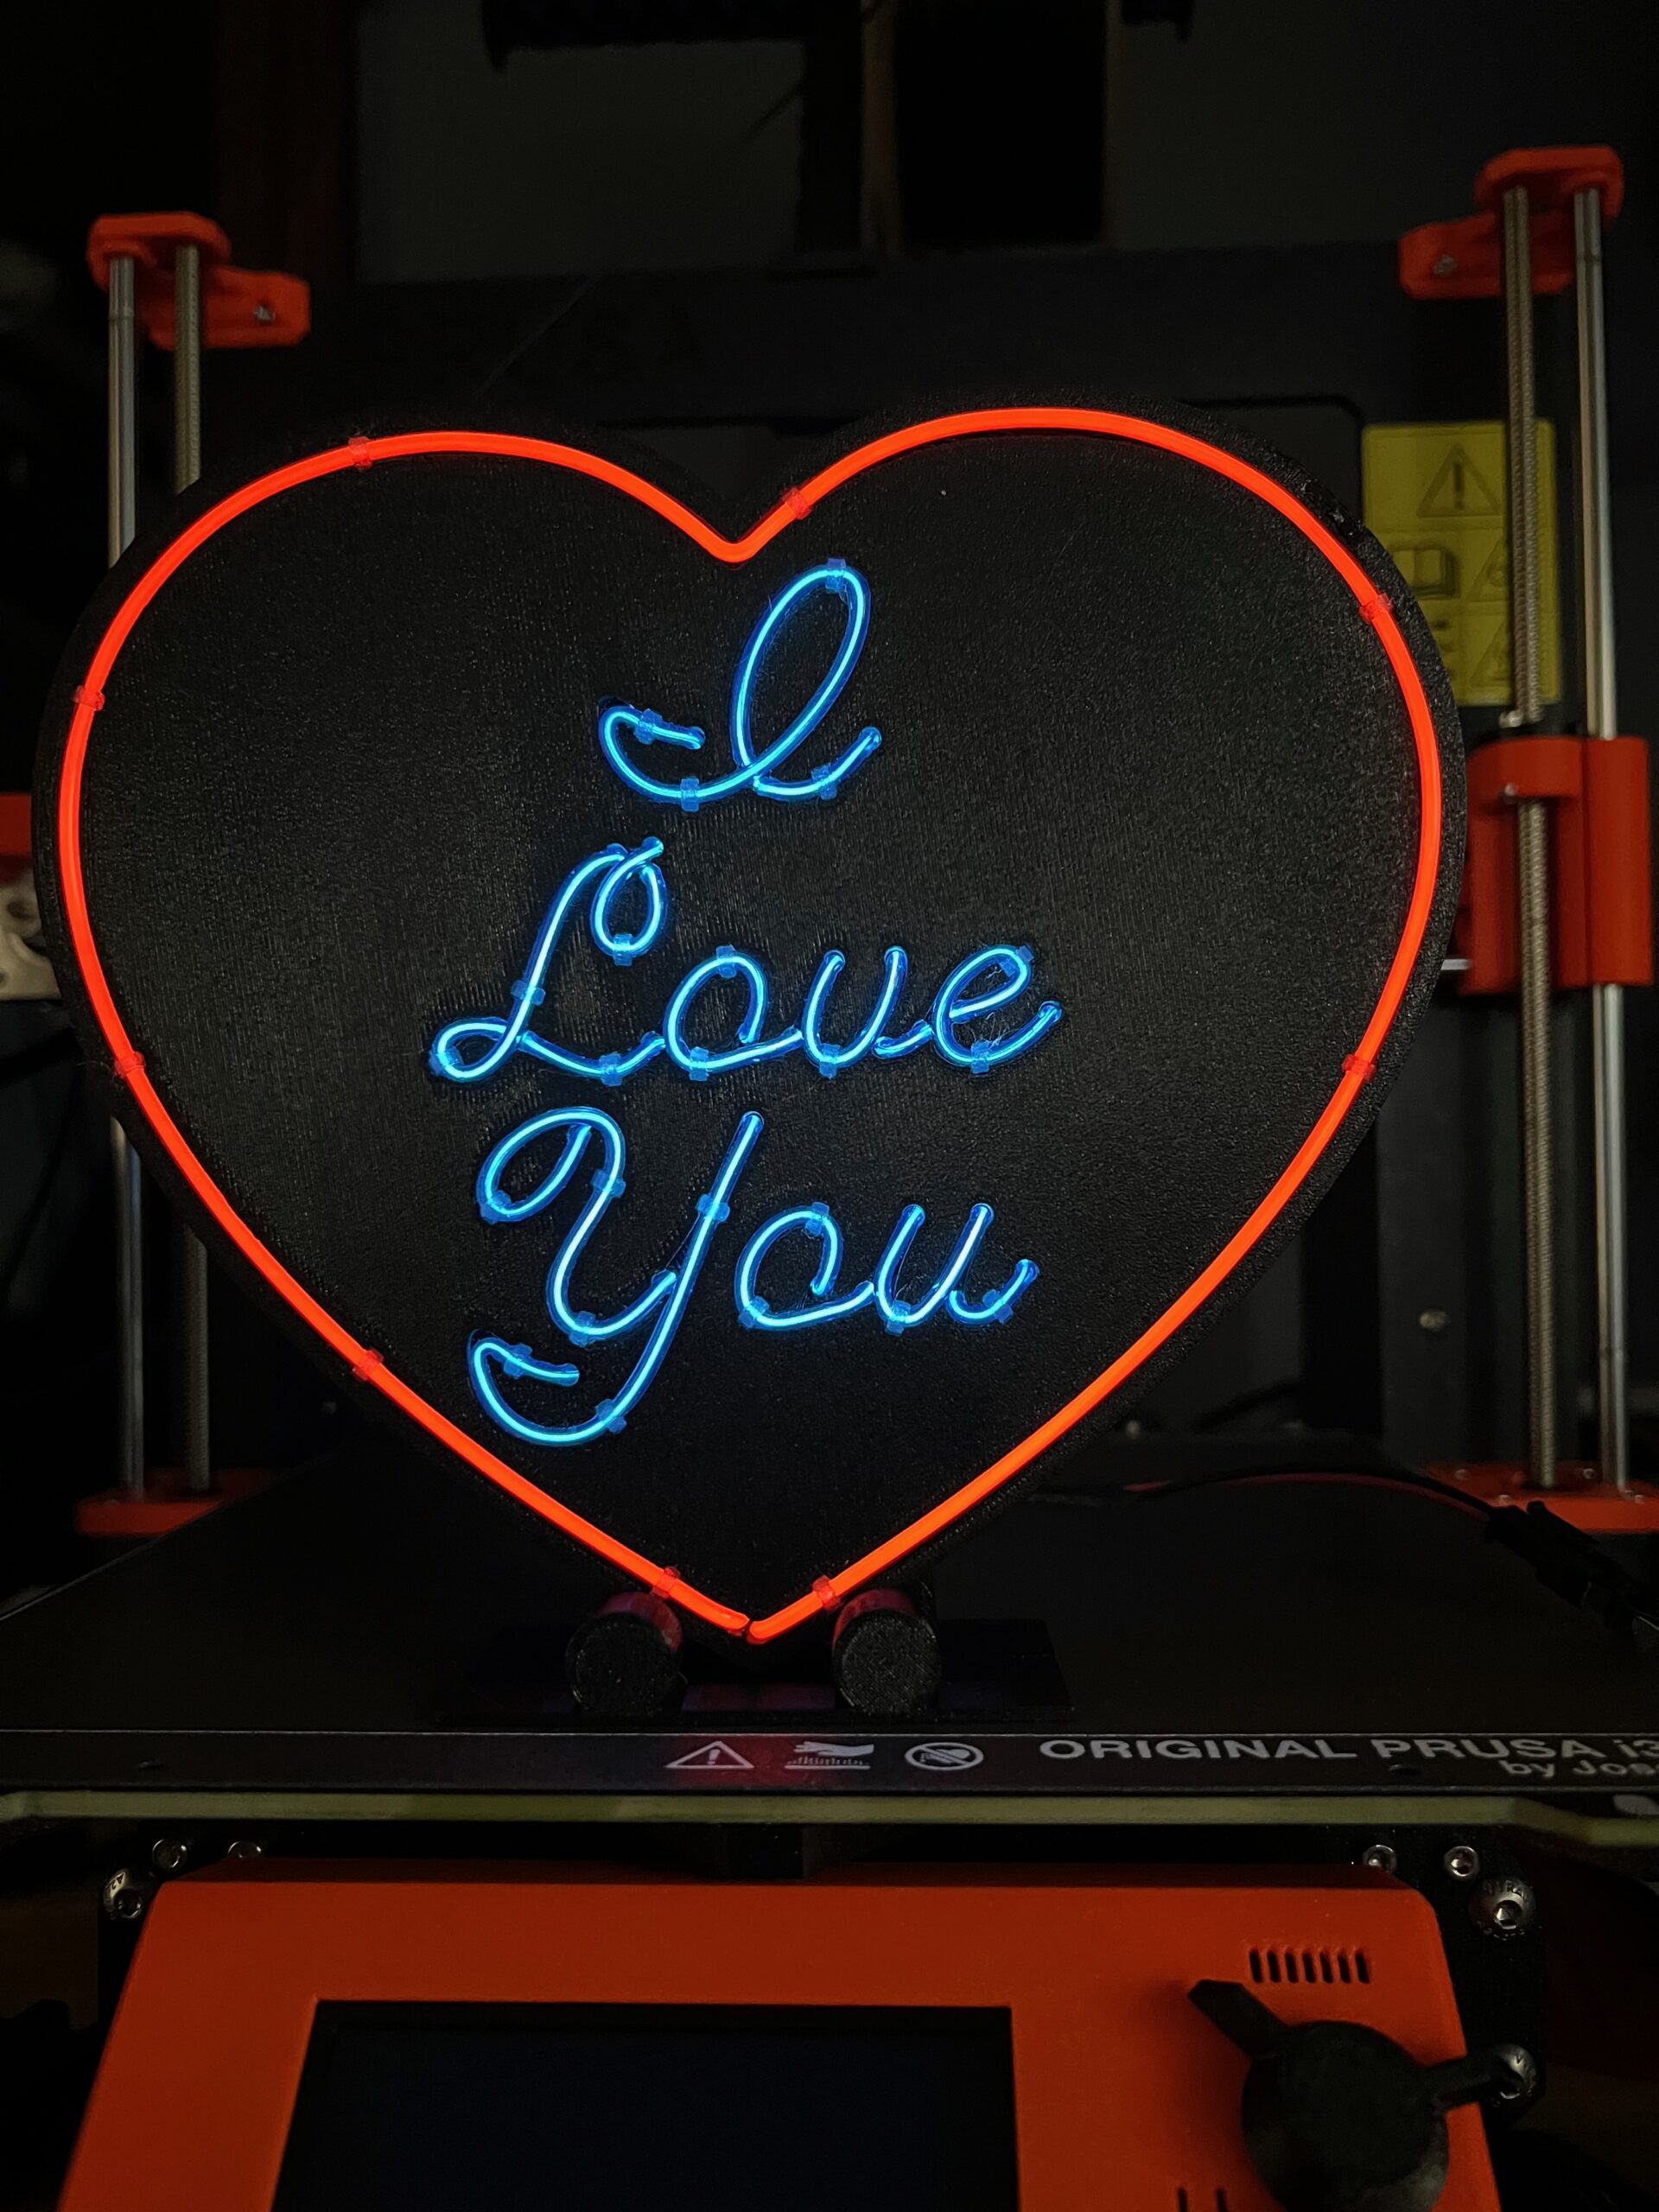
As I was saying, I was printing my latest glowy thing for Valentine's day
and while the print completed fine I been noticing that the red LED for the heatbed wasn't reliably illuminating. The bed had been managing to maintain the set temperature so I thought perhaps the LED itself had simply failed or was failing. Now, I'm not sure how an LED could work intermittently, other than perhaps a broken solder joint that was opening due to heat, but if after 6 years of regular printing all I was to lose was the LED on the bed, well, I could live with that. Such was not my luck. After removing the glowy thing from the print bed I began to print the stand for it. Again the LED was intermittent and the bed was maintaining temperature just fine, until layer 6 when the temperature of the bed began to slowly decrease, degree by degree the temperature declined until it crossed the magic threshold and initiated a Min Temp Error and shut down the print.
Slowly I turned, step by step, inch by inch I approached my stricken printer and began diagnostics. Since this printer is connected to Octoprint my first procedure was to reset the printer and then use Octoprint controls to heat up the bed. After letting it attempt to warm for an appropriate amount of time I turned off the heat. While a min temp reset won't harm the printer, there's no sense in making it go there, after 6 years I have an idea how long it should take to see the thermometer rise.
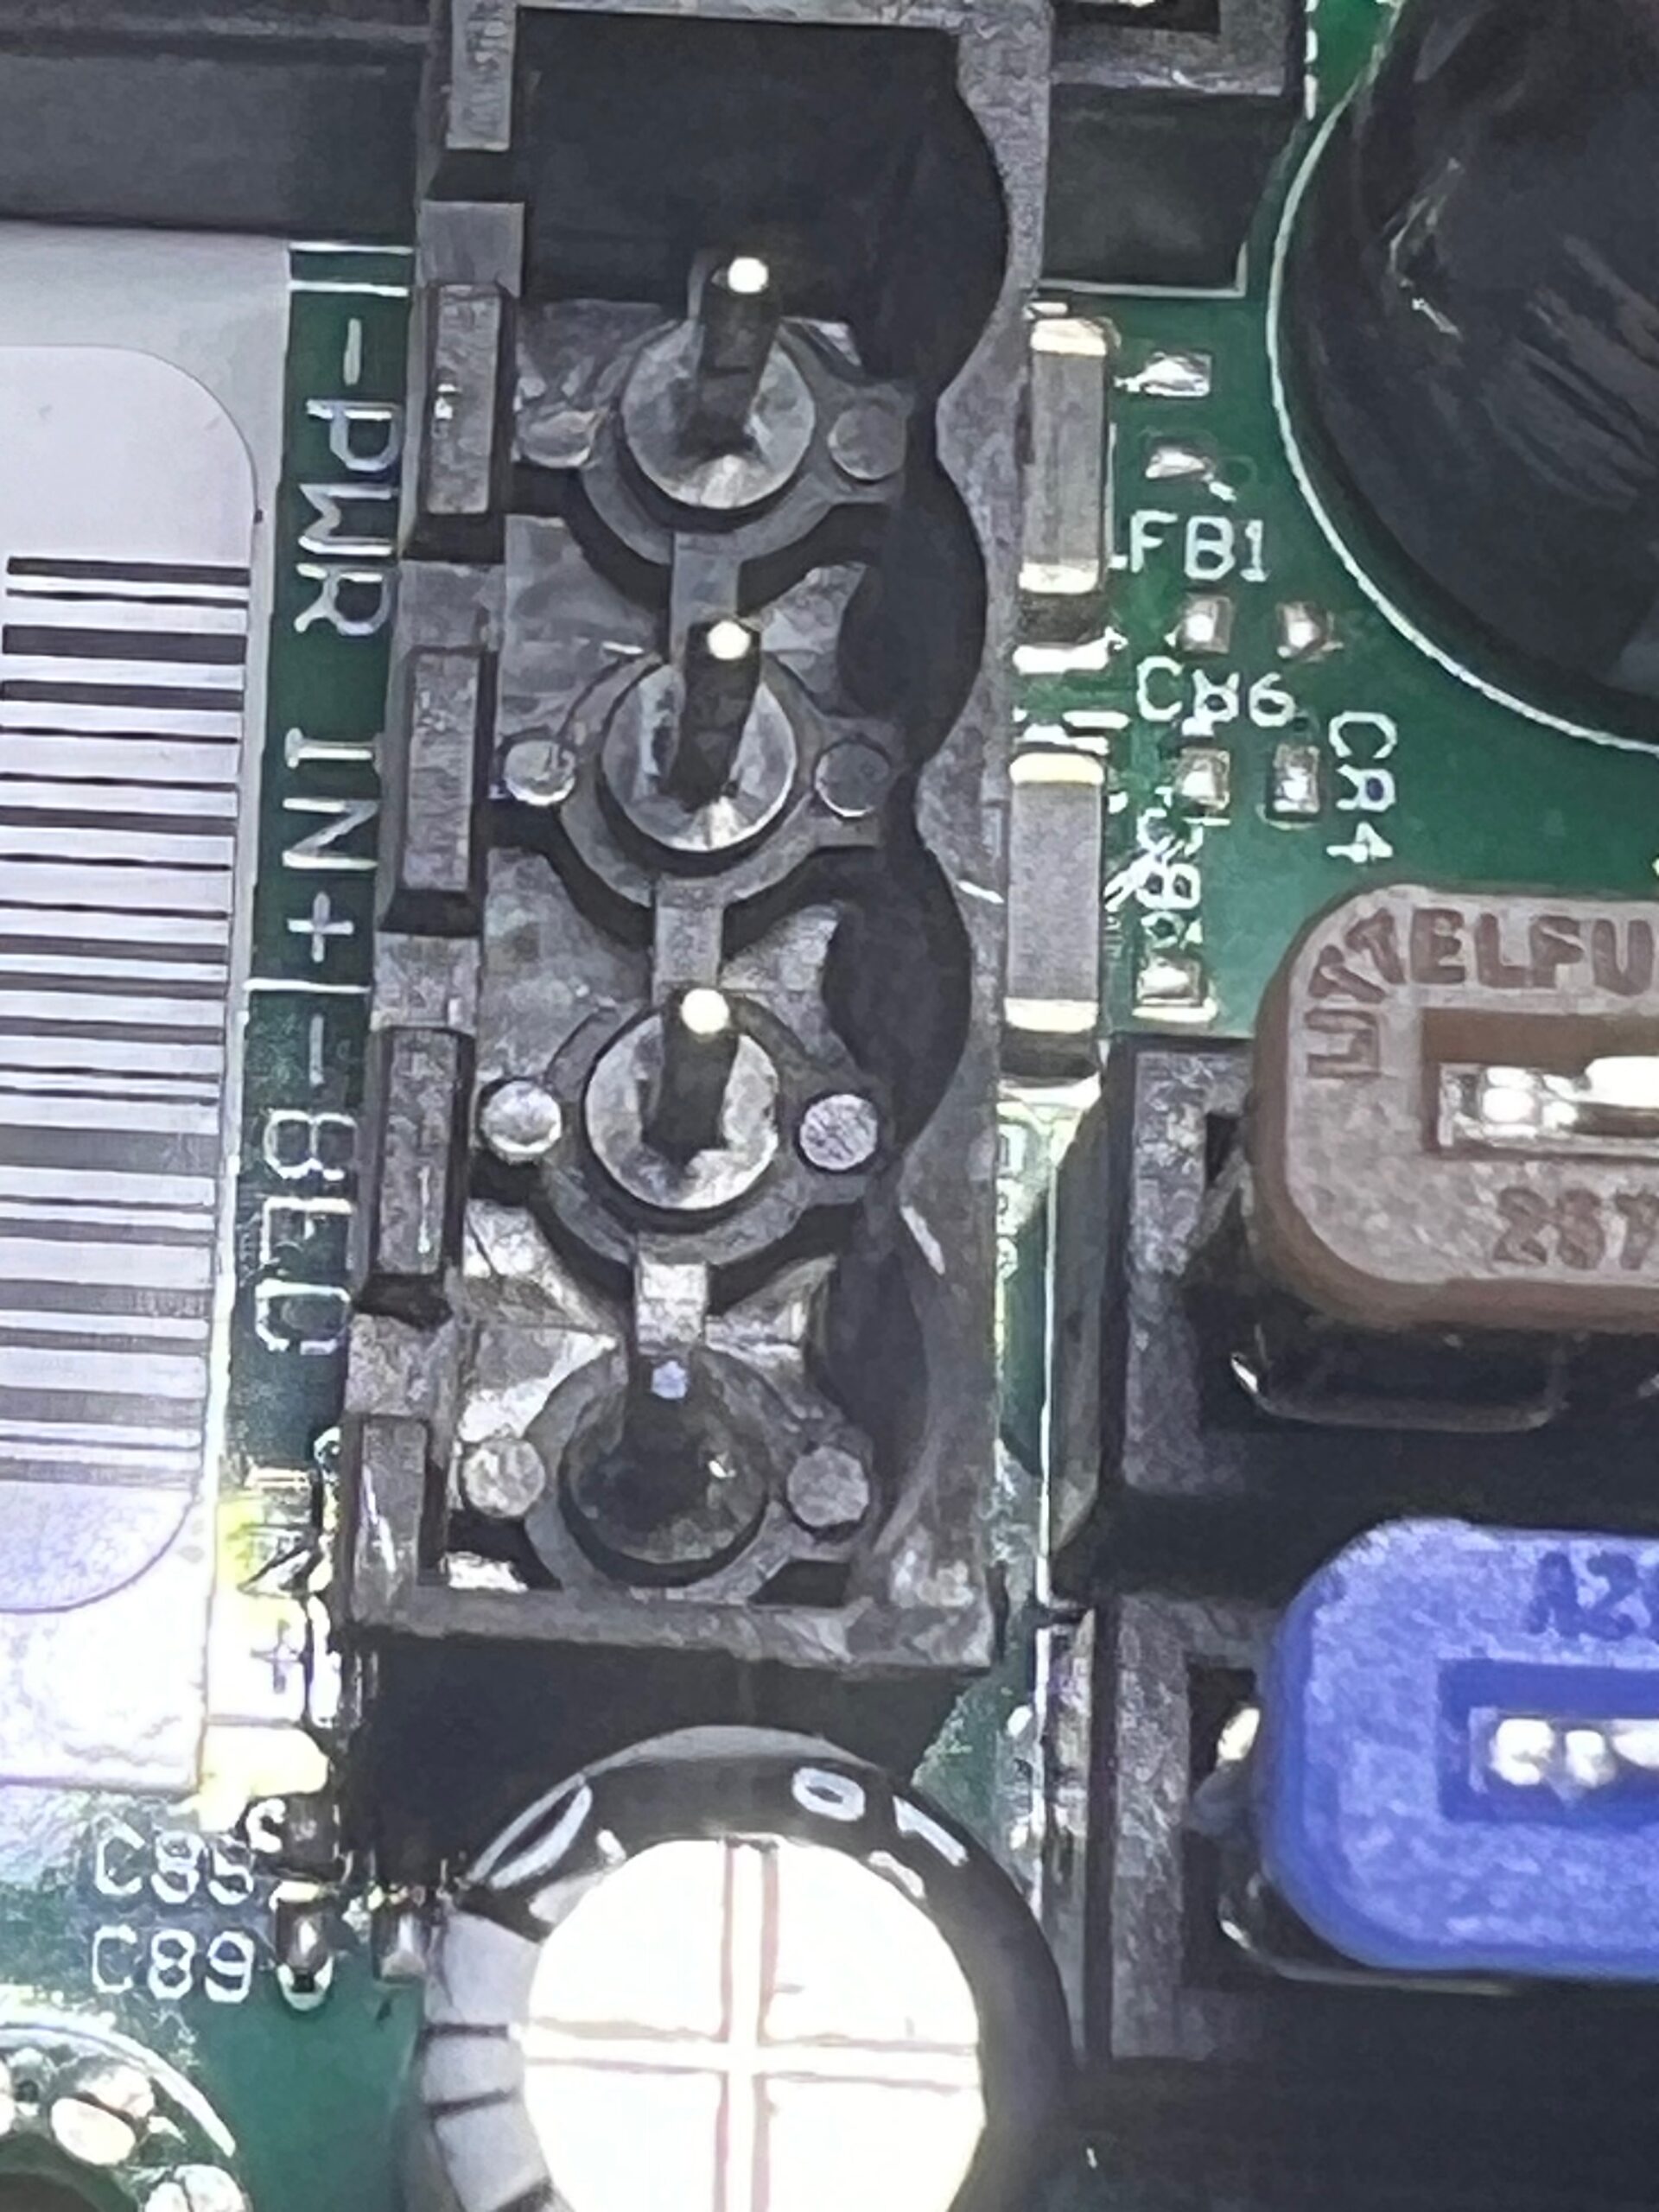
My next step was to determine whether the problem was the bed not heating up or the thermistor not detecting the heat. I drew my trusty heat gun and fired it at the bed and within a few seconds the thermometer began to rise. The Thermistor is good, check one thing off the list. So, the bed isn't heating, why? I relocated the printer from my work bench to a table with better access and pulled the cover off the bed's connections. Everything was tight and secure. I plugged the printer in, set the bed temp from the control panel and checked if there was any voltage on the line. Nope, not a single volt. It had to be something in or related to the Rambo board, still I checked the resistance on the bed and found it to be about 1 ohm, which is correct for this machine.
Carefully I removed the screw to the door of Rambo cover and I peered at the magic inside, dozens of tiny wires snaked their way around and over the board obstructing my view, I poked, I prodded and could see nothing obvious. Setting my multi meter to the auto ranging volts setting I checked the power coming in from the PSU. 12 volts read strong on both pair, so the board was getting the voltage, good, but was it going out? Did I perhaps break a wire going to the board? I set the control panel to preheat PLA and check the voltage to the bed. Nothing, zip, zero, nada. Since I was there, I checked the voltage to the extruder and read 11.9v. So, I had power coming in, but nothing going out. Examining the board and the wiring diagram of the board I spied a 15 amp fuse, surely this must be the source of my problem. With my tried and true needle nose pliers graciously provided by Joseph Prusa, I powered off the printer and plucked the fuse from the board and laid it on my work space. The case of the fuse seemed a little out of color as if some magic smoke had been released, but when I touched the fuse with my meter probes I learned that the fuse was just fine. Whatever caused the case to discolor was not the failure of the fuse. I re-installed the fuse and scratched my head. The board was getting power in, but no power was going out, that must mean the problem was the Rambo board itself. To insure I'd been thorough in my diagnostics I opened a chat session with Prusa. After waiting what seemed an interminable time I finally raised a tech. We went over my procedures and all my findings and he agreed with me that the problem must lie in the Rambo board. Bummer. There's a $130 expense. But still I have to be grateful that they're still available, so many parts for the 12 volt I3s are not. I withdrew the credit card from my wallet and placed the order.
Since I had nothing more to do but wait I decided just for giggles to check the bed function again, and wonder of wonders it was working. Not only was it working but the LED was operating correctly. I returned the printer to it's long time spot on my work bench and began a new print, a 5 hour print, it finished just fine. The next morning I removed the print, cleaned the bed and started another one only to find that again the bed was dysfunctional. Oh well, I doubted that the fix would be as simple as removing and re-installing the fuse, but weird things sometimes happen. I had a new board coming so I was resigned to replacing it.
Since it would take 5 days to get the new board I found a temporary home for the Mk2.5s and began to assemble a Mk3s+ that I'd purchased some months ago and had left in the box, mostly because I have no place to put it, but also because I recall the hours, and hours, and hours, it takes to assemble a Prusa printer when you don't do it very often. I began the assembly on Friday night getting the frame and the Y axis assembled. Saturday saw the completion of the rest of the printer minus the final plug in of the electronics which was completed on Sunday. I turned on the new printer and held my breath and after what seem an eternity, probably more like 15 minutes, the printer reported that all parts were working and my print had only a slight skew, Good Job! it told me. I put the Mk3s+ where the Mk2.5s had previously resided and started printing with it. What a wonderful machine, it is soooo much quieter than my Mk2.5s.
Tuesday I received the new Rambo board and began the disassembly to take out the old and install the new. It was then I made a discovery that I hadn't seen before. The Molex connector that supplied power to the bed side of the Rambo board had some blemishes on it.
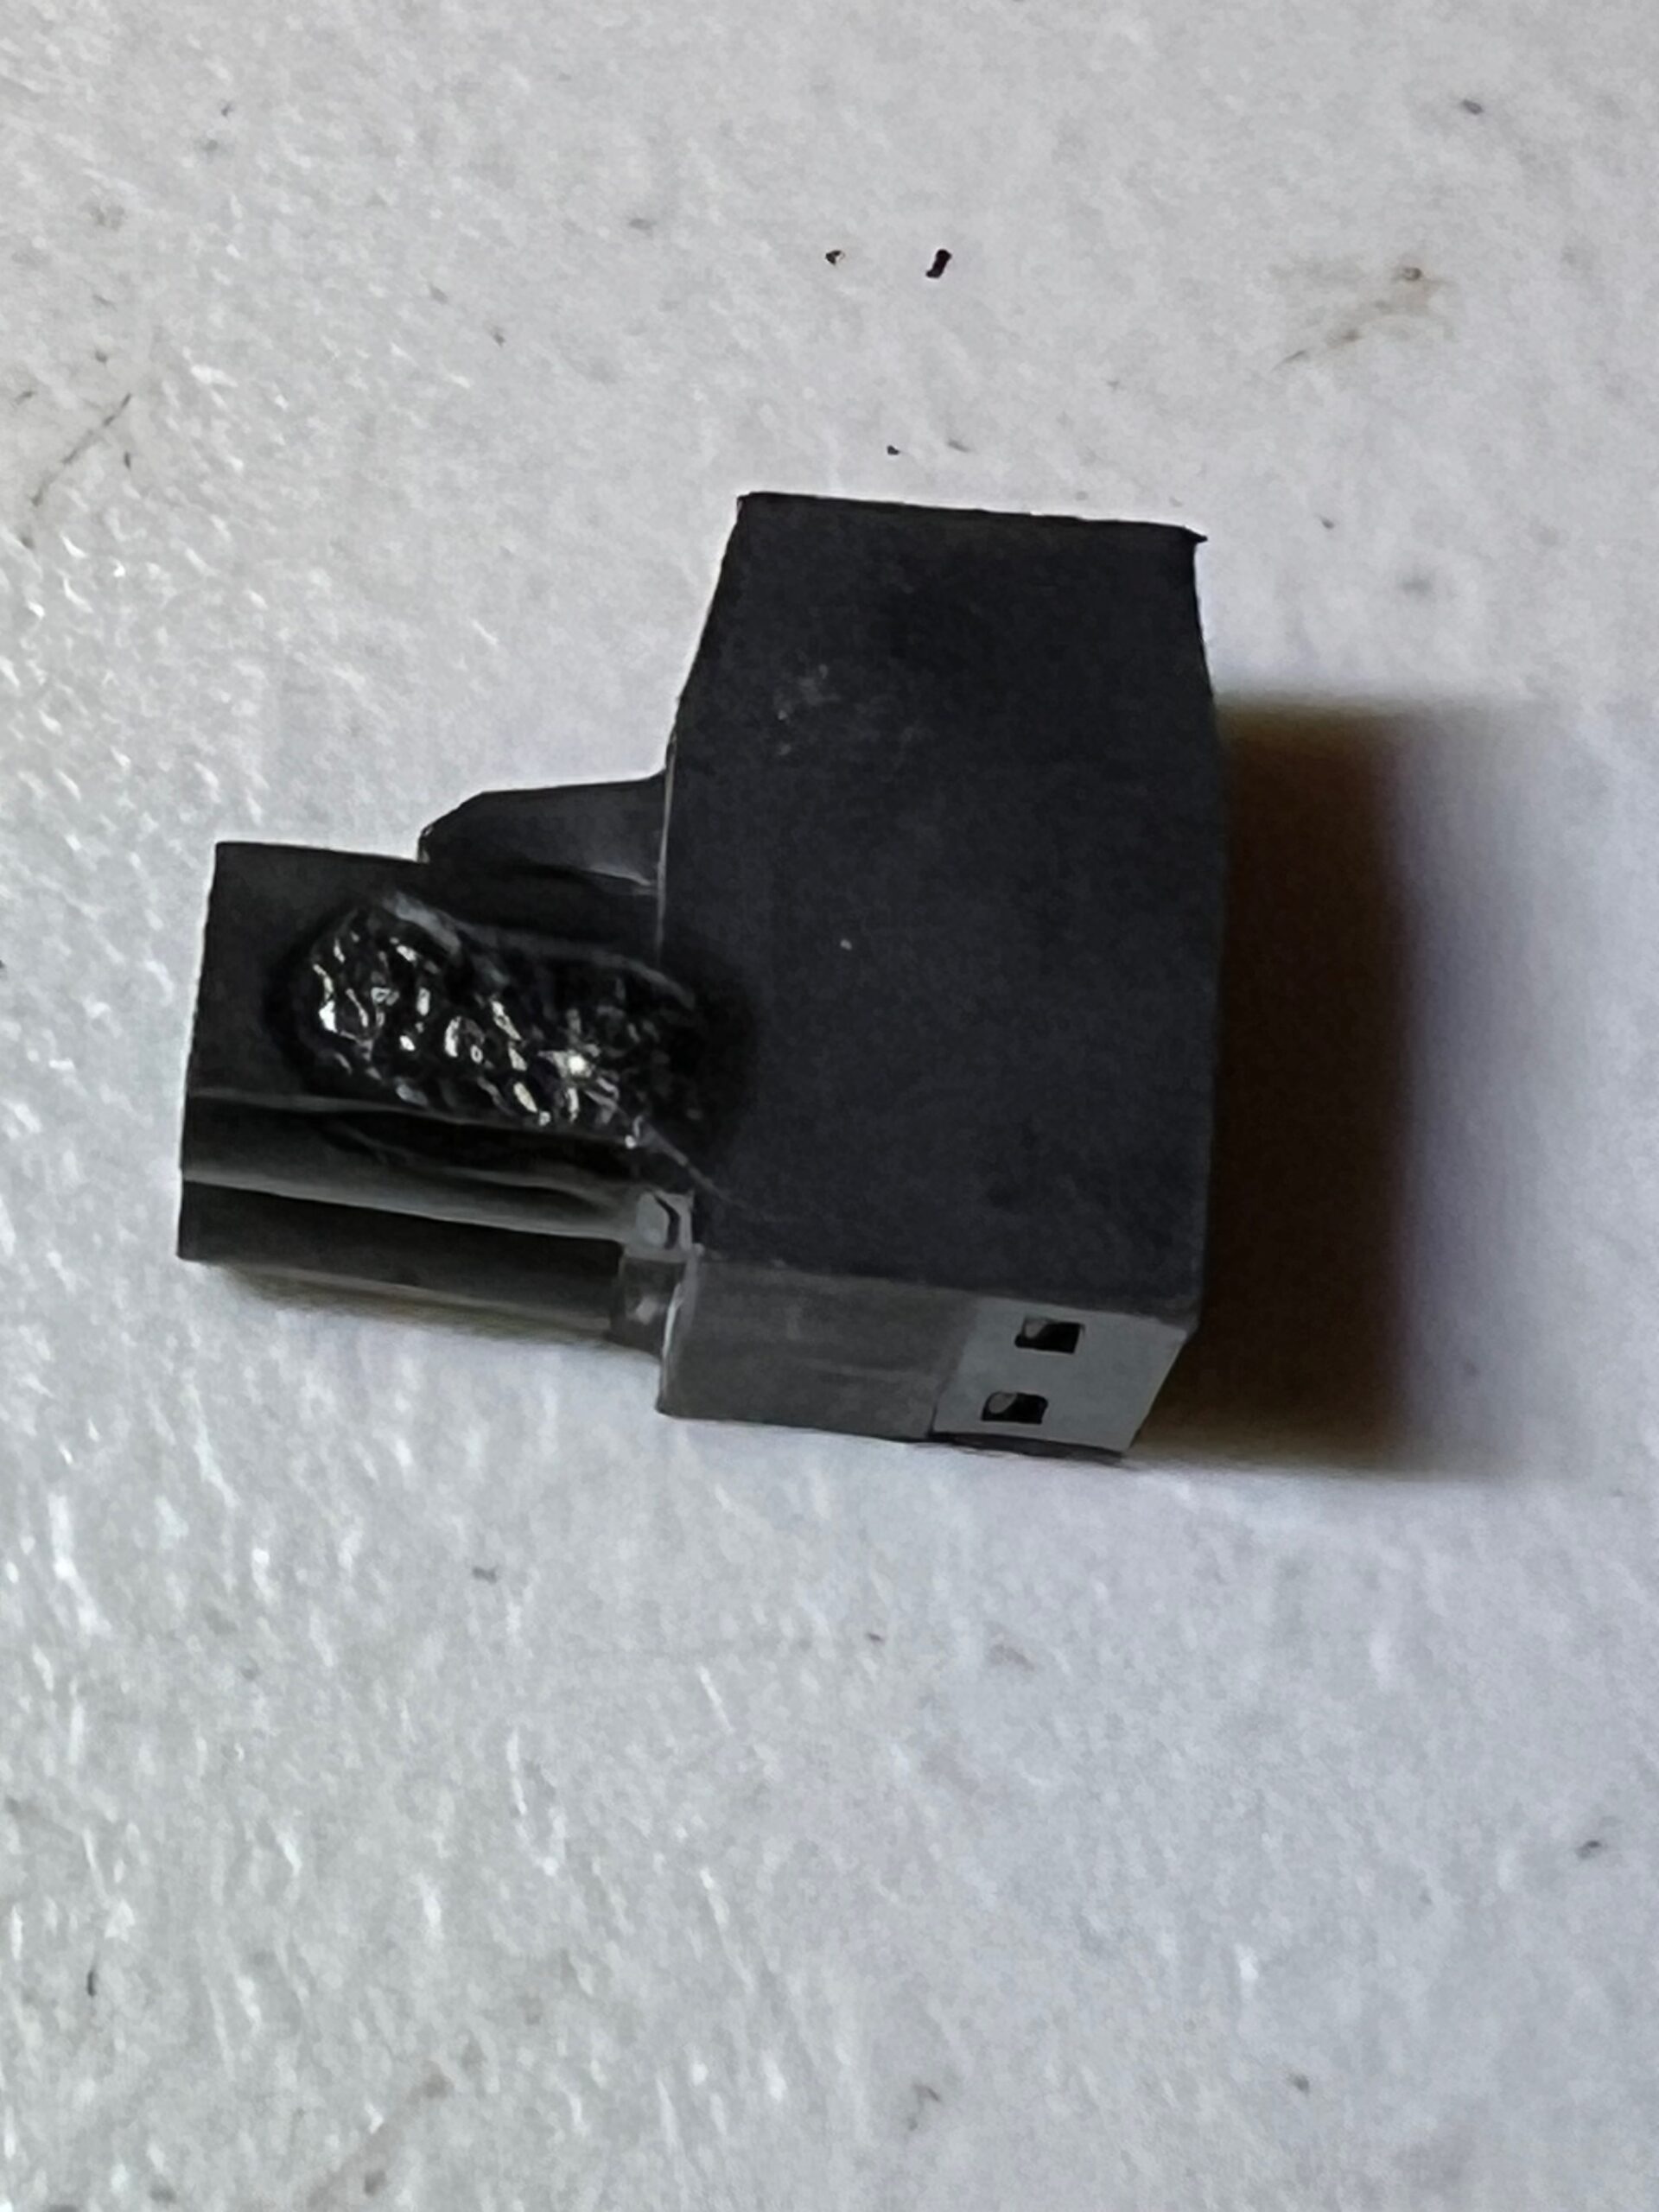
This sucker had gotten hot, in fact the heat shrink tubing on the wire that entered that side of the Molex had burned completely away. I checked the connector with my multi meter and it had complete continuity, in fact I could plug it into the board and read voltage on both incoming pins by reading the solder pads on the back of the board. They seemed to be making good contact, still if enough heat had been generated to melt the case of the Molex there was no way I was going to trust it. I ordered some new ones from Amazon. I chose Amazon as I'm a prime member and could get them in 24 hours, I really didn't want to wait another 5 days and pay shipping from the Czech Republic.
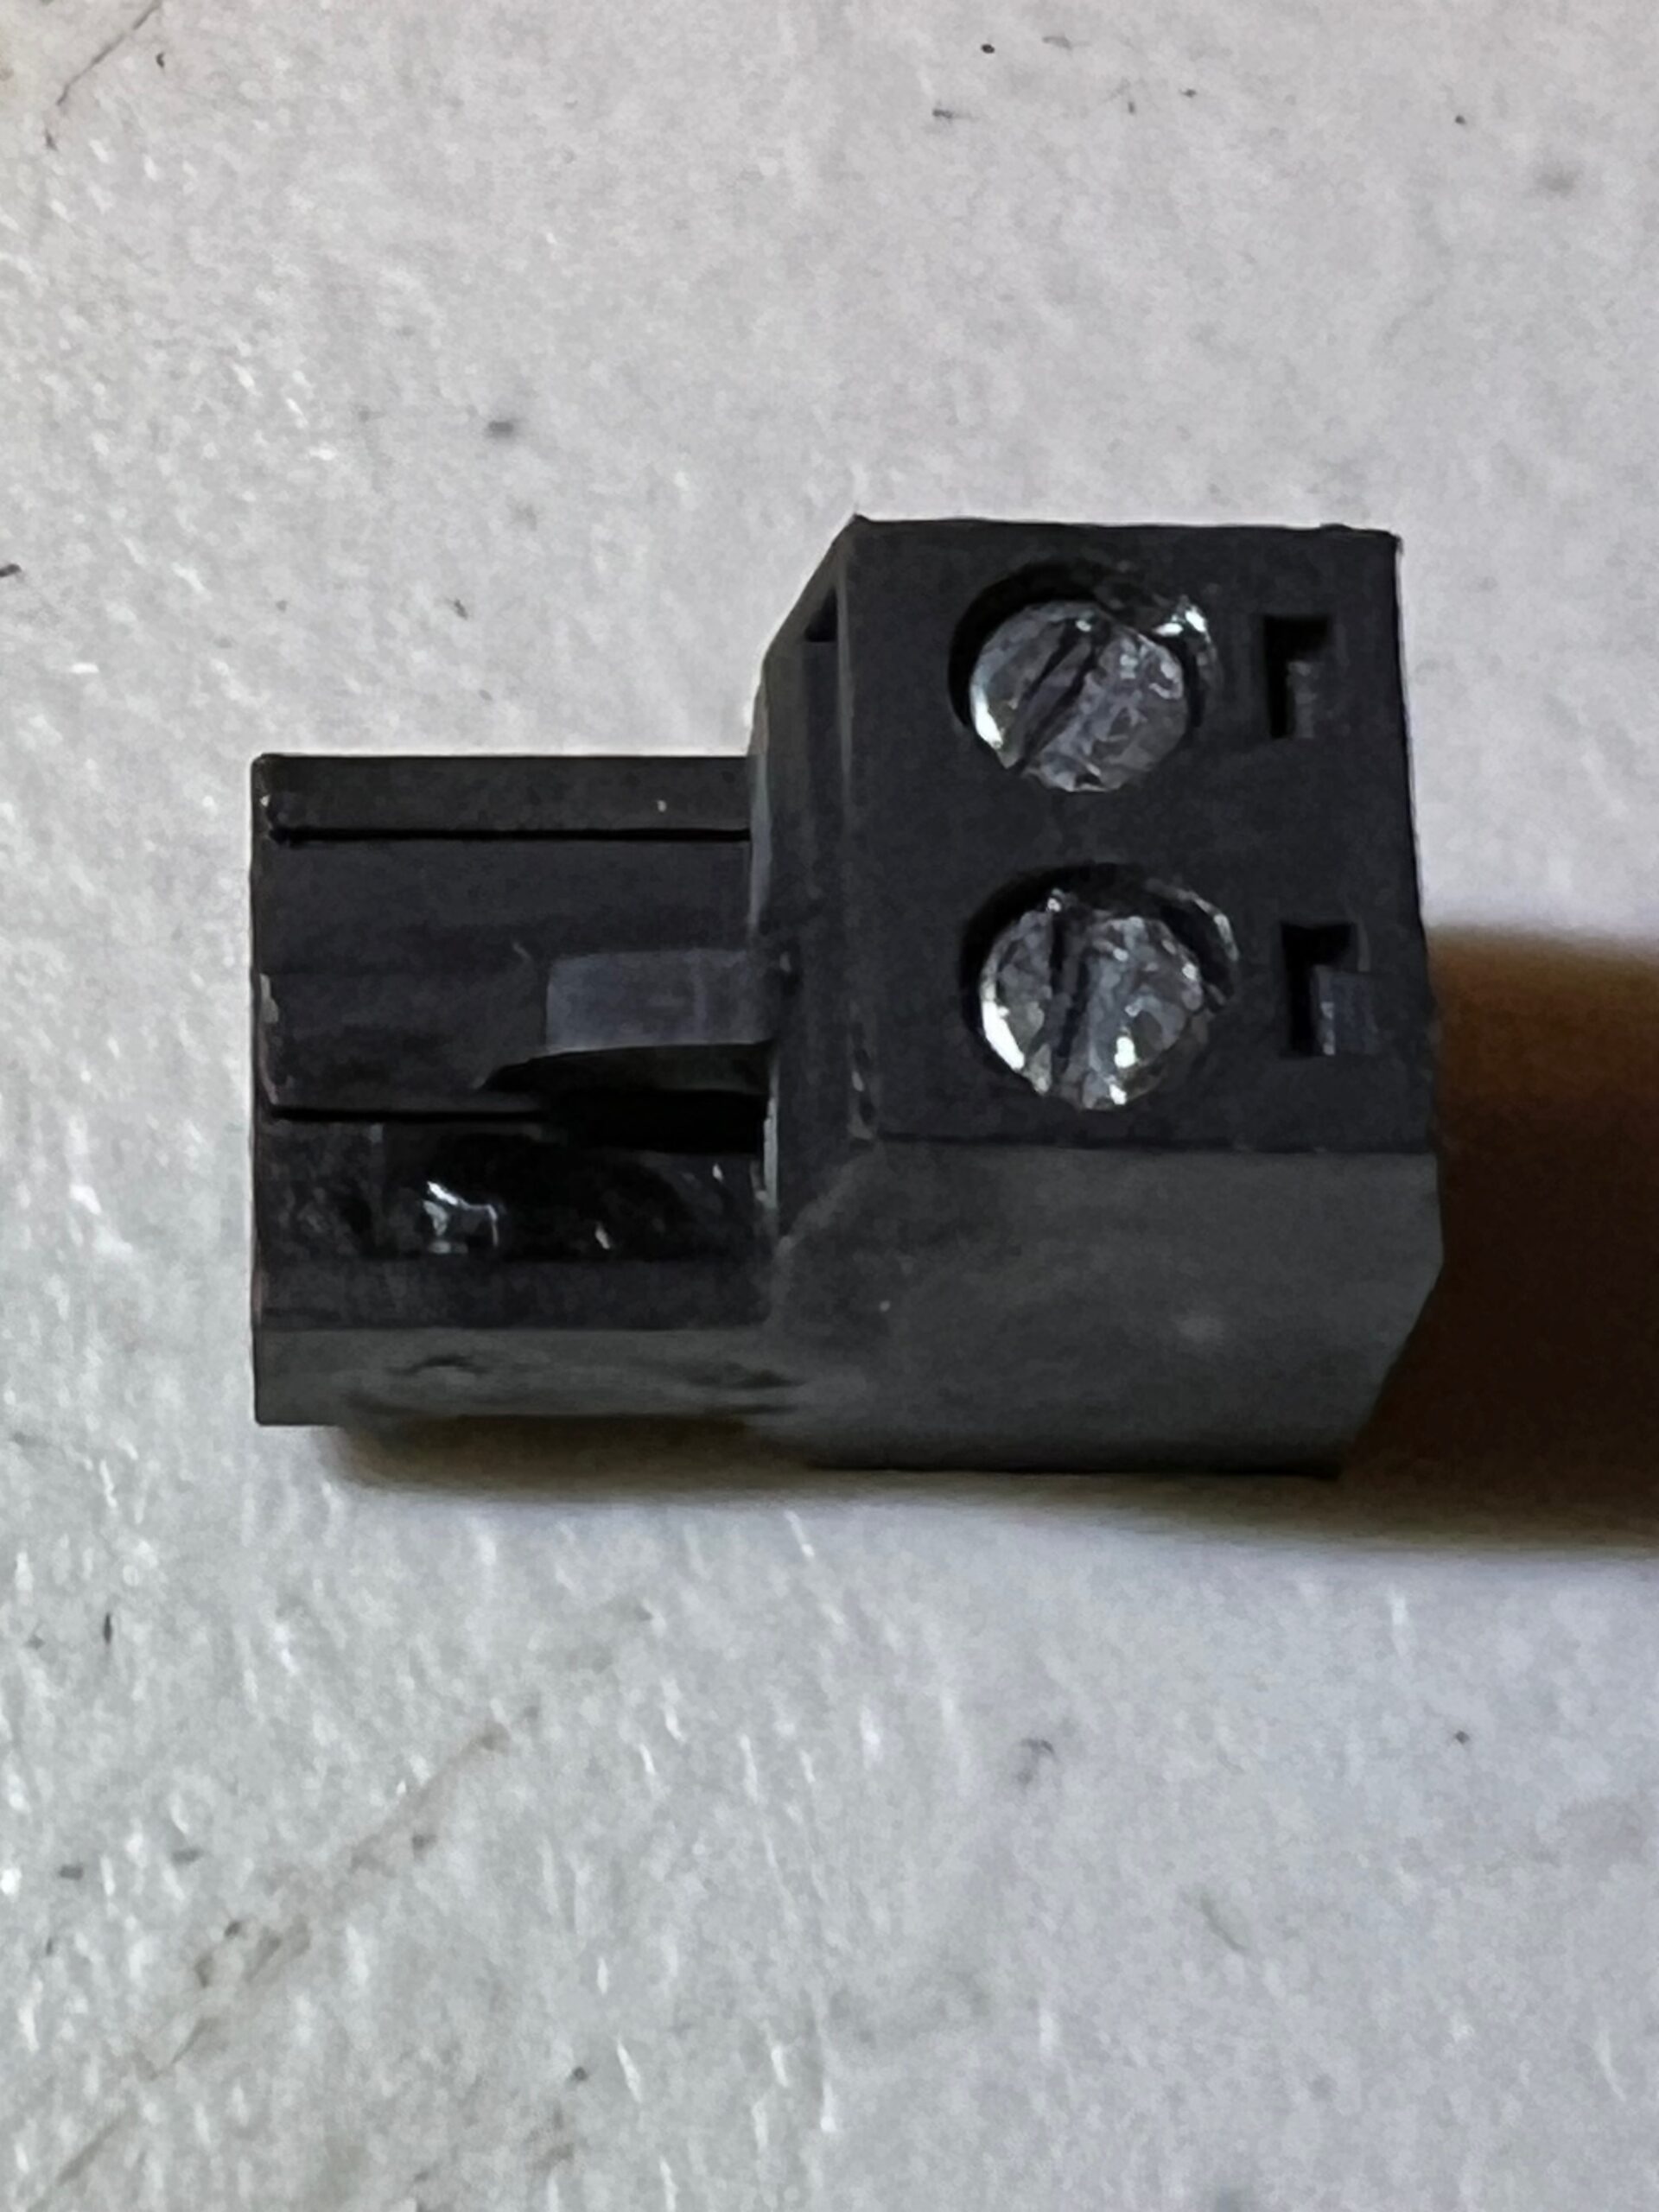
After installing the new Molex connector and mounting the new Rambo board in the case I took a look at the old board and noticed this:
The bottom pin that corresponded to the melty Molex was looking a little toasted. It wasn't melted and the solder joint through the board looks fine so I don't actually know if my problem is in the board itself or if my problem was simply a connector failure. Either way since I had the new board I replaced it. Also, since the Molex connector didn't come from Prusa and may not be the exact same quality as what Prusa sells, instead of using the new Molex on the heat bed I used it on the connector for board power and am using the Prusa provided connector for the heat bed. I think it's safe to say the board will draw much less power than the bed.
I haven't fully completed the install of the new board so I have nothing to report there. I have to use 2 sets of instructions to rewire this thing, the wiring for the original Mk2 for most of it, but then I have to go to the upgrade instructions for installing the splitter cables and the filament run out sensor for the M2.5s upgrade. I have the first part done, but wanted to take supper before completing the last and thought I'd document my adventure for you good folks just in case you have a Mk2 something or other and find yourself with a similar problem. Had I discovered the melty Molex during my initial diagnostics I might have found that simply swapping the connectors may have been at least been a temporary solution to my problem while I ordered a new one.
Good night, and have a pleasant tomorrow.
-Bob
Prusa I3 Mk2 kit upgraded to Mk2.5s, Ender3 with many mods, Prusa Mini kit with Bondtech heat break, Prusa I3 Mk3s+ kit
RE: A Chilling Tale : UPDATE
I completed the wiring on the new Rambo board and it passes the self check.
Cheers
-Bob
Prusa I3 Mk2 kit upgraded to Mk2.5s, Ender3 with many mods, Prusa Mini kit with Bondtech heat break, Prusa I3 Mk3s+ kit
RE: A Chilling Tale
These Molex connectors need to be checked regularly, especially the tightening of the screws on the terminal block. This applies to all these connectors, not only here, but also on the supply from the power supply and the outlet on the extruder. Most of the faults on the MiniRambo board come from these connectors. After carefully cleaning the faulty pins on the old board, it might work too.
RE: A Chilling Tale
When assembling my Mk3s+ I noticed they no longer used the Molex connectors so it seems clear to me they went with lugs for a reason. I think you're right that cleaning the pin may restore my old board to service. Not sure how or when I'd get around to testing that. I don't know if a display is necessary or if I could just plug it into Octoprint and issue commands from there.
In any case, the printer is fully functional again, except for the led on the heated bed, it works when the bed is cold but not when the bed warms up. Must be a broken solder joint, I may look into it, but I have no experience soldering SMDs and that led is small.
Cheers
-Bob
Prusa I3 Mk2 kit upgraded to Mk2.5s, Ender3 with many mods, Prusa Mini kit with Bondtech heat break, Prusa I3 Mk3s+ kit