imho : a bad first layer 🤷♀️
Hi, I'm a beginner so I don't know many things, but some I haven't even found on the net.
I ask here.
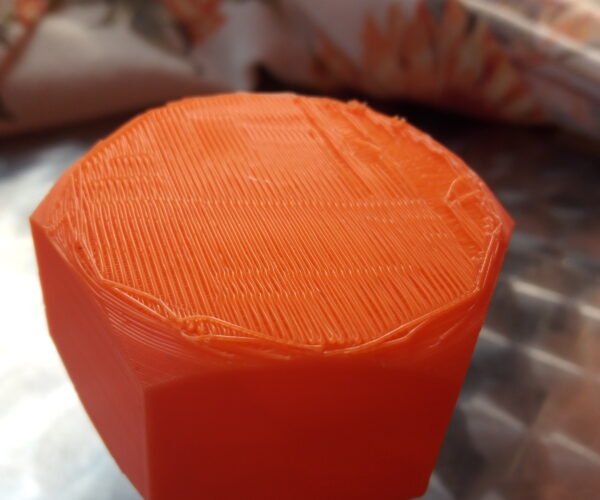
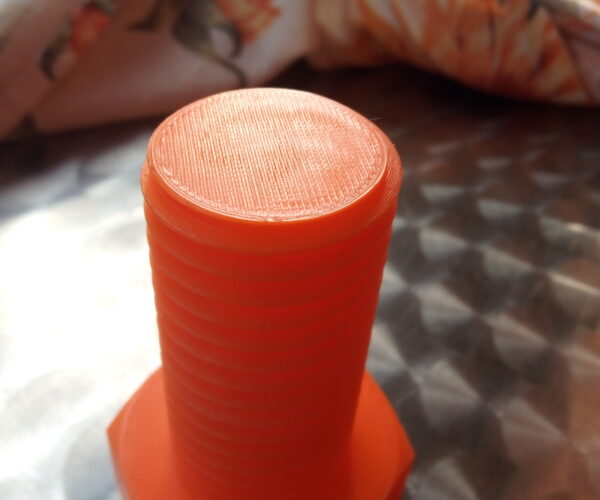
As you can see from the photos there is a visible difference between the two upper surfaces. The first surface is actually the first layer of this print, while the second is the last layer. Why are there these differences? The first layer always comes out worse than the last. In some cases it is a face that cannot be seen, but in other cases it is an important face. How do you get the first layer equal to the last one. I searched on the slicer, but couldn't find anything that at least made me suspect....😎
By the way, wouldn't the first layer fit better if it were made better?
PS : Pay no attention to the damaged part on the first level . I tried to tear it off to see if there was something better underneath.....😂
RE: imho : a bad first layer 🤷♀️
The height of the first layer (Z-Adjust) is not set correctly. You can find a lot of information about z-adjust here: z-adjust
wbr,
Karl
Statt zu klagen, dass wir nicht alles haben, was wir wollen, sollten wir lieber dankbar sein, dass wir nicht alles bekommen, was wir verdienen.
RE: imho : a bad first layer 🤷♀️
Unless you dial your Live Z (aka first layer calibration) in, you'll have bad first layer surfaces. If it's too high, you'll see gaps between the strands, if it's too low, you'll see wavy patterns. The reference Karl gave provides you with a lot of background info. I use this calibration strip: https://www.prusaprinters.org/prints/105404 to finetune my live z settings. Faster than the large squares in the live z my way post.
Formerly known on this forum as @fuchsr -- https://foxrun3d.com/
RE: imho : a bad first layer 🤷♀️
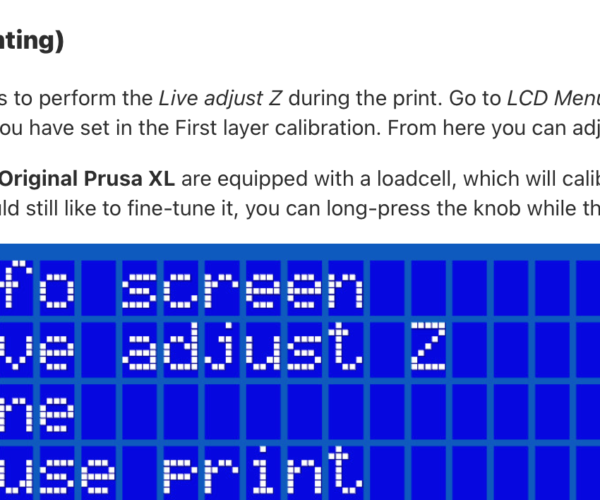
First of all, I don't know how the Live system works.
I have to assume that you make adjustments while printing is in progress, but I don't understand exactly.
I know you can change the nozzle height, but I do this with calibration. While printing these Live does not appear anything specific on the screen that allows me to take action.
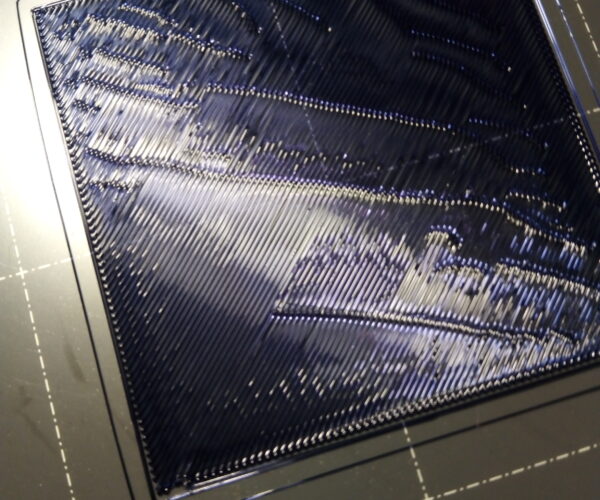
For example I printed the square pointed out to me by Karl and I got this result.
How come there are all those regular creases? I haven't adjusted anything anyway, partly because I thought the setting change was within the Gcode (speed or width change). But maybe I'm wrong.
So, I need your help...😳
RE: imho : a bad first layer 🤷♀️
Waves are characteristic for the nozzle being too close to the steel sheet. On the Mini and Mk3S, you have to calibrate the first layer to get the nozzle to the proper distance from the sheet. There is obviously the built-in first layer calibration. The problem is, for someone uninitiated in the art, it's really not easy to interpret the tiny rectangle at the end. You're much better off with a larger square like the one you used, or the strip I was linking to as it gives you more to look at.
Check out this article by Prusa to understand Live Z: https://help.prusa3d.com/article/live-adjust-z_112427
"Live Z" and first layer calibration are essentially the same thing. I for one use the term "first layer calibration" to refer to the built-in method, and Live Z adjustment for any subsequent fine tuning.
In your specific case, say your live Z is currently at -1.2. As it's too low, I'd try -1.18, -1.16, etc. until you get to a nice first layer. The reason I prefer the strip over the large square is that I can test 8 different Live Z values in one five minute print and compare them side-by-side. But of course you can run the large square a few times to do the comparison. Any of these approaches beats the stock first layer calibration method.
Formerly known on this forum as @fuchsr -- https://foxrun3d.com/
RE:
As fuchsr said.. print the square and adjust the Z live as you are printing.. adjust.. wait for about 3 lines of fill to see the effect.. waves mean too close.. generally I go down until I just get waves and then backoff a bit.. Think you get into the Live Z by the menu option.. or maybe just pressing in the button as the first layer is printing.. The option is only there during first layer
RE: imho : a bad first layer 🤷♀️
Thanks Crab. Now I understand
RE: imho : a bad first layer 🤷♀️
Thanks Fuchsr, I had already used your test print, but had not adjusted anything because I had not seen the Live Z adjust option.
I'll try it now.
However, it is not clear why the first layer is so delicate.Why can the first layer come out wrong and the last one not?
After all, the distances are relatively the same in the first as in the last.
RE: imho : a bad first layer 🤷♀️
er all, the distances are relatively the same in the first as in the last.
Actually, they're not. The printer only applies corrections for variations in bed height to the first layer. From layer 2, it uses the same height for every point on the print so everything gets evened out at that point.
Formerly known on this forum as @fuchsr -- https://foxrun3d.com/


