How to strengthen the connection of the material at the edges with PETG?
Hi
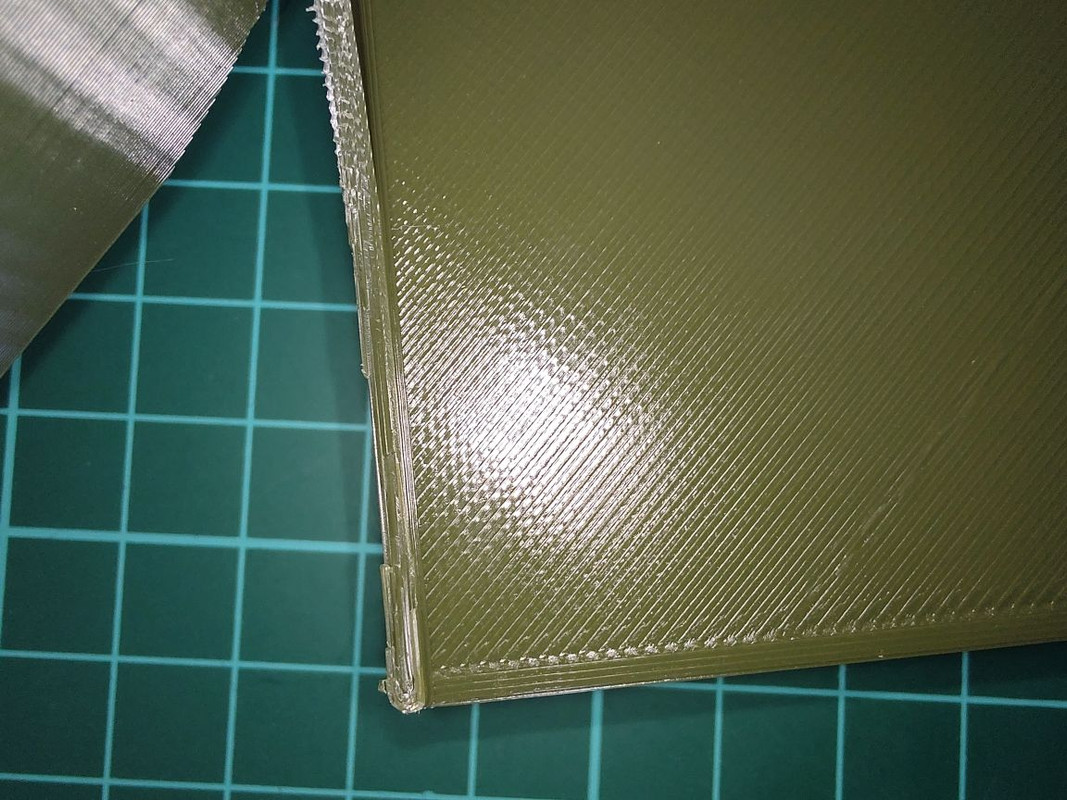
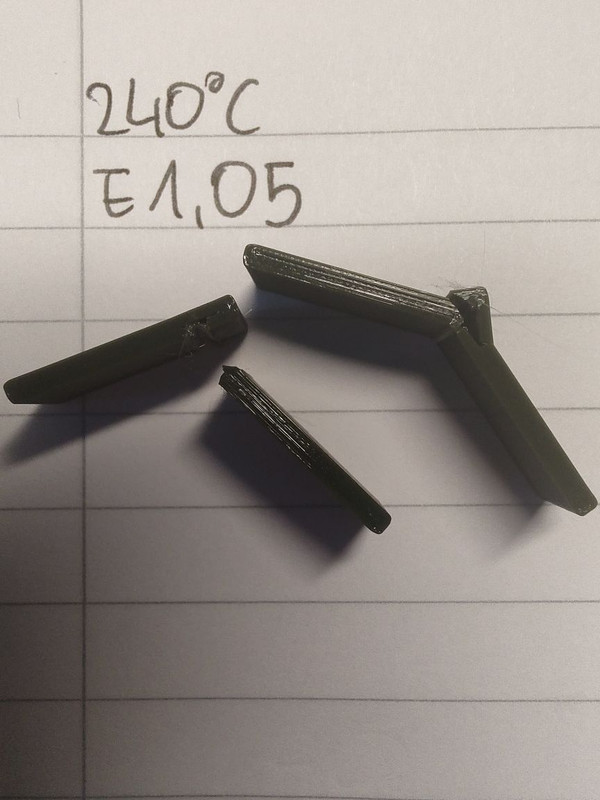
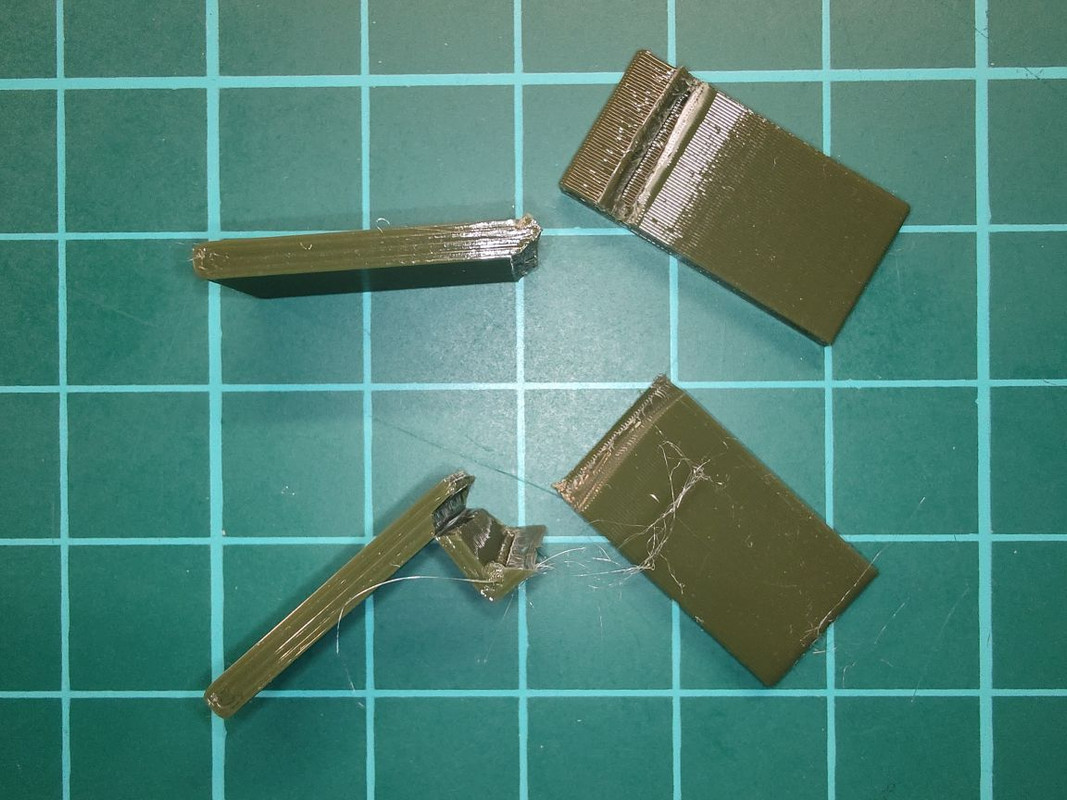
I wanted today to print some table upgrade, and i found that the part i printed is not so strong on the edges, while the rest of the model is quite robust, so with quite little force i was able to break it like on the picture below:
And some details:
So looks like the material is mot melted enough... I changed some settings for that particular PETG, which you can check in the attached project file:
RE: How to strengthen the connection of the material at the edges with PETG?
Turn your print temperatures up and/or use less cooling.
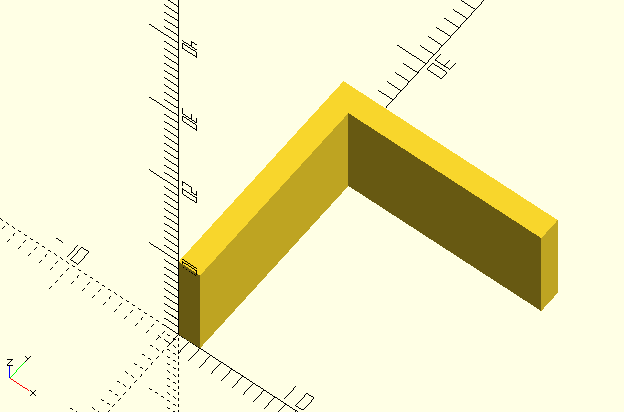
Also from a design perspective a sharp transition from flat to up is a stress concentrator. Change your design to bevel or chamfer your inner edges if you can to give a gradual change from the flat surface to the vertical.
RE: How to strengthen the connection of the material at the edges with PETG?
Hi,
thank you for reply, max. recommended temp. by the manufacturer is 230 and it's already set, i set also extrusion multiplier 1.1. and the fan is 20% already...
Now i'm printing it with 240 degrees... but probably while it's still PETG, i can try even more? Prusament PETG profiles are working on a hotter settings, so maybe i'll give it a try.
RE: How to strengthen the connection of the material at the edges with PETG?
i just finished printing the same sample part but just increased the temp. to 240 leaving the rest of the settings the same, and it works much better... so the recommendation for the material is not the best... or my setup has some misaligment in the temp., etc.
RE: How to strengthen the connection of the material at the edges with PETG?
230 is very low for petg. What filament is it ?
RE: How to strengthen the connection of the material at the edges with PETG?
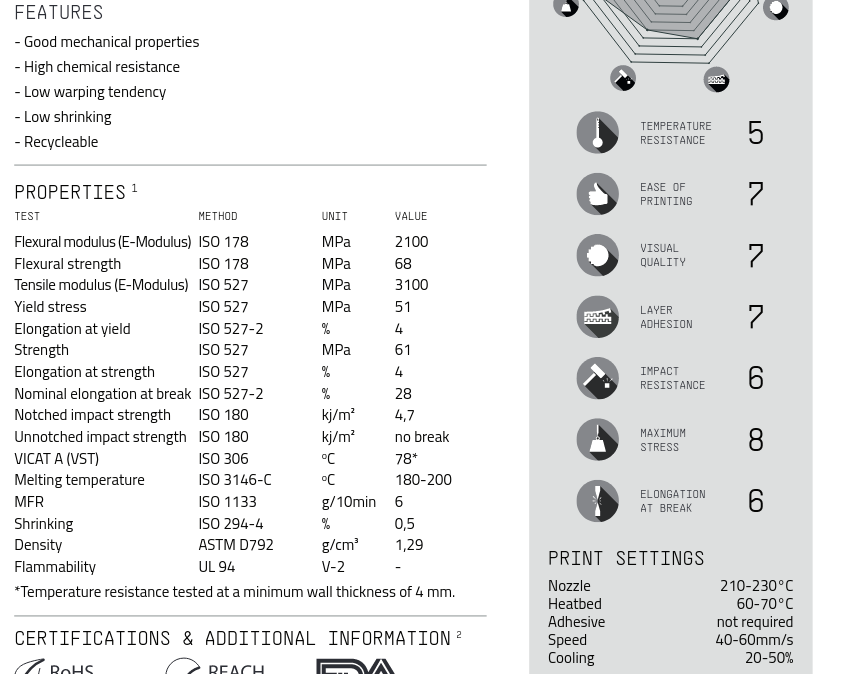
it's extrudr PETG, data sheet: https://extrudr.com/filerpool/download/datei/775/
on the beginning i had to raise the bed temp +10 otherwise material was warping since beginning, now i'm printing +85 first layer, then 80 without issue with the bottom layer
RE: How to strengthen the connection of the material at the edges with PETG?
ah, i forgot to add that there is a profile in prusa slicer for that material
RE: How to strengthen the connection of the material at the edges with PETG?
Just goes to show, don't believe everything you read. Always do your own test prints with your specific printer and the material first if you want to be safe.
I print extruder petg at 250. Now admittedly I do have a nozzle x which is a steel nozzle, so all my temps are 5 degrees higher than what I would have them if I was using a brass nozzle, but that is still an equivalent print temp of 245. And my extruder PLA nx2 profile is 235 so equivalent to 230. I did that profile before there was an official prusa nx2 one (only just noticed when I went looking at the petg one now).
RE: How to strengthen the connection of the material at the edges with PETG?
I did some tests before and align a little profiles, even in manual from prusa is recommended to print PETG with 240... excluded some materials already after some weird behaviour. Also i tried to print that metarial at 243 C degrees, but while i'm using mini+ didn't want to mess the printer itself, so i stopped on this.
Also i increased extrusion multiplicator to 1,1 which i read that it will incre the performance of the parts,and i think it's like that, but introduced the need to check again supports for that settings. Should i use in general with PETG more or less "Top interface layers" for the support? I tried to use 0 with linear snug support, and it was quite ok, and with honey pattern i could not remove support at all. Especially that i found that supports are really tricky to remove when i print in the higher temp (240-243)... so now i will need to find better way to print supports with "better" temp. for PETG, because that tests printed with 230 are not realiable.
I have also one more question maybe not related directly to the printing with PETG, but to the physical setup of the printer...
That part i printed is used to stack ikea lack table, on top of each other, i found it a nice idea if you don't have space. And i was wondering if the vibration from the printer can introduce errors, to the other printer above/below (if i plan to use two printers at the same time), do you know maybe how it's sensible for such stuff? In the prusa manual i read that even during calibration it's better to not do it with working other printer side to the one performing self test...
And for example now my mini+ is on top of the metal rack (on locked wheels, total weight with stuff on it around 80kg, maybe more), and it's still shaking. So i'm not sure if this "ikea lack stack" will work, but maybe because of this cardboard infill it will work better, i will need to experiment with it probably, i saw people apparently using such solution, so maybe it will work here too?
RE: How to strengthen the connection of the material at the edges with PETG?
ok, so from now i think i will prepare some "calibration" objects for the filament to do some tests... first i will check the thing which was failing recently
RE: How to strengthen the connection of the material at the edges with PETG?
One common thing people do with the lack system is to just put a concrete paver slab in there, often with a thin rubber/high density foam layer too. The extra mass helps dampen things down.
Personally with the new speeds the input shaping versions are capable of I wouldn't use a lack table. I'd happily use one on the non IS (I have one for my MK3) though. Its also stacked but not to hold 2 printers, the bottom one holds a bunch of printer supplies and just raises the printer to a more convenient height. I ended up designing and printing my own corners that are very chunky and screw in with 3 screws so they are solidly mounted. It is still not the most stable structure due to the general flimsy nature of the Lack.
On the subject of filament tuning, I don't have a single filament with an EM different to 1. With a properly calibrated printer it is completely unnecessary for most filaments.
Once you have confirmed your extruders steps for mm are correct and then you measure the actual real world average diameter of the filament and enter that in the filament profile if different to 1.75 then your extruder should be pushing out the exact amount of material its supposed to be for your design. Bumping up EM to get stronger parts is a band aid applied in the wrong place.
Support sticking to the part too much (which is common with sticky materials like petg) is controlled through the z contact distance and also the xy separation settings. You tune those to get the desired results as much as you can for the material being used. If you are over extruding then any supports will also be over extruding, that will put them closer to the part, which will in turn logically increase the chances of the support sticking more to the part.
Support settings can be an art to themselves as there's no one size fits all, it does depend on the model geometry. You can get some good general purpose settings that work for most but there's always outliers. I generally use 70-80% XY separation and 0.2-0.25 Z top contact distance (0.25 with petg and 0.2 with pla) with 4 top interface layers. Then I use 2-3mm for the normal support spacing with the default 0.2 spacing for the top interface. If running IS speeds then I'd expect to have to potentially increase XY separation at least.
What I find is that with more interface layers it becomes a more solid sheet. So you can remove the wider spaced support and then remove the interface by pushing/pulling it away from the surface and because its thicker it tends to come off in bigger chunks rather than breaking up and then having to be chiselled off in patches. I've had many pla prints where the support just came away in one block very cleanly.
One other thing to note on the subject of supports that I've seen from a few threads/comments on the forum is that some people have problems with supports being flimsy. They are supposed to be really, but not to the extent that they fail during printing. The default extrusion width in prusa slicer for a 0.4 nozzle is 0.45mm for normal extrusion but its 0.35 for support extrusion. This is to deliberately make them weaker and easier to break apart. If you have trouble with weak supports then bump that up to 0.4 would be the first thing to try.
RE: How to strengthen the connection of the material at the edges with PETG?
Thank you for advice, i will test the supports according to that, and while still waiting for my ikea tables cannot check anything with them.
Besides i was trying to understand what is going on with this filament, i measured the diameter, on the beginning was bit smaller, but later on the roll was quite accurate around 1.75...
So i printed some of those little models for test... and for example i discovered that in general it was quite brittle, but for sure 240 degrees is much better than 220, which is far too low for this material, but i was also curious about what you wrote about extrusion multiplier, and i found also some prusa article referring to calibration of the printer to tune it a bit for particular filament here: https://help.prusa3d.com/article/extrusion-multiplier-calibration_2257 so i did that test too, but first my printed little brittle objects: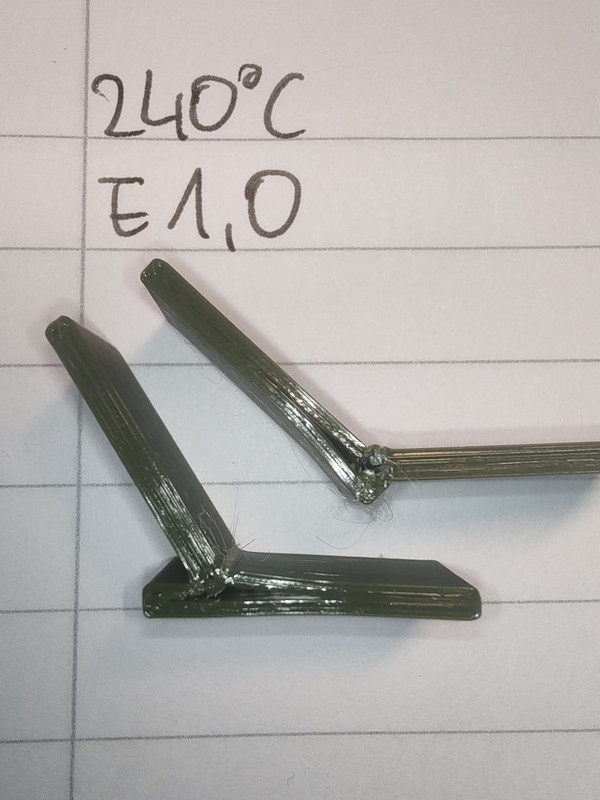
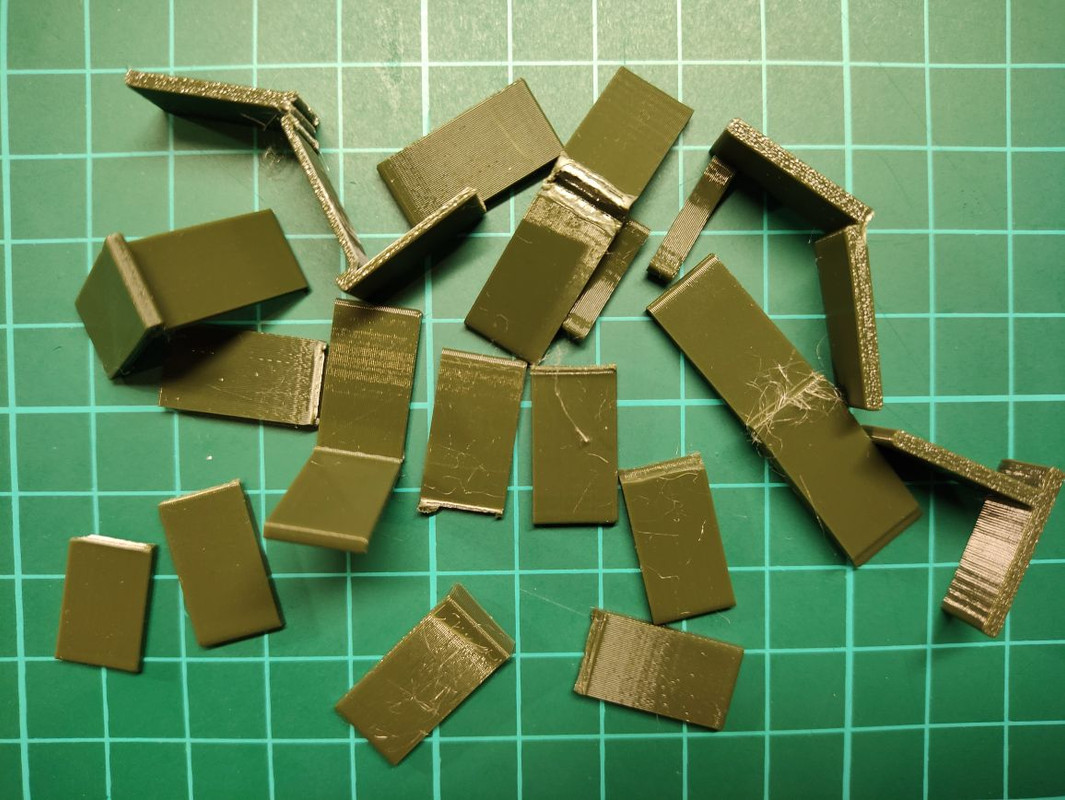
i tried multiple configurations... and those with EM1 are quite poor... still much better were printed in 240 degrees, some where so brittle, that the vase mode used to print calibration cubic felt almost stronger 😉
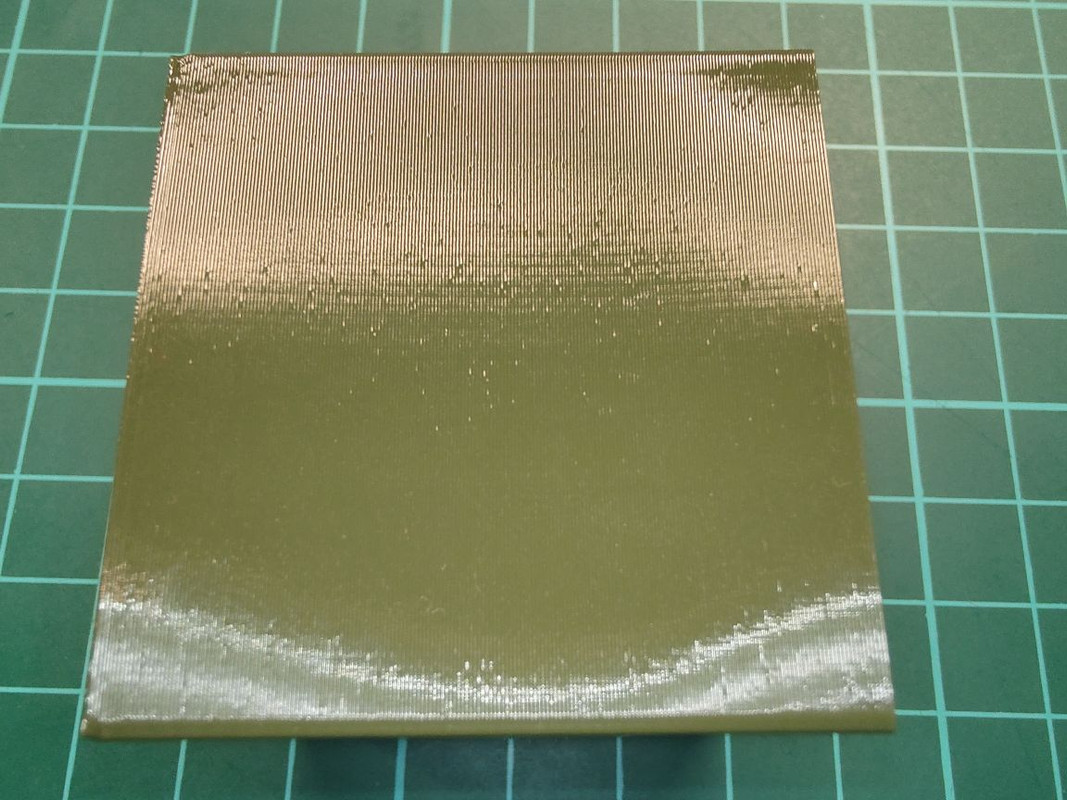
so i calculated according to the formula on that page, and first run in total gave me the result to put in the EM field 1.08, so with this new settings, i printed it again, and then was better,
but result after sum up was to set up 1.04 so i took average from two measurements and did 1.06 for that material... and now i'm printing third cube. Do you think it's good solution, or still i should look somewhere else? What i can see that indeed two walls seems to be thinner than the other two, and one corner seem to be a little underextruded... but i'm not a specialist, so do not know if this is a issue at all?
RE: How to strengthen the connection of the material at the edges with PETG?
When you are doing all these tests make sure you have the slicing engine set to classic and not the new default arachne. That dynamically adjusts extrusion width and there have also been some reports on the PS github of people having issues with perimeter to perimeter adhesion (rather than layer to layer)when using arachne.
RE: How to strengthen the connection of the material at the edges with PETG?
ah, thank you for letting me know, i did it with arachne... will redo 🙂
RE: How to strengthen the connection of the material at the edges with PETG?
ok, with classic slicing mode it created unified walls, and i was albo to measure it bit more accurate, so in the end i had to set up 1.12 and when i printed cube again and did measurments it was 0.45/0.45 = 1 so i assume now it's correct, and also the bottom layer do not have any little empty dots around the corners... so it's time to print my test object and break it apart again, thank you for advice!
RE: How to strengthen the connection of the material at the edges with PETG?
and photos of result, on the left there is a cube not well calibrated EM<=1.08, and on the right with EM=1,12: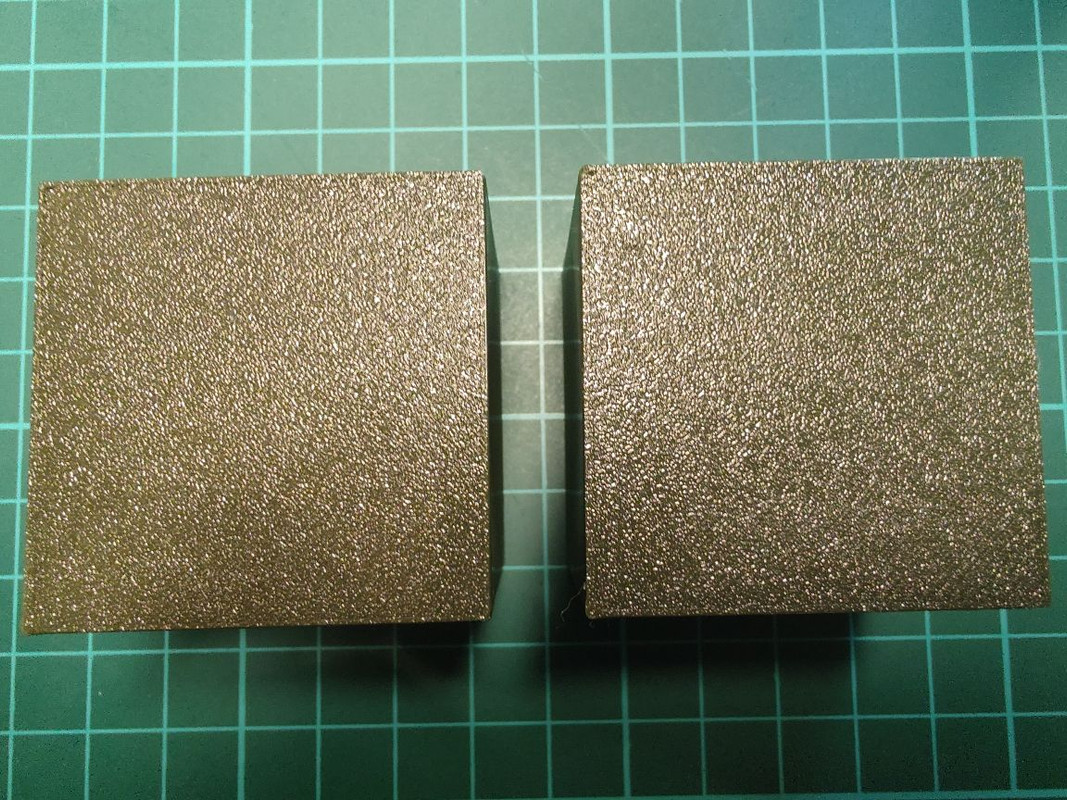
and again closeup of the part which is not accurate (and brittle):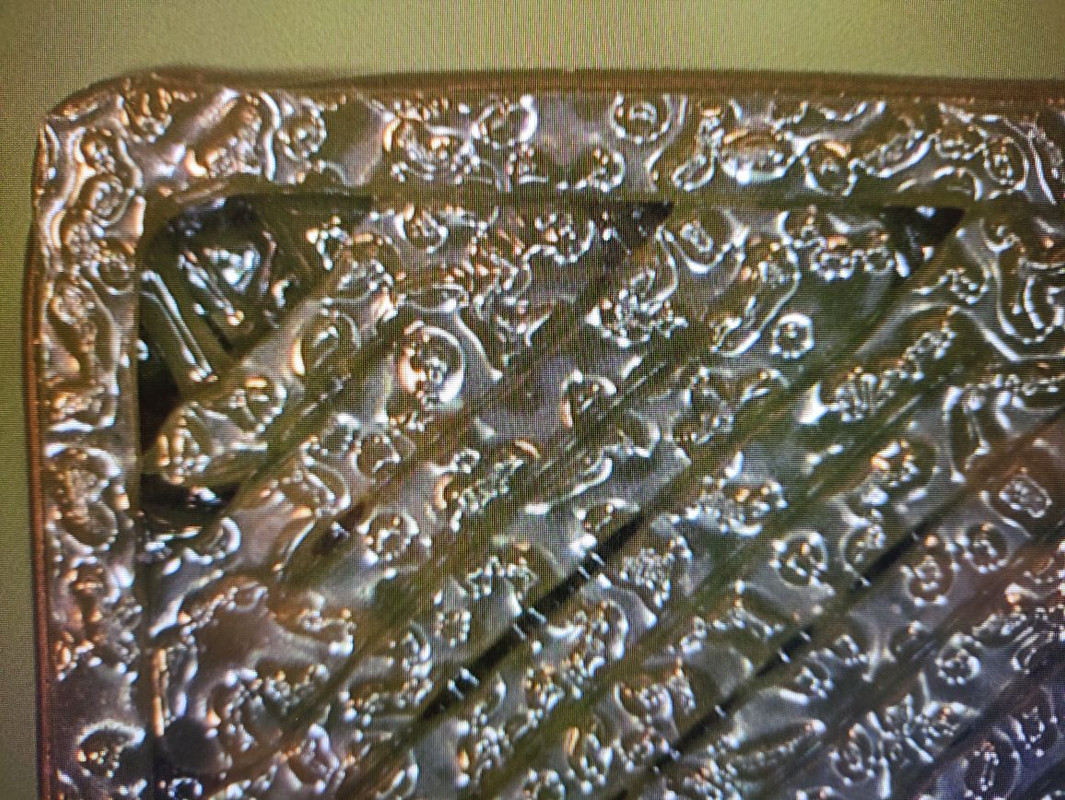
and after calibration ( https://help.prusa3d.com/article/extrusion-multiplier-calibration_2257) 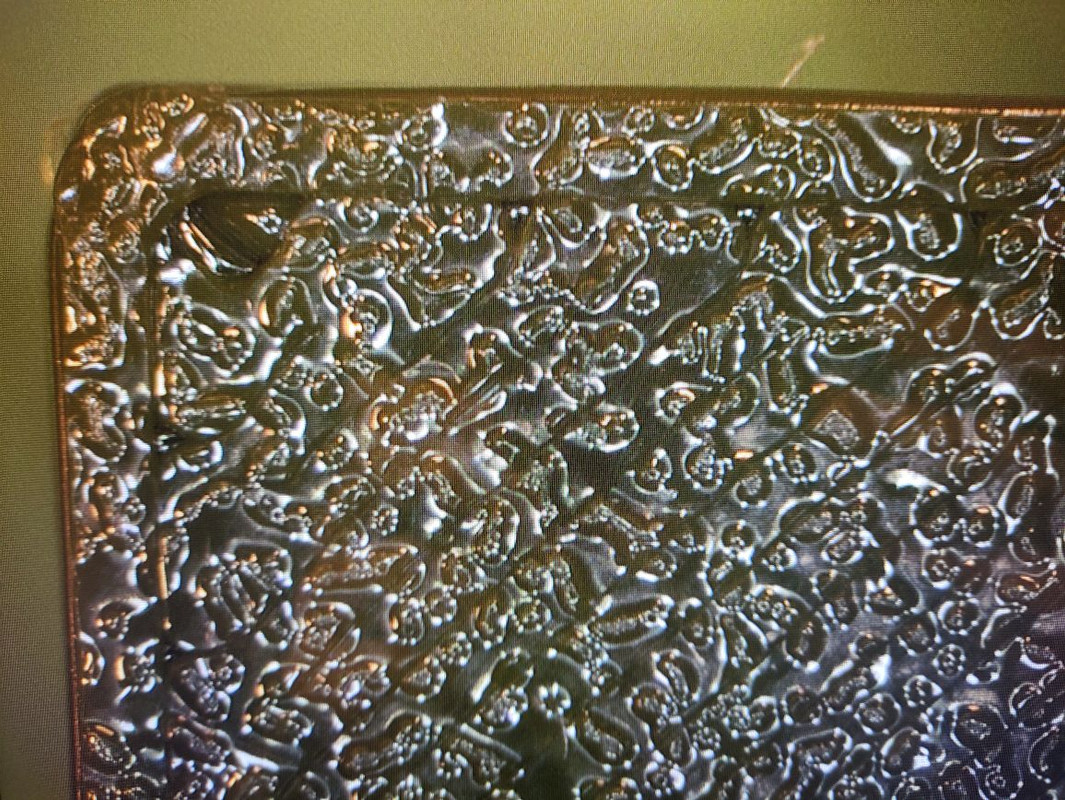
RE: How to strengthen the connection of the material at the edges with PETG?
ok, now corners are stronger, so some good direction...